 Andrew Mayhall
So you've made it this far with me. It's time we assemble the beast and bring Franken pump to life!
This was a very straight forward assembly almost boring perhaps. Surprisingly there were absolutely no major issues with my designs and subsequently the 3D prints. I assembled everything within 15 minutes of getting the prints in and had the pump spinning for the first time!
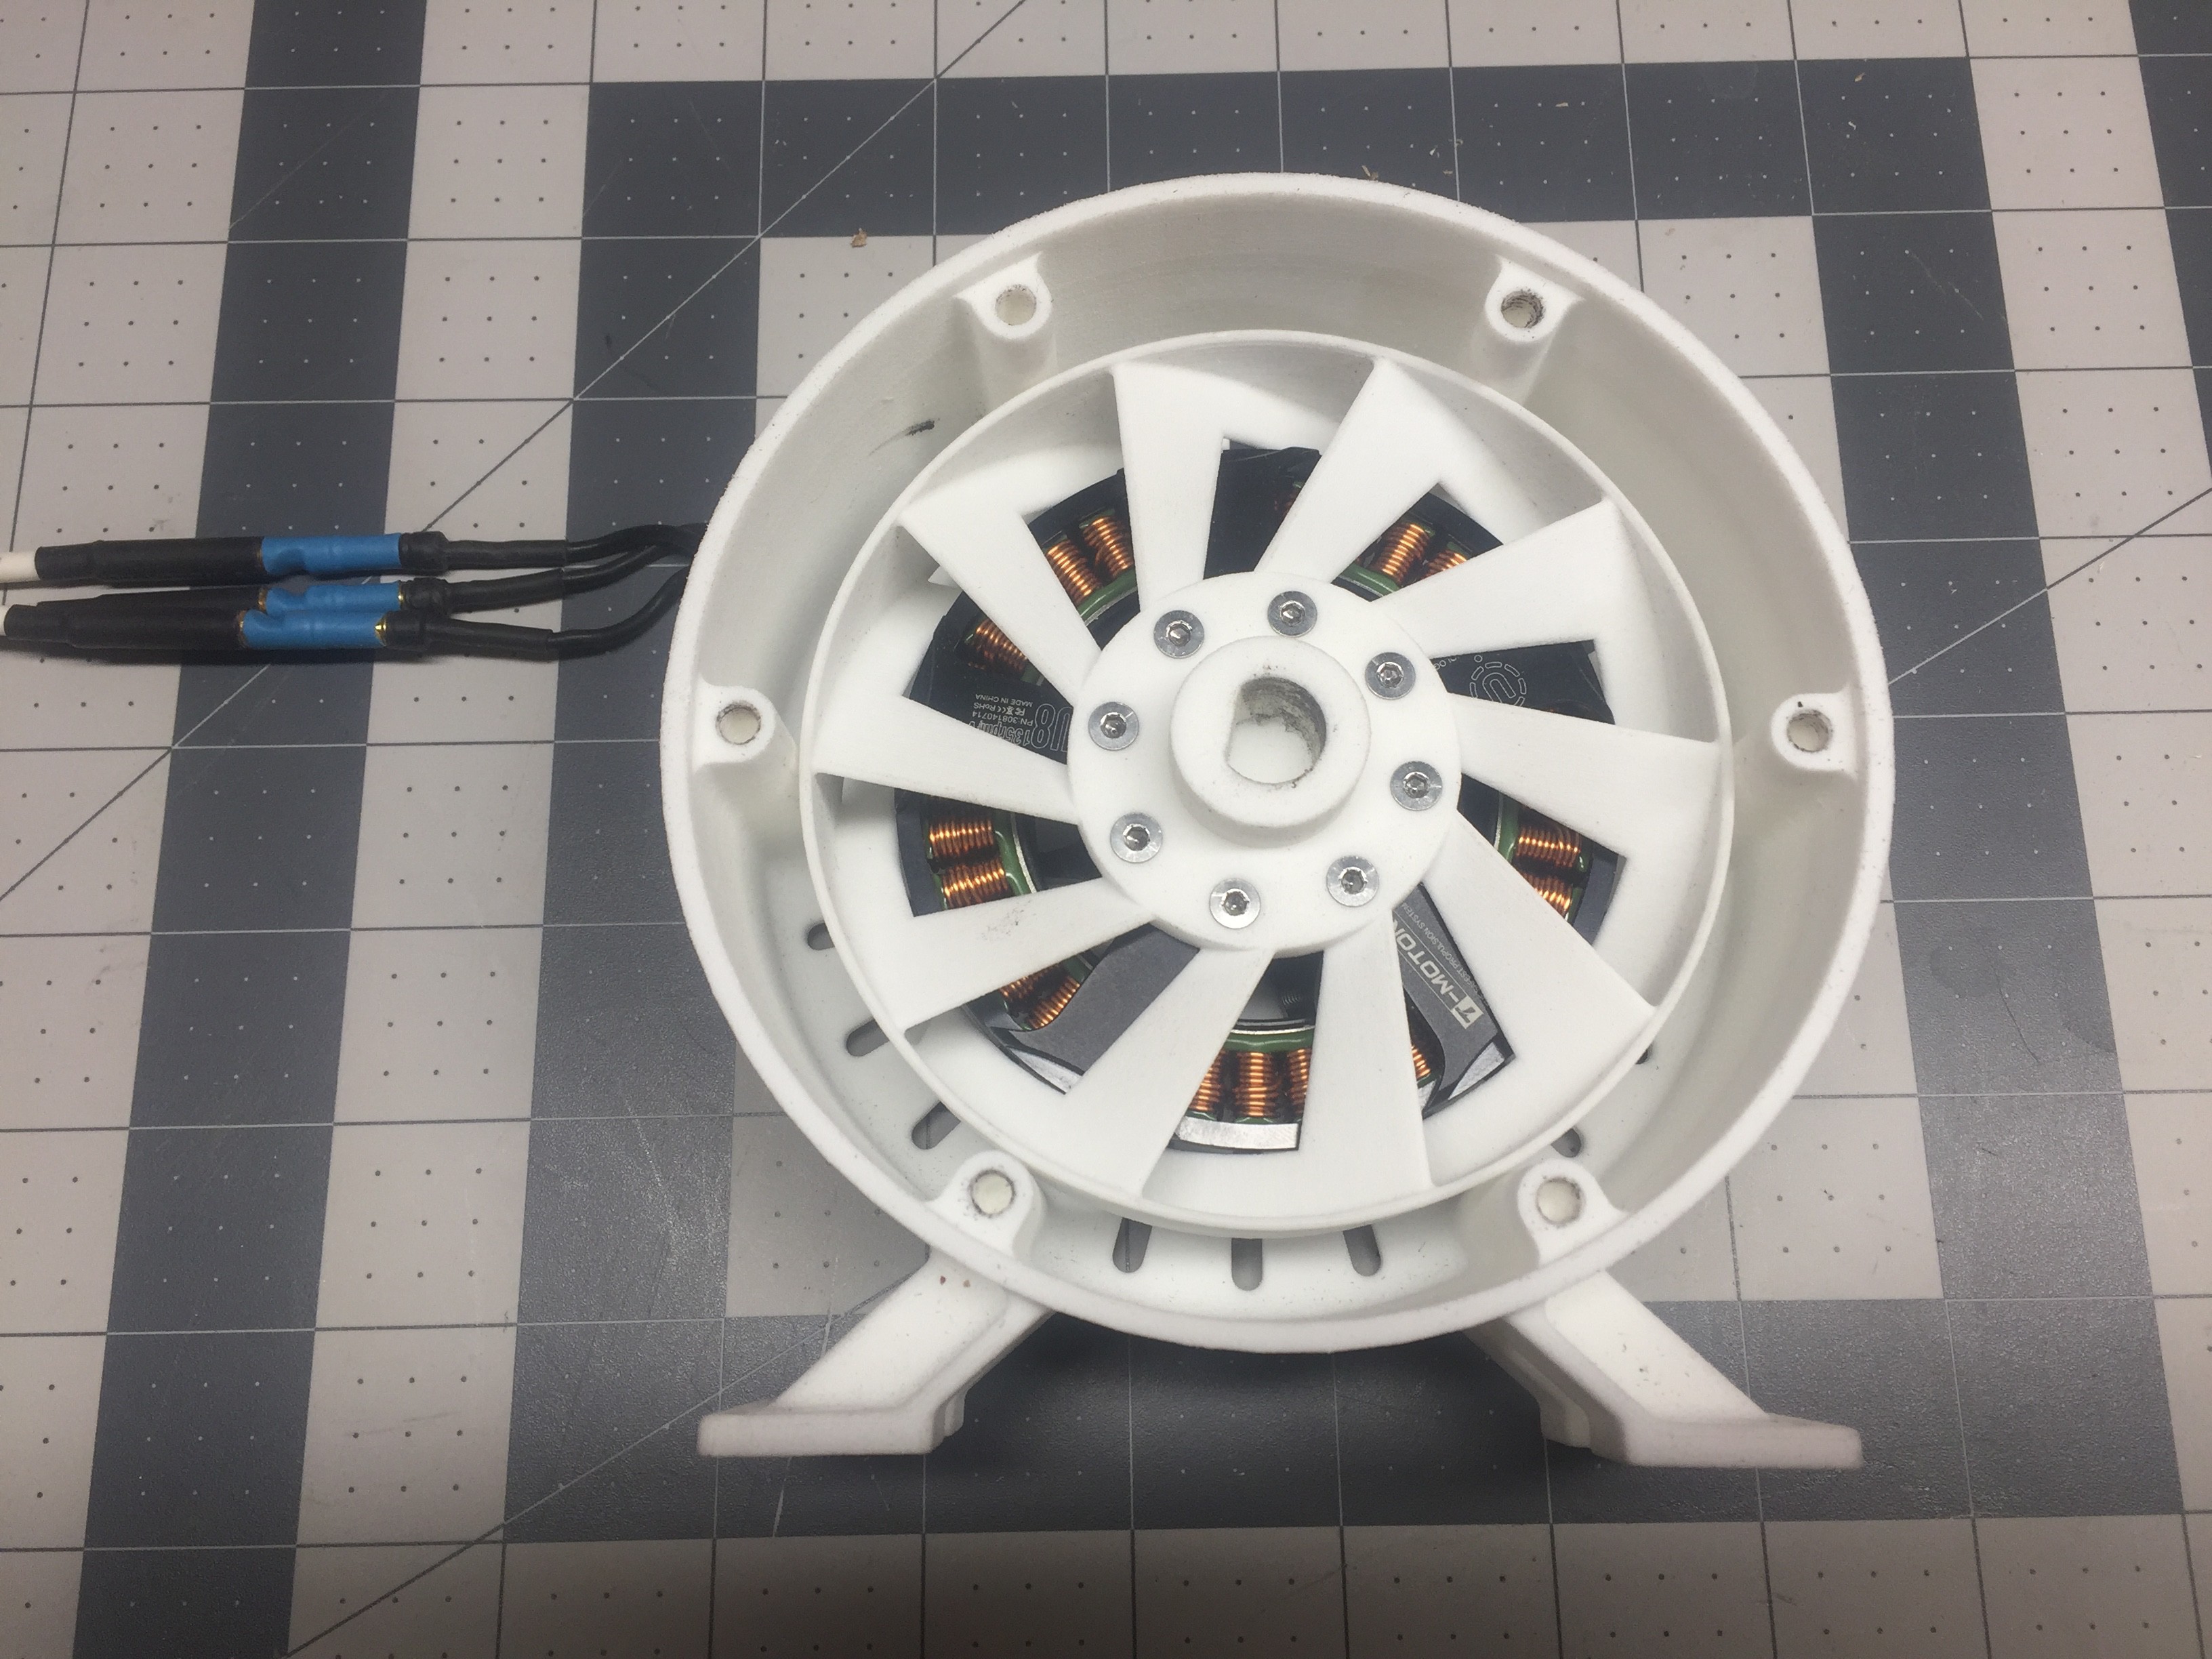
I did forget to design in a designated cable exit and bend relieve for the cables exiting the BLDC motor. No trouble a quick session with the dremel could't solve.
Additionally upon assembly it became apparent that the pump casing is very heavy and a support bracket should have been made to help reduce the strain on the main housing. Perfect job for the Makerbot here.
So I'll get on with the show!
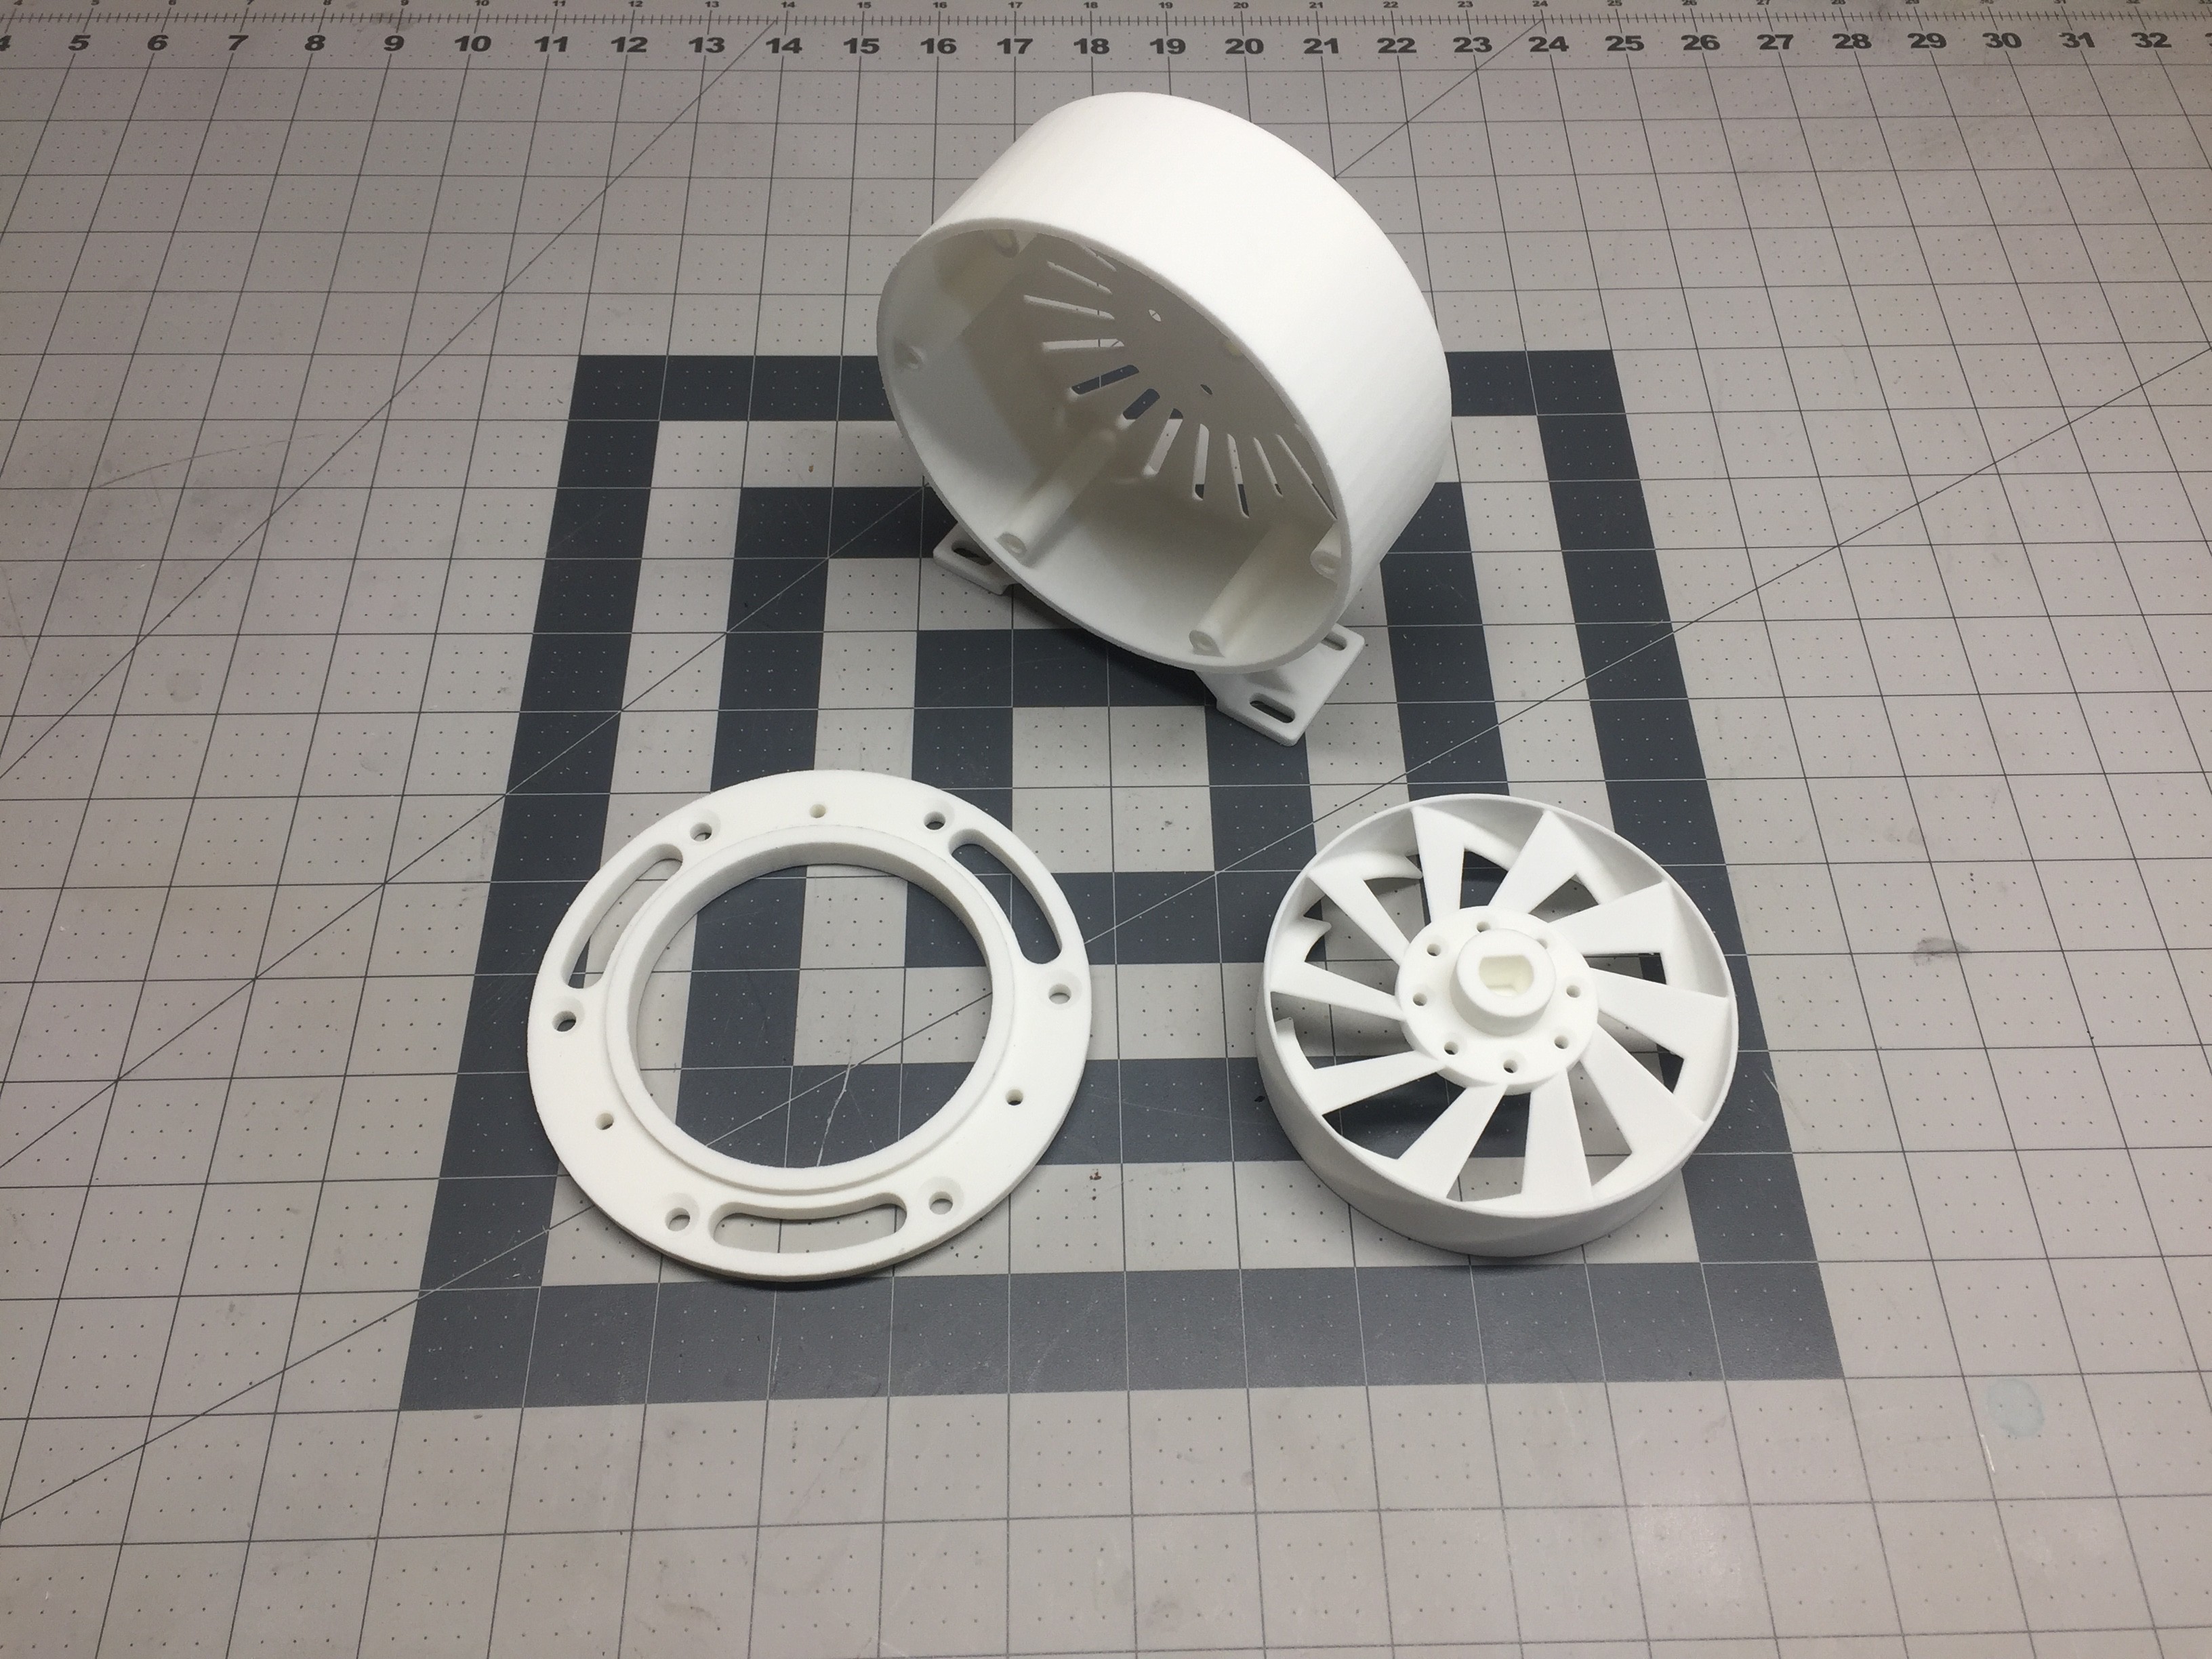
Here are the parts as designed. These are printed out of SLS nylon using Shapeways. I actually had a gift card though them and figured this project was worthy of being printed in nylon so why not! Overall I think the parts came to just over $100. Not bad and considering I had everything in inventory so I'm "under" budget compared to an off the shelf variable speed pump!
First, I installed the adapter flange onto the pump casing flange. This is done by tapping 3 M5 holes into the pre-sized openings in the print.
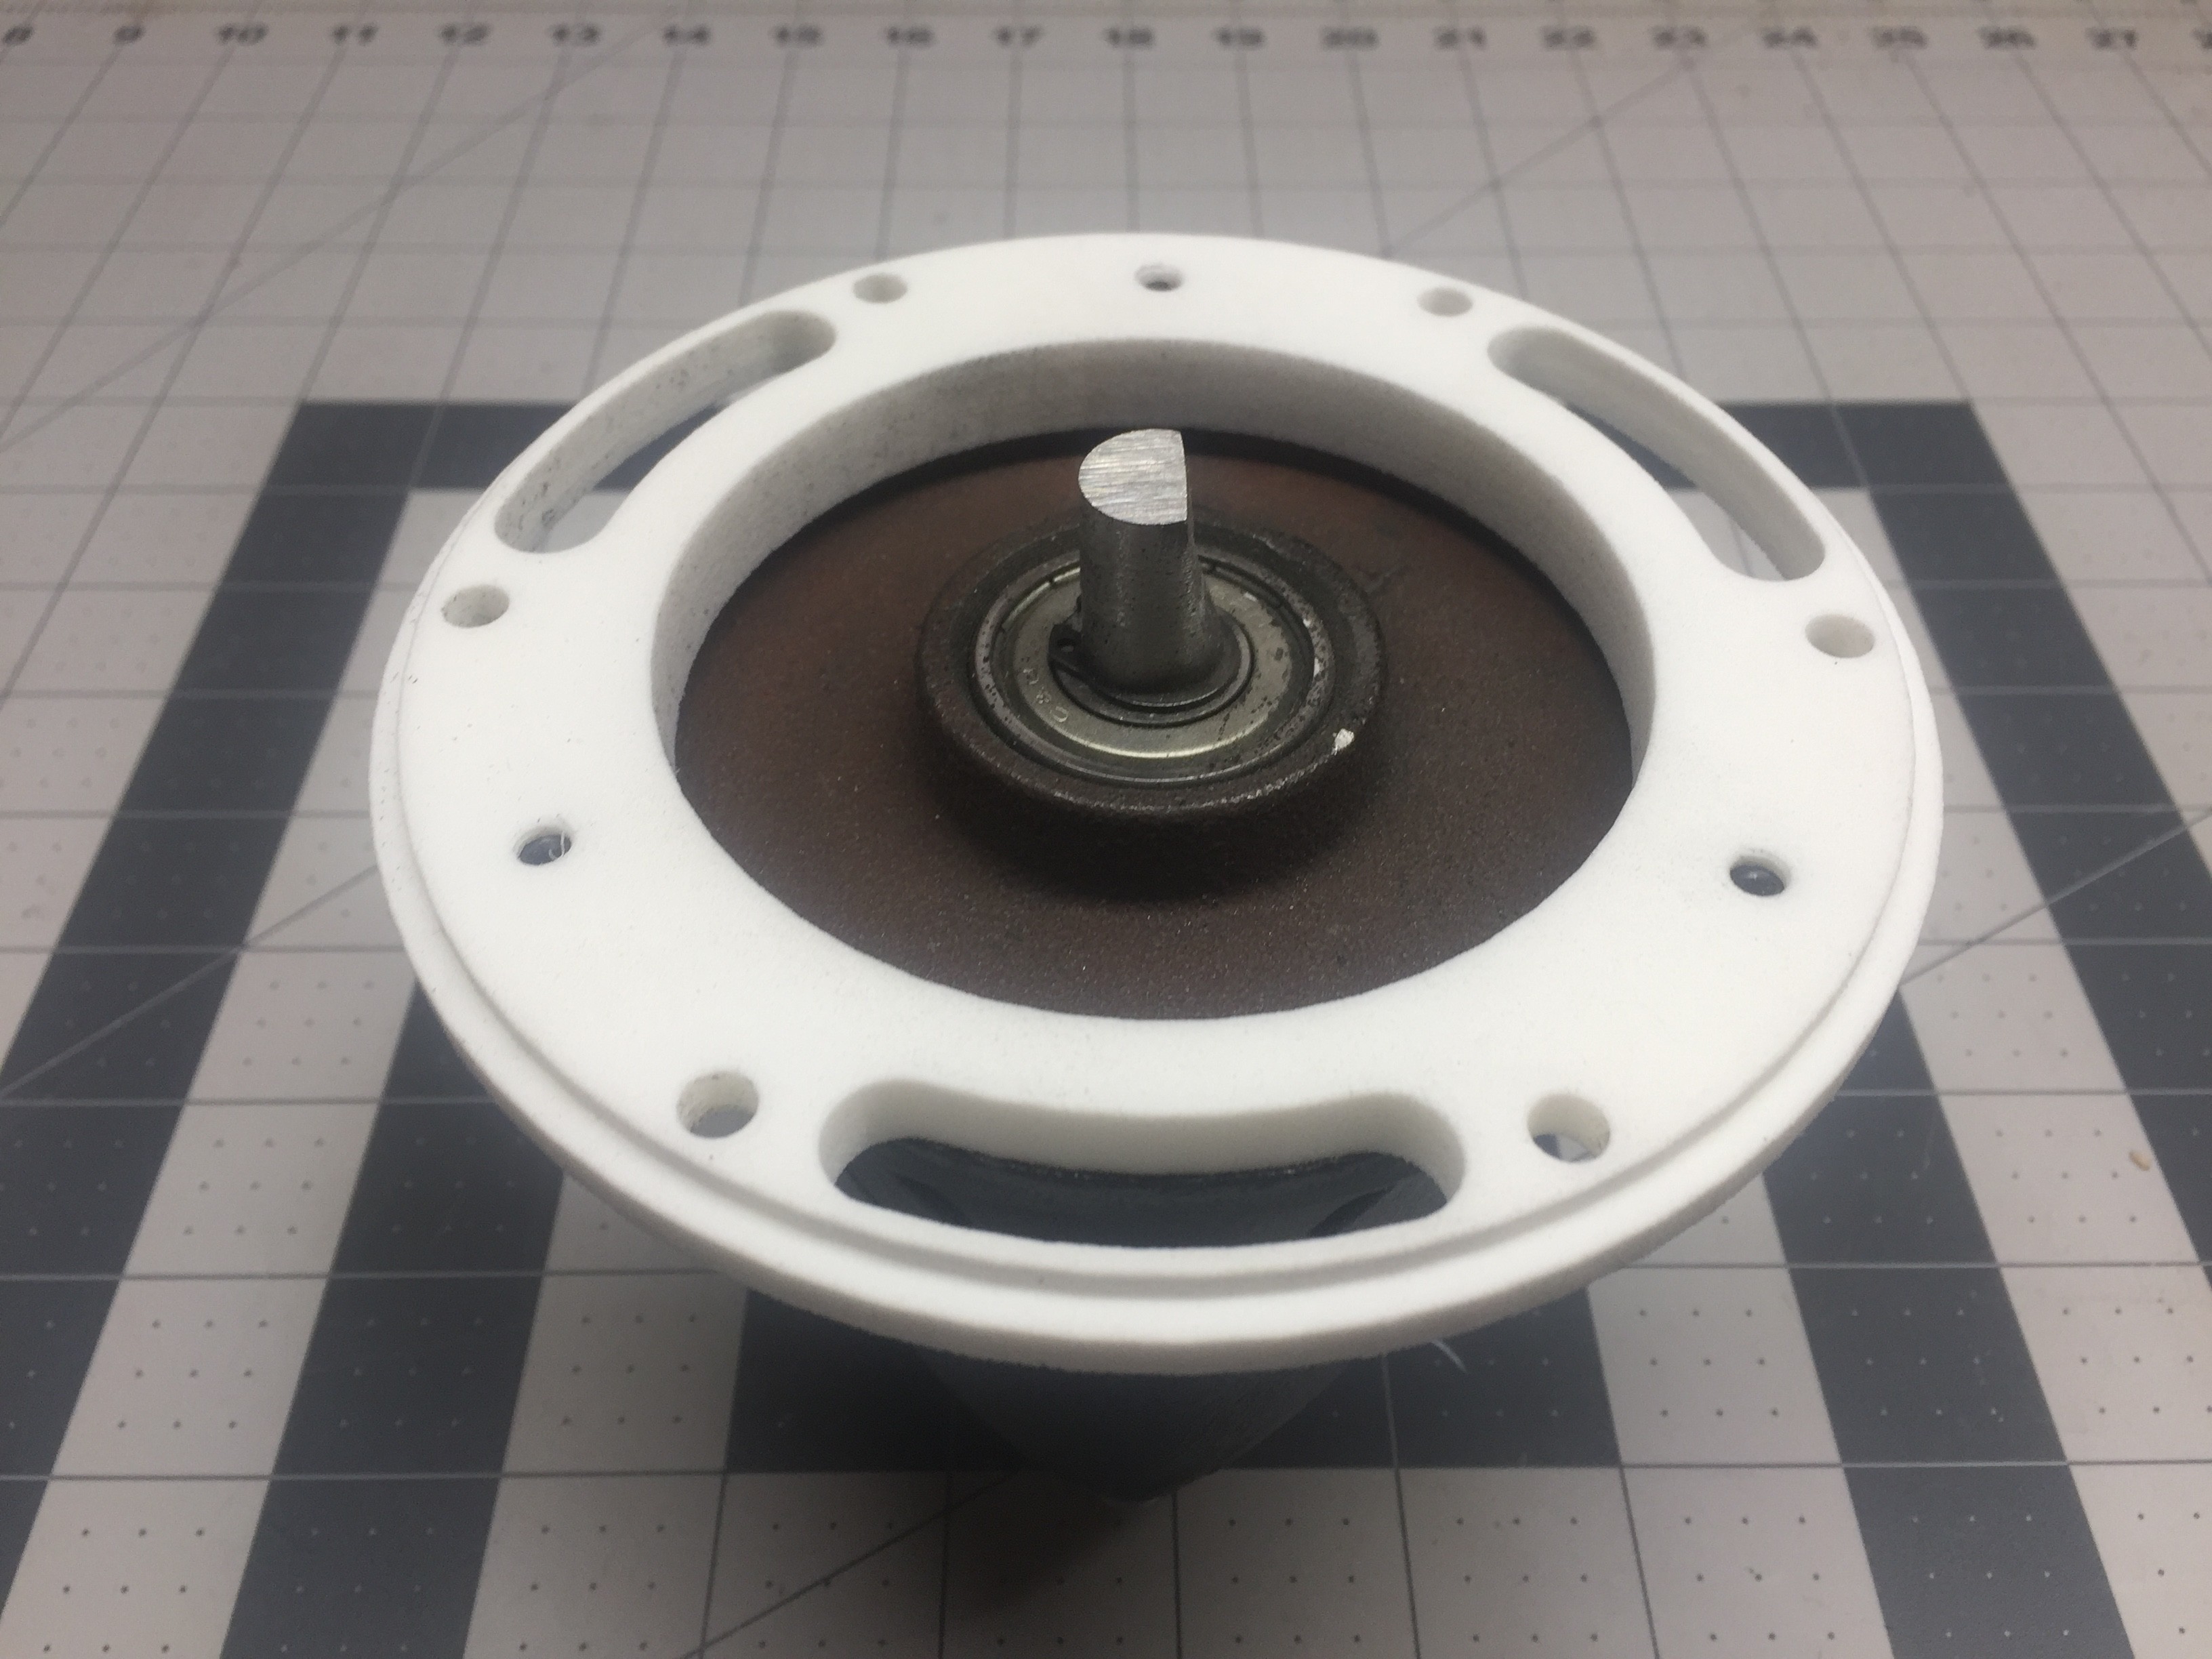
Next, I checked the fit of the coupler and the motor. - Perfect! Now its as simple as installing the 8 M3 flat head fasteners!
Now its time to install the motor into the housing. 4 M4 fasteners into the back of the BLDC motor and its almost complete!
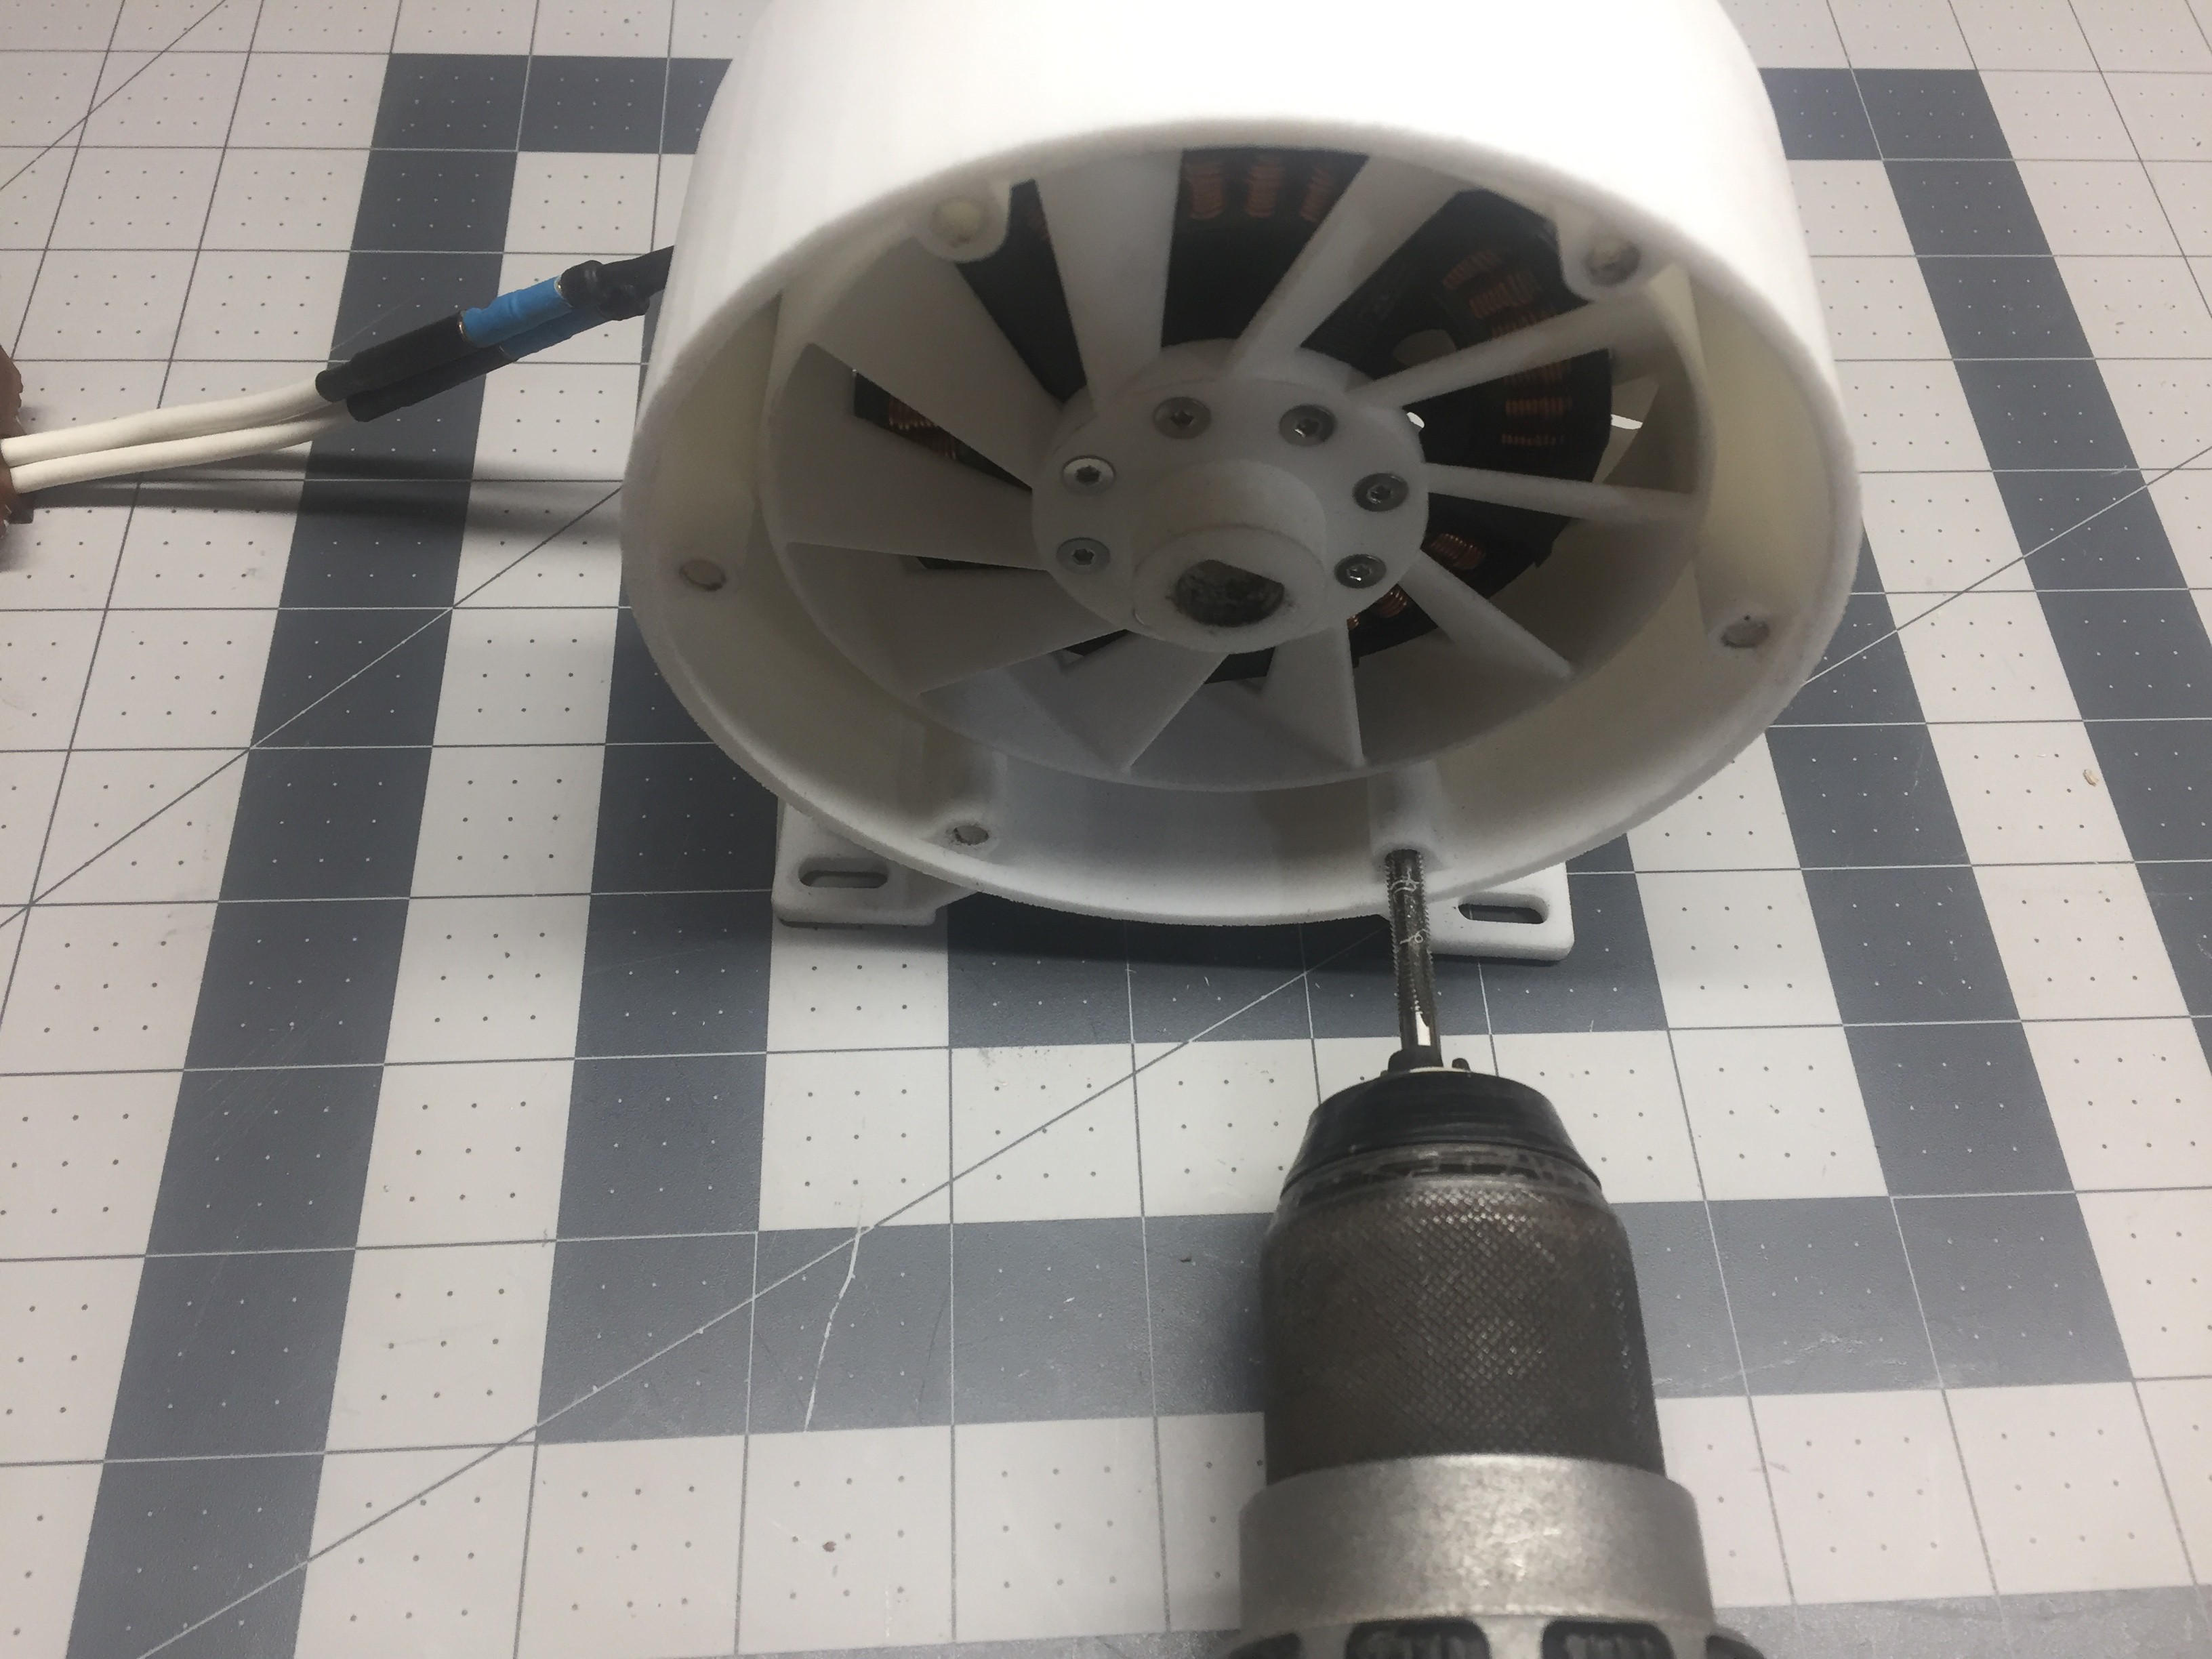
Tapping the main housing is easy with a drill.
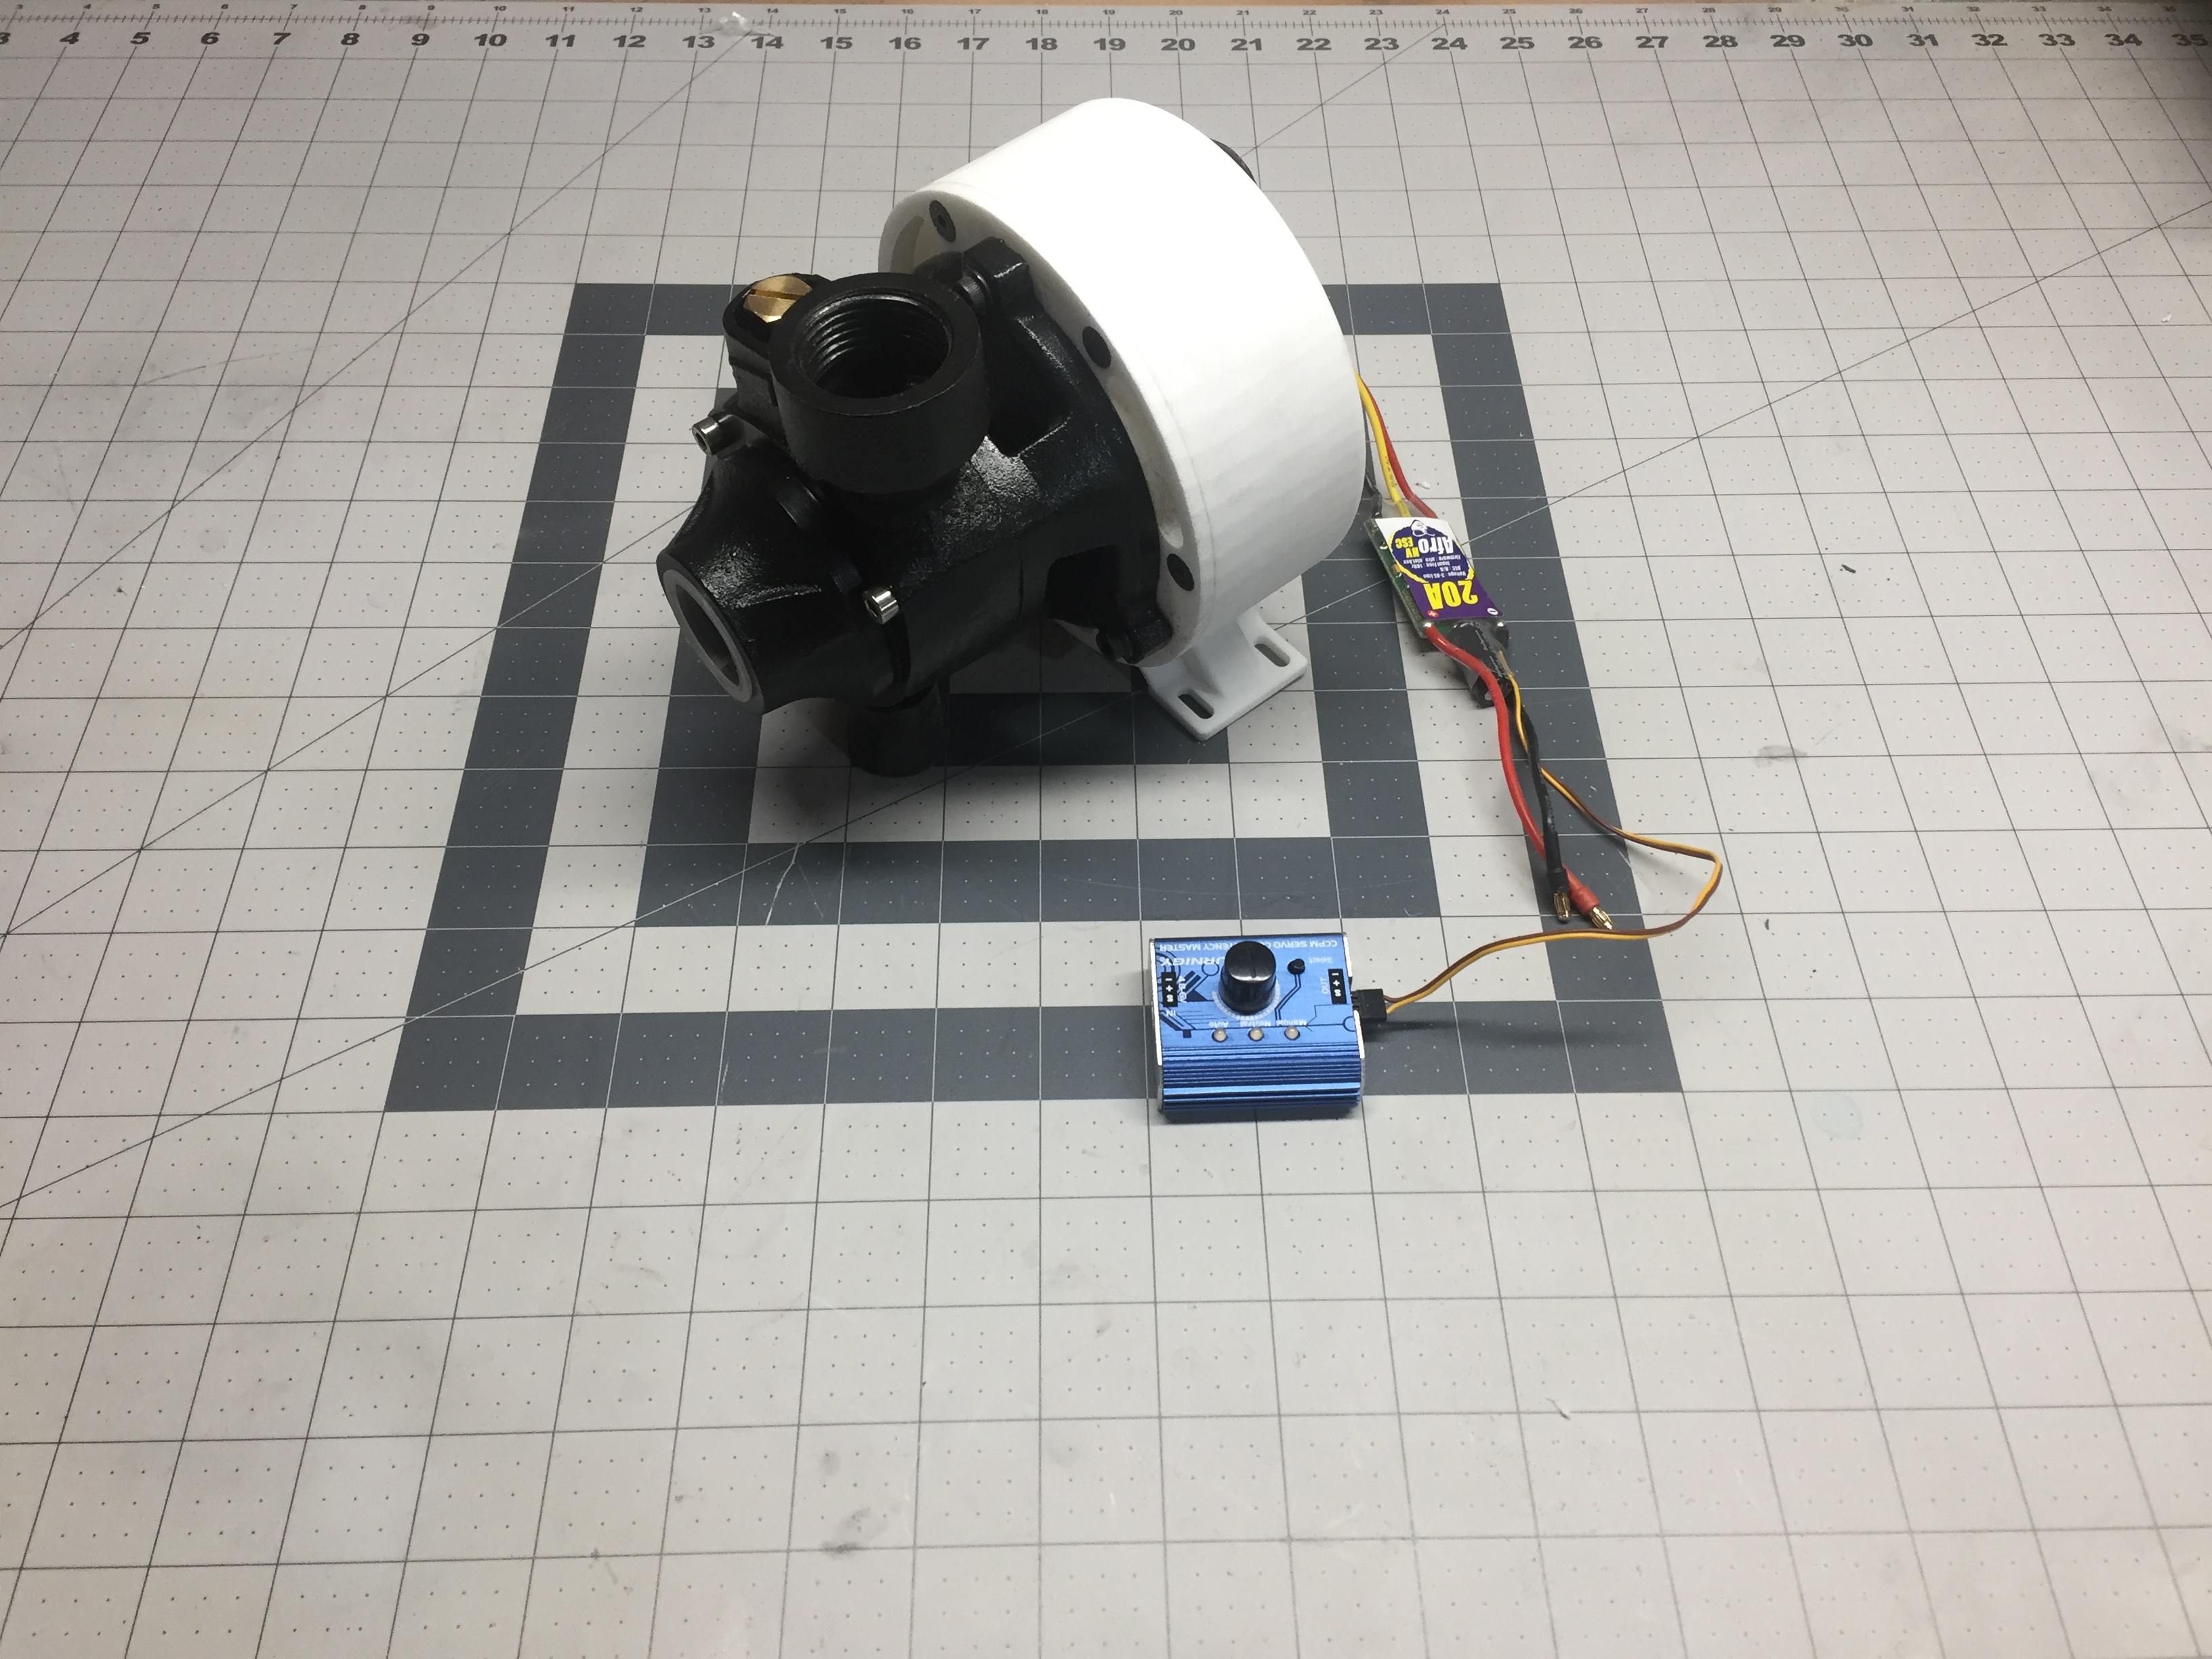
Now, thats it! Franken pump is assembled and ready to test!
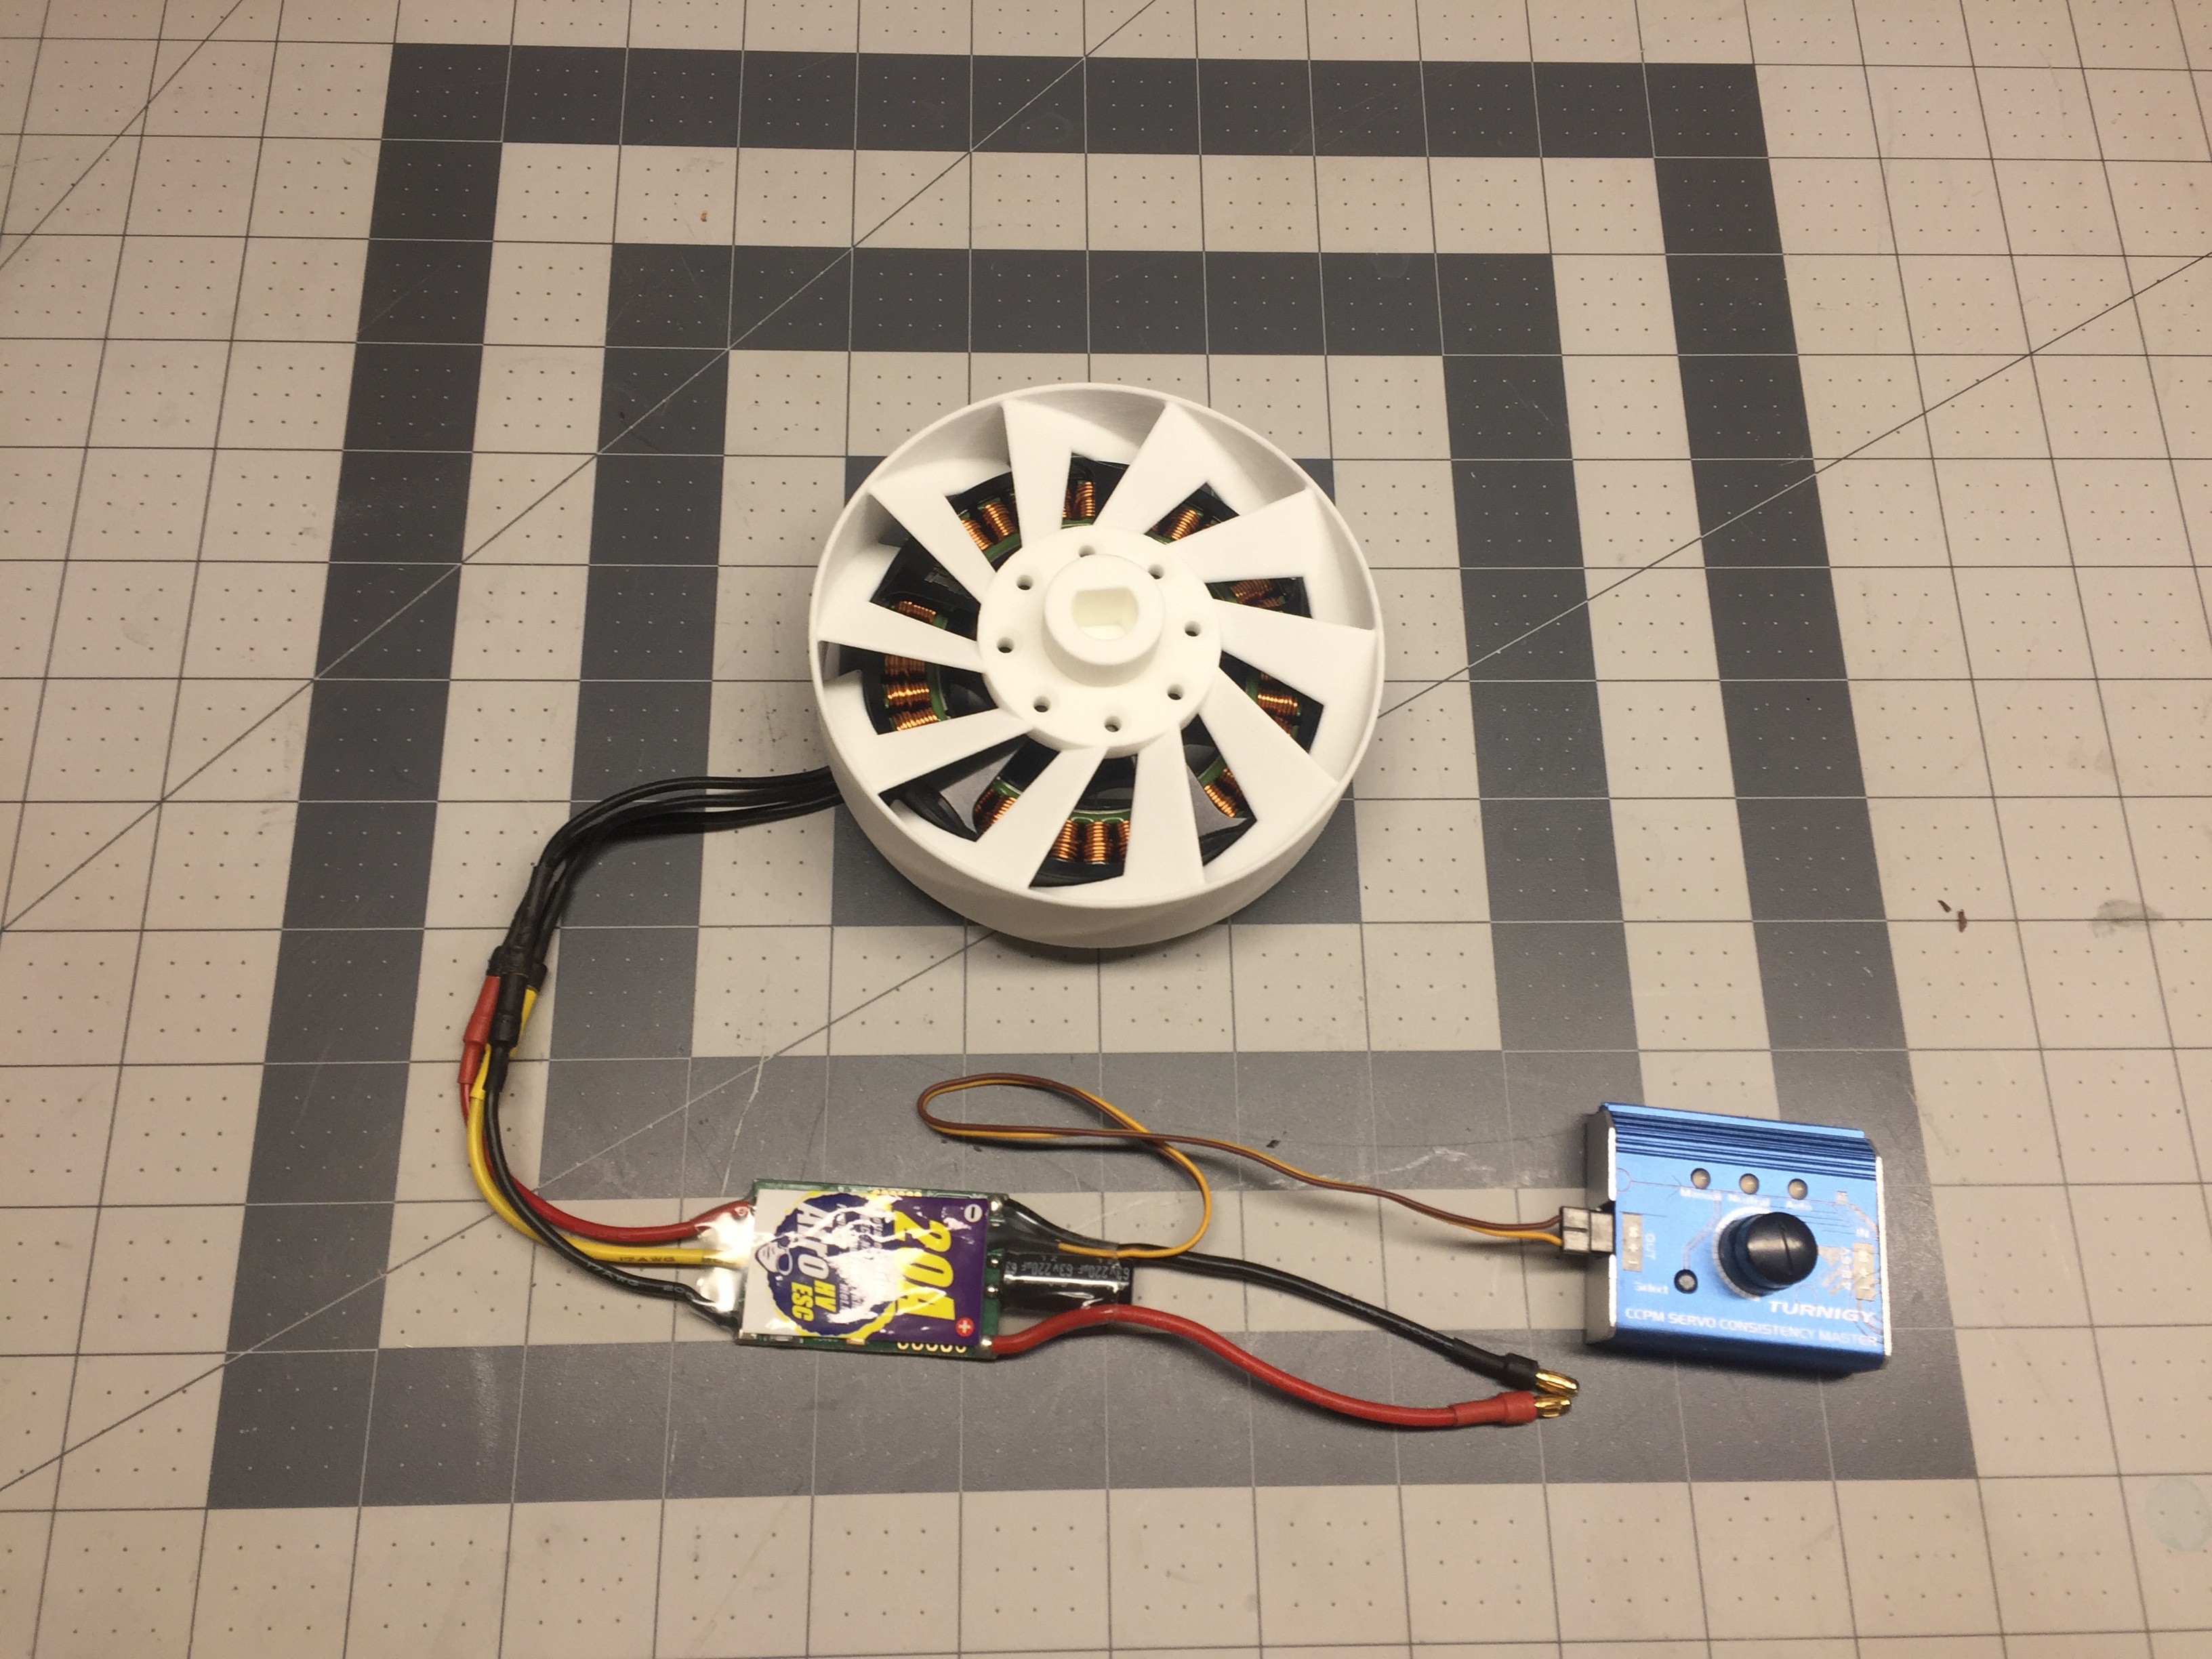
Below is a sneak peak of the first run.
I switched out the ESC controller because the Afro one didn't have a UBEC to power the PWM dial.
Franken pump runs very smooth. There are some minor vibrations but overall I think this project was a success!
Thank you everyone for following along! If you stick around for a bit longer my next update will show the pump in action and give some new performance metrics!
Stay tuned!
Discussions
Become a Hackaday.io Member
Create an account to leave a comment. Already have an account? Log In.