-
1Preparing the base
![]()
First, you will need to cut the aluminium plate. The exact size depends on the motors - they need to fit in a way that will allow to connect the wires.
-
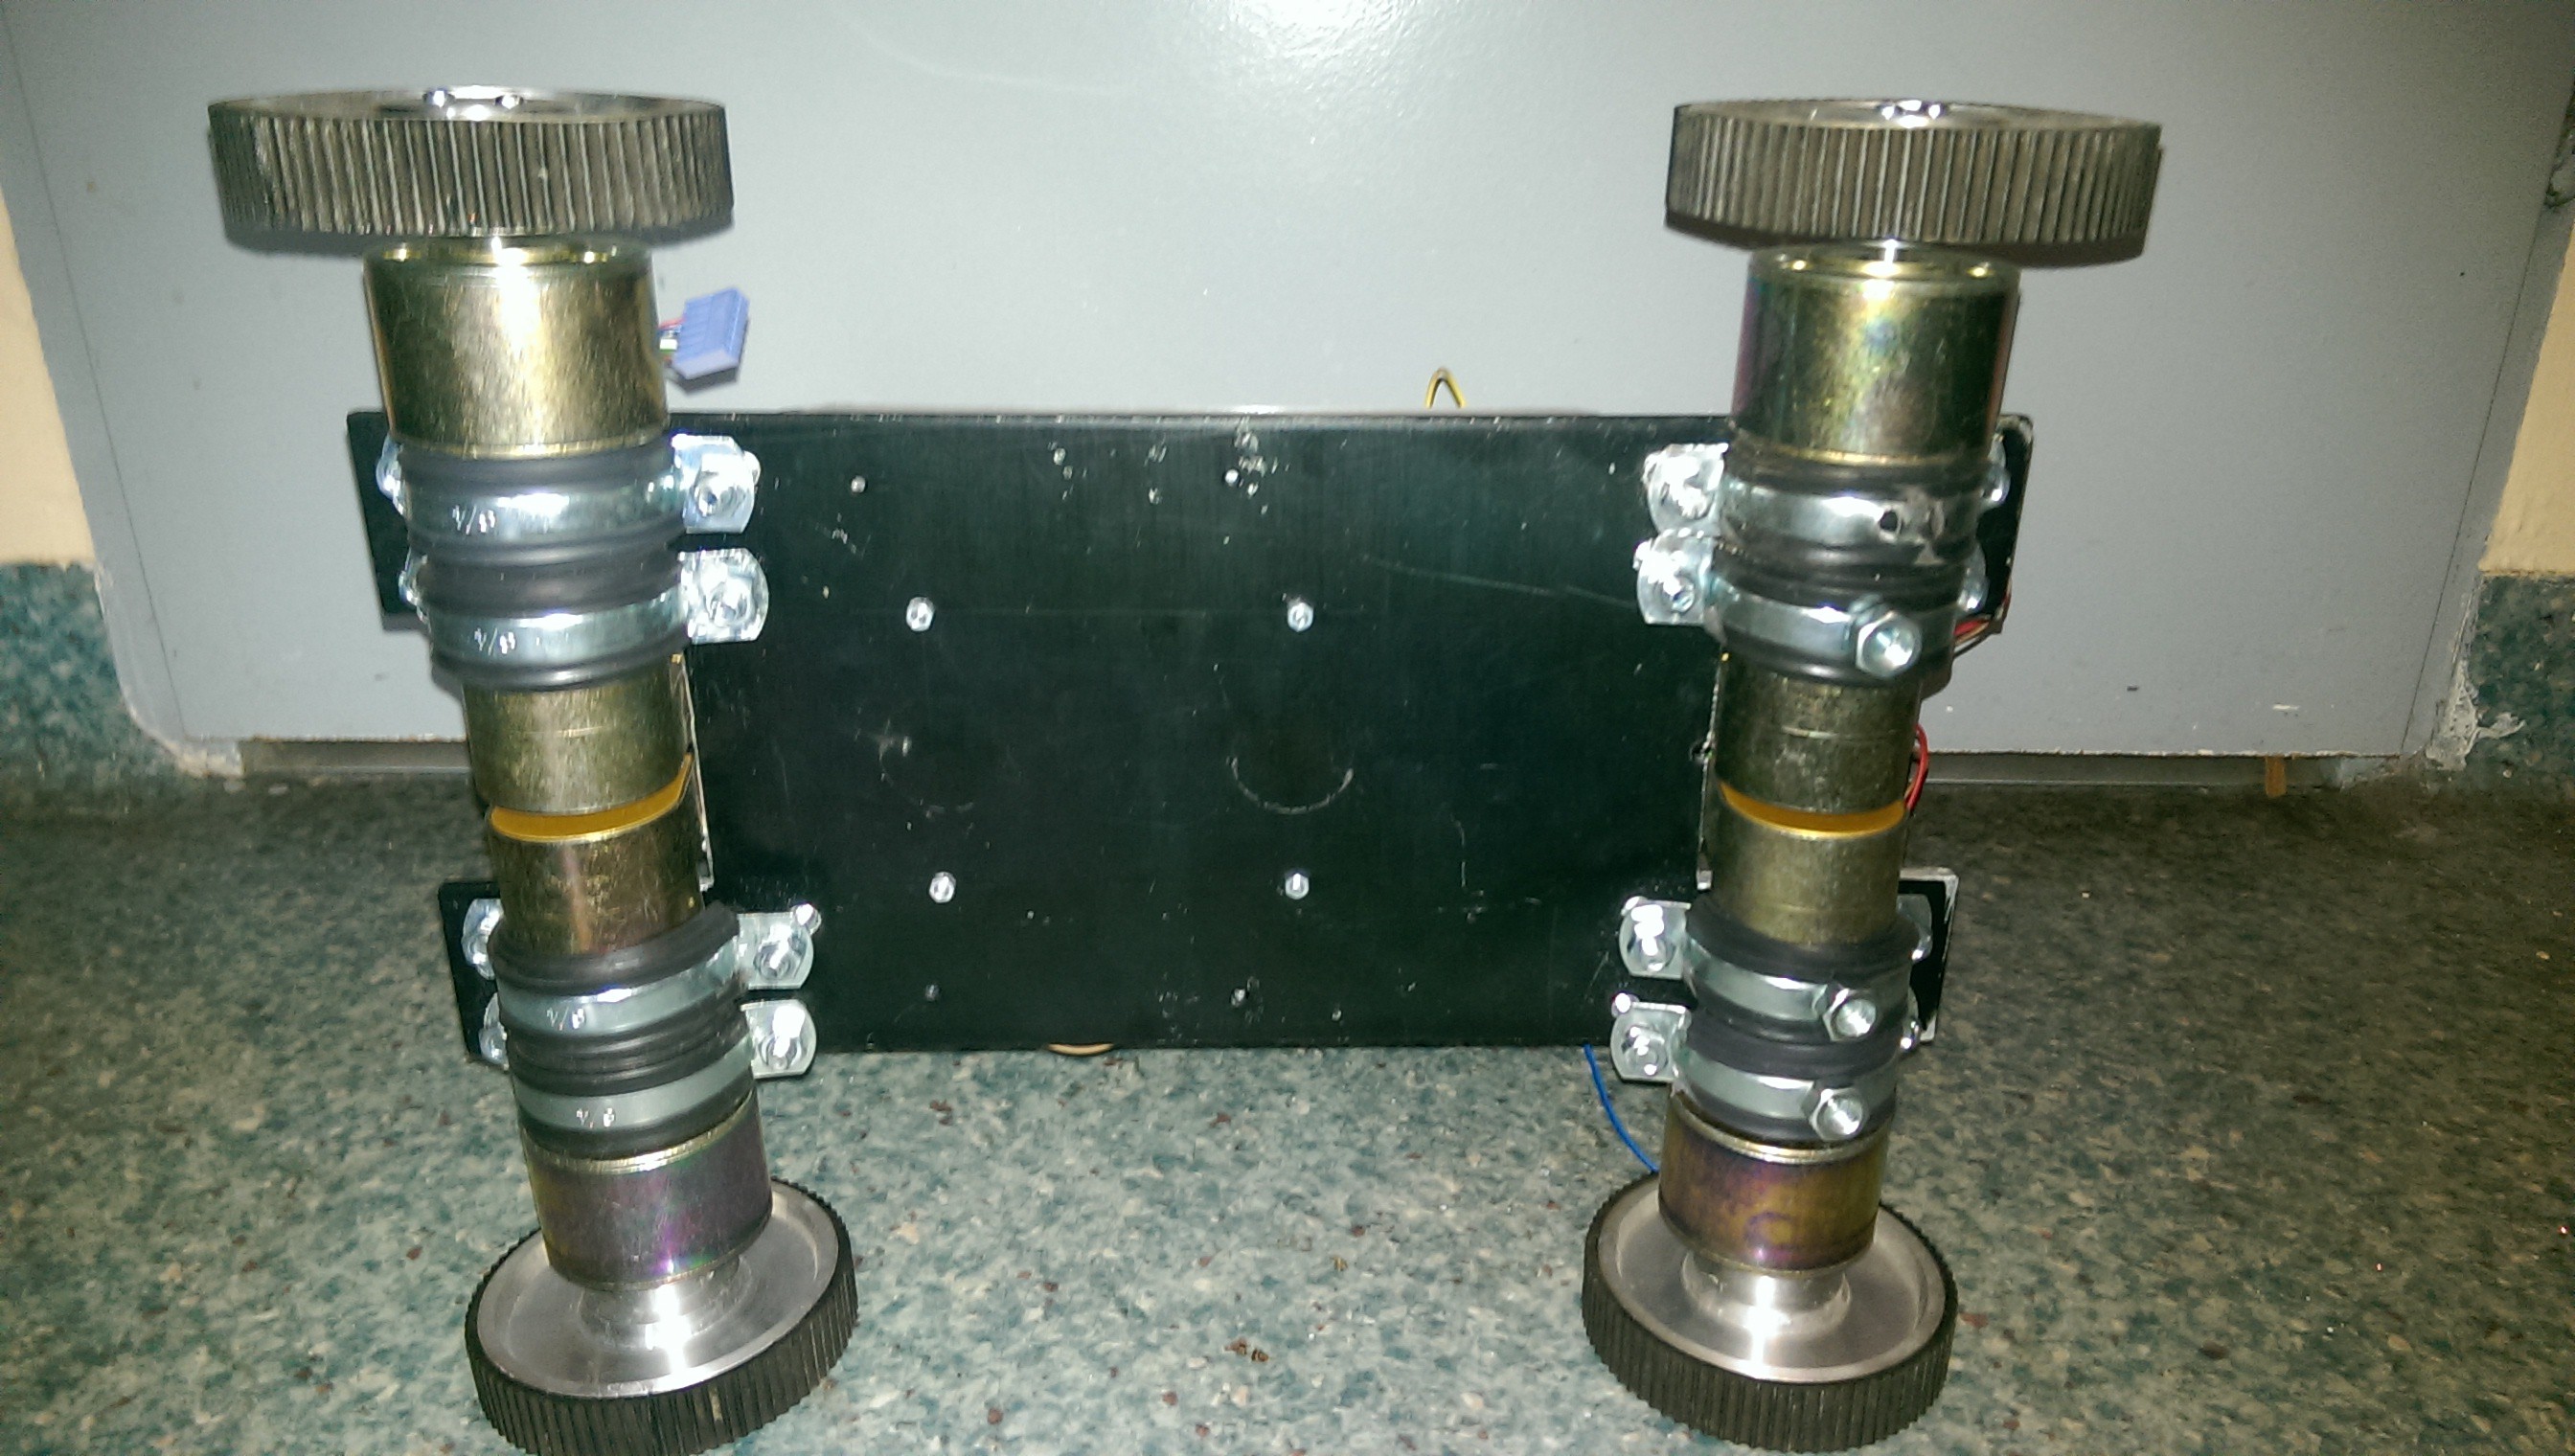
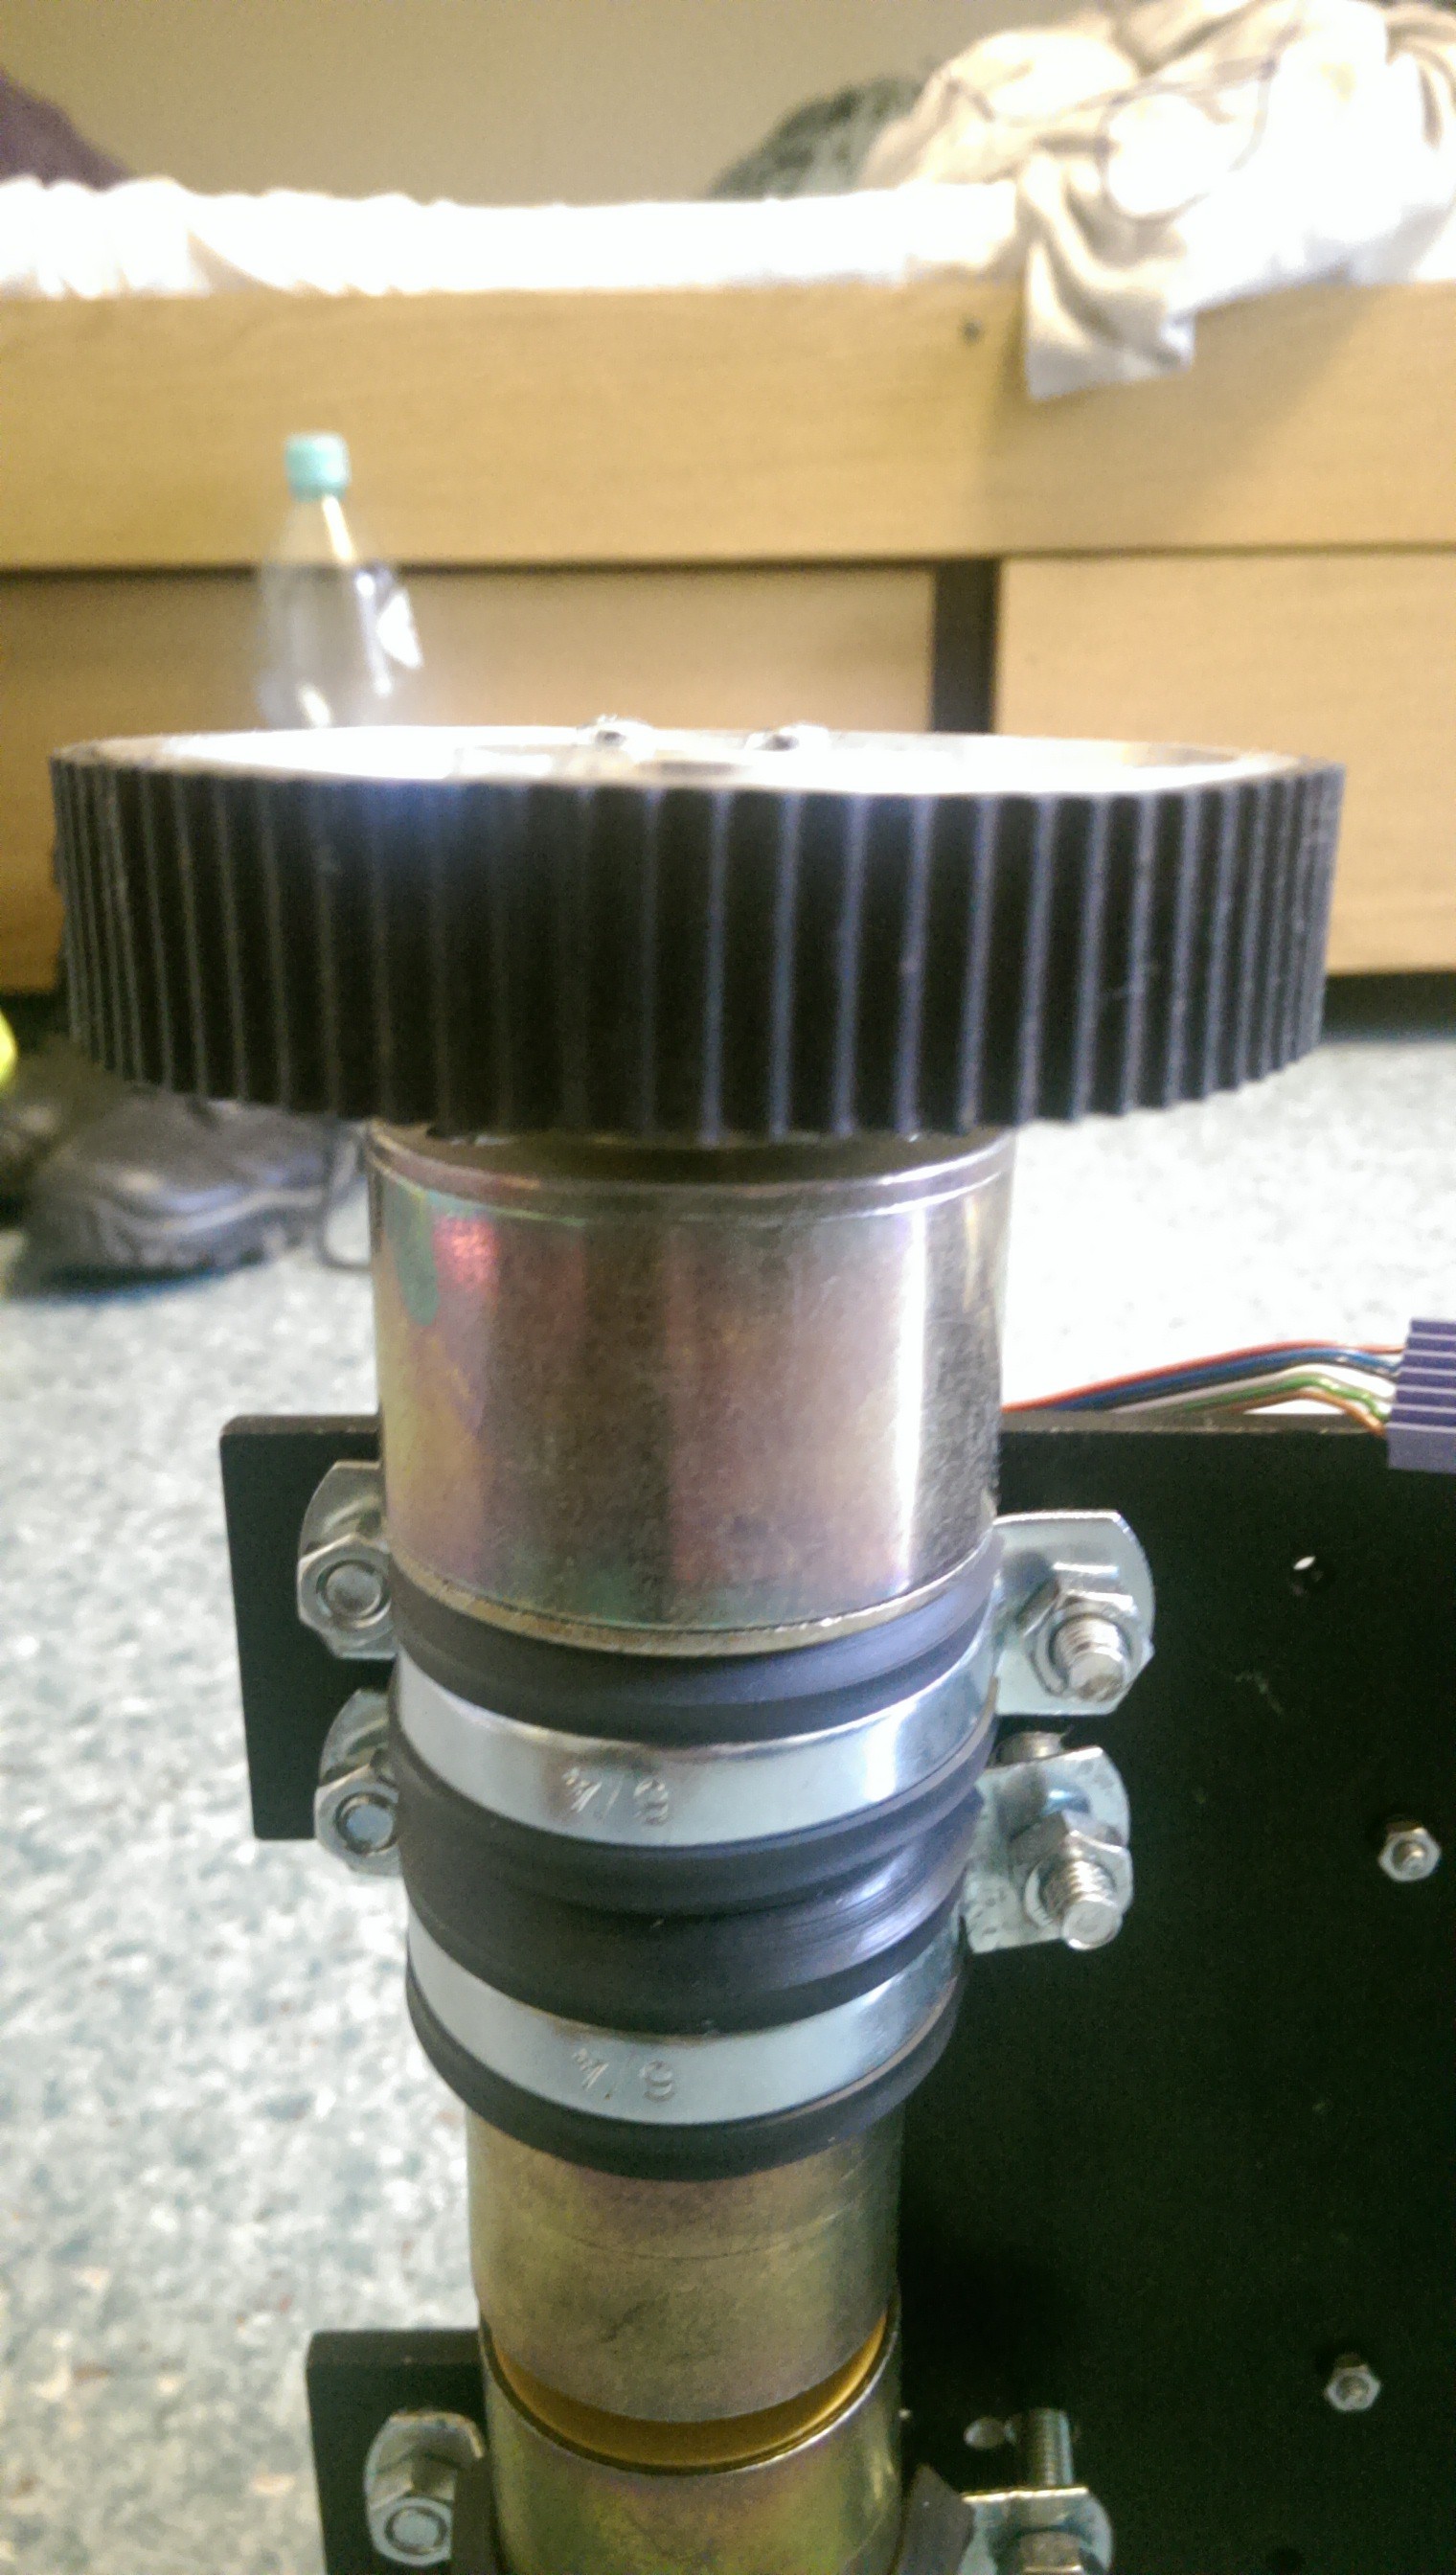
2Adding the motors
![]()
The motors need to be attached at the bottom of a robot in a way, that will block them from moving or rotating. In this case it was done by screwing them to the base with some pipe holders. -
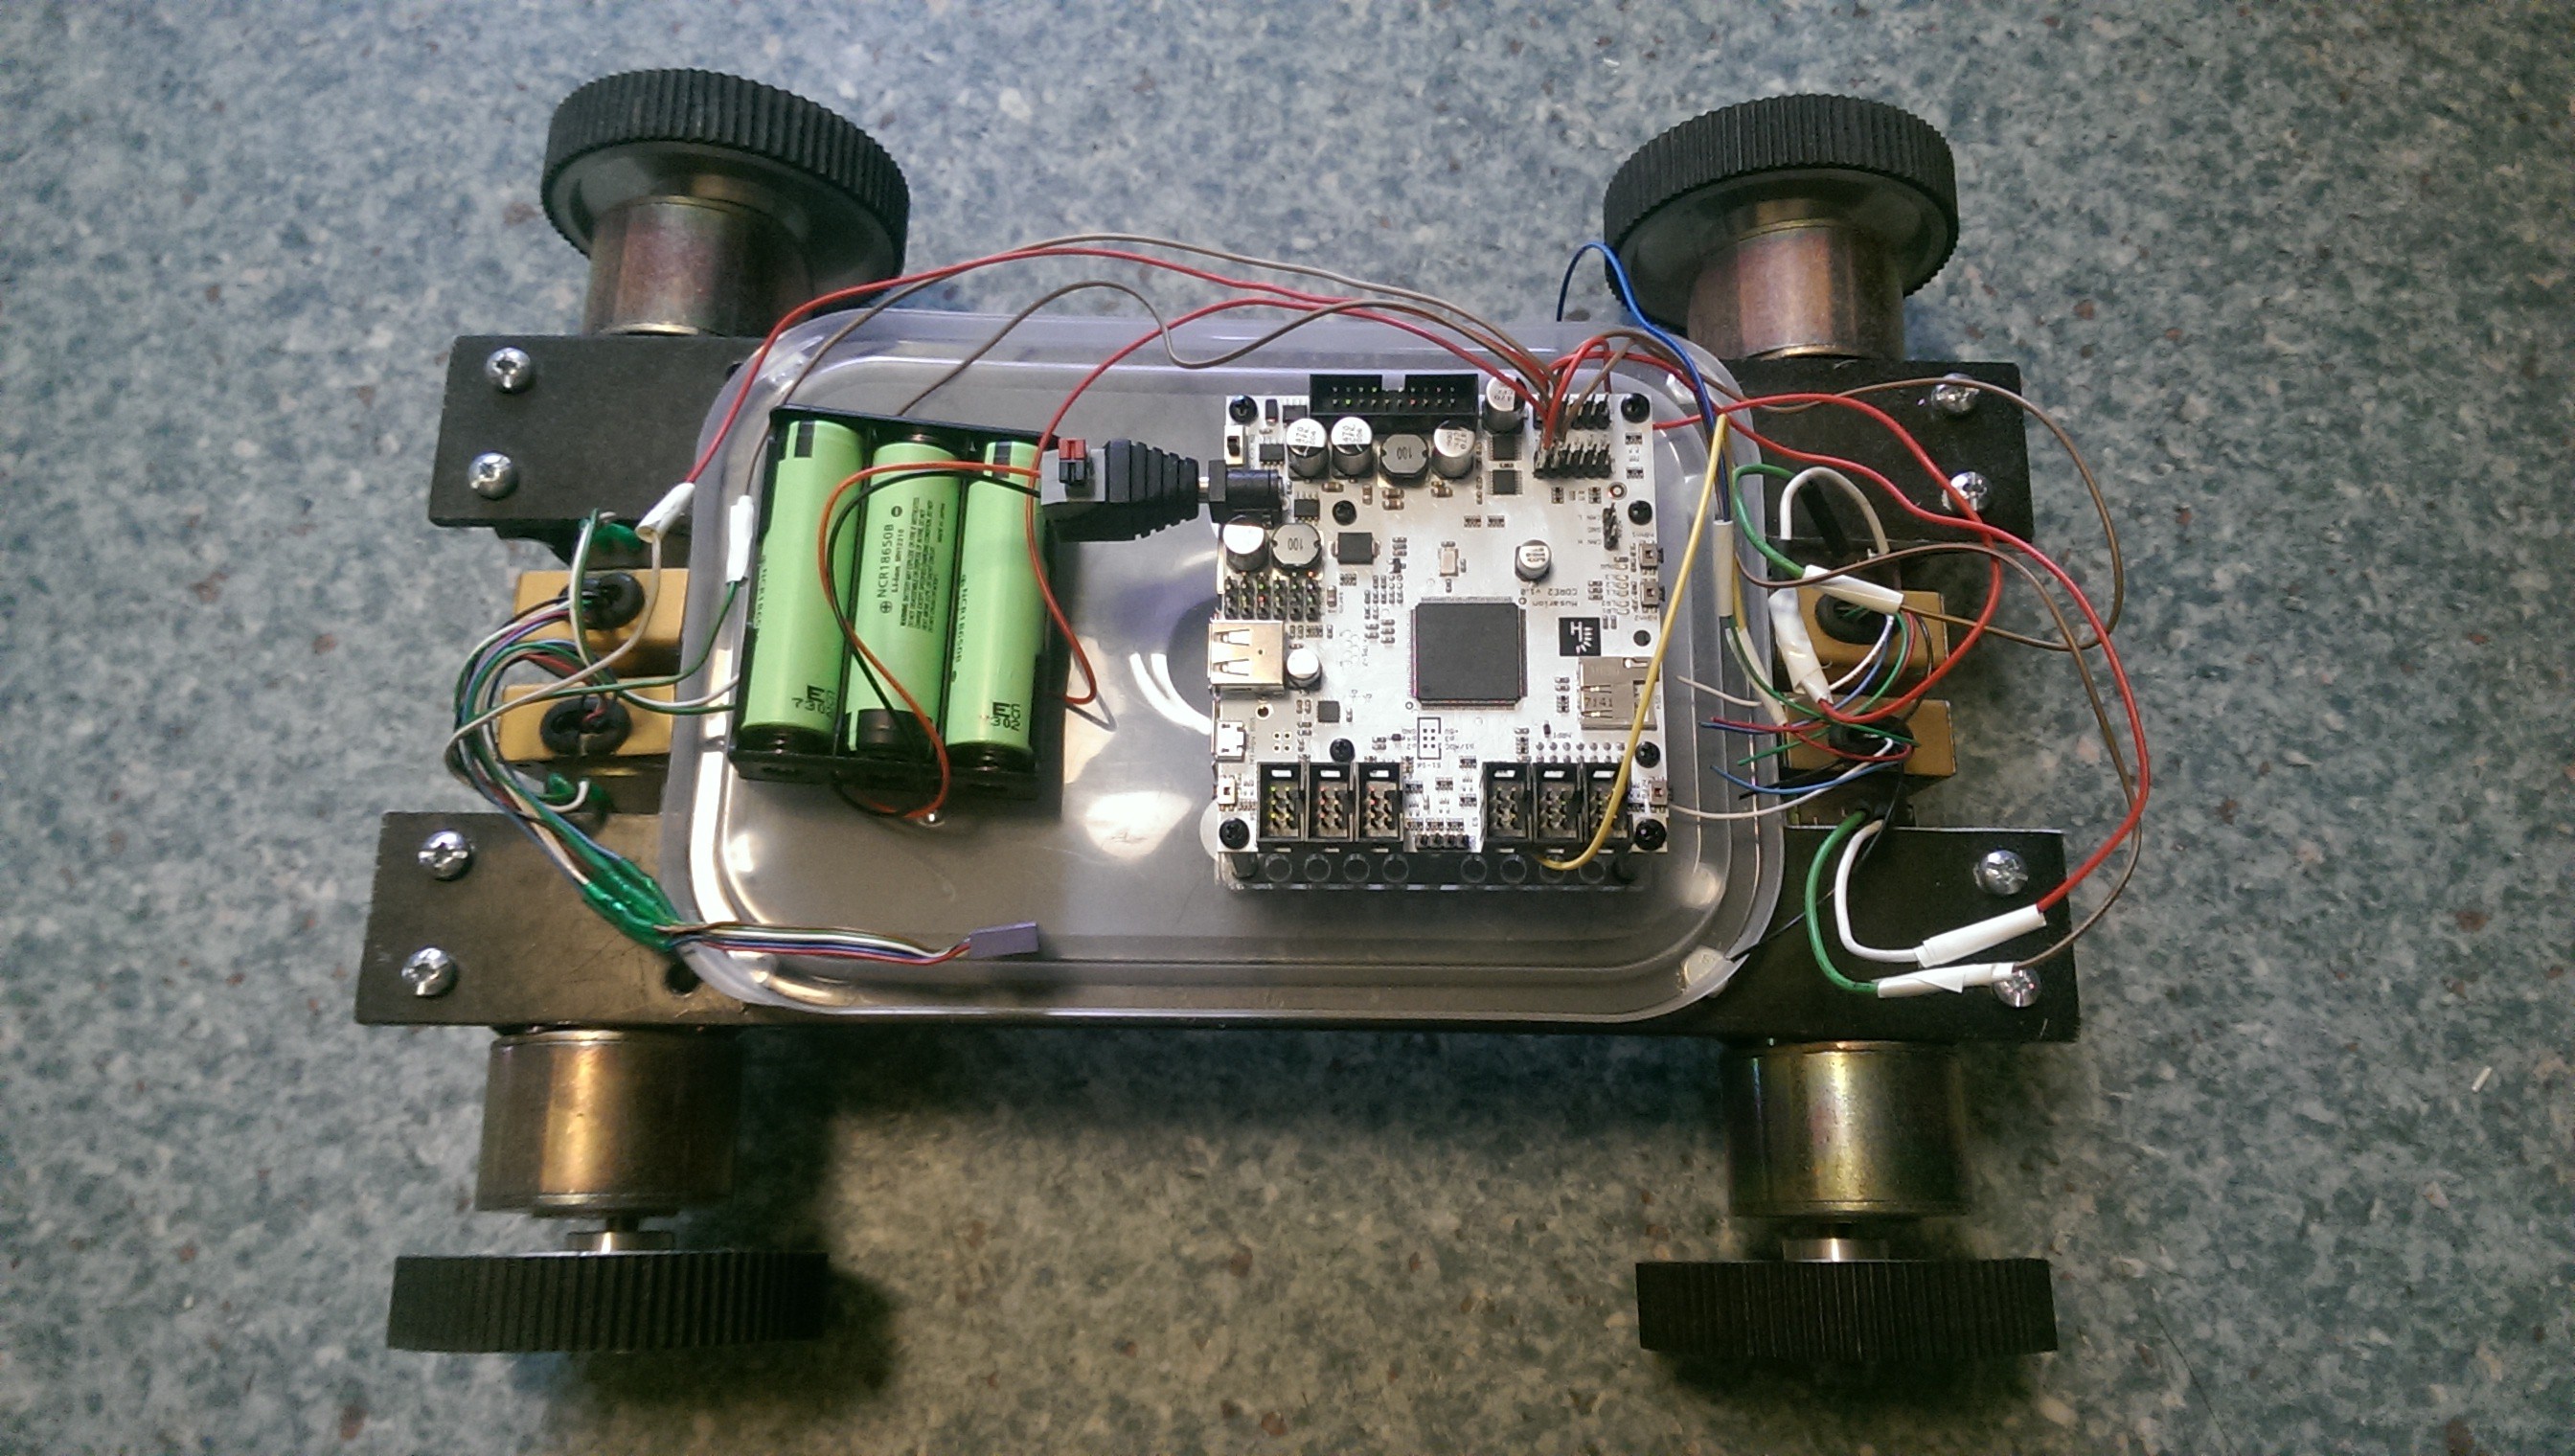
3Setting the control unit
![]()
Now you want to flip the robot back up. If your cover has two parts, you may want to attach one now like in this case. Next, screw / tape / glue the CORE2 and batteries to the robot. -
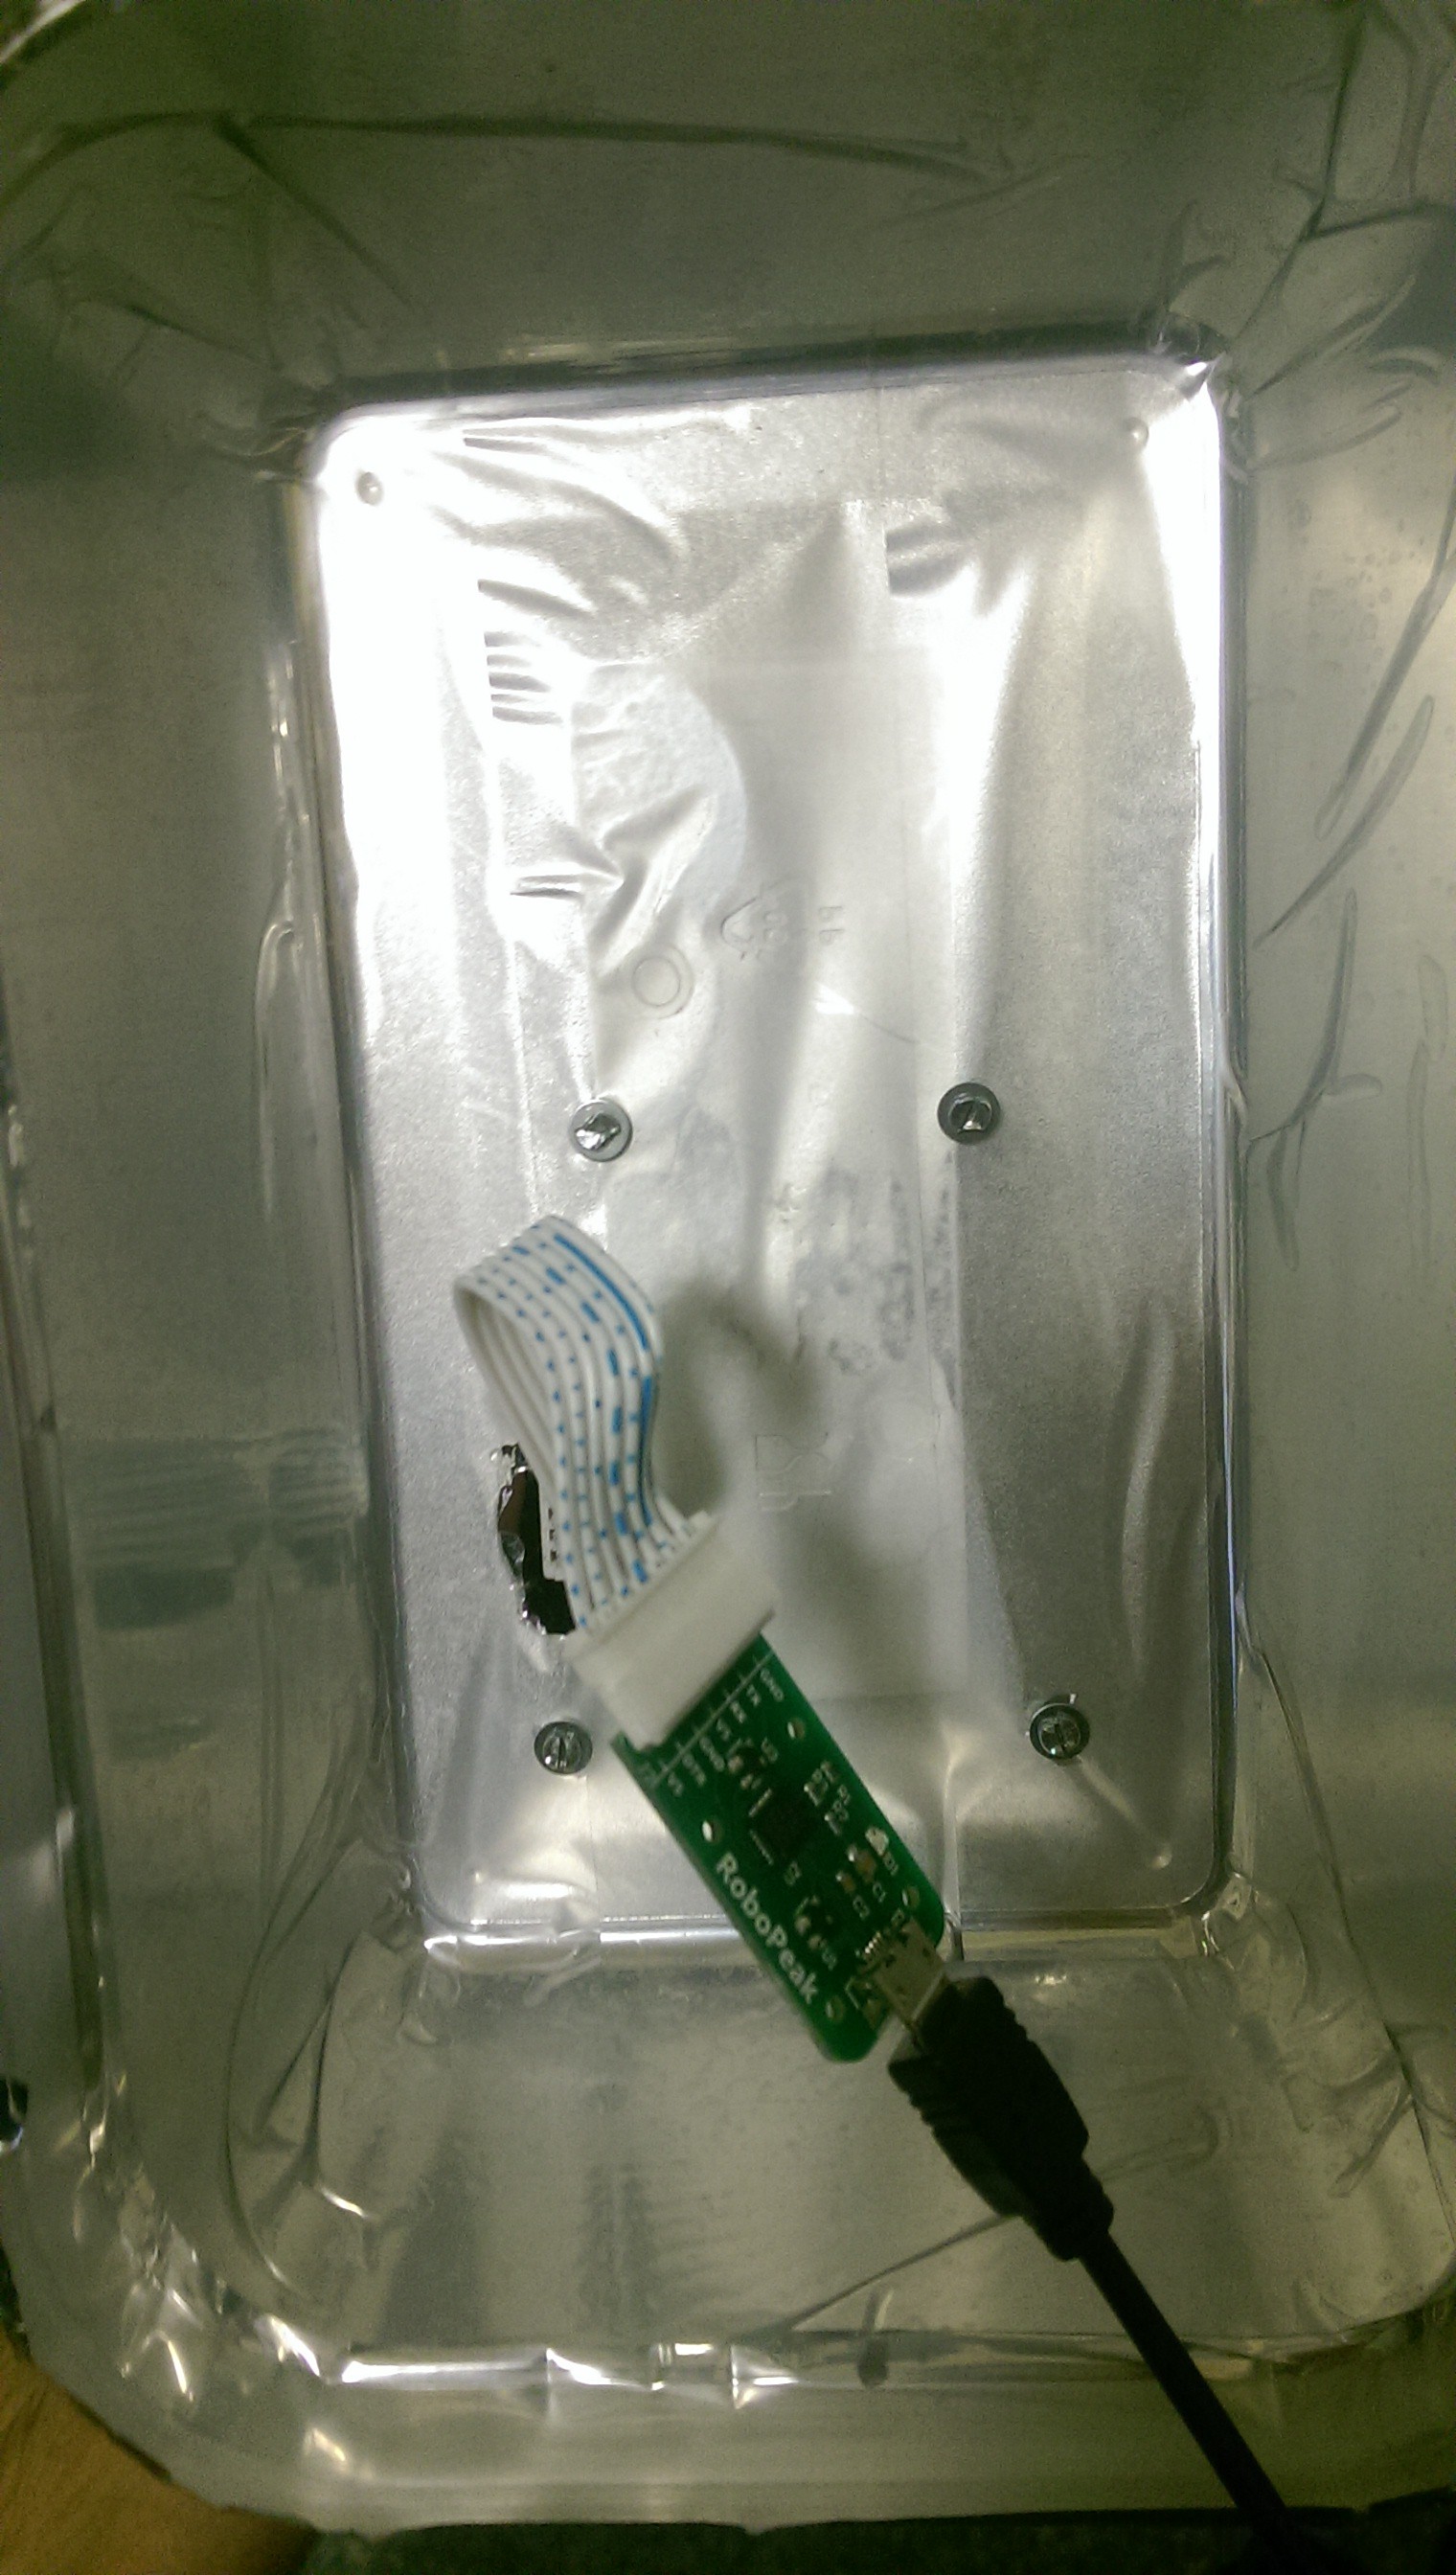
4Adding the lidar
![]()
![]()
Now we will be attaching the lidar. Make sure it is on the top of the robot. Doesn't really need to be in the middle due to the used software. I've screwed it to the top of the cover and drilled a hole in it for the wires.
-
5The USB camera
Simply attach the USB camera to the front of the robot. I used tape.
-
6Set up the software
You will need to connect to your CORE2. The detailed instruction is aviable at husarion.com. You will need to download hConfig to your mobile device and follow the instructions.
---------- more ----------https://husarion.com/core2/tutorials/ros-tutorials/1-ros-introduction/ -
7Find the IP
If the CORE2 was registered succesfully, it should appear on the list at cloud.husarion.com. Click "Edit", then "More" and you should find the IP address we need to connect to the robot.
-
8Connect to the RPi
You will need to have your PC connected to the same LAN network as your CORE2. Launch a program like Remote Desktop (may differ for diffrent systems) and connect to the IP you got from the previous step. The login and password should be "husarion" if they weren't changed.
-
9Start ROS
Open the terminal and type "roscore". It will start ROS.
-
10Upload the code for CORE2
At cloud.husarion.com start a new project and paste the following:
#include "hFramework.h"
#include "hCloudClient.h"
#include <stdio.h>
#include <iostream>
#include <ros.h>
#include "std_msgs/String.h"
#include "geometry_msgs/Twist.h"

using namespace hFramework;

bool batteryLow = false;

ros::NodeHandle nh;

void twistCallback(const geometry_msgs::Twist &twist)
{    float lin = twist.linear.x;    float ang = twist.angular.z;    float motorL = lin - ang * 0.5;    float motorR = lin + ang * 0.5;    hMot1.setPower(motorR * (-700) * !batteryLow);    hMot2.setPower(motorR * (-700) * !batteryLow);    hMot3.setPower(motorL * (-700) * !batteryLow);    hMot4.setPower(motorL * (-700) * !batteryLow);
}

void batteryCheck()
{    int i = 0;    for (;;) {        if (sys.getSupplyVoltage() > 11.1) {            i--;        } else {            i++;        }        if (i > 50) {            batteryLow = true;            i = 50;        }        if (i < -50) {            batteryLow = false;            i = -50;        }        if (batteryLow == true) {            LED1.toggle();        } else {            LED1.on();        }        sys.delay(250);    }
}

ros::Subscriber<geometry_msgs::Twist> sub("/cmd_vel", &twistCallback);

void hMain()
{    platform.begin(&RPi);    nh.getHardware()->initWithDevice(&platform.LocalSerial);    nh.initNode();    nh.subscribe(sub);    hMot3.setMotorPolarity(Polarity::Reversed);    hMot3.setEncoderPolarity(Polarity::Reversed);    hMot4.setMotorPolarity(Polarity::Reversed);    hMot4.setEncoderPolarity(Polarity::Reversed);    LED1.on();    sys.taskCreate(batteryCheck);    while (true)    {        nh.spinOnce();        sys.delay(100);    }
}


Code - the source
Now upload this project to the device.
ROS mobile robot
A mobile robot with ROS based control system that can map the area.

Discussions
Become a Hackaday.io Member
Create an account to leave a comment. Already have an account? Log In.