For my CNC build, I'm using a 0905 aluminum enclosure. I have already made the back panel, hooking everything up will be covered in another log entry.
Before I go on, let's go through what I'm going to do and why.
Both boards, the power supply (PSU) and the phono stage (CNC), are going to be mounted in my enclosure. First of all, I want them to stay put and not shuffle around.
Most important though is that I don't want any of the exposed solder points touching the metal casing. If they do, there will be a number of short-circuits and the whole project will go up in smoke. (And, if I were to connect it to my stereo with no prior testing, it would most likely damage my amplifier.)
Enclosure Build with Lots of Pictures
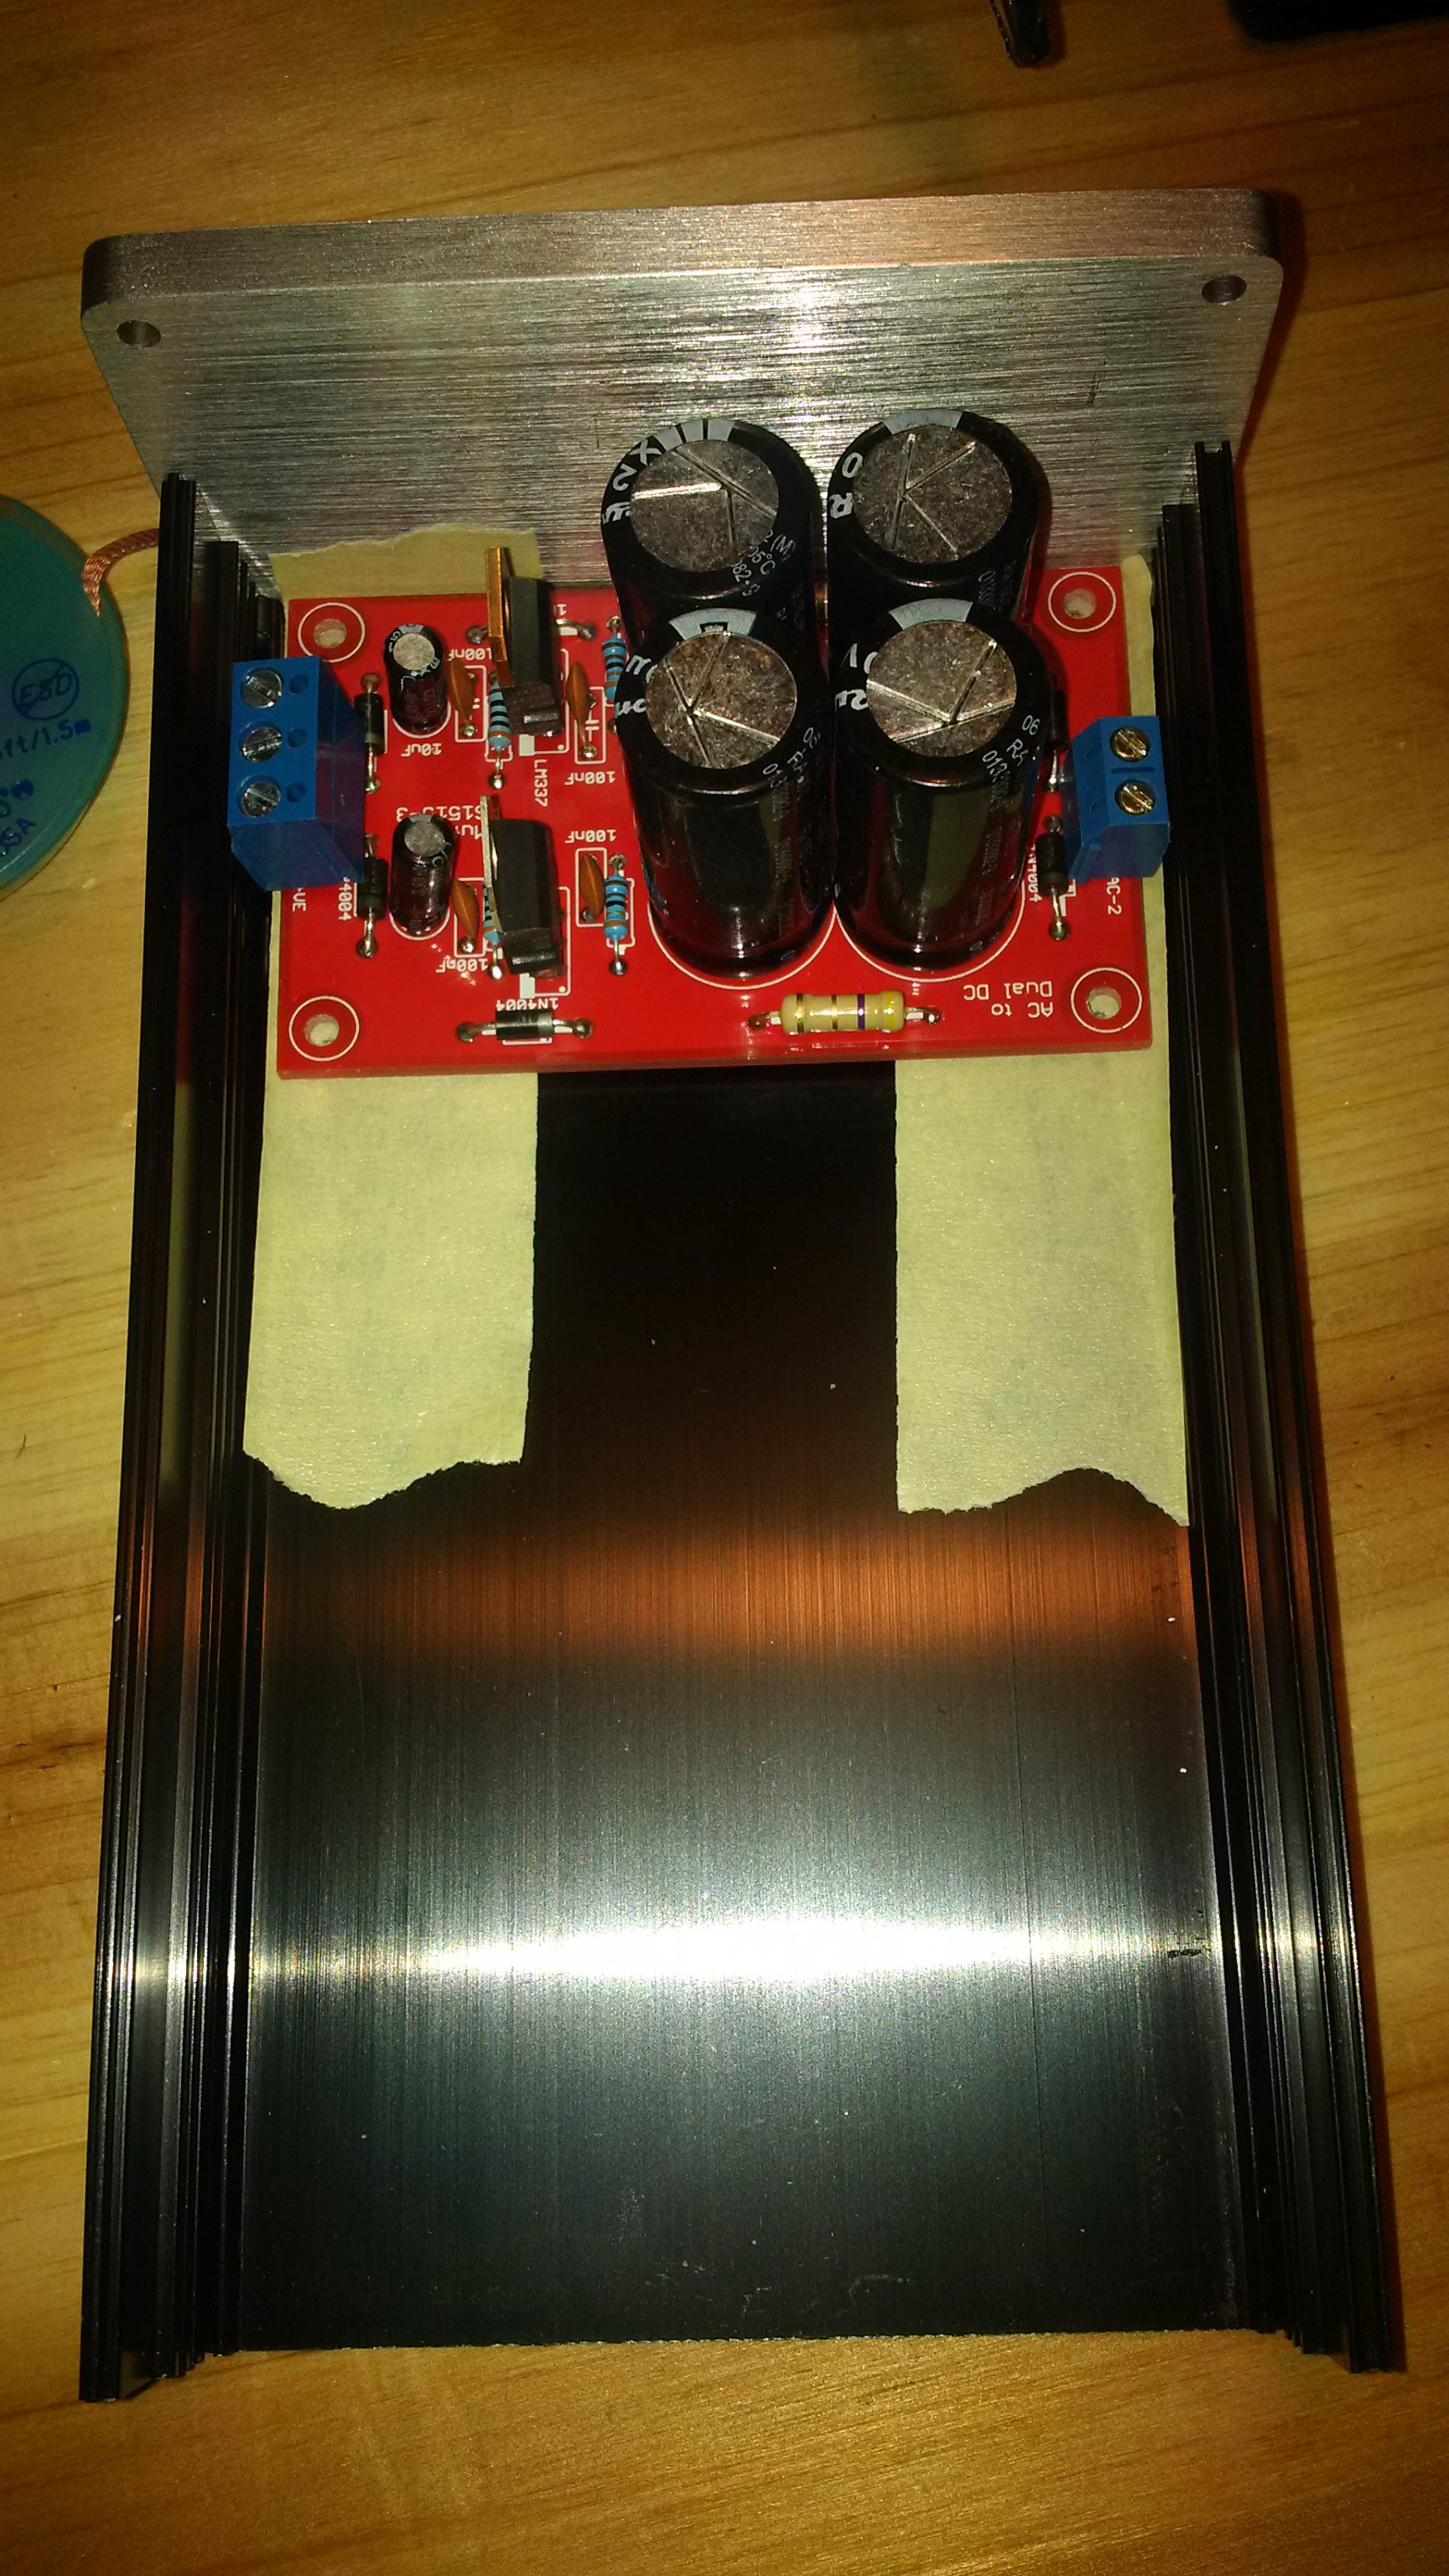
The phono stage and the power supply will be mounted with screws. I'm not going to screw them straight through the metal, so I put some masking tape in my enclosure (because it's easier to write on), positioned the PSU and marked where the holes should go:
That done, I used my Dremel in the drill press to make the holes:
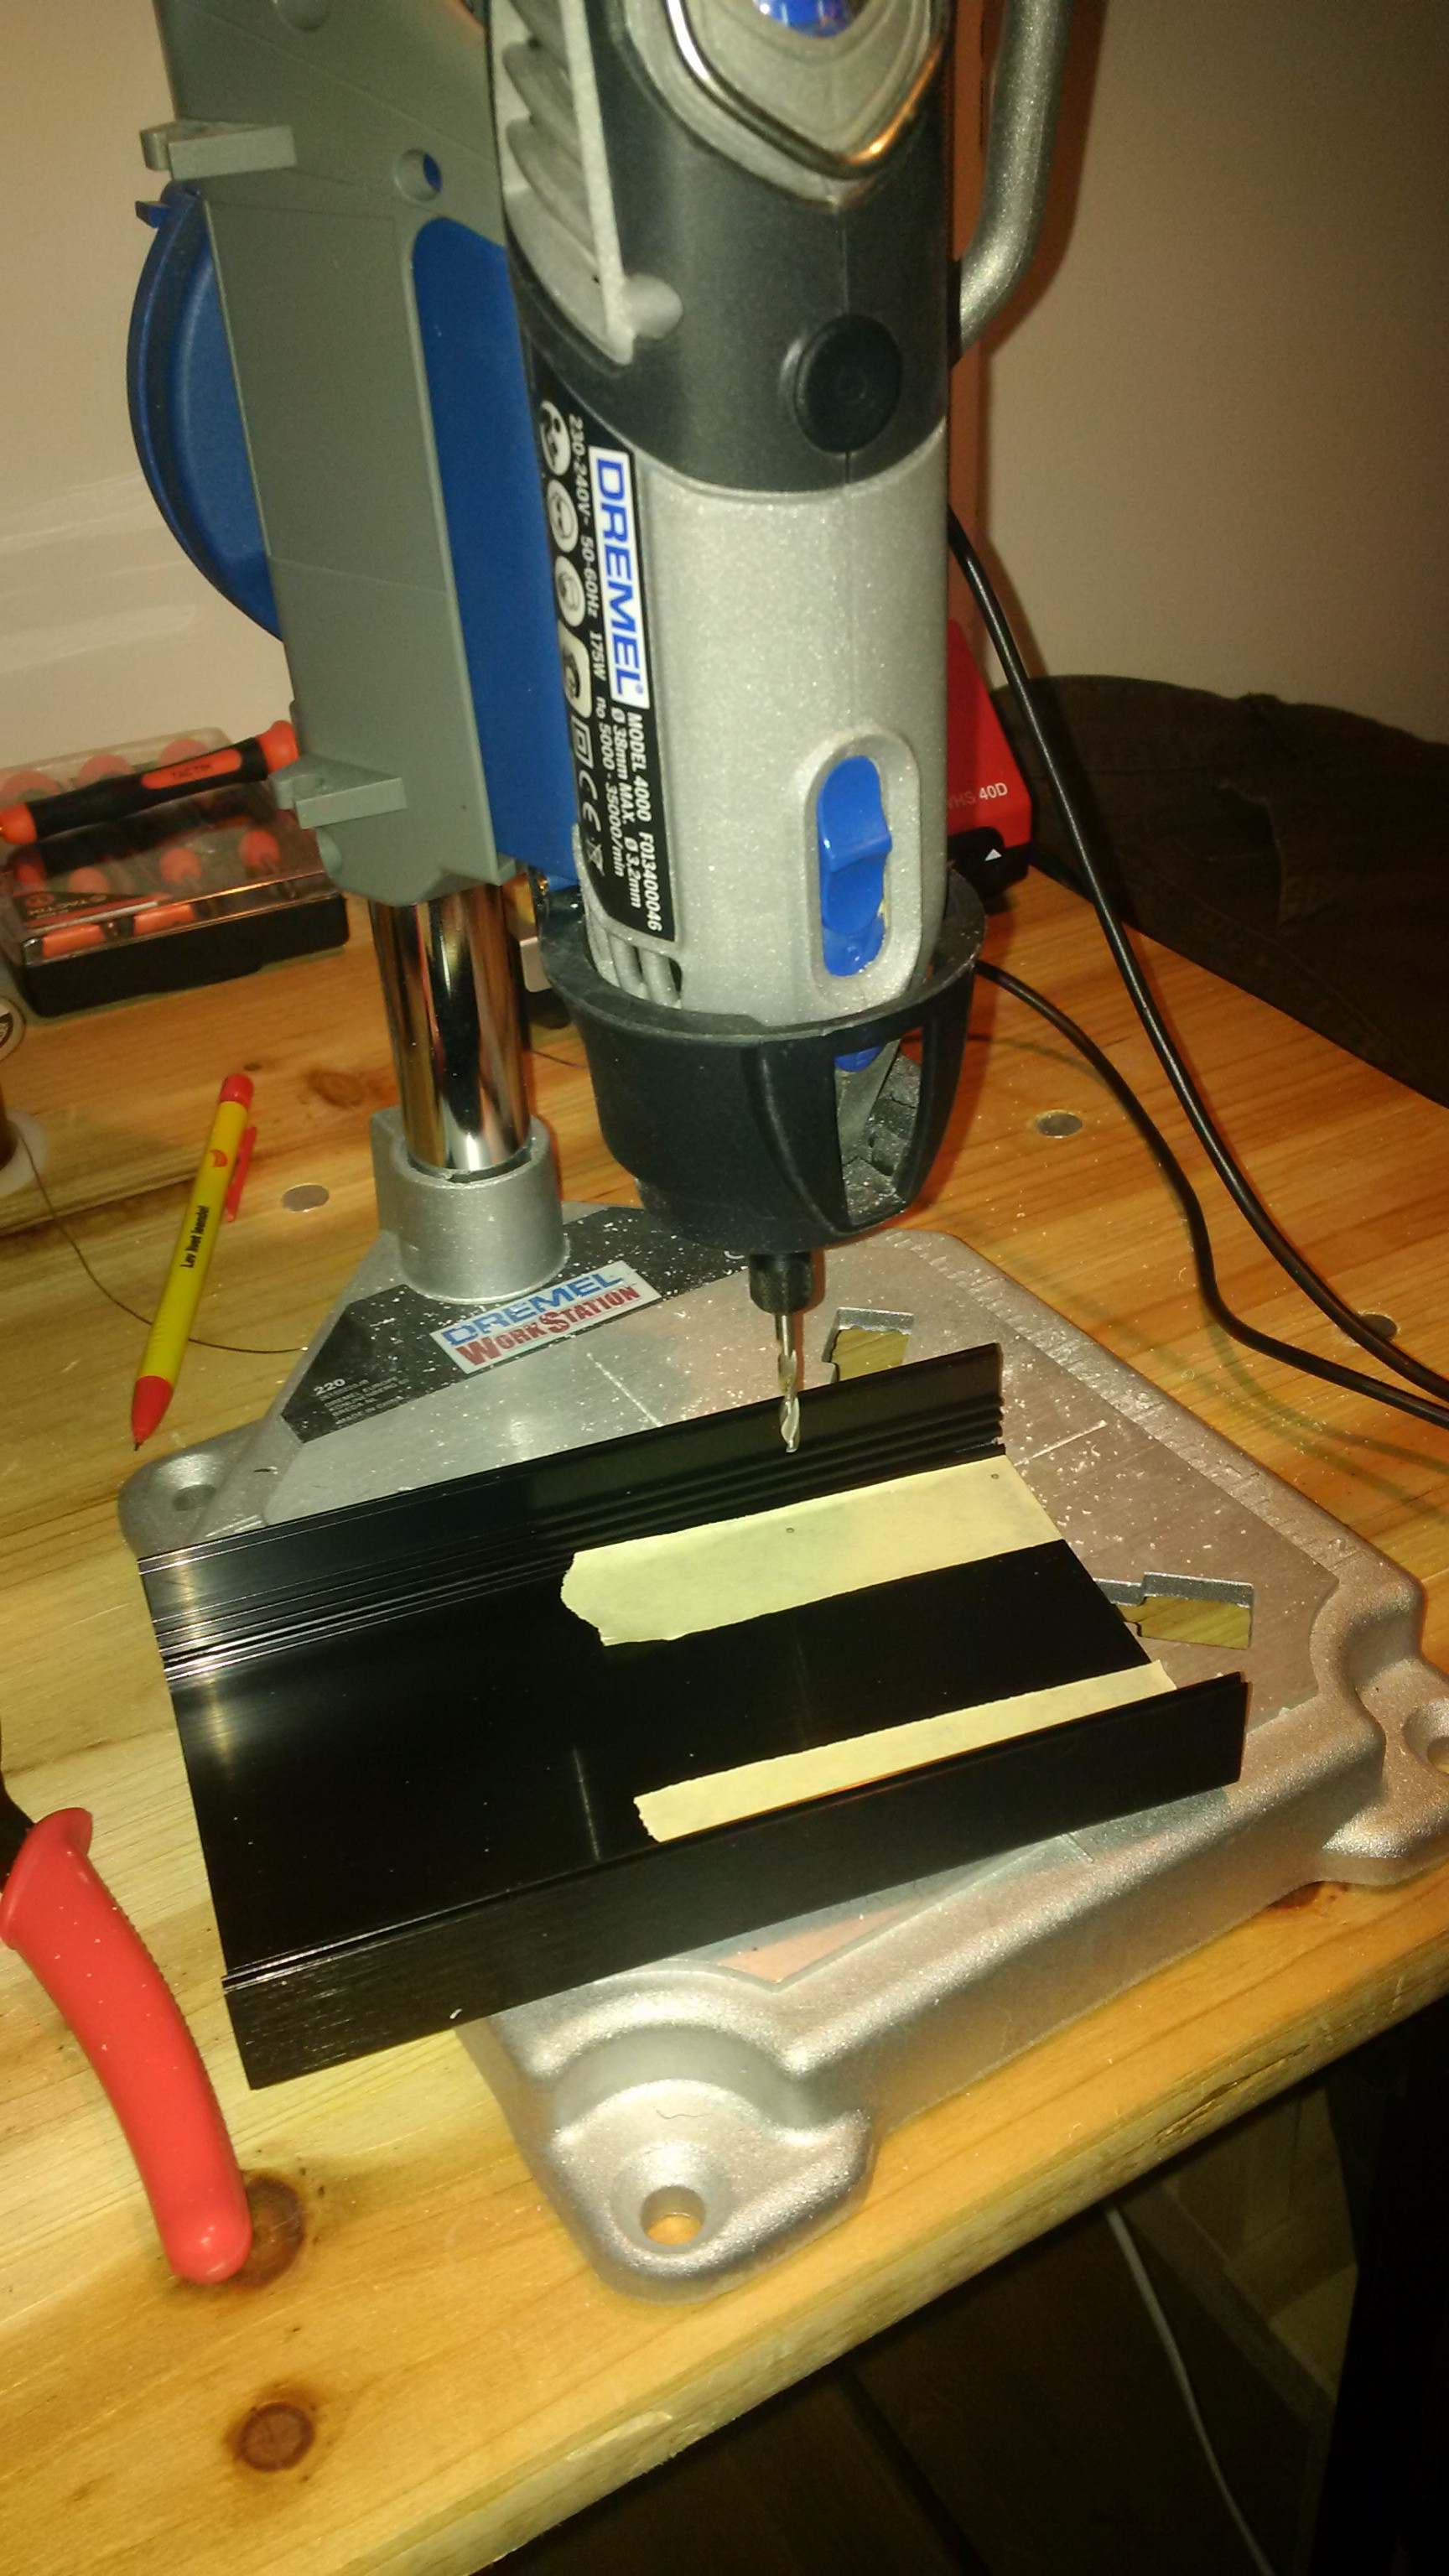
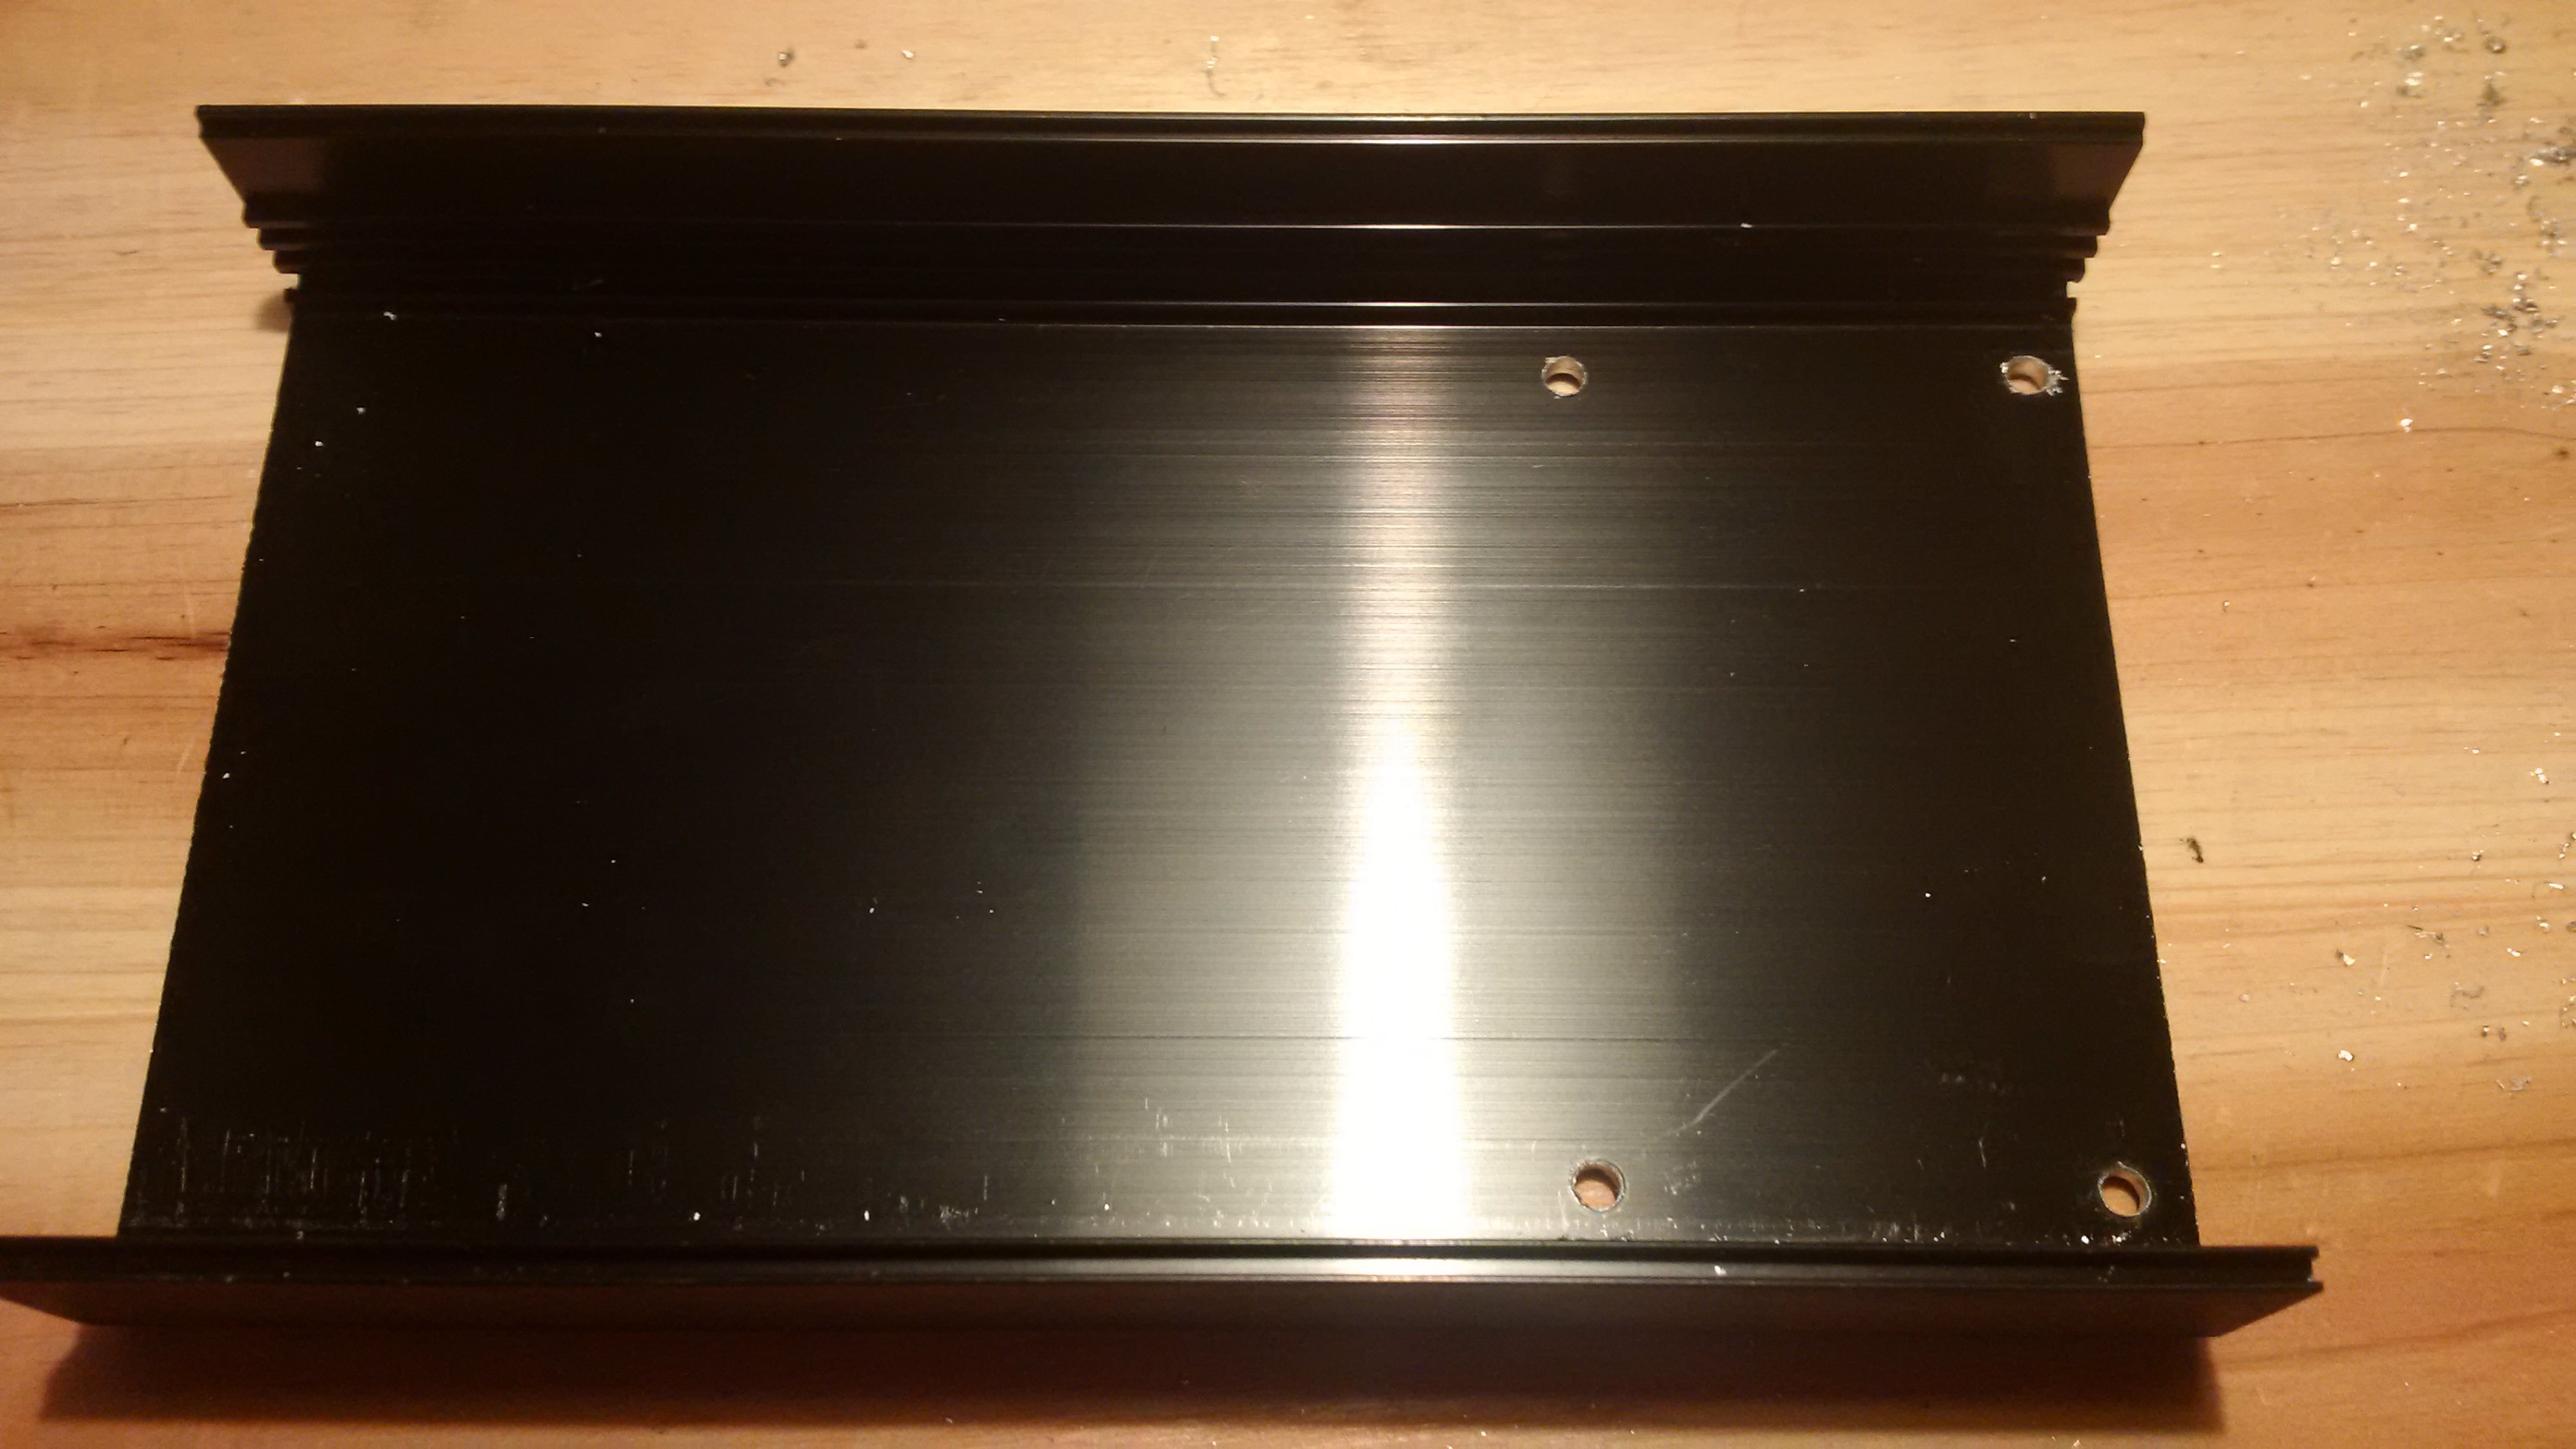
Then I did the same for the phono stage board. Mask the bottom of the case, mark where the holes go and drill:
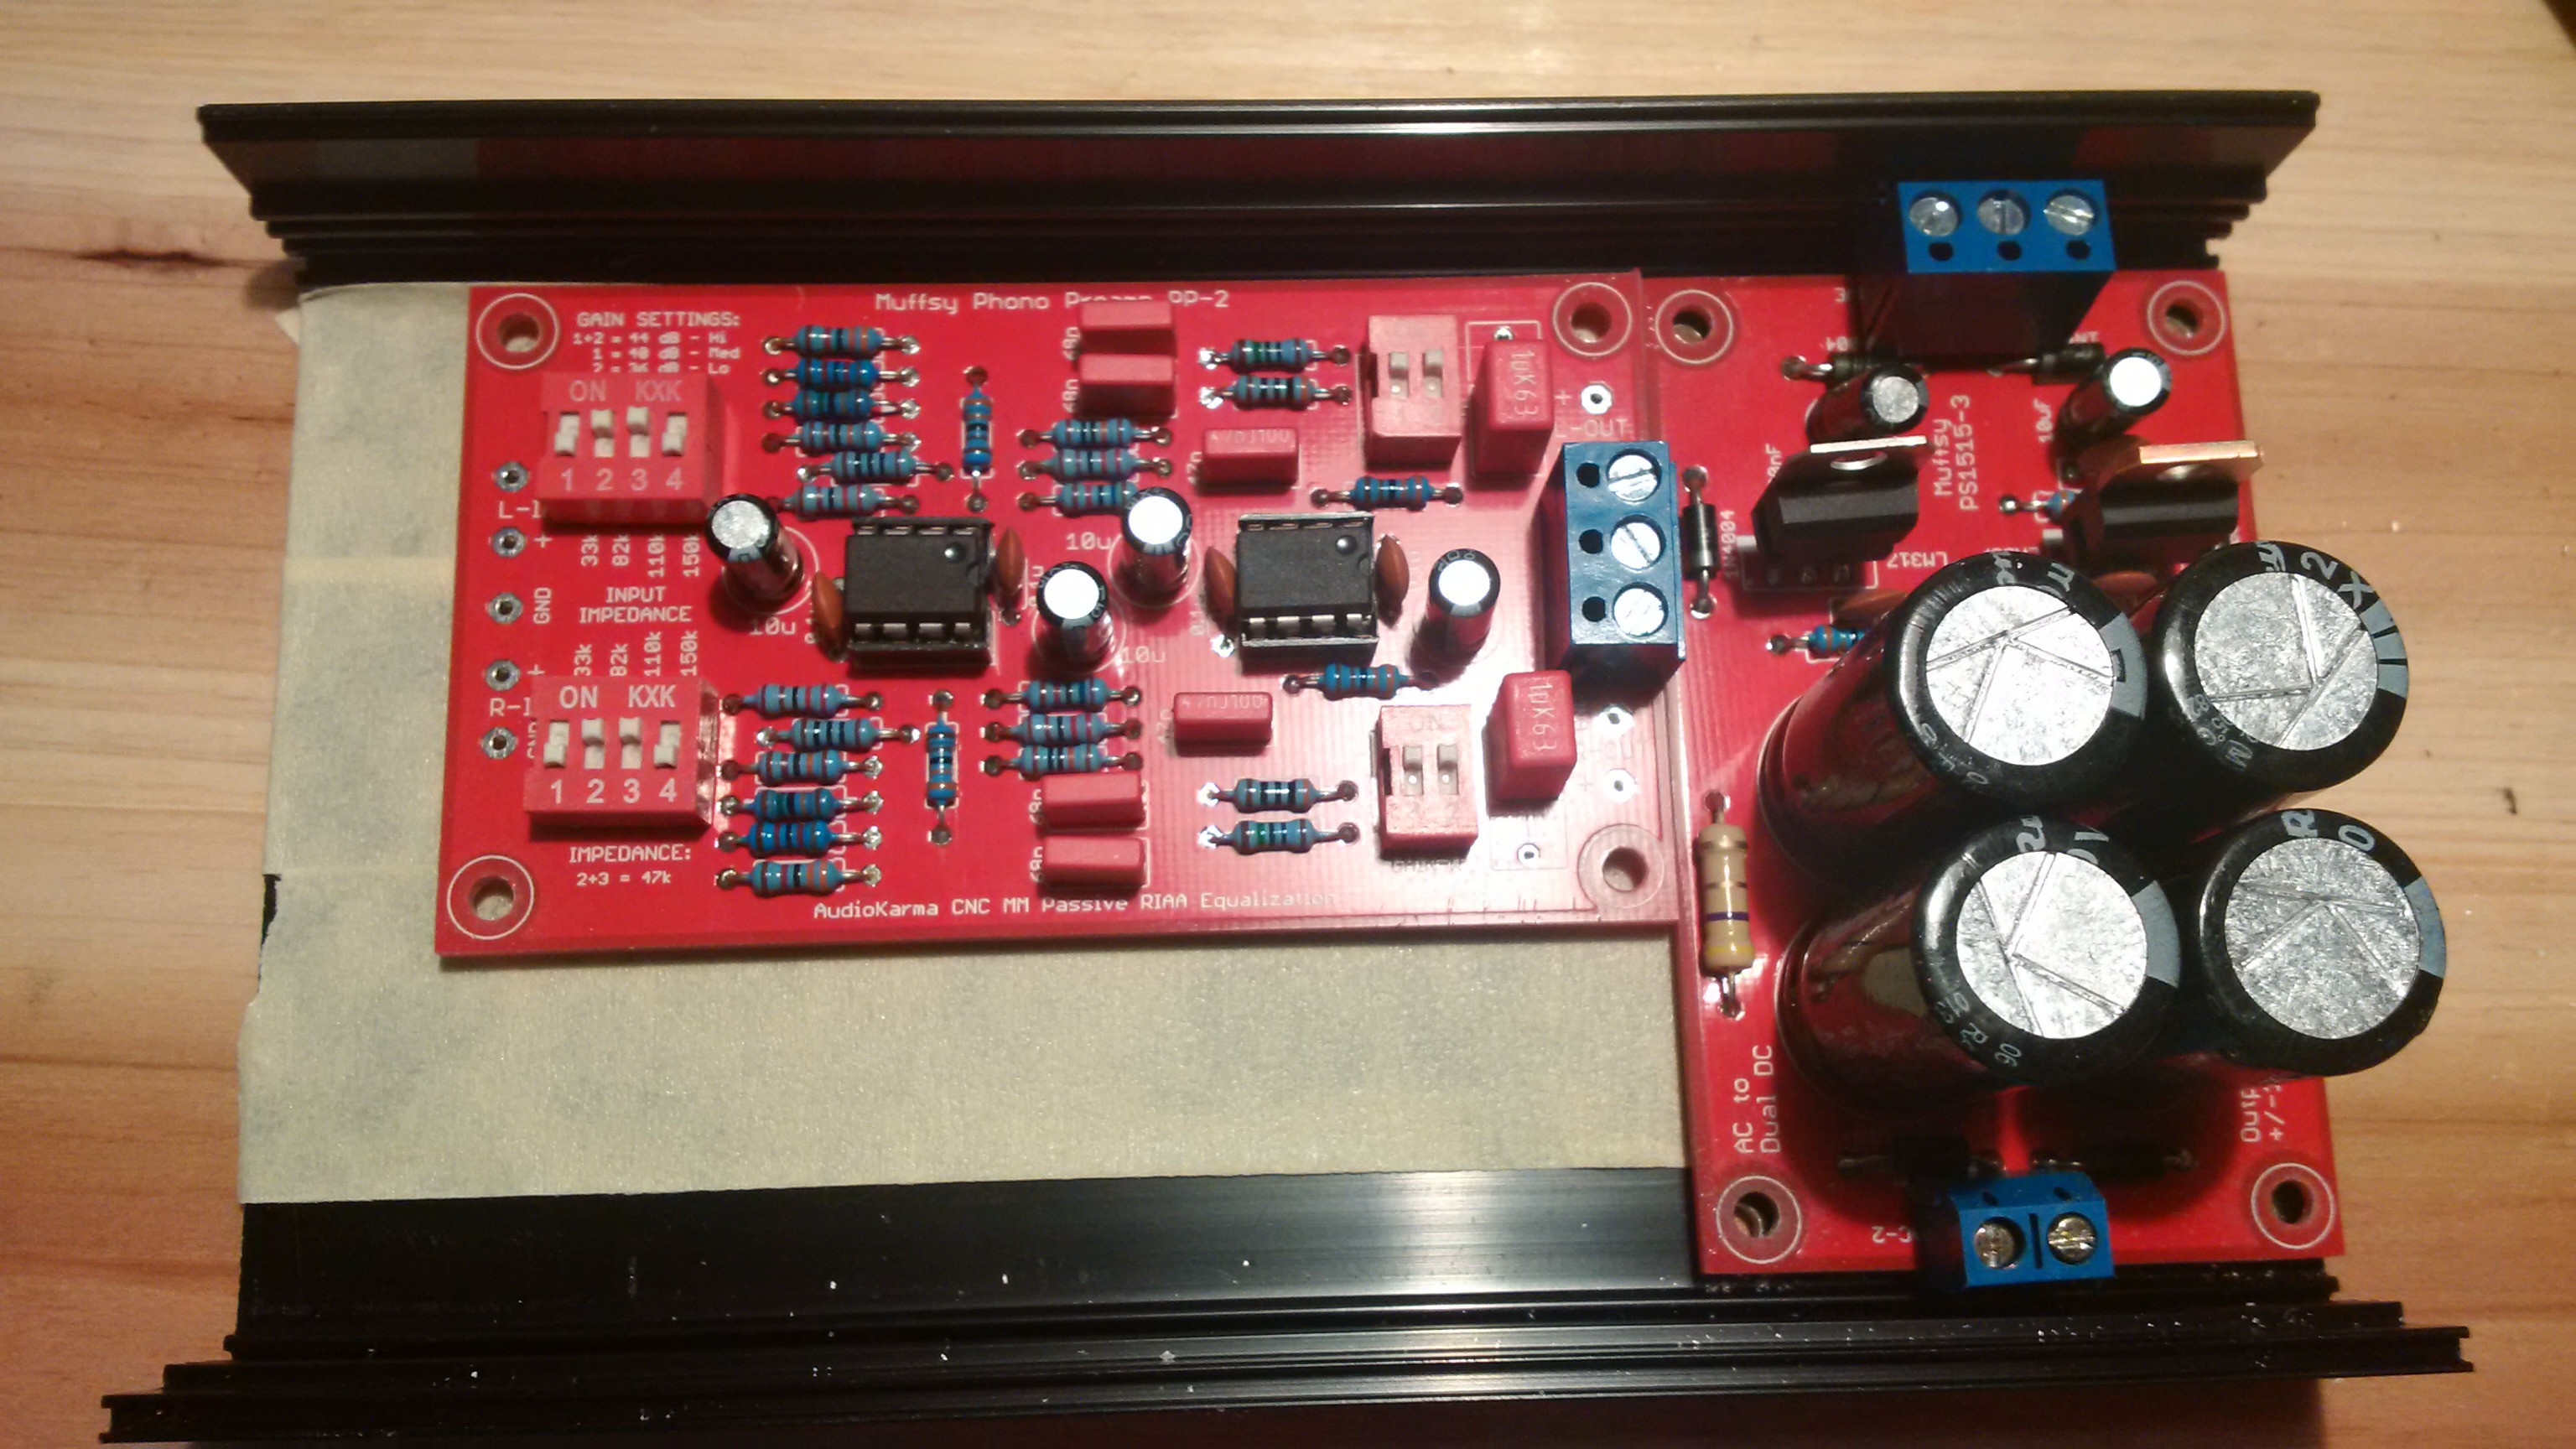
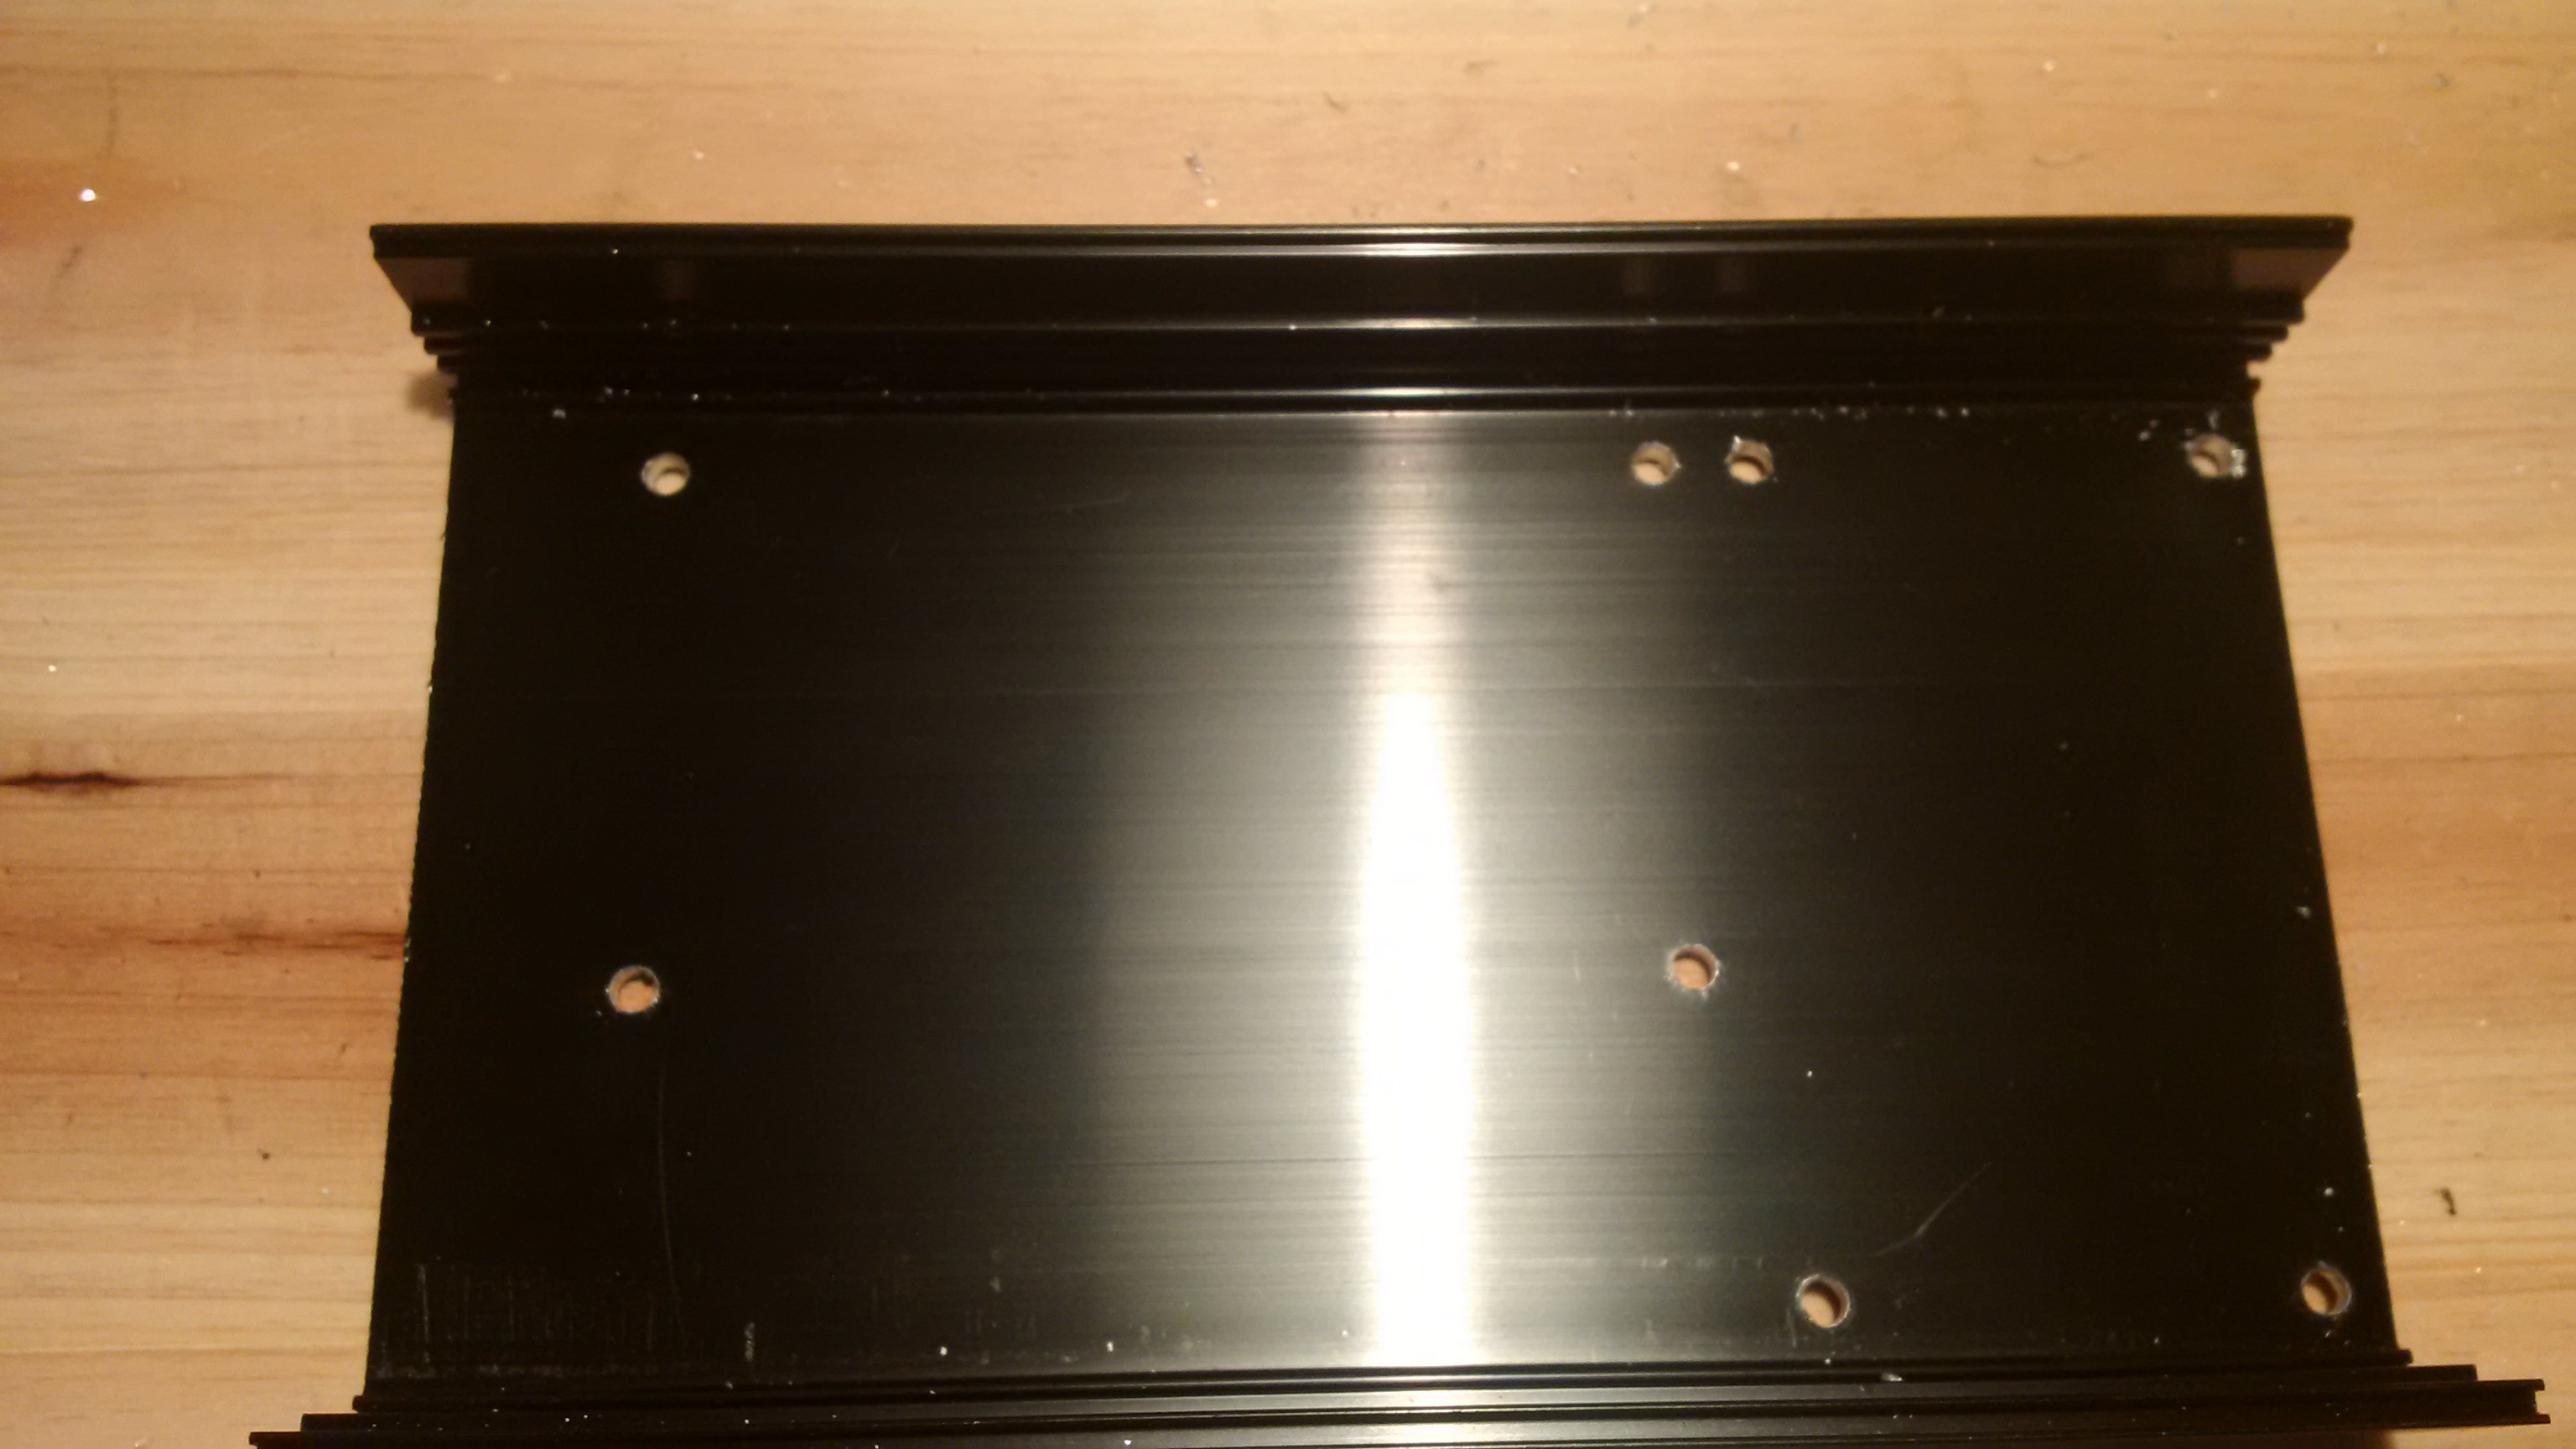
You can see the result above, eight nice holes in my aluminum box.
To mount the boards I used size M3 screws and nuts, and 5mm plastic spacers:
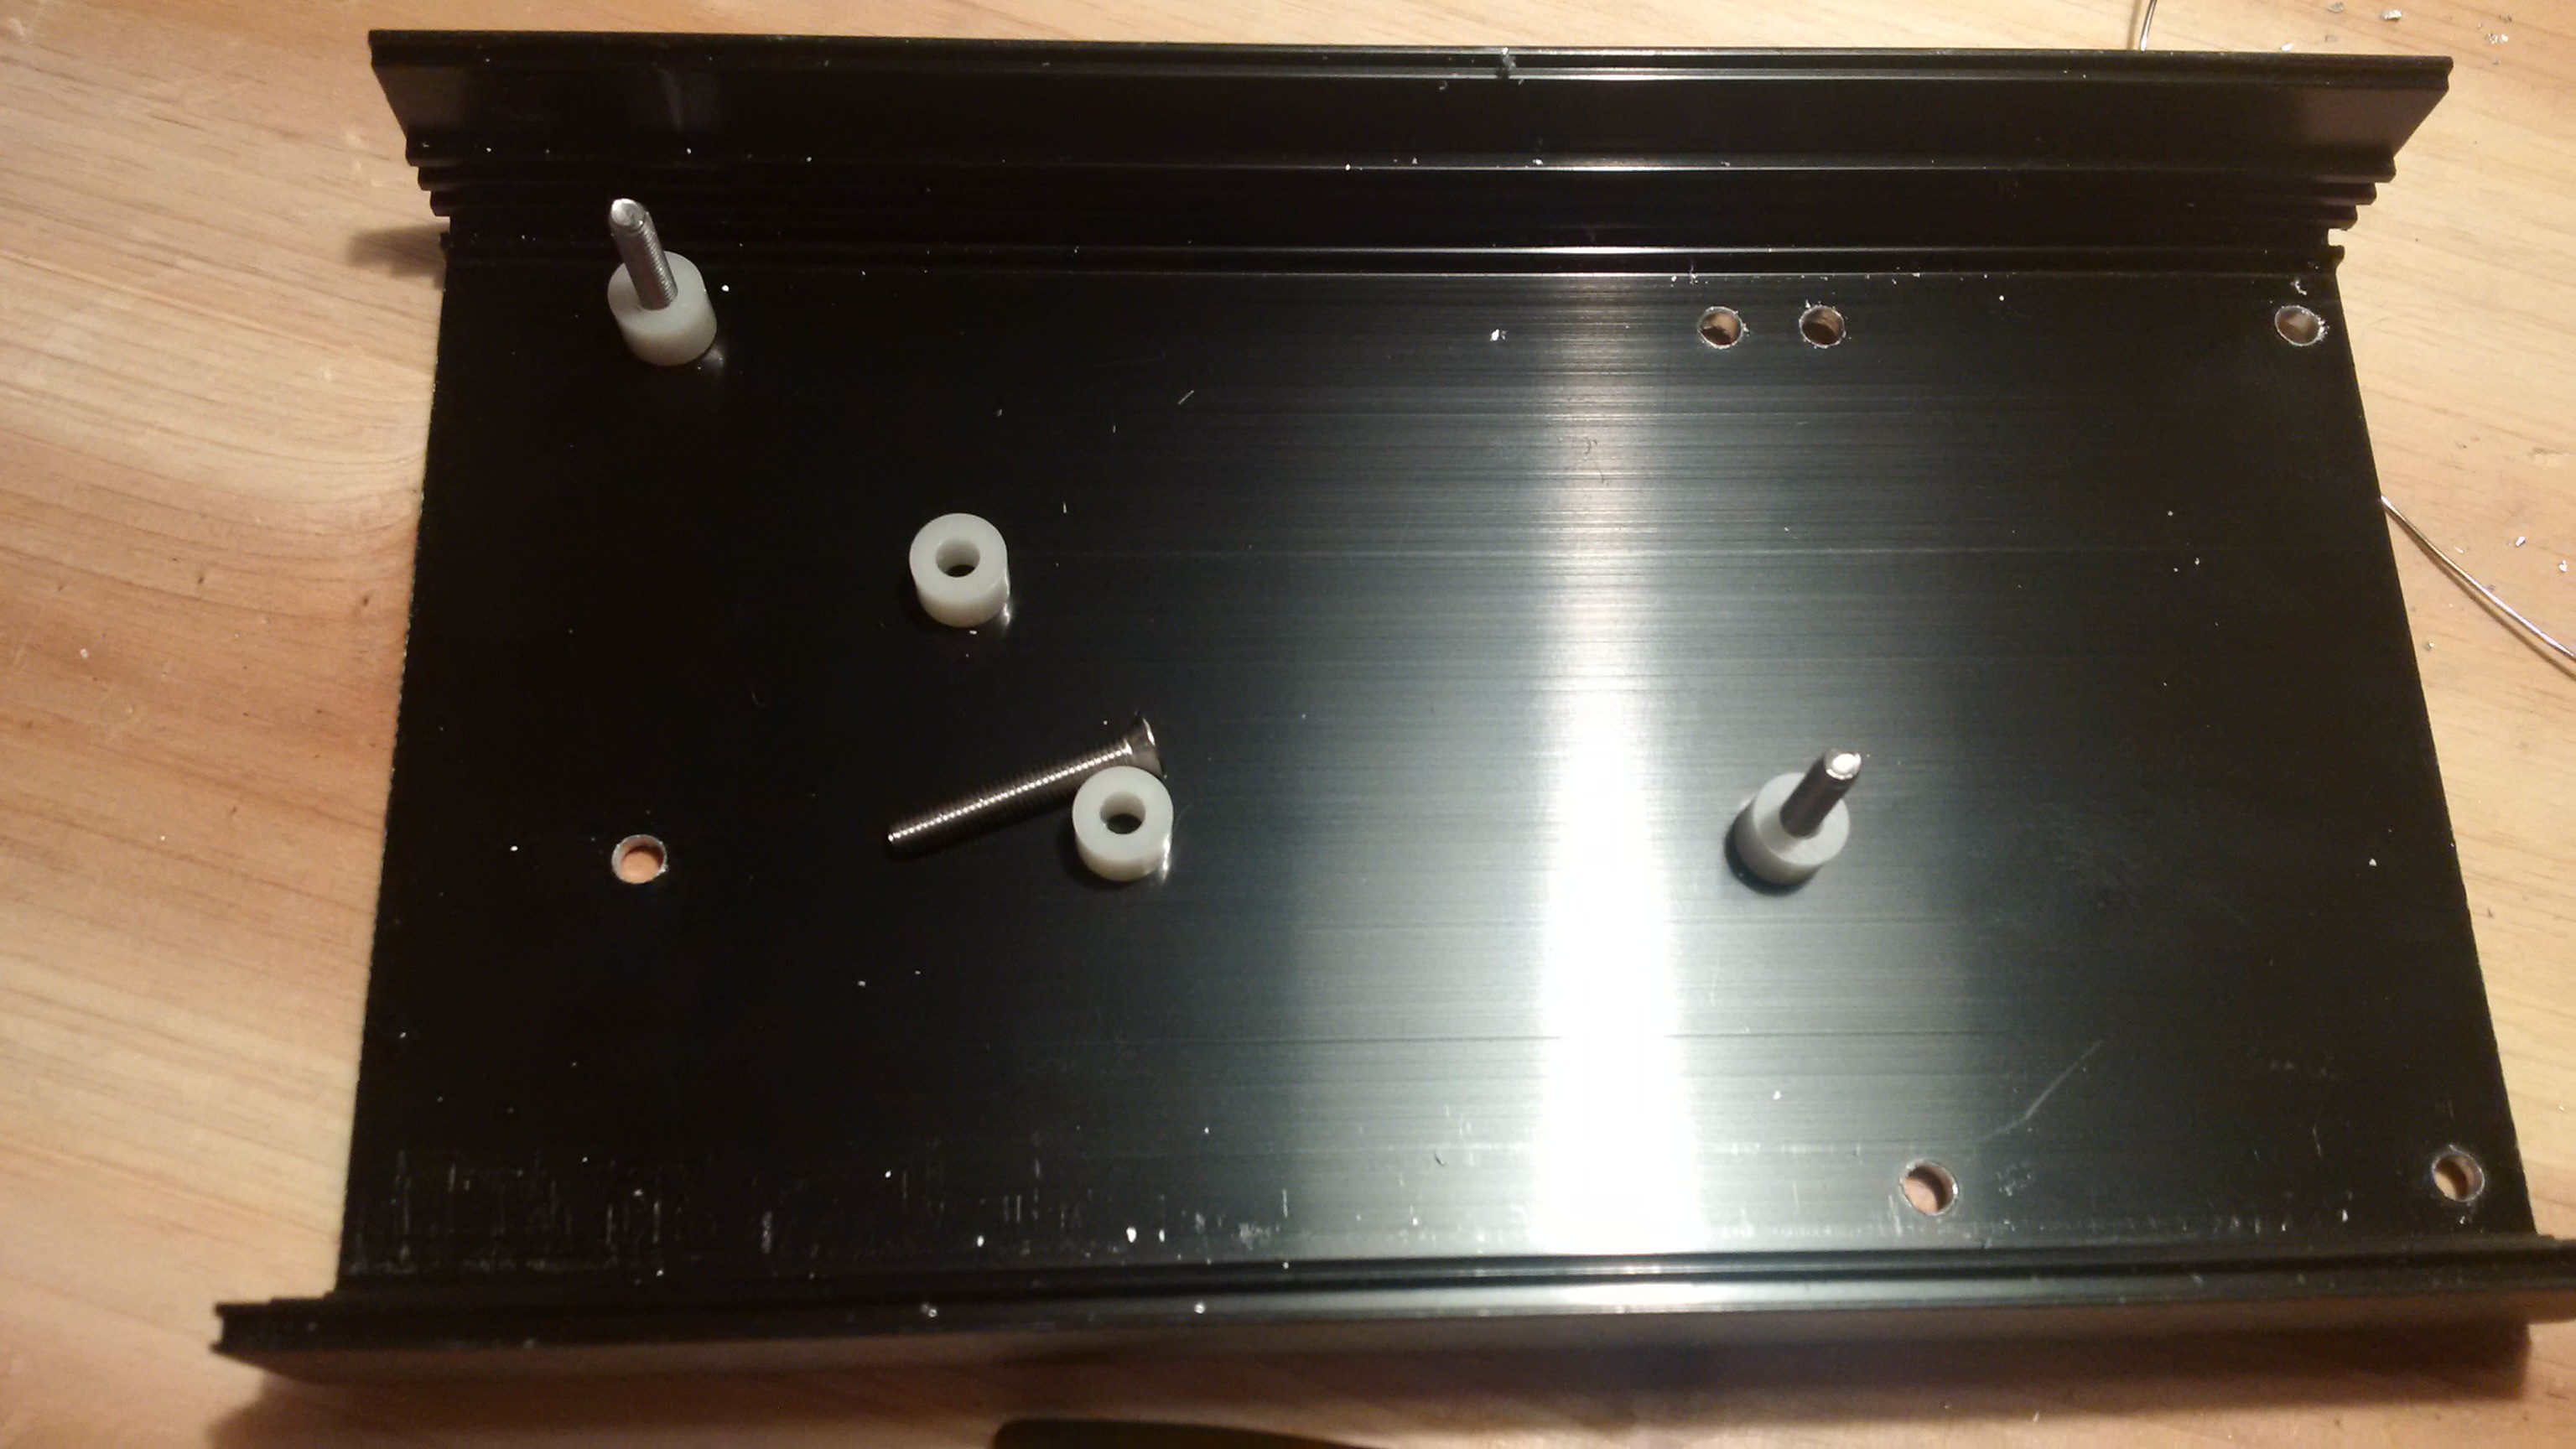
After completing this step, I was anxious to see if there was space for the rather large 2200uF capacitors. It all fit, with a little room to spare:
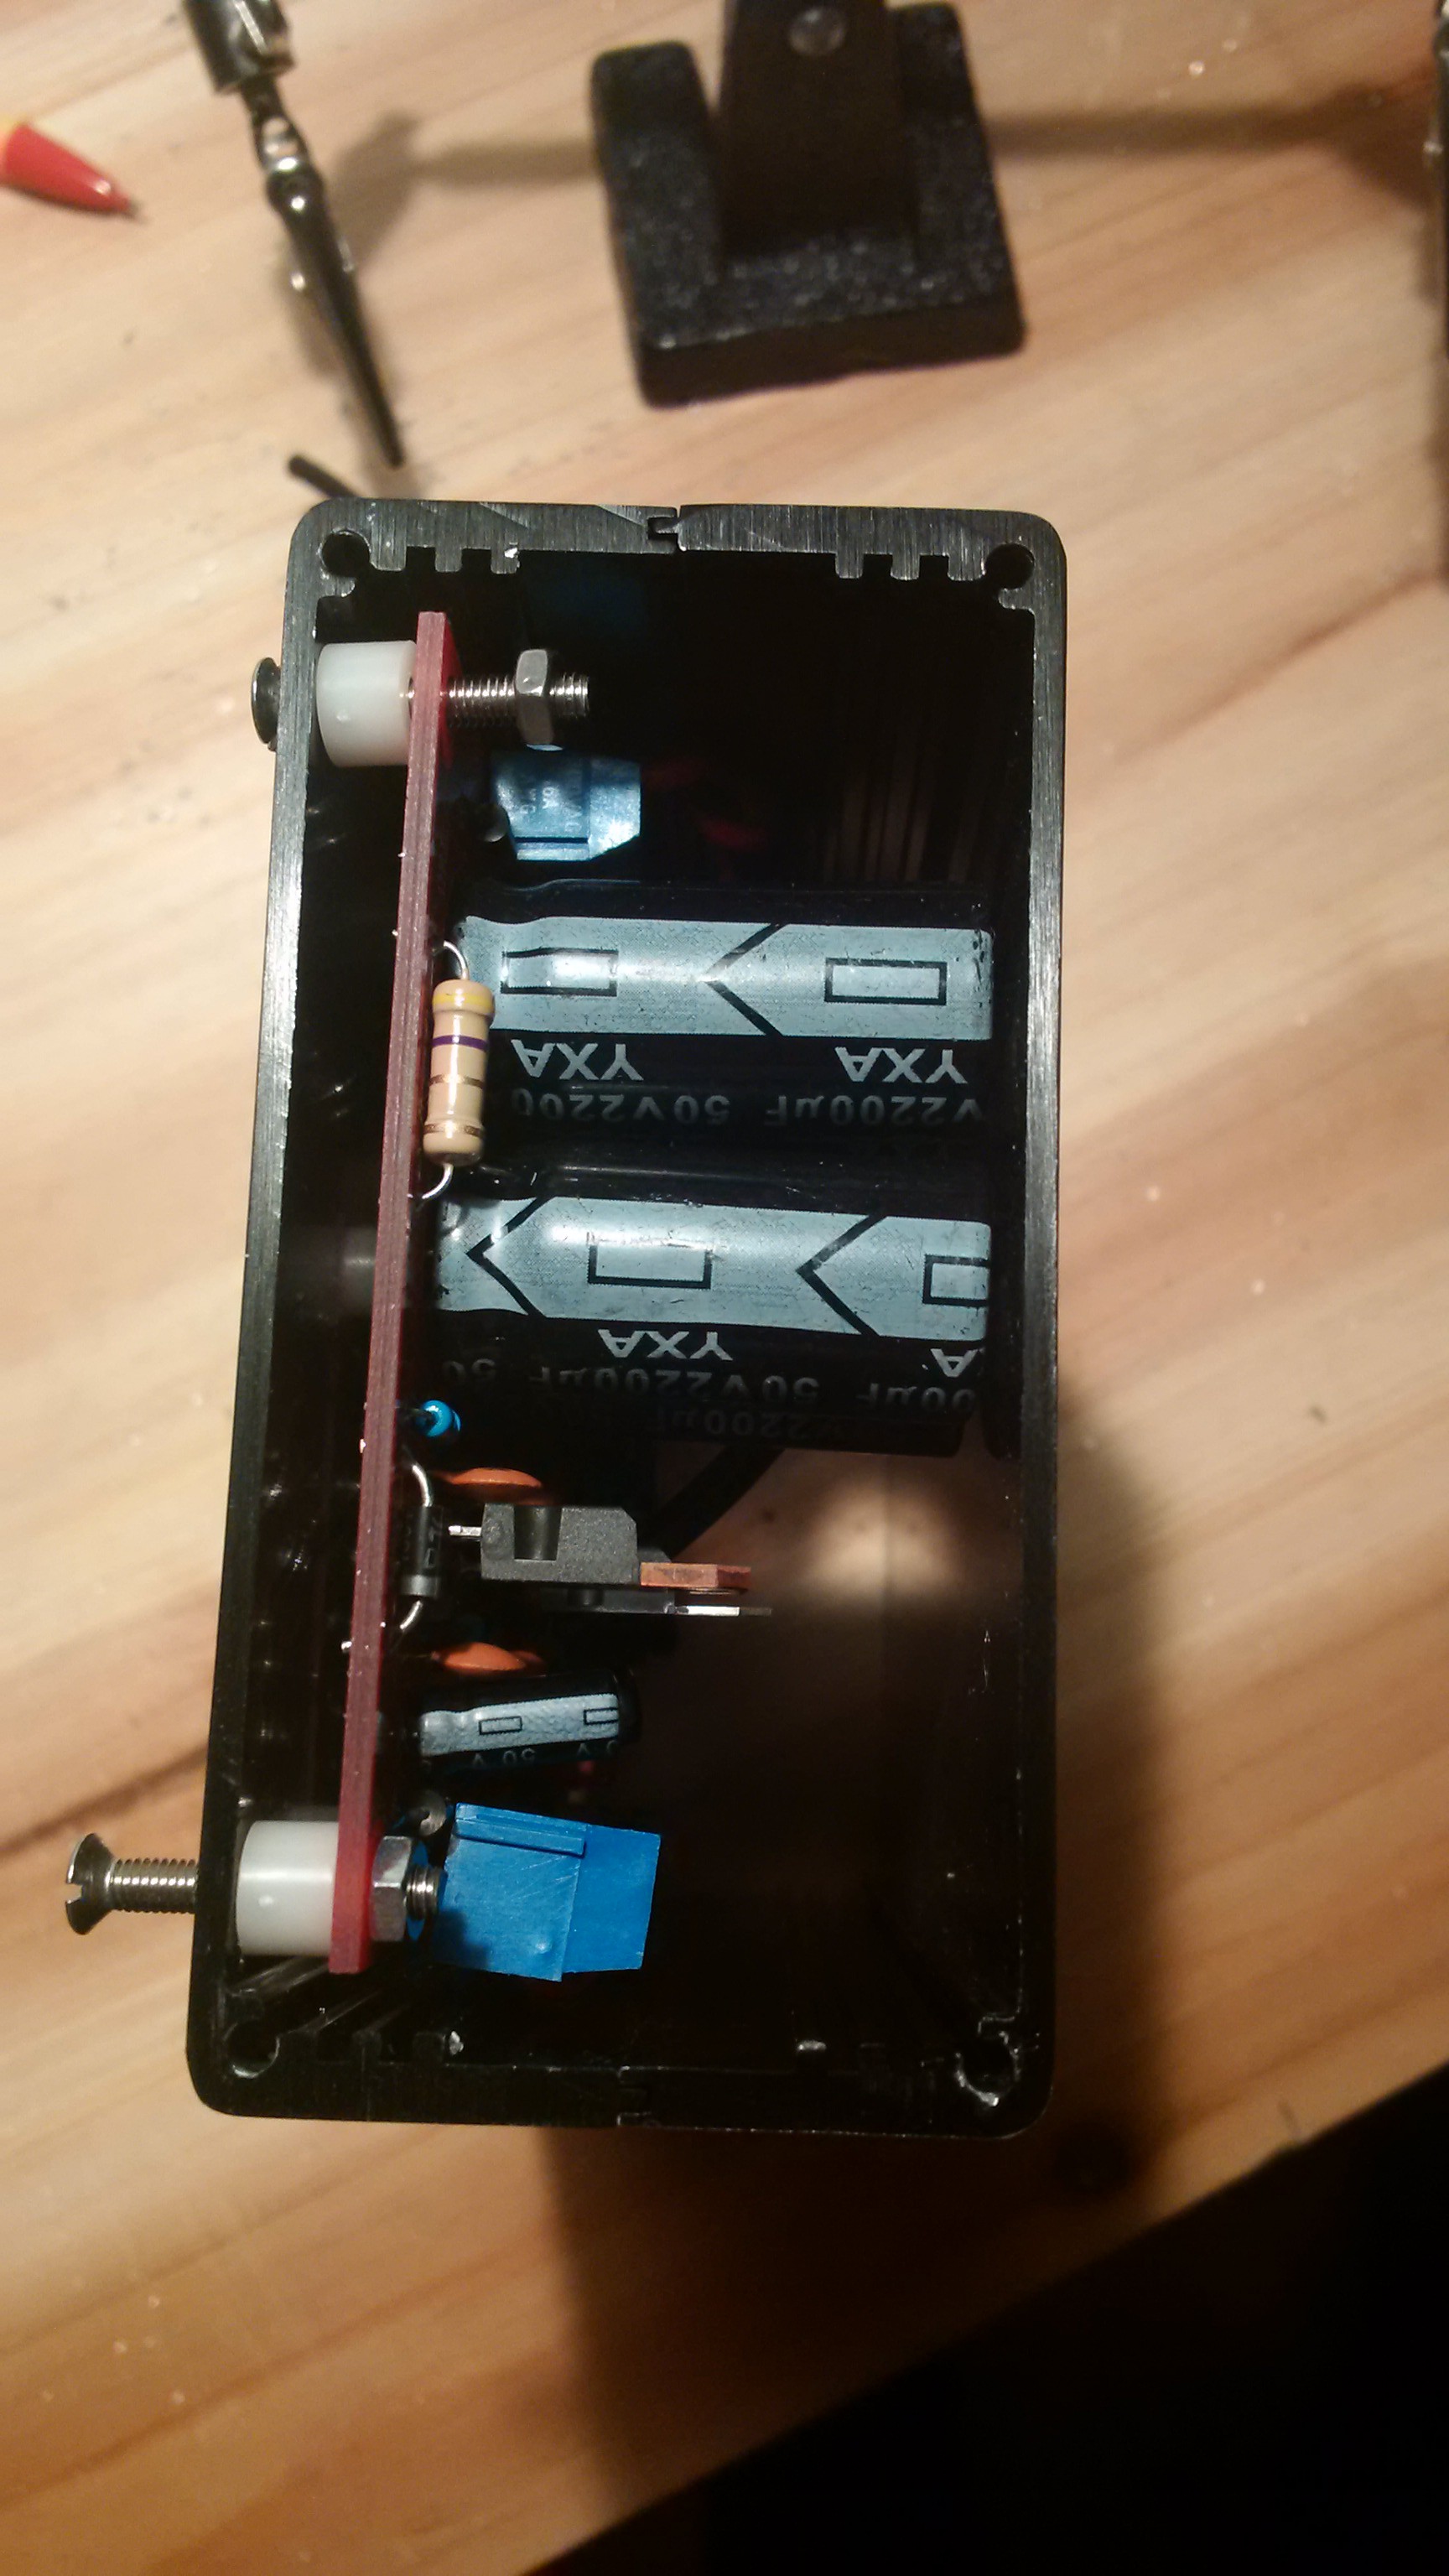
Time to tighten those screws, and I'm another step closer to a complete phono stage:
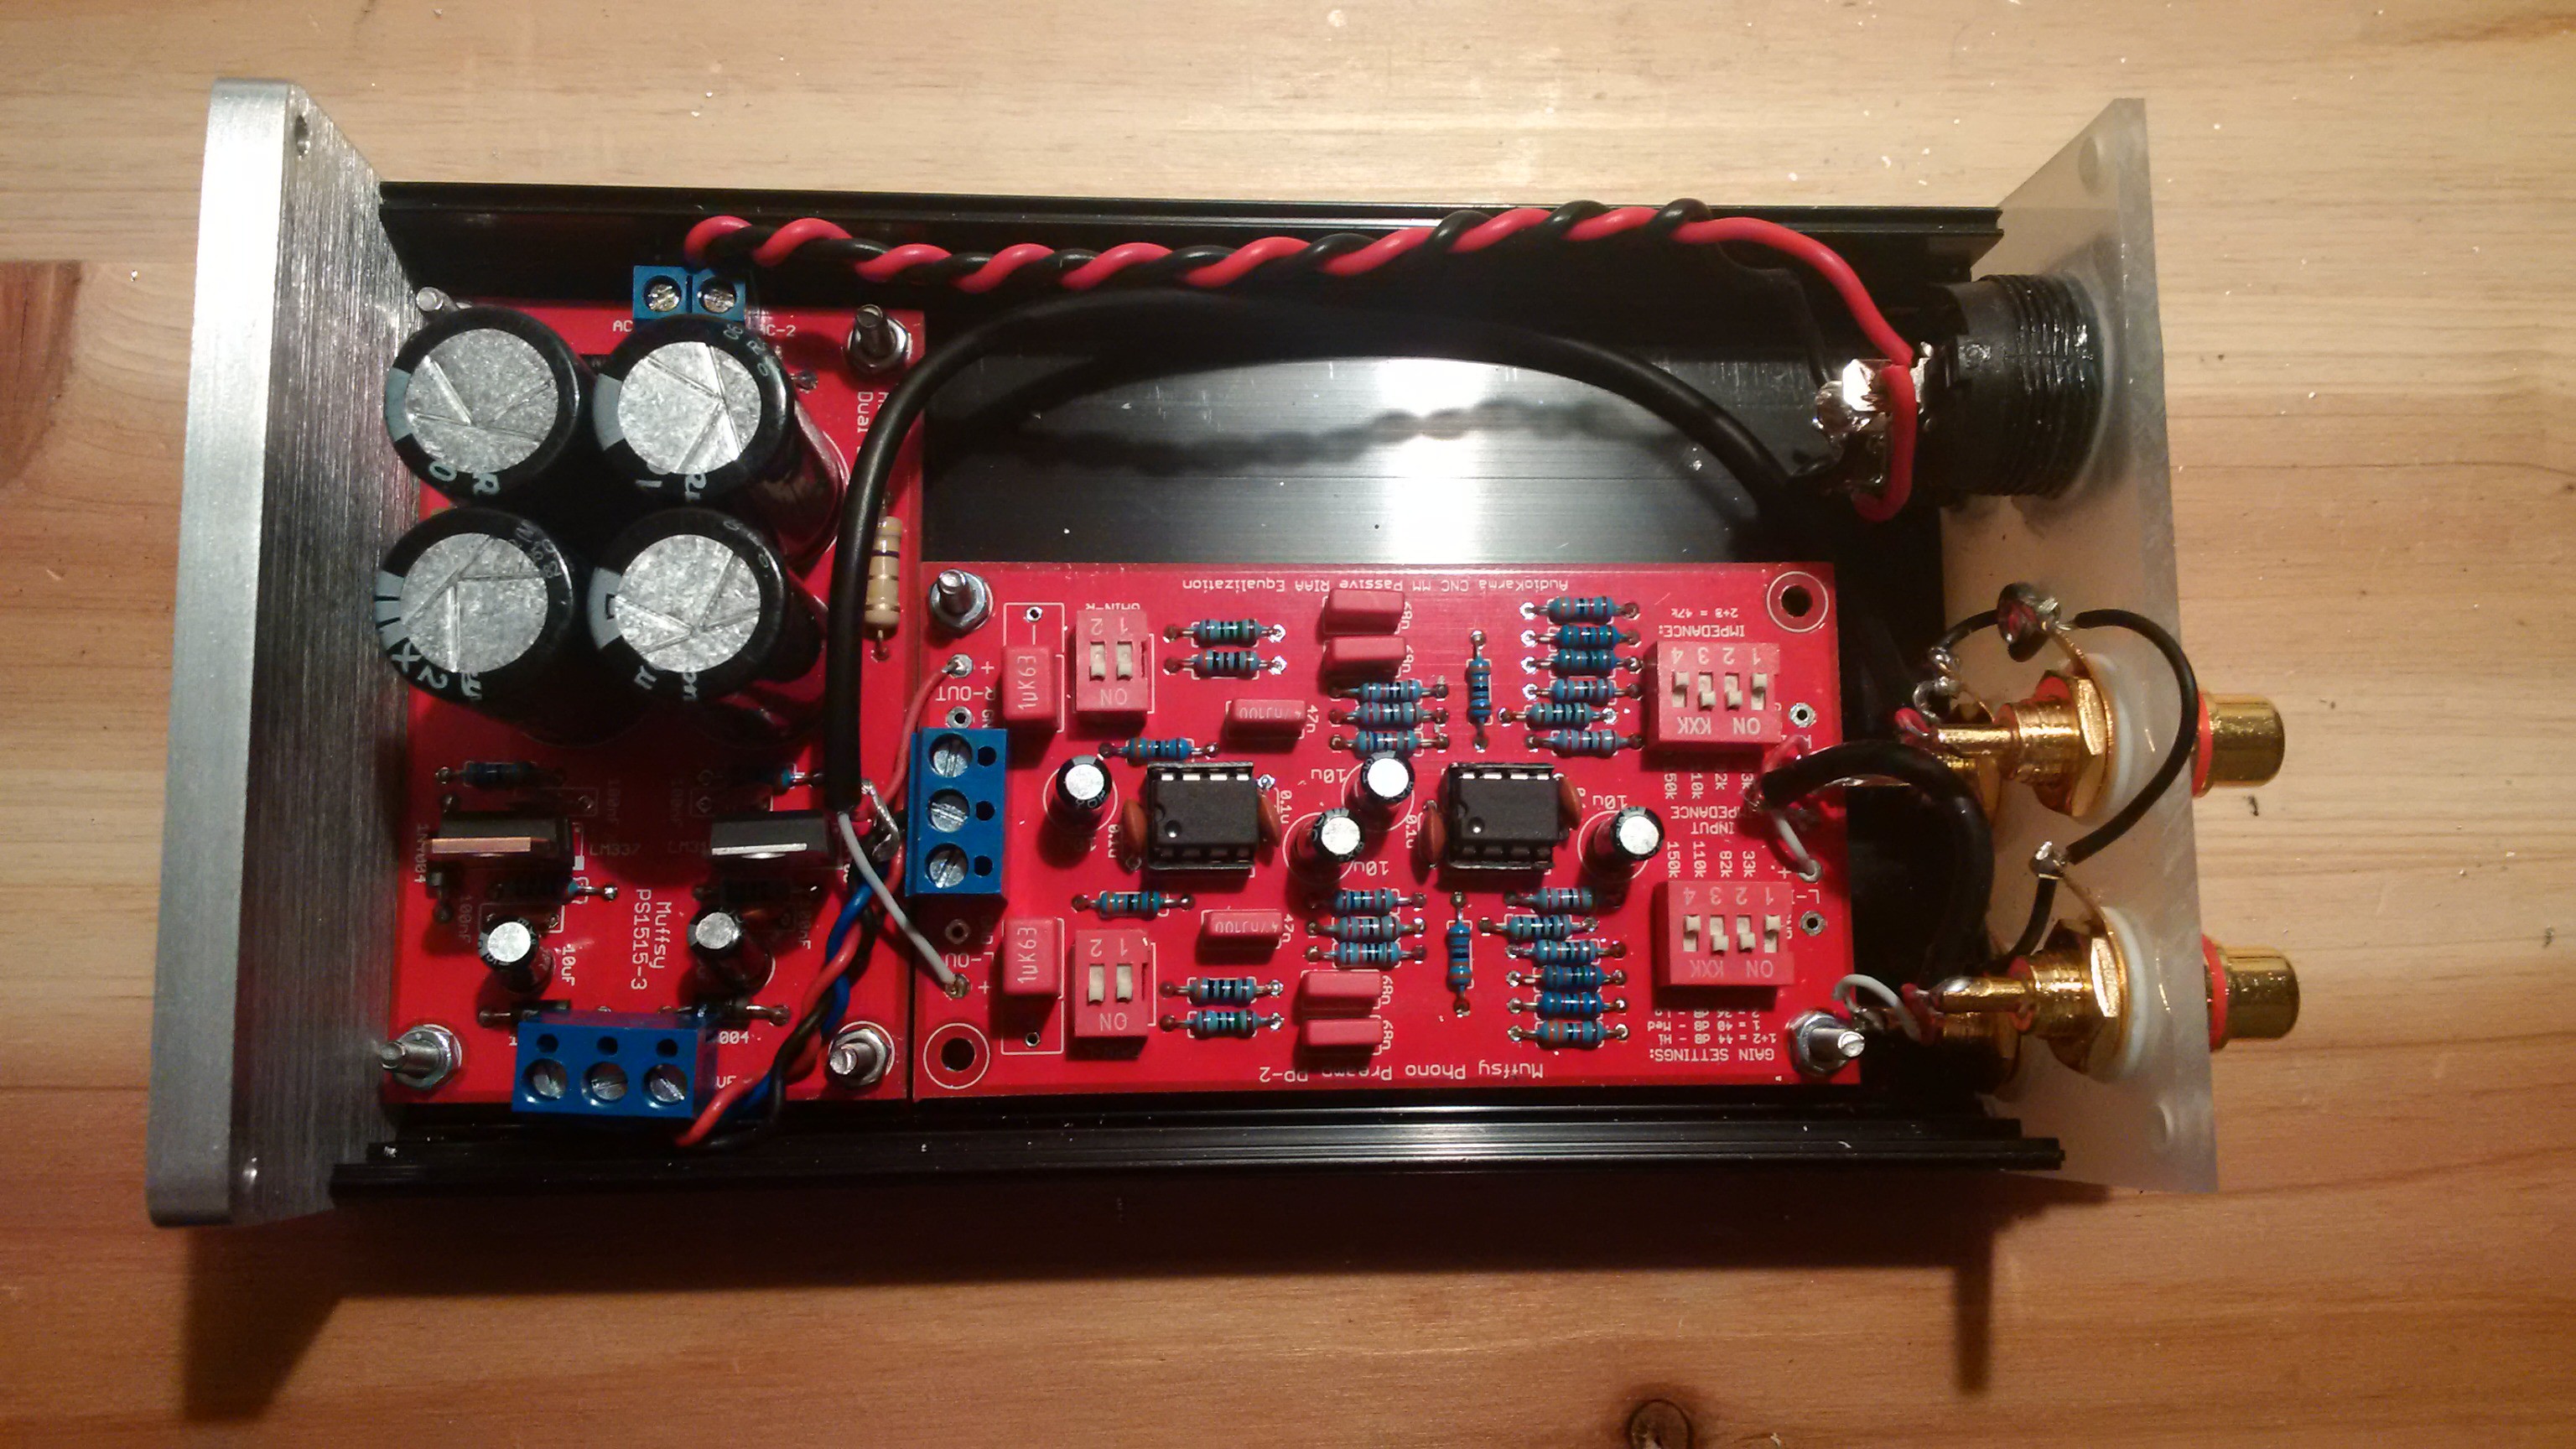
(This picture shows the finished project. Technically, I am done. But I'm still going to show how to power the phono stage, and do the audio wiring.)
Discussions
Become a Hackaday.io Member
Create an account to leave a comment. Already have an account? Log In.