-
Parts finally ordered.
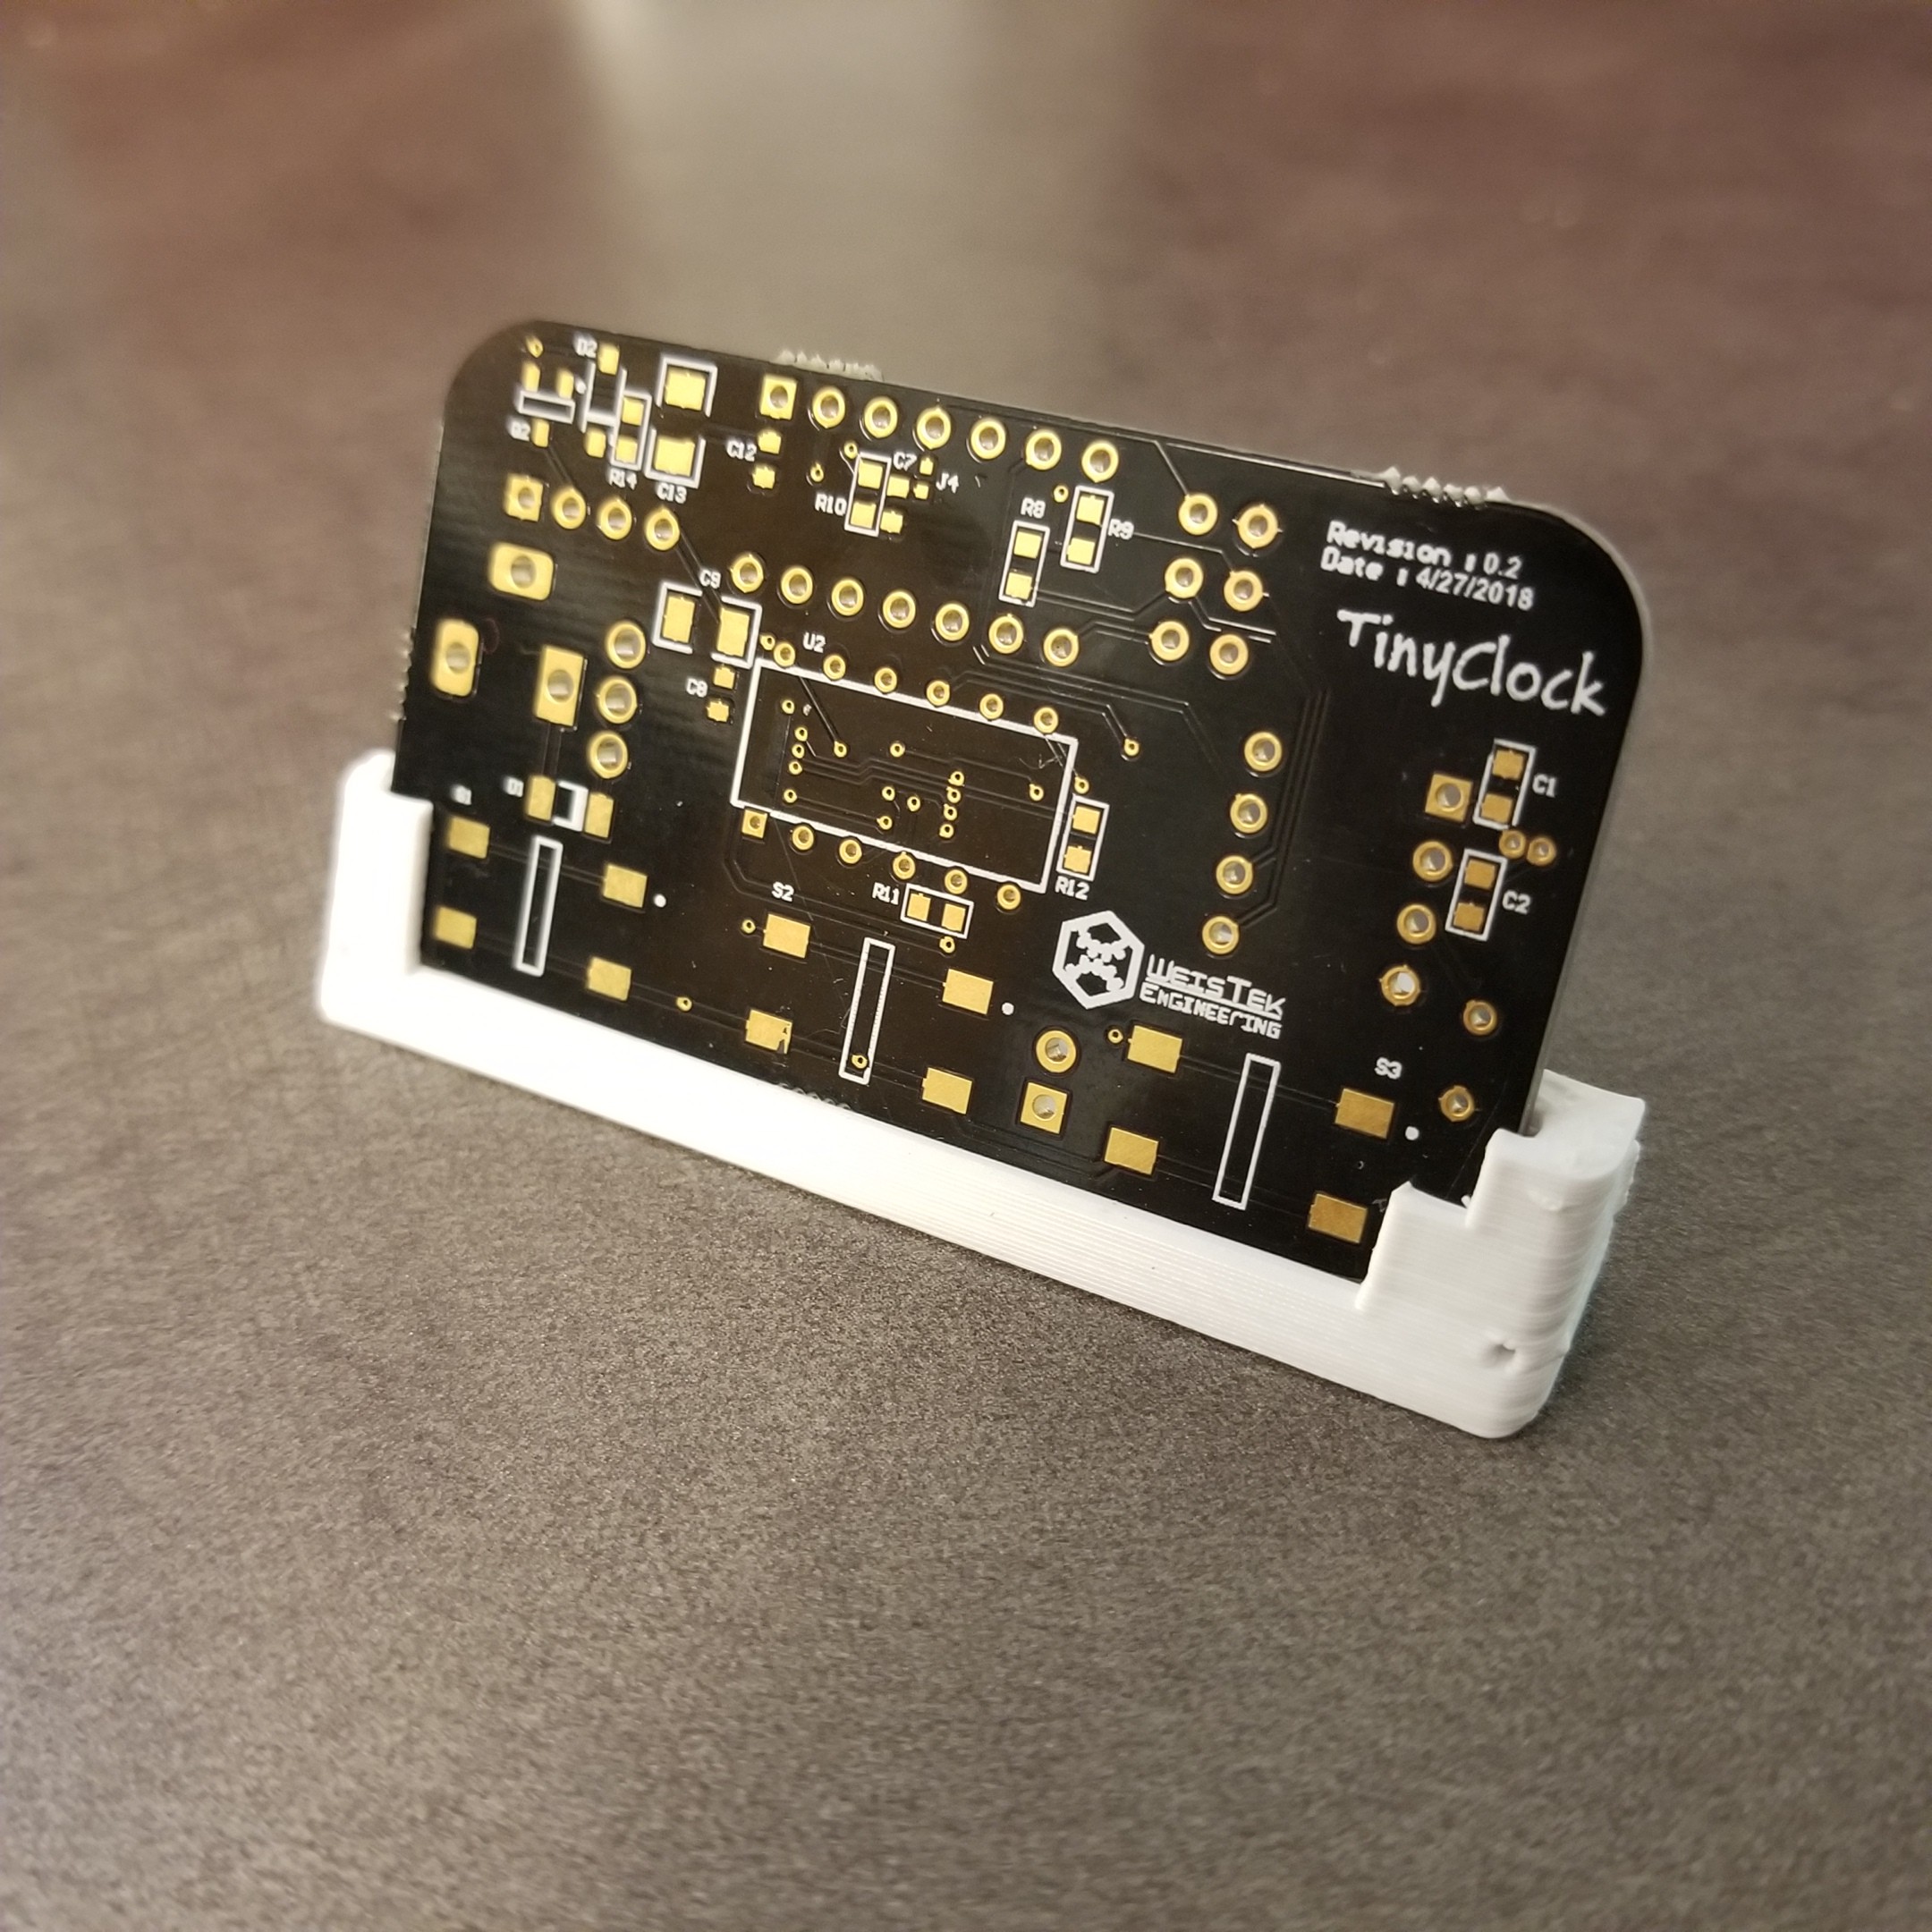
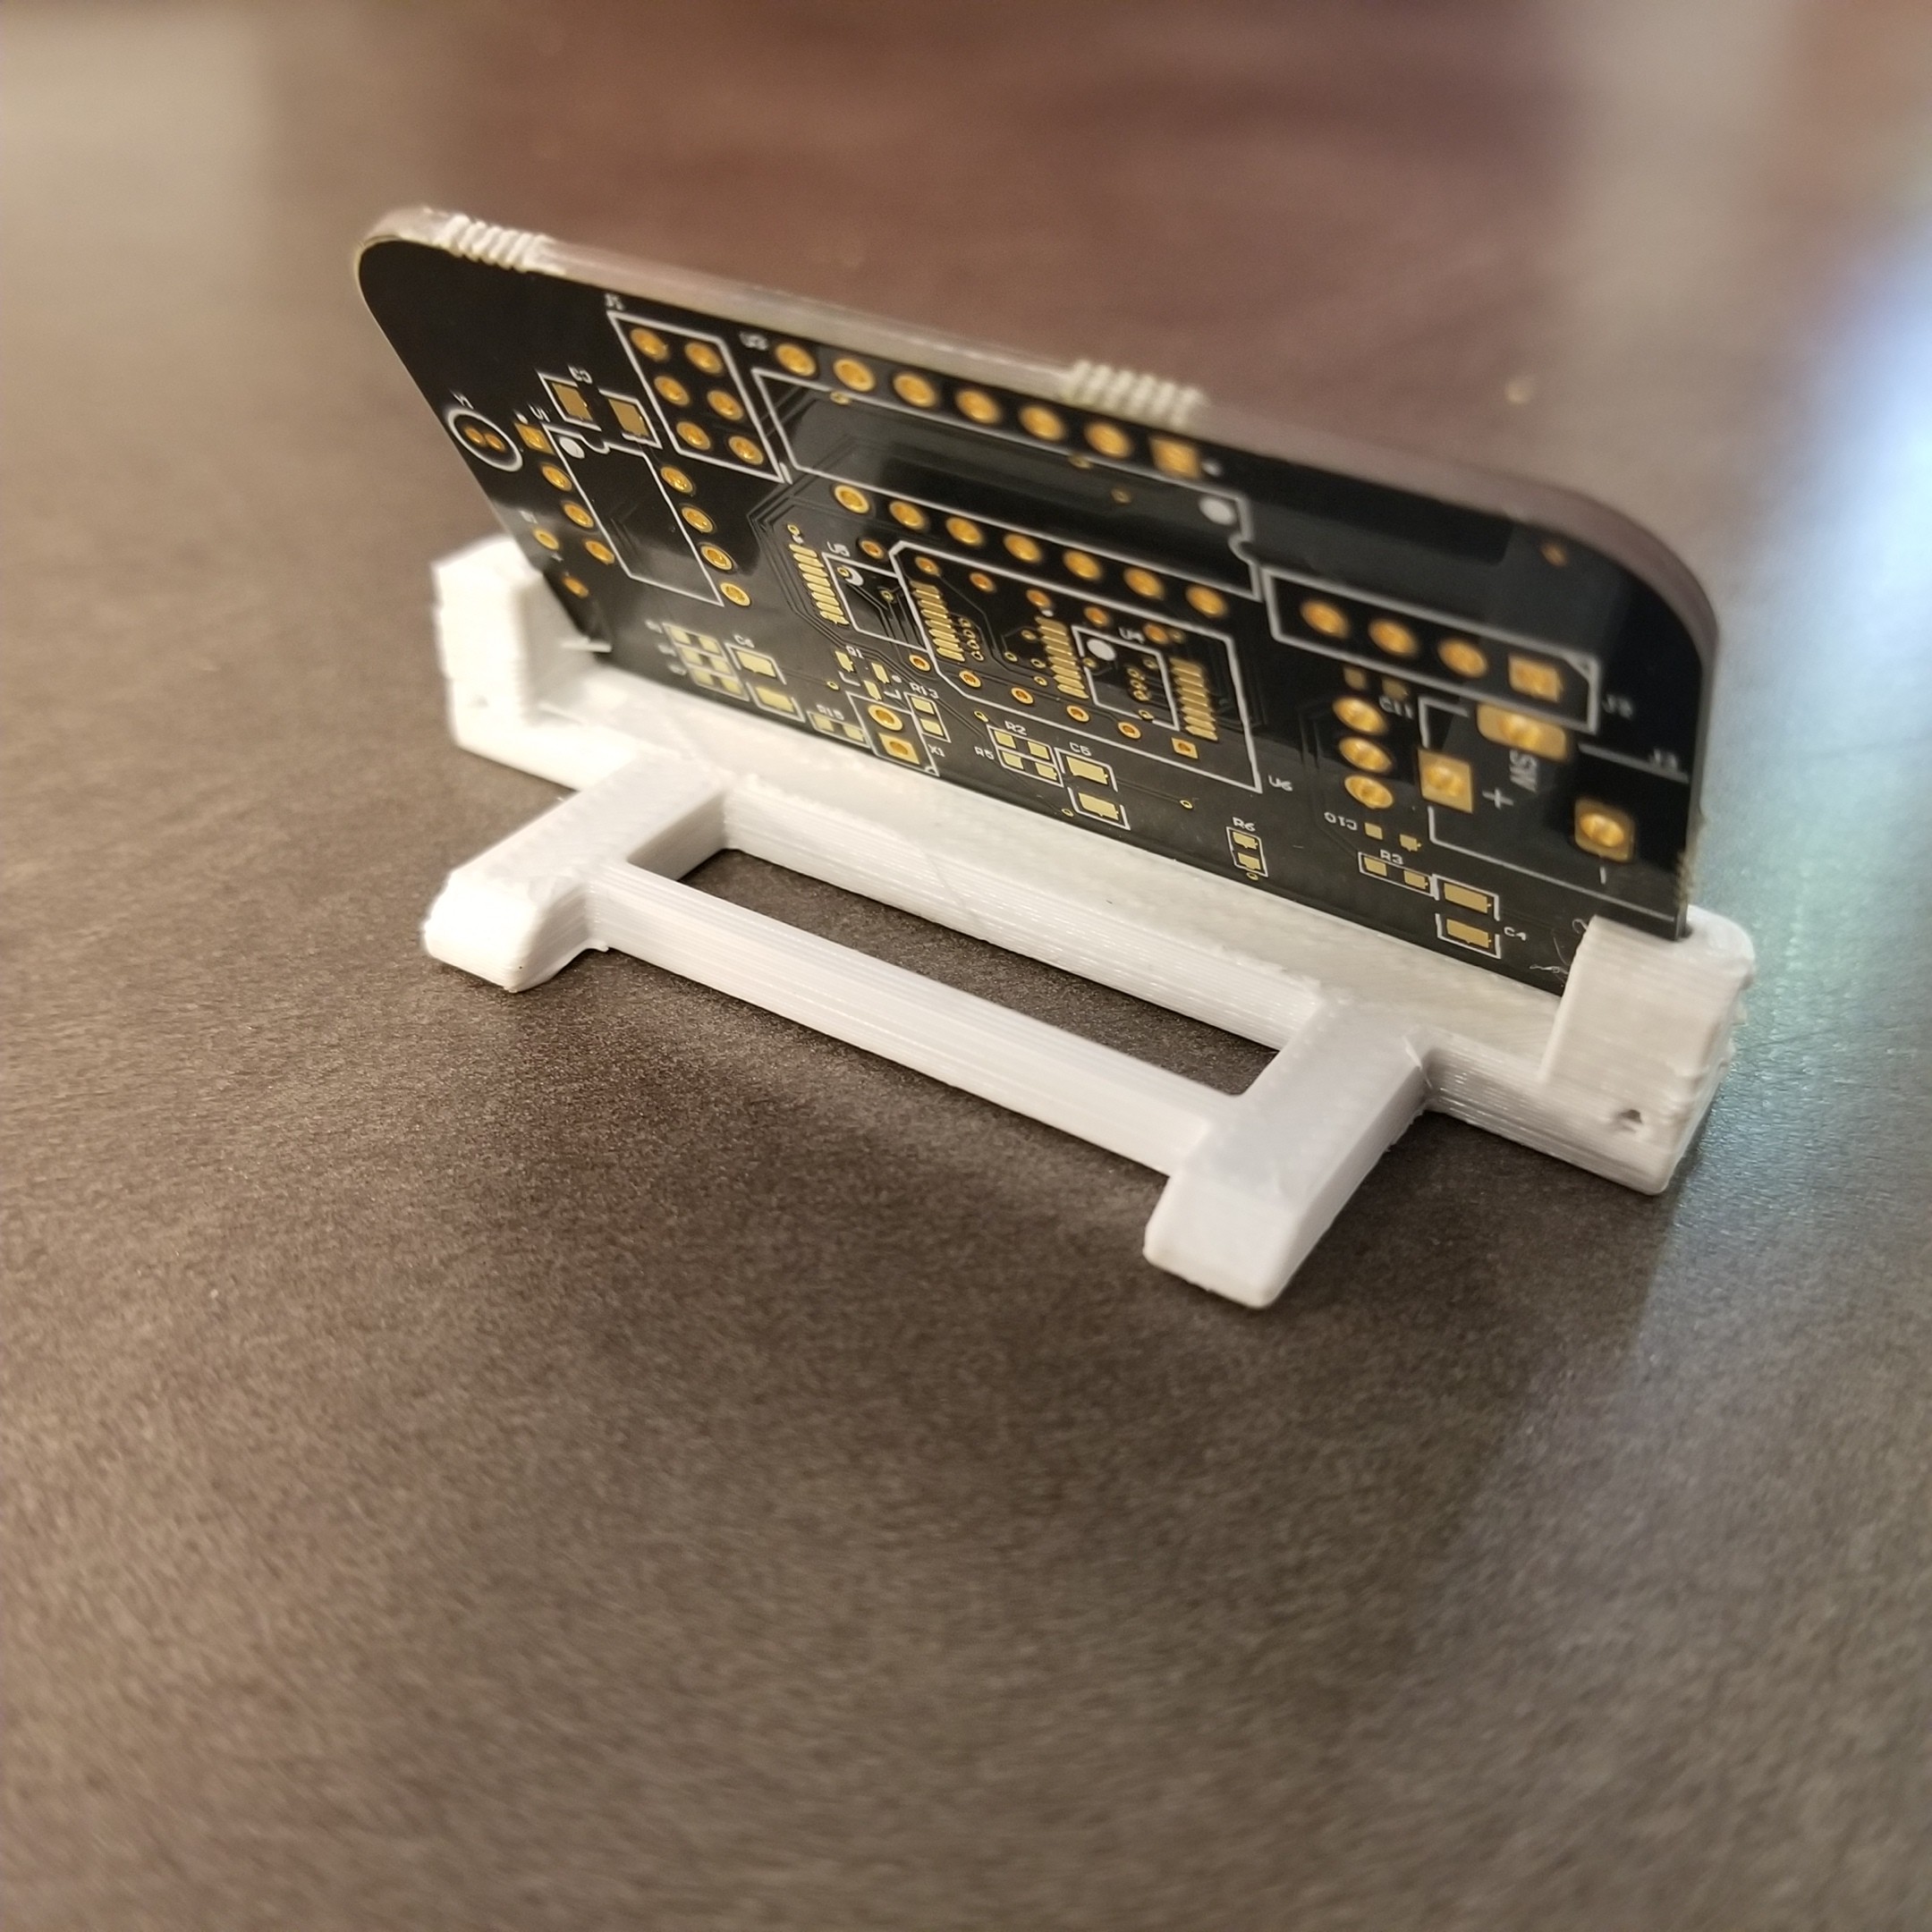
07/14/2018 at 19:06 • 0 commentsParts for the clock have finally been ordered from @Digi-Key Electronics , The base has also been printed as well. it's needs a few tweaks but I think the minimalist design works.
![]() .
.![]()
-
A Case for a clock.
05/05/2018 at 20:58 • 5 commentsI want to do something I haven't done yet, but I can't quite seem to figure out what it is yet. I know I want a sudo steampunk style clock (I think..)
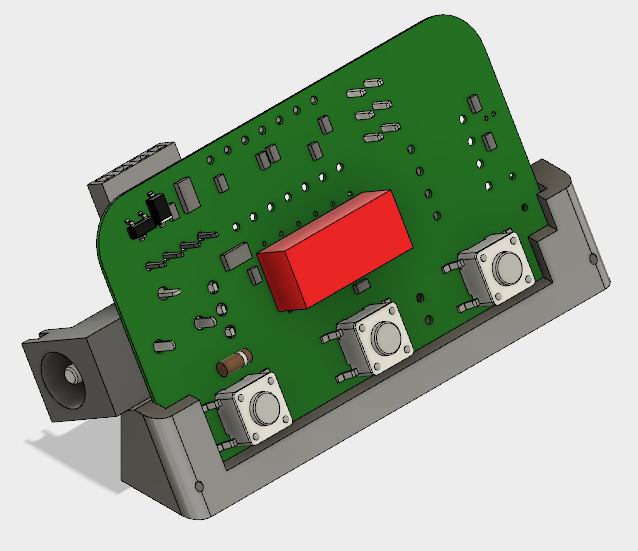
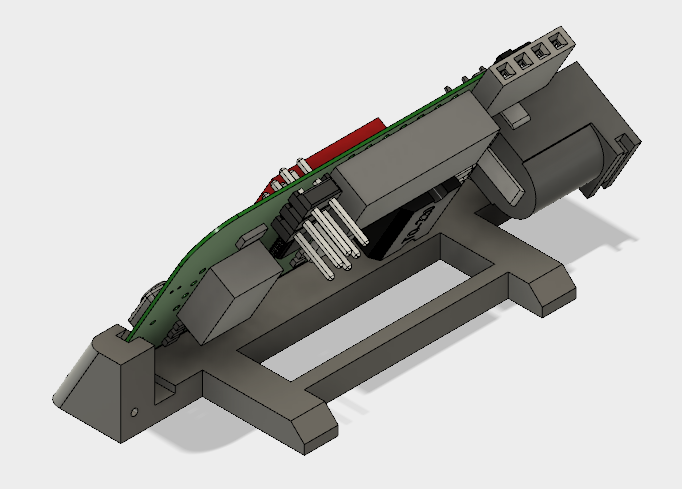
So I have designed a very minimalist case for the clock that has it sitting at a 30* slant. The Idea is to use this case and some rather thick copper wire to hold a lense, much like the ones found in the Google cardboard VR systems.
This lens does a pretty good job of magnifying things and even though these displays are quite readable I think a lens held in an interesting way could be fitting. Also painting the case is a must. Until then here are a few pics of the er stand.
Until next time. Boards are in fabrication, hopefully I will be putting one together soon. :)
-
Schematics finished for R0.2, Boards Ordered!
04/28/2018 at 05:29 • 0 commentsI always have this nagging feeling that I should wait a week to let things settle before ordering boards.. but then there ordered so there's nothing I can do about it :)
so the boards are on the way. I wanted to use @oshpark but every dollar counts atm, I'm on a super tight budget, sorry guys love your boards.
The schematics for R0.2 should be up soon. I'll do a post giving a break down on some of the design decisions.
I want to get the design done before I release to you guys, I don't want you ordering a bunk board. :)
Things that have been added, are
- Three user buttons using one pin
- A half duplex uart using one pin (I'll credit original work when on my computer)
- Battery for rtc
- Buzzer for alarm
I was going to add an esp-03 module for internet time, but it wouldn't fit with the TH parts. When I get my hobby budget back in order I'll do a minimized version.
Until next time.
-
Thoughts on obtaining time.
04/05/2018 at 22:06 • 0 commentsI have one requirement for the clock that it should automatically get the time. I'm leaning towards a wwvb receiver. I like the idea of an NTP server but then you have to configure the clock for wifi etc and wifi might not always be available.
I did find a discrete wwvb receiver online by Pete McNeil (link) that seems to perform well, I'm just curious how small I can make the antenna.
Any thoughts?
-
Moving.
04/05/2018 at 21:15 • 0 commentsI'm currently in the process of moving, so most of my home lab and what not has been packed away -_-.
Just letting everyone who is interested know the project is not dead, I can still work on the firmware etc for the time being. Ill get a post up soon with an enclosure or something.
Until then have fun. -
Getting to menus
03/02/2018 at 02:34 • 0 commentsOk this update wont be huge, just a small update on the progress so far.
Menus:
I have a simple menu in place now with 2 buttons being shared by the same ADC. One as Enter and the Other as select. This will allow the user to set the time, alarm, date etc.
EEPROM:
The Attiny84A's eeprom is super easy to deal with thanks to the library included with AVRGCC. I have alarm settings, # of device resets (for fun), and a last stored time for when the power cuts off.. (haven't figured out how this would be useful yet, as the DS1307 uses a battery backup.) I just wanted to mess with the eeprom.
ADC's:
The adc was a bit tricky to get working, but now that I have found a few forum posts on how to use them it works a treat with interrupts.
Display:
Nothing has really changed in this category aside from displaying time in 12 hour format, this will be configurable in the settings.
At this point, I can design a board and feel I should have everything I need to further work on the clock with a PCB fabricated. I plan on making a 3d printed case for it as well. The clock will run off a 9V battery. But this may change as I have not tested the power consumption yet.
Next update will be bigger, promise. The github repo has been updated with the latest firmware as well. Also when I get the schematics finished I will put them here as well.
-
ok i lied,, back to atmel. We have basic clock!
02/13/2018 at 07:16 • 0 commentsIt's exiting when something works!
We have a clock! turned out I was using the wrong address for the RTC.... have to remember its 0xD0 not 0x68.... coding all day at work then doing so at home... you miss a lot of little things..
![]()
This clock turned out much, much easier than my micro numitron clock project. Code wise, I ended up using the i2cMaster library from Peter Fleury i2cmaster library, its a bit banged assembly library that just works and its amazing!
Ok so now to the rastering or how we control the 74HC595's
The 595's in this setup are cascaded together, they both share the same CLOCK andLATCH pins, the first 595 gets the DATA pin from witch we feed it a 12 bit binary number, the first 595 also feeds the rest of the bits to the other 595 via Q7` (that's prime). The 595 can only hold 8 bits of data, so when this overflows ( you push 9 bits) if available it will push the 1st bit your MSB to the Q7` pin witch is then connected to DATA pin of the second 595 and so on and so on.
Here's how getting the digits displayed it structured.
[digit symbol] [display digit]
[8 bits ] [ 4 bits ] = total 12 bits.
this is all read out LSB first so the Anode positions go out first ie 0b1111... 0b1110.. etc since the Digits bits are Anodes we need to sink current so in order to turn a digit off, we simply write a 1 in its position.
looking at the photo ^, we see, as I have have arranged them in code. Pos 3, 2, 1, 0. so
Pos 3 = 0b0111
Pos 2 = 0b1011
Pos 1 = 0b1101
Pos 0 = 0b1110so how do we raster them, if we were to send say all digits like so 0b0000, then the symbol that got sent out would display across all of the digits.. we don't want that. So our goal is to light each digit space one by one at a super fast pace, so it looks like they are all on at the same time.
so for instance.
while(1){
    send(0b0111);
    send(0b1011);
    send(0b1101);
    send(0b1110);
}
Really all we are doing is just sending the bits we want really fast to the 595's. You can see this effect if you take your phone camera and point it at a screen or clock (digital) you will see the digits flicker, this is the rastering effect. the camera is fast enough that it can see the flicker where as usually past 60-120 hertz the human eye just sees a constant image. pretty cool.
I will leave the test code in the main program on the repo in case anyone is interested in looking at how I tested things. a quick note. For those of you not familiar with C
#if 0
    foo
#else
    bar
#endif
This statement will only run bar, unless #if is 1. this is a good way to comment out code for future testing or use, the compiler will not compile anything in the #if 0 statement into your final output. this can save lots of space if perhaps you have lots of debugging code in place.
Next up is a simple interface to set time, display seconds. etc. I need to setup an interrupt for the output of the DS1307, so we can flash one of the DP lights to indicate seconds.
Until next time :)
-
Switching gears, (micros?)
02/13/2018 at 03:55 • 0 commentsShort update.
OK, I love the Attiny series of micro controllers. I love Atmel. But their USI hardware always bites me in the butt..
So I have a spare MSP430G2553 sitting on my desk. I have already created the I2C master library for another project I was using this micro controller on. We shall see how this goes.
On the Atmel front, I have found a few library's that are pretty awesome for debugging etc. They are from the Tinysaur project, owowod library. This allows for a single RX pin to help with debugging. pretty sweet.
So I will be transferring most of the code over to a code composer project. We should have a clock shortly.
I will make another project log detailing the use of the 74HC595's and rastering etc.
-
Counting 1..2..fail...
02/11/2018 at 08:26 • 0 commentsThis part proved a bit challenging, I was up until 2am last night trying to get my timing and what not right... not really any luck. Fast forward to tonight.
Isn't this usually how it goes, usually a conversation with yourself.
"Man! I just don't know why this stupid thing isn't working write.. I'm pretty sure my code is right.."
checks code for the 50th time, makes some changes, tries again, still not working right.
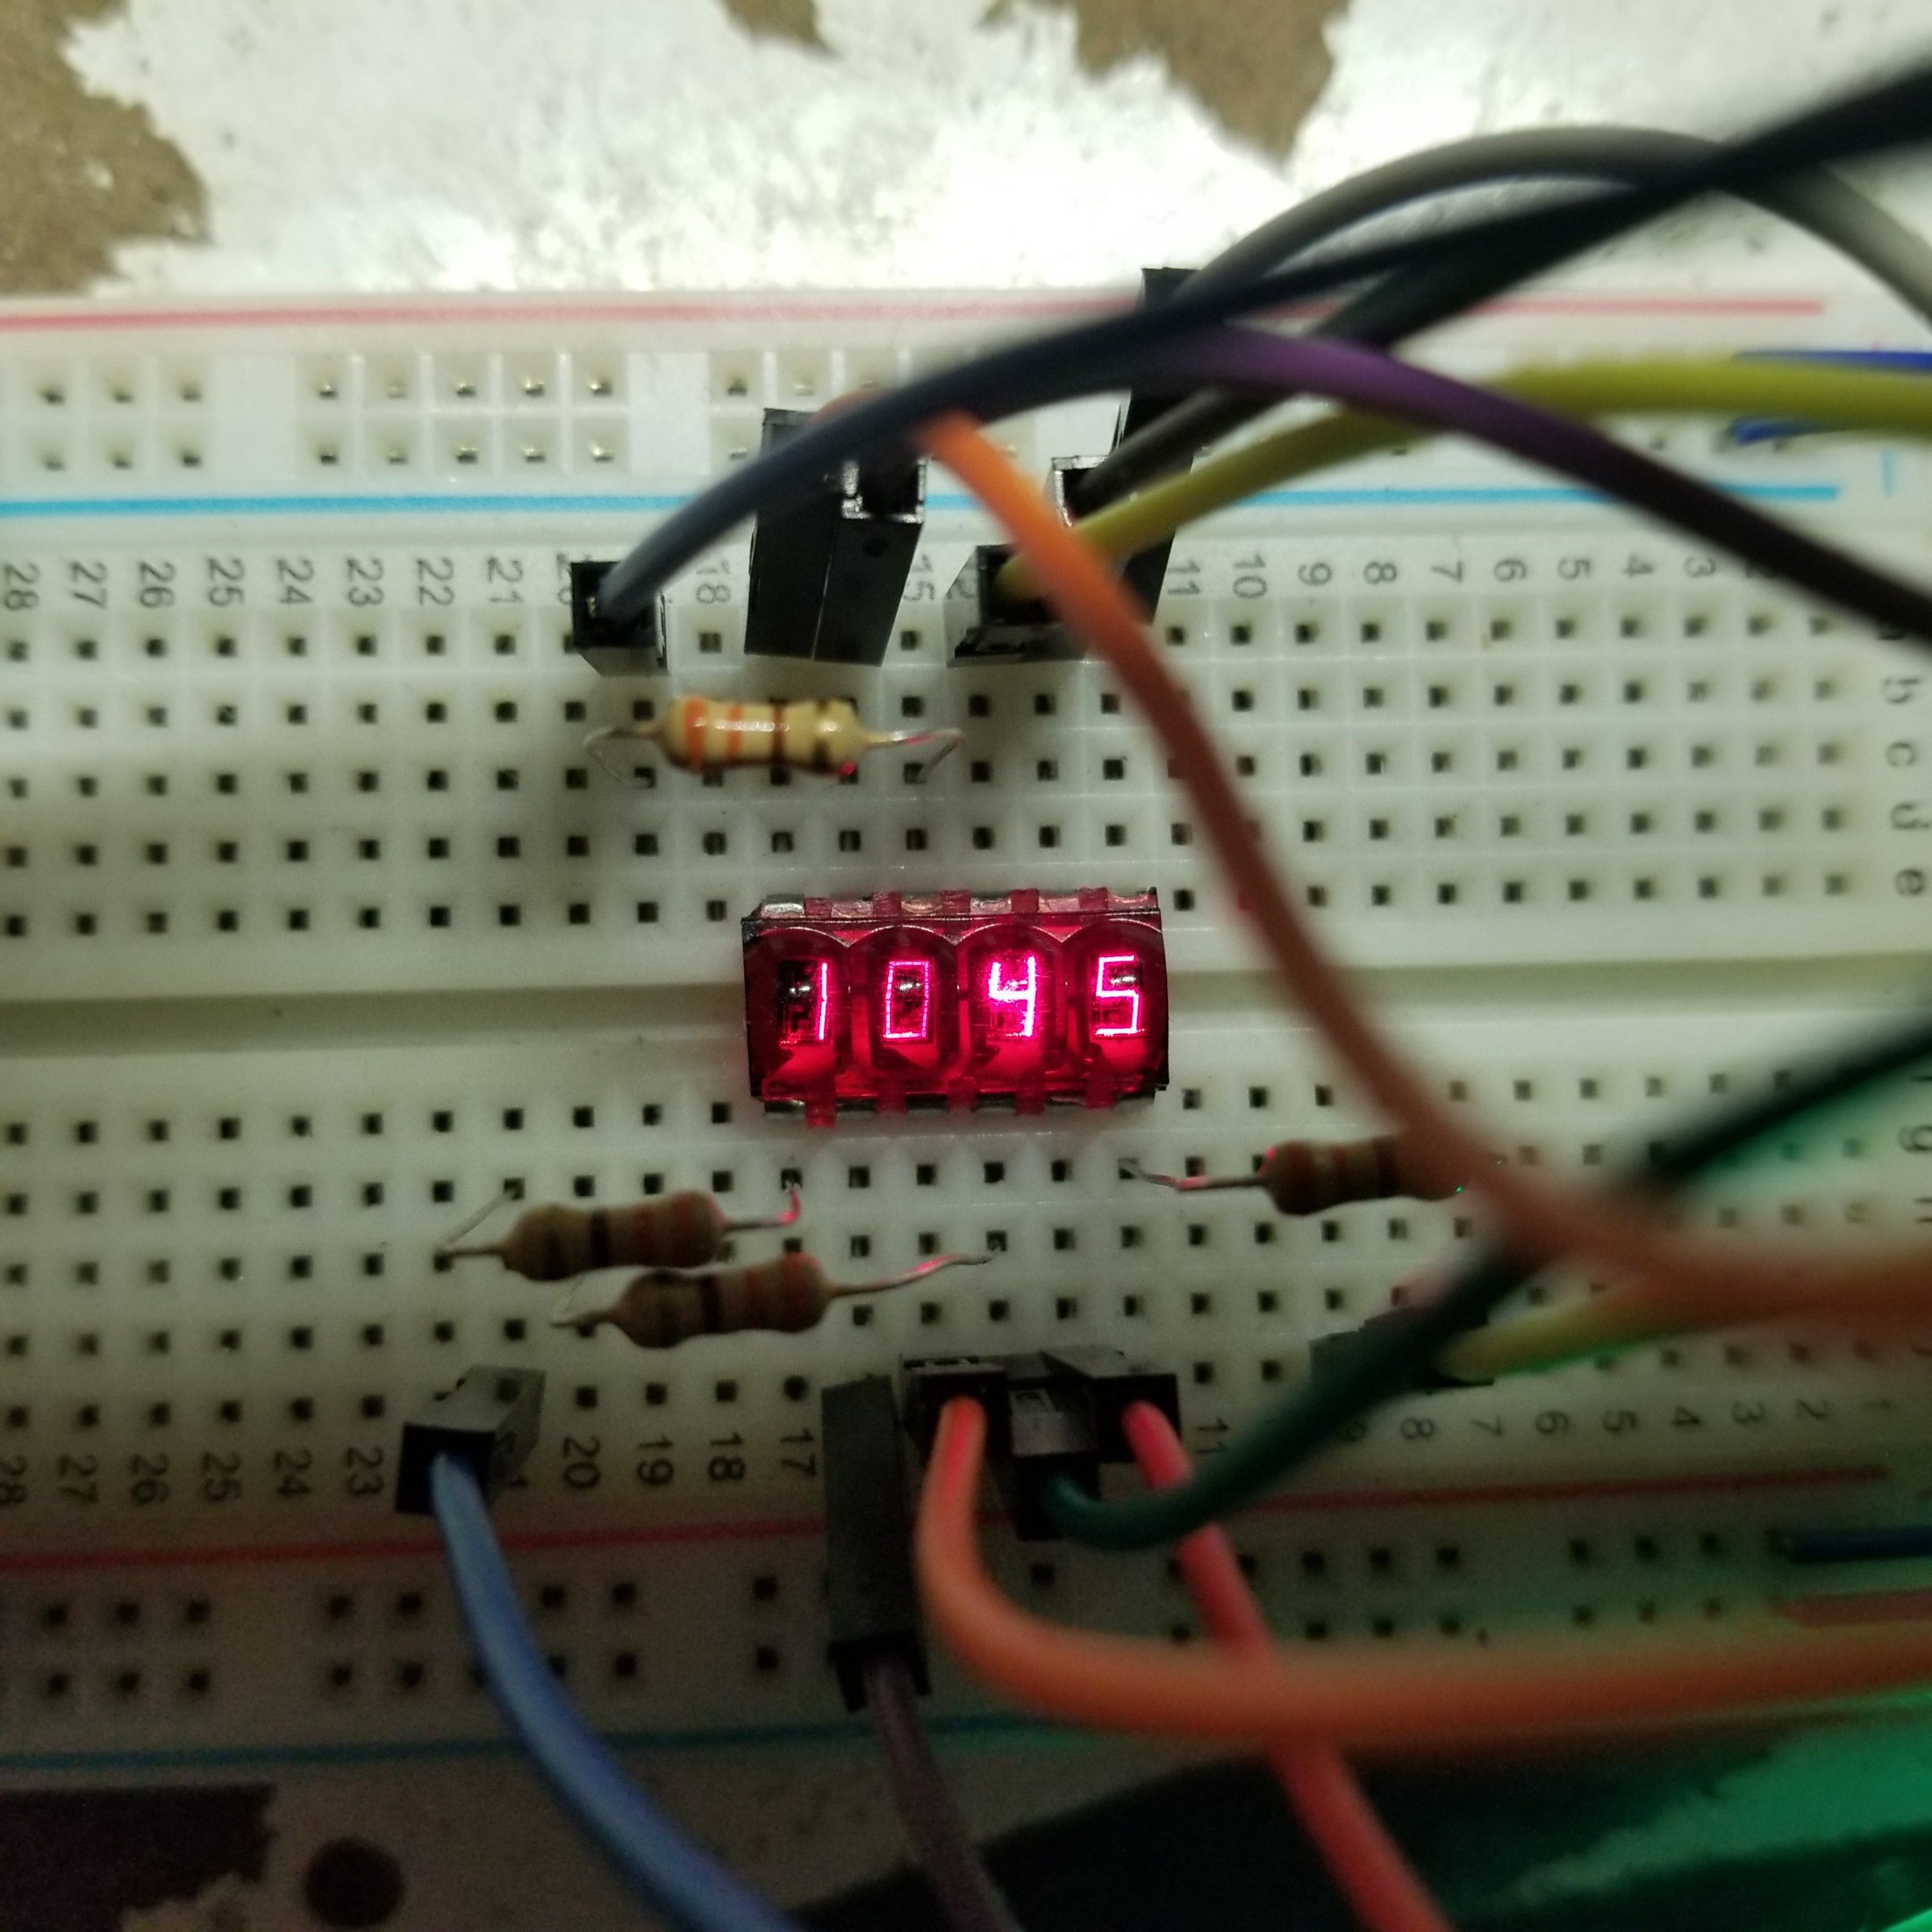
"mmm well that kind of looks like a 1... " for some unknown reason you look at the bottom of the bubble display only to find out that at 2am while in your half insane state you put the chip on the bread board backwards ....
"Oh ya, that will do it... "
Getting stuff on the board!
I will admit I am not one for writing reports or anything highly detailed but I am going to try this time,. really, hard to make this reproducible on your own..
Our micro controller of choice is an Attiny 84A, awesome little hunk of plastic that internally runs at 8Mhz (after you clear the divide by 8 fuse, more on that later.) A bunch of HP bubble displays that require you to raster the numbers in order to make a decent display, trust me 1Mhz is not fast enough.
So how do we control this display when the Attiny 84A only has, 12 pins 10 if you want to use I2C and even less since we need reset functionality.
The display itself has 12 pins 4 Anodes, and 8 Cathodes. I wont go into great detail on this little guy as Sparkfun has done an awesome job preparing you for the use of this device (https://learn.sparkfun.com/tutorials/bubble-display-hookup-guide), We control this device with only 3 pins :)
Enter the 74HC595:
Probably the electronic hobbyists best friend on a bread board. This thing can turn 3 pins into 8 and cascade into even more with other 595's, 8, 16, 24, 32 .. etc all with 3 pins. It can also act as an input device! Amazing! so we are going to use 74HC595's to control the display.
Again there are hundreds of tutorials on the 595's out there that I will not be going into detail, aside from some code. I am sure there are some C library's for its use as well, but I like doing things the hard way.. I will update the details when I finish the library for the 74HC595. It's rather simple.
 Jeremy g.
 .
.