-
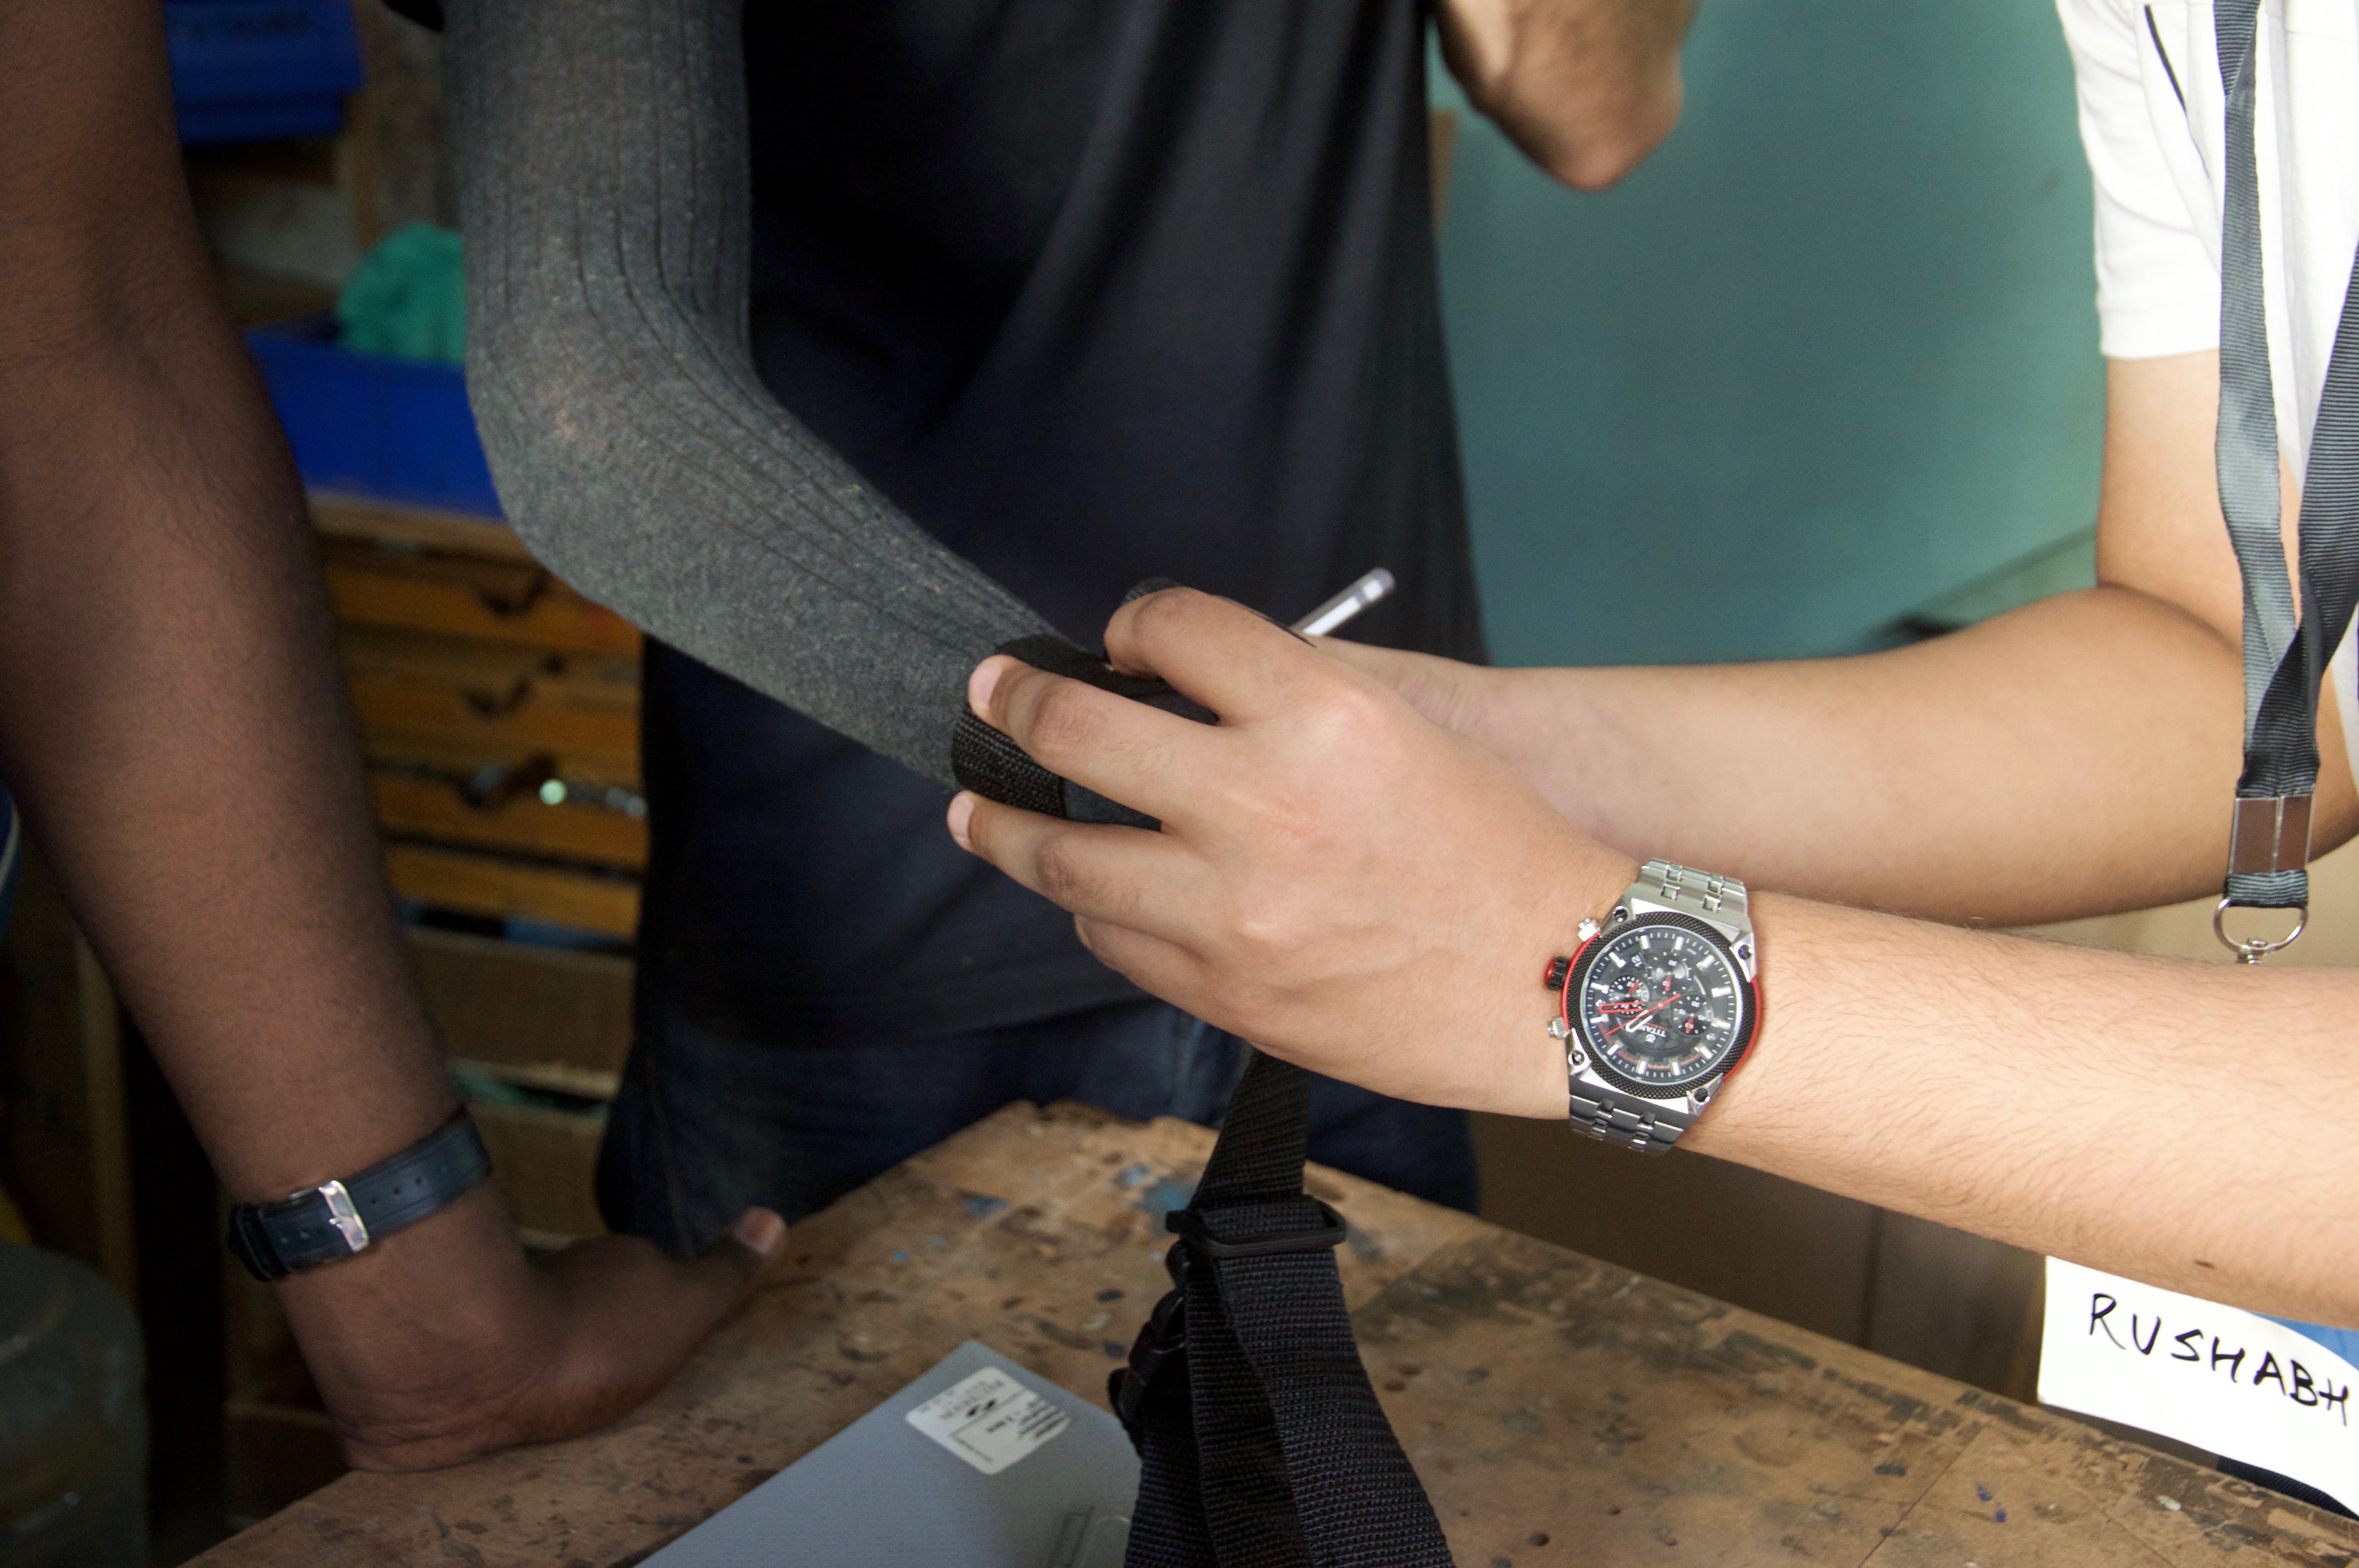
1Measure the dimensions of the arm.
Measure the circumference of the arm at two points between which the prosthetic arm socket has to be attached.
![]()
-
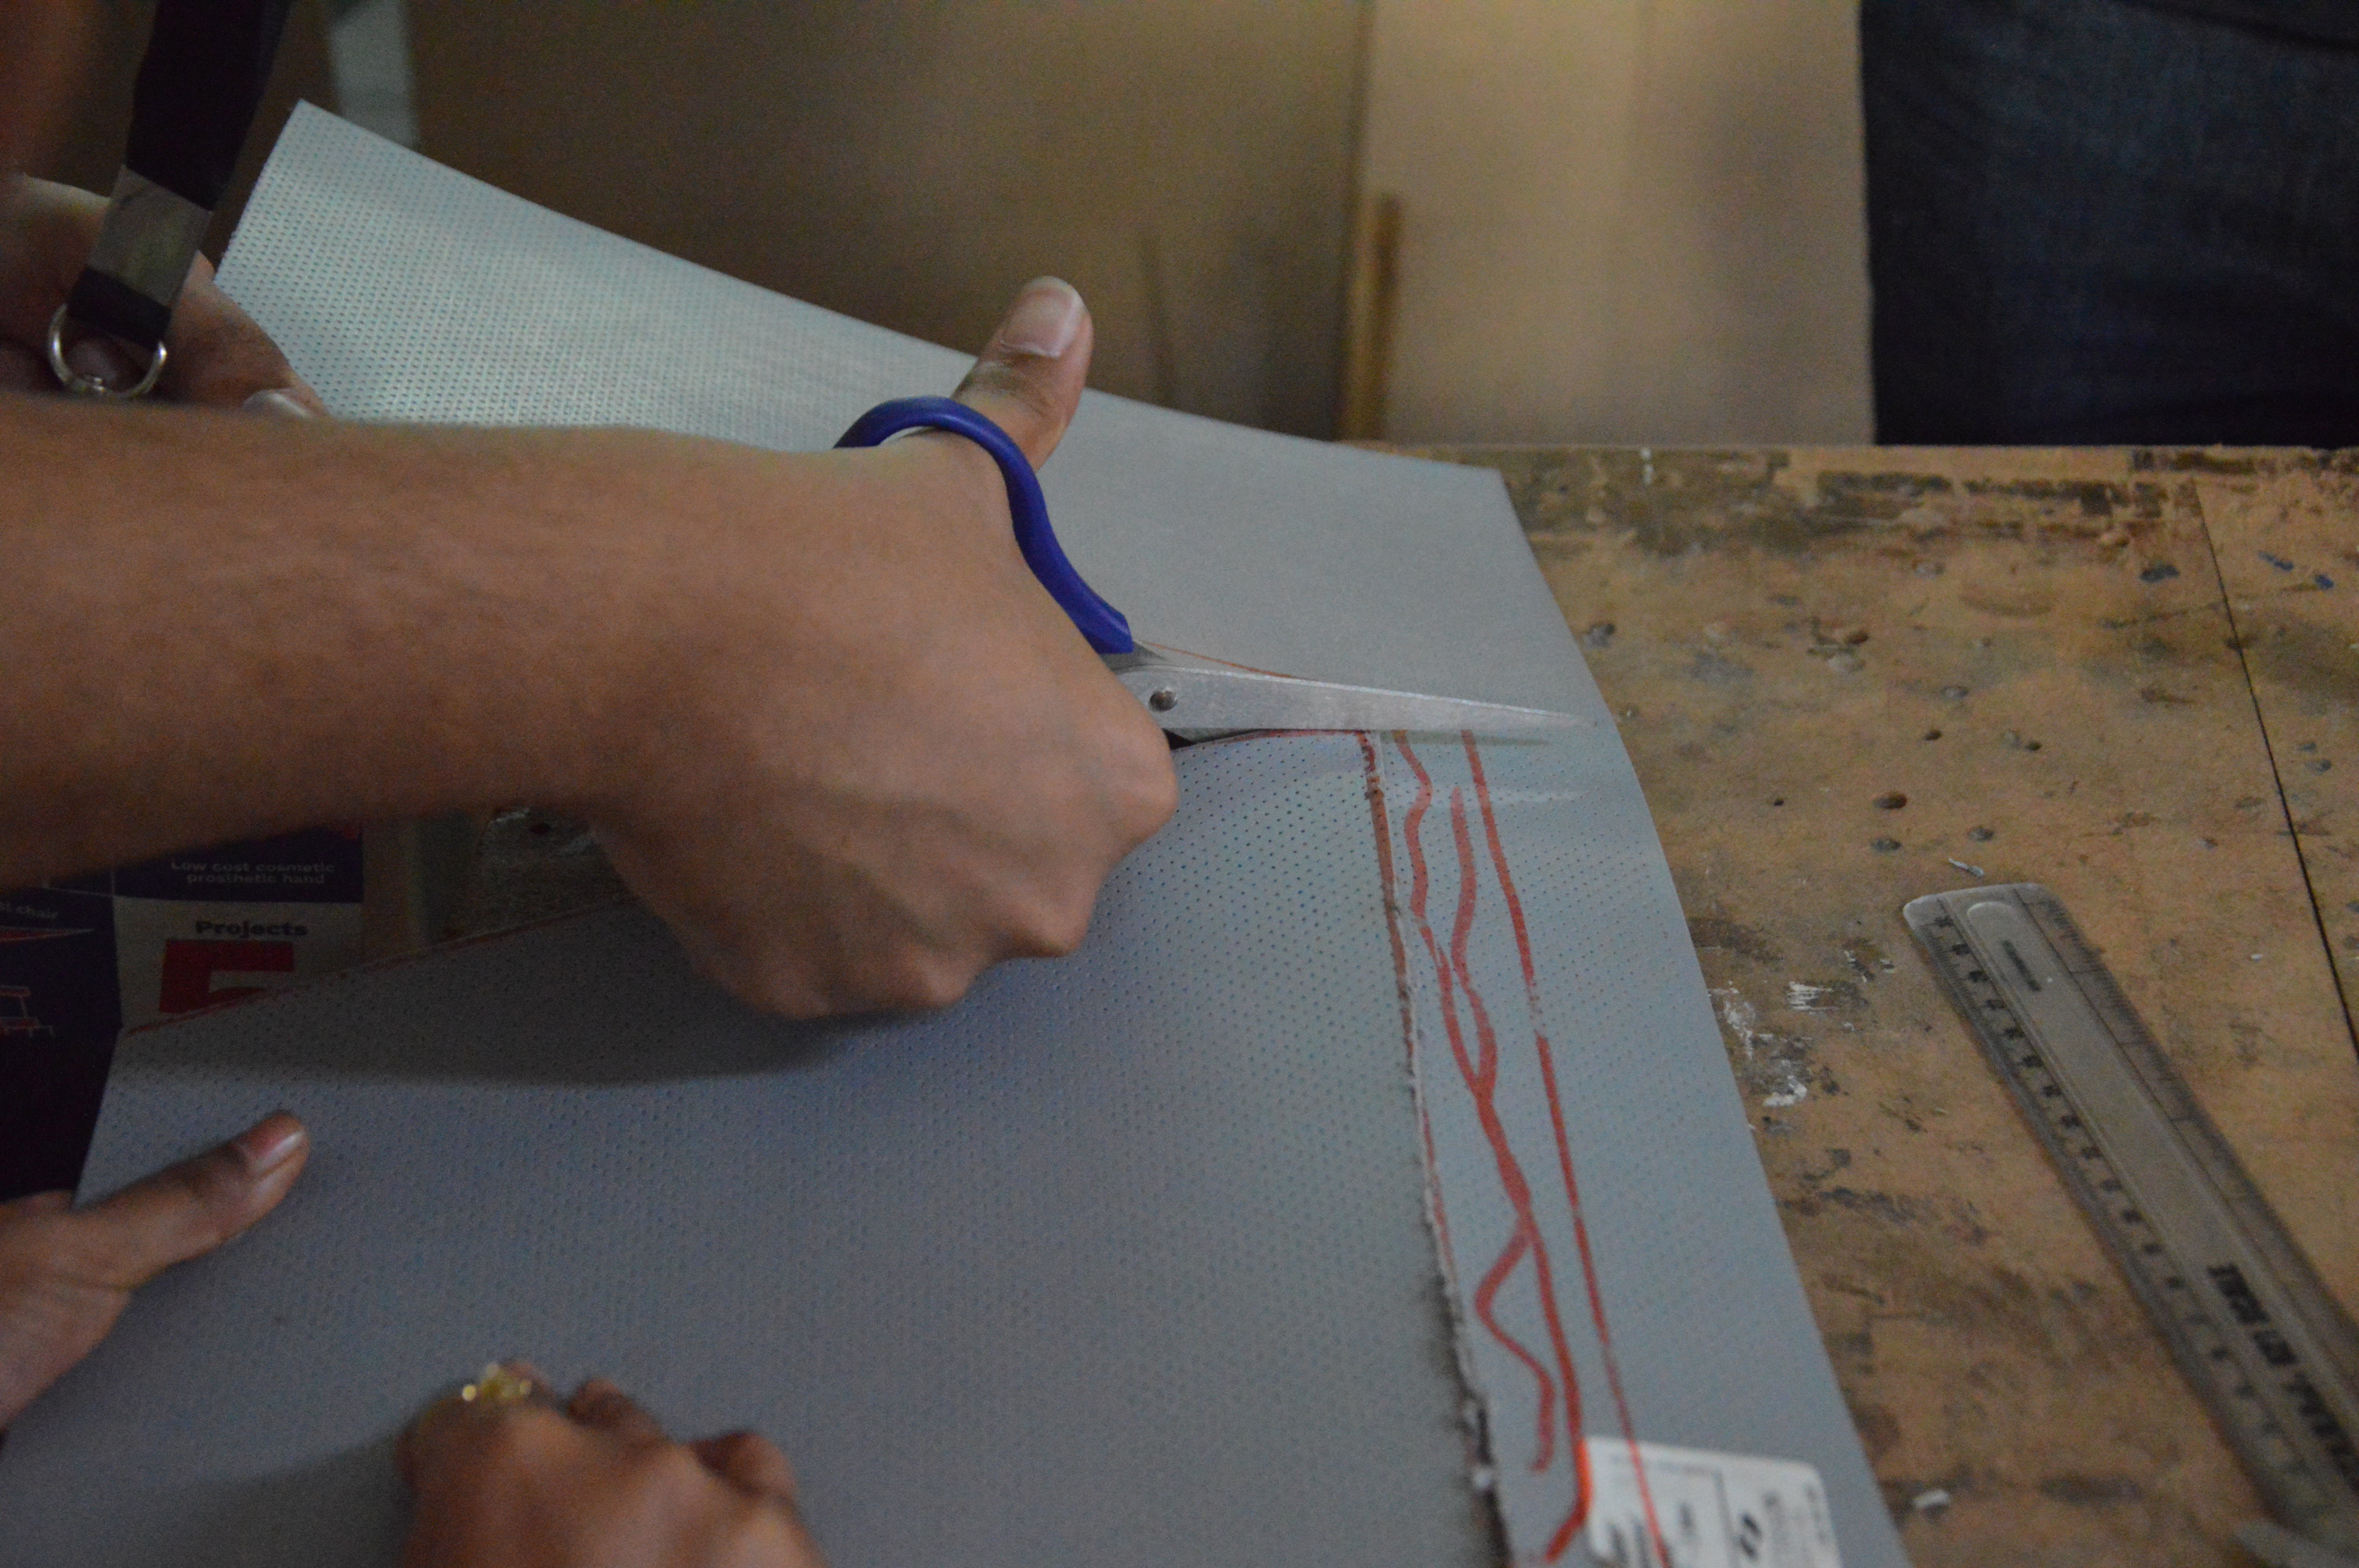
2Cut the Thermoplastic Material.
Mark and then cut the Thermoplastic material as per the earlier measured dimensions.
![]()
-
3Heat the Thermoplastic Material.
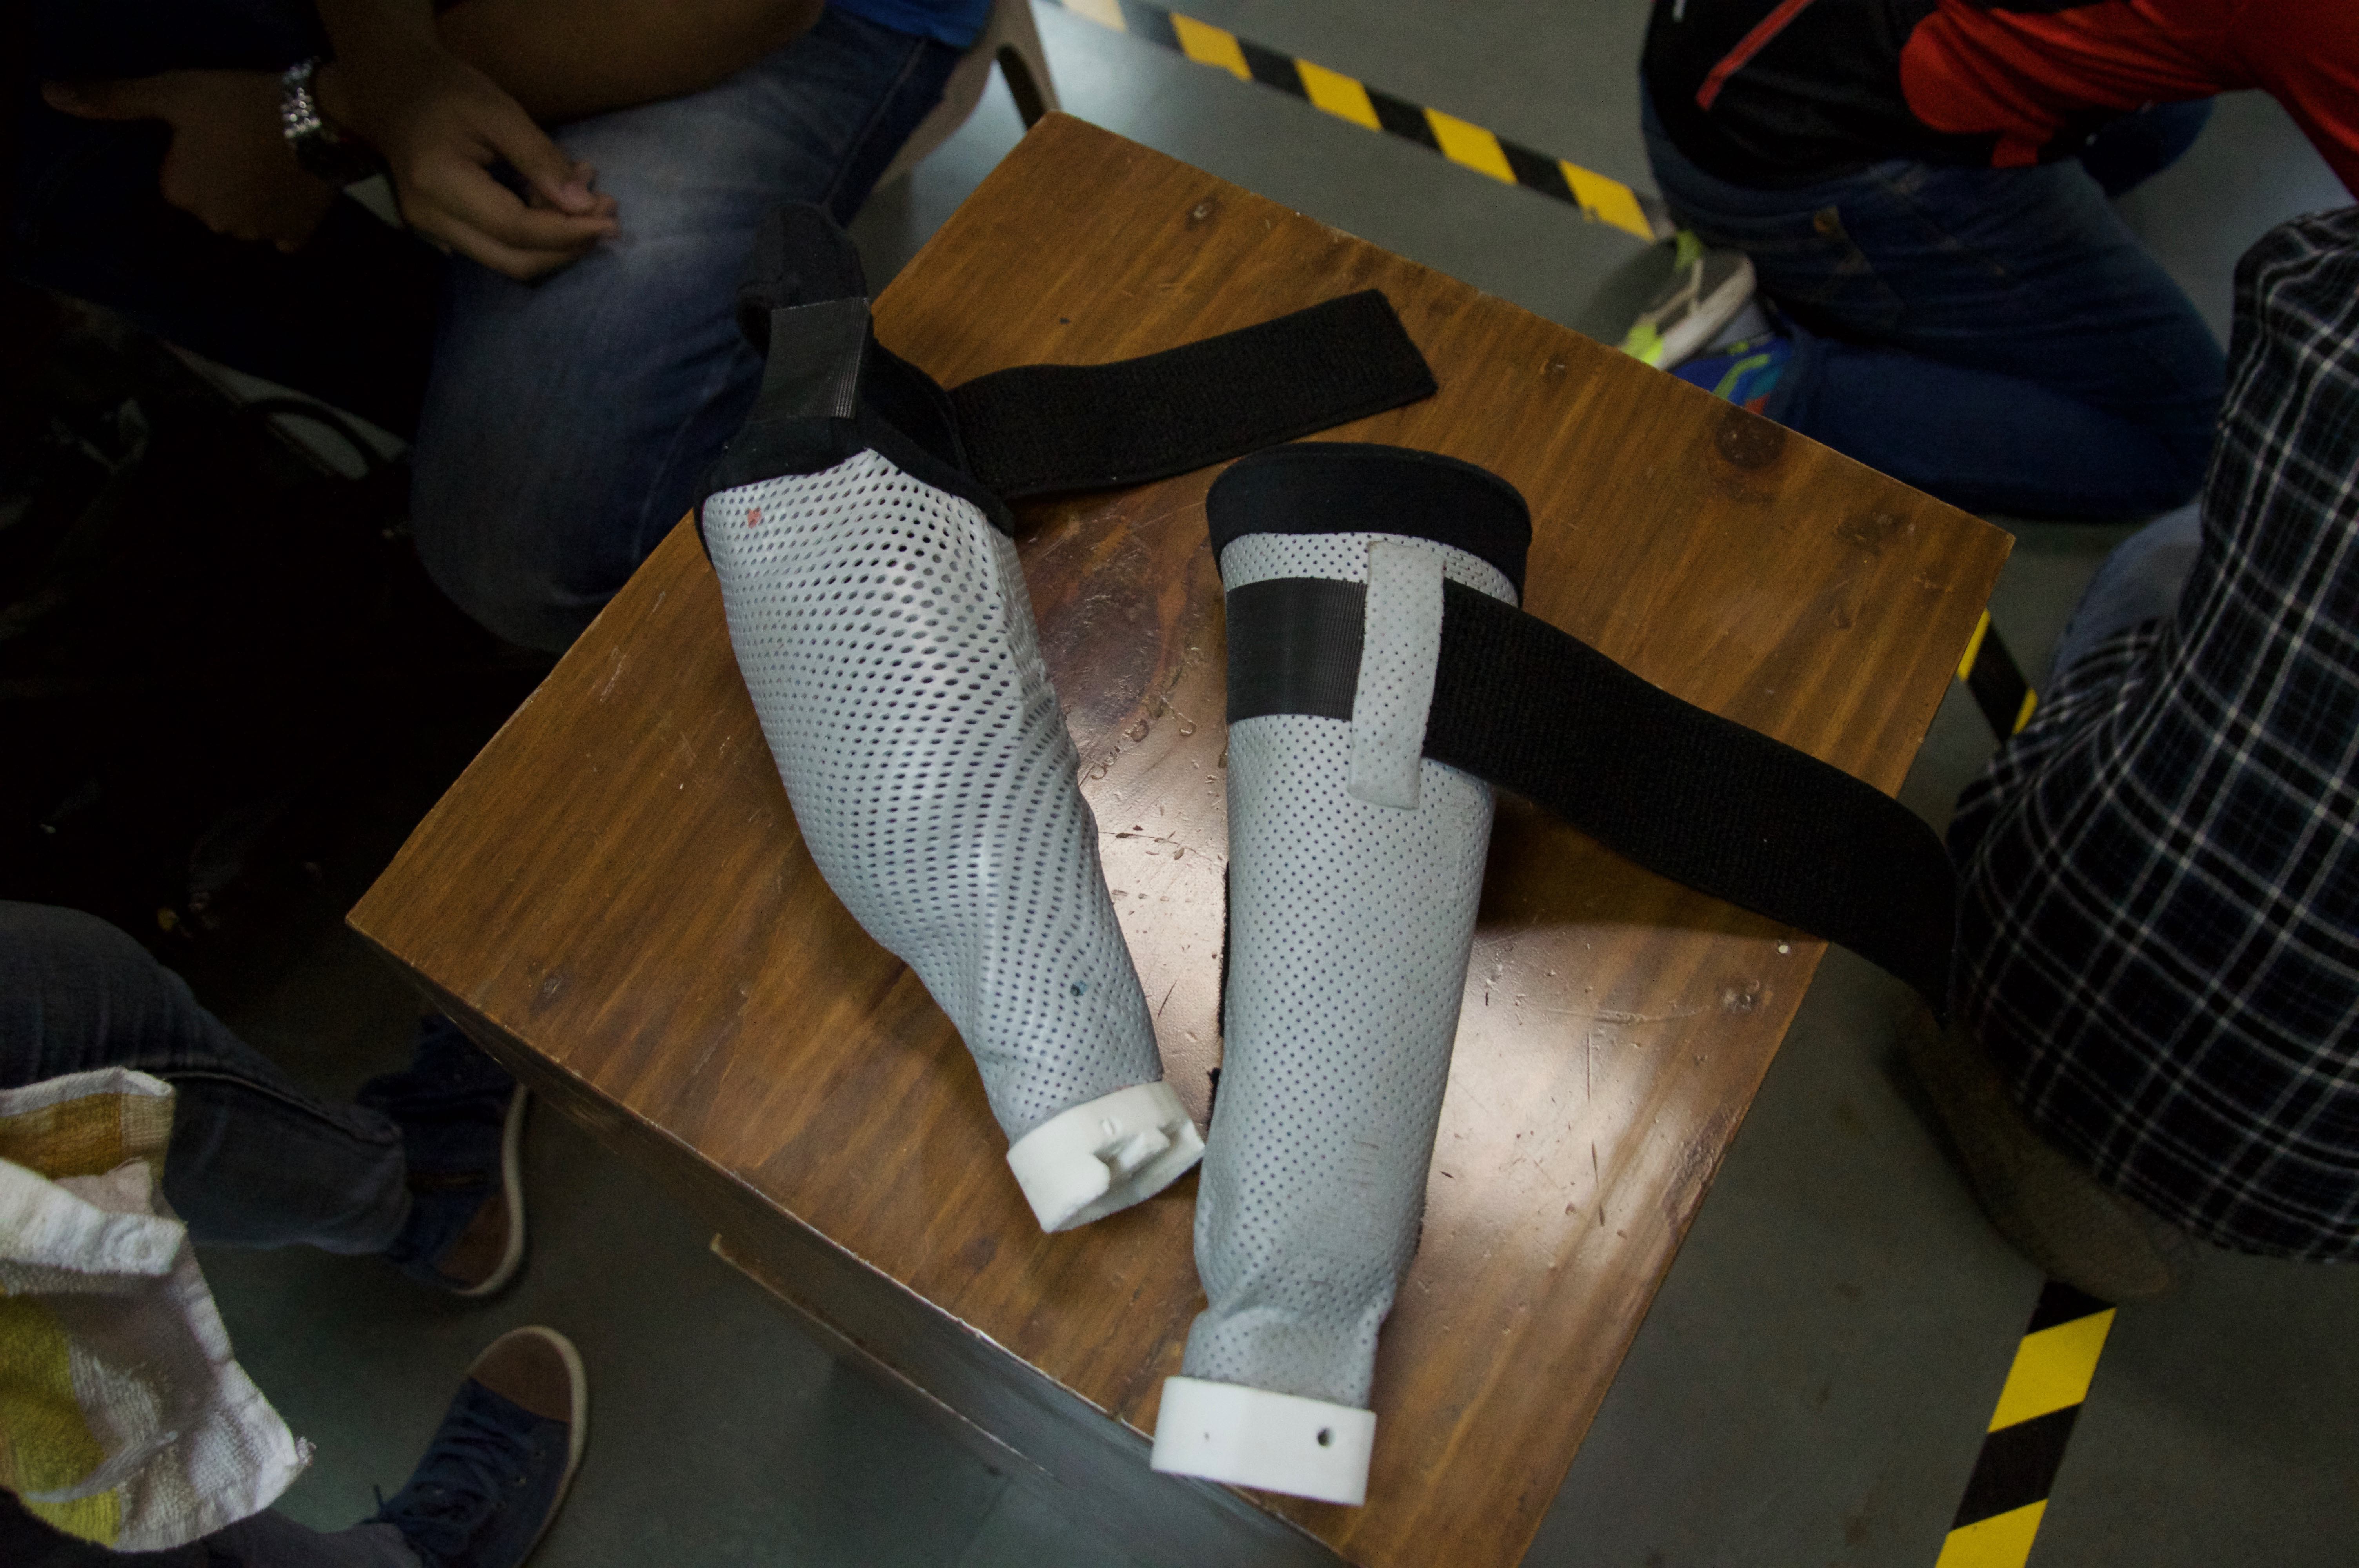
Use a heat gun to heat the sized Thermoplastic material until it is malleable enough to apply.
![]()
-
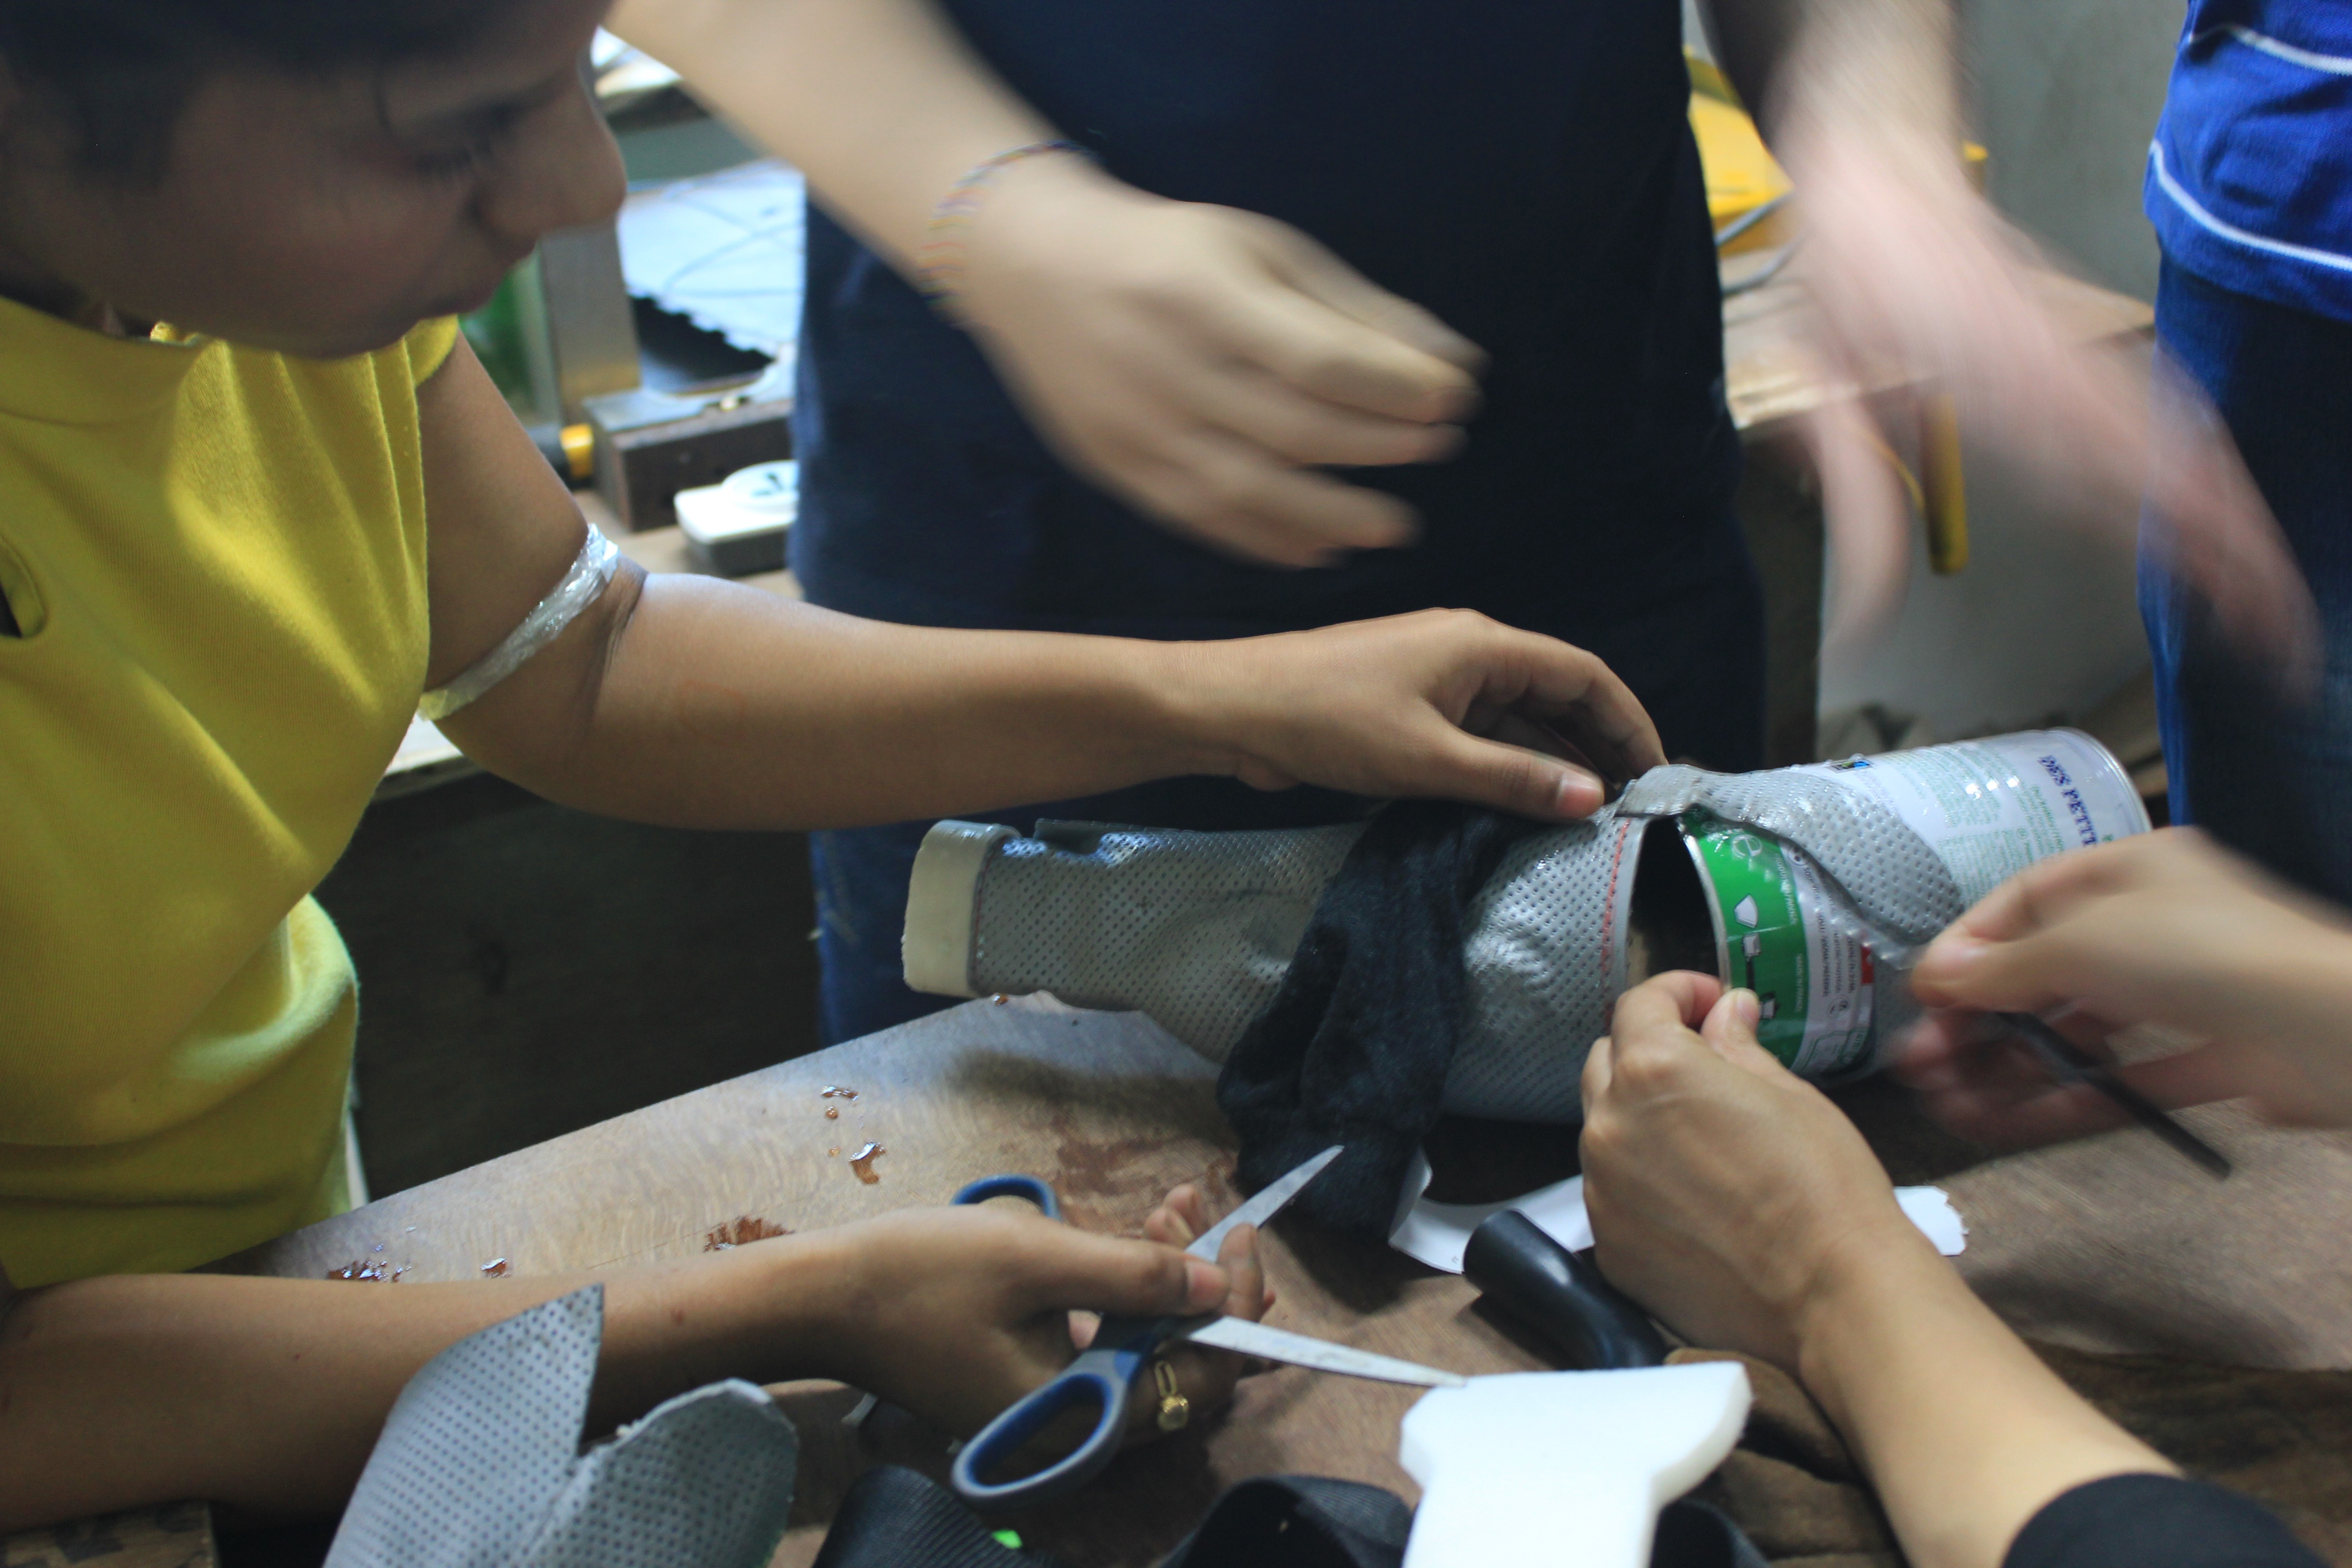
4Moulding the Thermoplastic.
A. Firstly prepare the arm on which the prosthetic by putting insulating material on the hand.
B. Then slowly apply the heated plastic on to the arm.
![]()
-
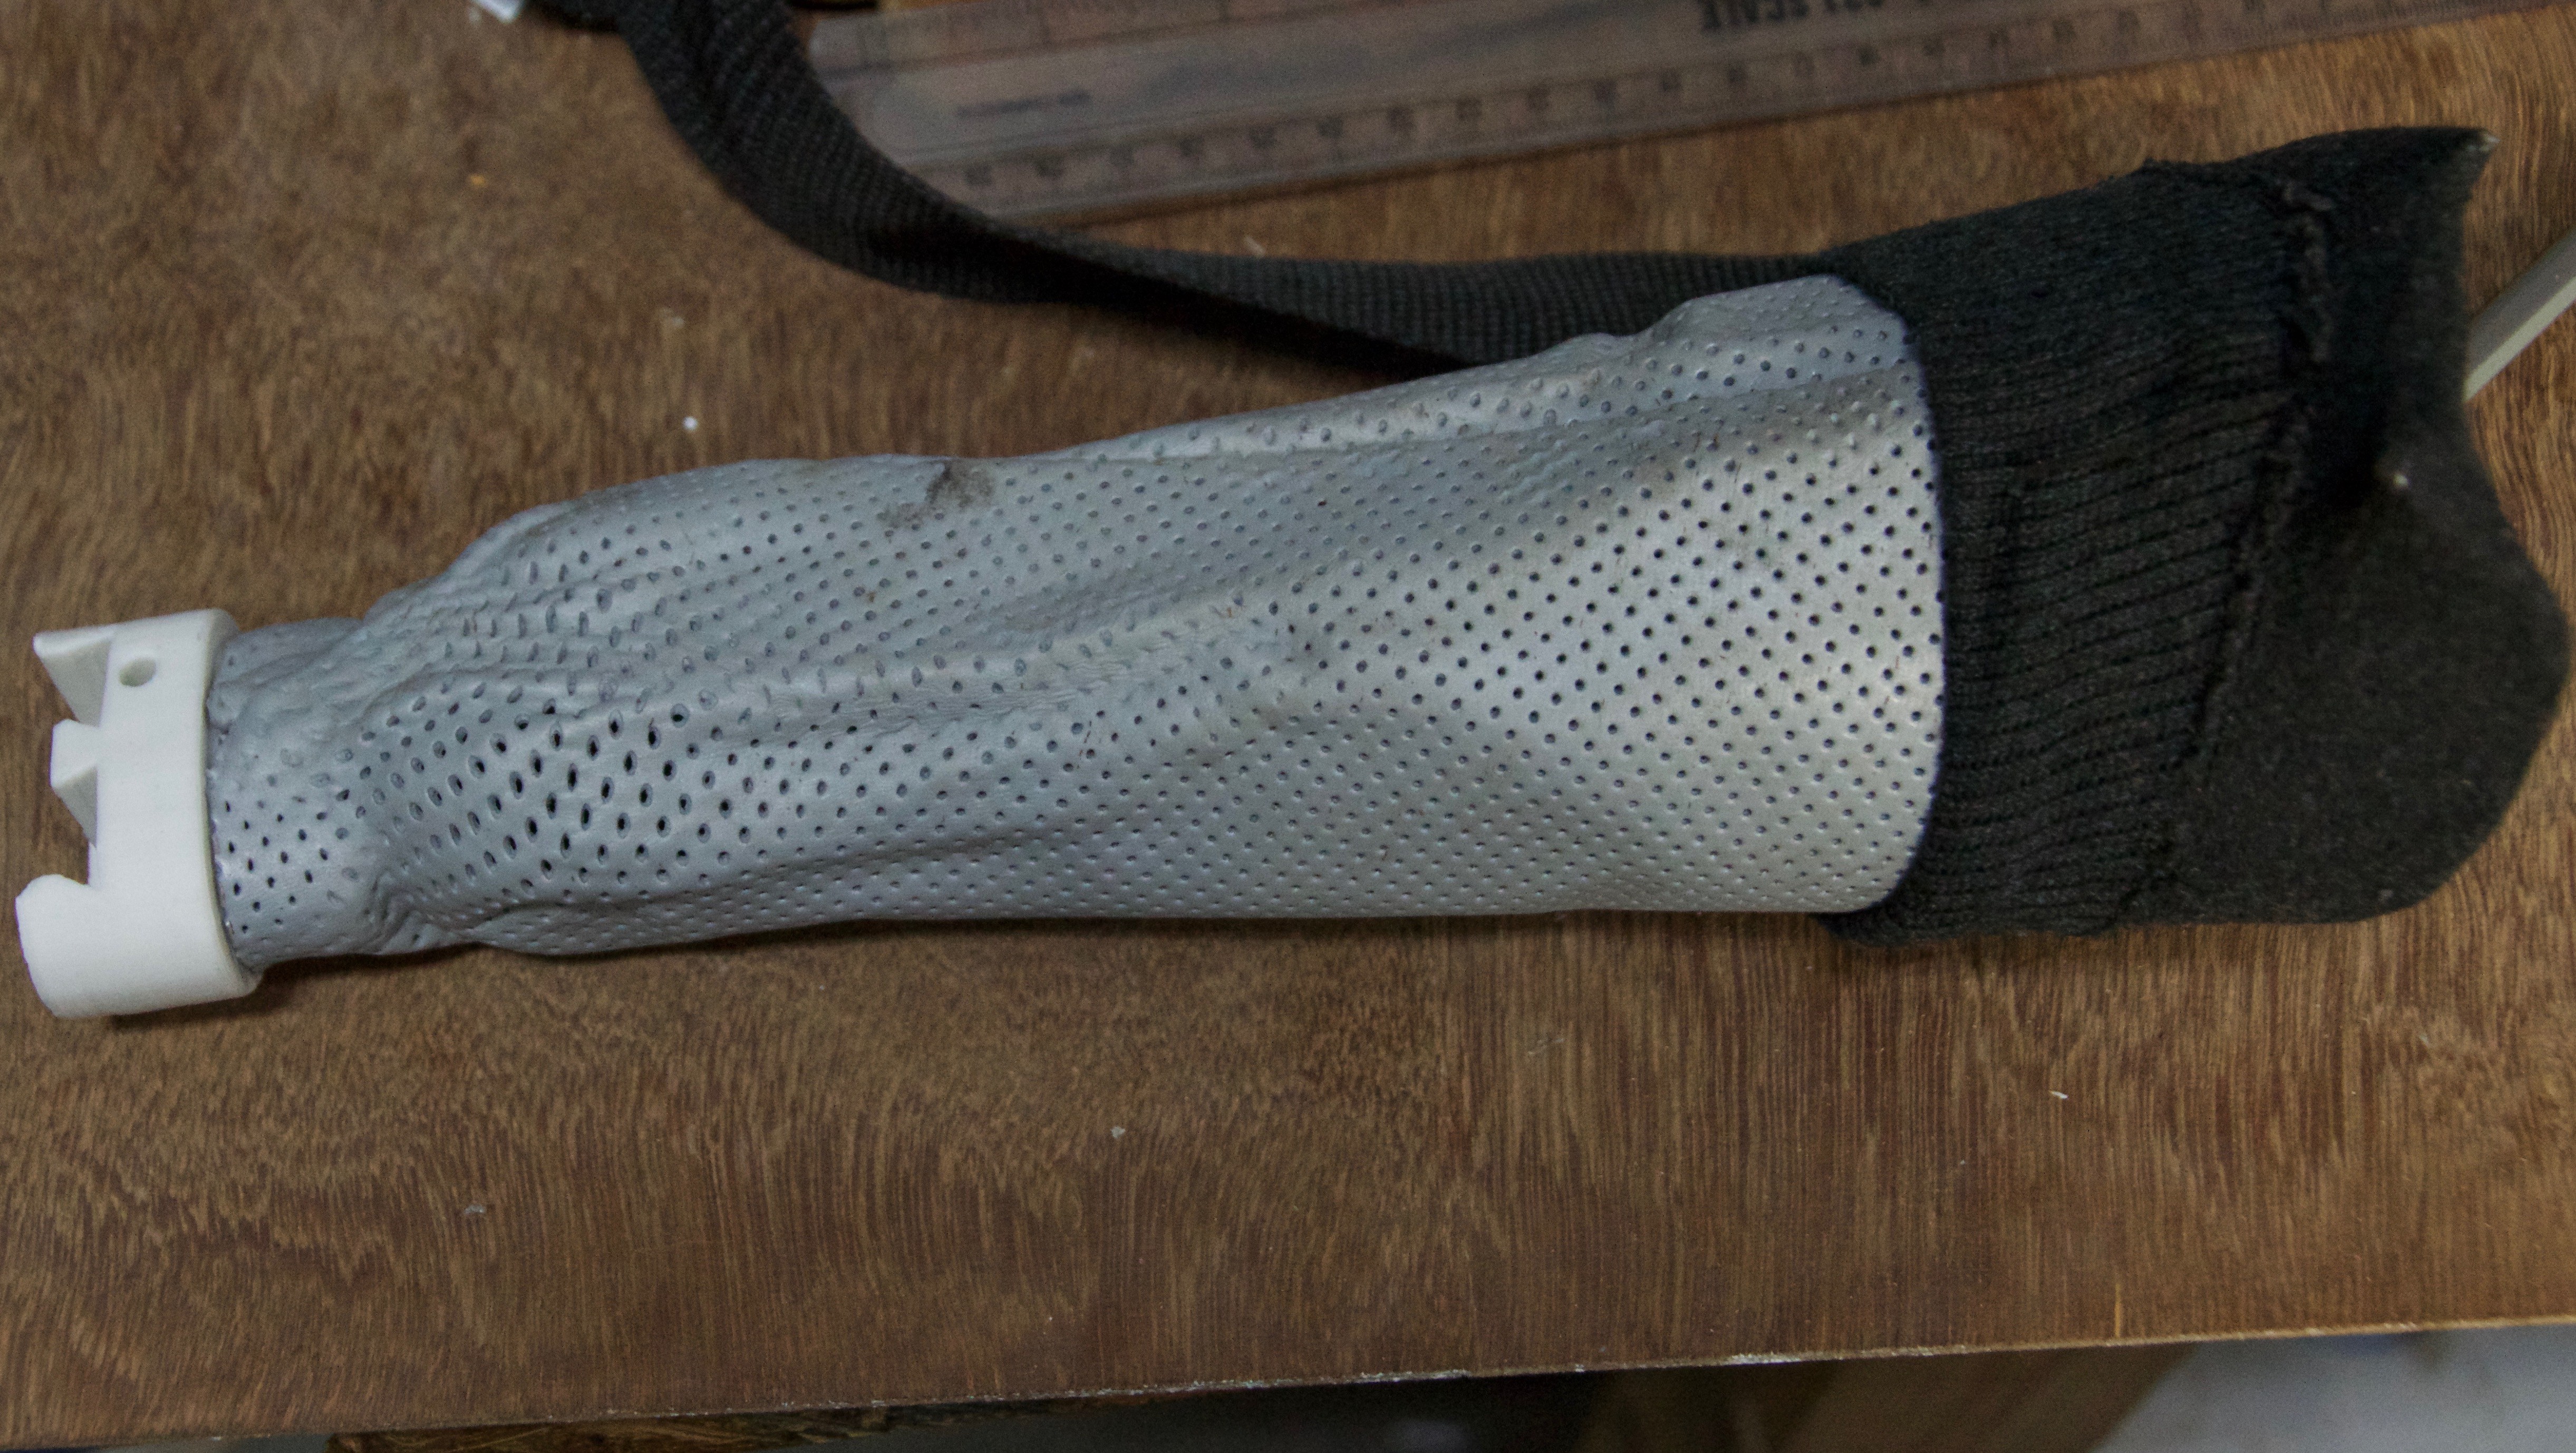
5Attach the 3D printed wrist part.
A. 3D print the downloadable file available in the files section this project.
B. Mould the Thermoplastic over the slitted part of the wrist.
![]()
-
6Cooldown.
Let the Prosthetic Arm cool down to Harden up and keep its shape.
![]()
-
7Form-fitting.
Not everyone's arm is the same and so for that very reason we may need to adjust the form of the prosthetic to fit it perfectly.
-
9Video of the whole process to make the upper limb socket
Video made by Erwan Calvier (professionnal orthotist) for My Human Kit
-
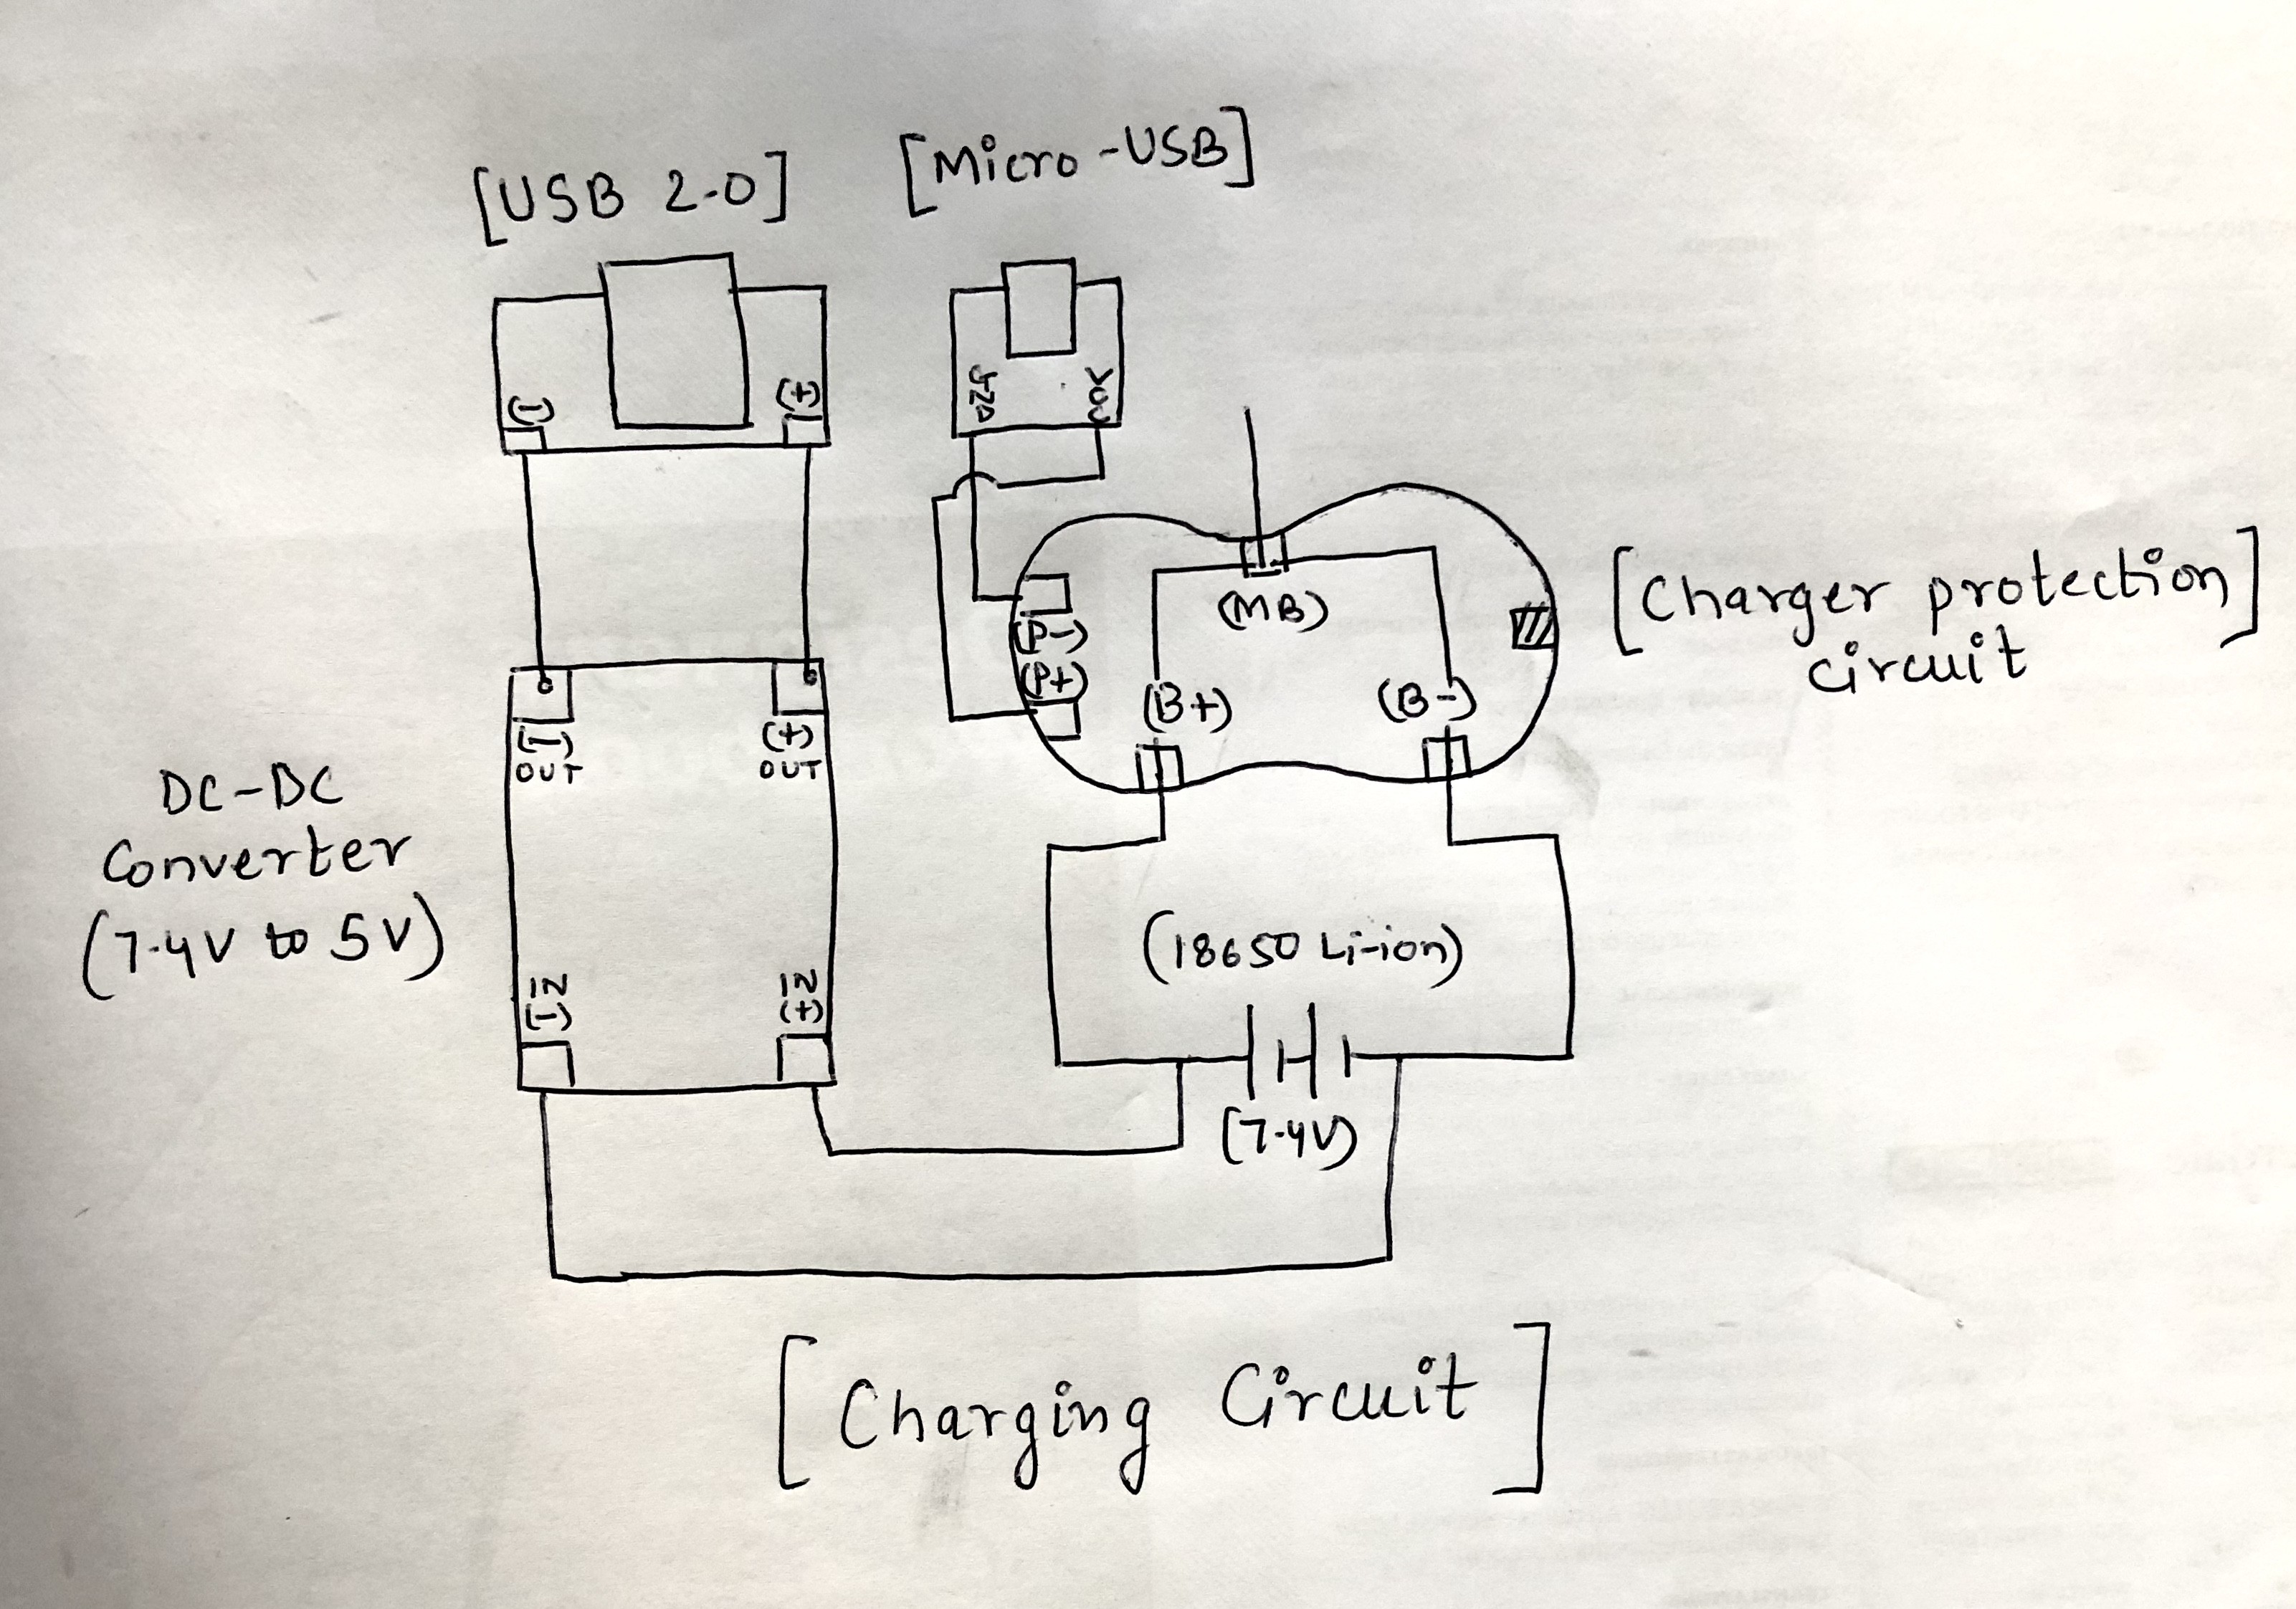
10The Circuitry
Layout all the components and follow the circuit diagram to connect the components to the PCB board.
![]()


Discussions
Become a Hackaday.io Member
Create an account to leave a comment. Already have an account? Log In.
The exact reference is: Aquaplast Watercolors 3/32X18X
24 silver ultra perf 13%
Link to one provider: https://www.performancehealth.com/rolyan-aquaplast-t-watercolors-perforated#sin=43660.
Are you sure? yes | no
The thermoplastic molding process looks a little tricky but the end results appears to be quite good. Do you have any more information on what specific material is being used here?
Are you sure? yes | no