Close
0%
0%

O-trotti (Steam Fabrikarium)

Motorize a manual wheelchair

Similar projects worth following
Create a low-cost power wheelchair from an existing manual wheelchair motorizing it with an electric scooter or a low cost alternative

This project was built during S.T.E.A.M. Fabrikarium in Mumbai. This hackathon dedicated to the development of projects related to disability lasted 5 days. It's a prototype that needs further improvements, but the proof of concept is done :)

This project is another branch of wheelchair projects that My Human Kit has developed that you can check here : https://myhumankit.org/en/projets/

The final goal of this project is to make the electric system in DIY to reduce the cost.

We just had time to test the circuit which worked but was not tested on the wheelchair.

Link where to buy the electric scooter :

Electric scooter  : it cost : ₹18,049 ...

O-Trott.pdf

Adobe Portable Document Format - 2.17 MB - 02/14/2018 at 09:52

Preview

Wheelchair v17 v1.stl

Standard Tesselated Geometry - 4.83 MB - 02/14/2018 at 06:30

Download

wheelchair.png

Portable Network Graphics (PNG) - 329.41 kB - 02/14/2018 at 06:19

Preview

  • 1 × 12 V Dc battery-8 Ah
  • 1 × 12 V 3550rpm Dc motor
  • 1 × Female to male wires
  • 1 × L239n motor driver
  • 1 × metal cutter

View all 16 components

  • DAY 4 : PROOF OF CONCEPT

    rsramyasatish302/14/2018 at 06:51 0 comments

    Last day of the Fabrikarium, we made a test with Druv' : Success :)

  • DAY 2 & 3

    rsramyasatish302/13/2018 at 10:51 0 comments

    We decide to split the team for different missions:

    1 - Find a way to attach the blue scooter

    Issue: with 5 wheels the system could be hyperstatic, so there are risks that the motorized wheel is not efficient in case of hole on the road.

    Solution: use a metal rod harness at the back of the wheelchair as a support to attach the scooter. For a better adherence of the 5th wheel on the road, we bended the metal rod to be sure that the wheel presses on the road

    Other solution (given up meanwhile):

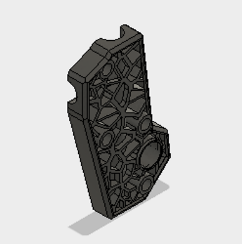
    As the mechanism fell into place we figured out  the customized joinery that would connect the trotti to the wheelchair. These were modeled on fusion360 and are open source available in the file section of this project.

    Issue: not resistant enough, very long print

    2-Electronic alternative

    As the scooter is quiet expensive, the goal is to create a motorized system that could replace it.

    A team works on finding a low-cost alternative including battery, Arduino and motor controller.

    3-Mecanic alternative

    Find a substitute for the electric scooter motor and the power battery.

    Issues:

    - Attach the wheel on the motor

    - We used a plastic wheel and it should be better to use rubber one.

    - Attach this system on the wheelchair

    4- Ajay's wheelchair issue

    Ajay already built a trotti by himself but as he got a new wheelchair, he would like to adapt his system on the new one and faced issues to attach it.

    On its original system he also had difficulties to screw and unscrew it.

  • INTRO : DAY 1

    rsramyasatish302/13/2018 at 10:33 0 comments

    DAY 1

    Goal

    Create  a low-cost power wheelchair from an existing manual wheelchair motorizing it  with an  electric scooter.

    User study

    To specify needs regarding this project, we made an audit of 4 disabled people using wheelchair who were part of the team .

    From the interviews we concluded that 3 out of 4 could use manual direction. The 4th interview was a girl with muscular dystrophy and hence depended on a joystick.

    We were looking at two different categories of disability and had to narrow down to a more specific target segment.

    Target segment : people who use the wheelchair and have body strength as well.

    Specifications:

    Design a universal, and cost-effective power attachment to convert a manual wheelchair to an automated power wheelchair based on an electric scooter.

    3 of the 4 people did not want to have the electric scooter handlebars in front of them, so it was decided to put the motor with a 5th wheel at the back of the wheelchair and to control direction of the wheelchair with hands, including braking.

    Primary needs

    Comfortable
    stable
    Foldability of the wheel and the wheelchair unaffected
    Easy to drive
    5th wheel should be thick 
    Can be easy to attach and detach

    Universal

    Secondary needs

    Horn
    Impact resistant
    waterproof electrical unit
    Not too much weight gain

    Add ons (optional)

    Accessory space
    storage space
    speedometer
    headlights

View all 3 project logs

  • 1
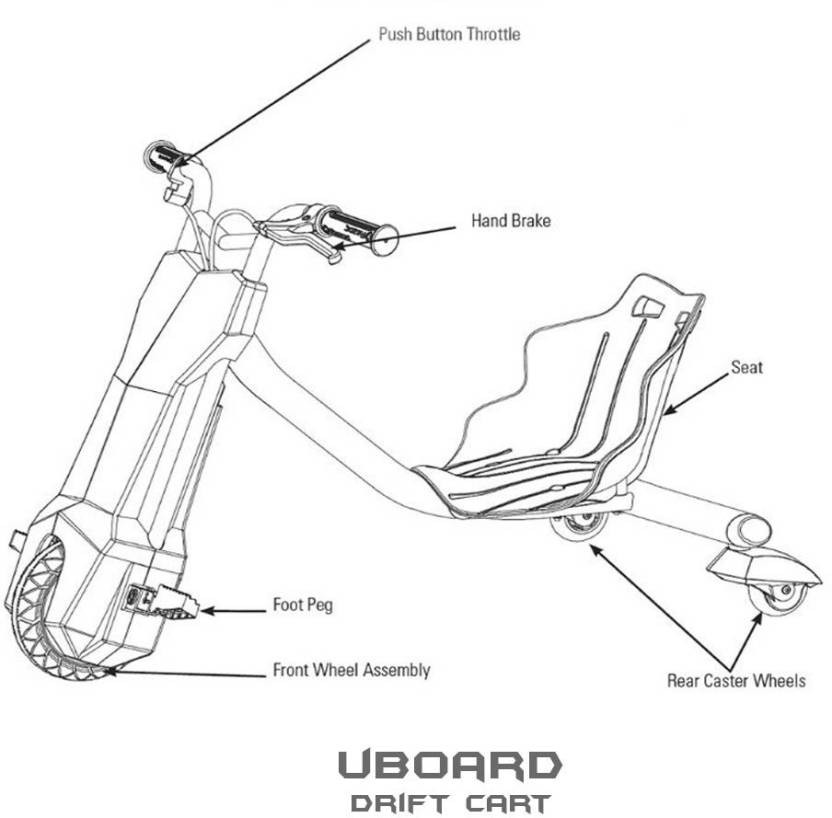
    Disassemble the electric scooter.

    We need the front portion handle frame area only., along with the components attached to it (wheel, motor, transmission, handlebar, brakes).

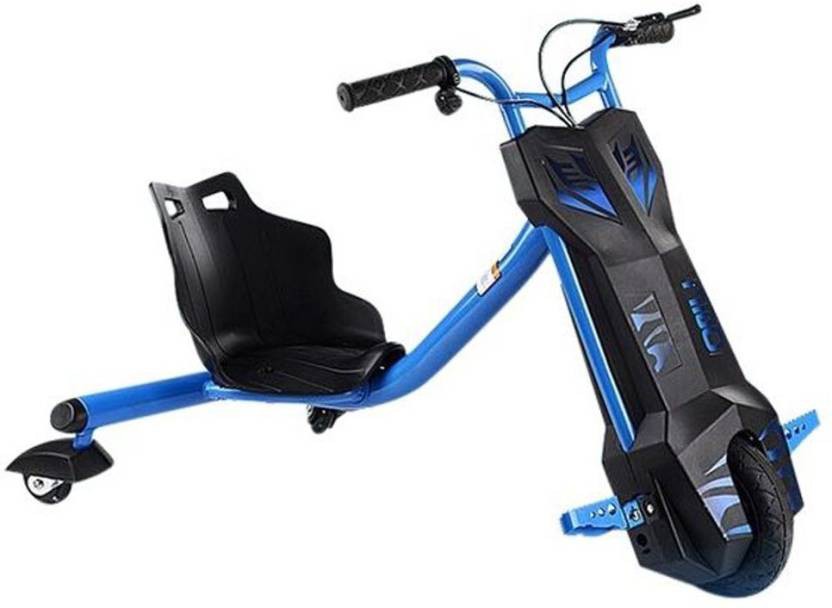
    Image of the scooter before disasembling the parts:

    Source image : http://urlz.fr/6Nao

    For this scooter model, use a 6mm pipe wrench to unscrew the part we want to remove. On this image the system was mounted before disassembling :)

    Once disassembled,  you should get the system (in blue on the next picture) not yet mounted on the wheeelchair (not like this picture then ;)

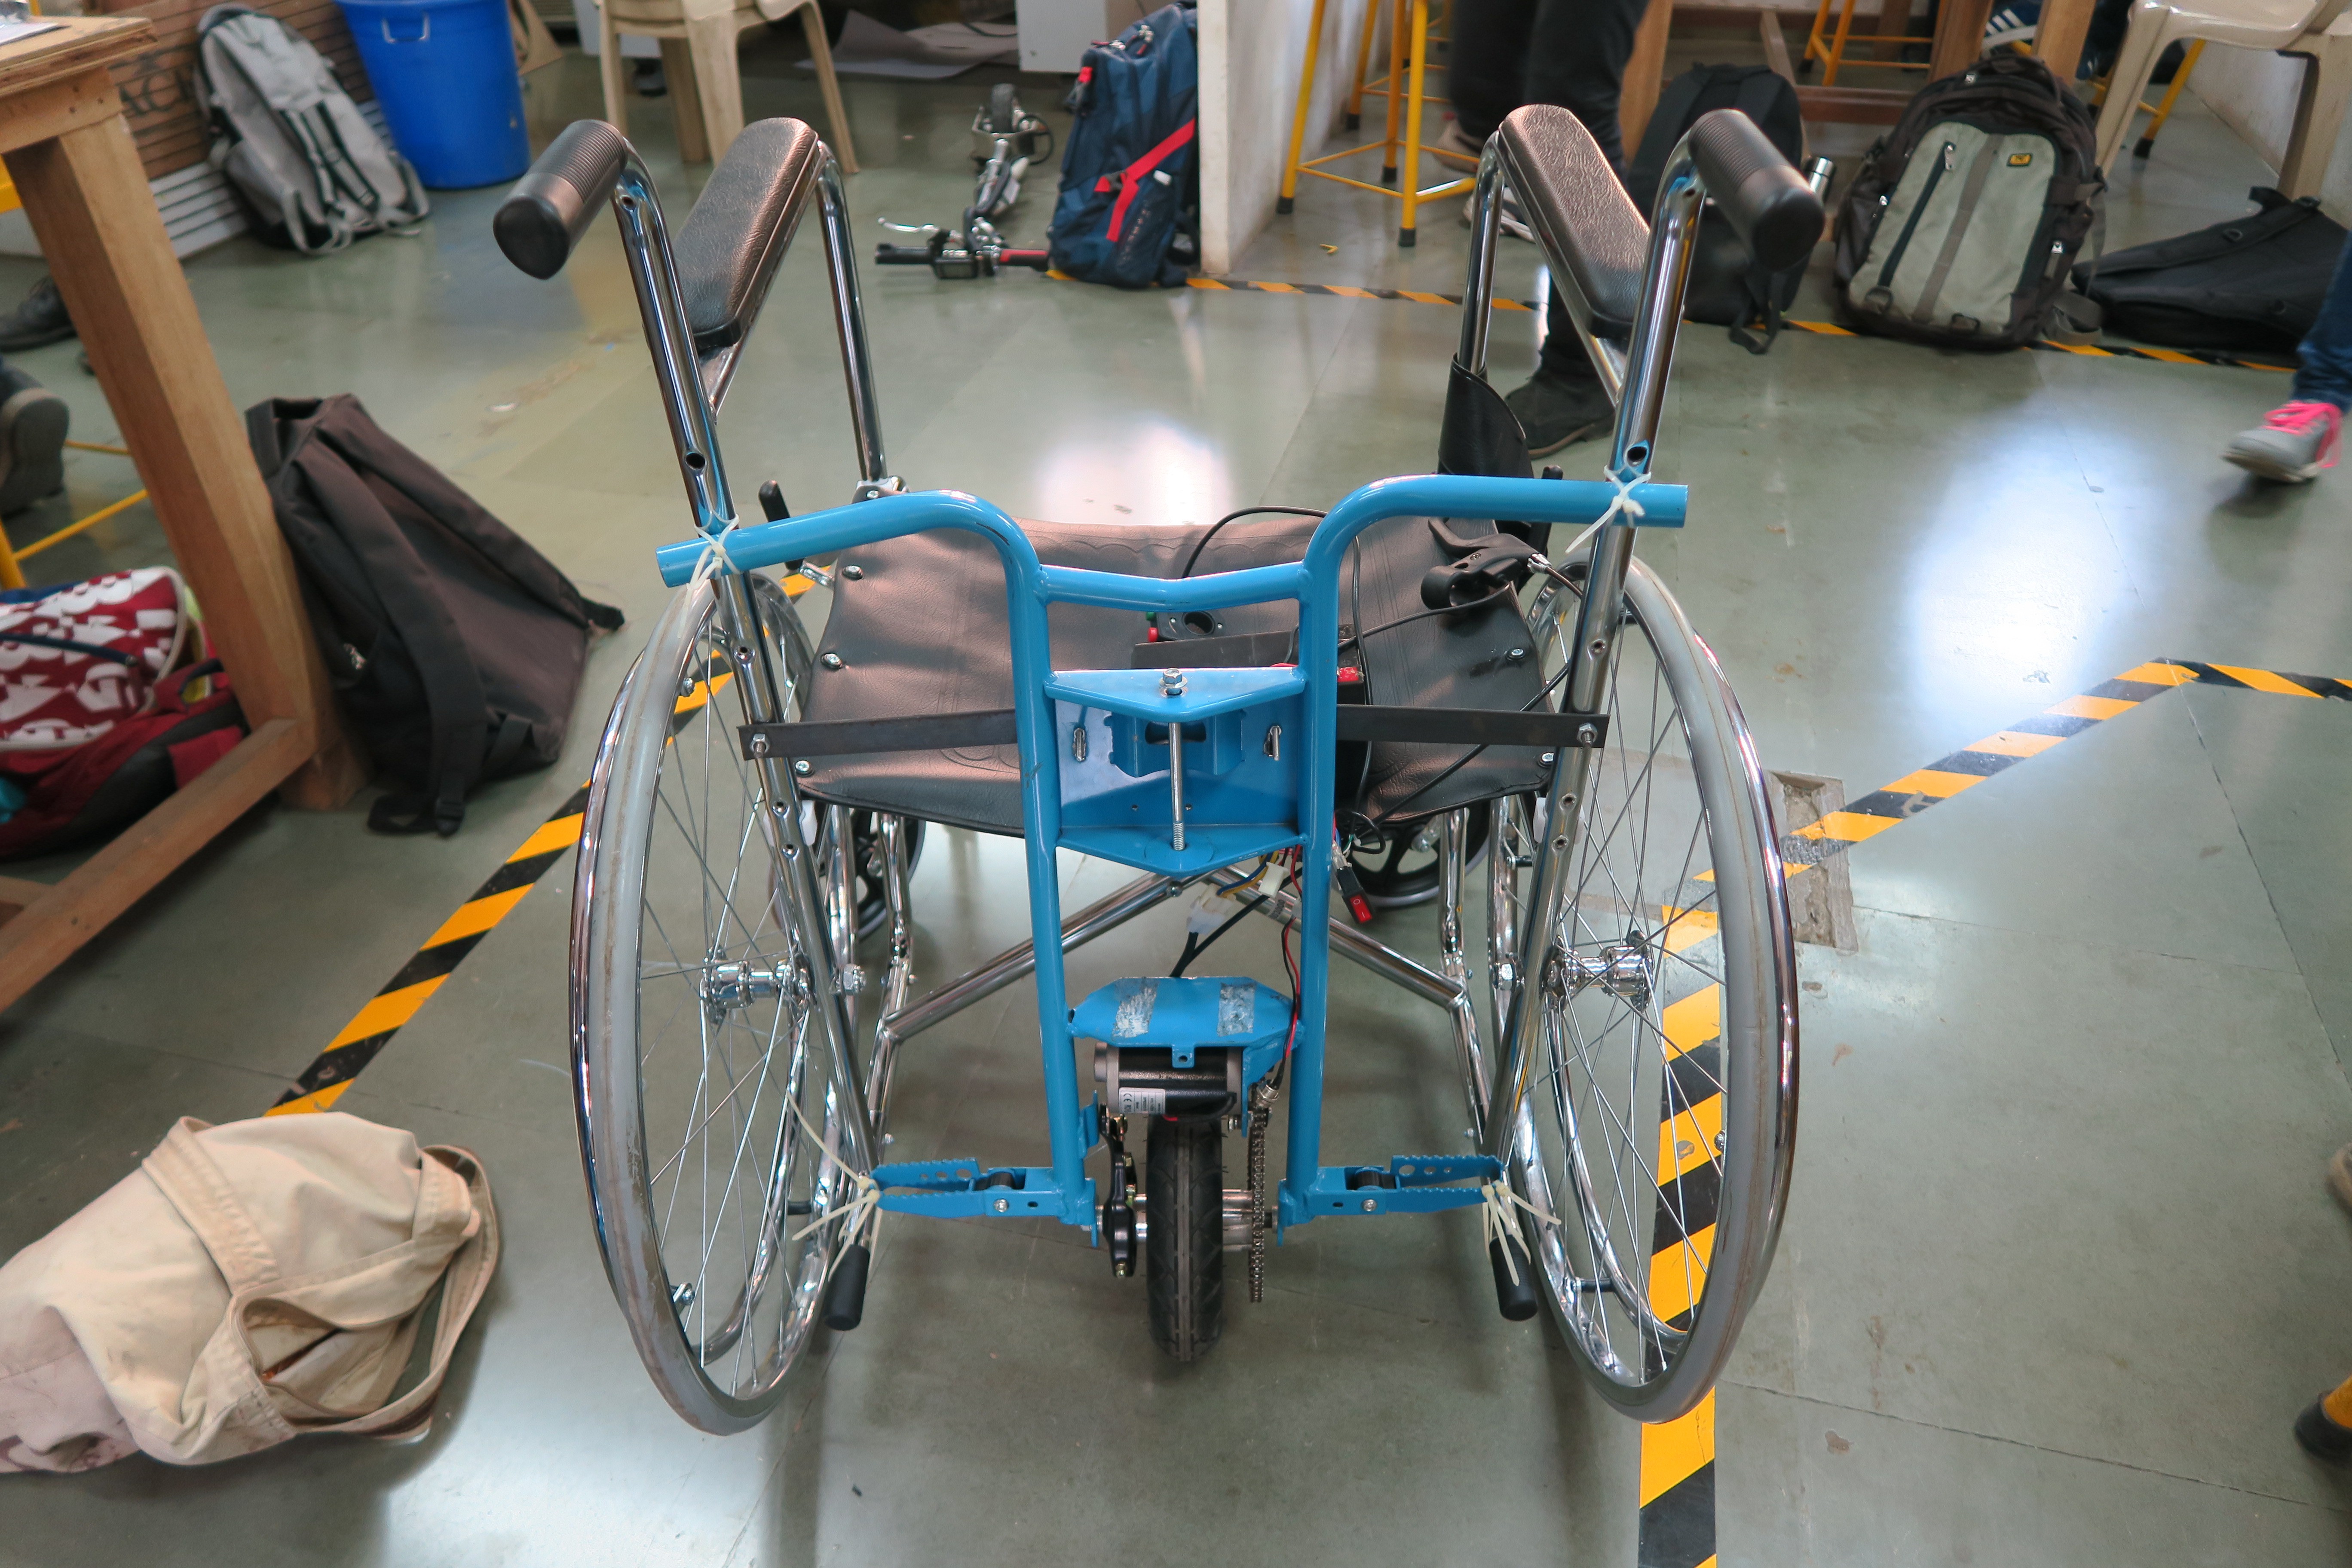
    View of the selected part mounted on the wheelchair. To get this result let's follow the next steps.

  • 2
    Prepare a flat steel plate for the wheelchair

    The scooter frame needs a support to be attached to the back of the wheelchair.

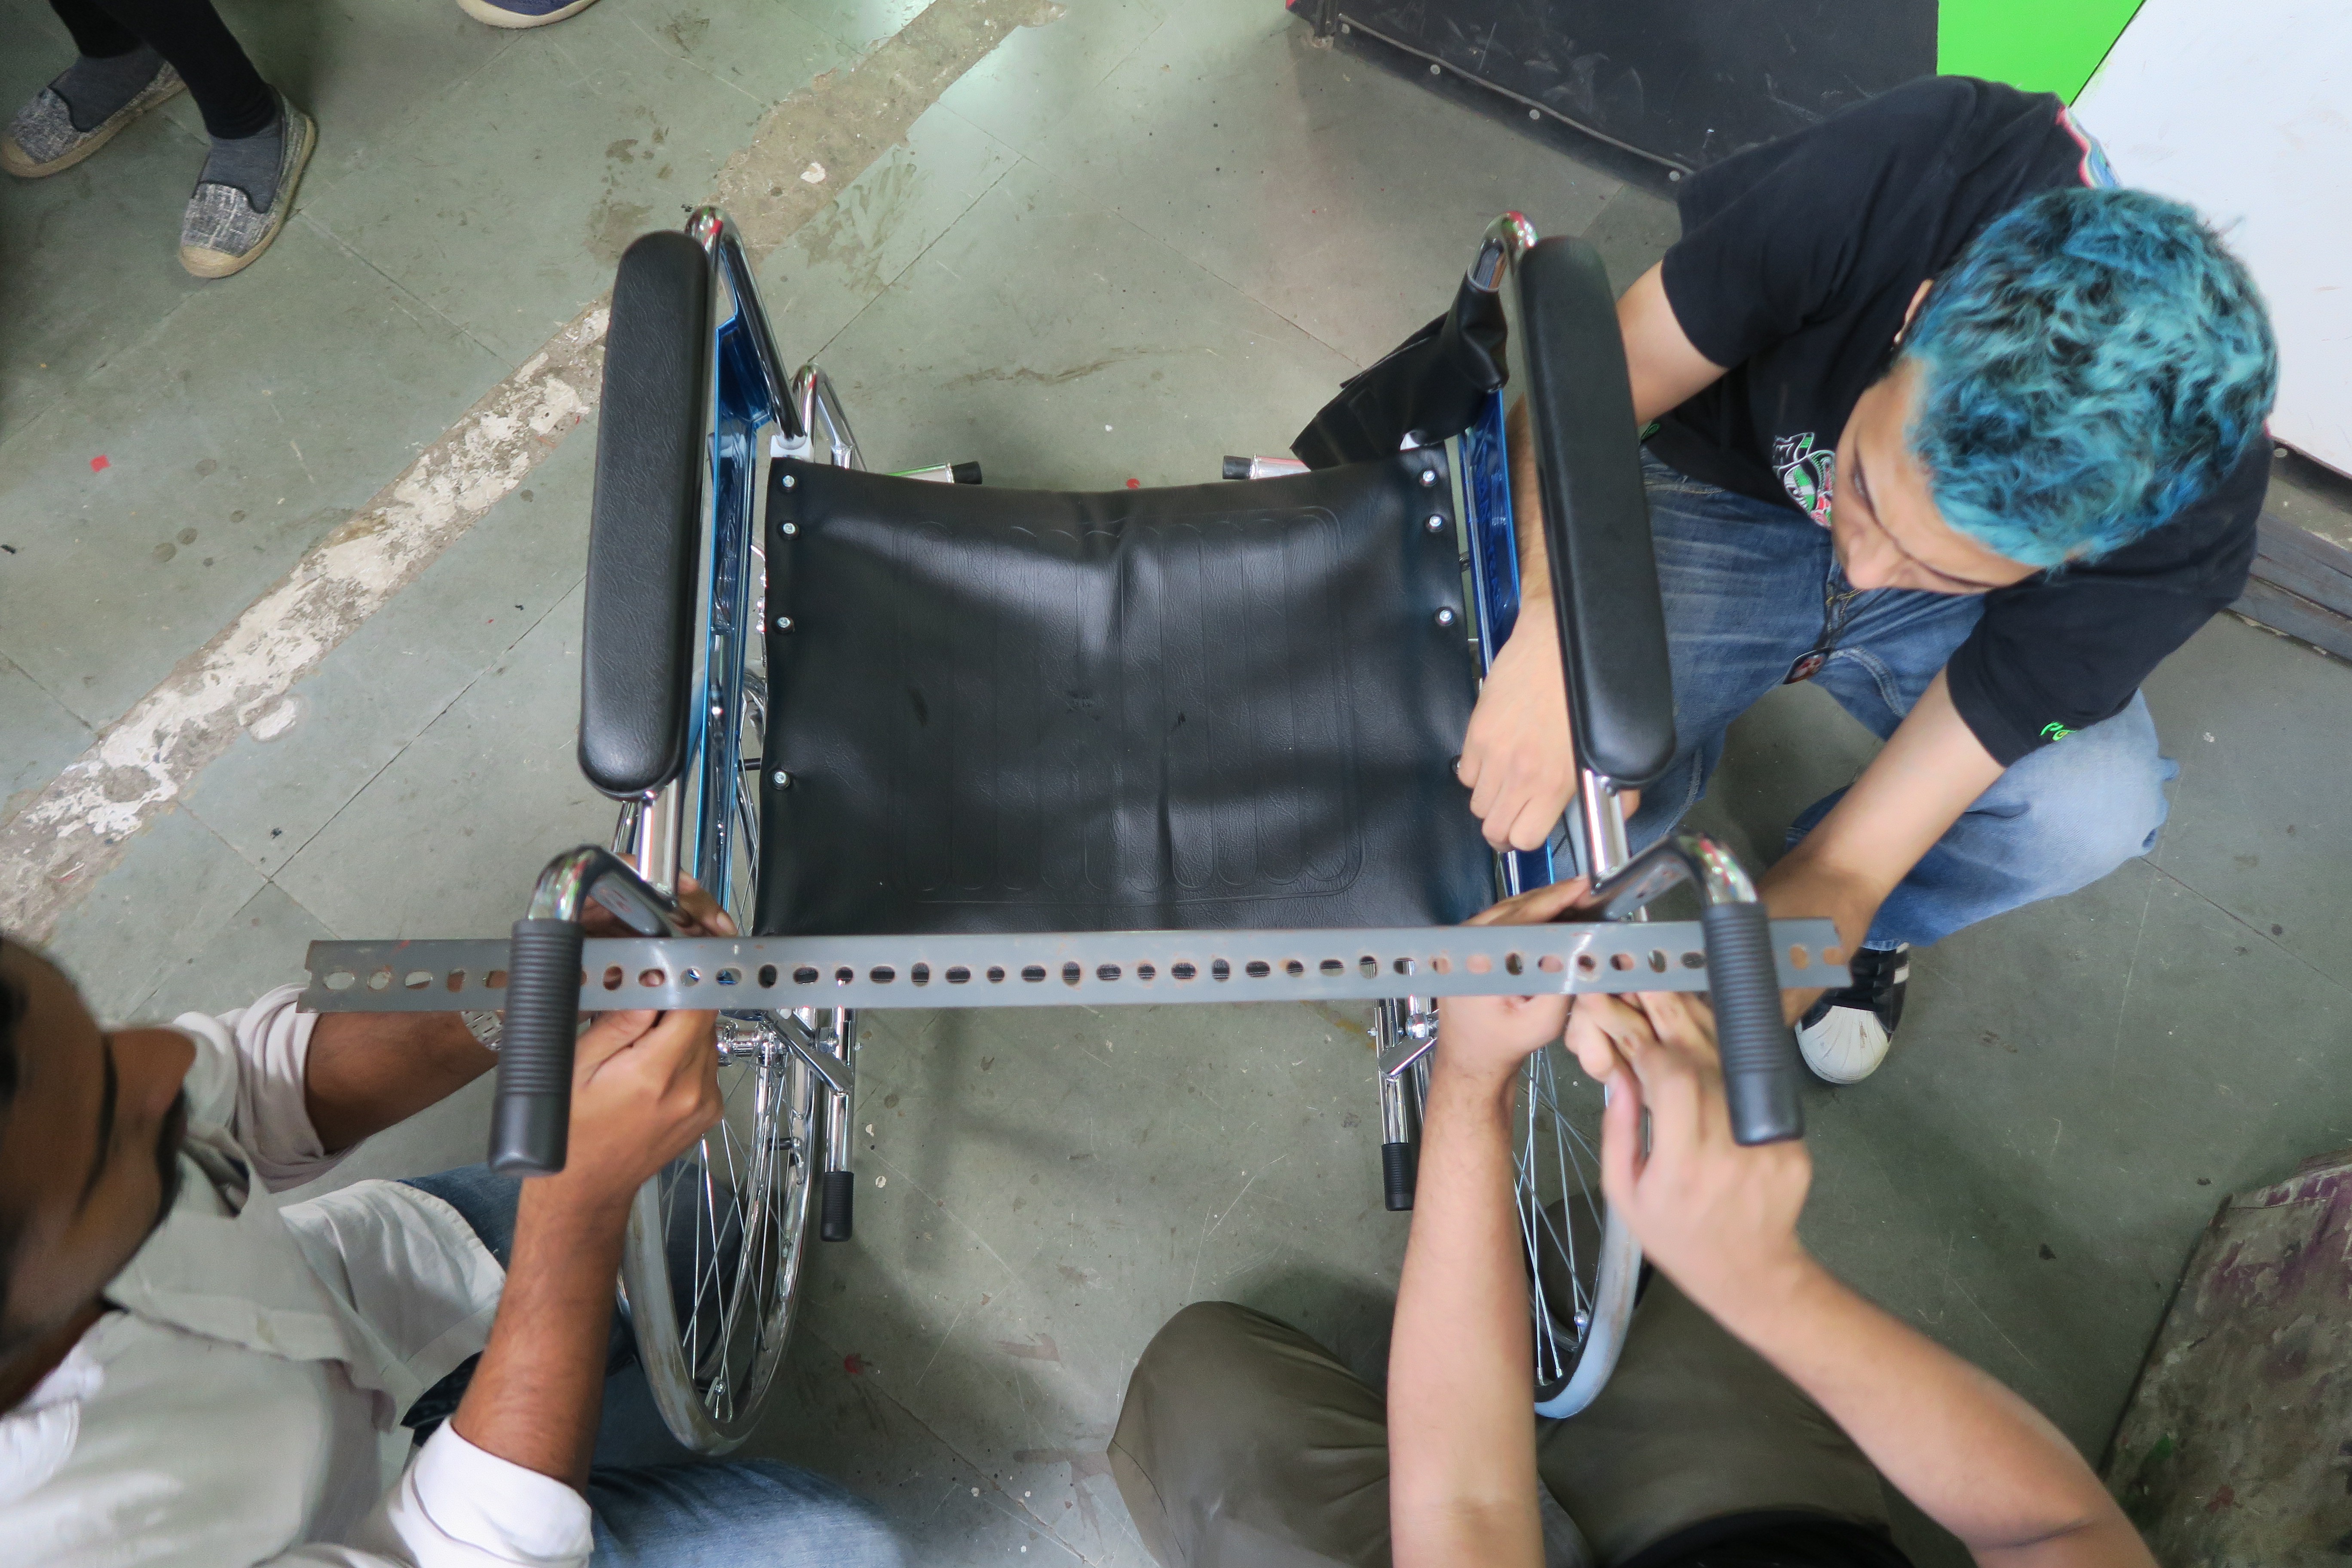
    First you need to measure the width of the wheelchair to cut the appropriate lengthof the steel plate, keeping in mind that you will have to fasten it on the wheelchair. In our case the width of the steel plate was about 2cm and length was 43cm, thickness was 5mm.

    Use a metal cutter to cut the steel plate to size. 

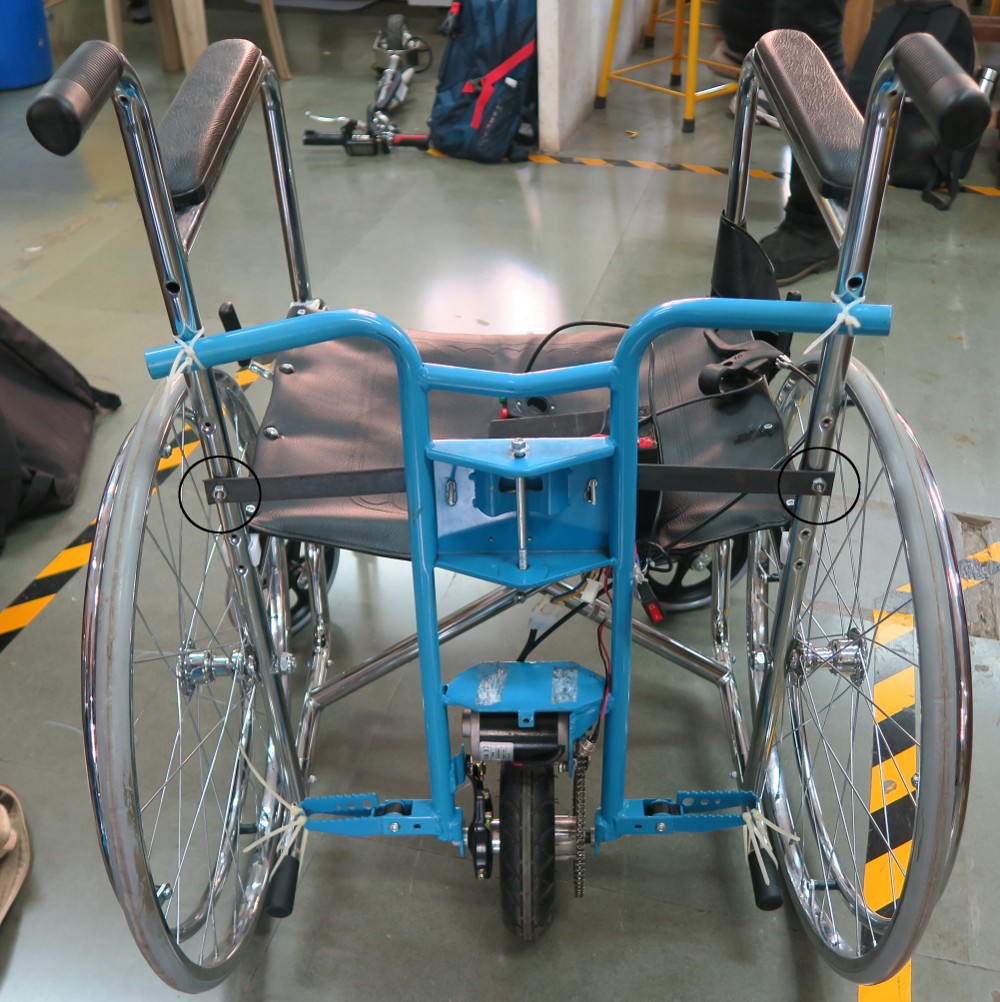
    Take some 8mm screws to attach the steel plate and use the holes from the wheelchair to set it up.

    Fix it on the wheelchair before mounting the scooter part (not like this picture !).

  • 3
    Attach the scooter system to the wheelchair via this steel plate

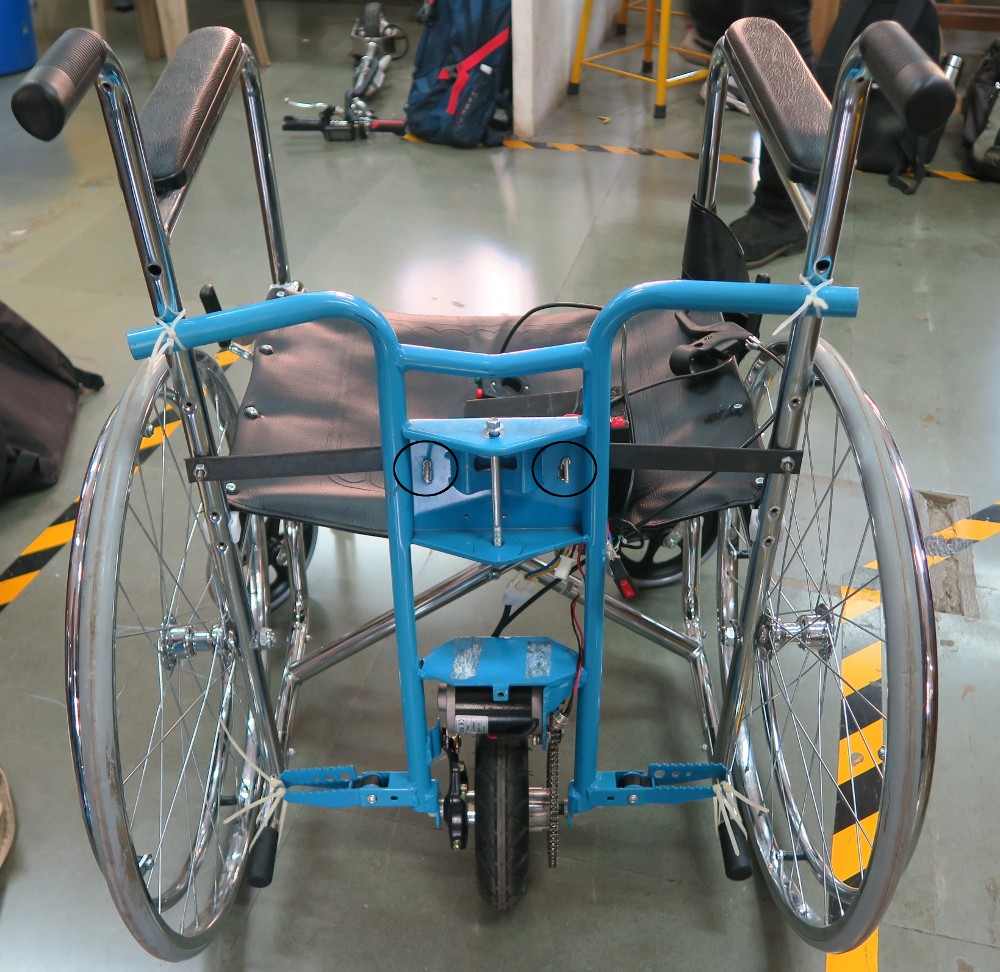
    To help positioning and mounting the system, you can use plastic clamps (see picture). It should be updated for the next prototype with something stronger.

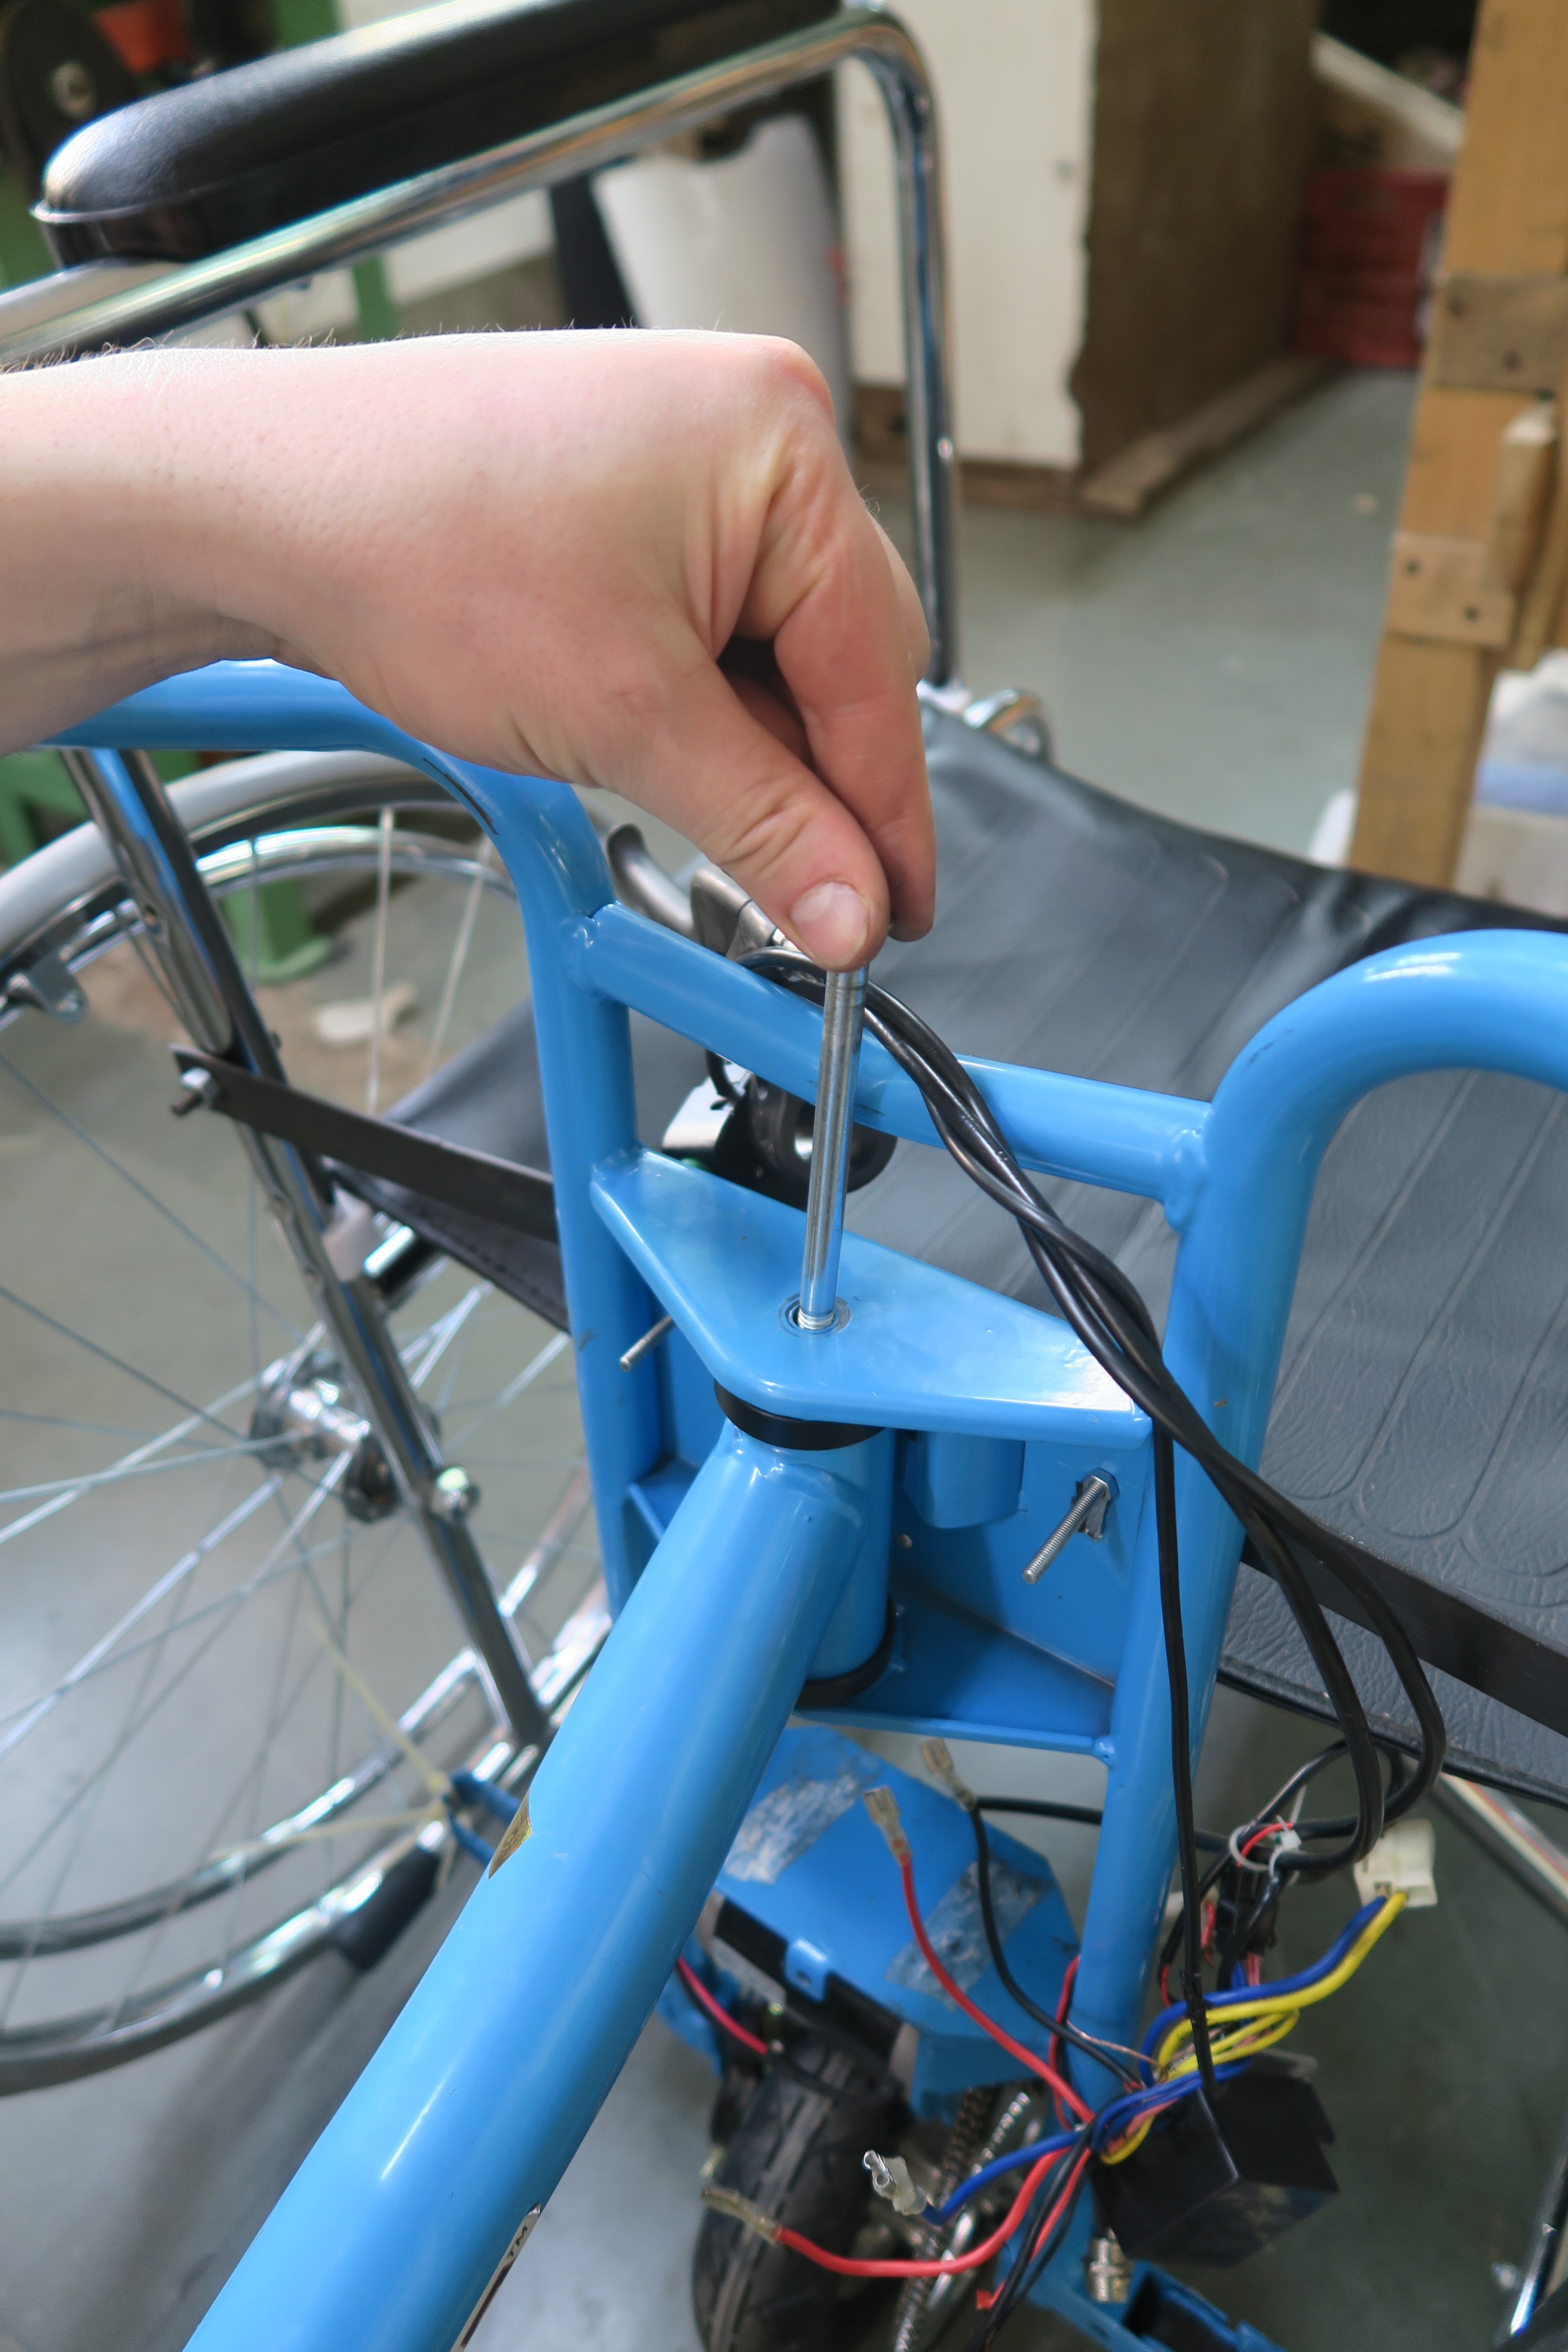
    Get two bolts 6mm diameters, 30mm length, and attach the system from the scooter to the wheelchair as shown in the circles in the middle of the picture.

View all 8 instructions

Enjoy this project?

Share

Discussions

herman431 wrote 12/28/2020 at 16:04 point

Tip.

A nice comparison is the smart drive. work just as it has a special wheel. Tip the angle of the drive is best at 45 degrees. Good luck.

  Are you sure? yes | no

Similar Projects

Does this project spark your interest?

Become a member to follow this project and never miss any updates