 darth_llamah
Ready:
-OpenELEC is up and running
-power control is working fine
WIP:
-case
DIY media center (running OpenELEC)
Already have an account? Log in.
To make the experience fit your profile, pick a username and tell us what interests you.
Ready:
-OpenELEC is up and running
-power control is working fine
WIP:
-case
And after quite a long break another step closer to the finish.
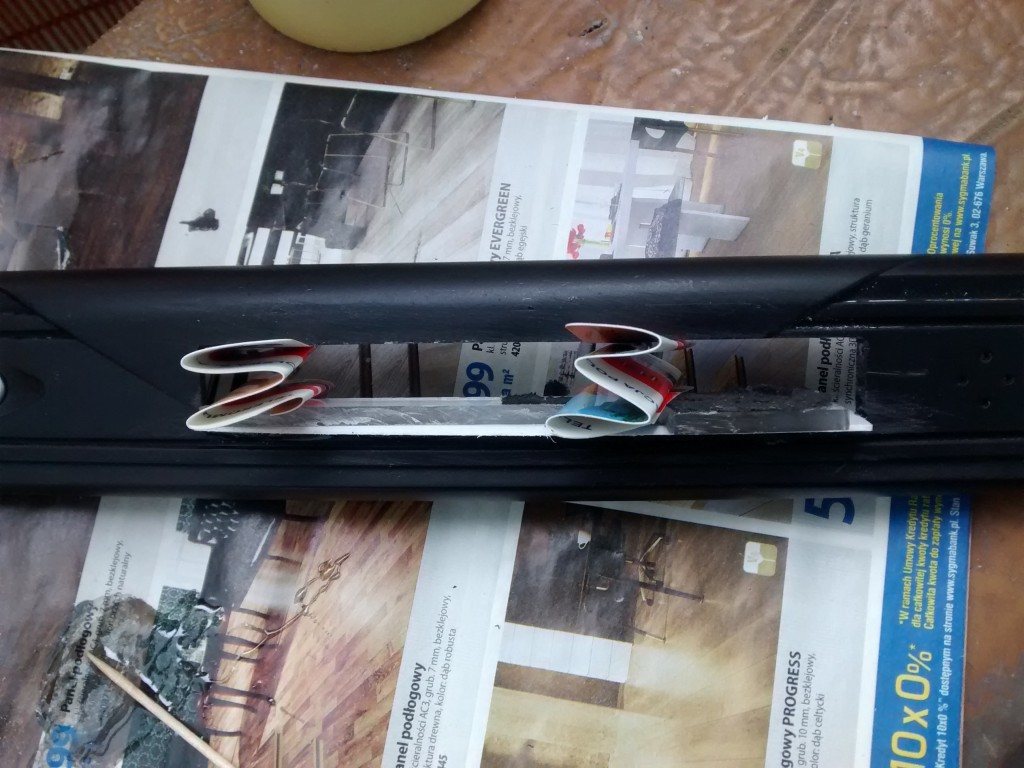
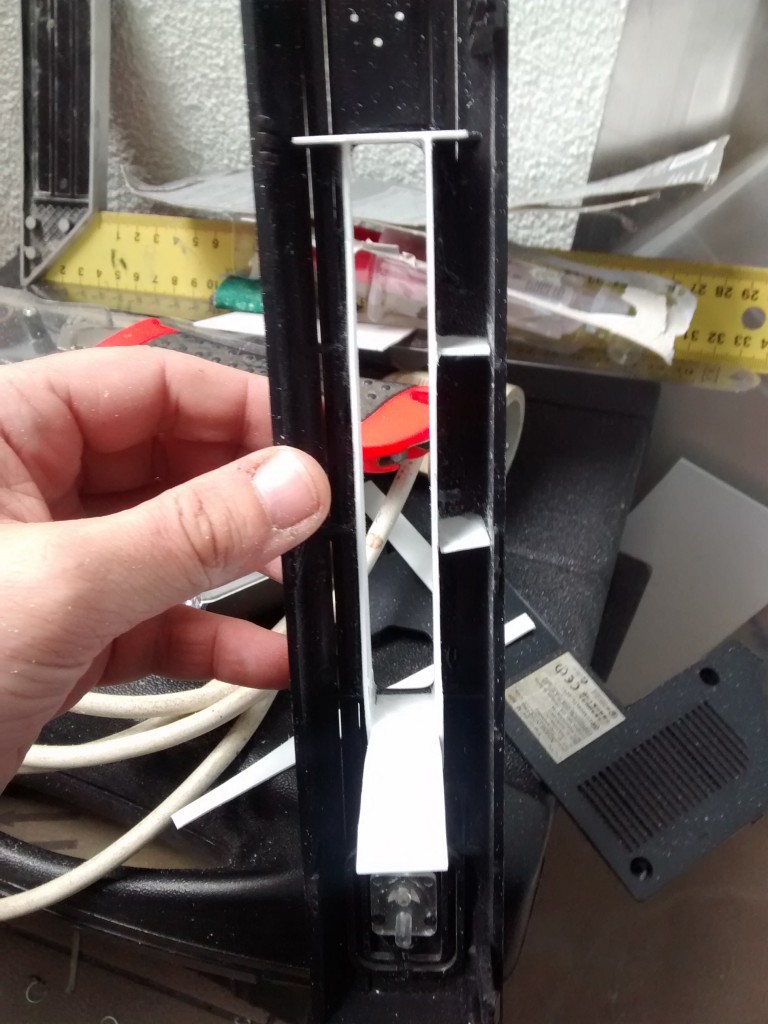
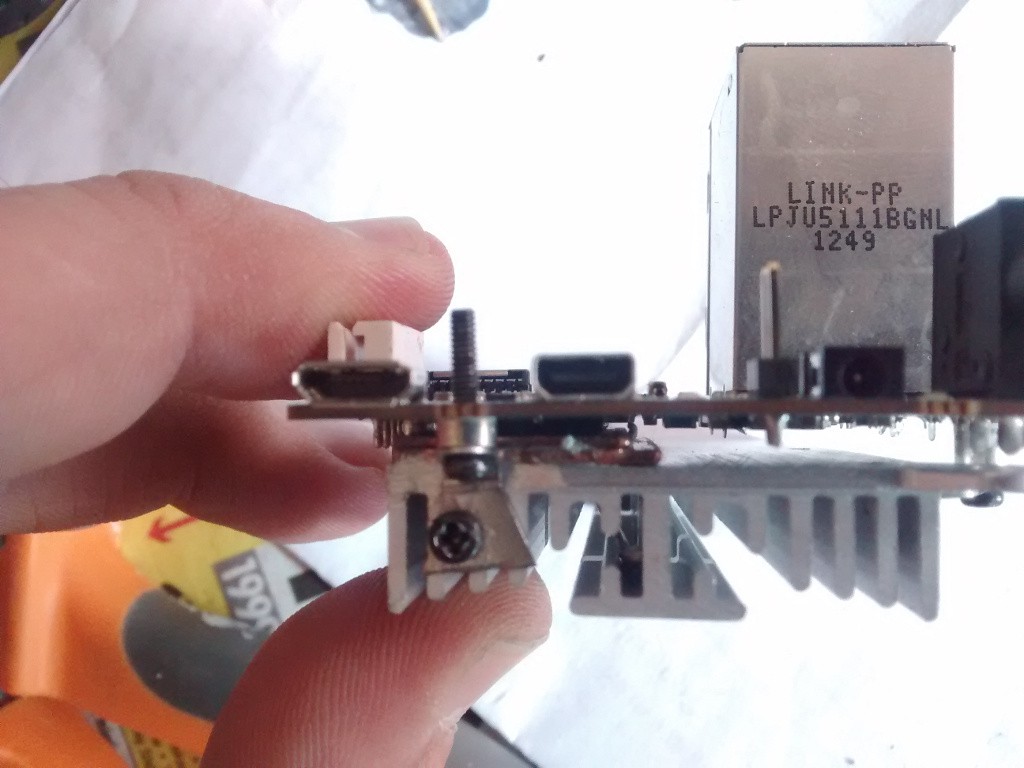
I've taken my chances of destroying the panel and front USB socket is almost ready.
Templatewas done using Inkscape, wires visible on picture are for better positioning- they were placed in original holes (used to attach producer's logo). They are not perfectly positioned because my printer scaled the image down.

After drilling 3mm holes I've attached a much stronger (and better) template
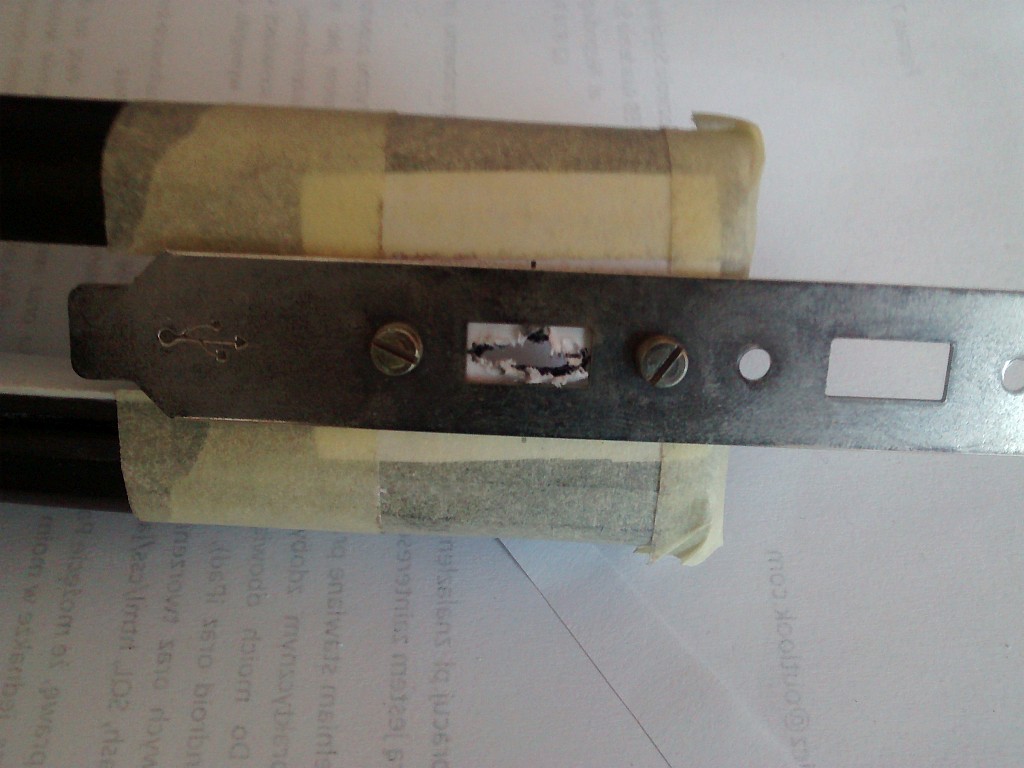
of cutting too much in any direction. Adjustemets were done using a
small flat file. Also I had to make room for the USB socket behind the
front panel.
 Also I've updated PowerCtrl code- now it remembers last light state change, timer will be resetted only if Odroid's led did a full cycle (on and off). This way it should disable
power also when for any reason blue led lights a solid light. Code is available on Github (now with a proper GPL attached).
Works on the front panel started but it will take quite some time- epoxy needs at least one day curing before I can start any work on it, and I have to go to work sometimes.
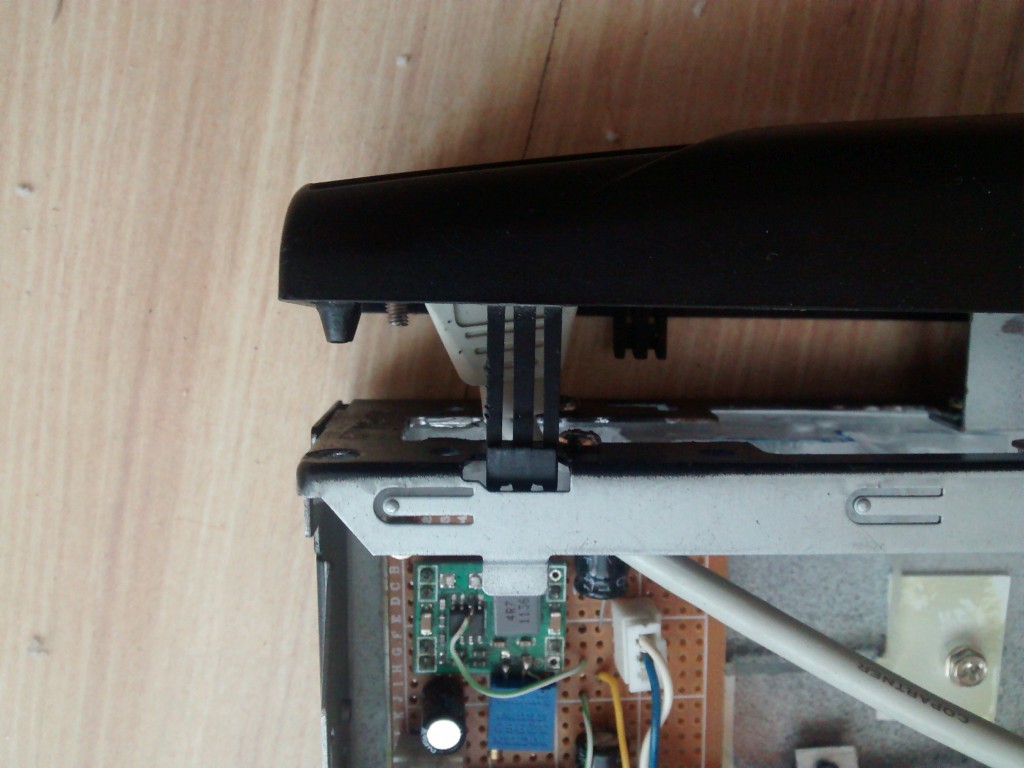
Cut out for the dvd tray is done. Dvd panel has about 1 cm distance from the front panel so I have to add some walls to make it look better:
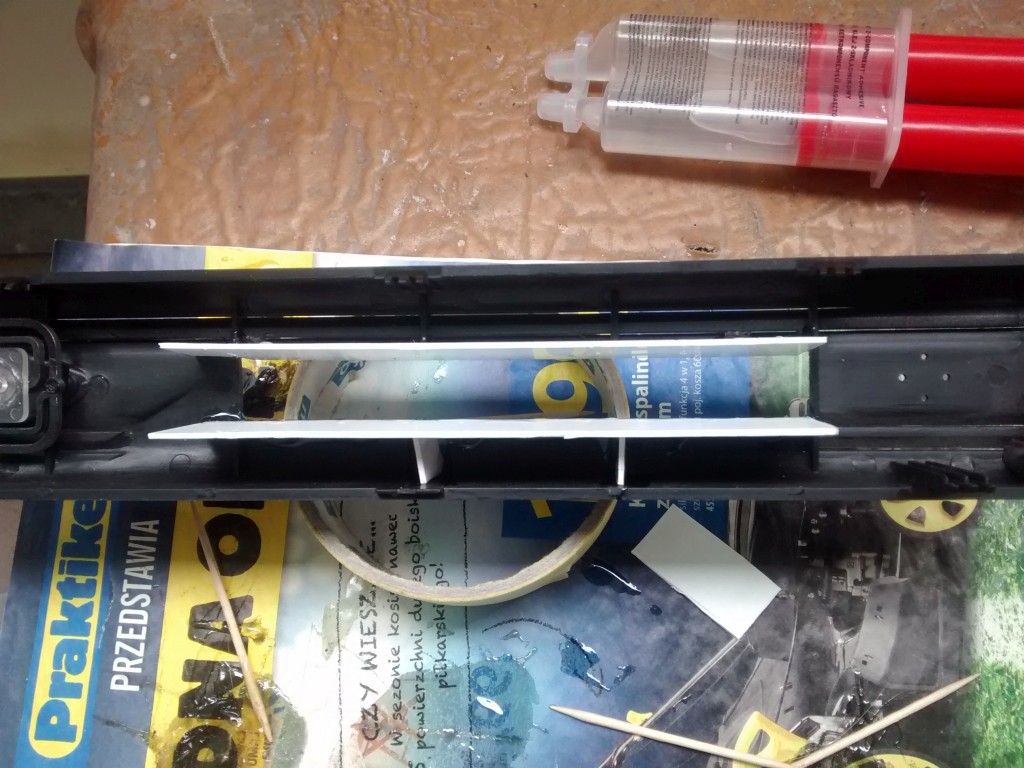
 However after sanding one of the parts fell off (my bad, I forgot to scratch it before gluing) so I had to attach it one more time:
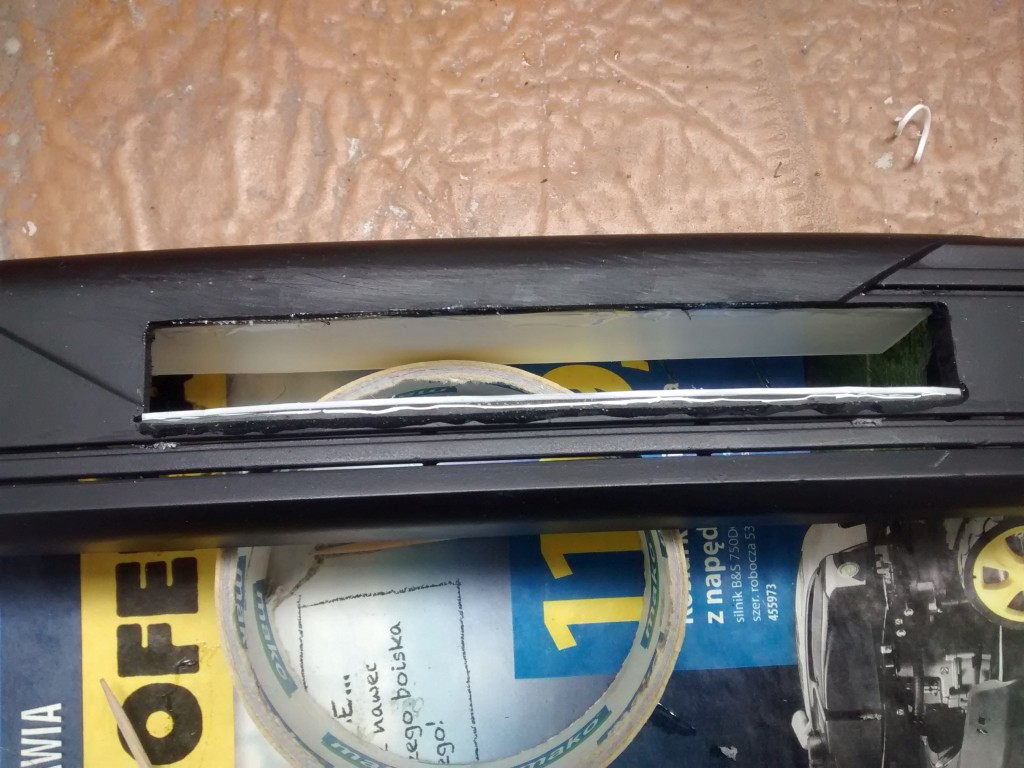
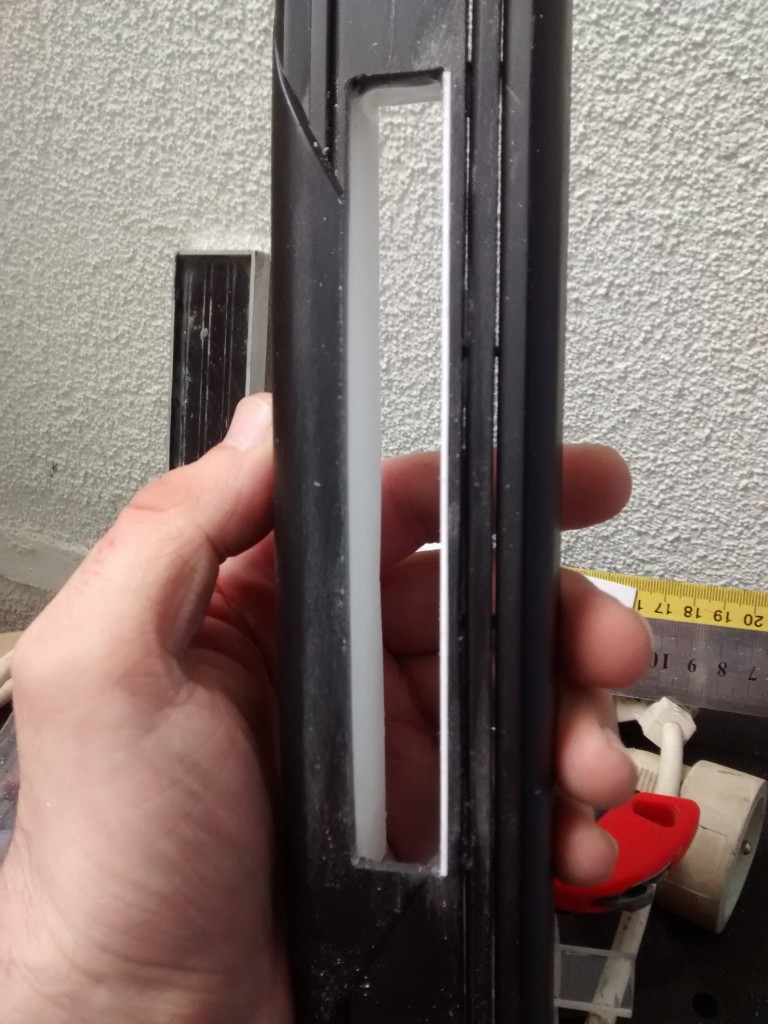
Front after sanding both longer edges to size:
I made a 2h test run- 1h of music and 1h of video, both streamed form miniDLNA server.
Running OpenELEC 4.1.6.0 since it supports my remote and doesn't include fan service (so only passive cooling was used)
Temperature
Music playback- most of the time 41 Celsius with top of 42 Celsius.
Video playback- most of the time 50 Celsius with top of 52 Celsius.
Notes:
-fan was not used
-case was closed and standing in vertical position (on the side)
-video files used in test have different resolutions (480p to 1080p), compression (divx/xvid, h264, DVD) and bitrates
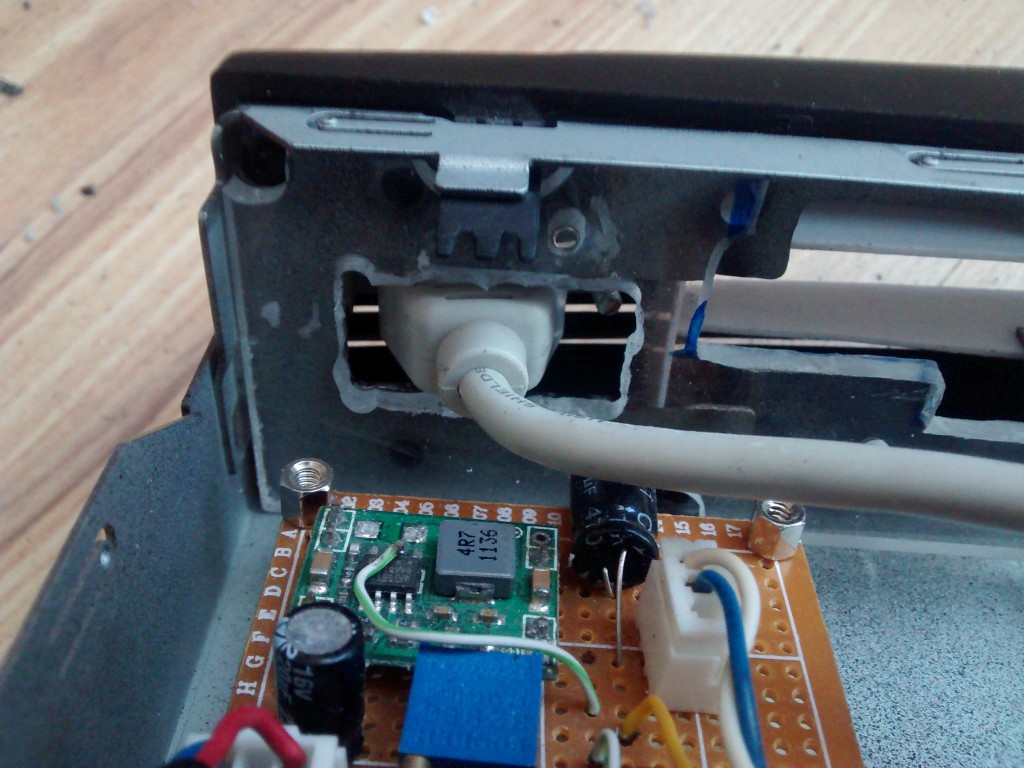
Wifi
Extension cable works fine, no problems with signal strength or dropping
MCE remote
I have to relocate the antenna, range is ok only when operating the remote on front of the HTPC. In 5.x builds of OpenELEC there is a bug which prevents loading keymap modules, it's being worked on.
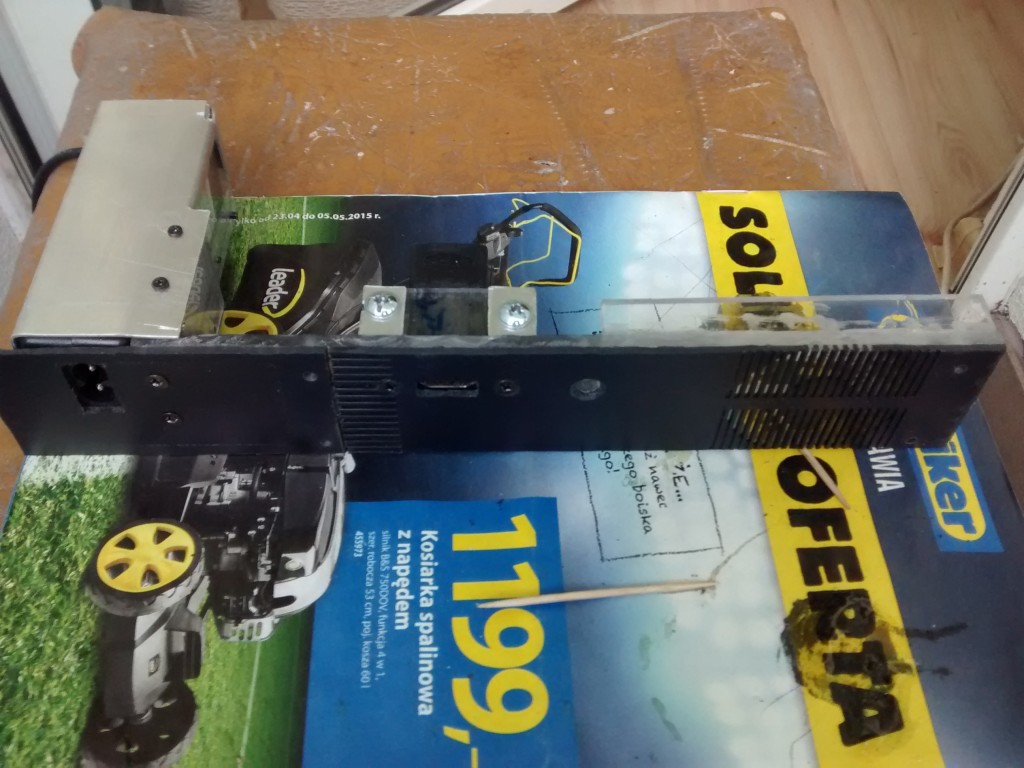
It's time to mount the back panel
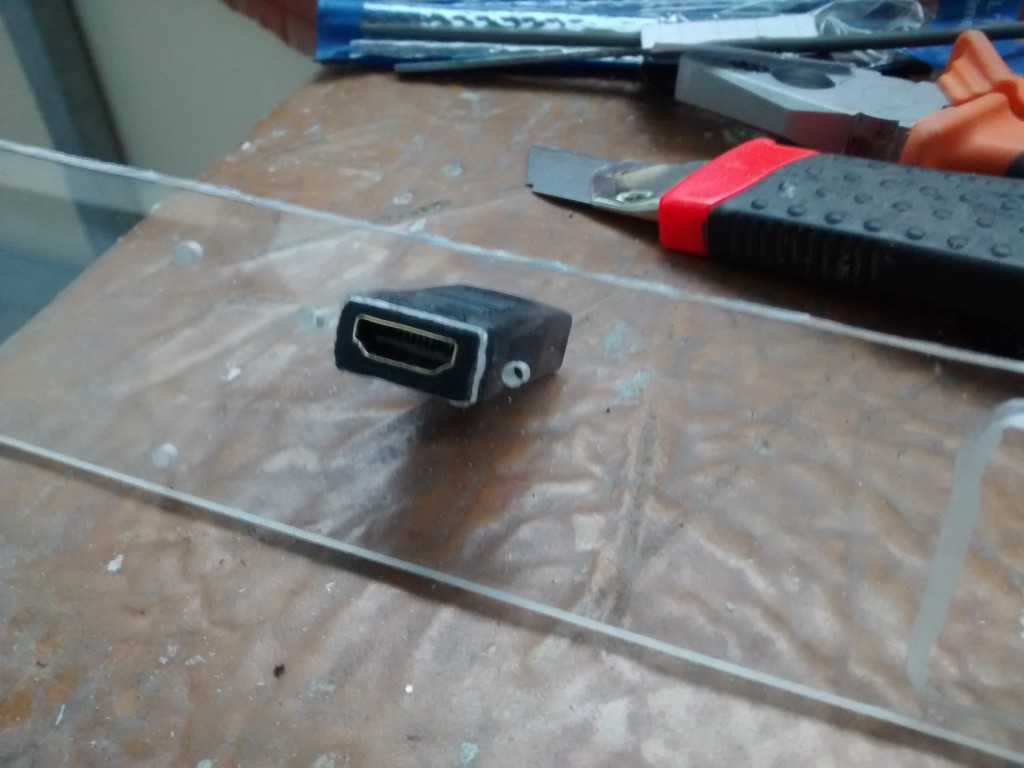
HDMI mount- I've made a 2x1cm hole for the female-female connector, one end was trimmed down but this was intentional:
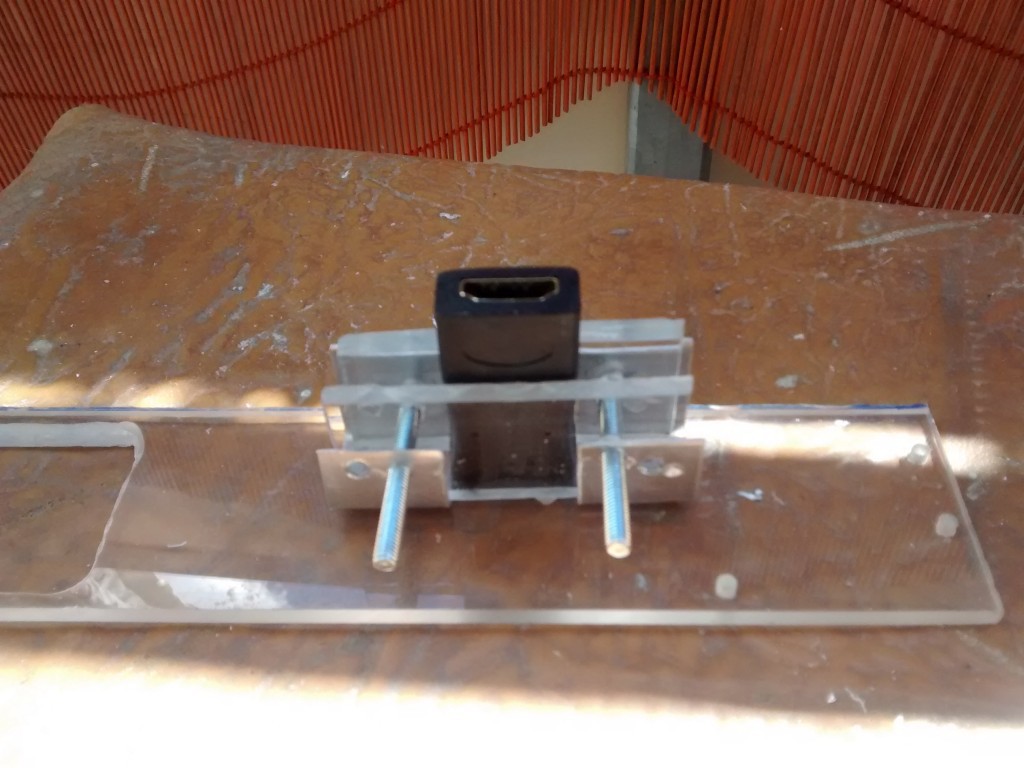
 Mount is made using acrylic scraps and aluminum sheet, this is how it looked before trimming down:
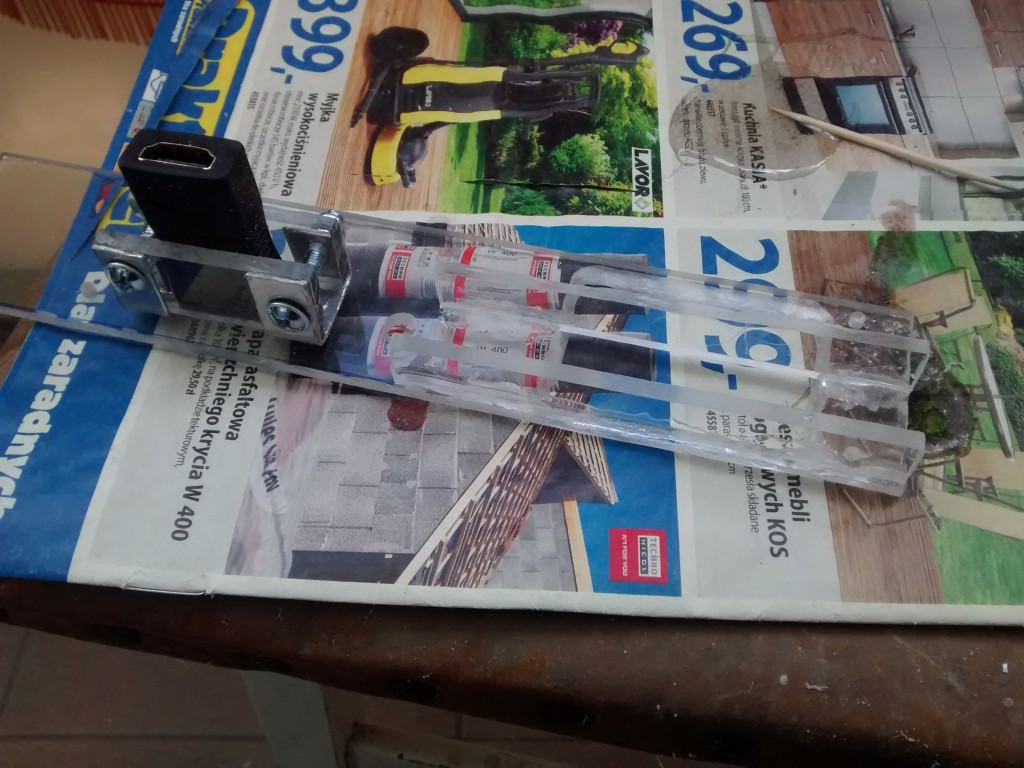
I could have used thinner ones- air vent area is now much more rigid than the other half ;)
Visible part of the back panel is made out of an old laptop, because it's not long enough I'll use two parts. Getting ready for epoxy:
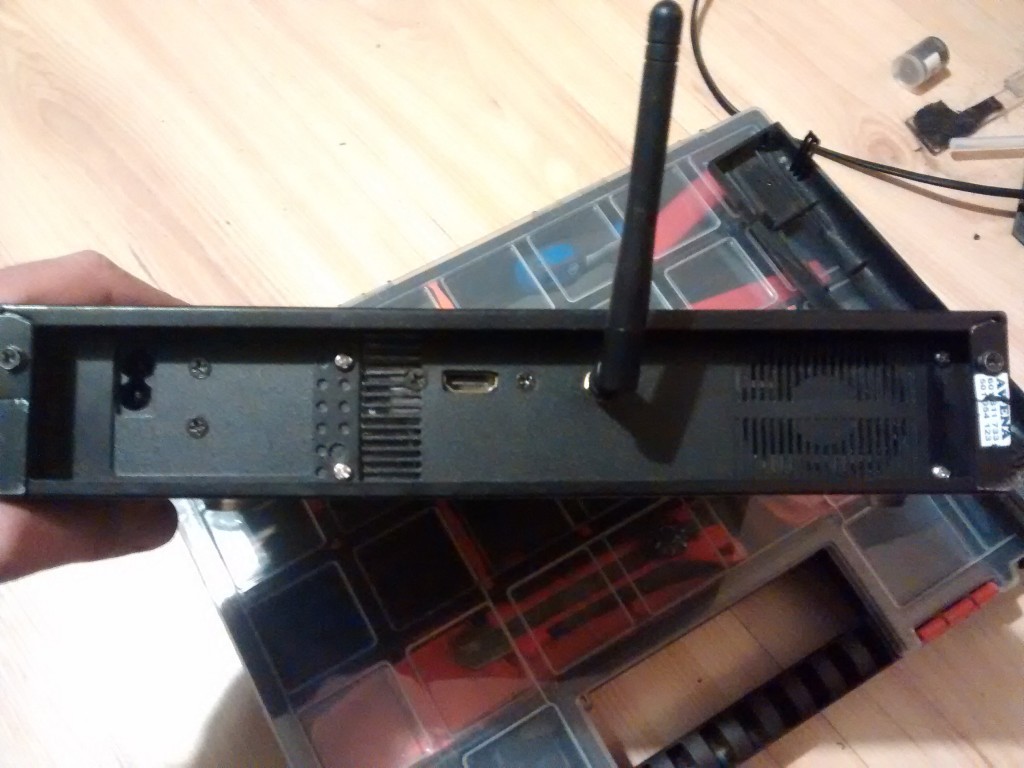
 And after gluing all together and trimming down:
 I could do it better- connection between black plastics is not the best one, you can see it on the left side of HDMI connector; power adapter is already attached and the hole for mains cable is ready:
As for the MCE remote- I may have to use an older OpenELEC build. I've compiled 5.0.6.0 from sources but still remote is not recognized.
If Kodi/XBMC temperature reading is correct it may be possible not to use the cooling fan after all. During the test run SoC didn't reach 45 Celsius
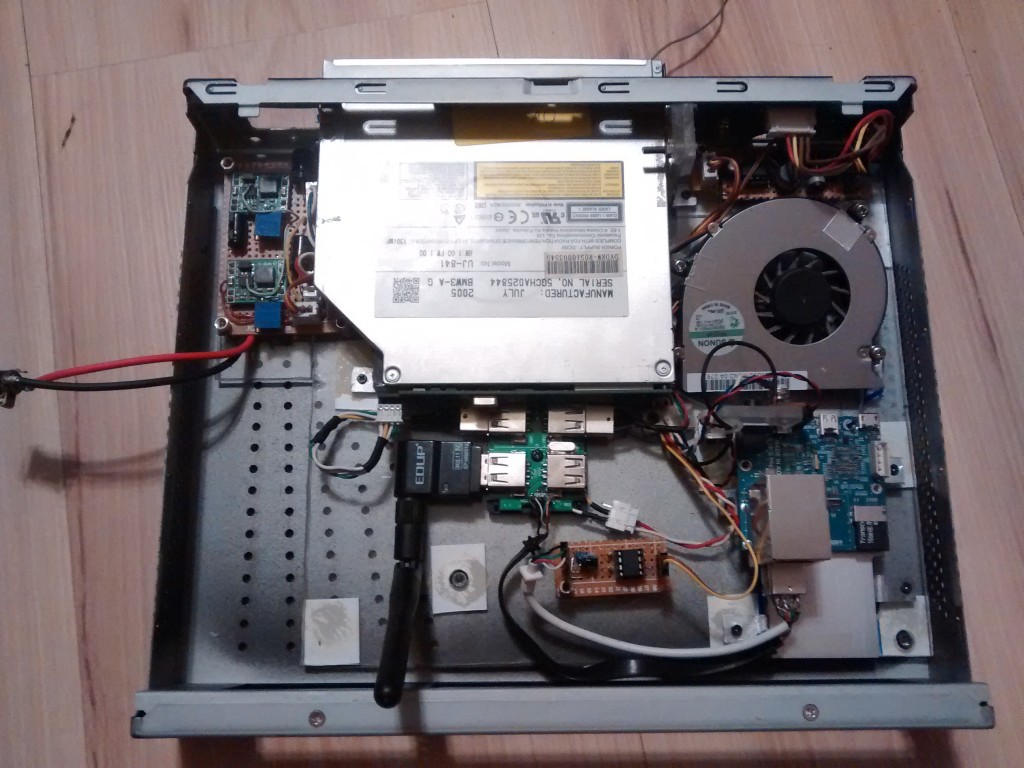
It turned out that I can fit the power adapter inside the case without modyfing it. Original adapter's power socket will be used.
Main part of the casing is made of 1mm aluminum sheet
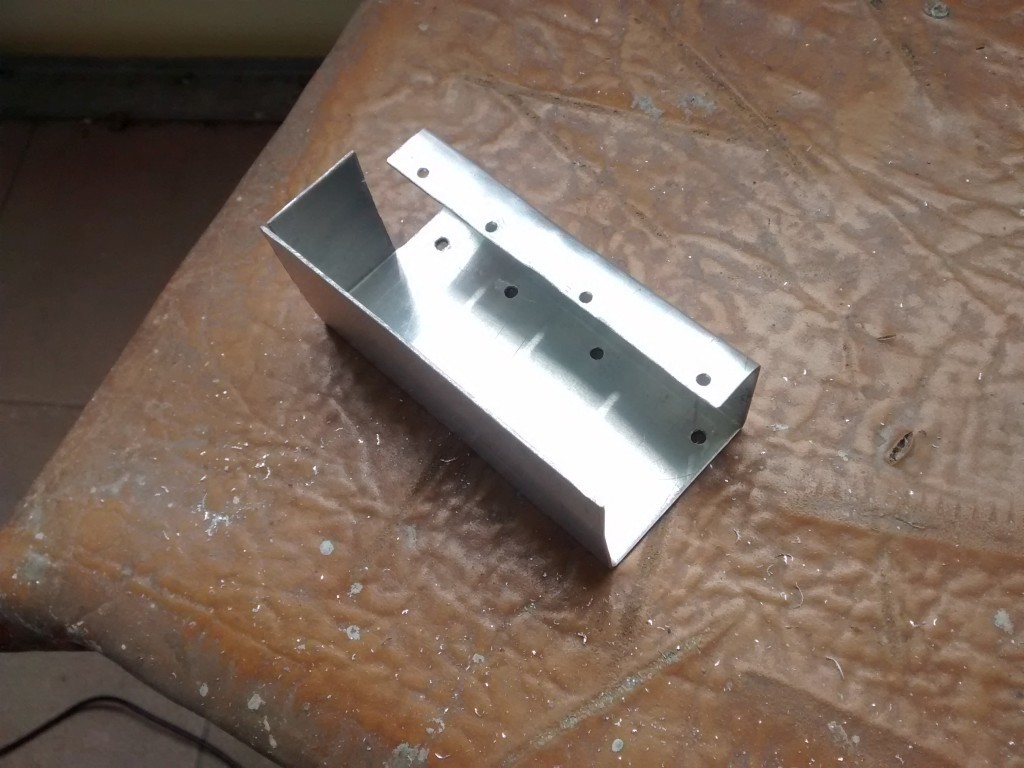
The smaller surface will be attached to the acrylic, holes on the opposite side are necessery to use a screwdriver.
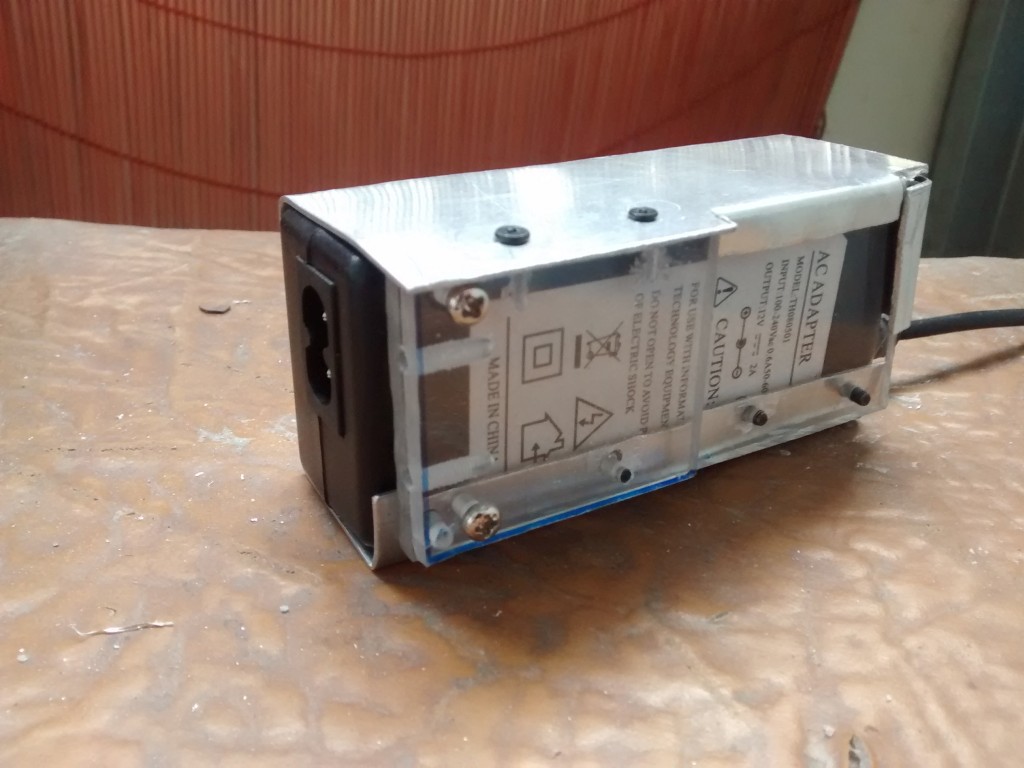
Adapter in casing:
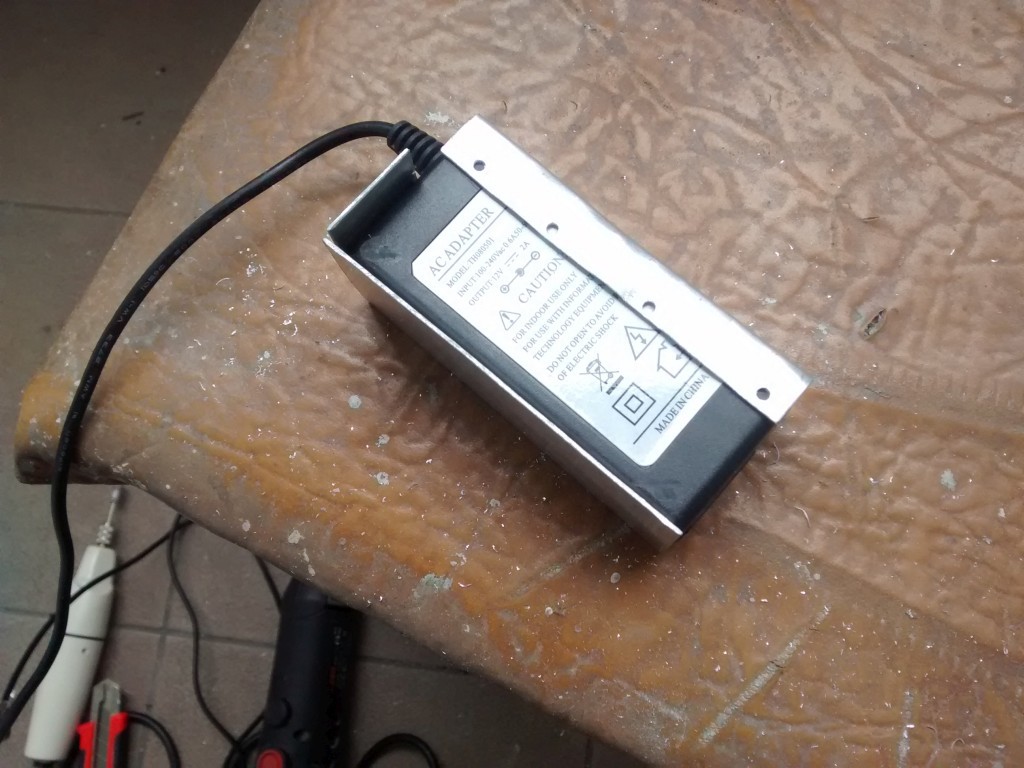 Acrylic part will be used to attach the casing to the back panel and main mounting plate. Power adapter fits really tight (it's really hard to get it out)
I want to make back panel out of two parts:
-acrylic which will support HDMI, wifi antenna and power adapter casing
-panel made of an old laptop on top of the acrylic- so the everything should look better
For now only air exhaust cutout is ready
Using Adafruit's TrinketHidCombo library I've managed to make a "proper" usb Power button. It sends System Power Down event (works fine on PC), but in OpenELEC it only launches Shutdown menu and awaits for user selection. So the first solution will be used. Code, schematics and quick'n'dirty readme are on Github (code and readme in PowerBtn2 directory).
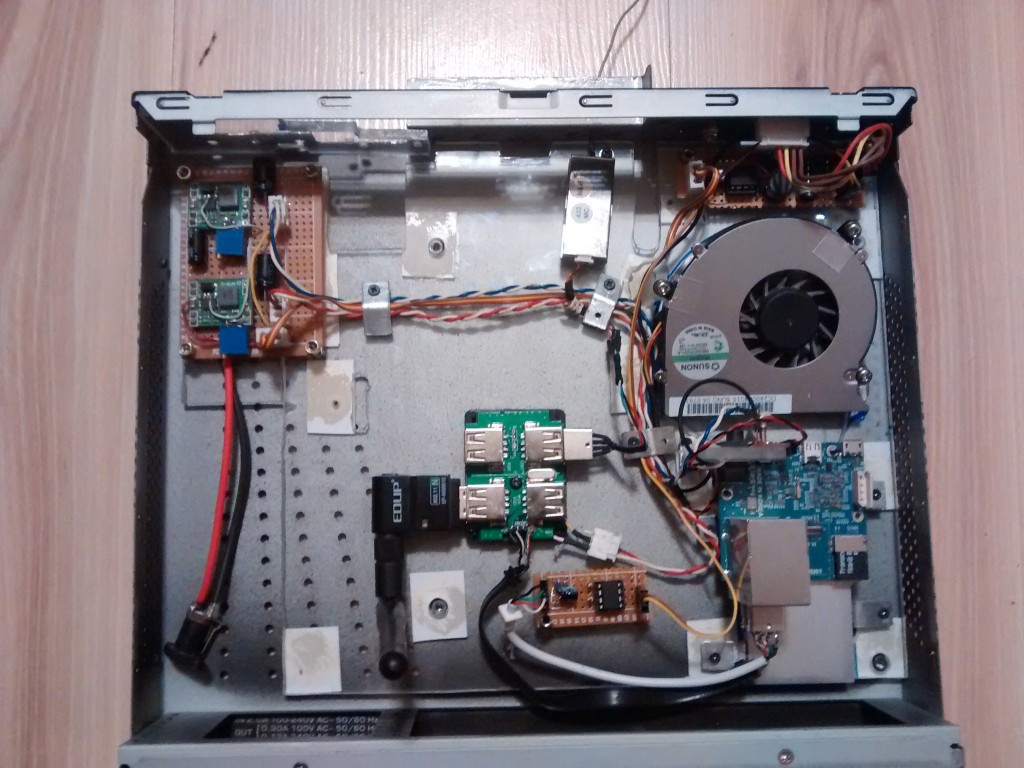
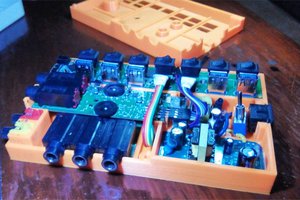
Everything is slowly mounted in it's place. And it seems that I should be able to stuff power adapter inside the case :)
Done
-main components are mounted
-fan is working (I've never used my U2 with a fan before)
-PowerCtrl board
-PowerButton
To do:
-powered usb hub
-custom HDMI cable
-extension cable for wifi antenna
-back panel
-maybe an USB port on the front panel
-finish the front panel (sanding paper, bondo, paint etc)
Video from today's test run, sorry for quality:
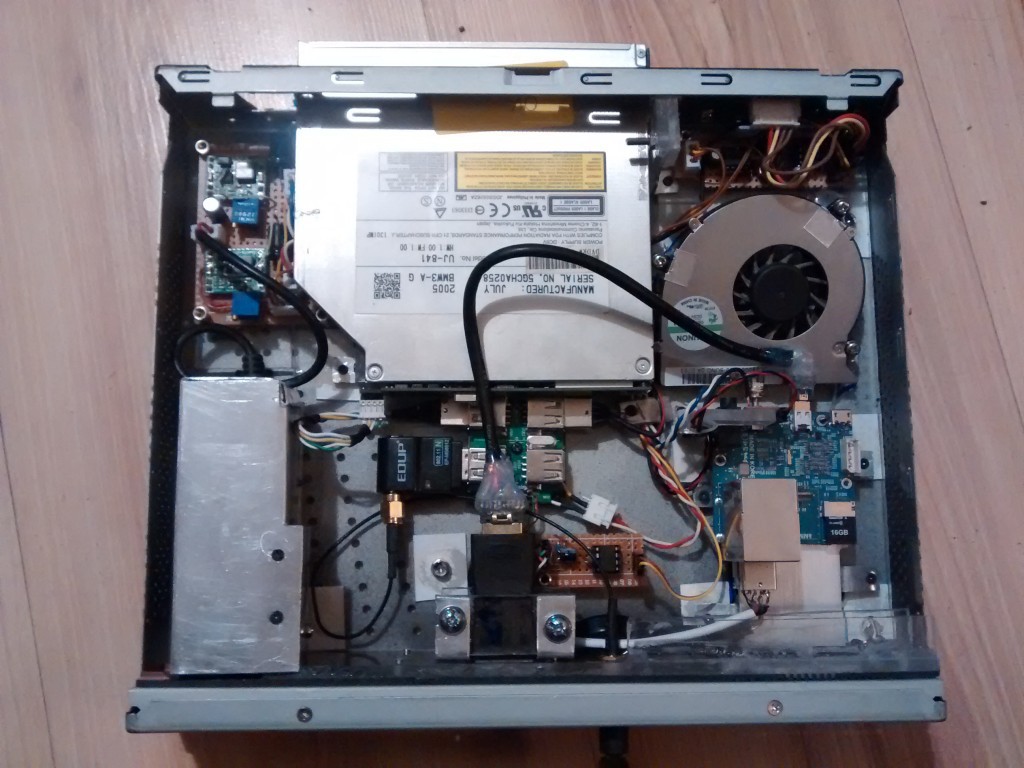
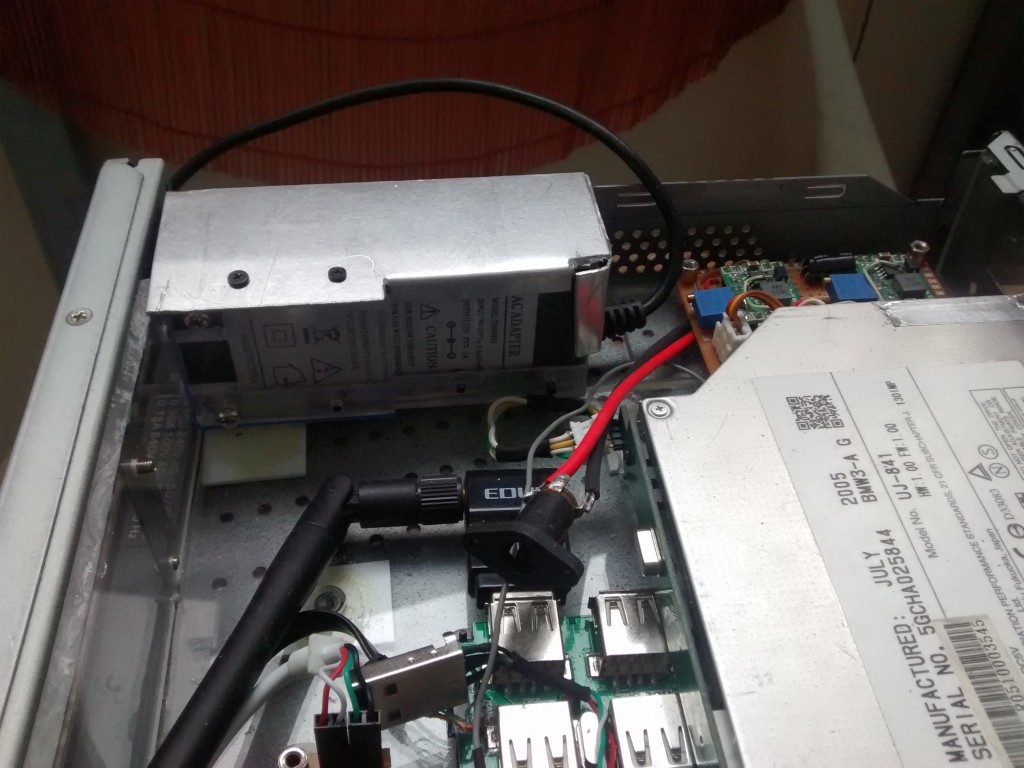
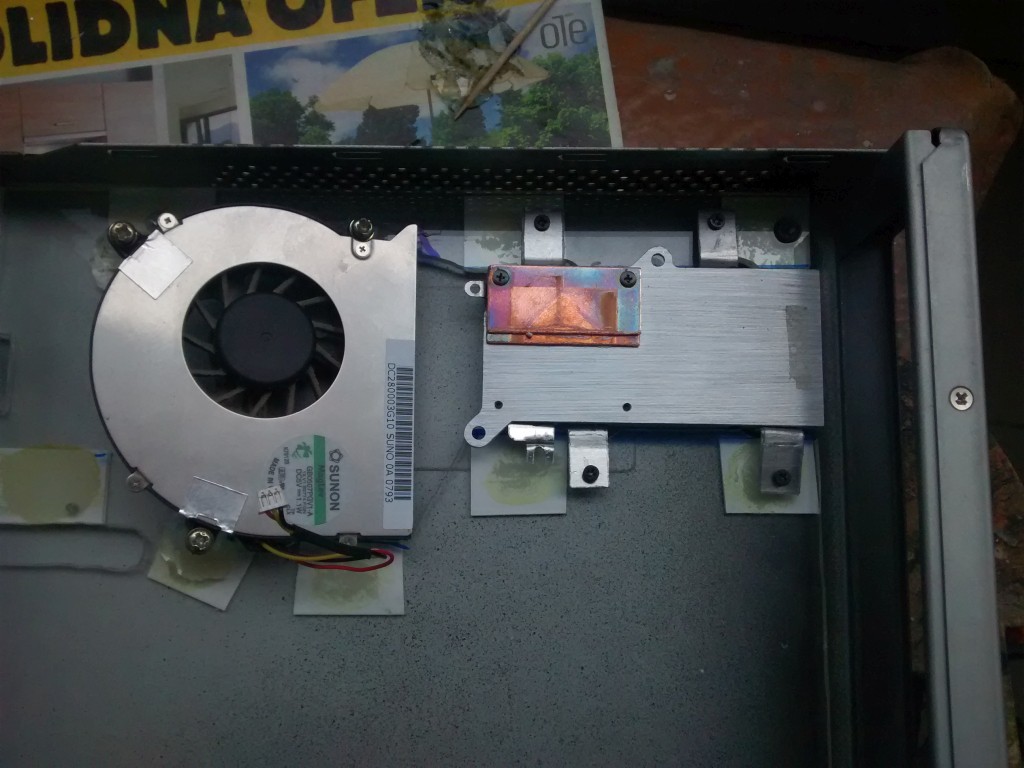
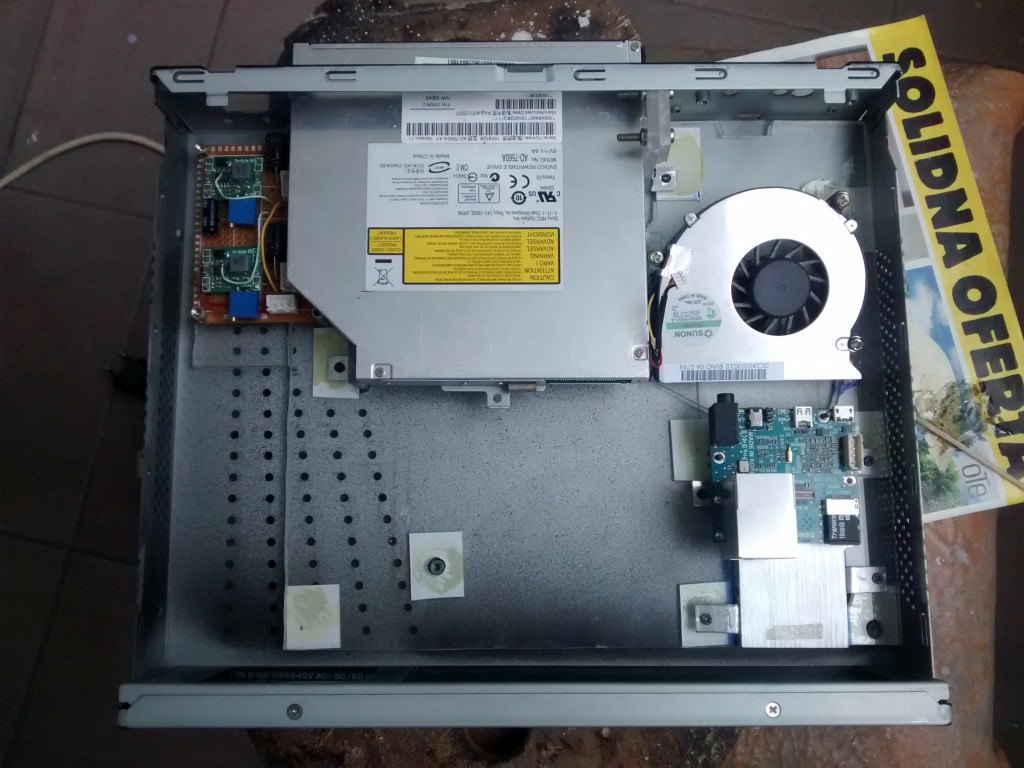
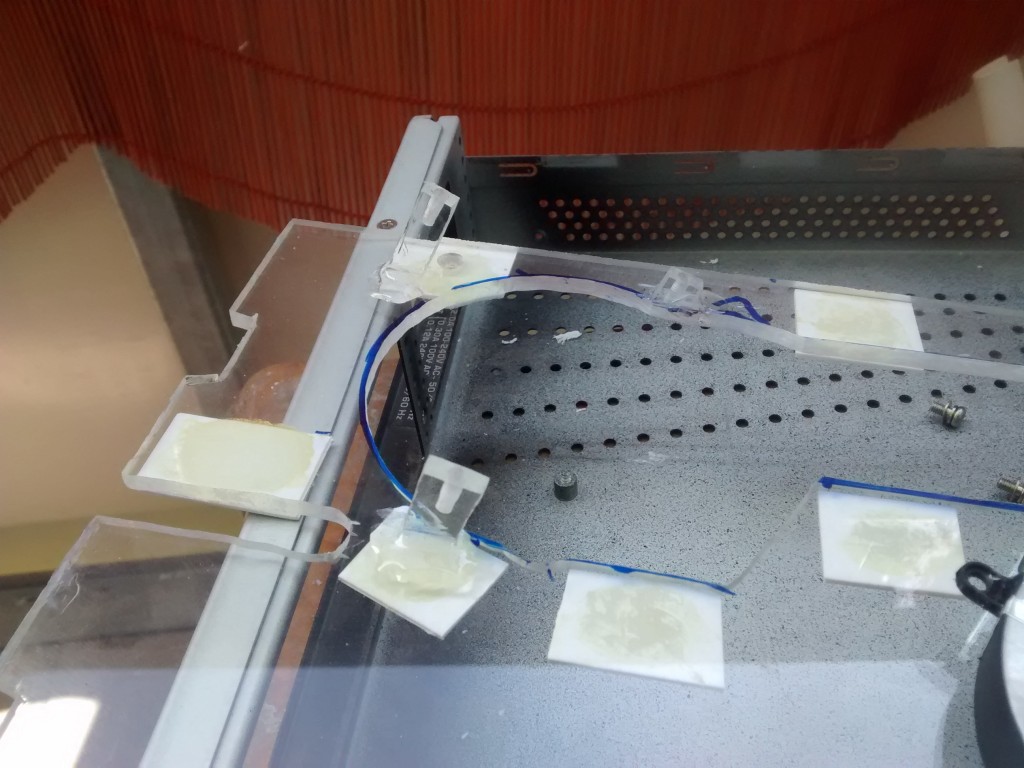
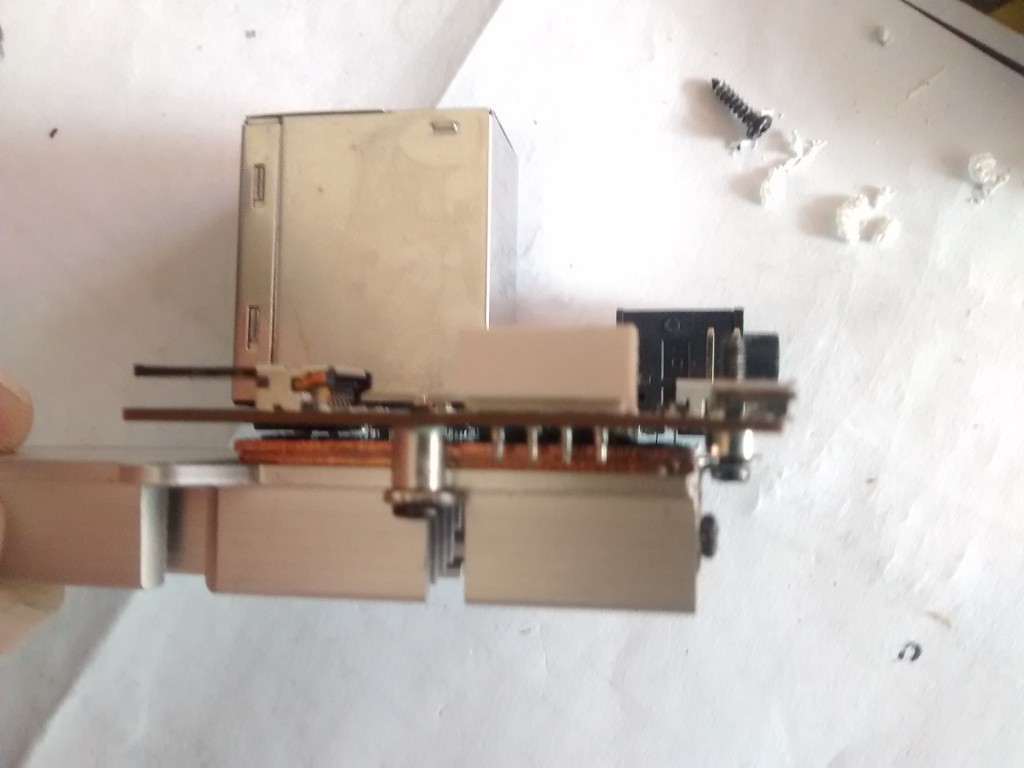
And everything except for power adapter is mounted:
 Small box near the PowerCtrl board is Medion X10 MCE USB receiver, antenna-grey wire hanging outside- will be covered with front panel only.
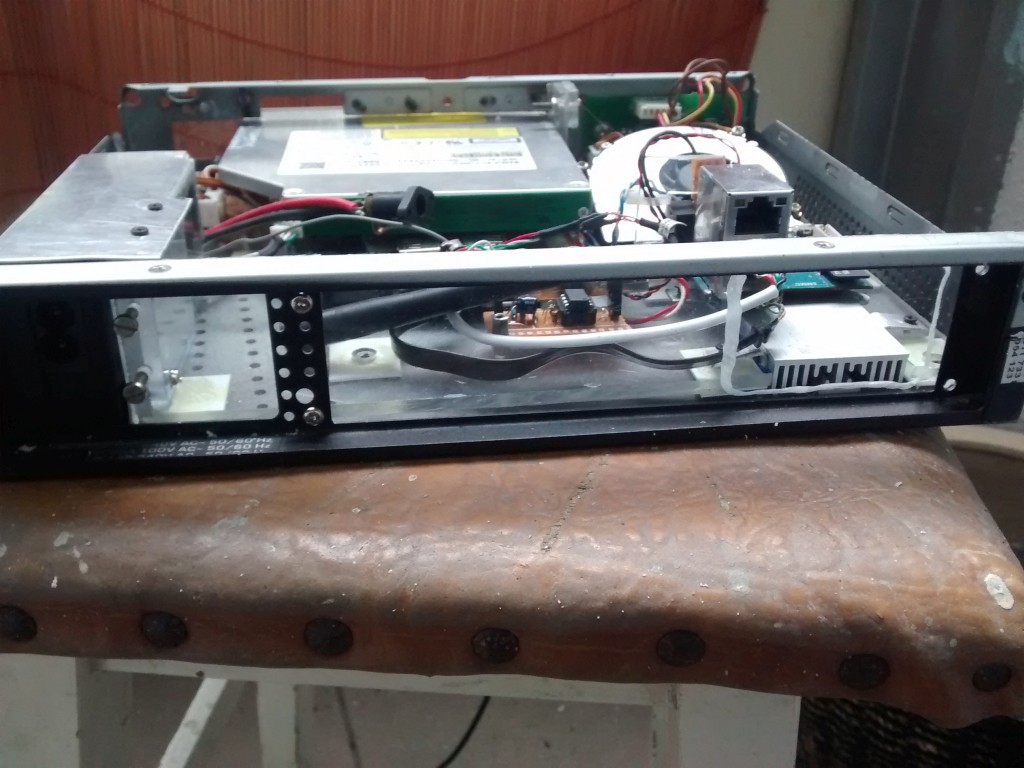
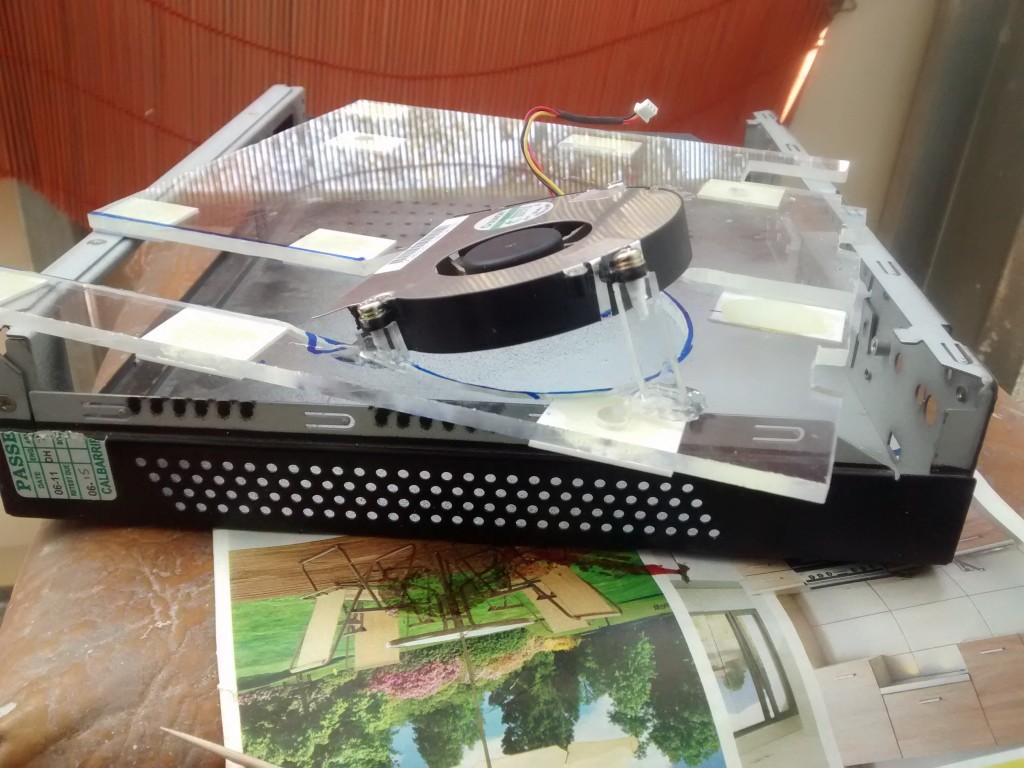
And with DVD mounted:
 DVD doesn't touch the USB hub, there's about 2mm of free space left.
It's time to mount everything in place.
I've cut several straps out of 1mm aluminum, each is approx. 1x2cm
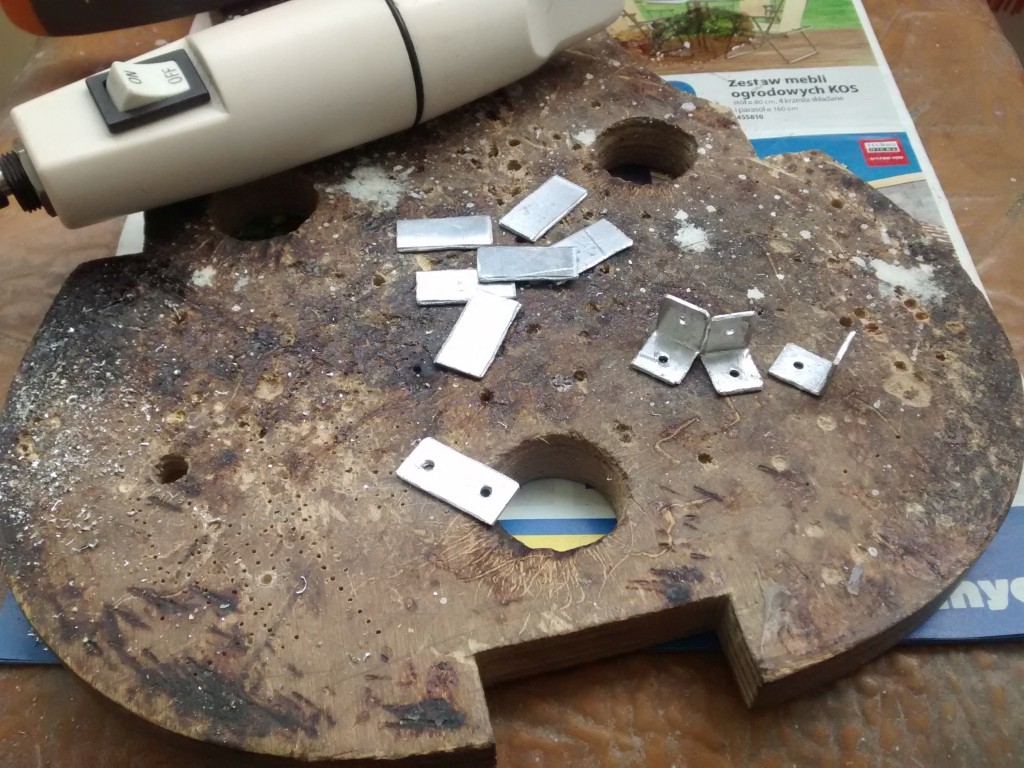
Bent ones are used to hold the DVD:
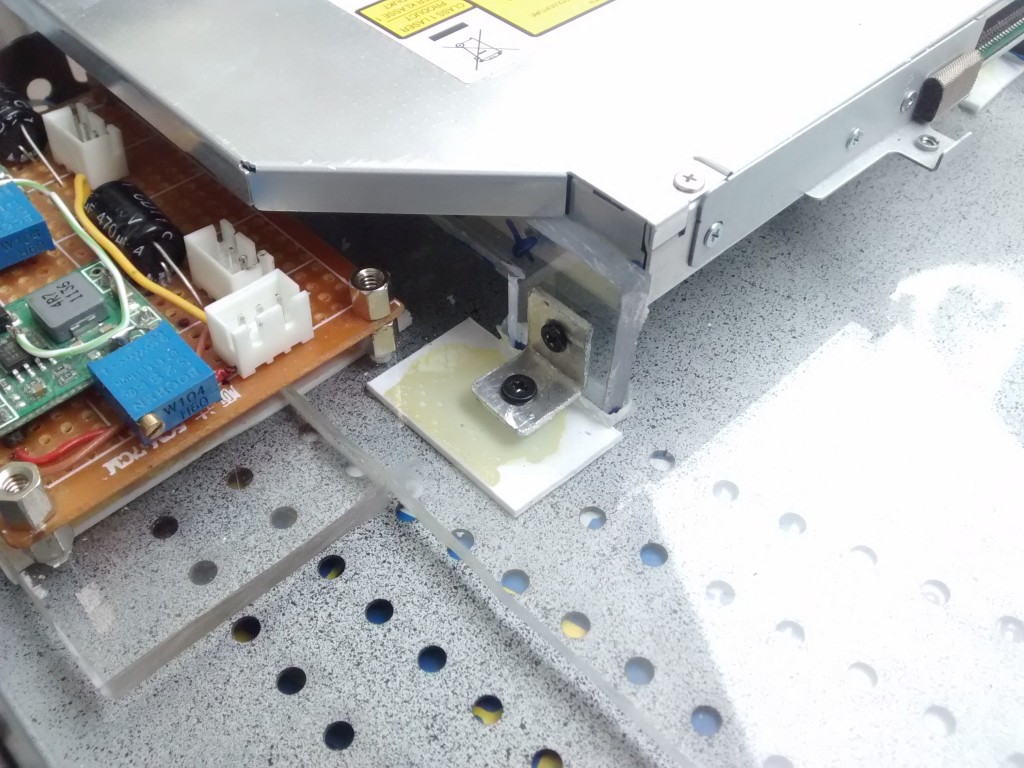 4 straps are attached to the Odroid cooler,. Each one is screwed to the cooler and to the main plate using M2 screws:
Photoresistor mount- made from acrylic leftovers, 2 screws are used for each surface to prevent it from moving:
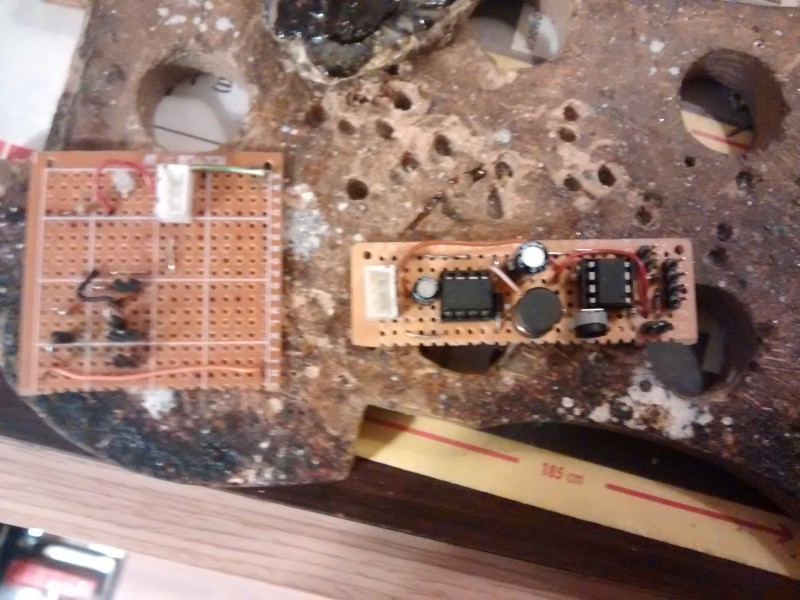
 PowerCtrl board is shrinked in half :) I didn't mount the calibration led, it will be attached temporarily only. On the left side the old board for comparison:
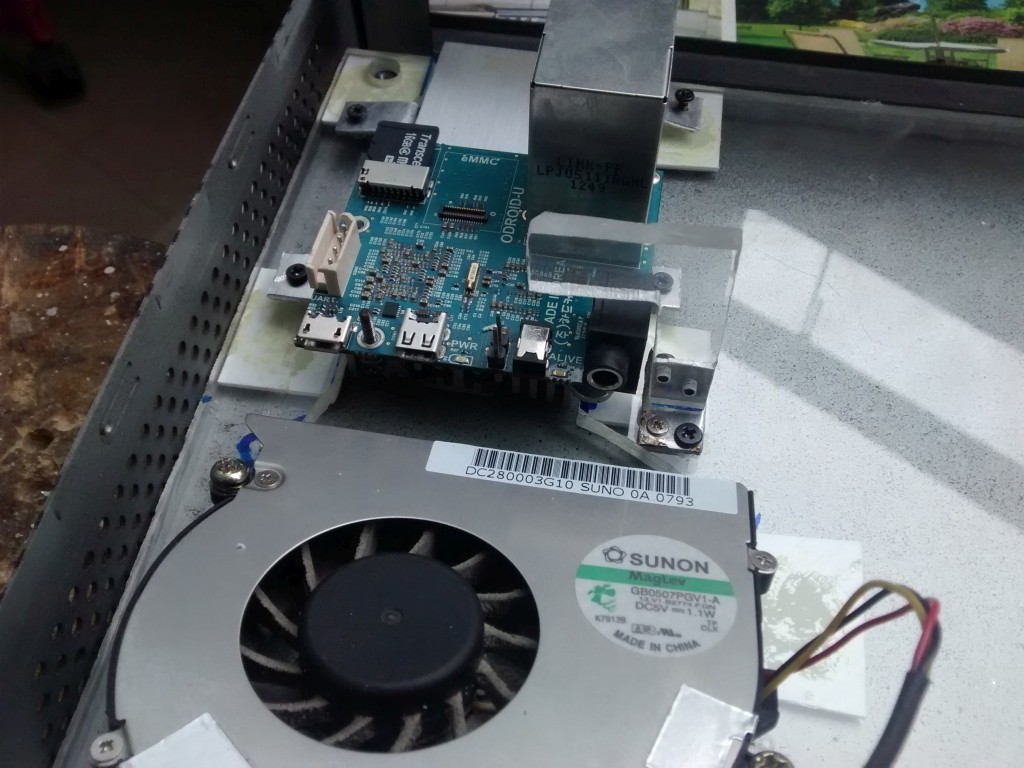
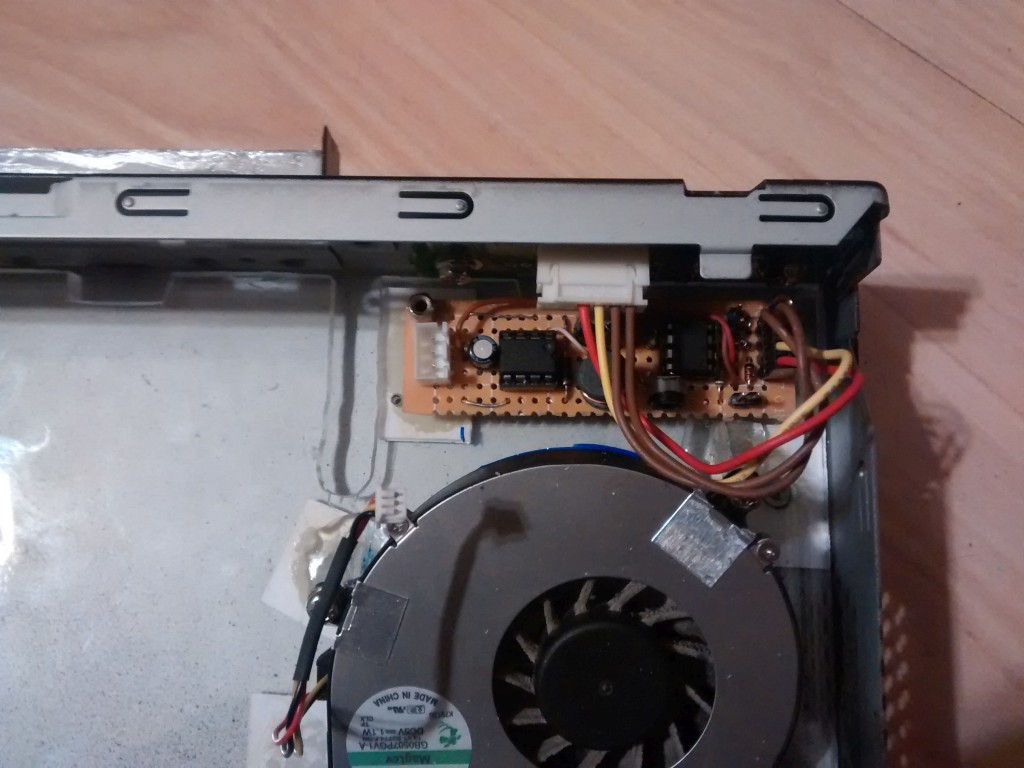
 Board is mounted right beside the fan. This will lower cable clutter- power switch (and led) are attached using original short cable, photoresistor won't have to have a long one too:
Main mounting plate is 1mm thinner than motherboard mount points (spacers?), I've added several pads made out of 1mm polypropylene sheet on the bottom.
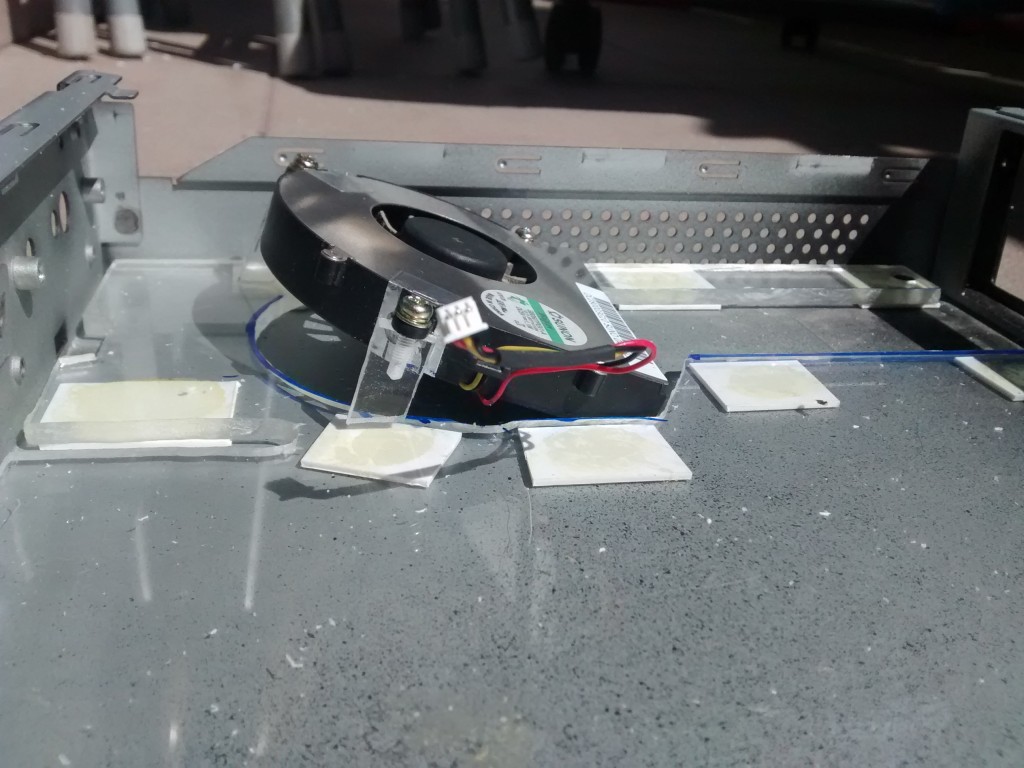
Fan mounts are made of acrylic scraps (left from previous work), each one has a tapped hole for attaching the fan:
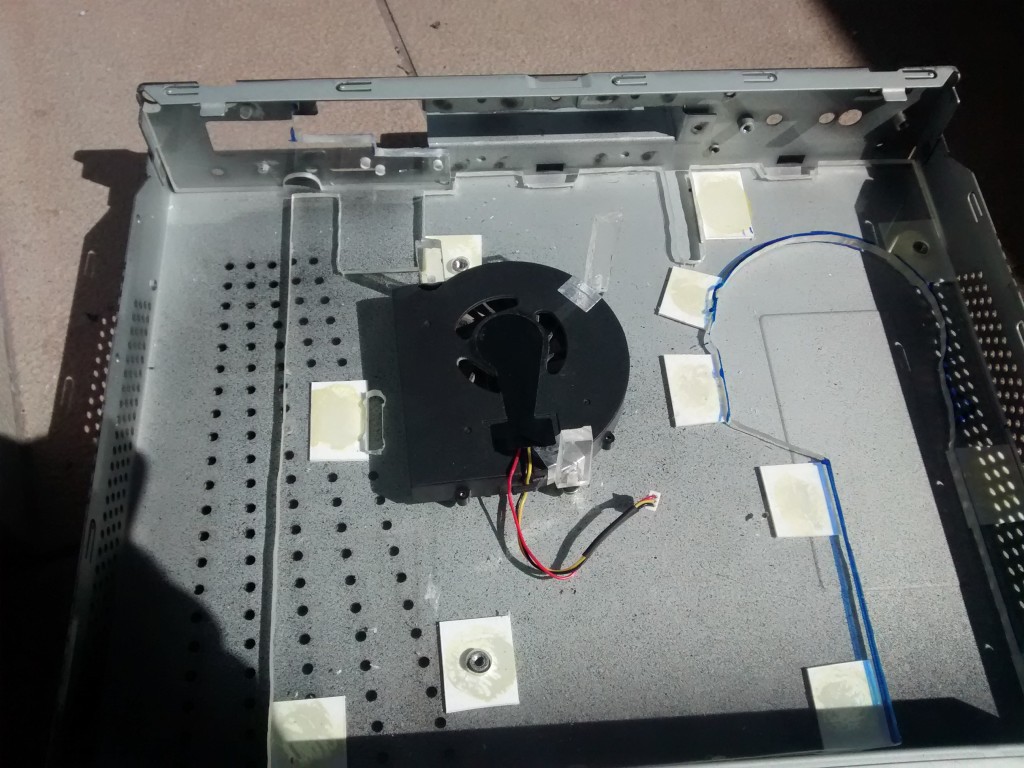 All mounts were cut and sanded, exact fit was not necessary:
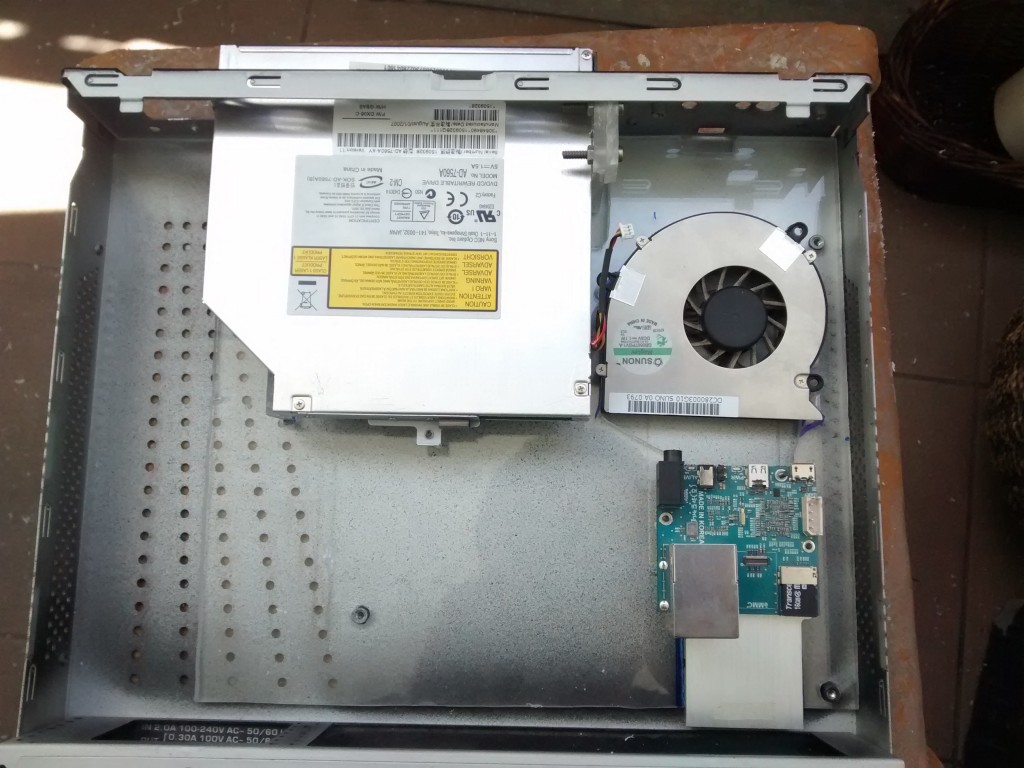
I can't just toss all the electronics inside the case (for reasons which at this moment must be all too obvious ;) ).
On the bottom of the case there are 4 mounts for the mITX motherboard which will hold the acrylic plate in the place. Since I must cut out quite big area to fit Odroid (with cooler) and the fan- DVD will also be used as support.
The beginning- holes for "motherboard" mounts ready, cutouts for front panel mounts ready, cutting lines to make place for DVD marked:
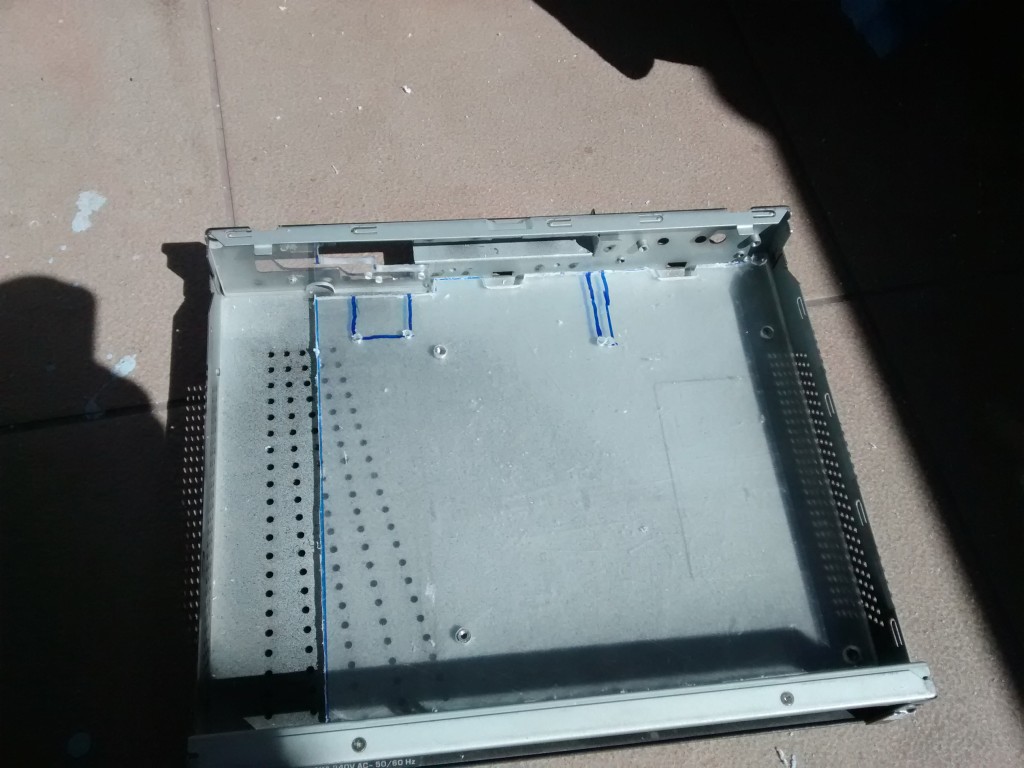
There is still some place left at the back of the case, I will have to fit a back panel there.
I modified the left side of the DVD mount- now it has a smaller footprint and it's easily removable from the case:
 DVD- right side:
I removed some plastics from the fan (right side at the bottom, not visible on the picture) as I don't need such wide blowing area, also about 5mm of acrylic was not removed.
Fan will be mounted at an angle - lower near Odroid- it is designed to suck air from both sides.
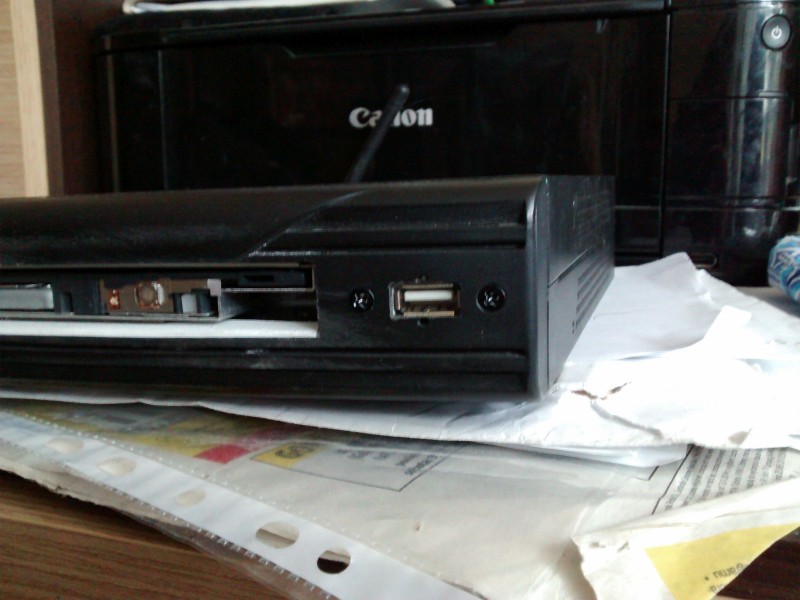
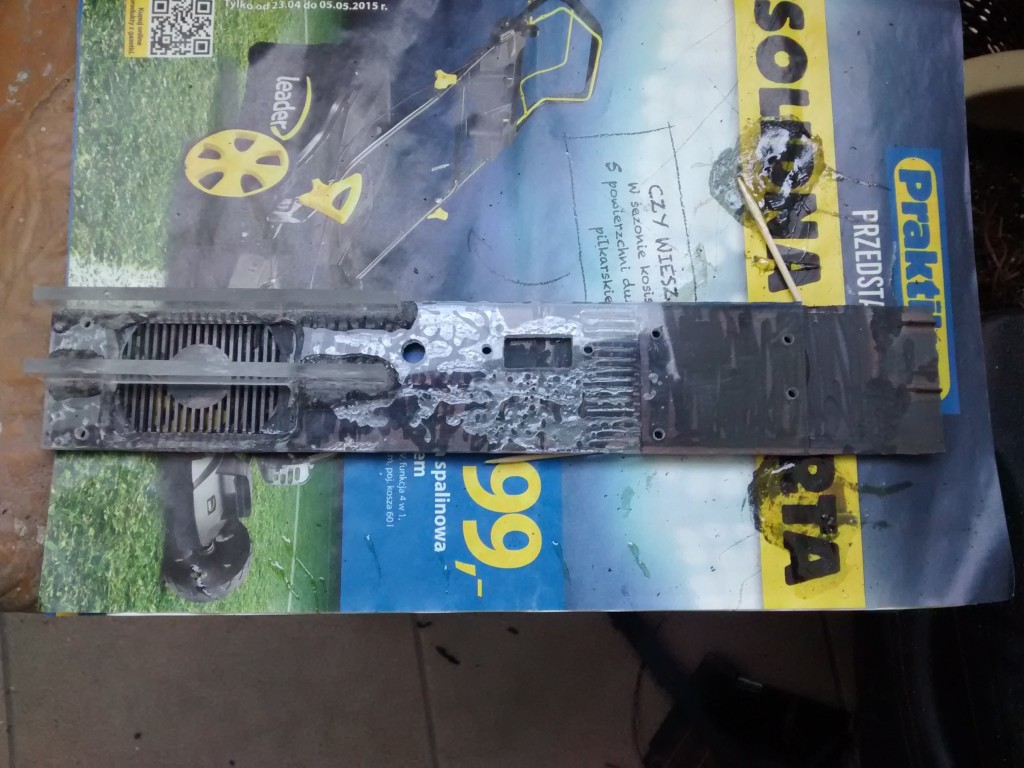
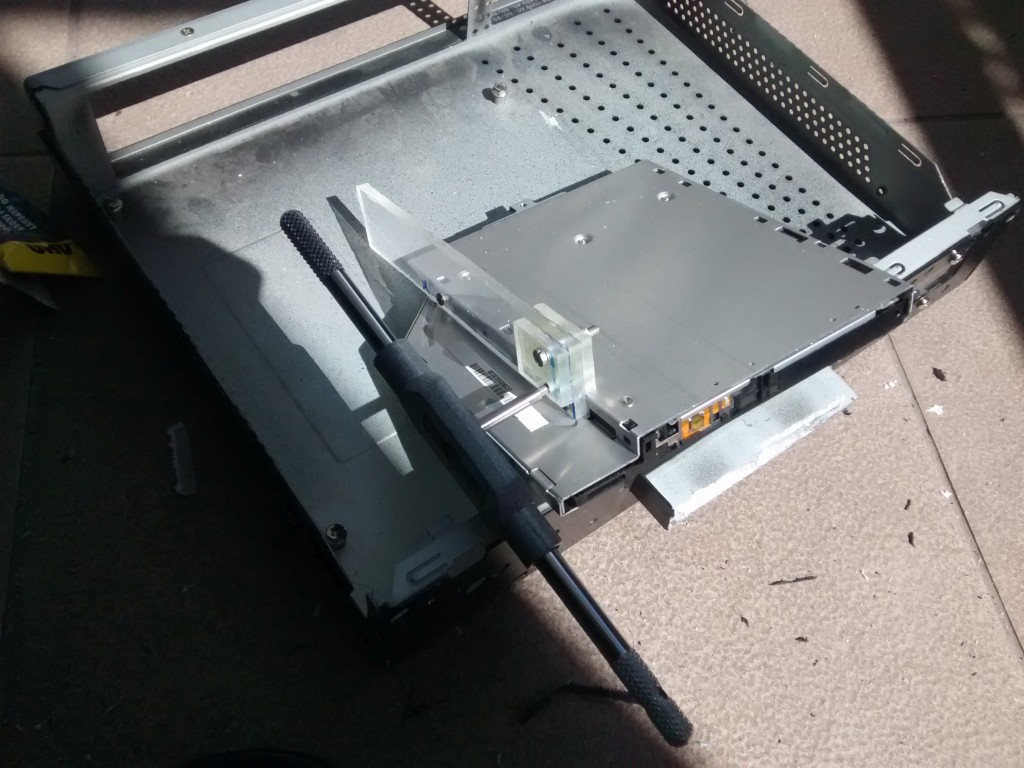
The Itona case had to be modified.
Victim:
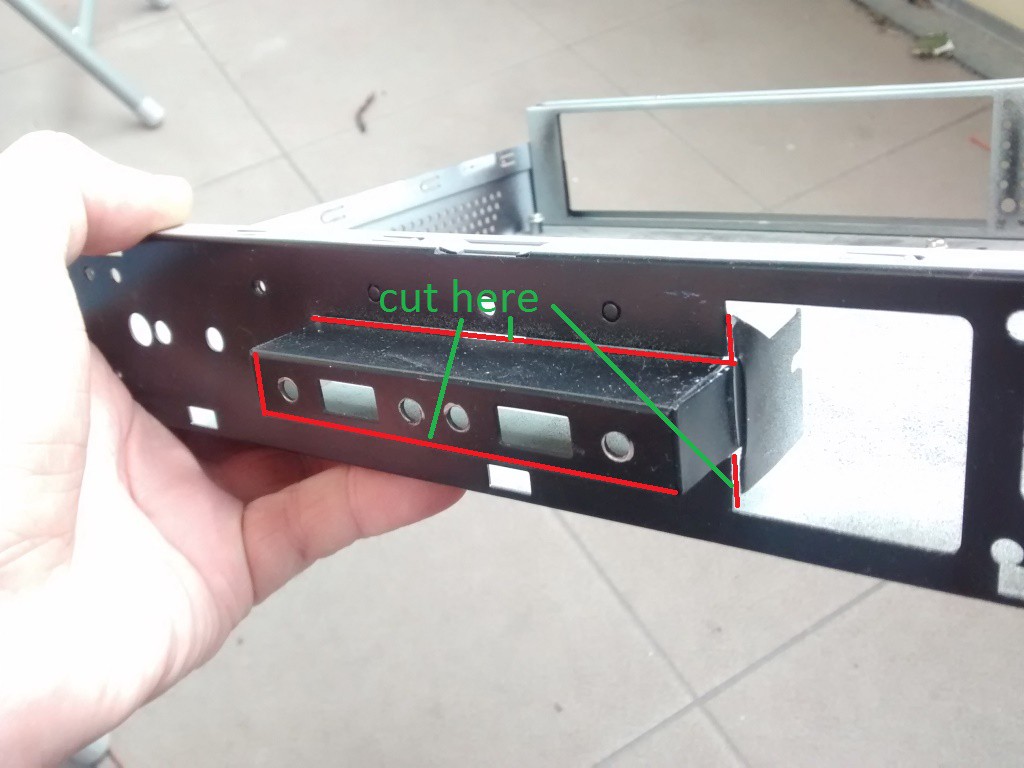
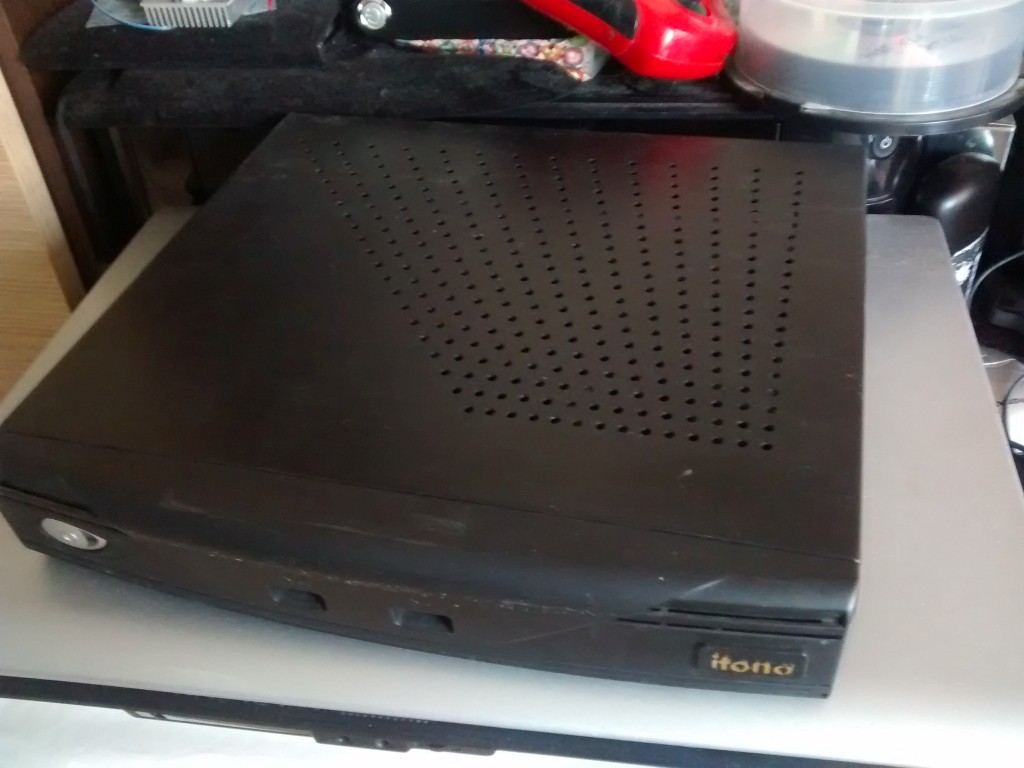 It was designed to house a mITX motherboard with 55W PSU. 2 USB ports were present on the front and I hoped that DVD will fit there with minimal effort. Unfortunately the drive was about 1mm thicker than available space so more cutting was required:
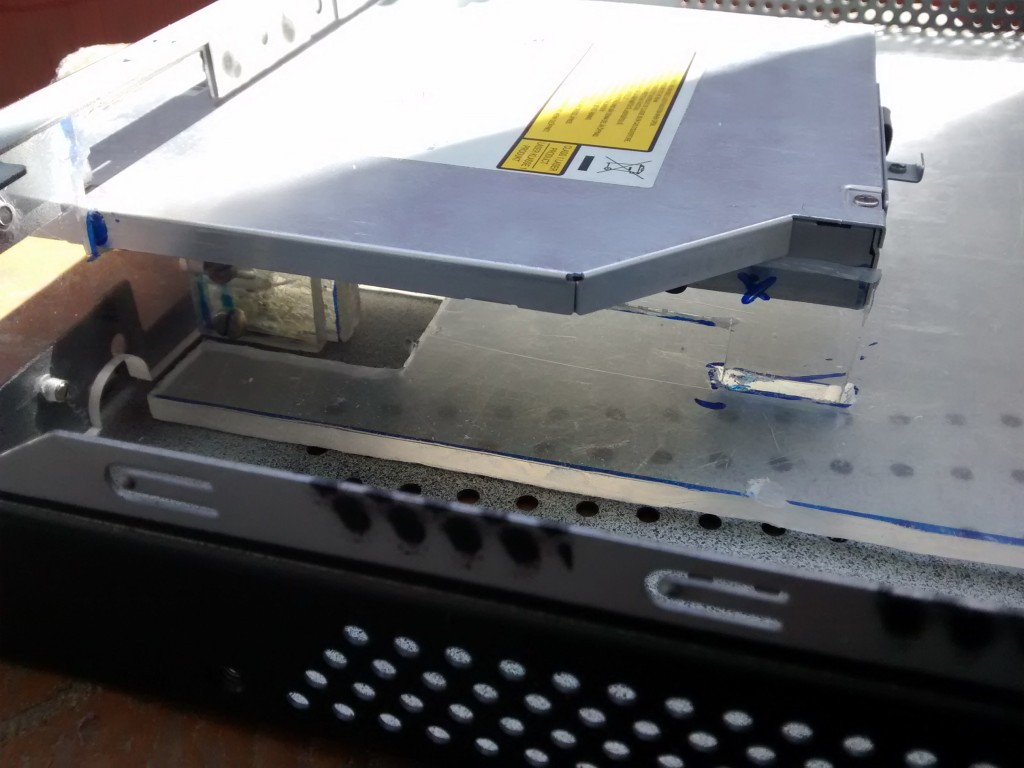
 Initial fit:
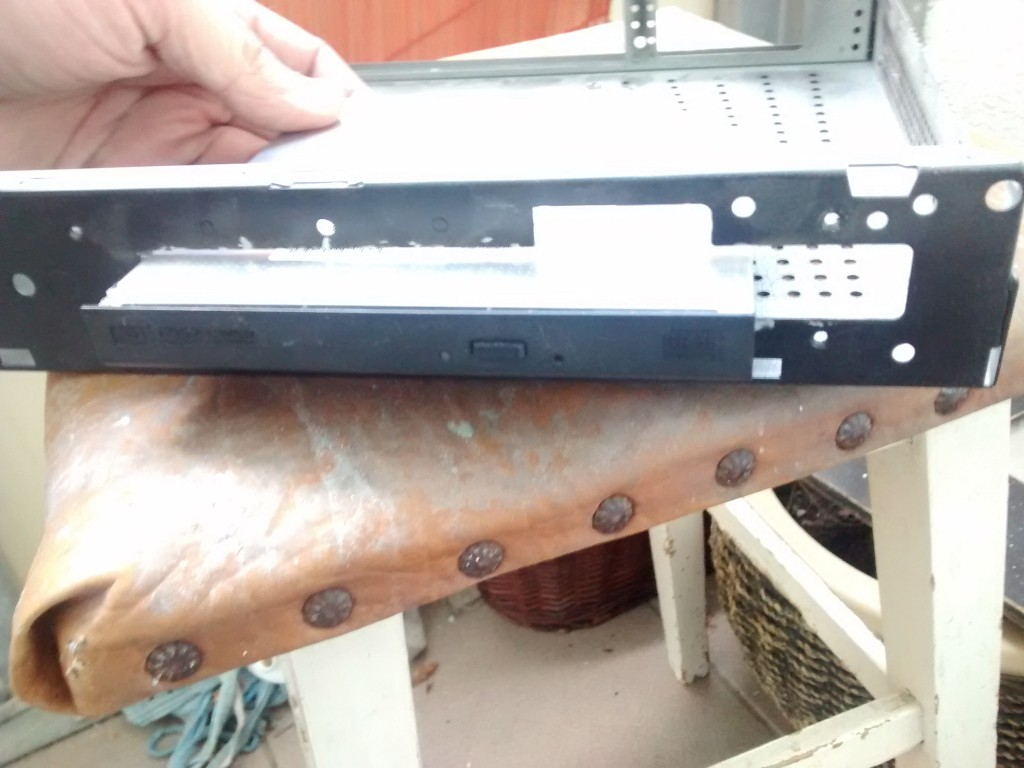 Support for the drive (on the right side) was made using 4mm acrylic I had lying around.
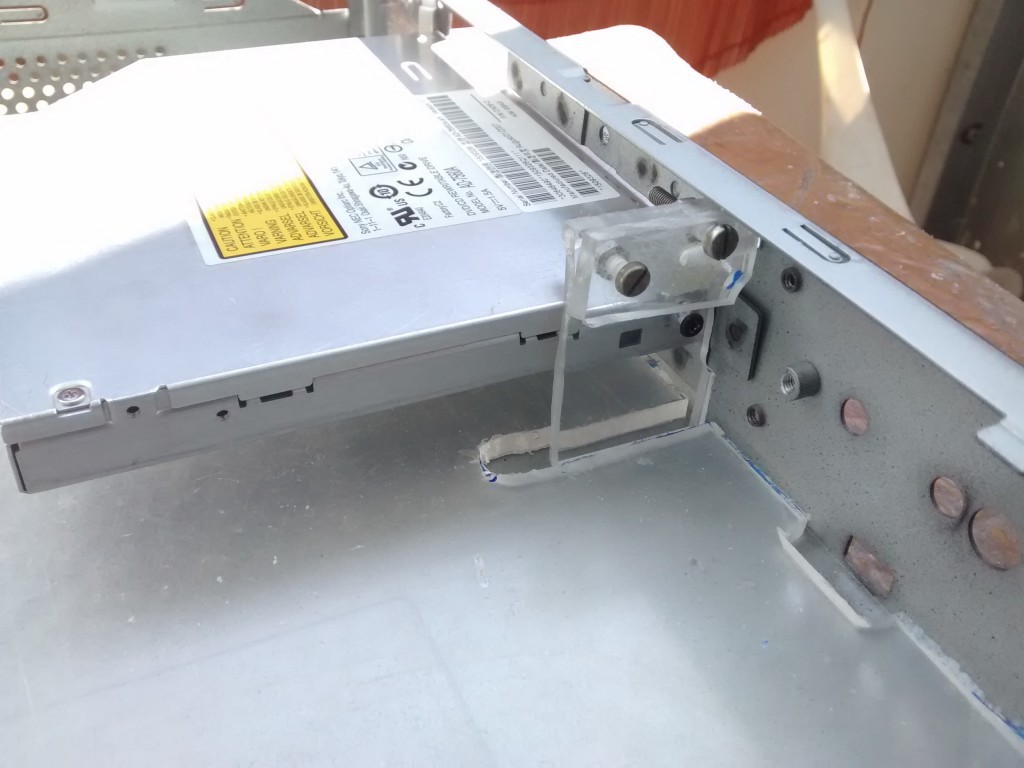
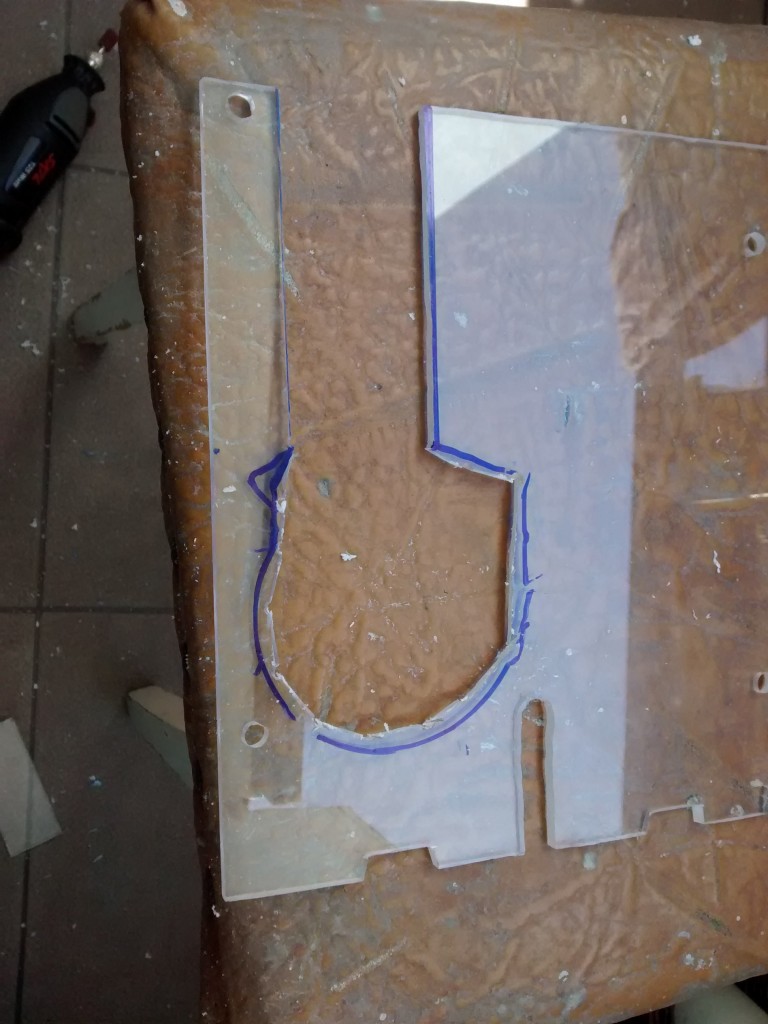
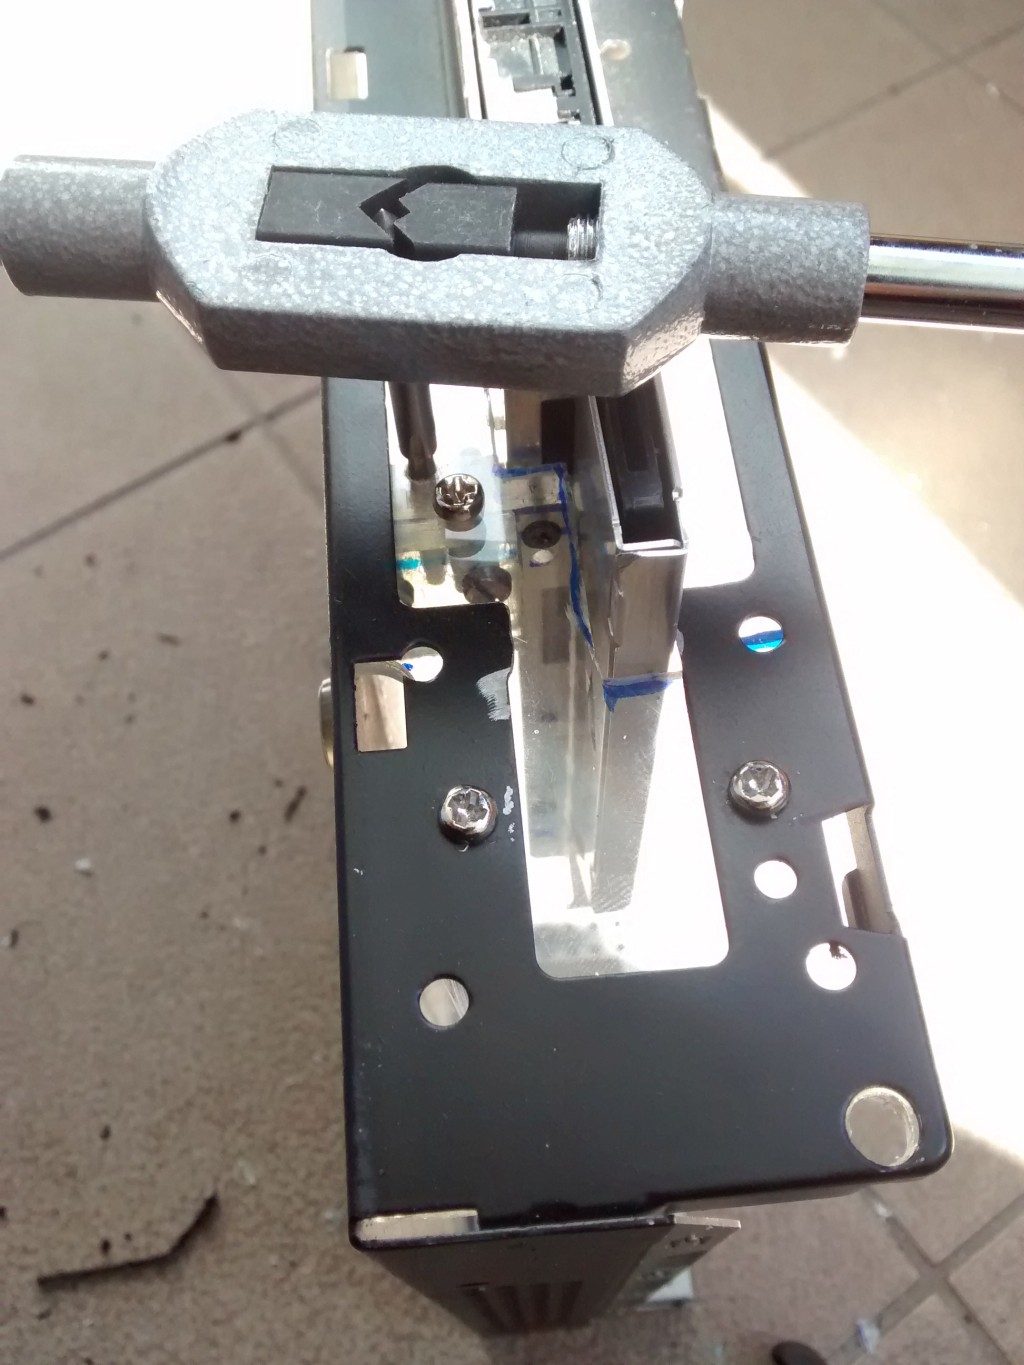
Near the front plate 2 additional pieces of acrylic were added- glued to the centeral one, then I drilled 2 2mm holes to make a taps for the M3 screws:
 These were necessary to connect everything to the front plate- additional 2 holes were made and tapped:
Finished mouting:

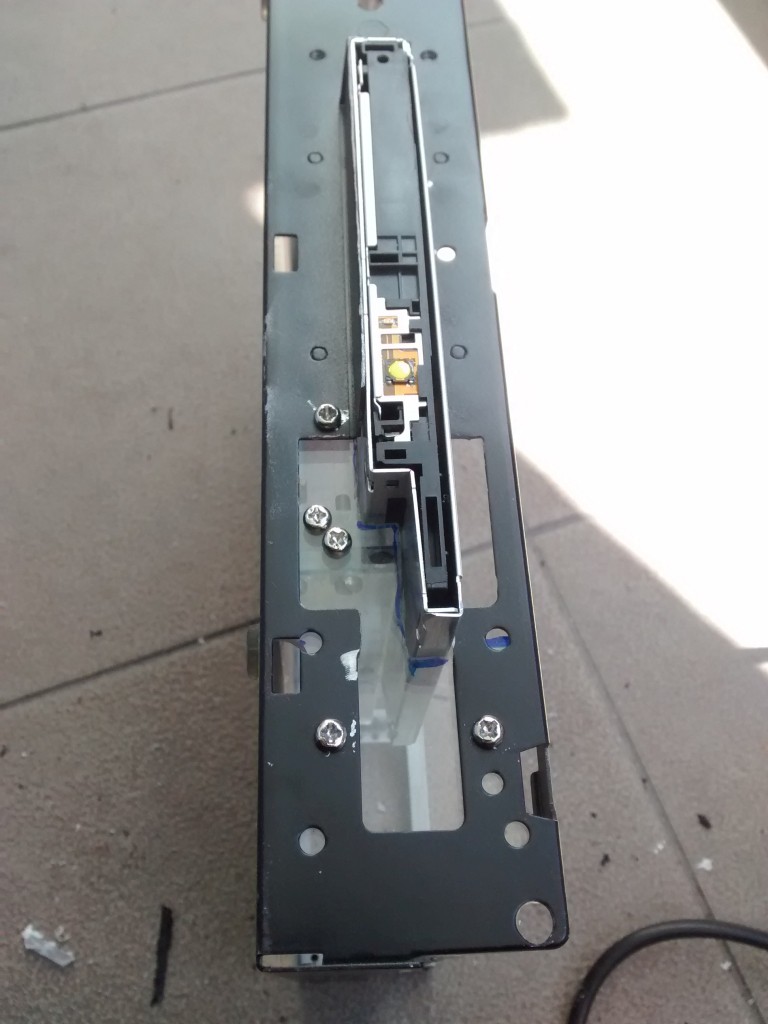 And the right side DVD mount:

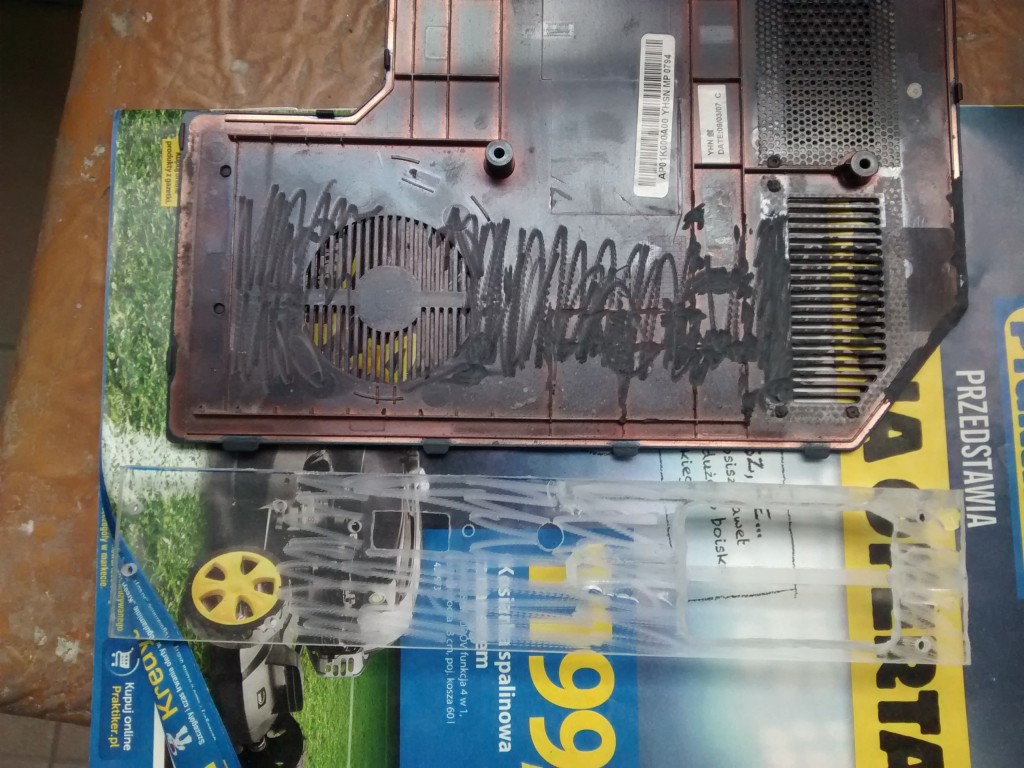
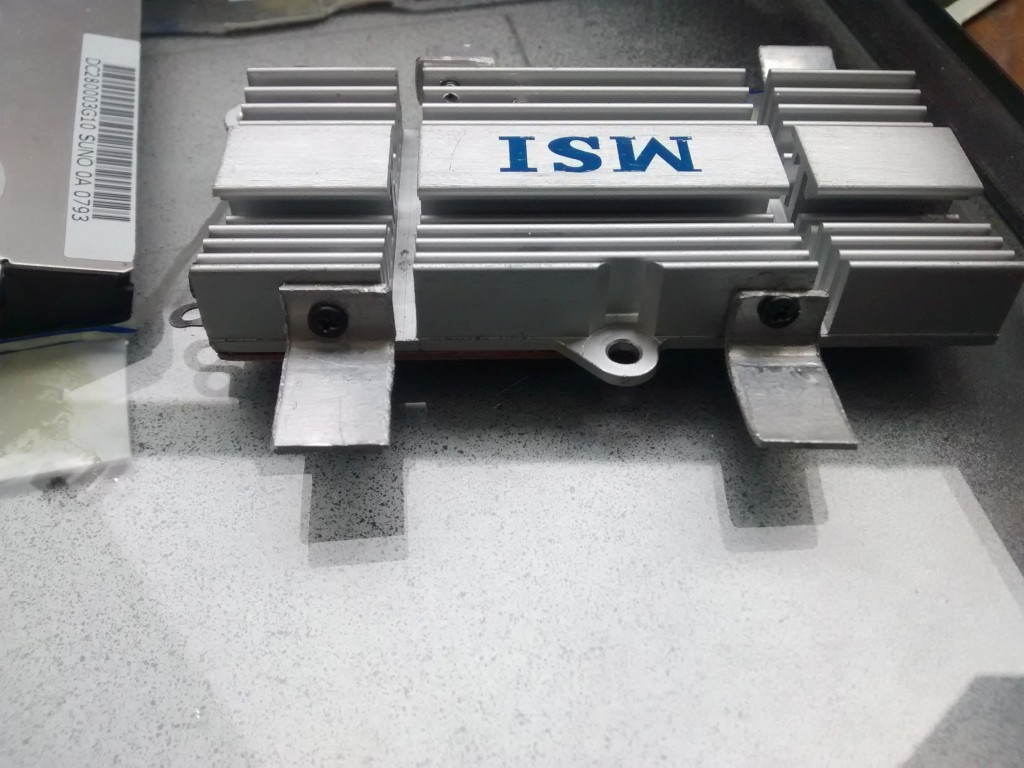
Case I want to use is quite low, stock Odroid cooler won't fit (without modifications).
I found a 38x80mm radiator (from a dead motherboard), half of it was covered with a 1mm thick copper shim:
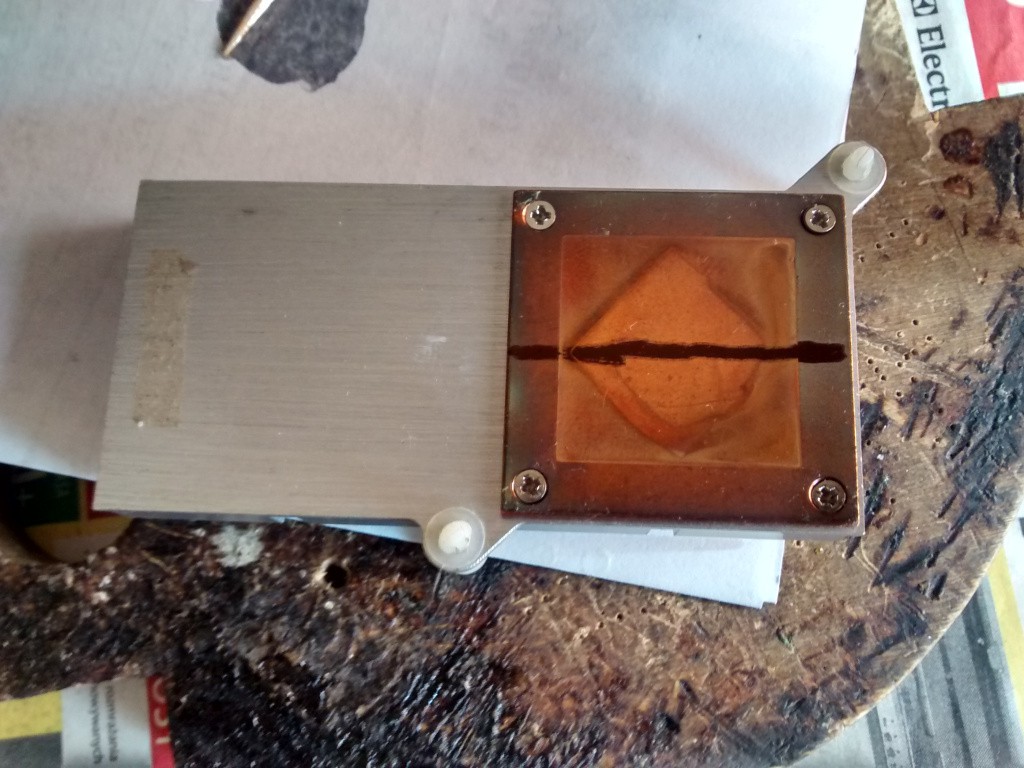
Cooler after cutting the shim in half, all parts are held together with a thermal glue:
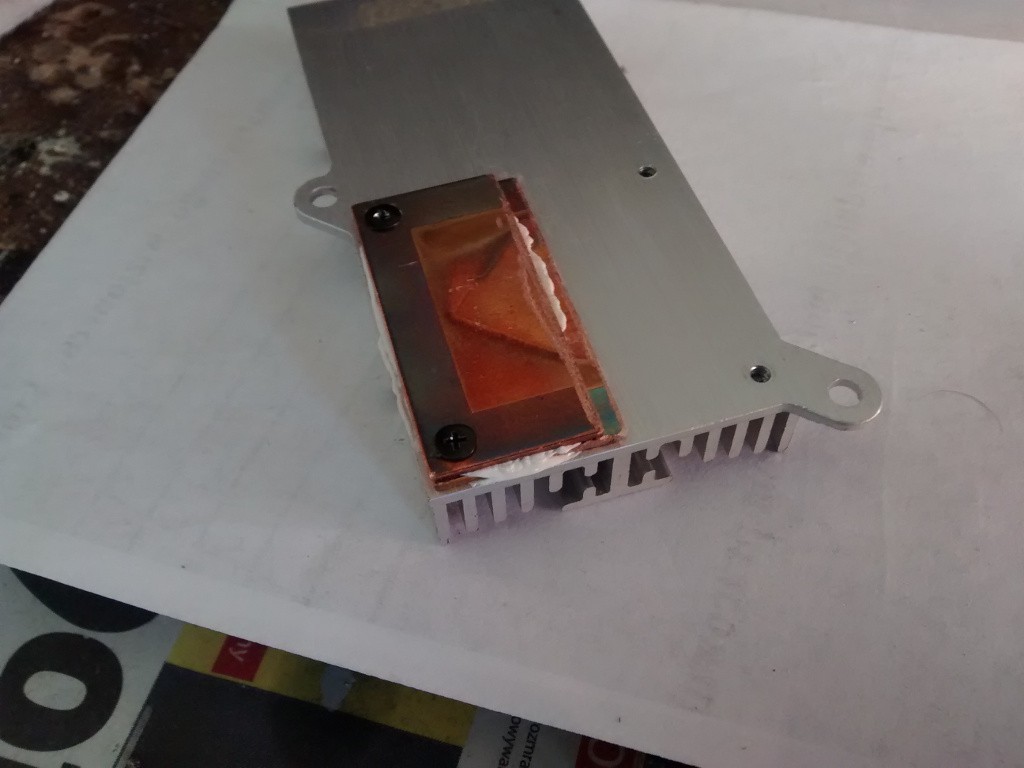 Initial fit:

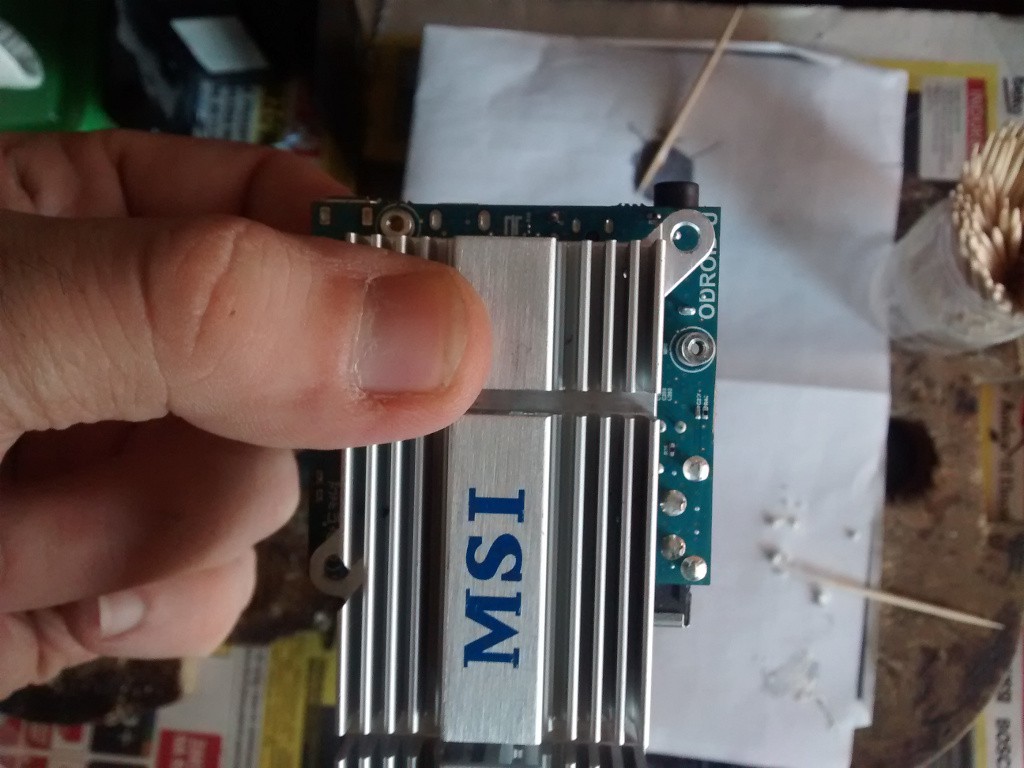 Original mount points are used:
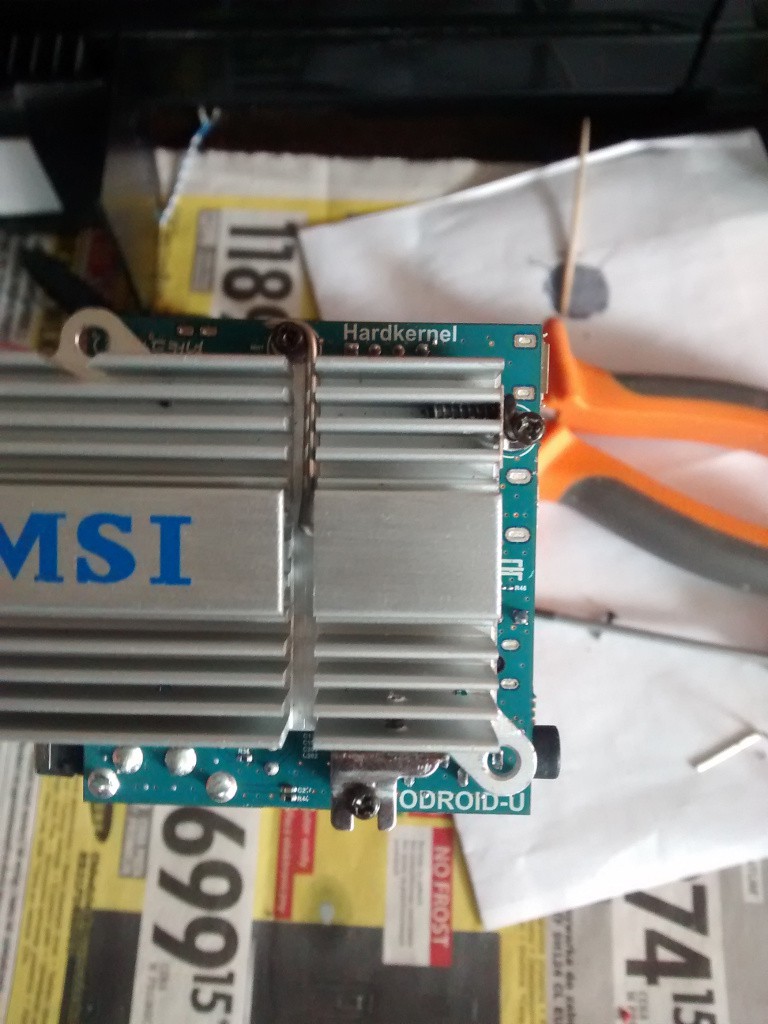 And finished cooler attached:
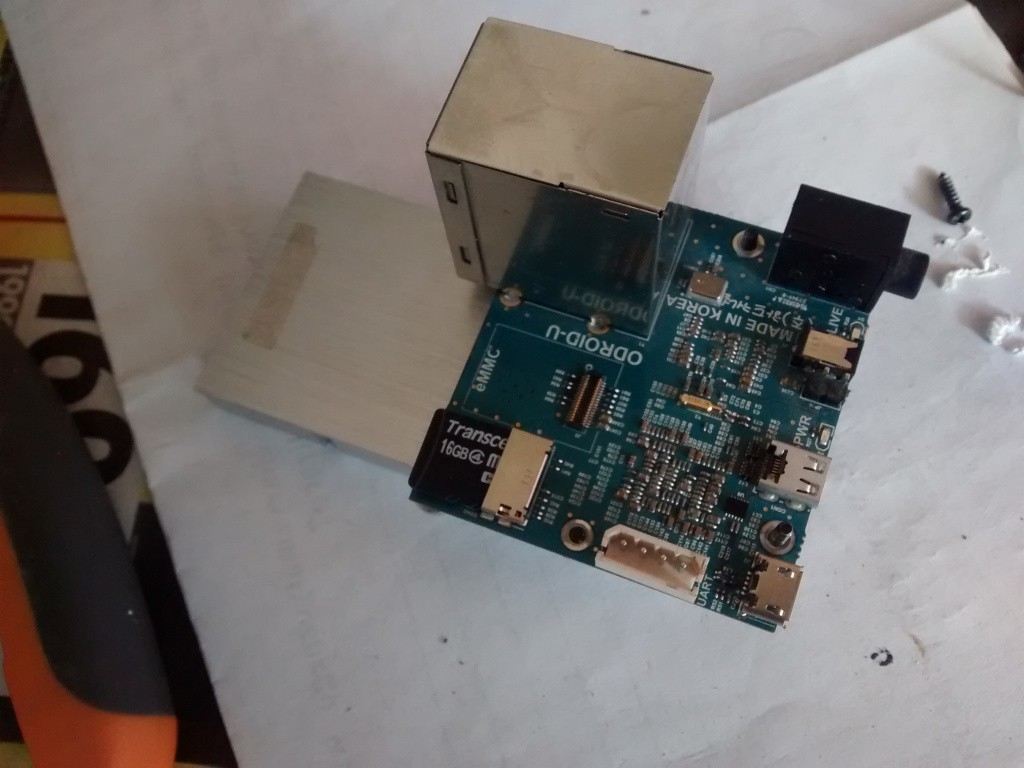
SoC is the only part of Odroid touching the cooler, just like in original design.
Thermal surface shuold be big enough to be used without a fan (Odroid-U3 has a smaller one) but since there will be almost no airflow in the case there will be one.
 Patrick
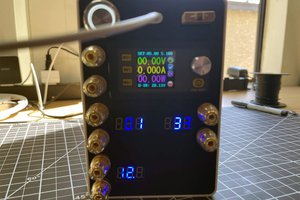
 Evan Li
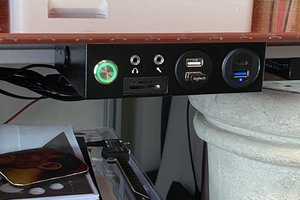
 Involute
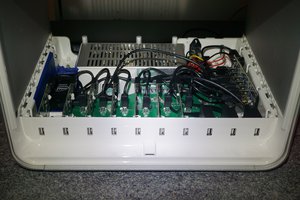
 Paul Nicholls