Rob Vincent
-
Hot stuff, and a hiatus
06/19/2015 at 04:00 • 0 commentsNot much of an update, I'm afraid; I'm moving out of my apartment, so the goodies are packed away until I find a new place. Wish me luck! (And hey, if you know anyone renting out a room in New York City...)
The one bit of additional info I do have to report comes from before I had to pack up my workbench: upon running this for any extended length of time, the screen gets hotter and hotter until it goes out. I'll have to address this somehow; either finding a way to run the screen on less power, and/or heat-sinking it somehow.
I look forward to being able to work on this again; rest assured, this is not abandoned. I will pick it up again ASAP, I will finish it, and it will be awesome.
-
Pi time!
04/29/2015 at 06:47 • 3 commentsNow that we've disassembled the toy tricorder, and my Adafruit order has arrived, we're going to have to do some modding to what's left of the tricorder to fit the hardware we want to cram into it.
Let's take a closer look at said hardware.
- Raspberry Pi Model B+ - I chose the B+ over the more powerful Pi 2. I don't think I'm going to be pushing this gadget to do multi-core-level work, but we still get the extra GPIO pins and improved power-efficiency. While my primary goal is just to get a Pi running in the tricorder shell, I think if we do end up adding sensors to this, we'll need all the pins and battery power we can get.
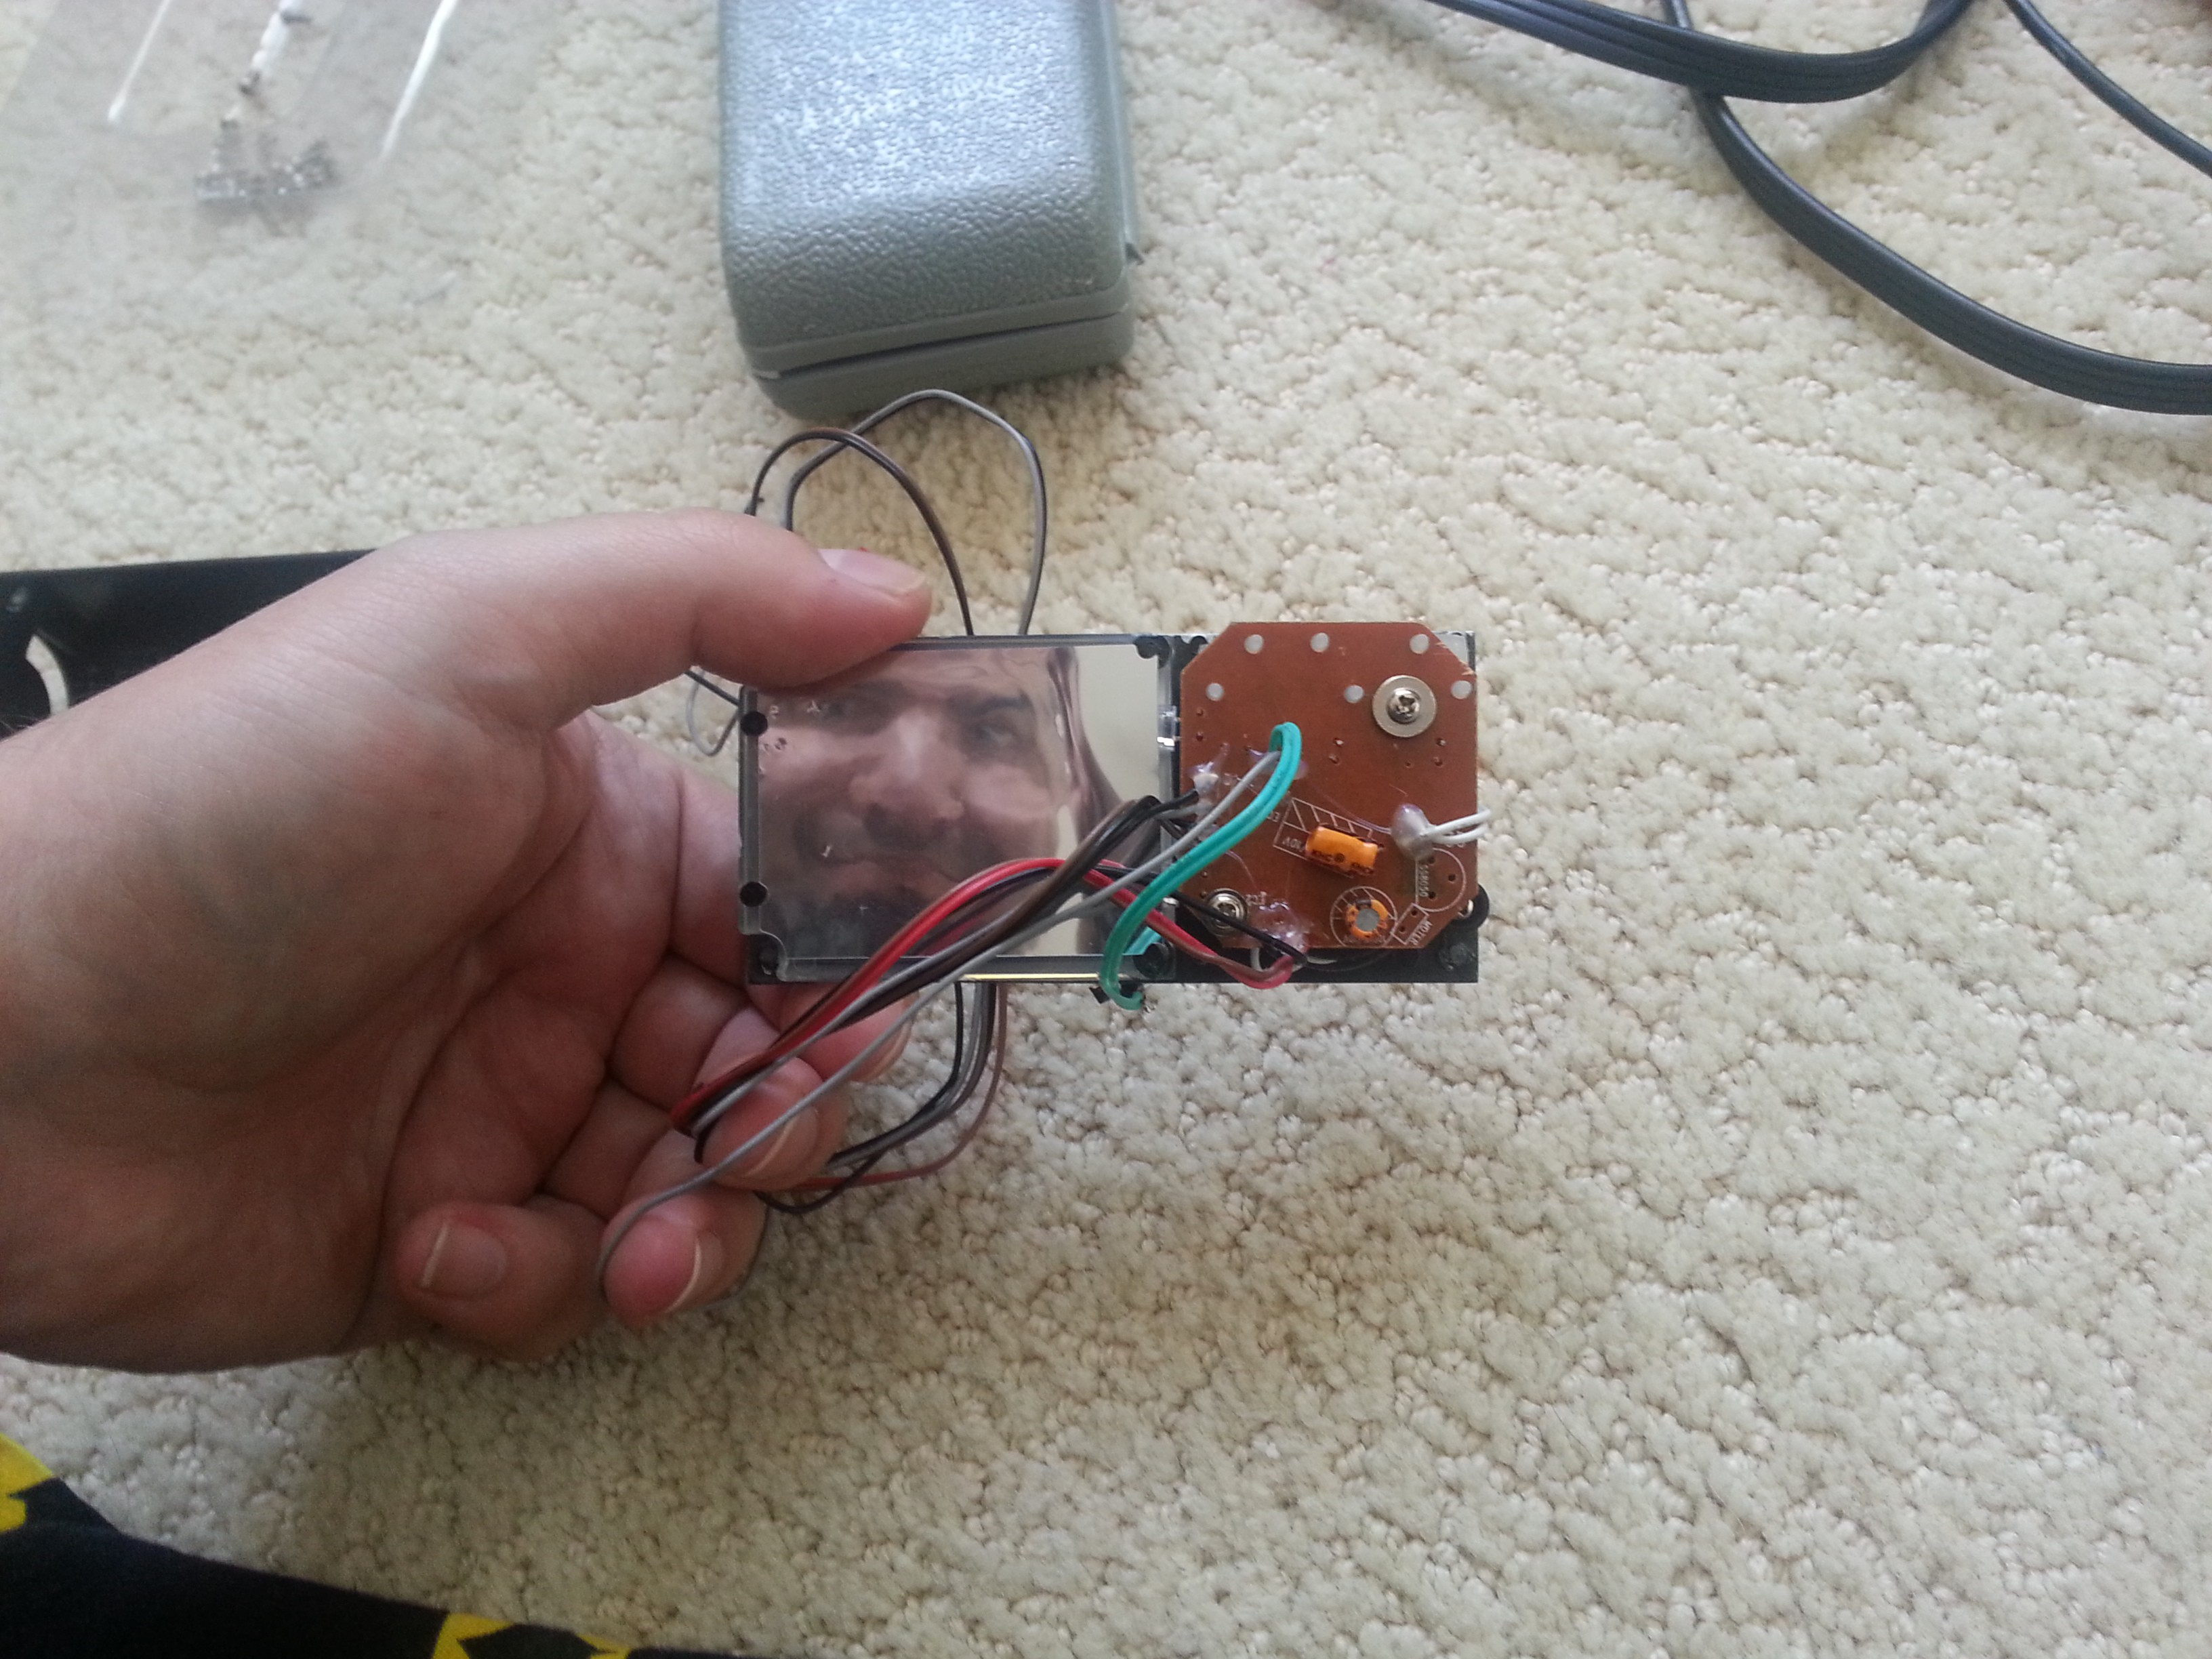
- 2.5" diagonal TFT television - The find that put me over the edge toward finally starting this project, after having it in the back of my mind for a long time, was this screen which happens to be just about the same size as the simulated screen in the toy. I knew it'd be a distinct possibility of fitting this perfectly in place of the toy's screen. Plus, though this is specced at a 6V minimum, it seems to do just fine connected to the Pi's 5V pin.
- Misc - I have a cellphone recharger I'll be using as a battery, and a wireless handheld keyboard/mouse combo.
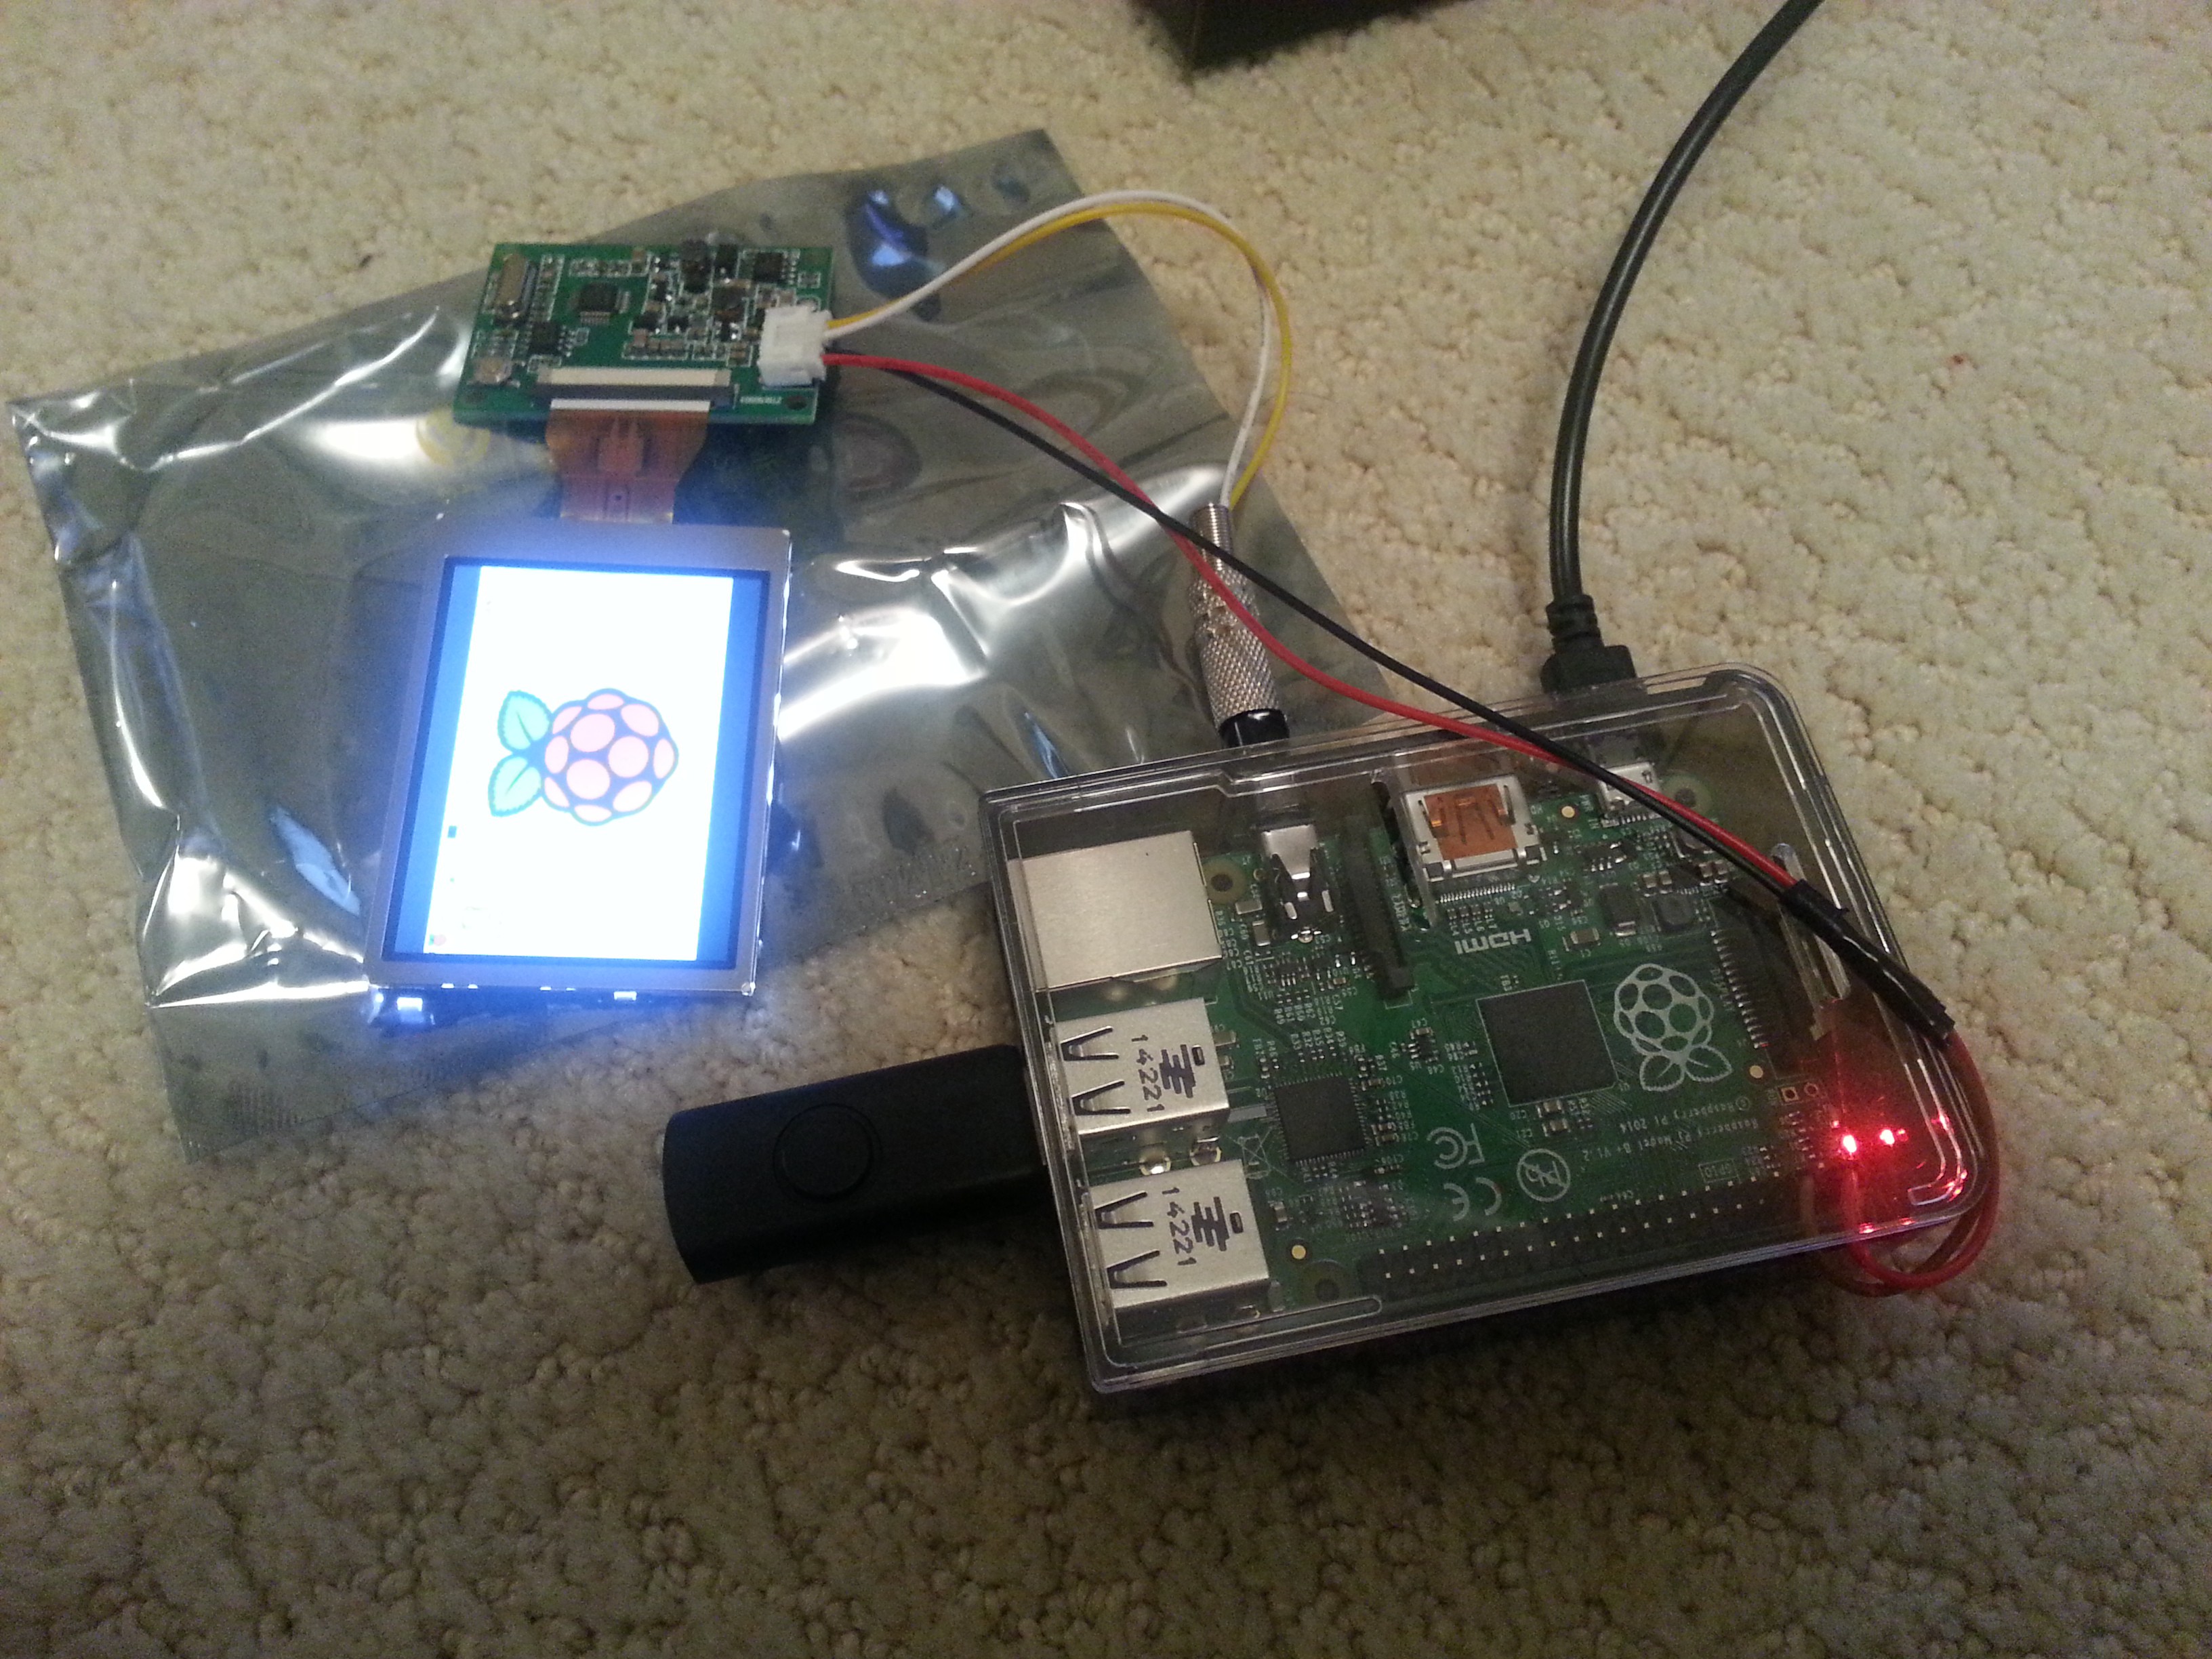
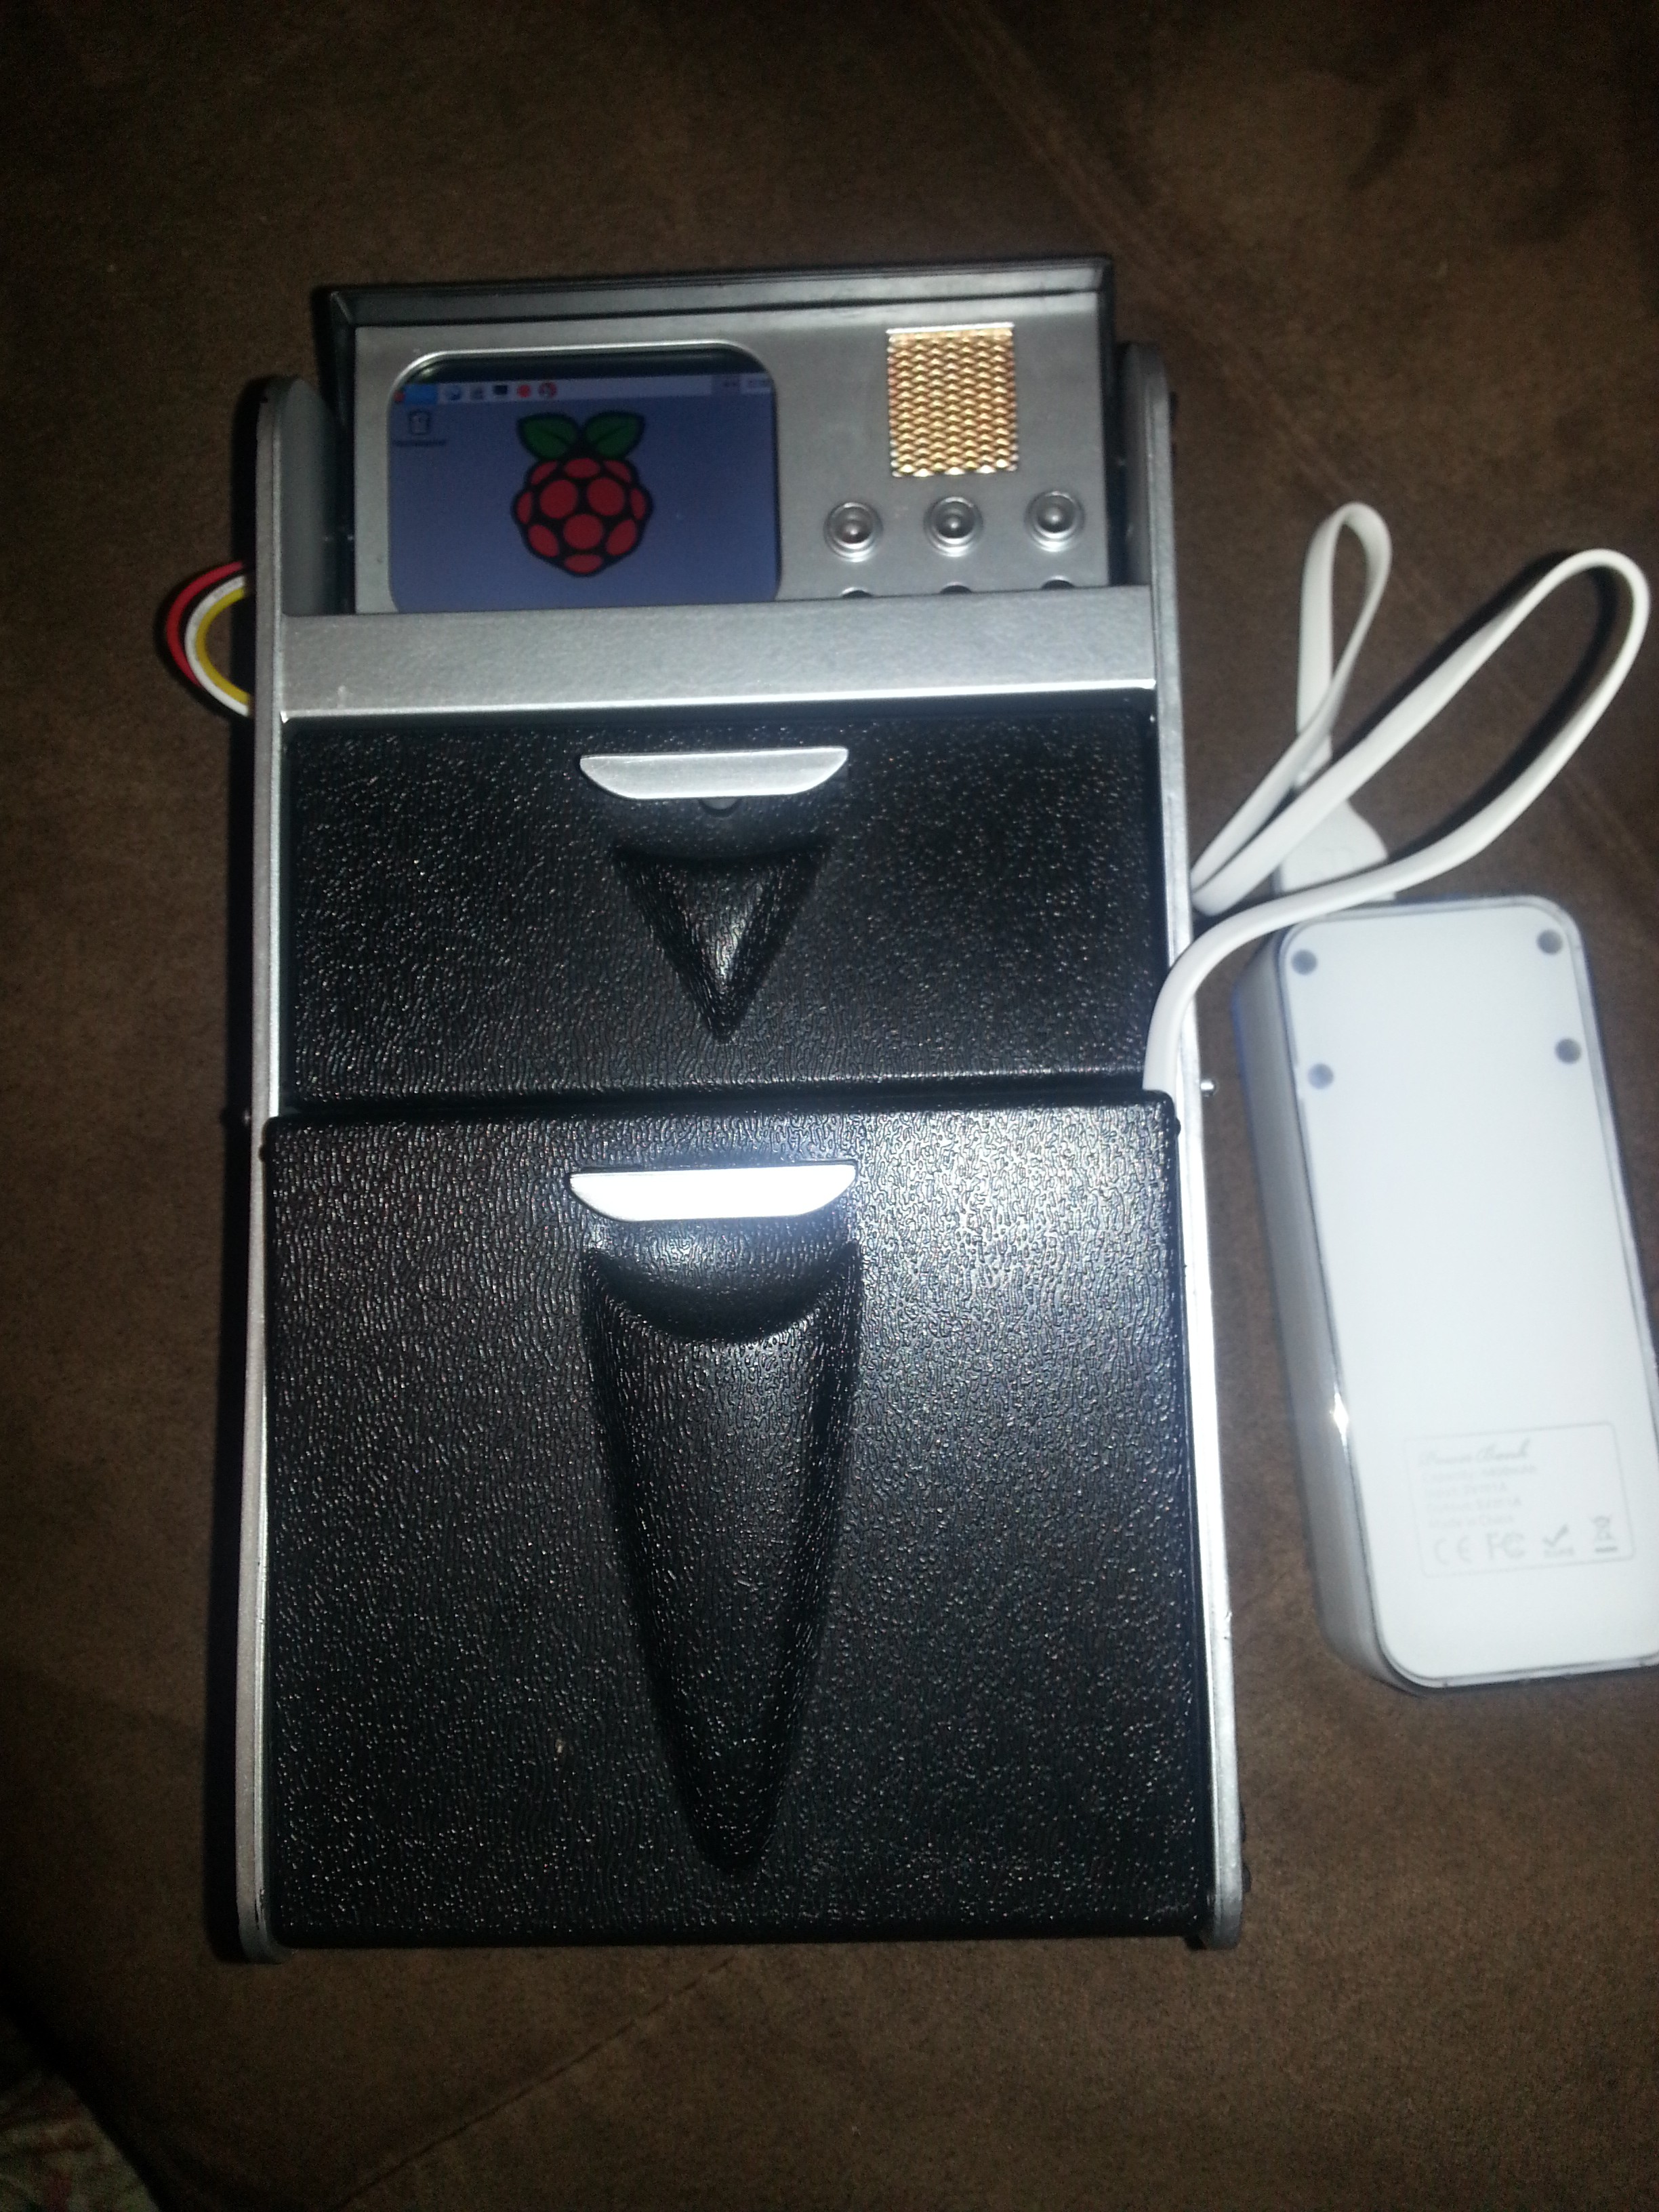
Here's the hardware connected up and running. The USB dongle you see is the receiver for the keyboard.
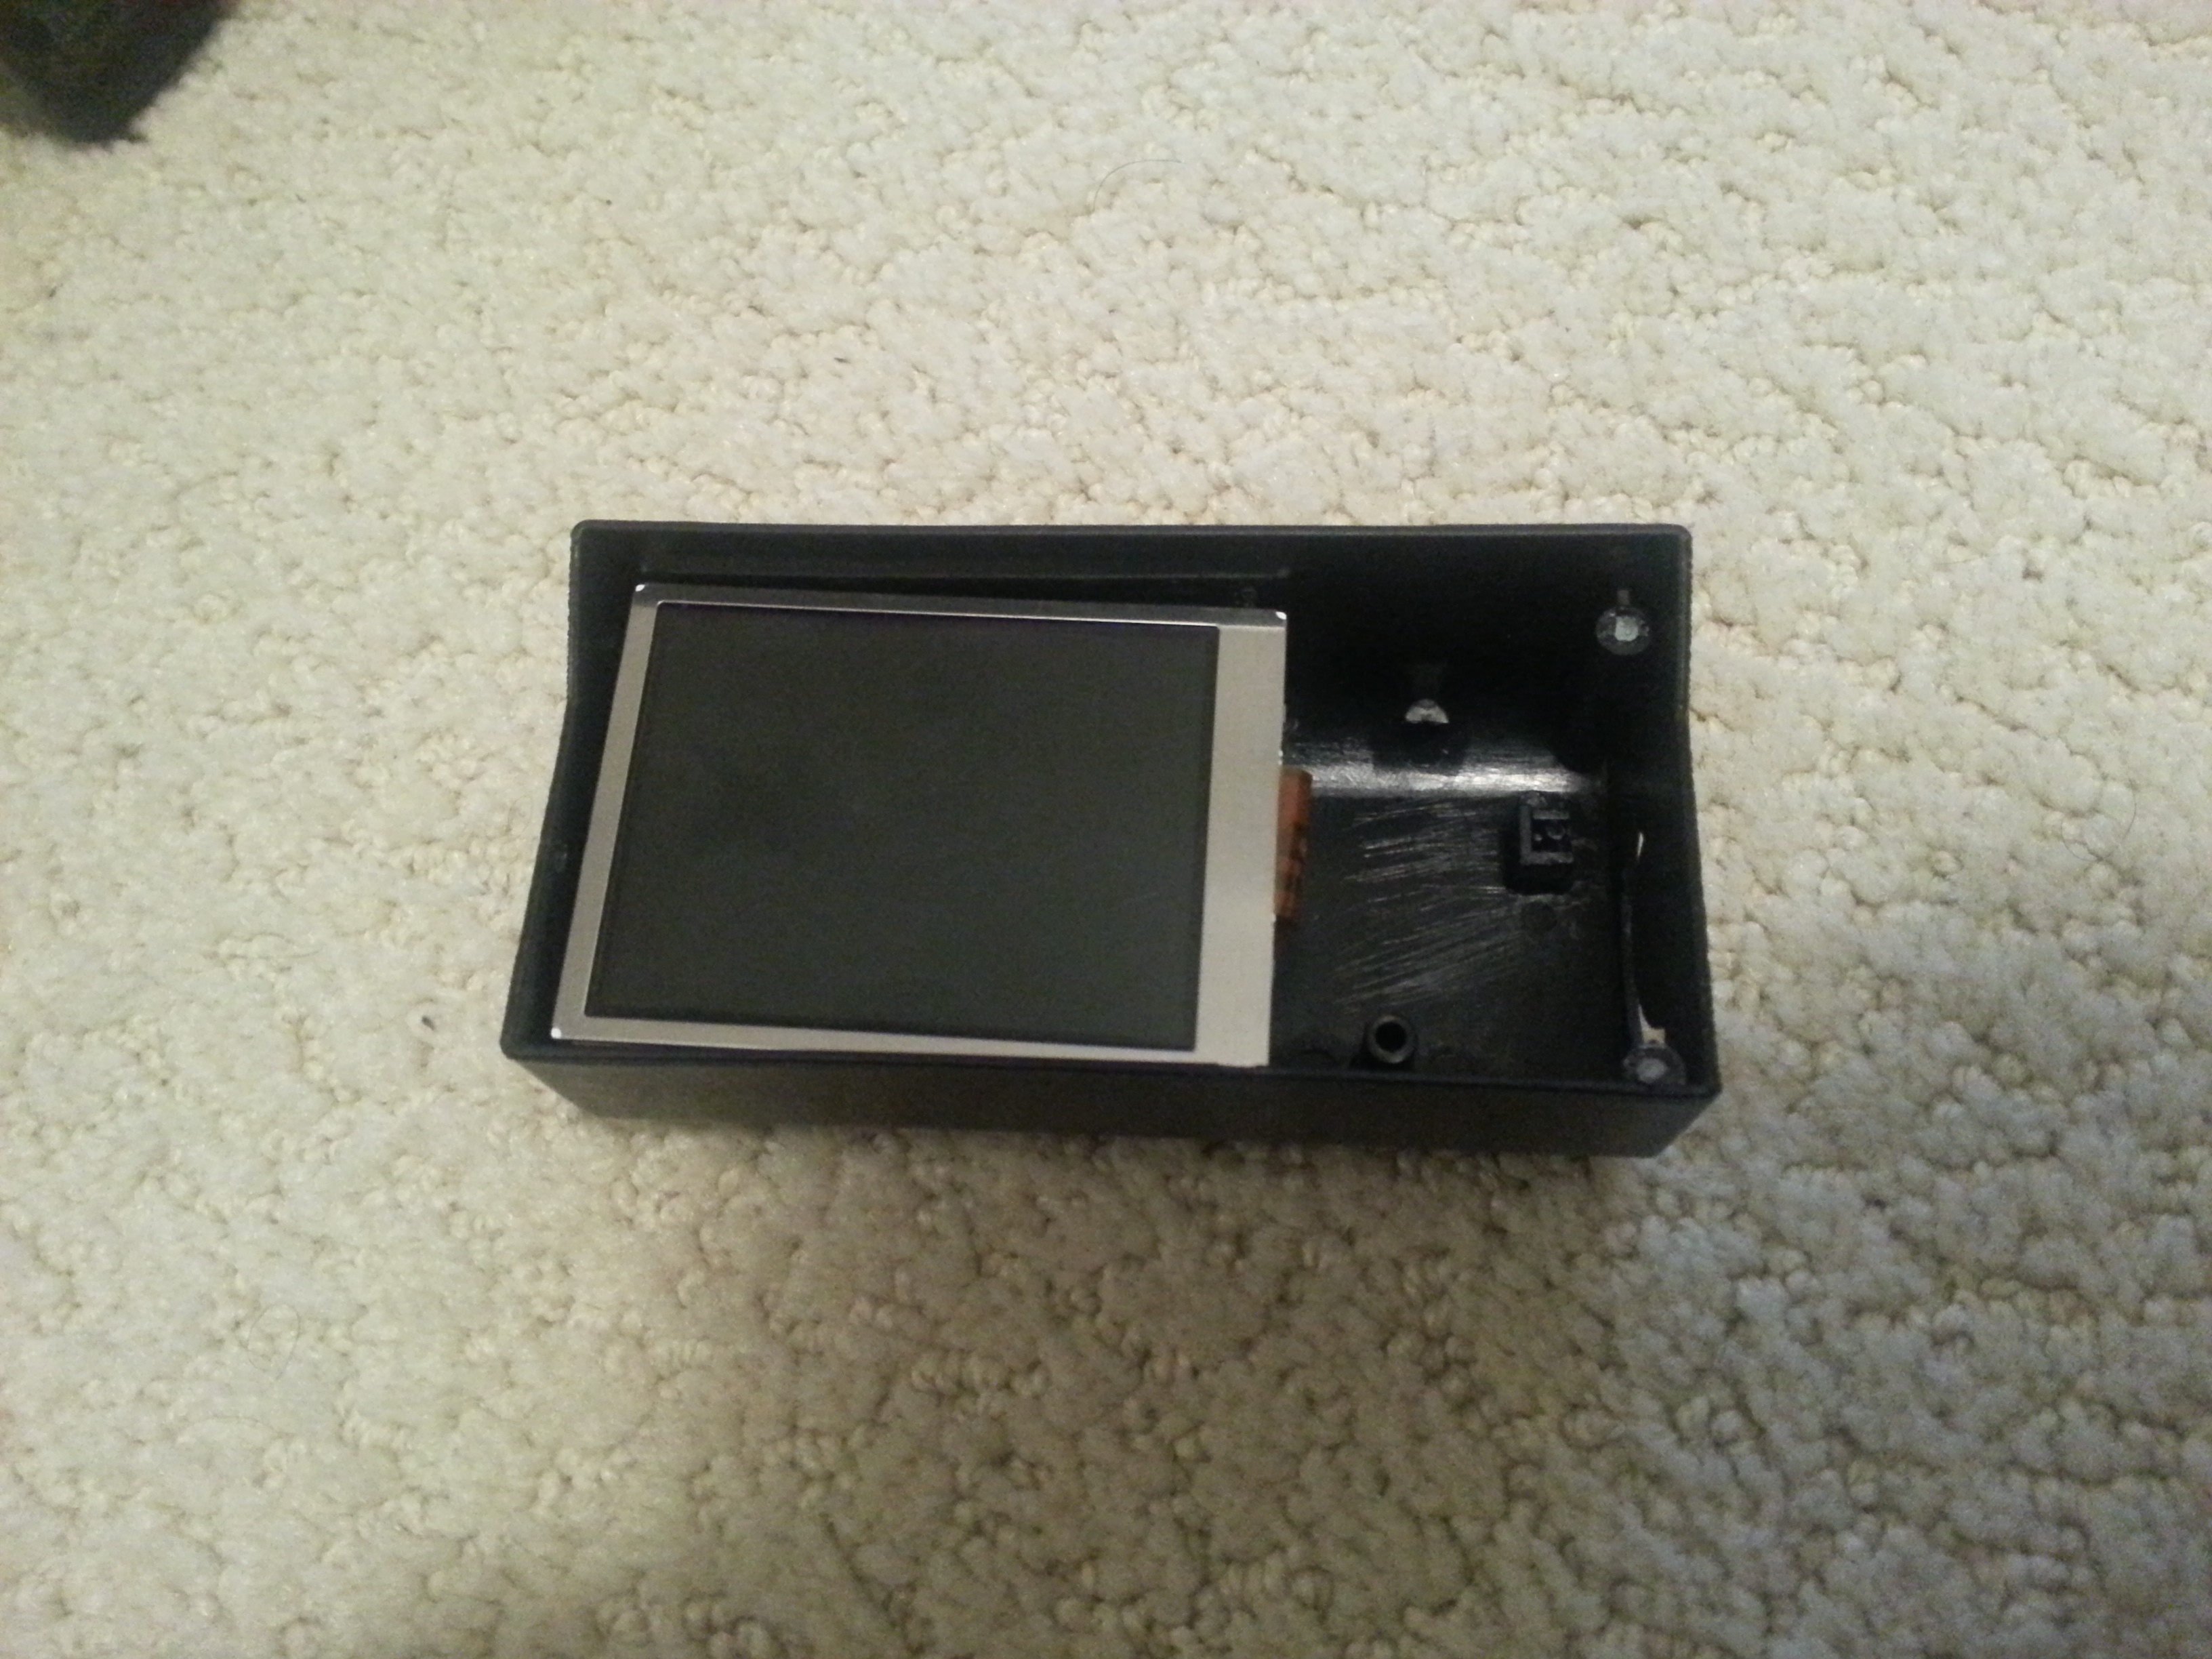
![]() After cutting out some of the plastic pins and supports from inside the head unit, the TFT and its controller board fit beautifully. Our tricorder has a screen!
After cutting out some of the plastic pins and supports from inside the head unit, the TFT and its controller board fit beautifully. Our tricorder has a screen!![]()
![]()
![]()
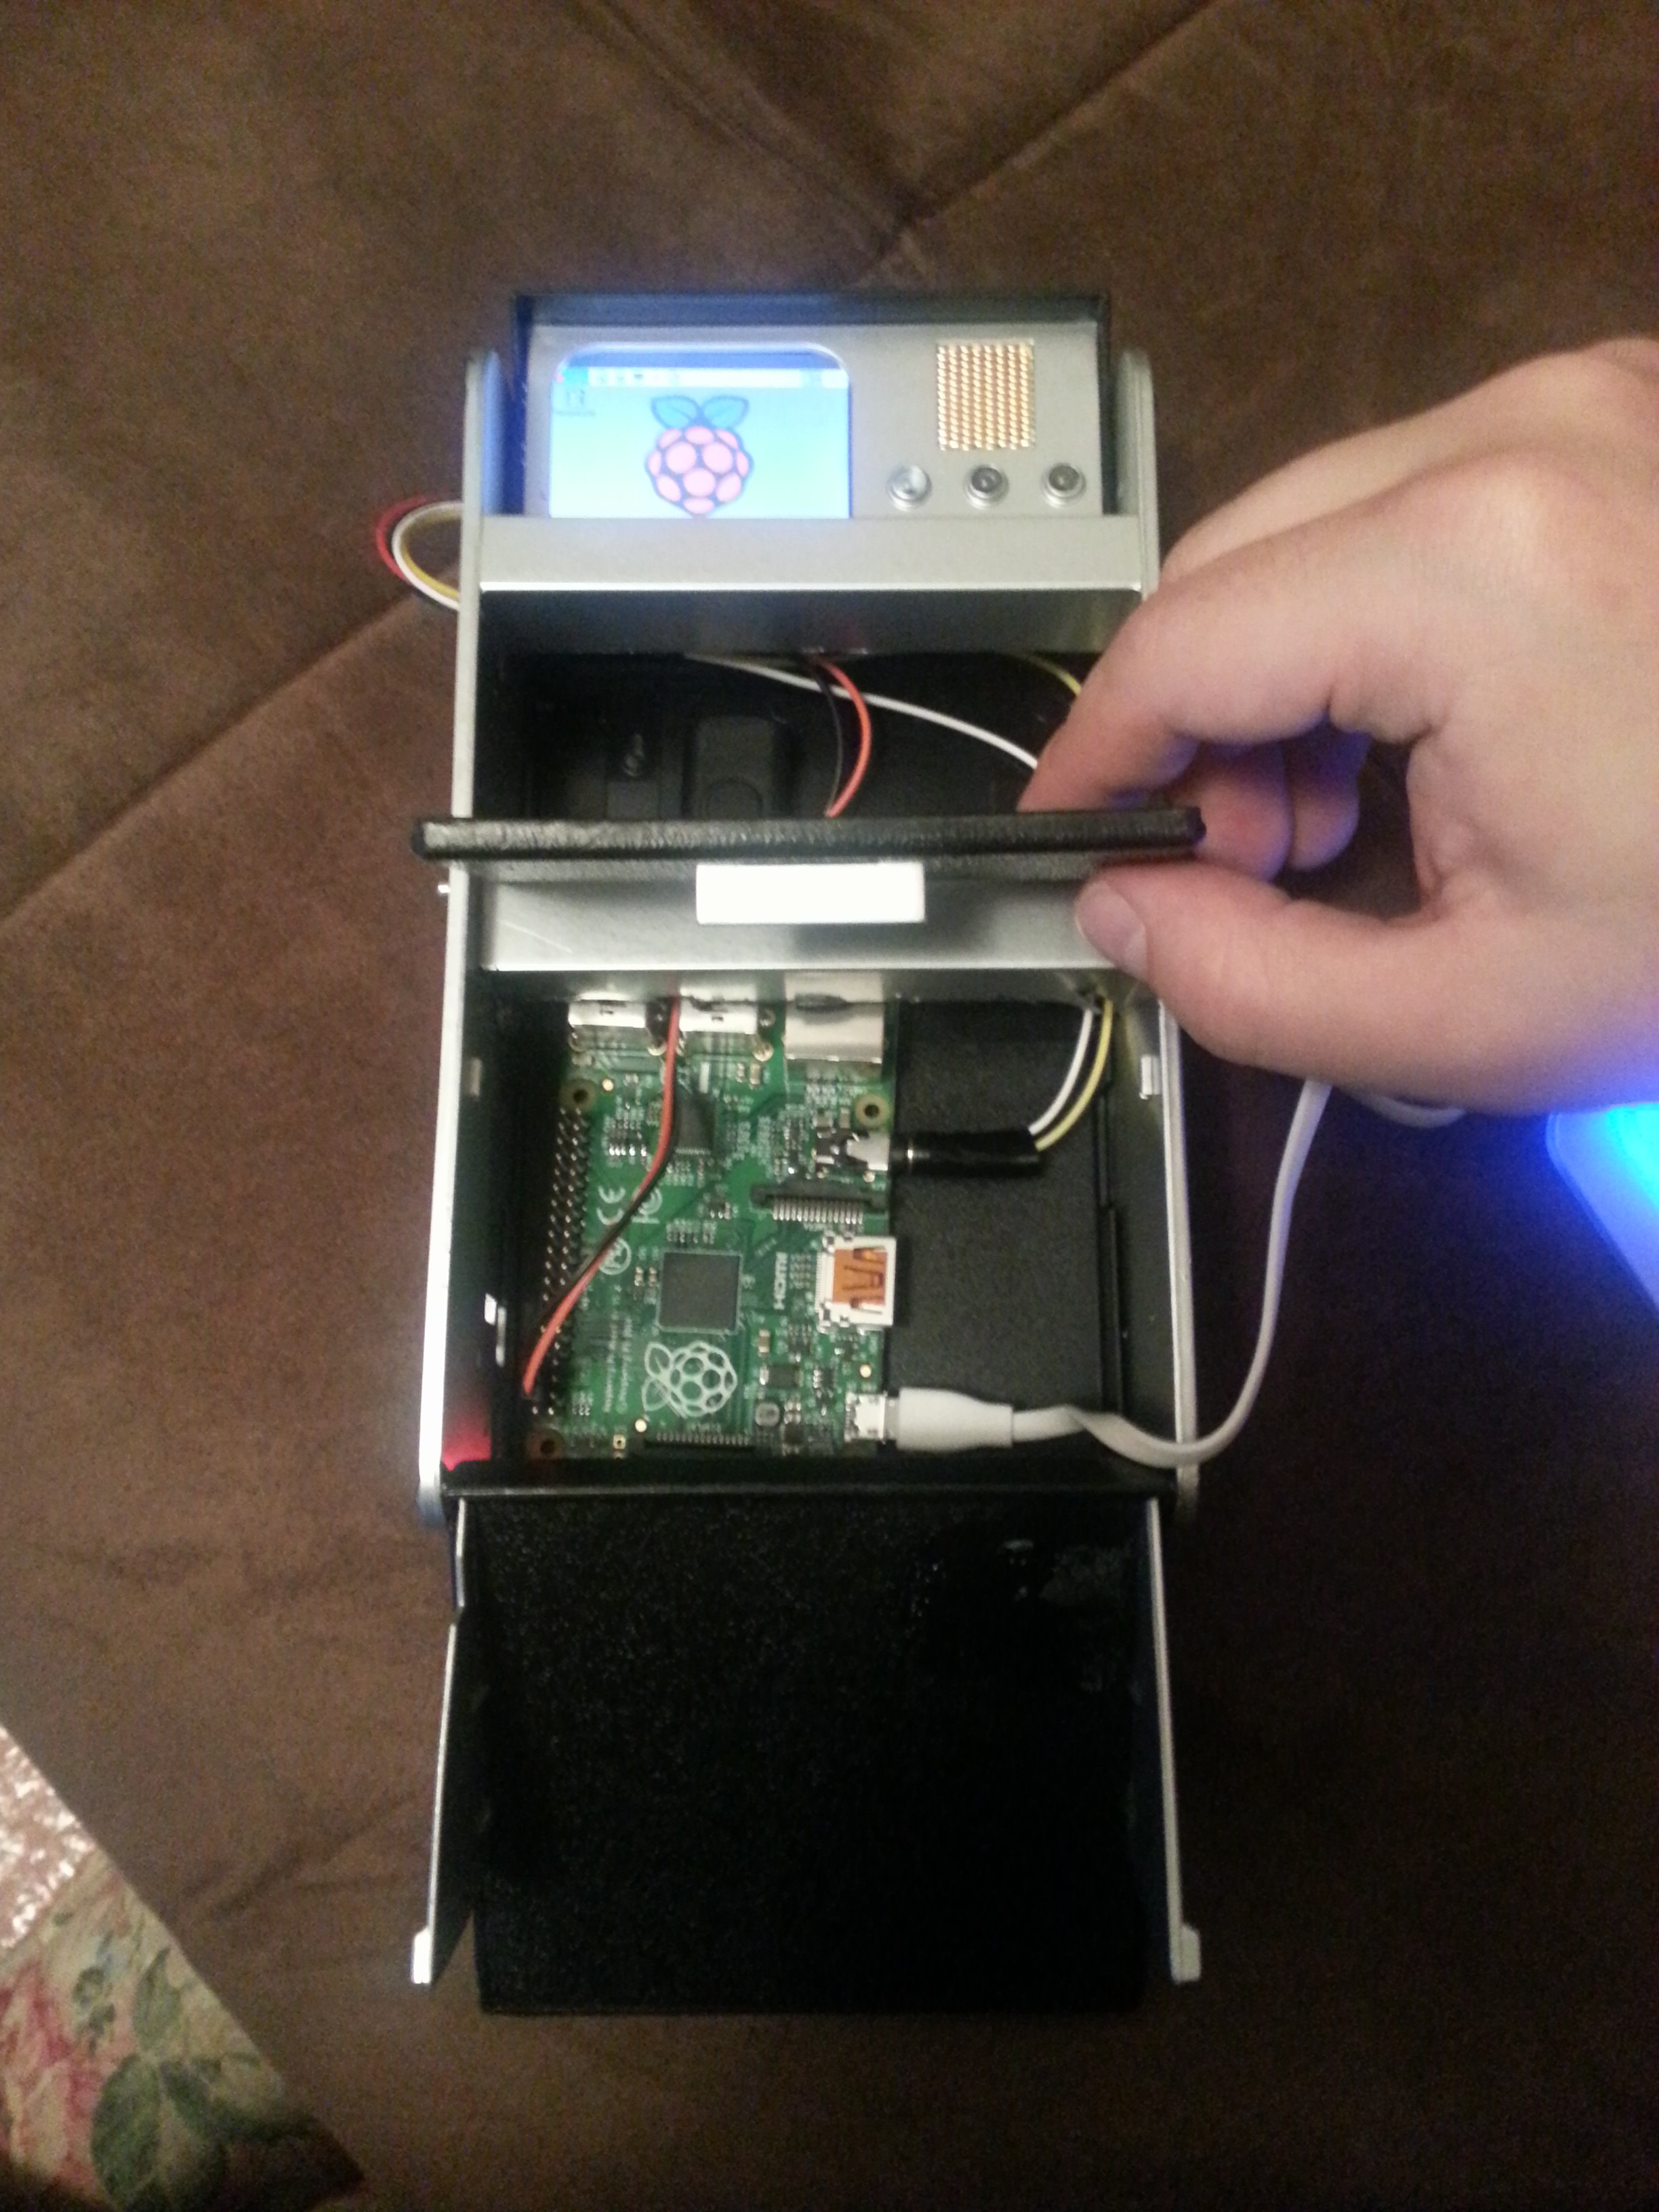
To fit the Pi into the tricorder body, we have to do a little more plastic surgery.
The Pi fits! The battery pack I have does not seem to fit, but I can make or acquire a smaller one. Nothing is soldered yet, this is all just twisted and taped together for the test fit, but it's looking pretty good!![]()
![]()
Looking nice!
I'm really happy with how this project is turning out so far! Thanks for reading along, see you next update.![]()
-
Toy Tricorder breakdown
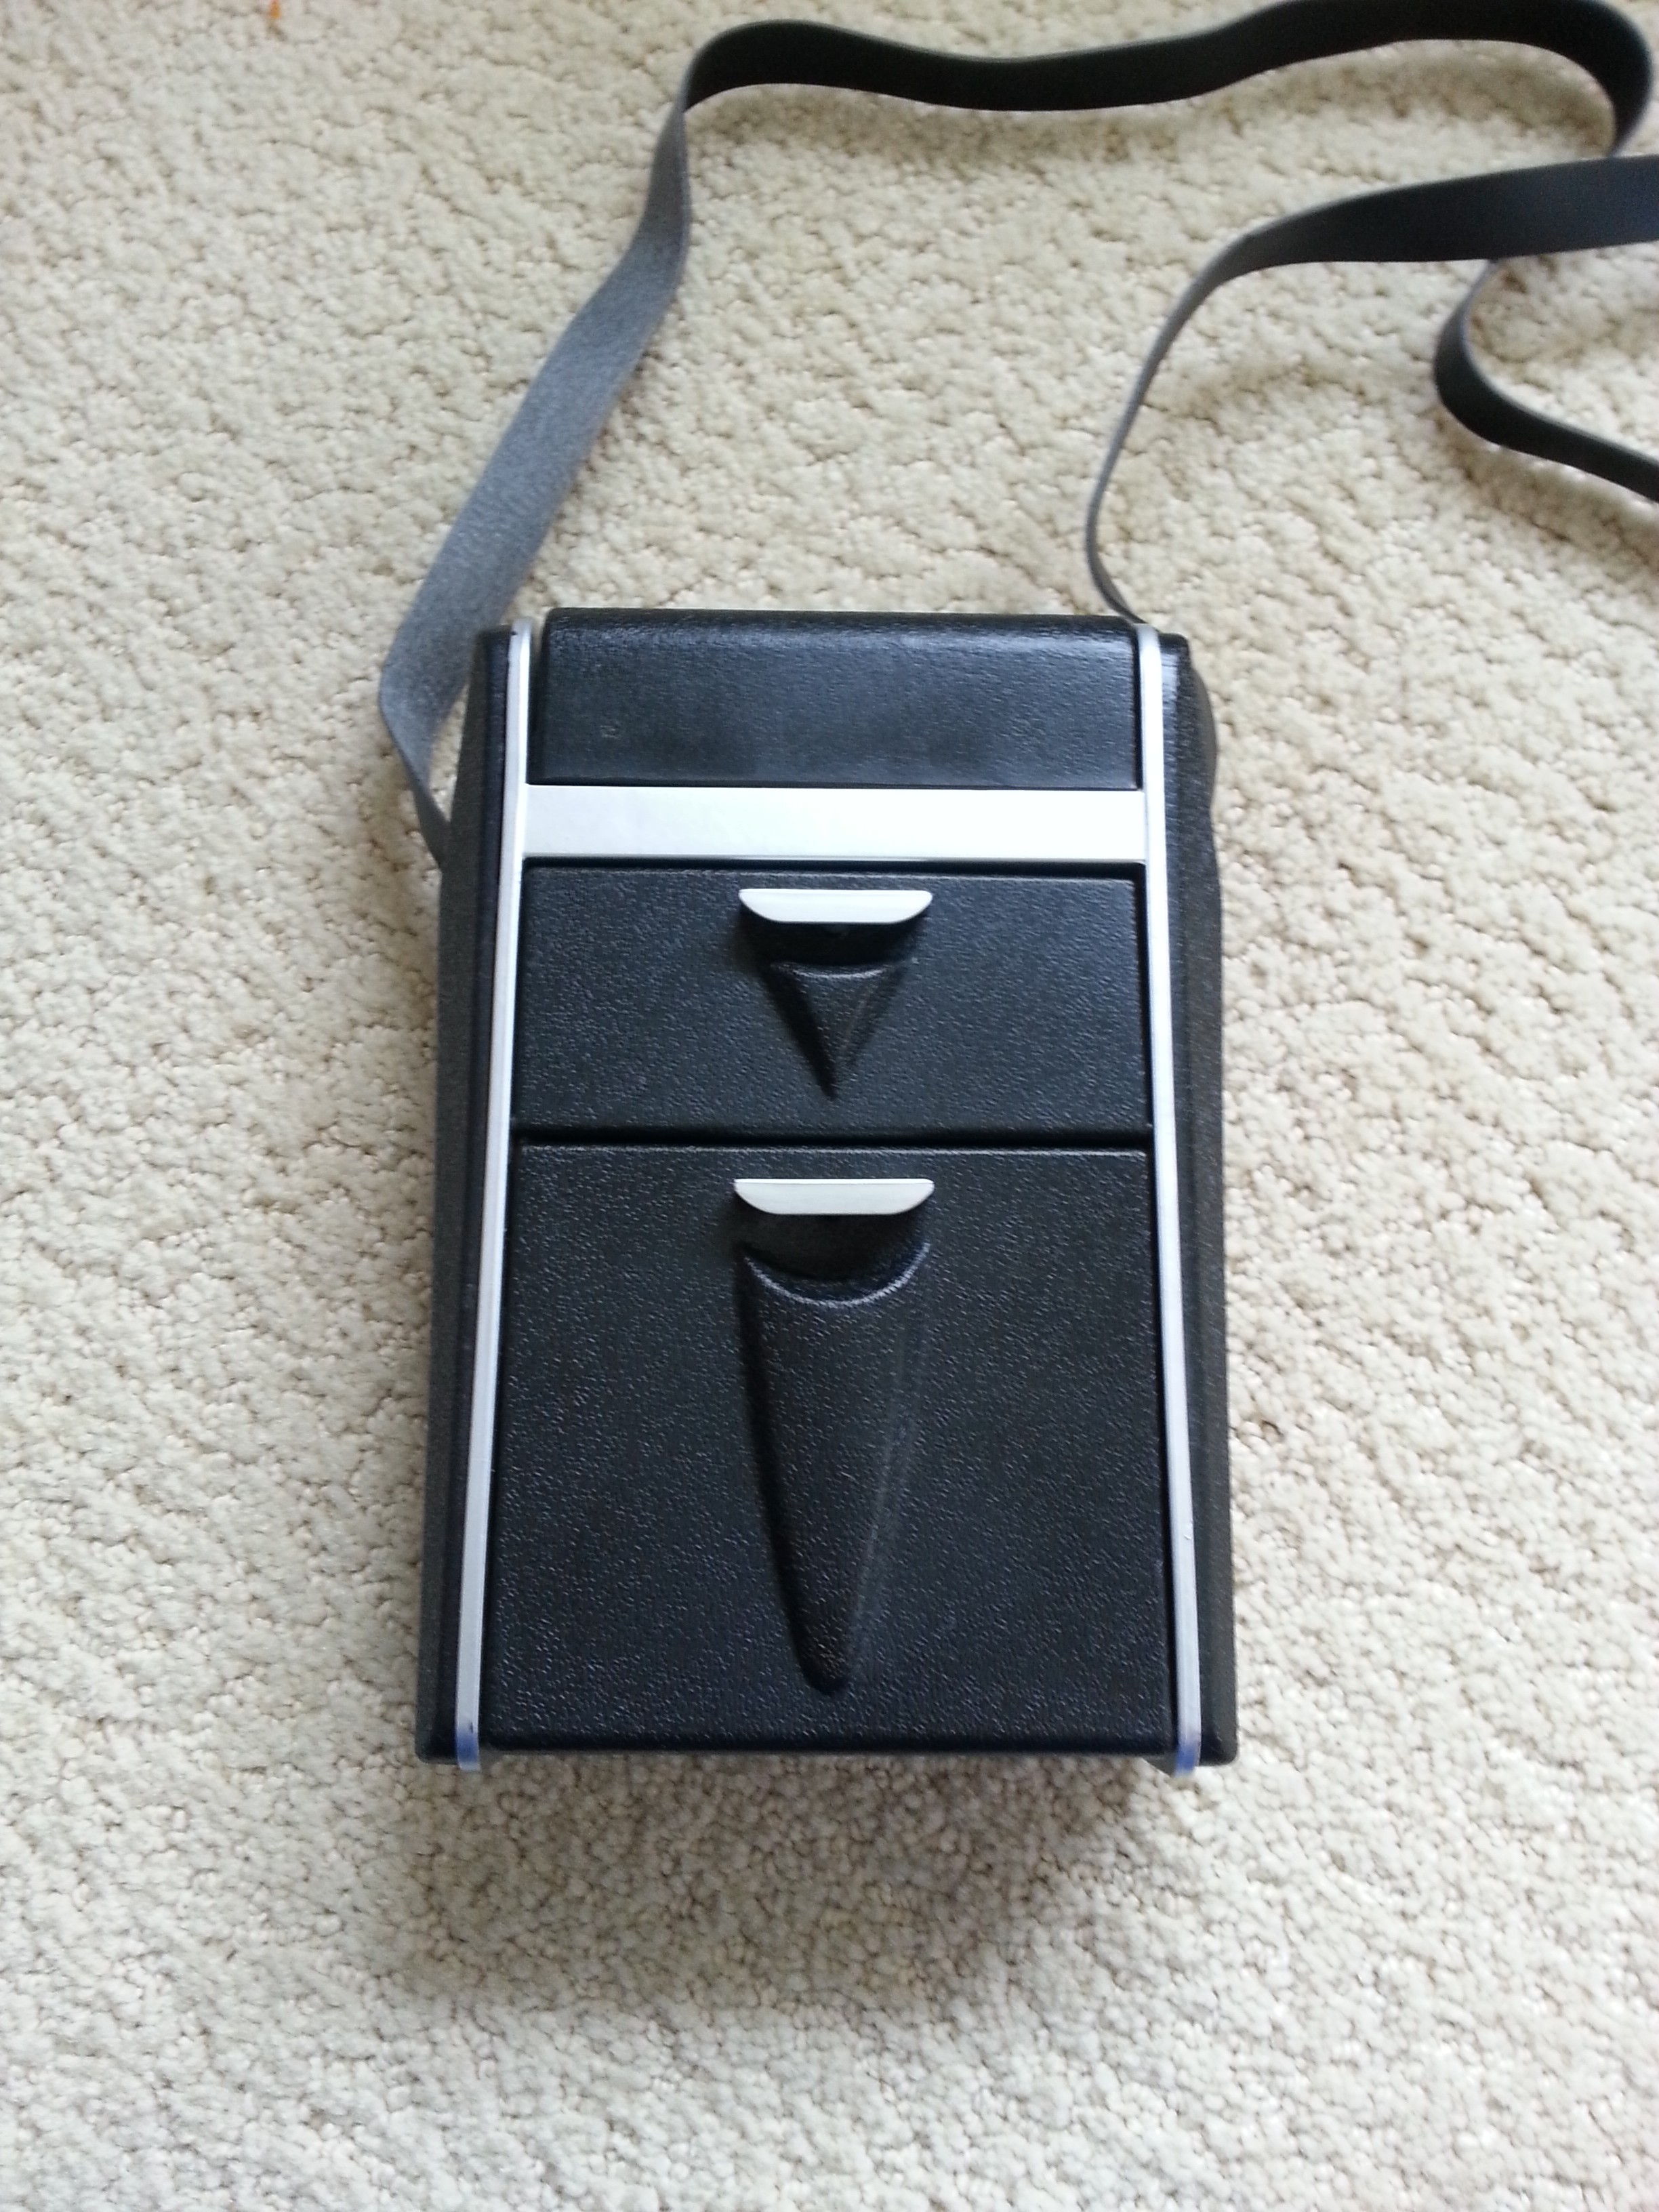
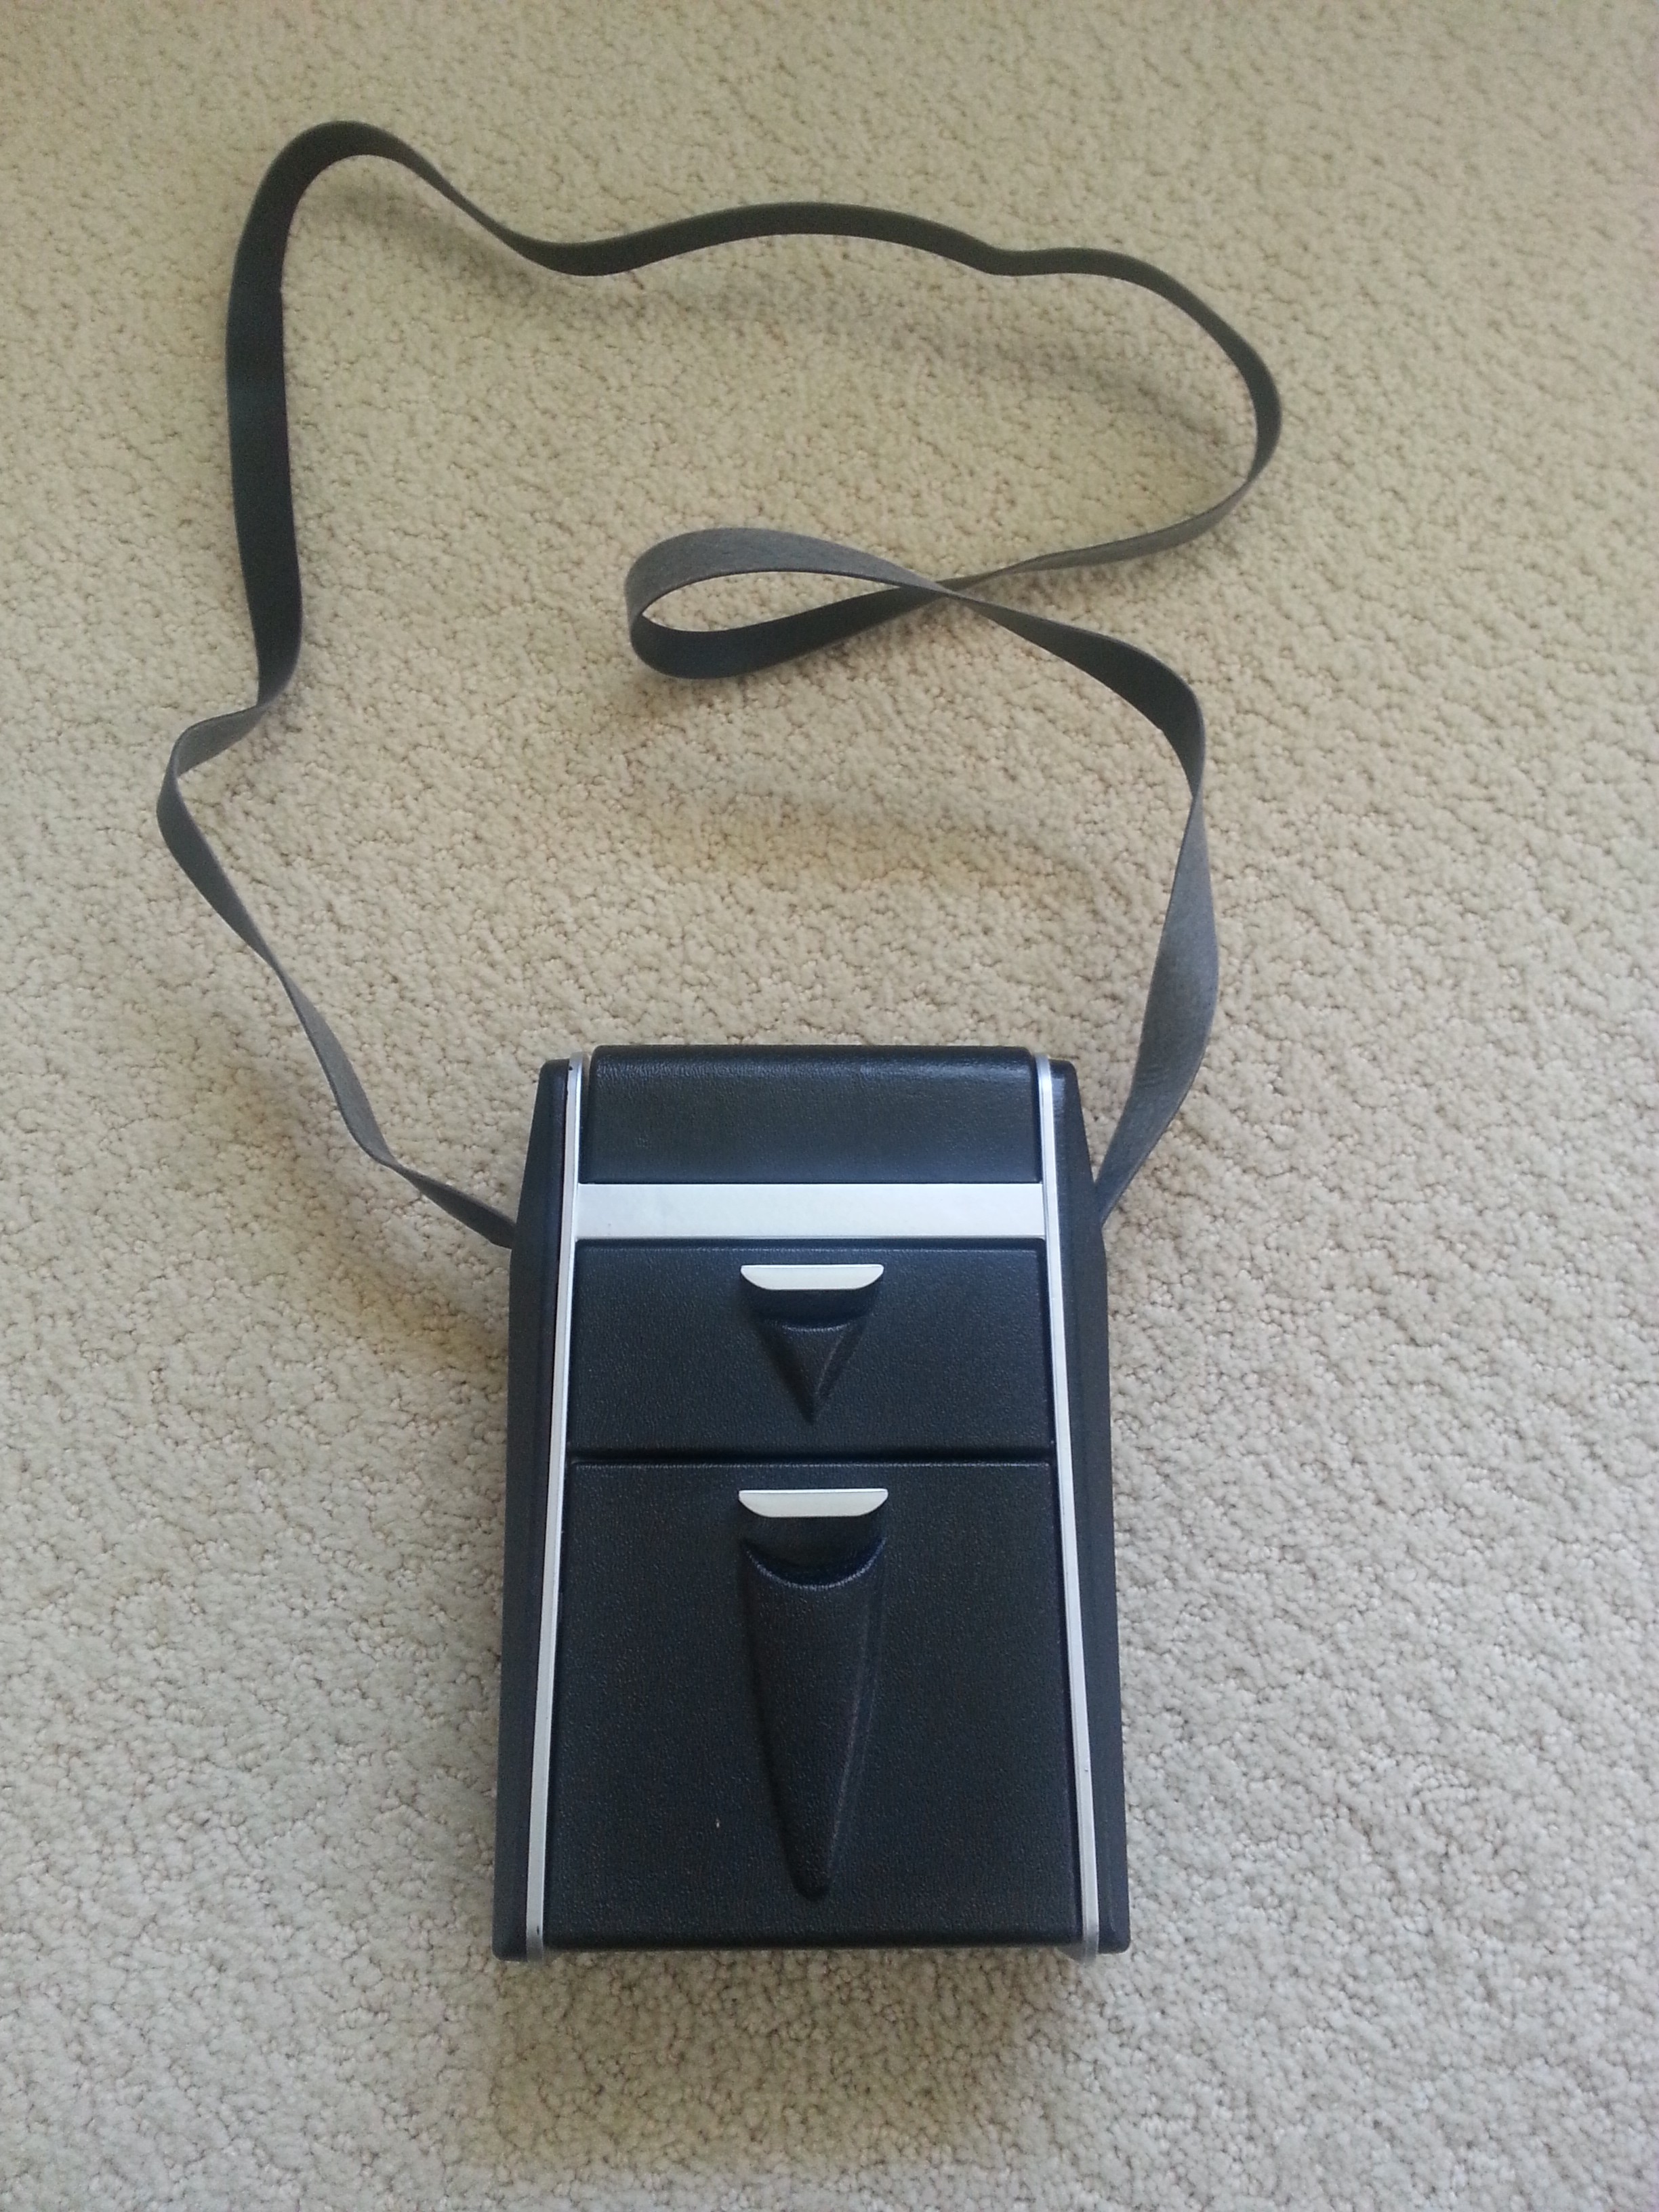
04/29/2015 at 04:42 • 0 commentsLet's pull this toy apart!We start with a box.
![]()
The side strips come off, revealing the adjustable strap. The strap on this toy is made of a chintzy papery felt-backed vinyl, one of the more tangibly cheap "toy-like" bits of what's otherwise a reasonably nicely-made piece, and I'll definitely be on the lookout for a replacement.
![]()
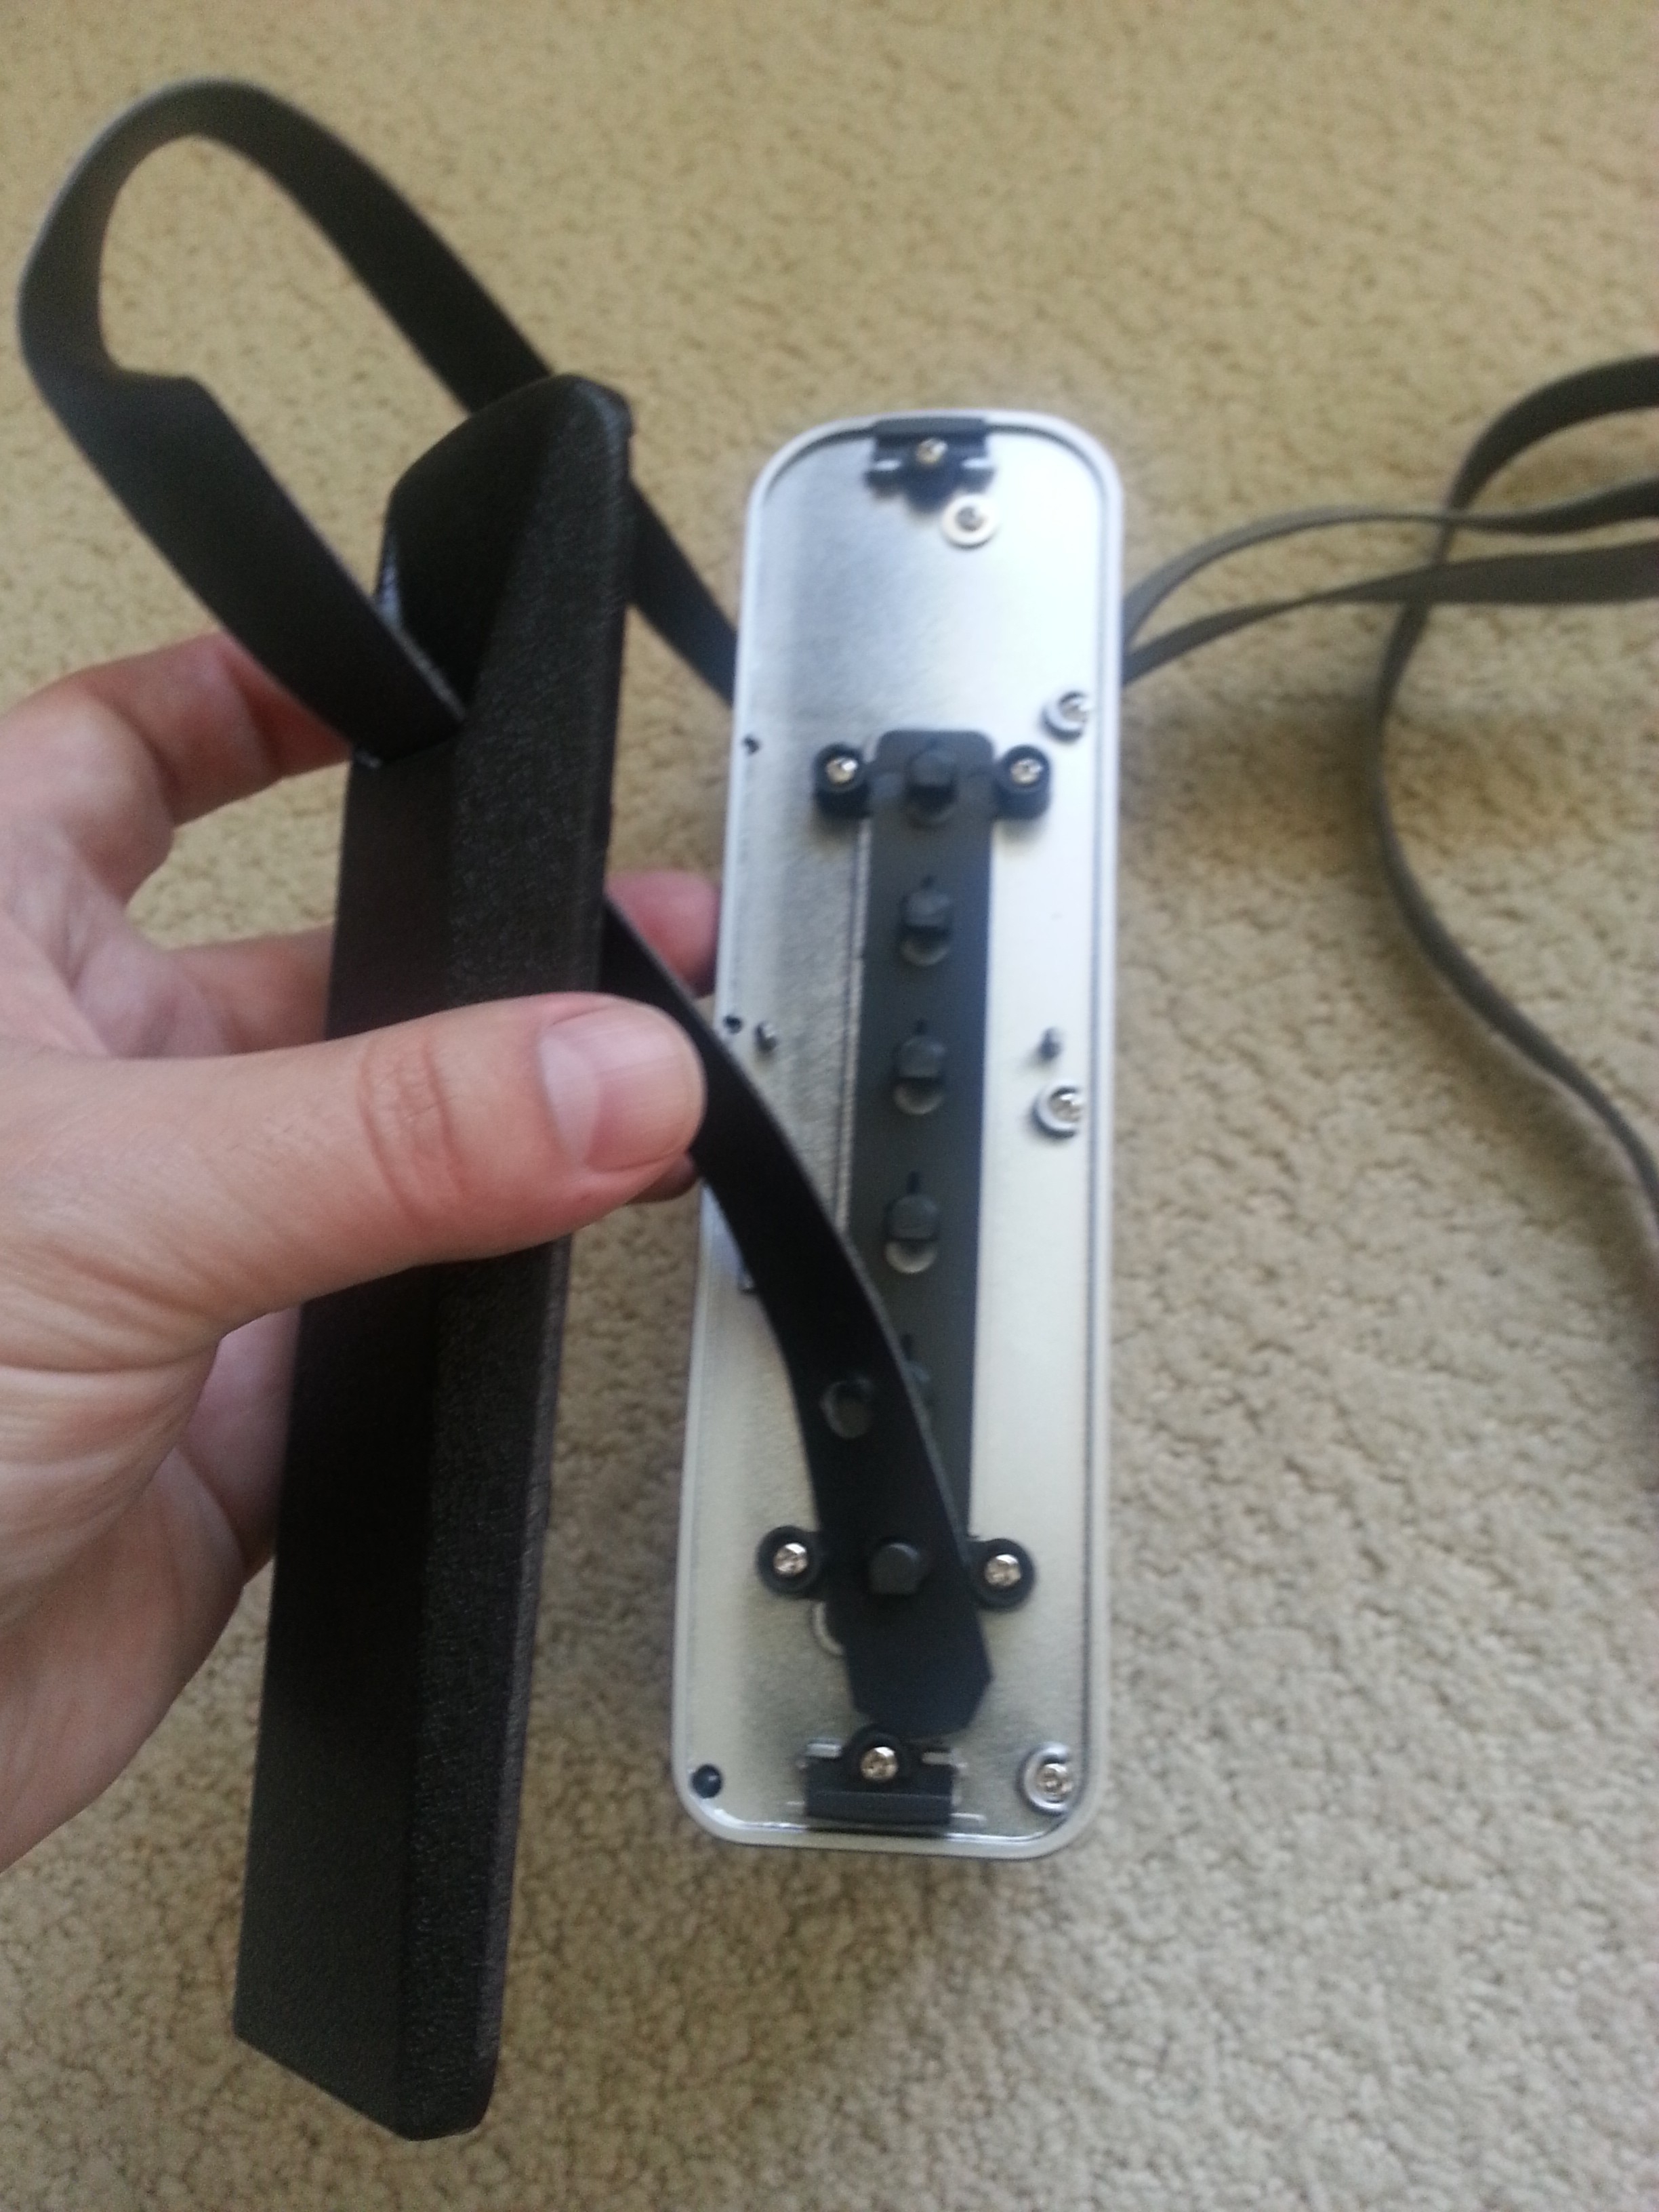
Under the side panels we also find the screws holding all the bits and pieces together.
Pulling off the two front doors, the black peg strips on the sides, and the battery door.![]()
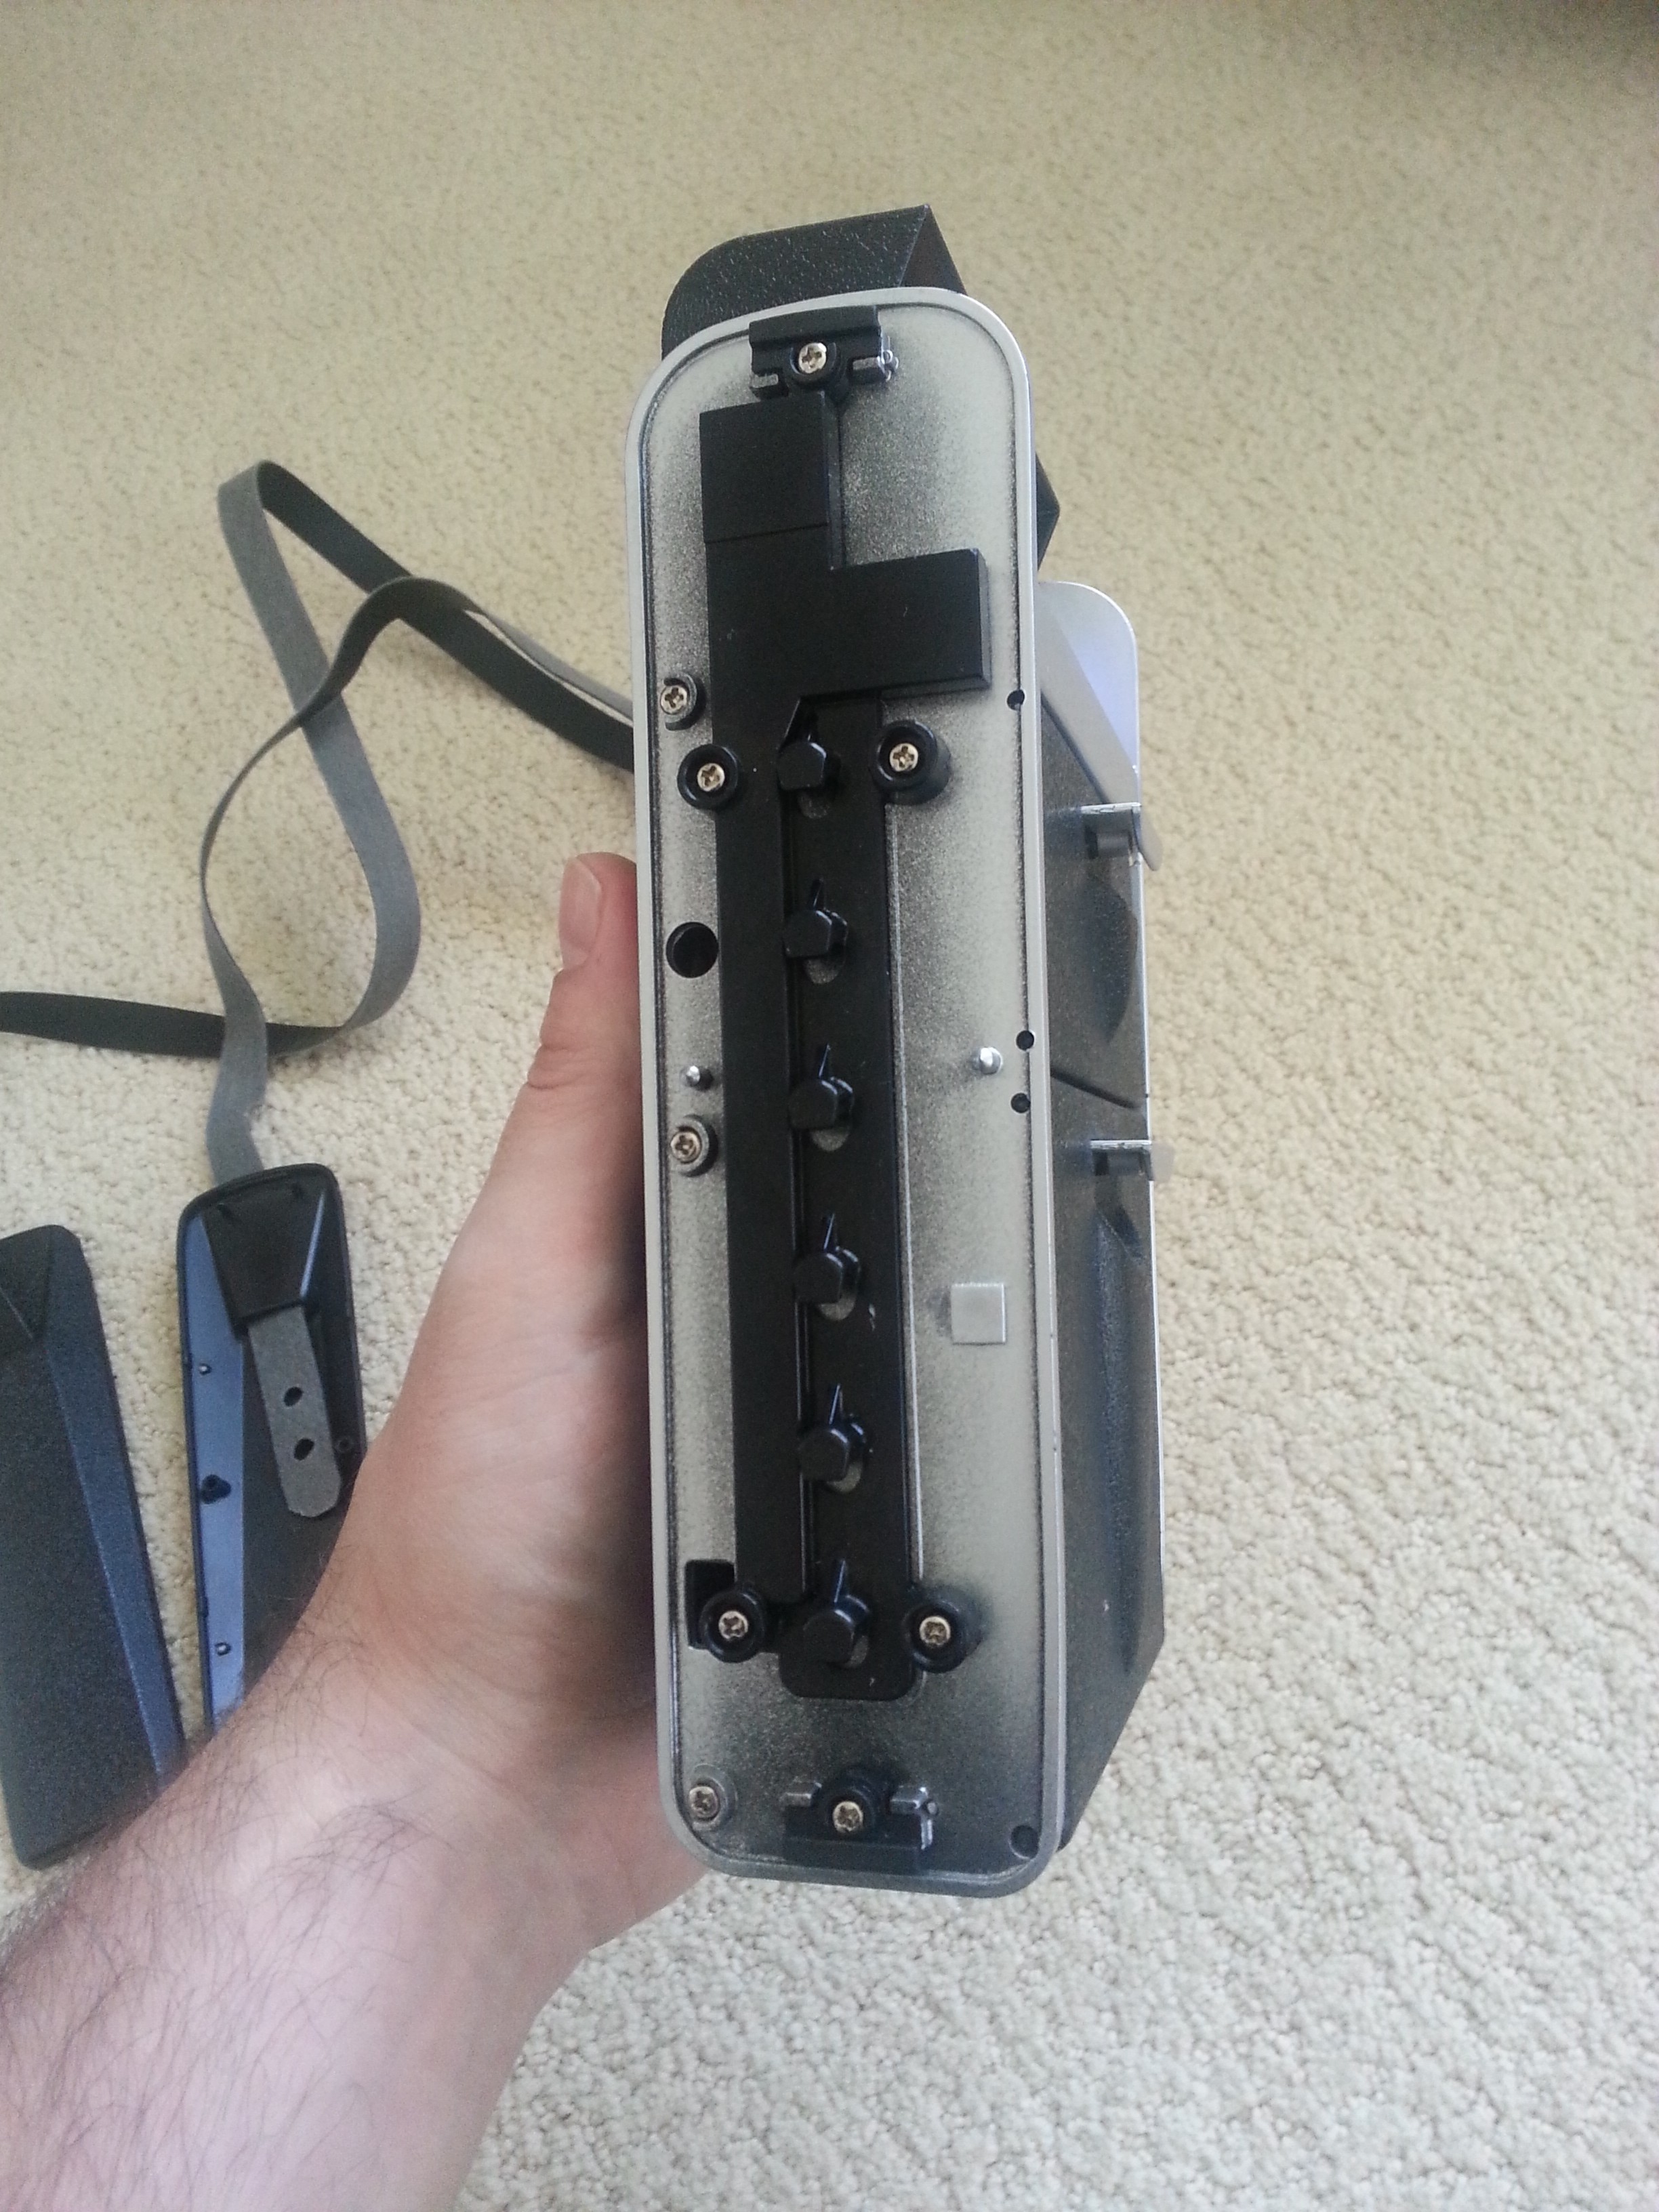
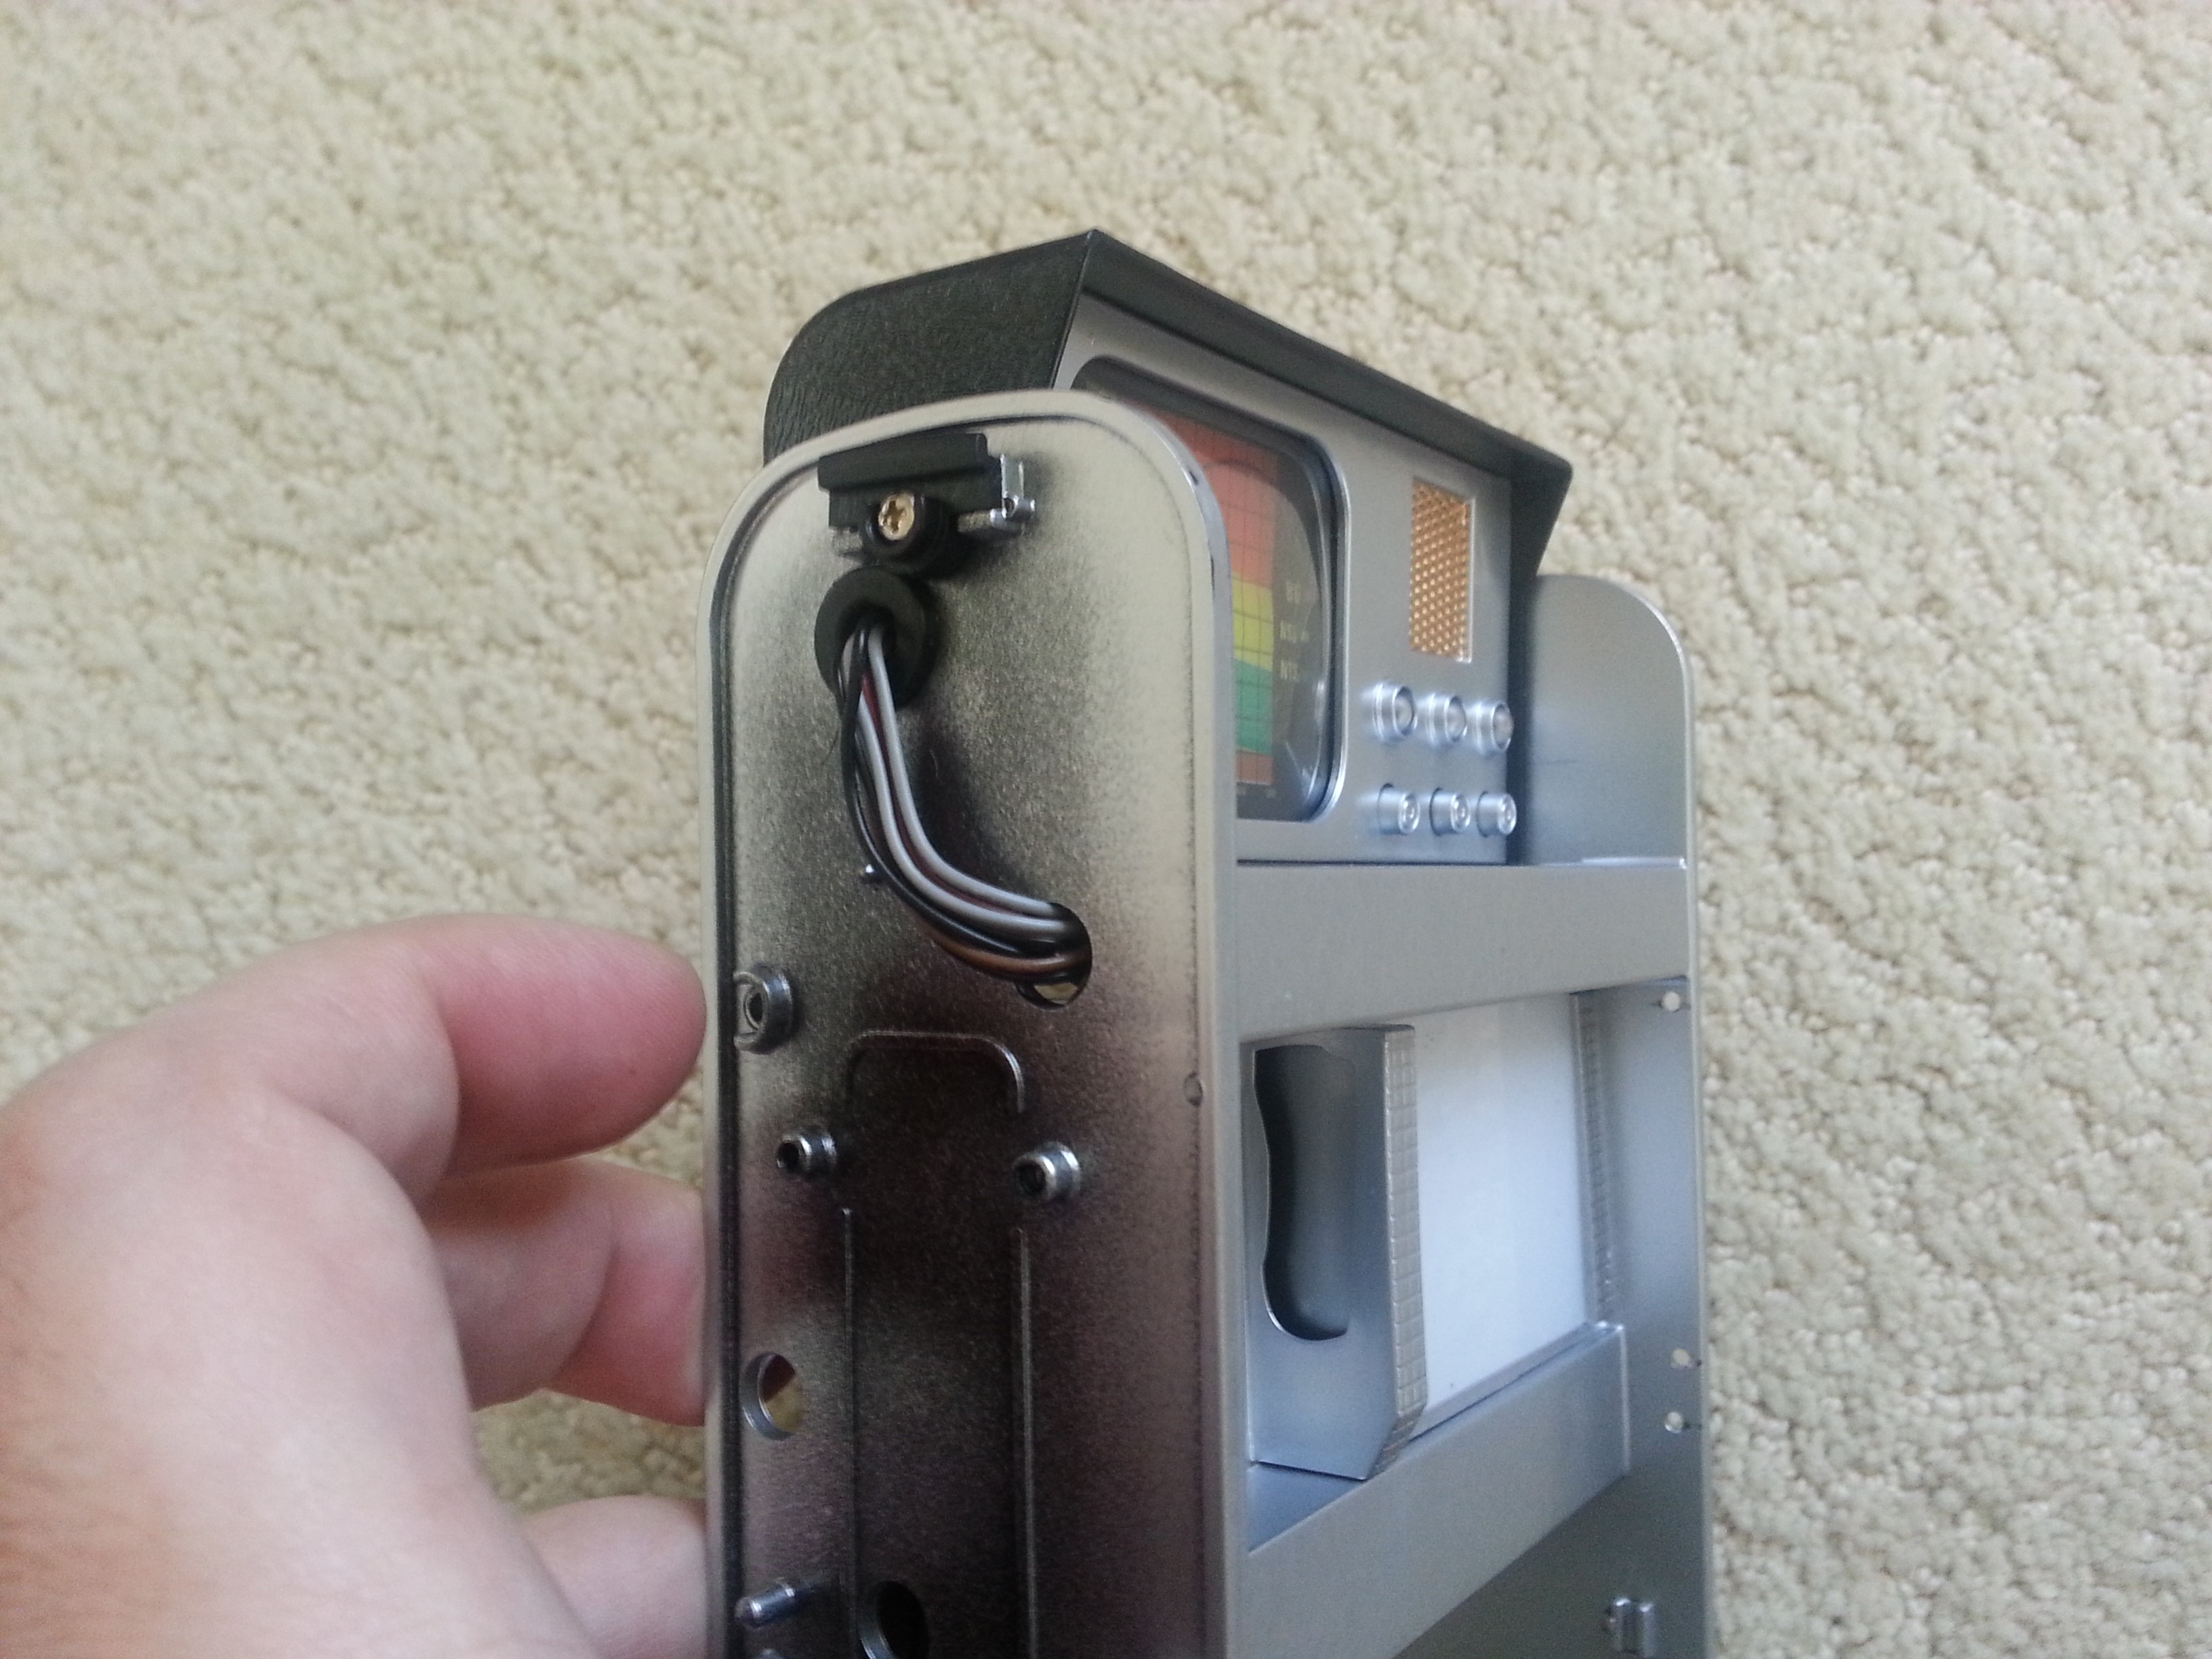
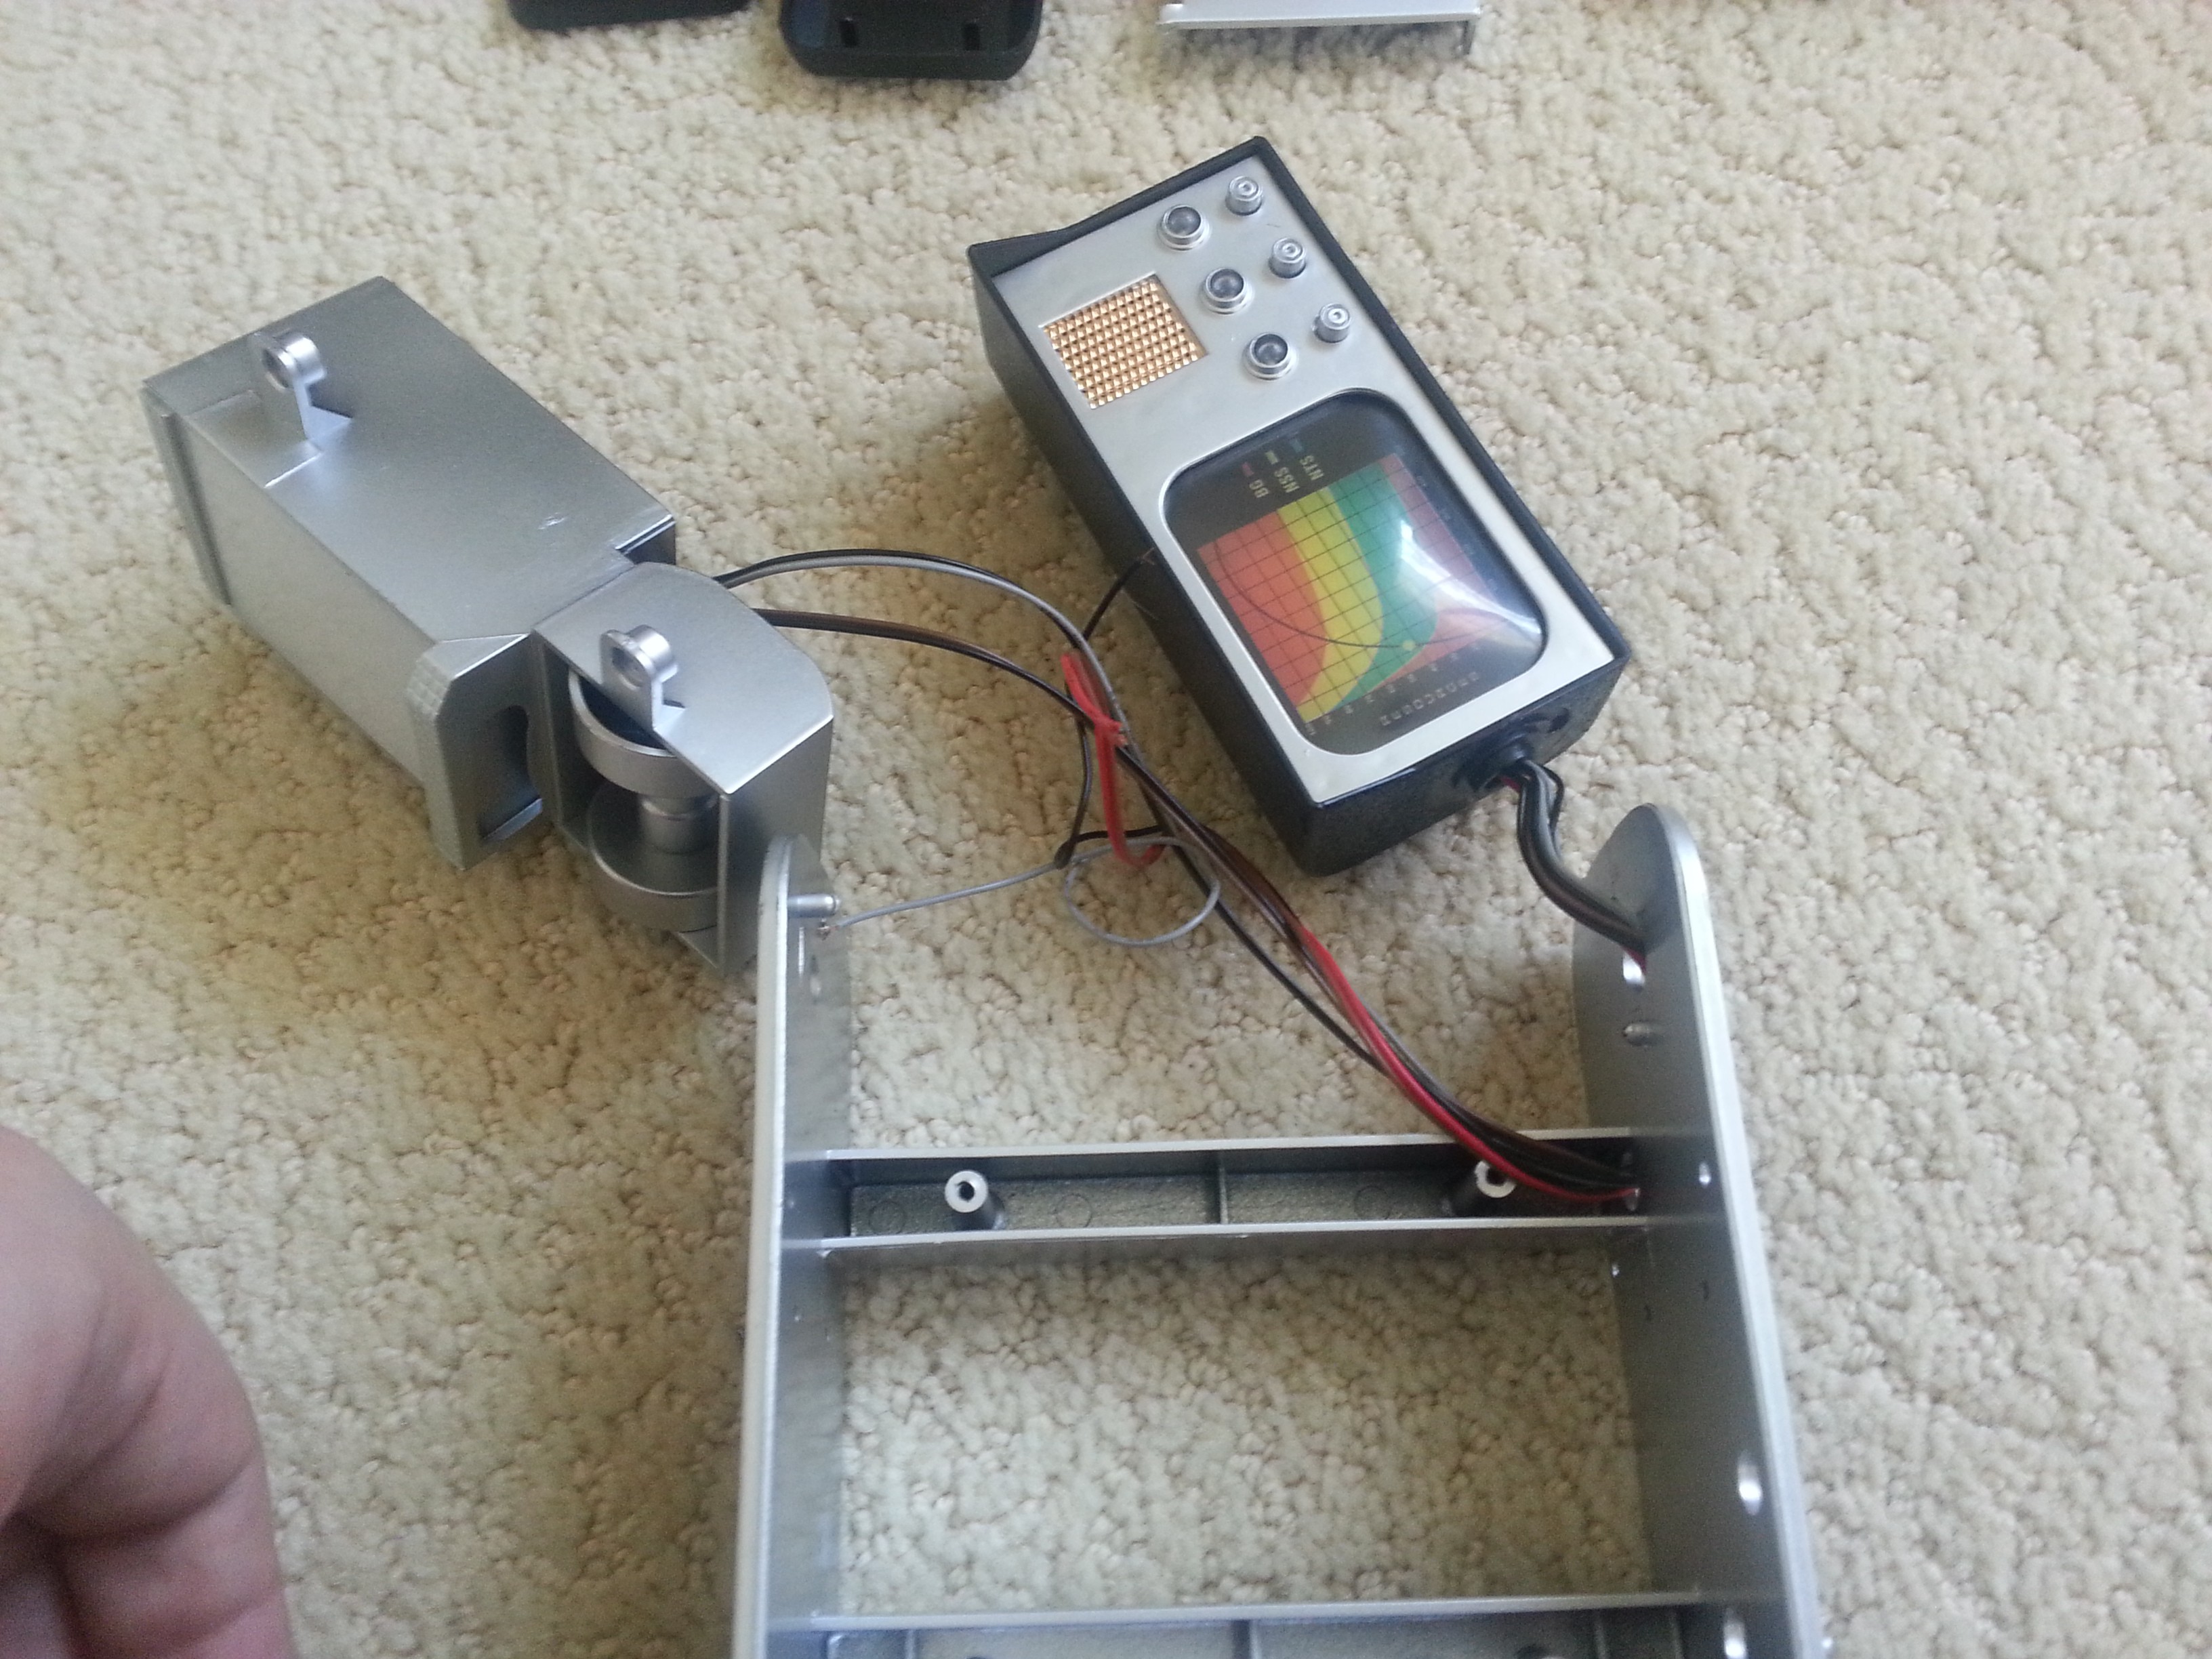
Under the peg strip on the left side, we see how the wiring connects the pivoting head section and the lower section through the hinge.![]()
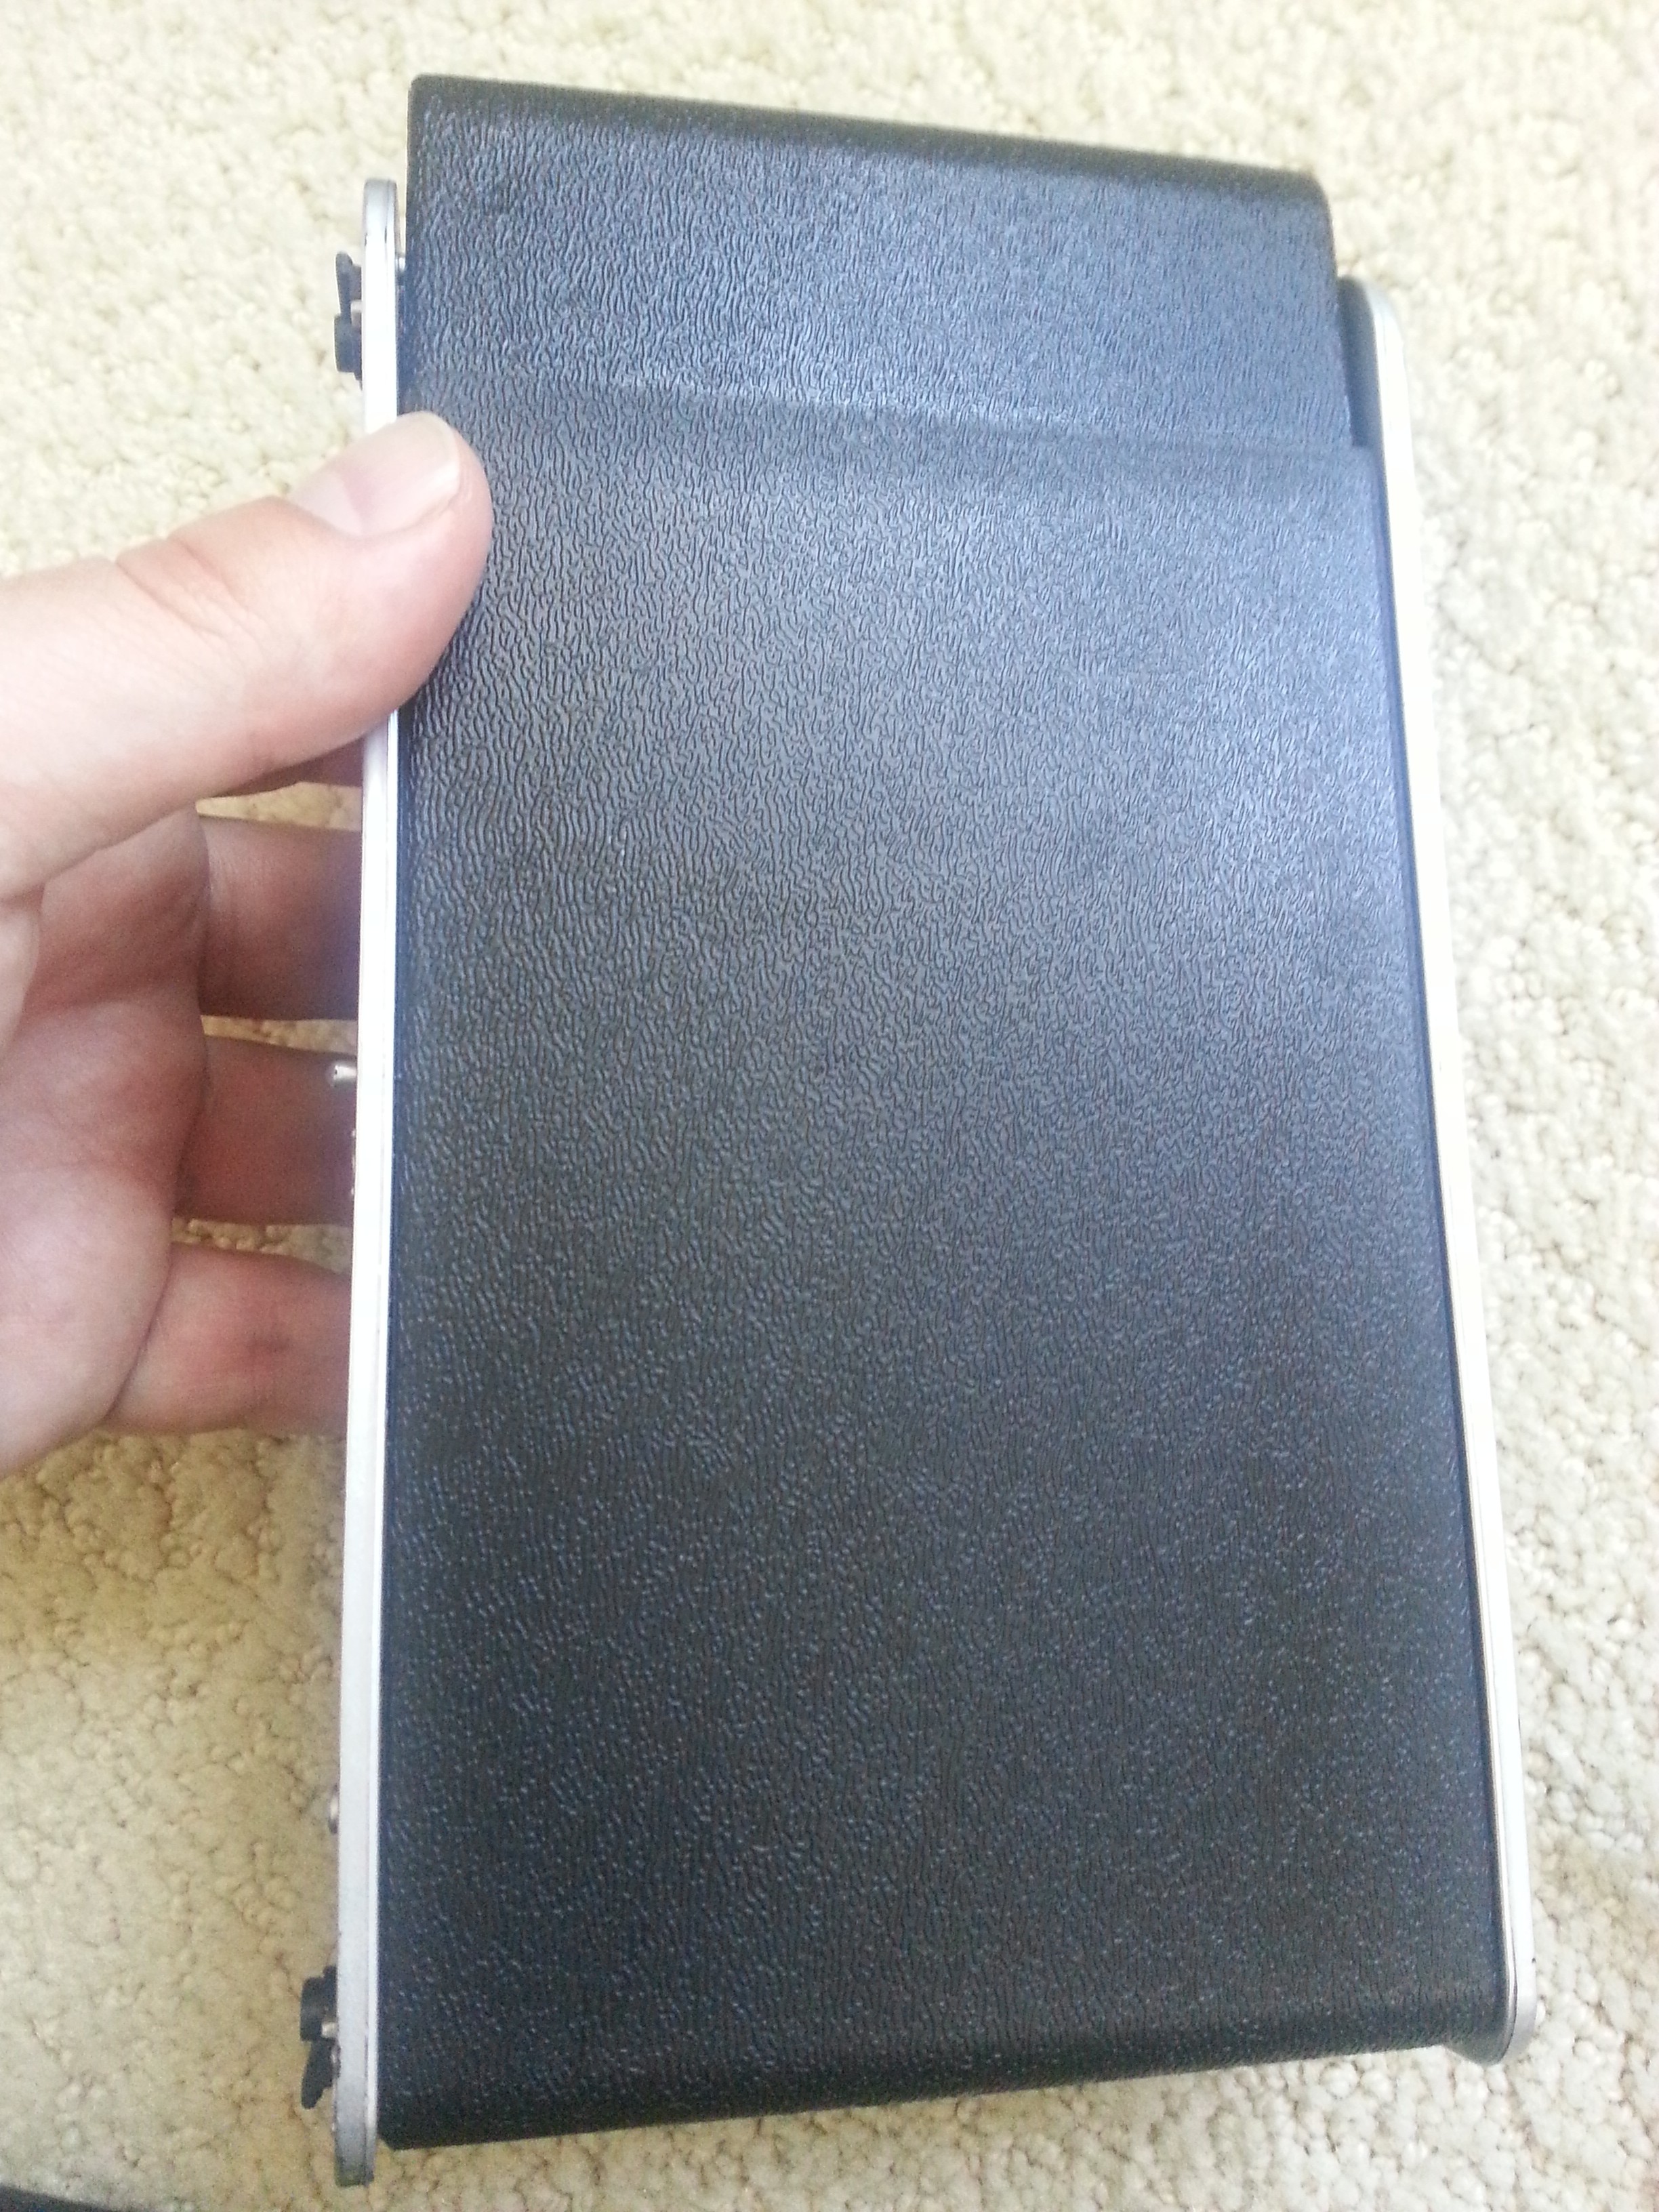
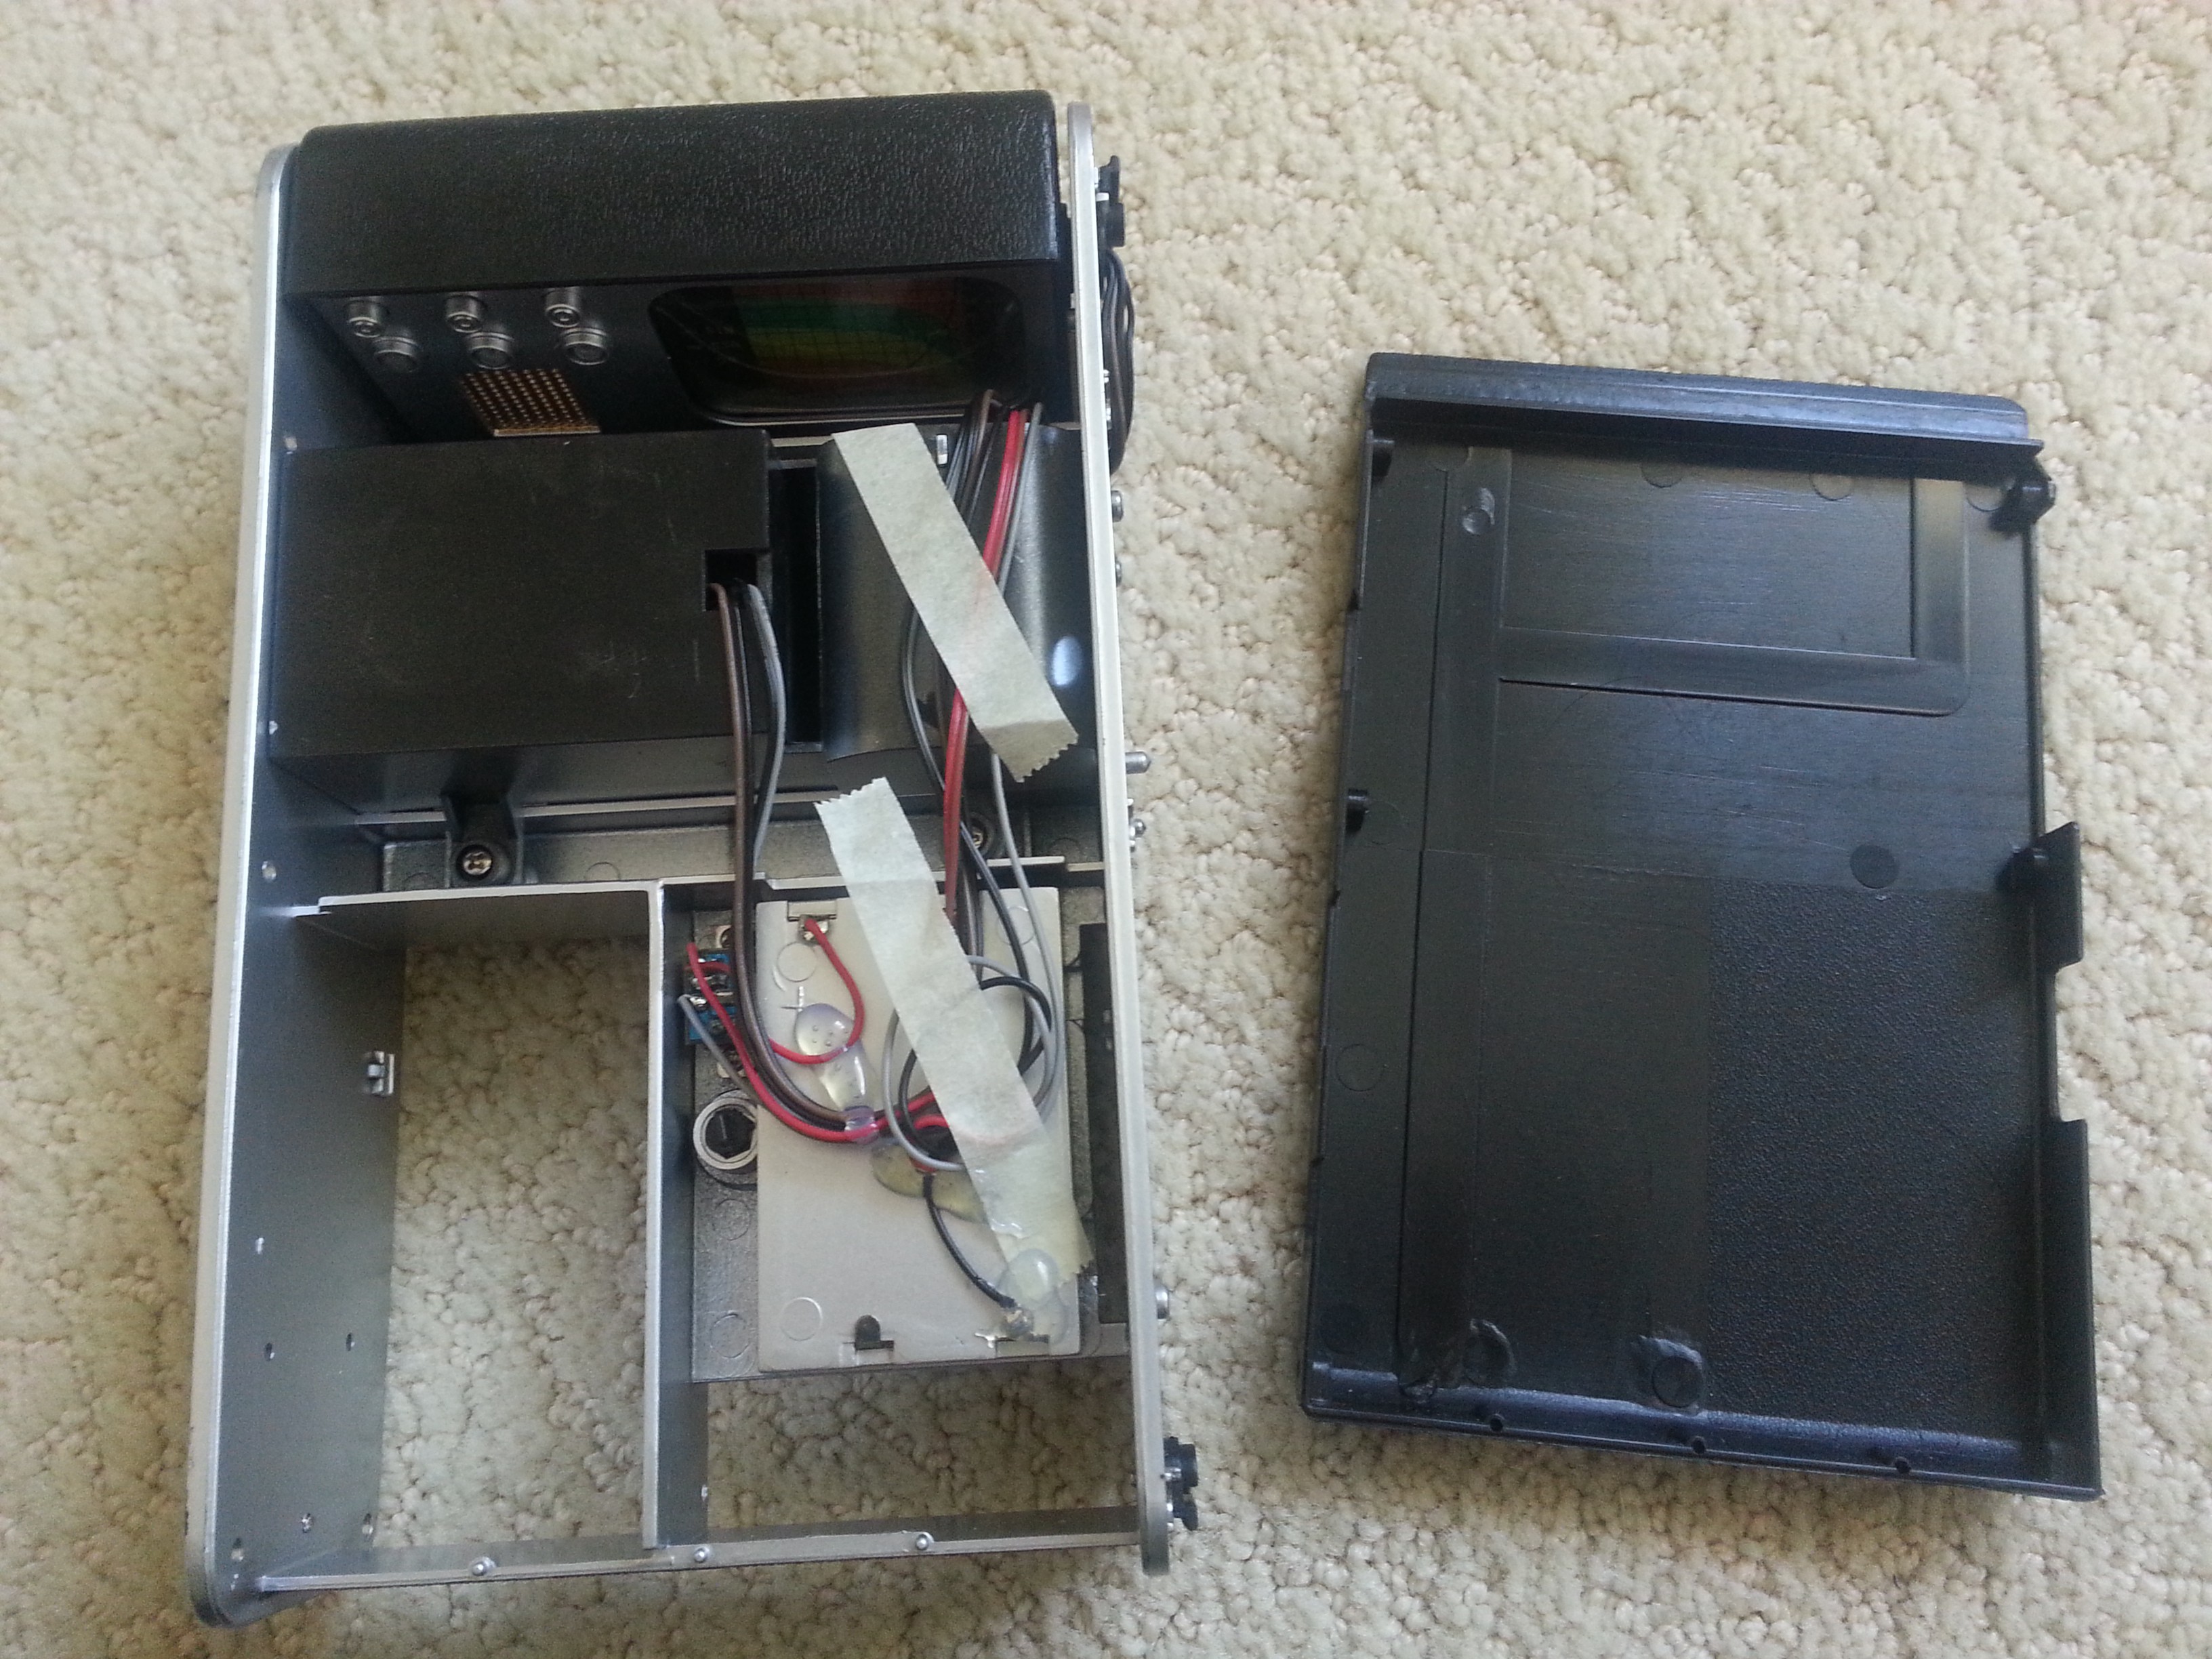
Removing the back panel.![]()
![]()
![]()
A few more unscrewings and the head and middle sections pop out.
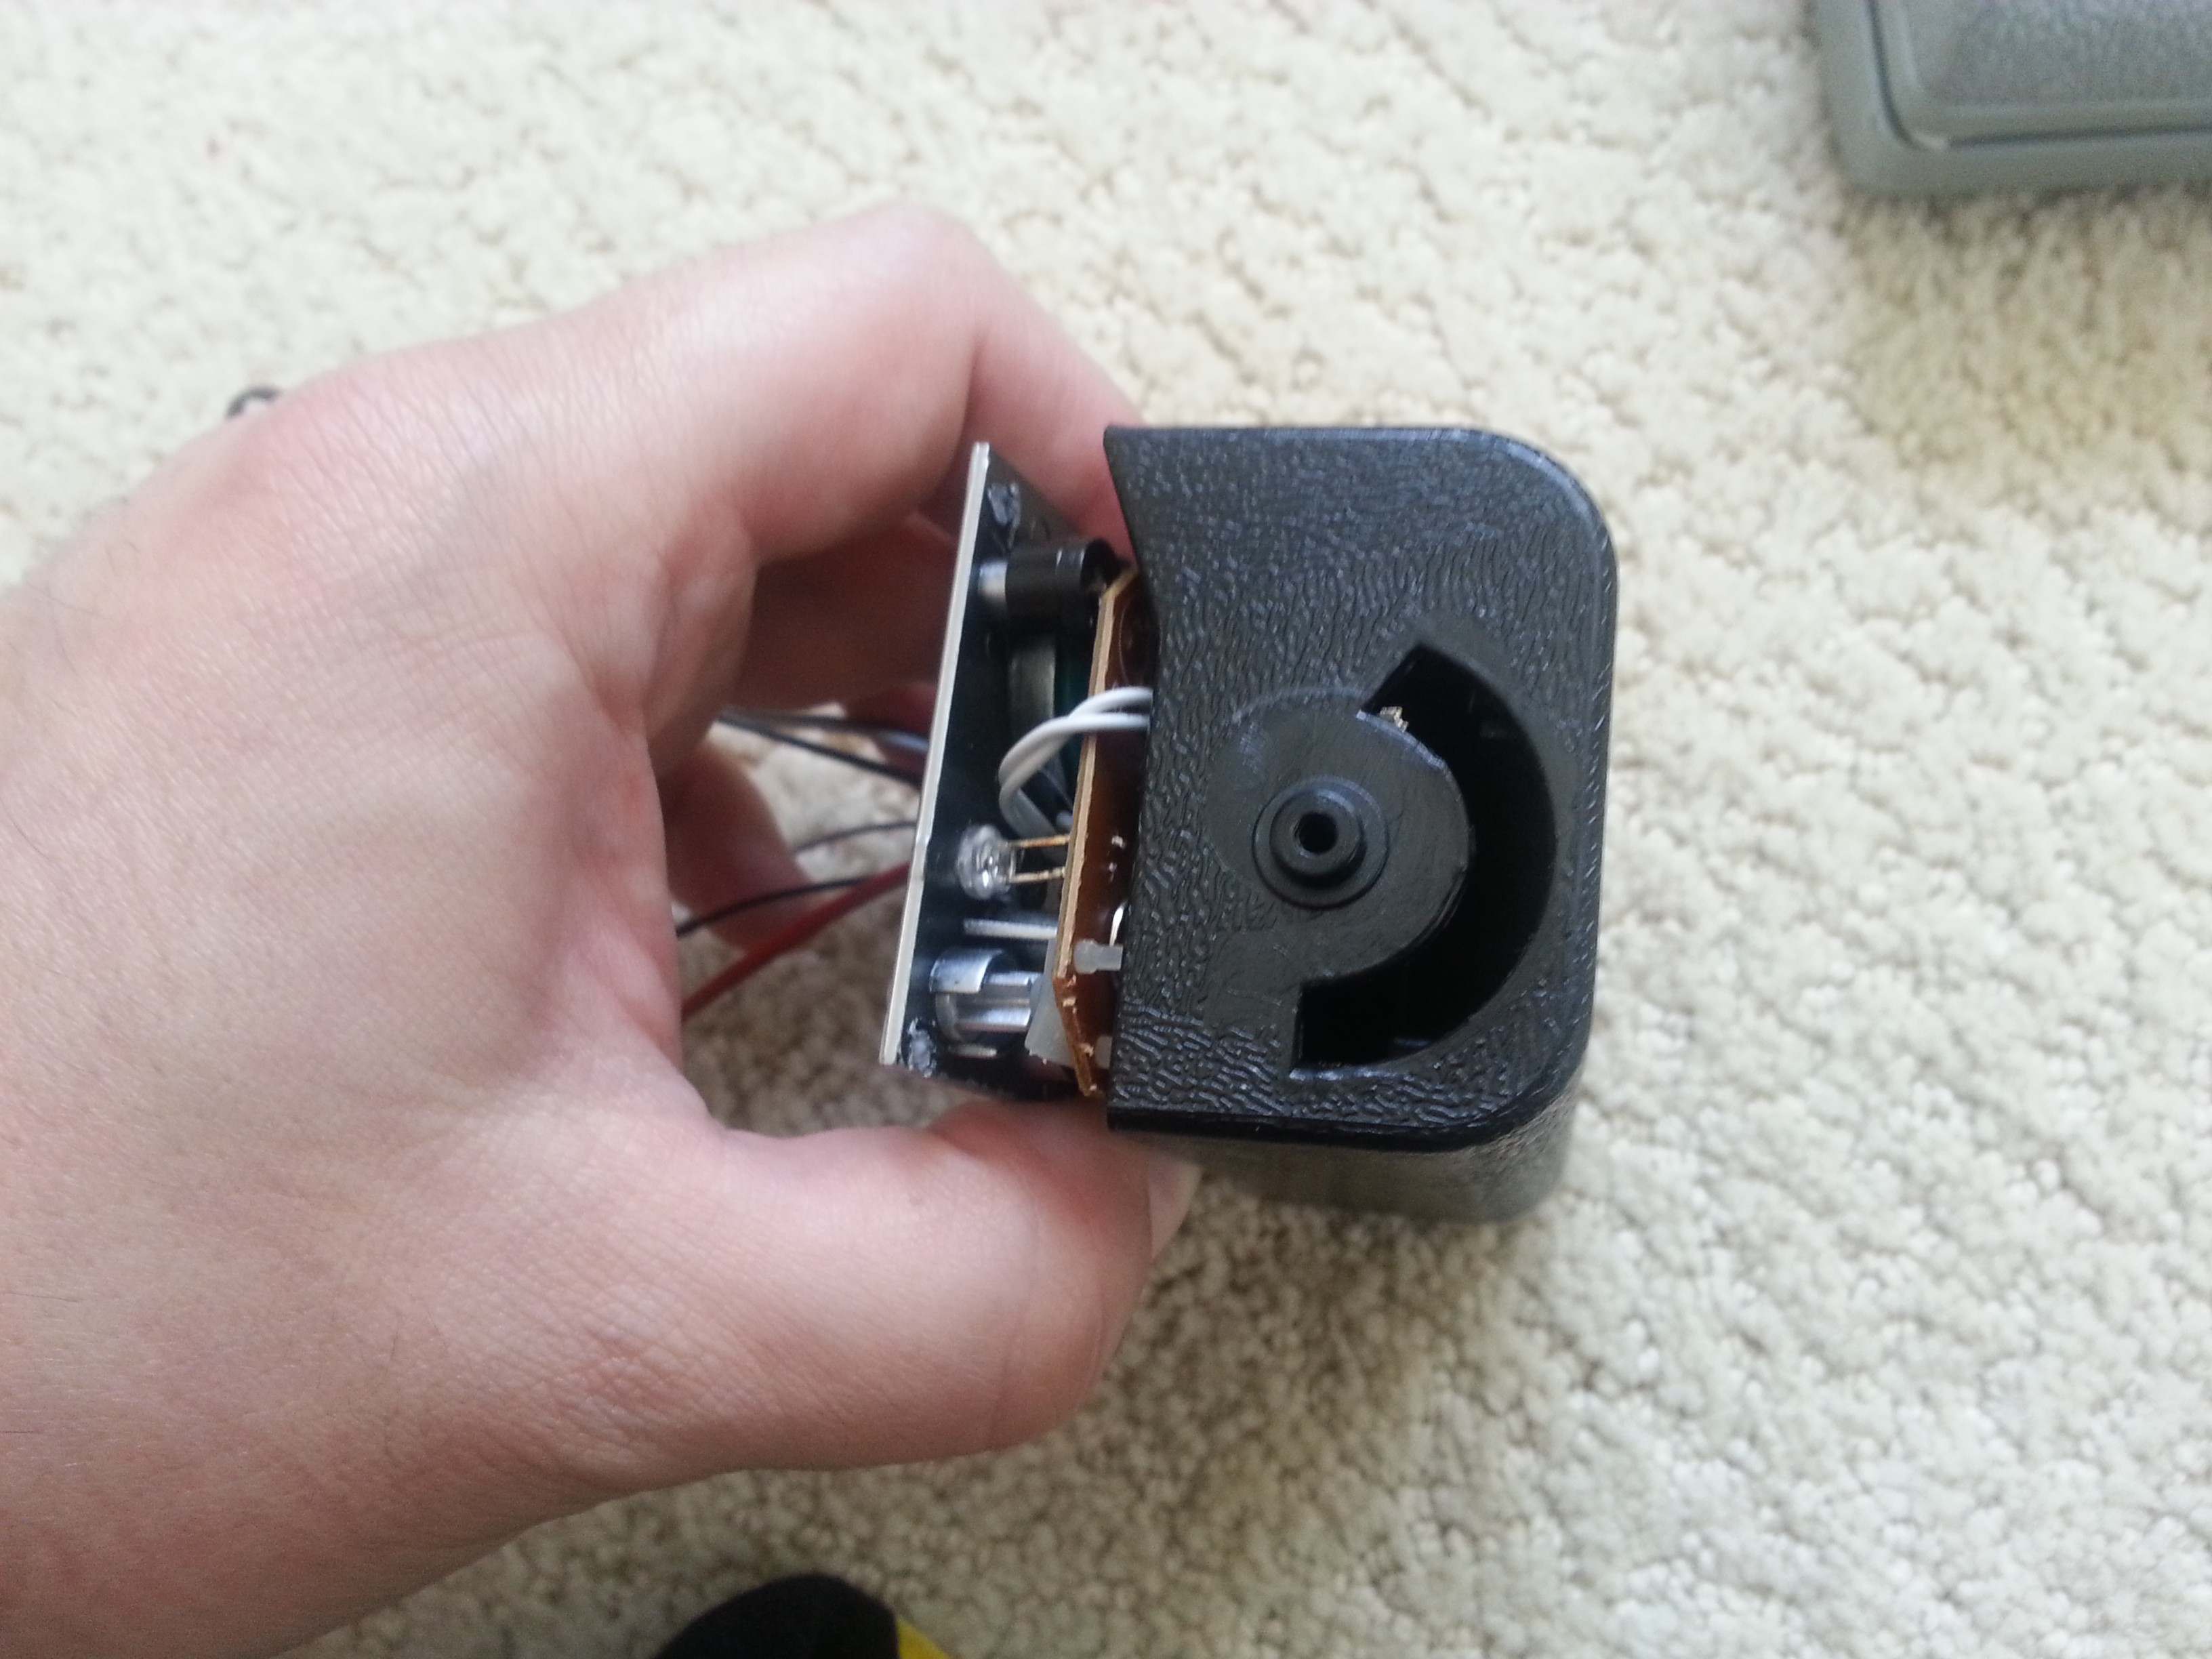
We're really interested in the head section. With a little coaxing, and the sacrifice of some plastic pegs which didn't survive the journey, the faceplate and innards pop away from the shell.![]()
![]()
![]()
![]()
Ohai!
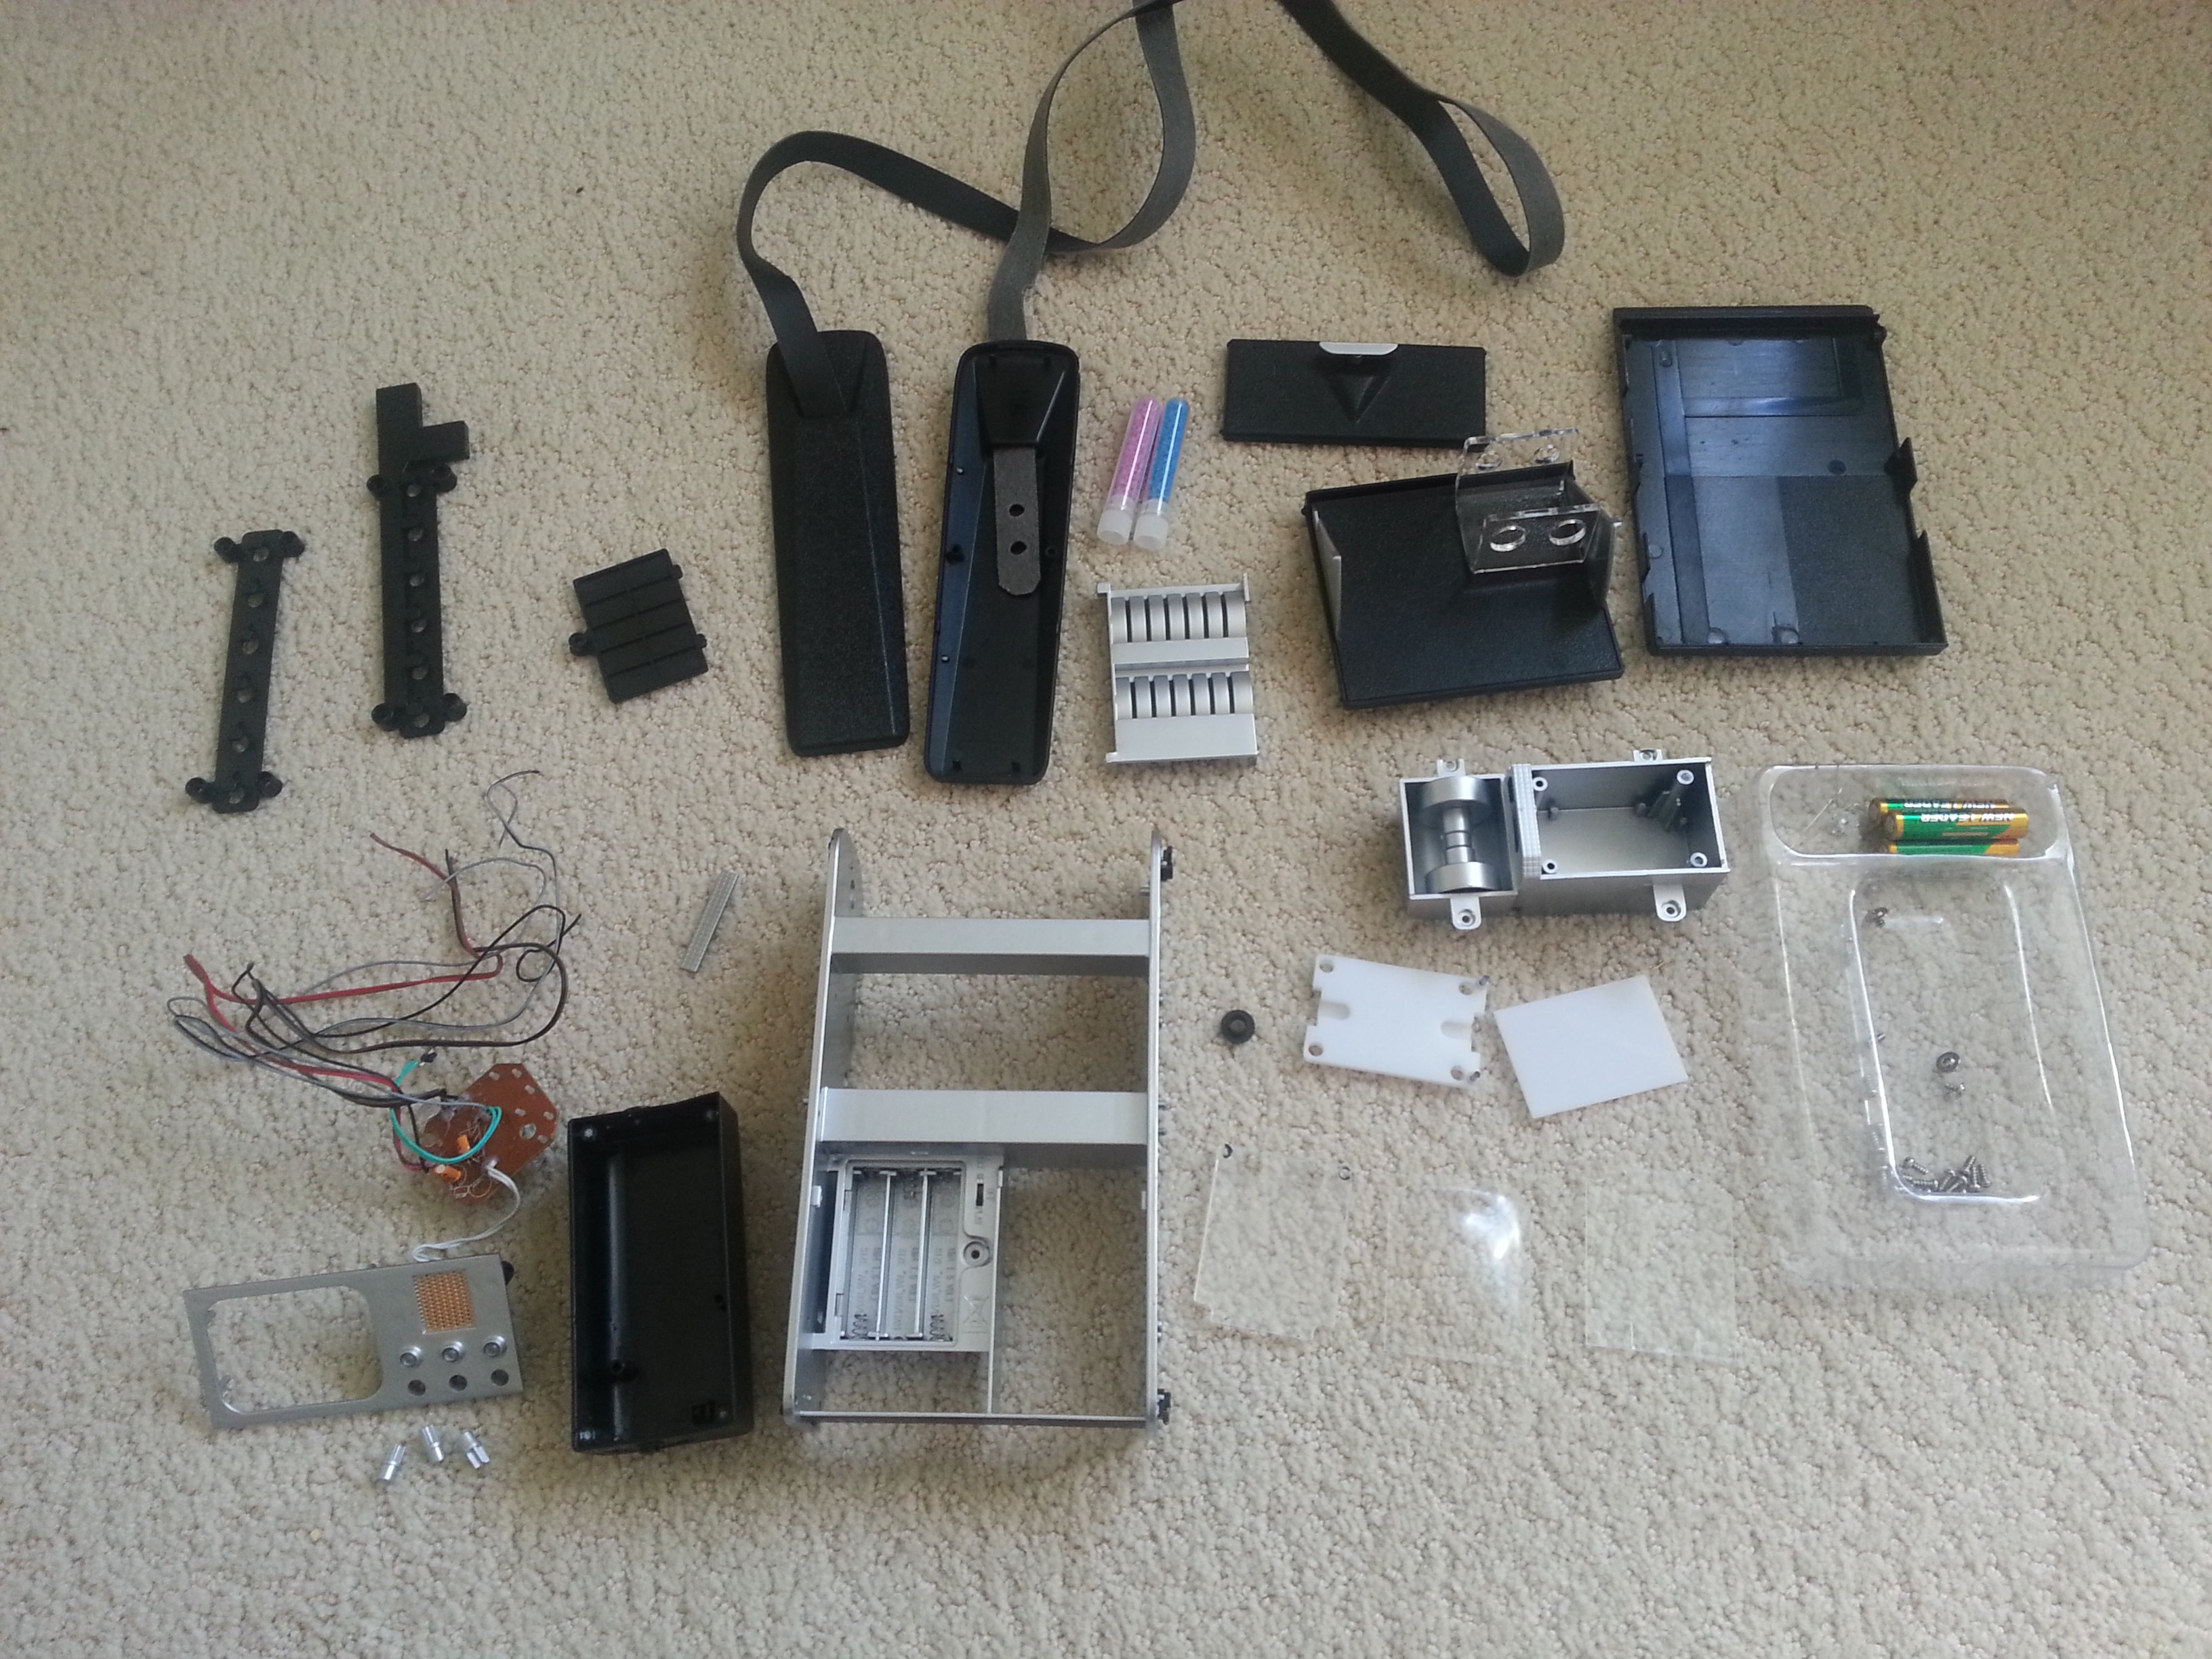
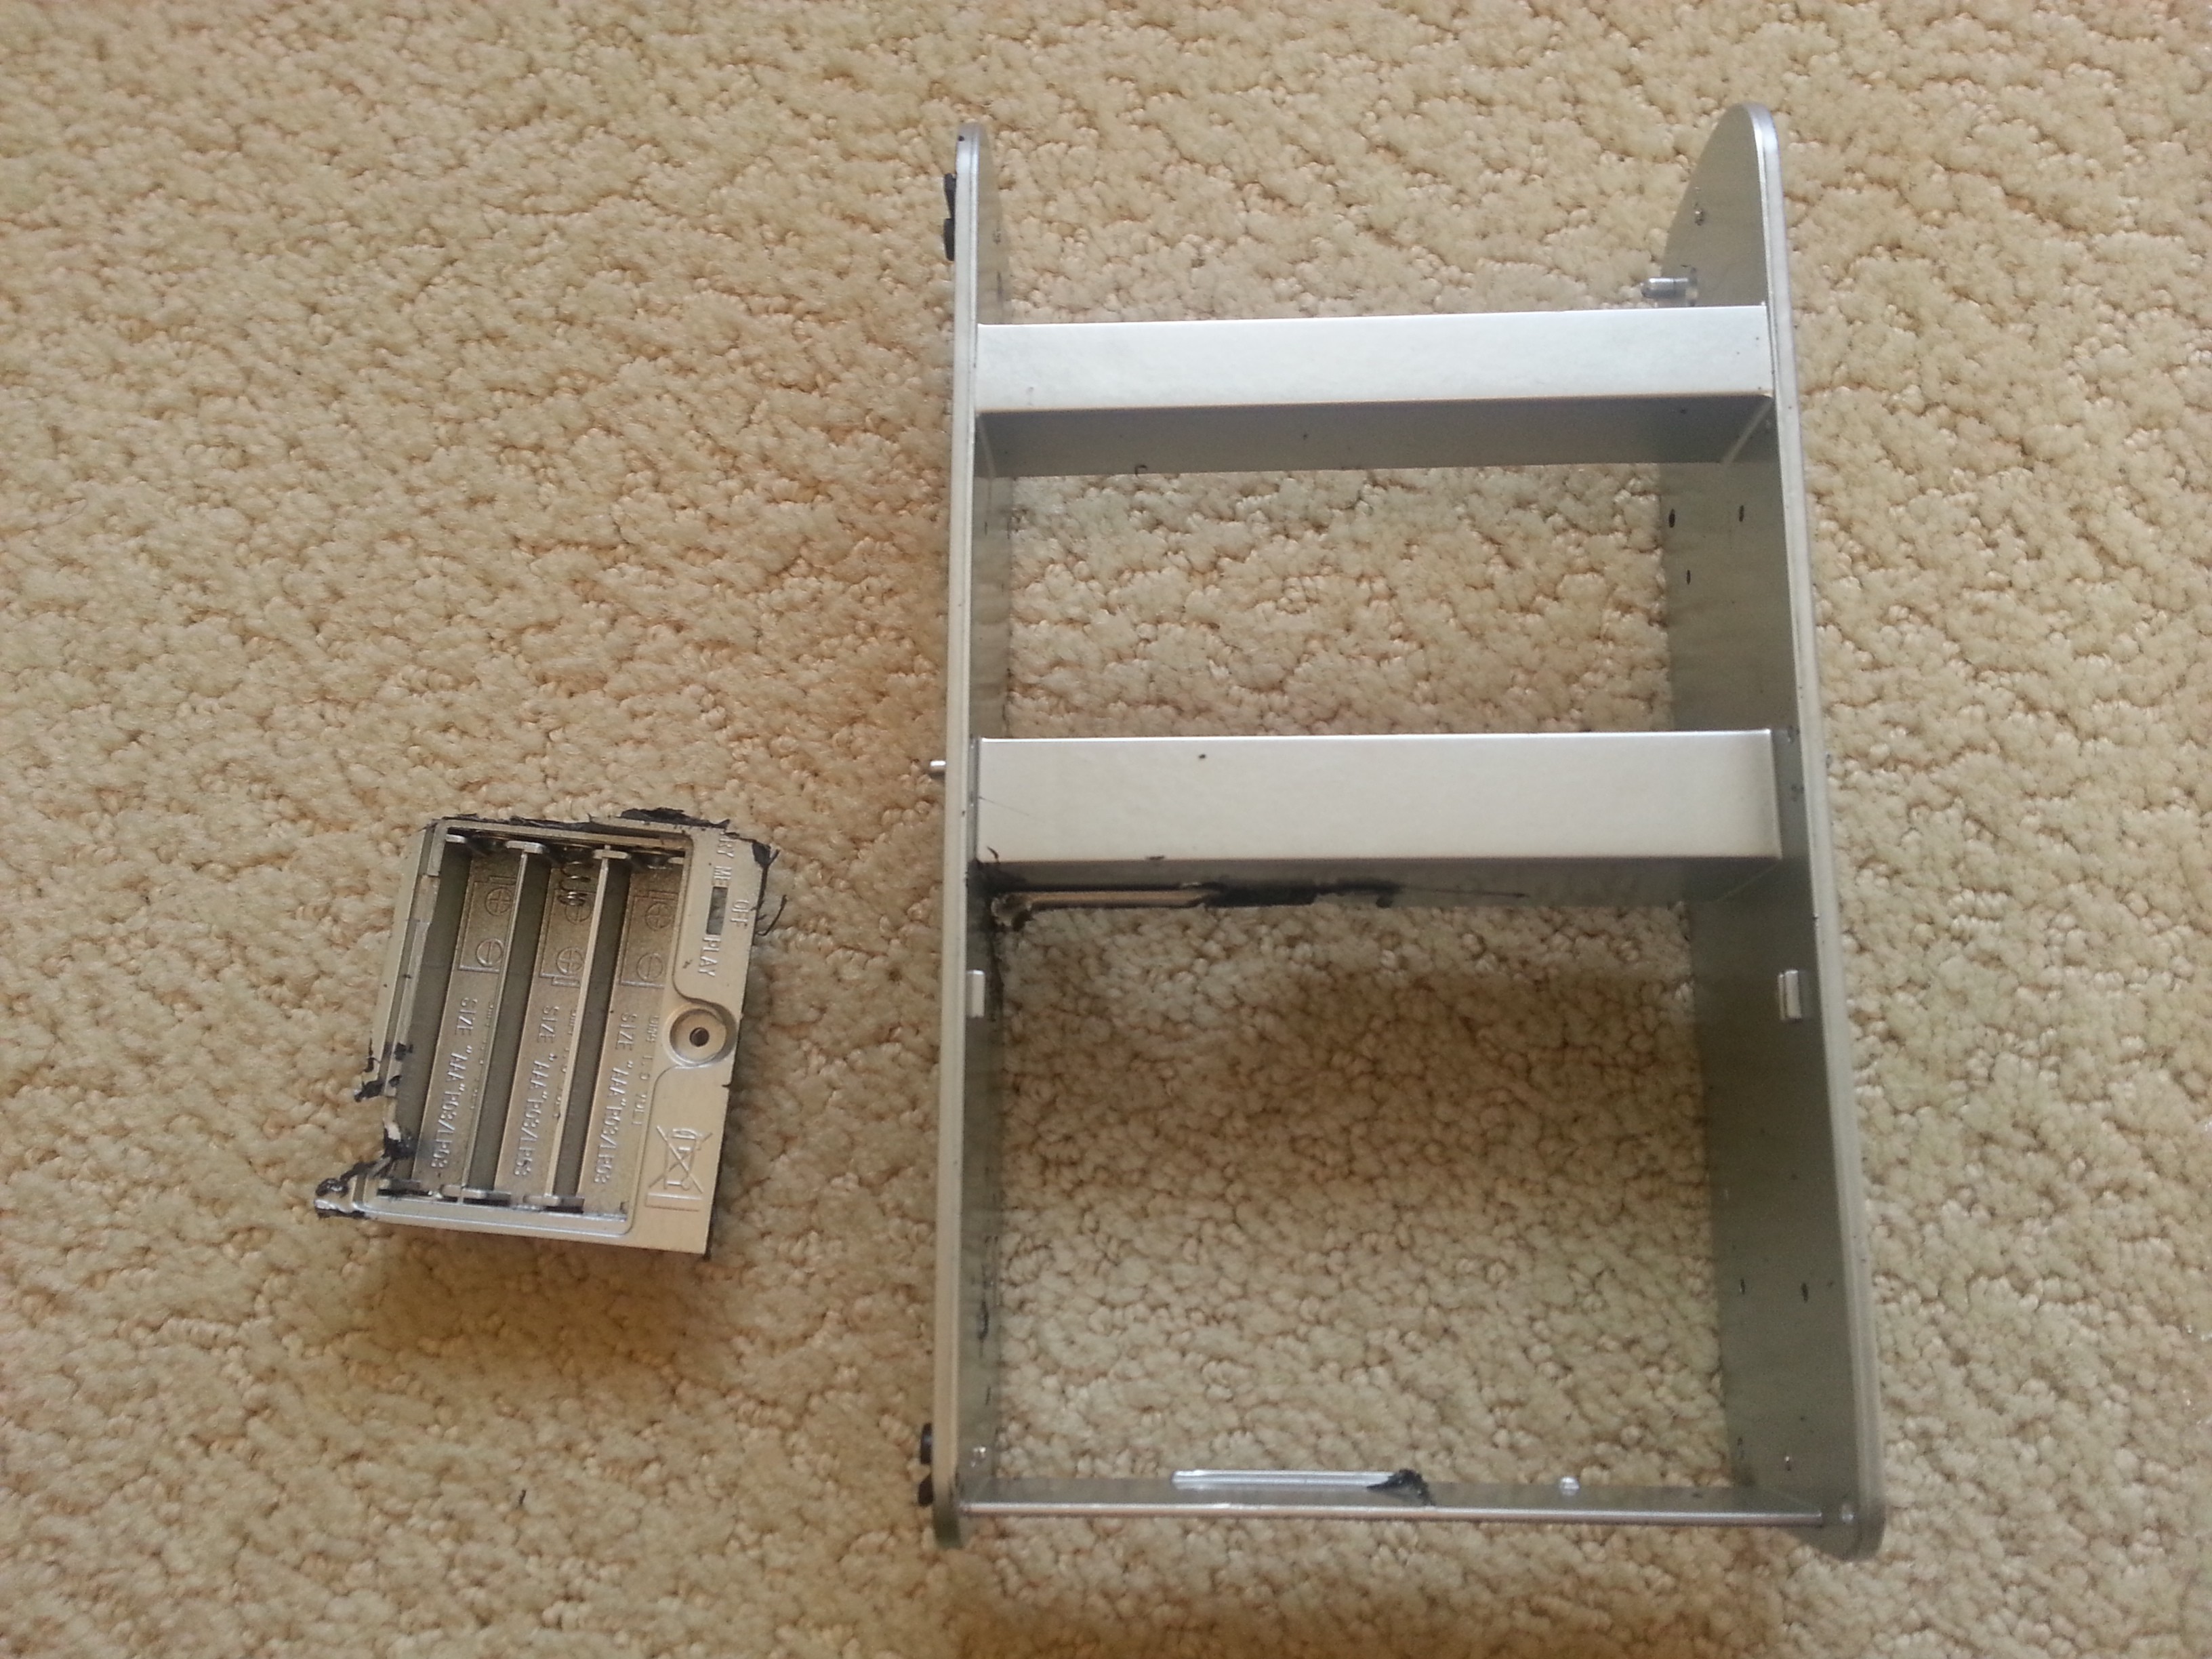
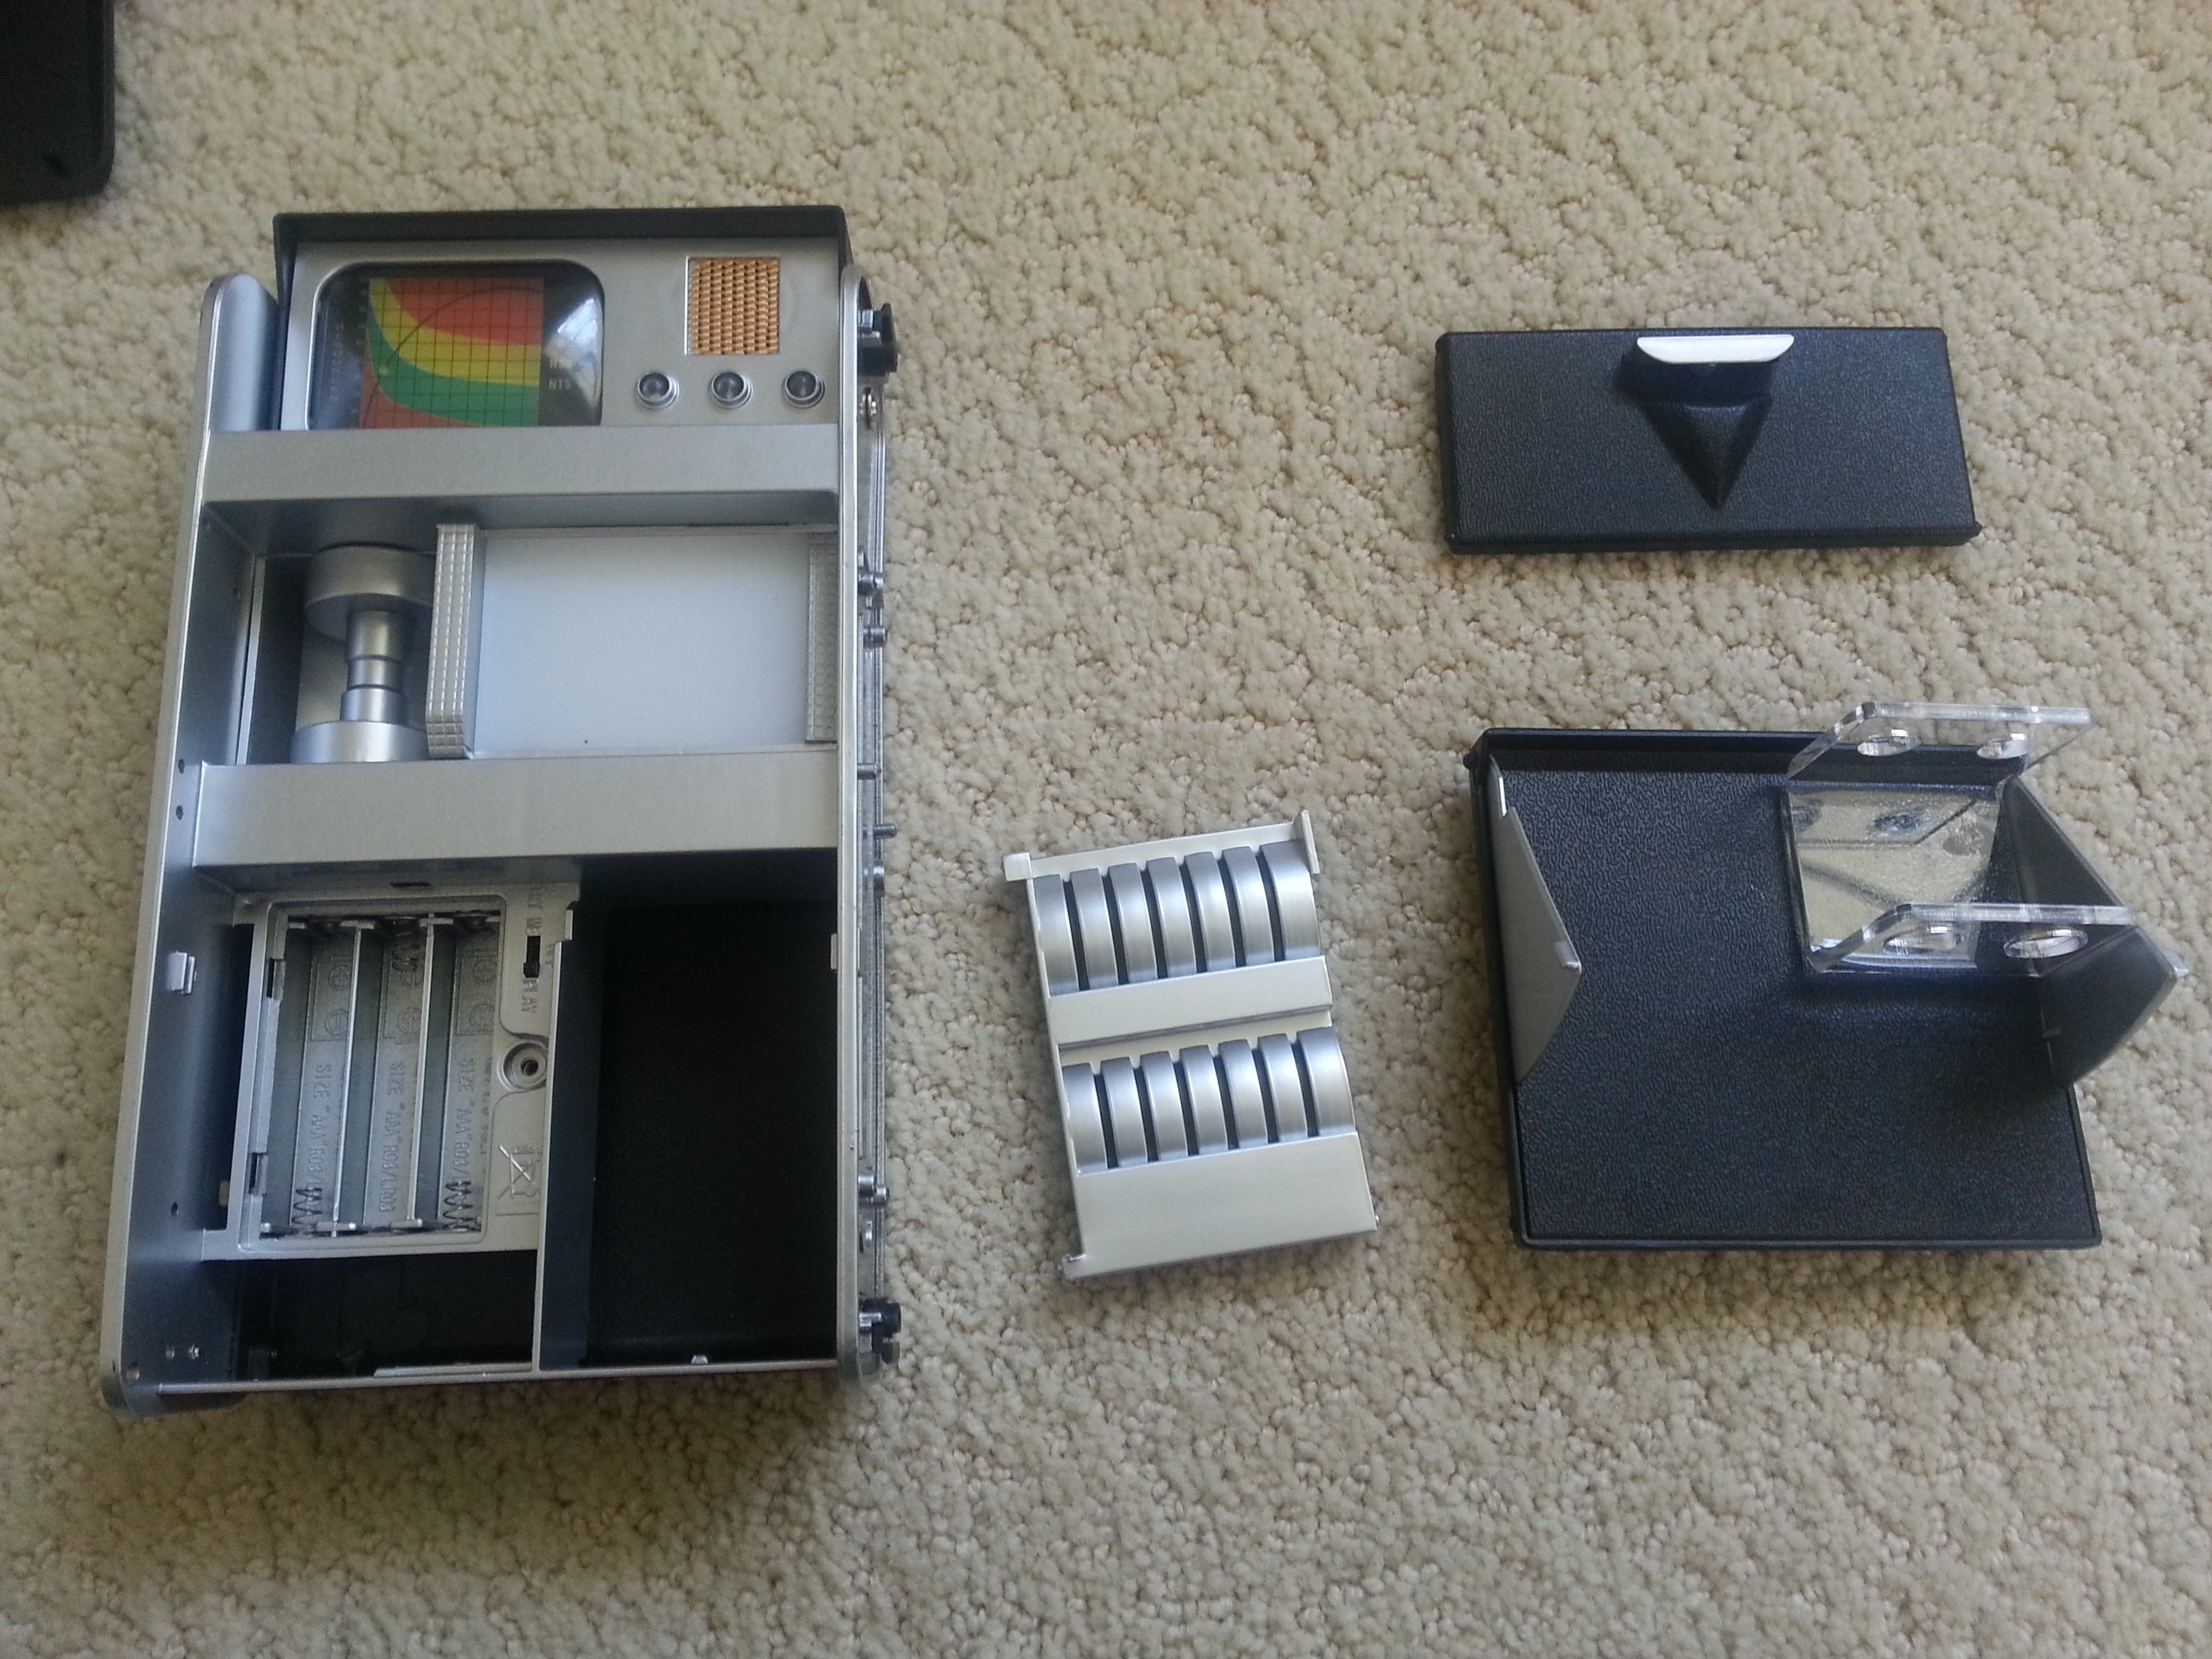
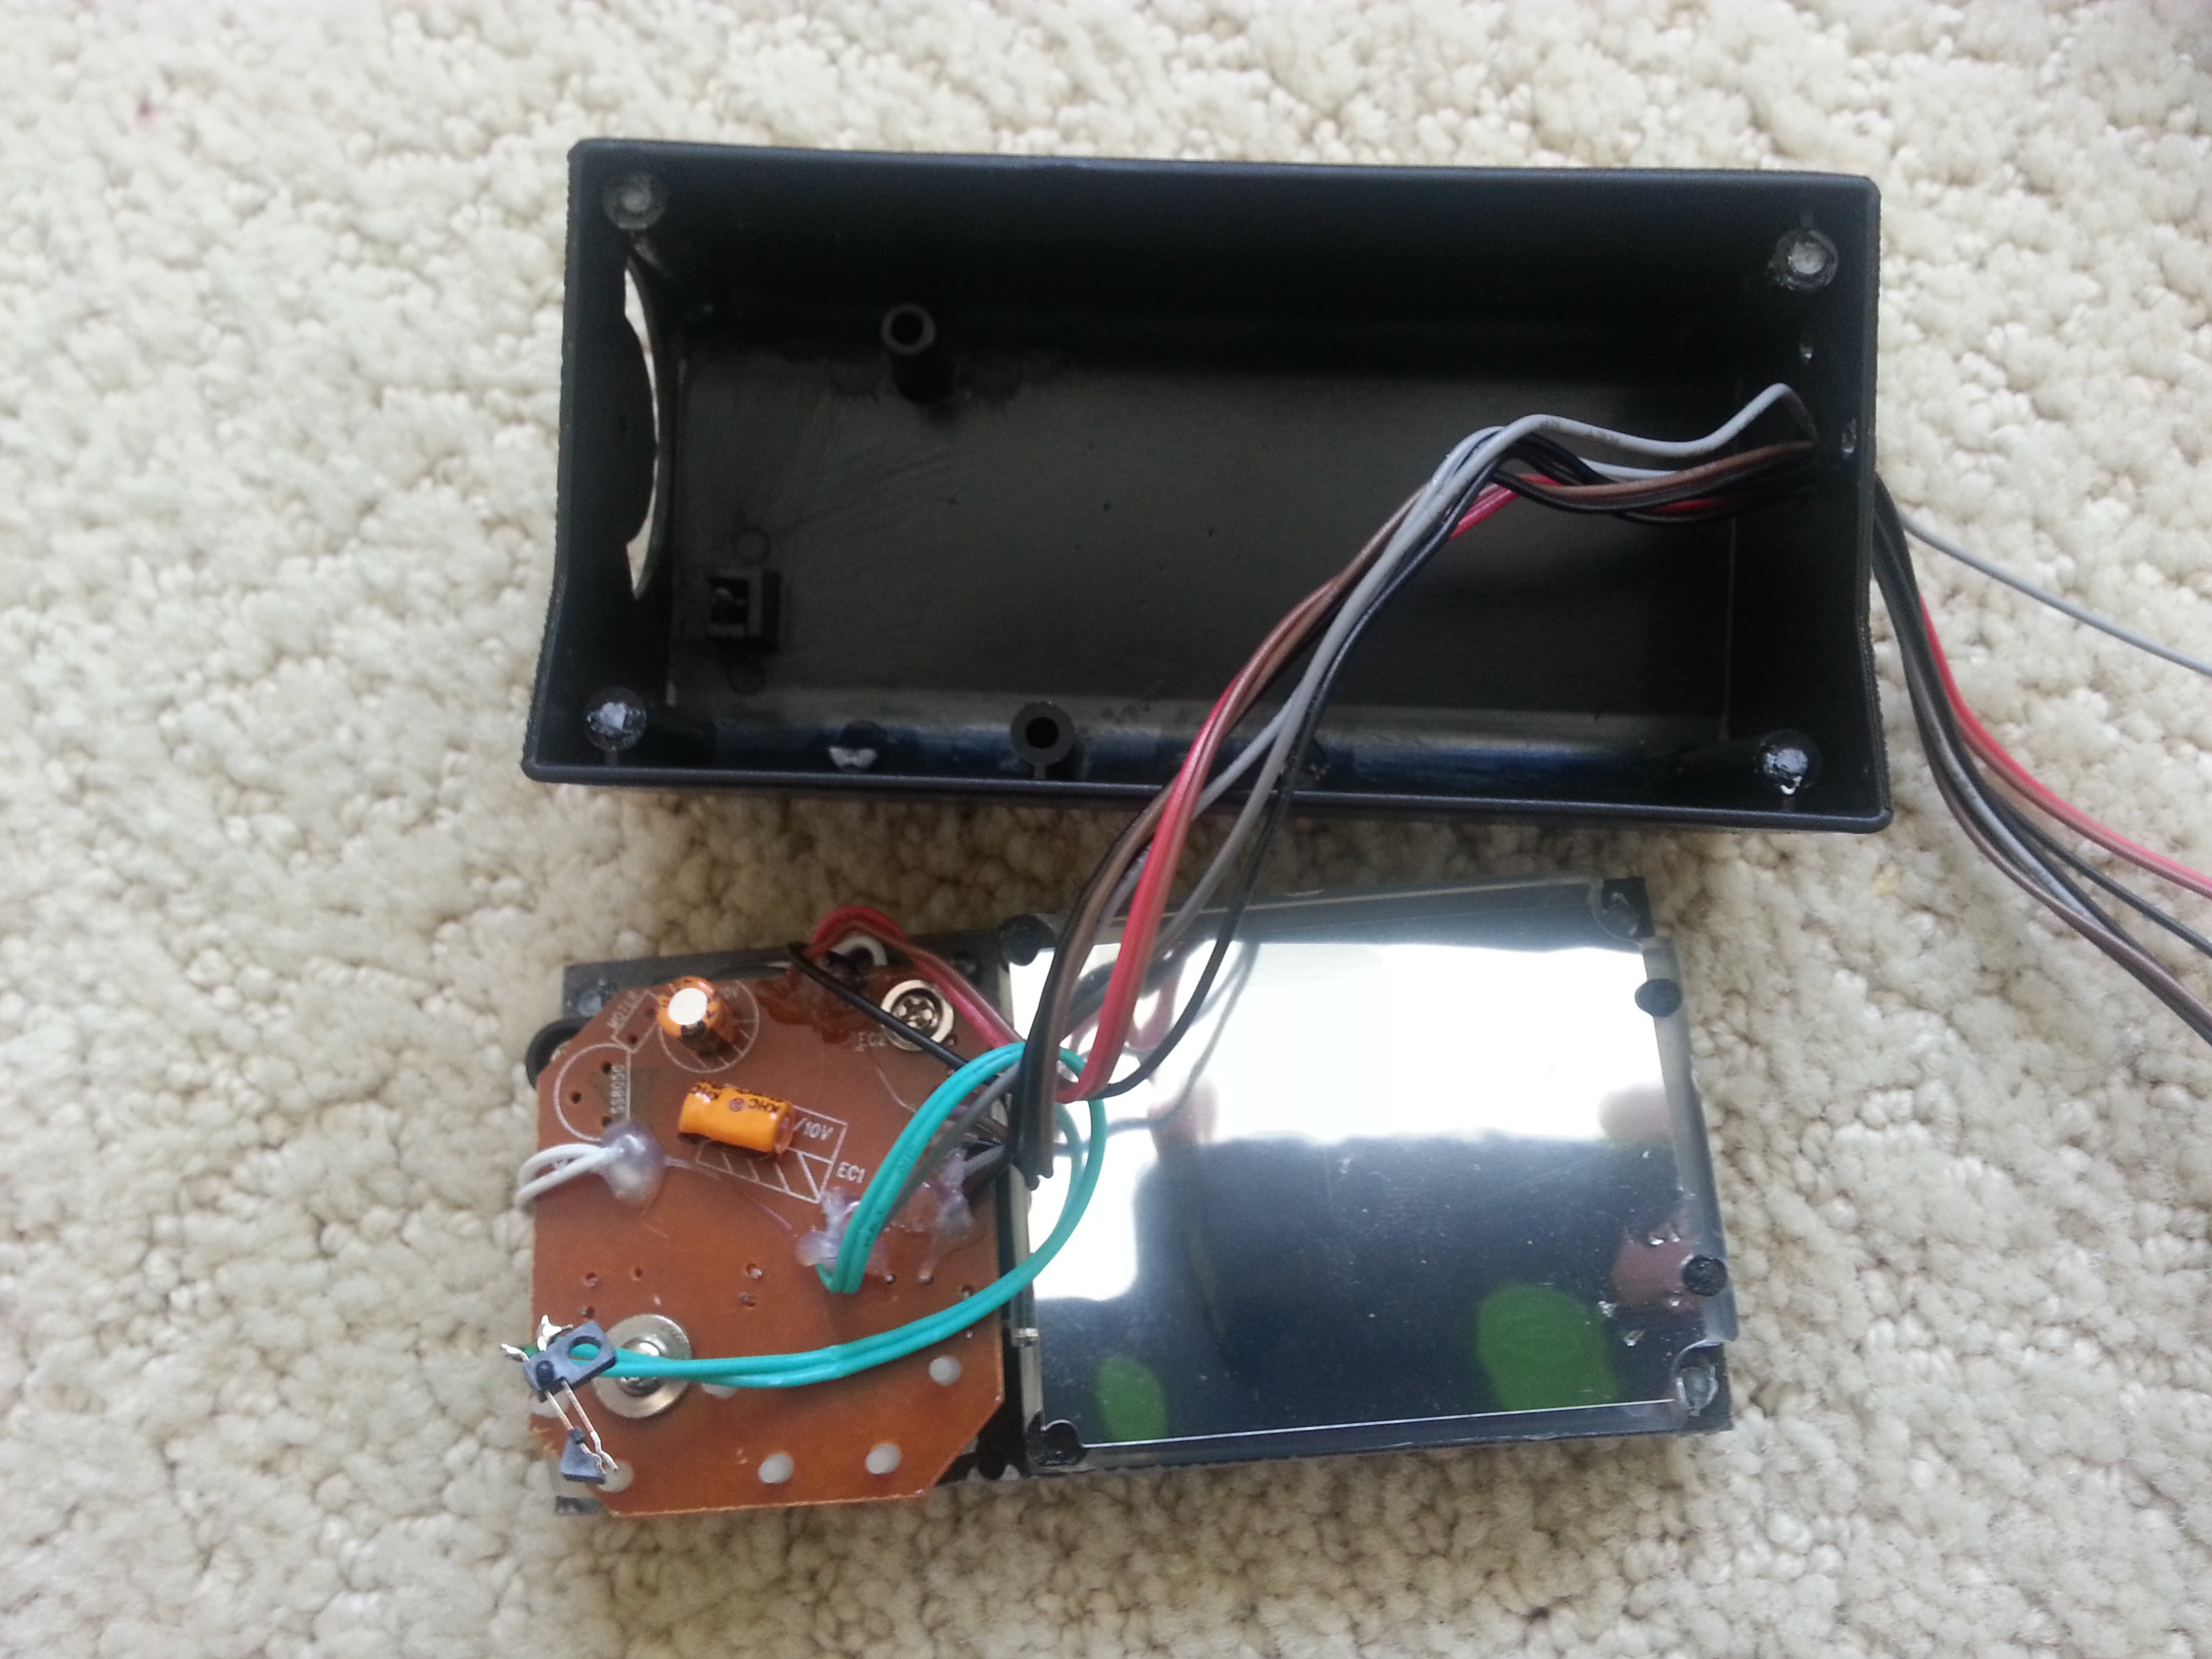
![]() Finally, with everything disassembled, here's what it all looks like.
Finally, with everything disassembled, here's what it all looks like.![]()
Next log: we introduce the Pi, and start irreversibly breaking our toys. ^_^
-
Starting out
04/25/2015 at 02:16 • 0 commentsAt the moment, the one component for this project I have handy is the toy tricorder itself.
![]()
This is the Geological Tricorder variant, based on one seen in the Star Trek TOS episode "That Which Survives." I have two of these toys, so if I destroy one in my quest to defictionalize it I'll have a backup.
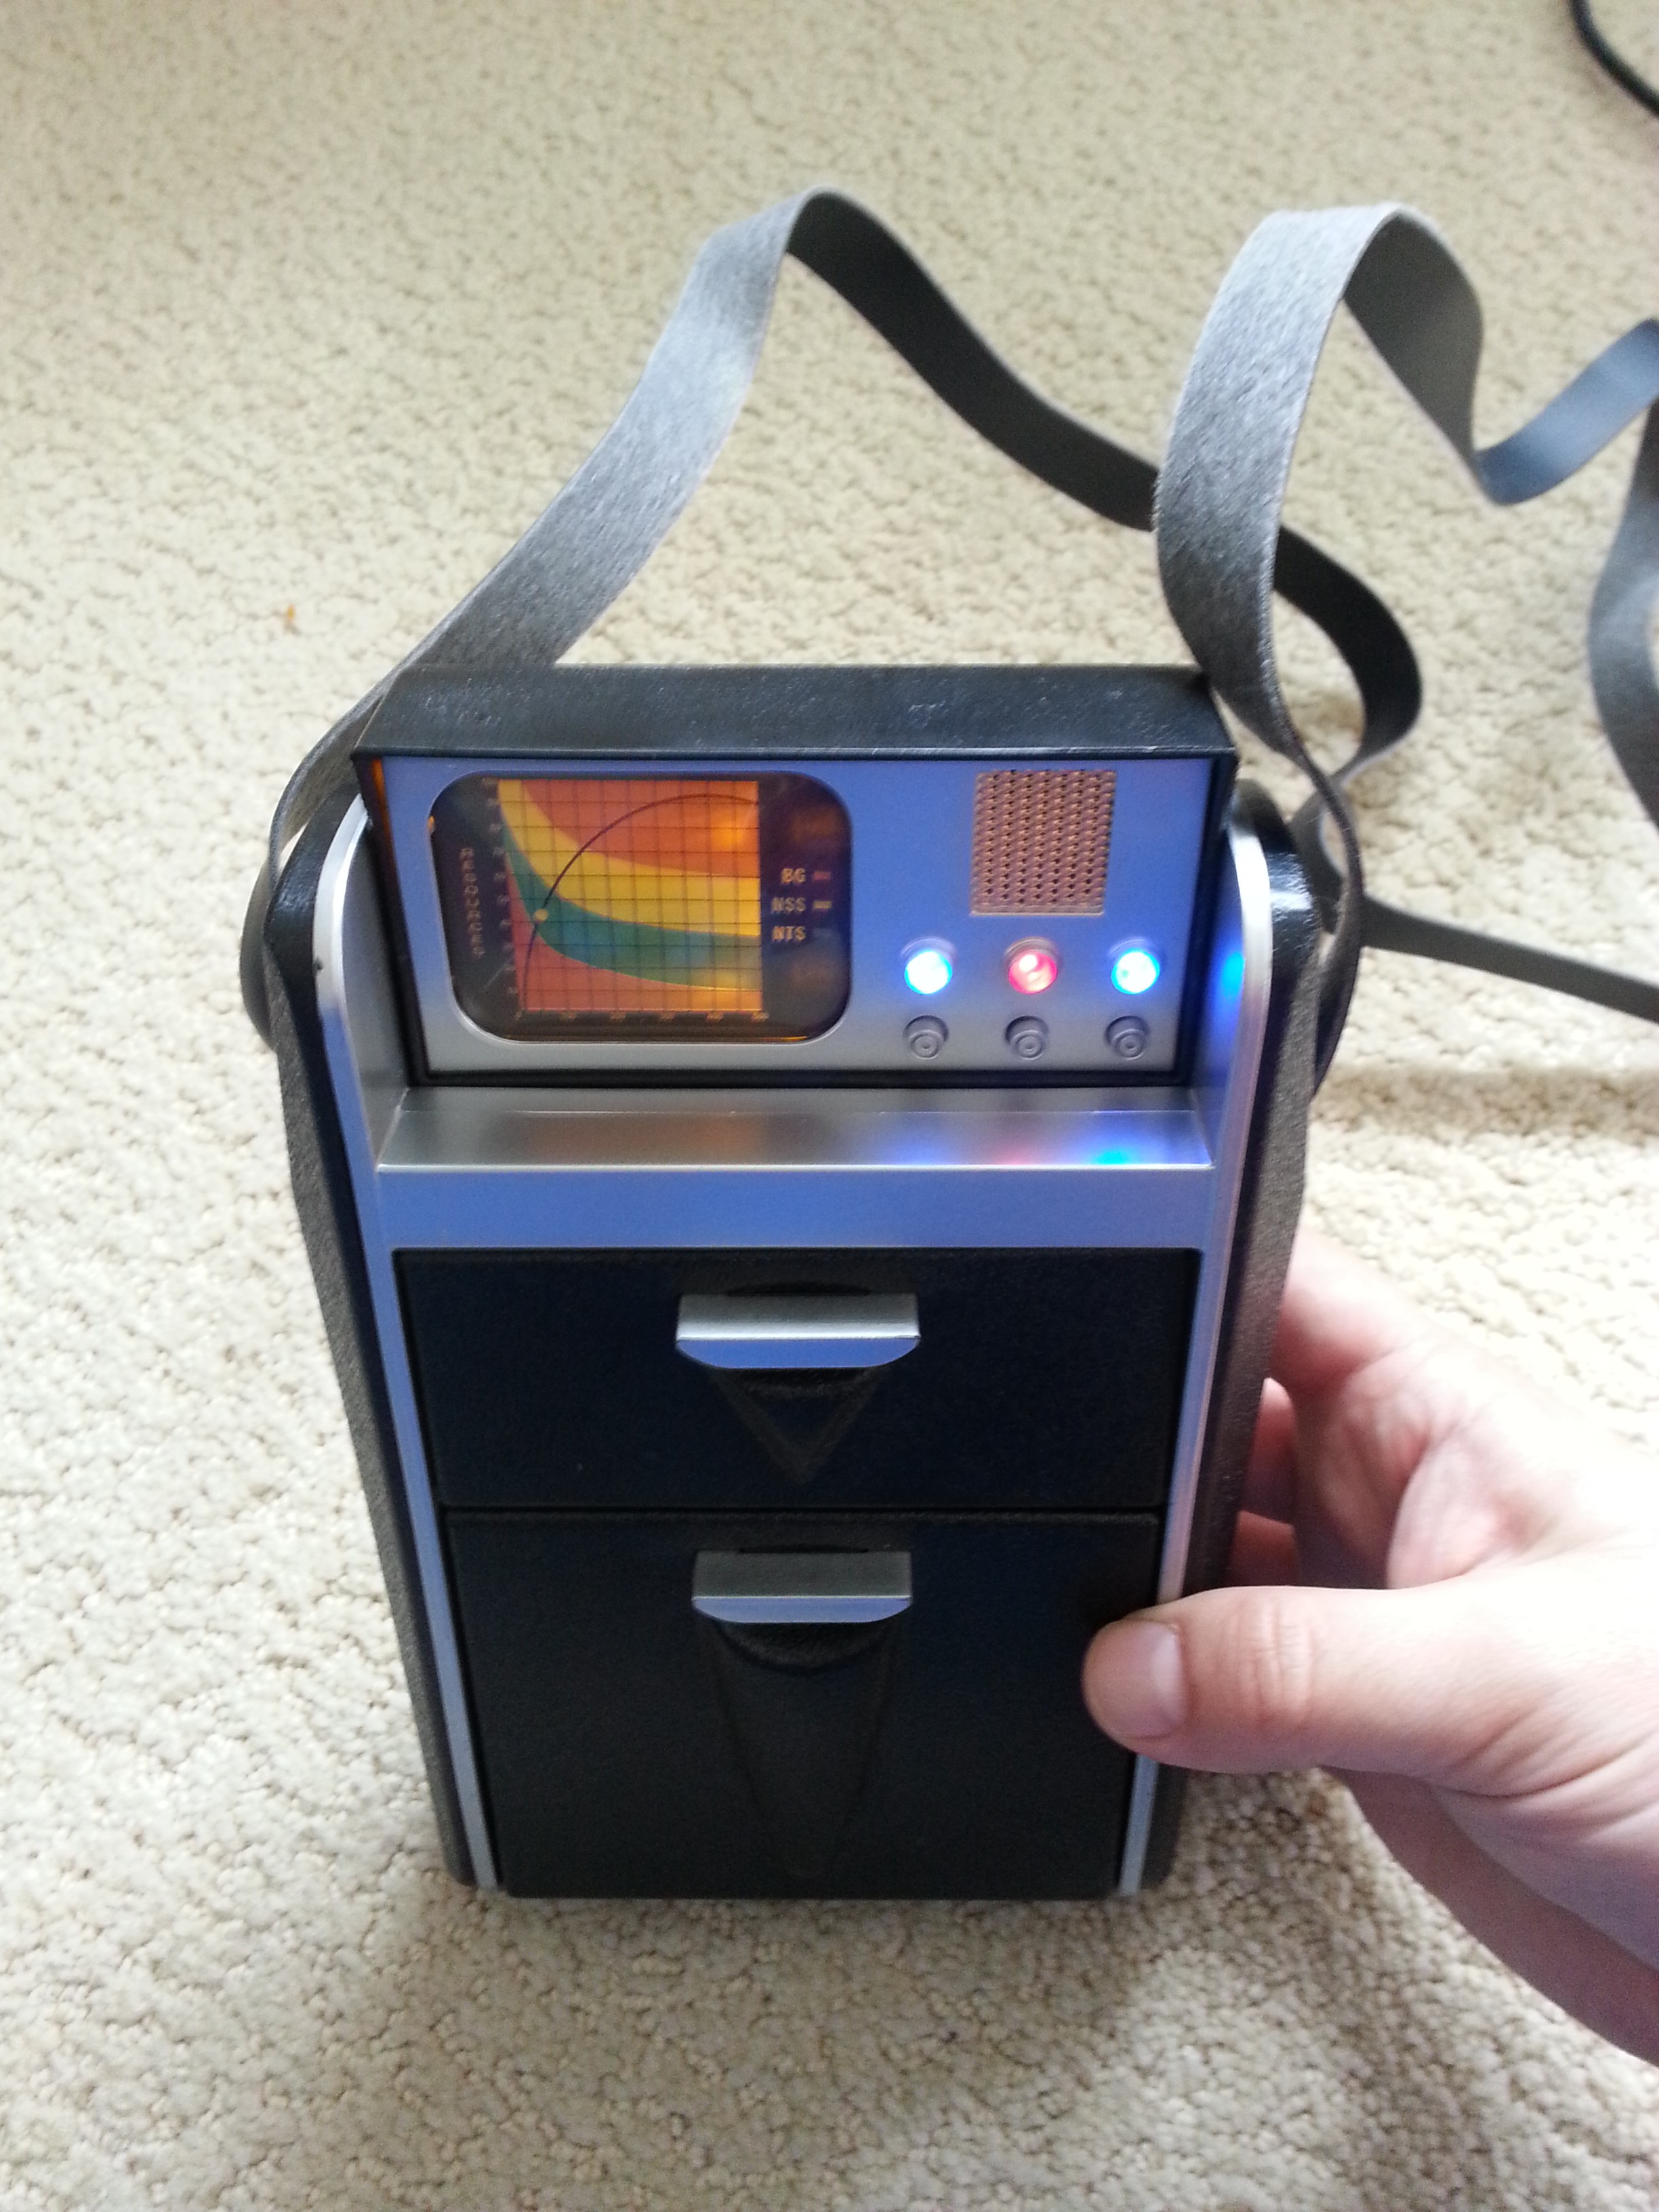
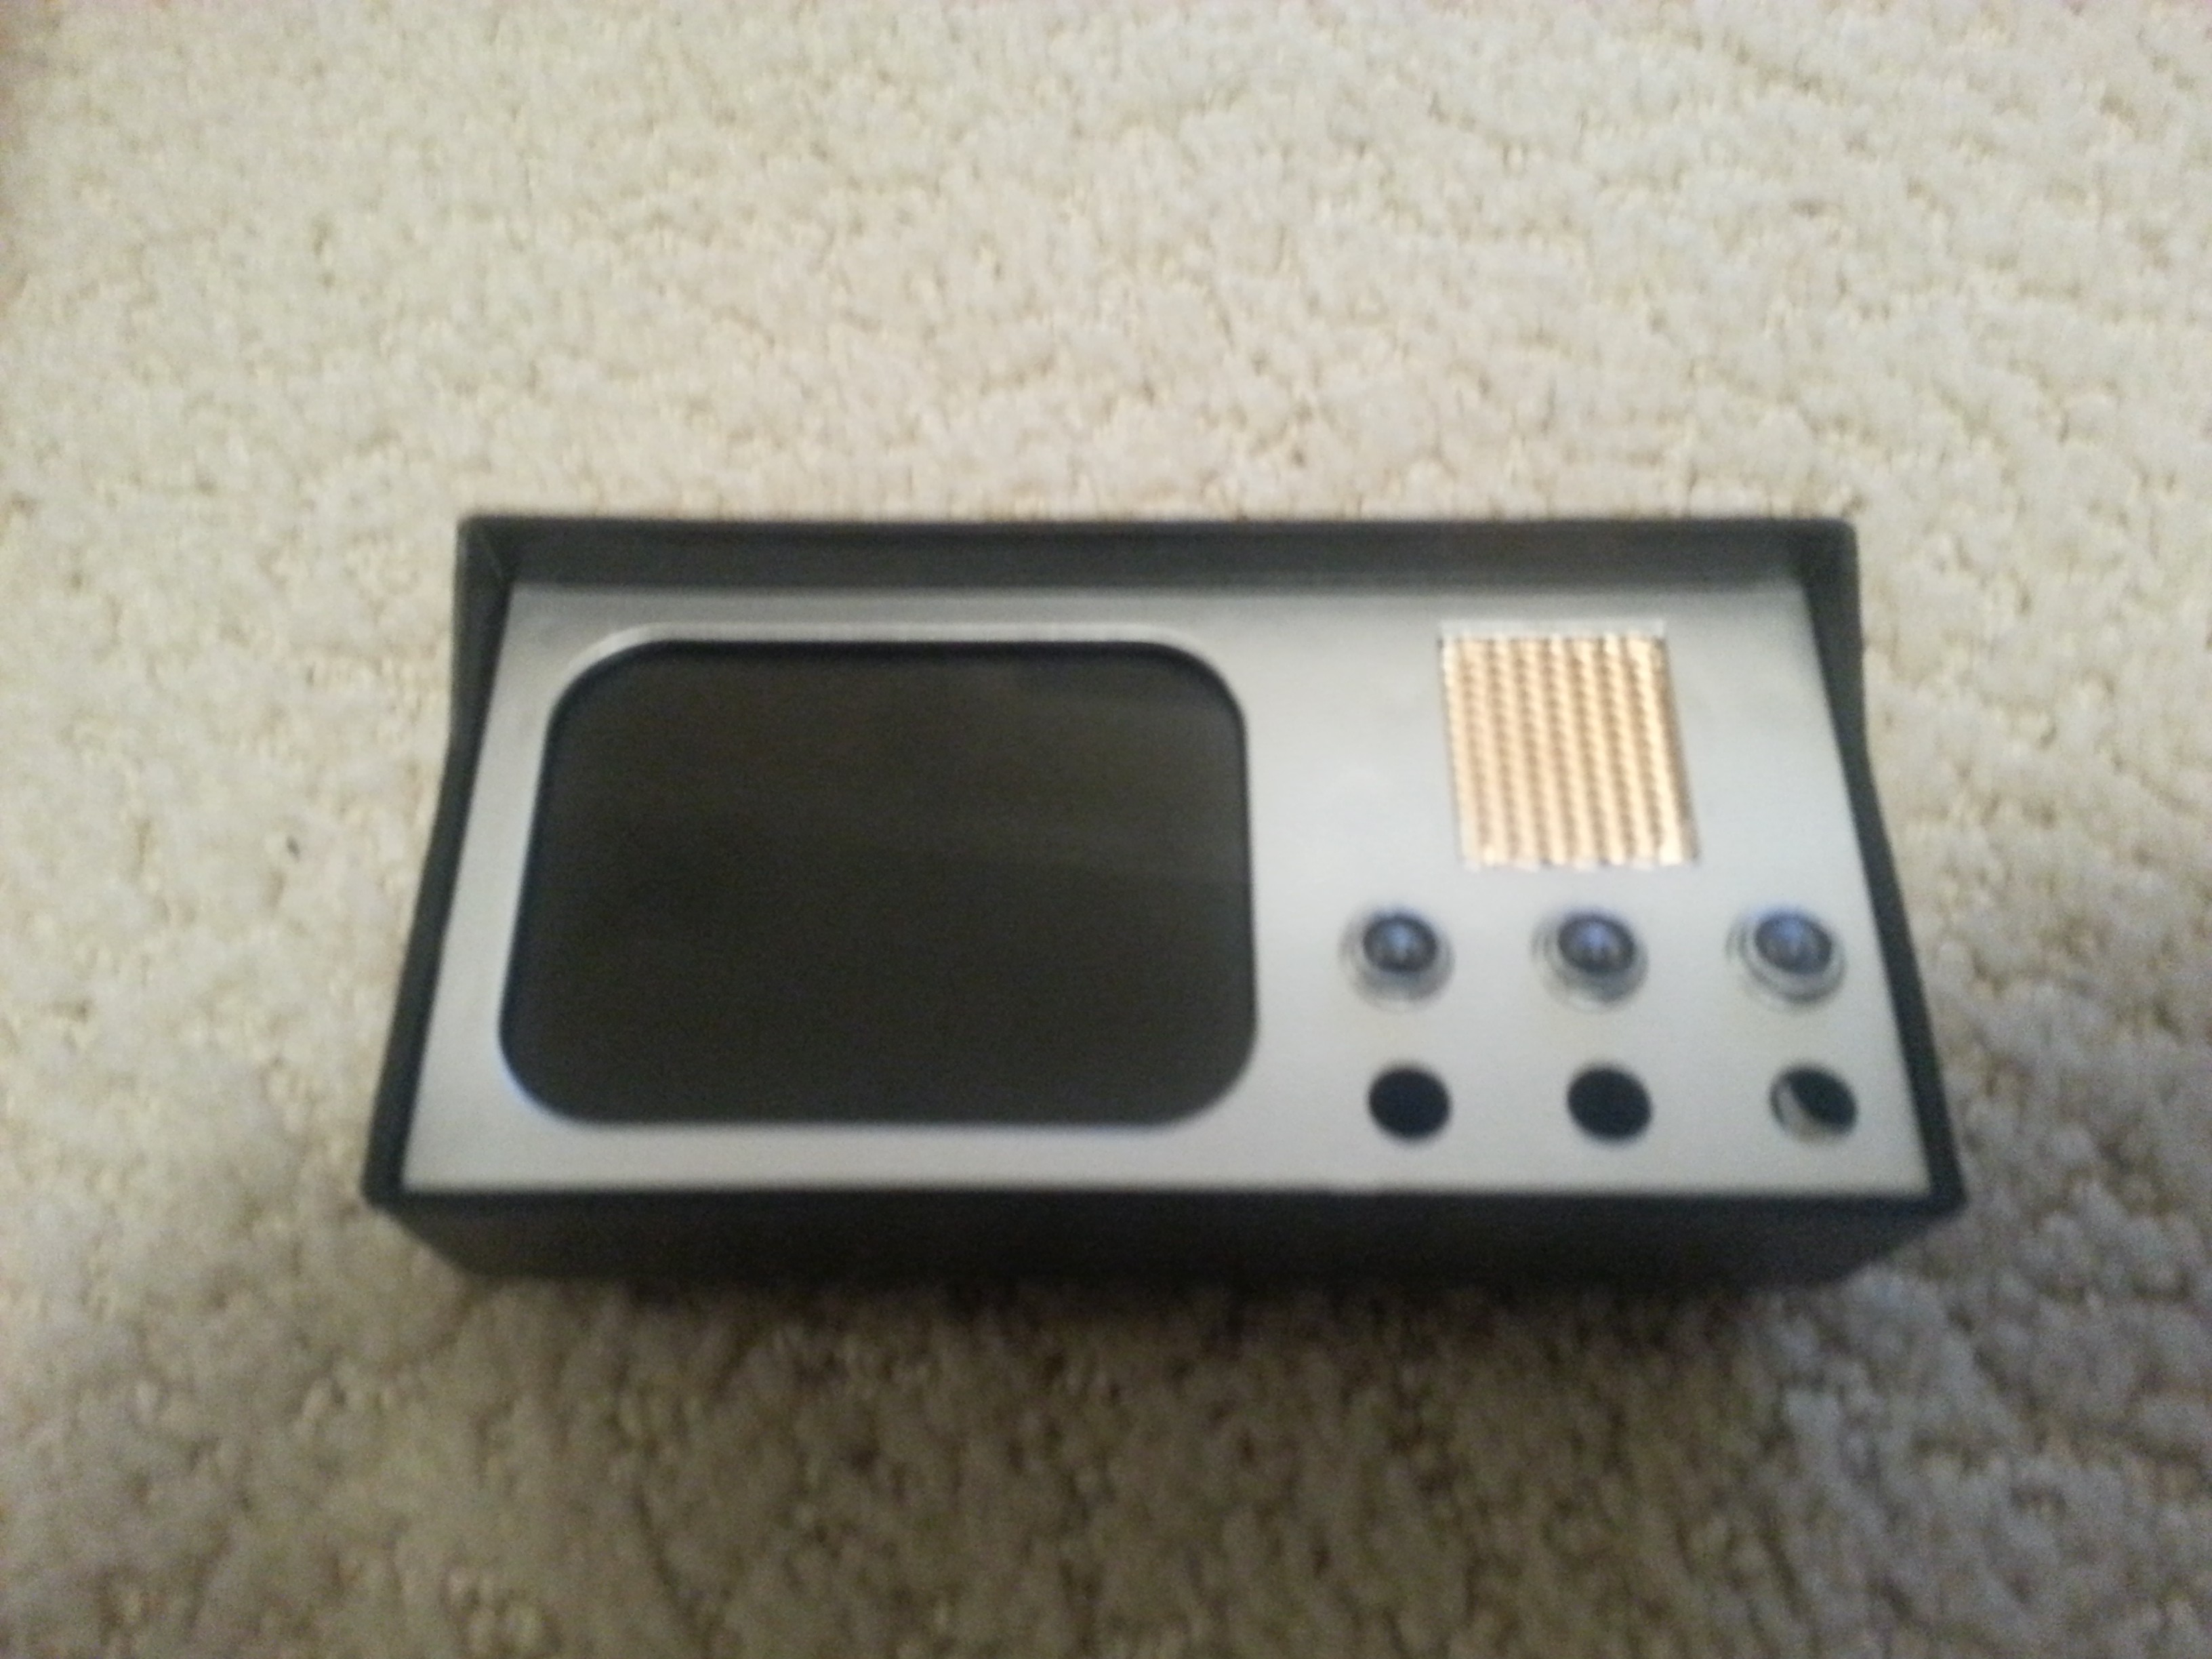
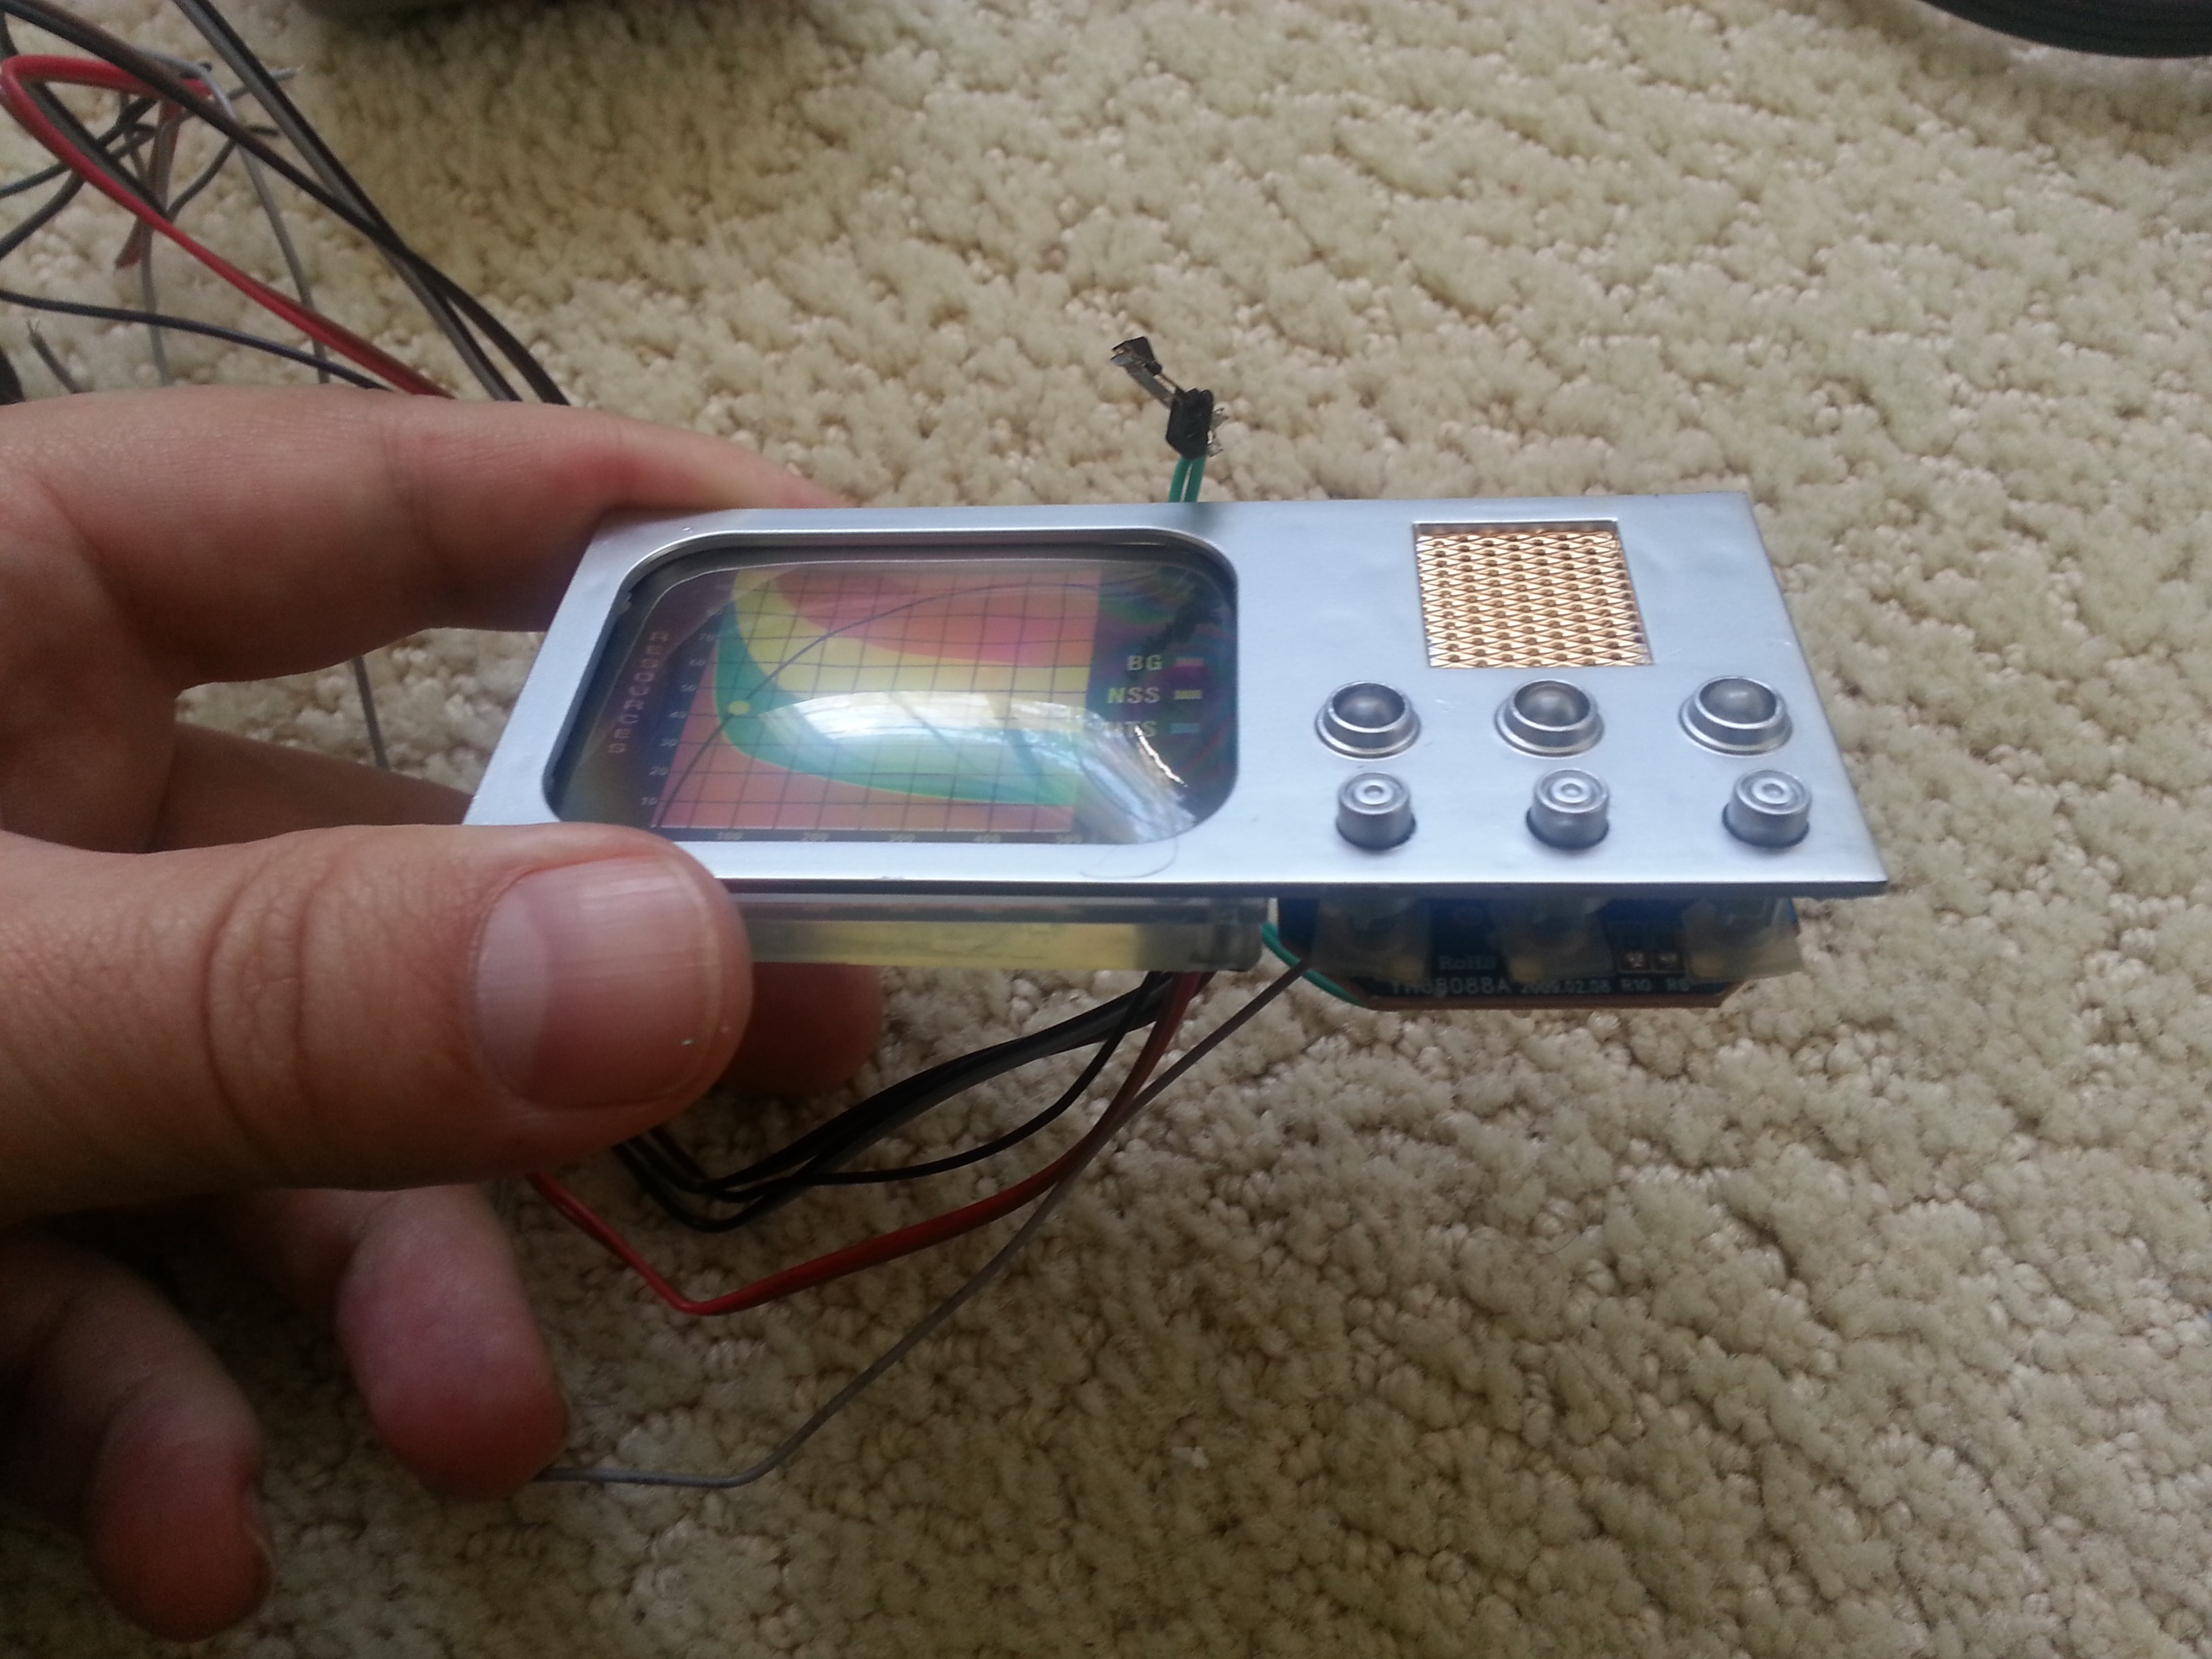
The head unit of the toy flips open; this activates the lights and enables the sound effect buttons.
![]()
The three buttons activate different preset light patterns and sound clips.
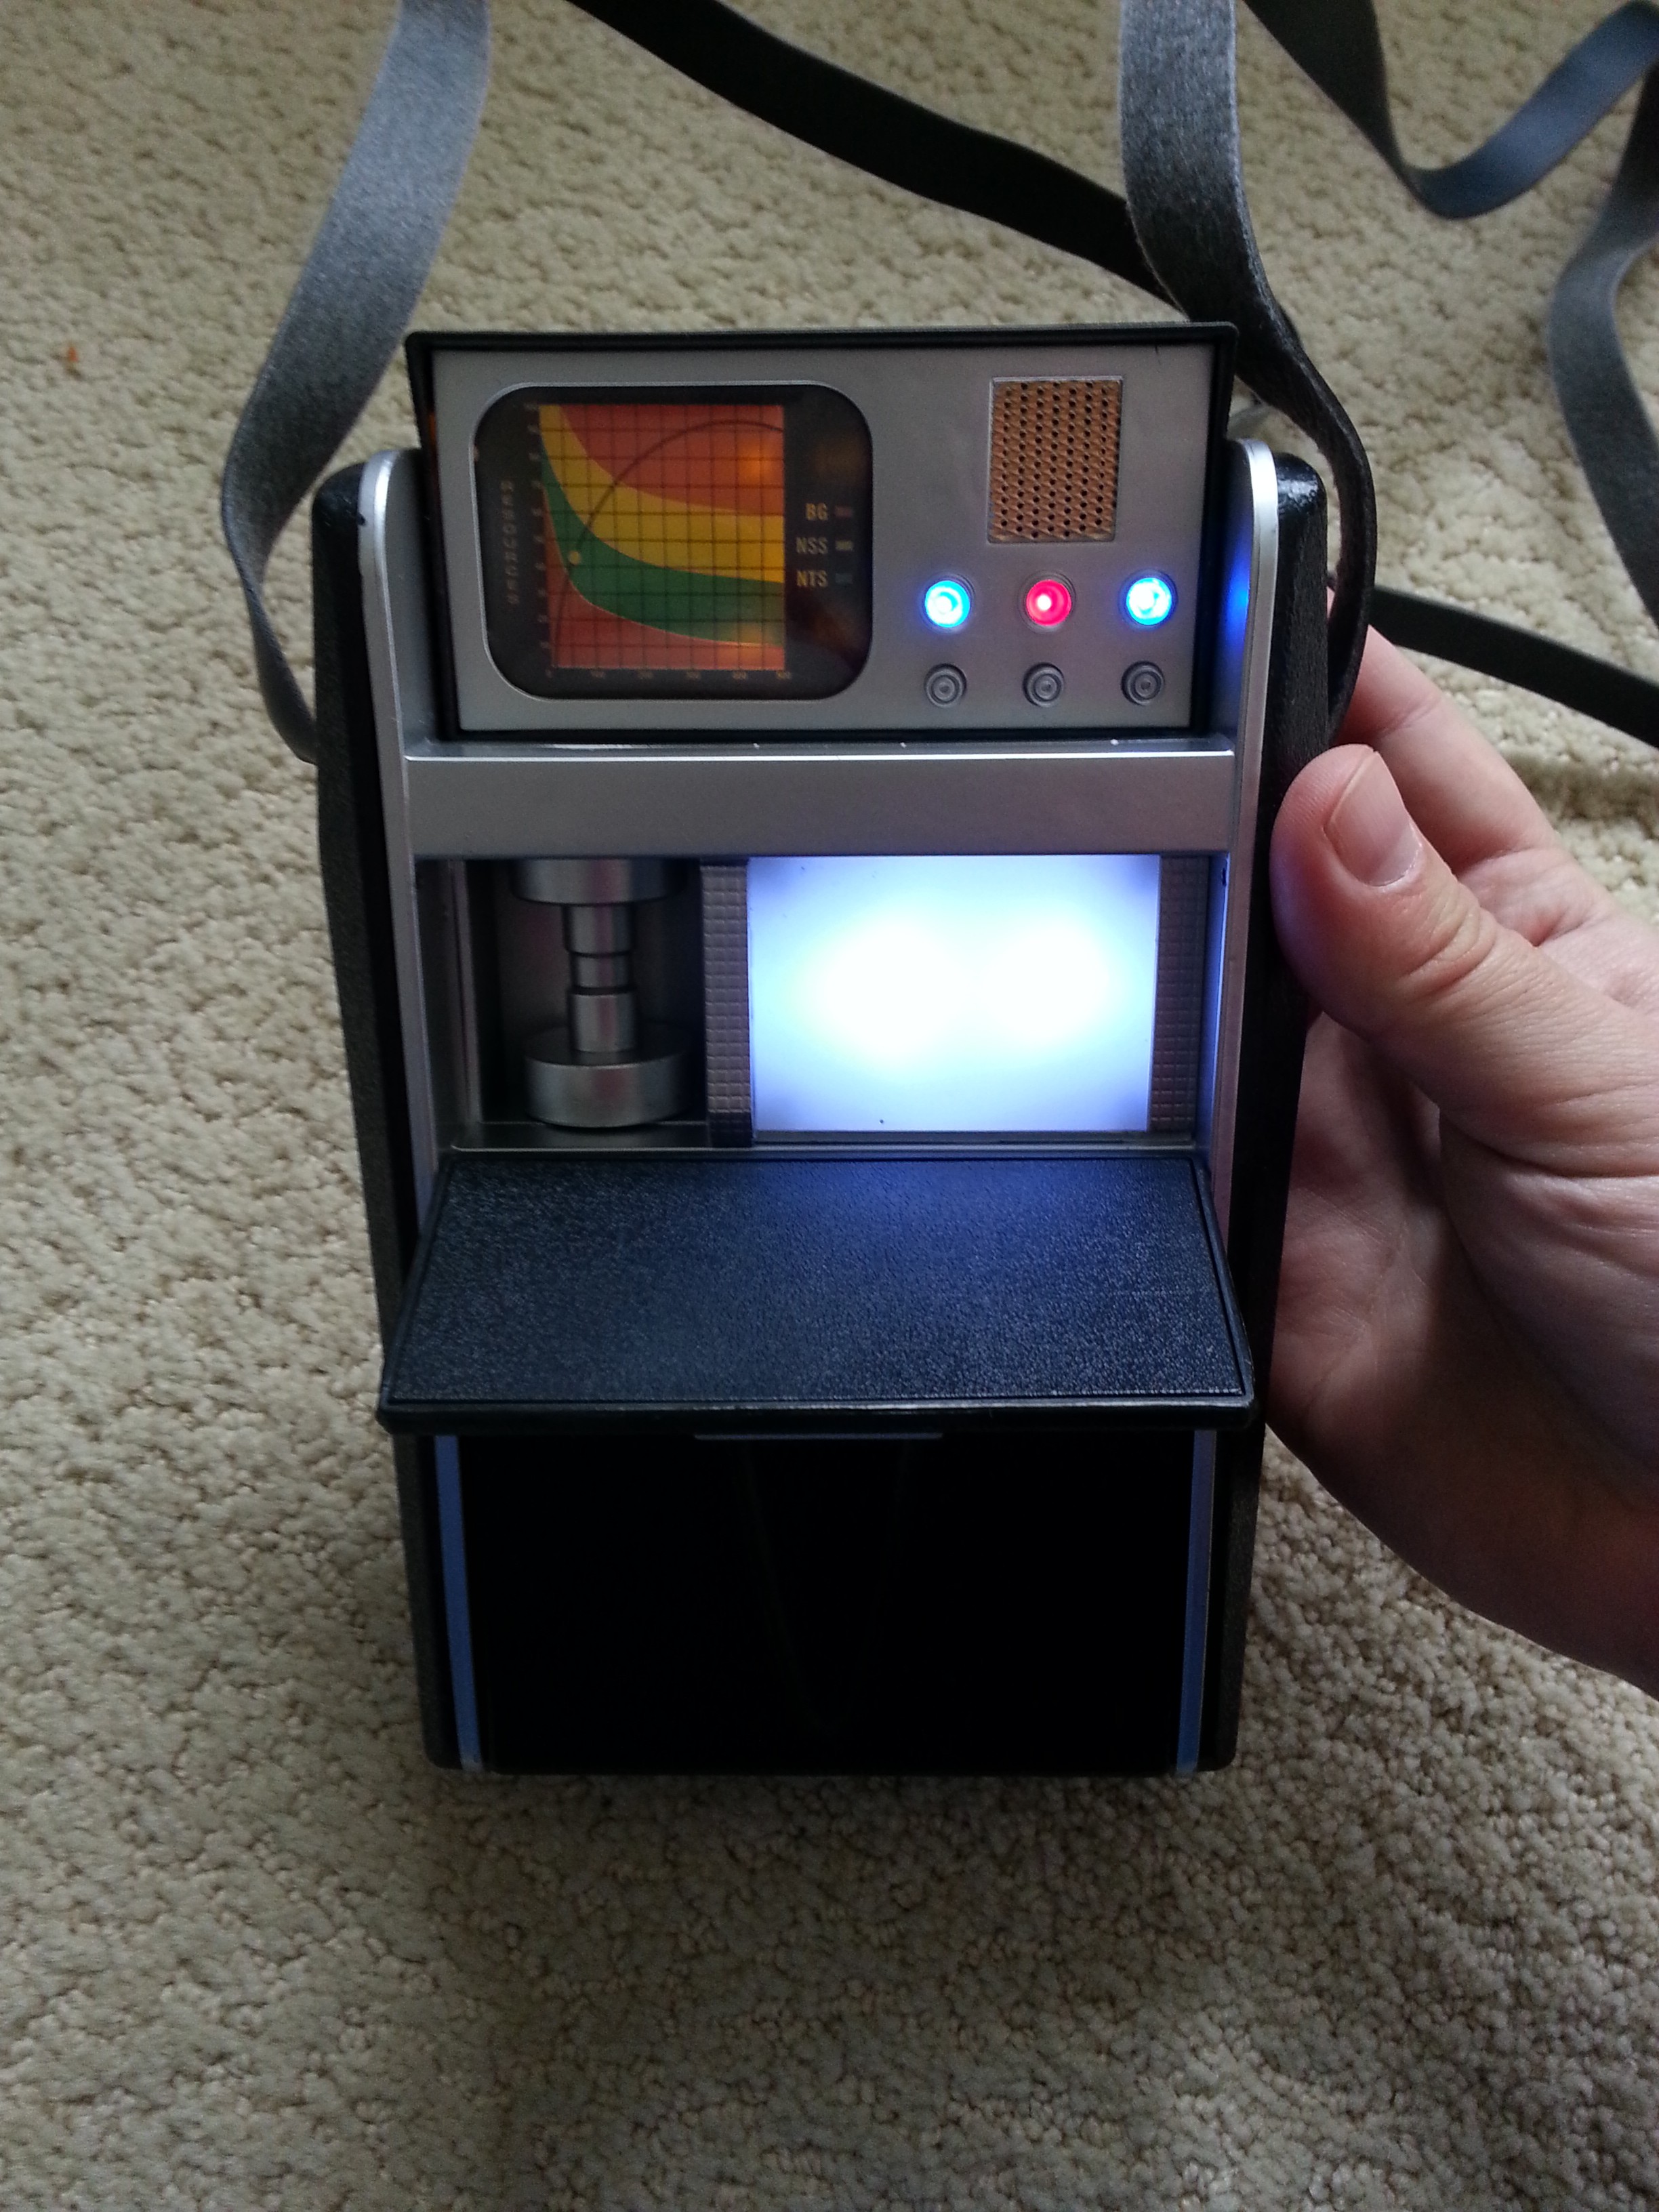
The doors on the front open to reveal inner components. The upper one reveals a "data tape" greeble on the left and a light panel on the right. In the episode this big light glowed when the tricoder was set to transmit a distress signal, a scene recreated in one of the toy's light and sound effect patterns.
![]()
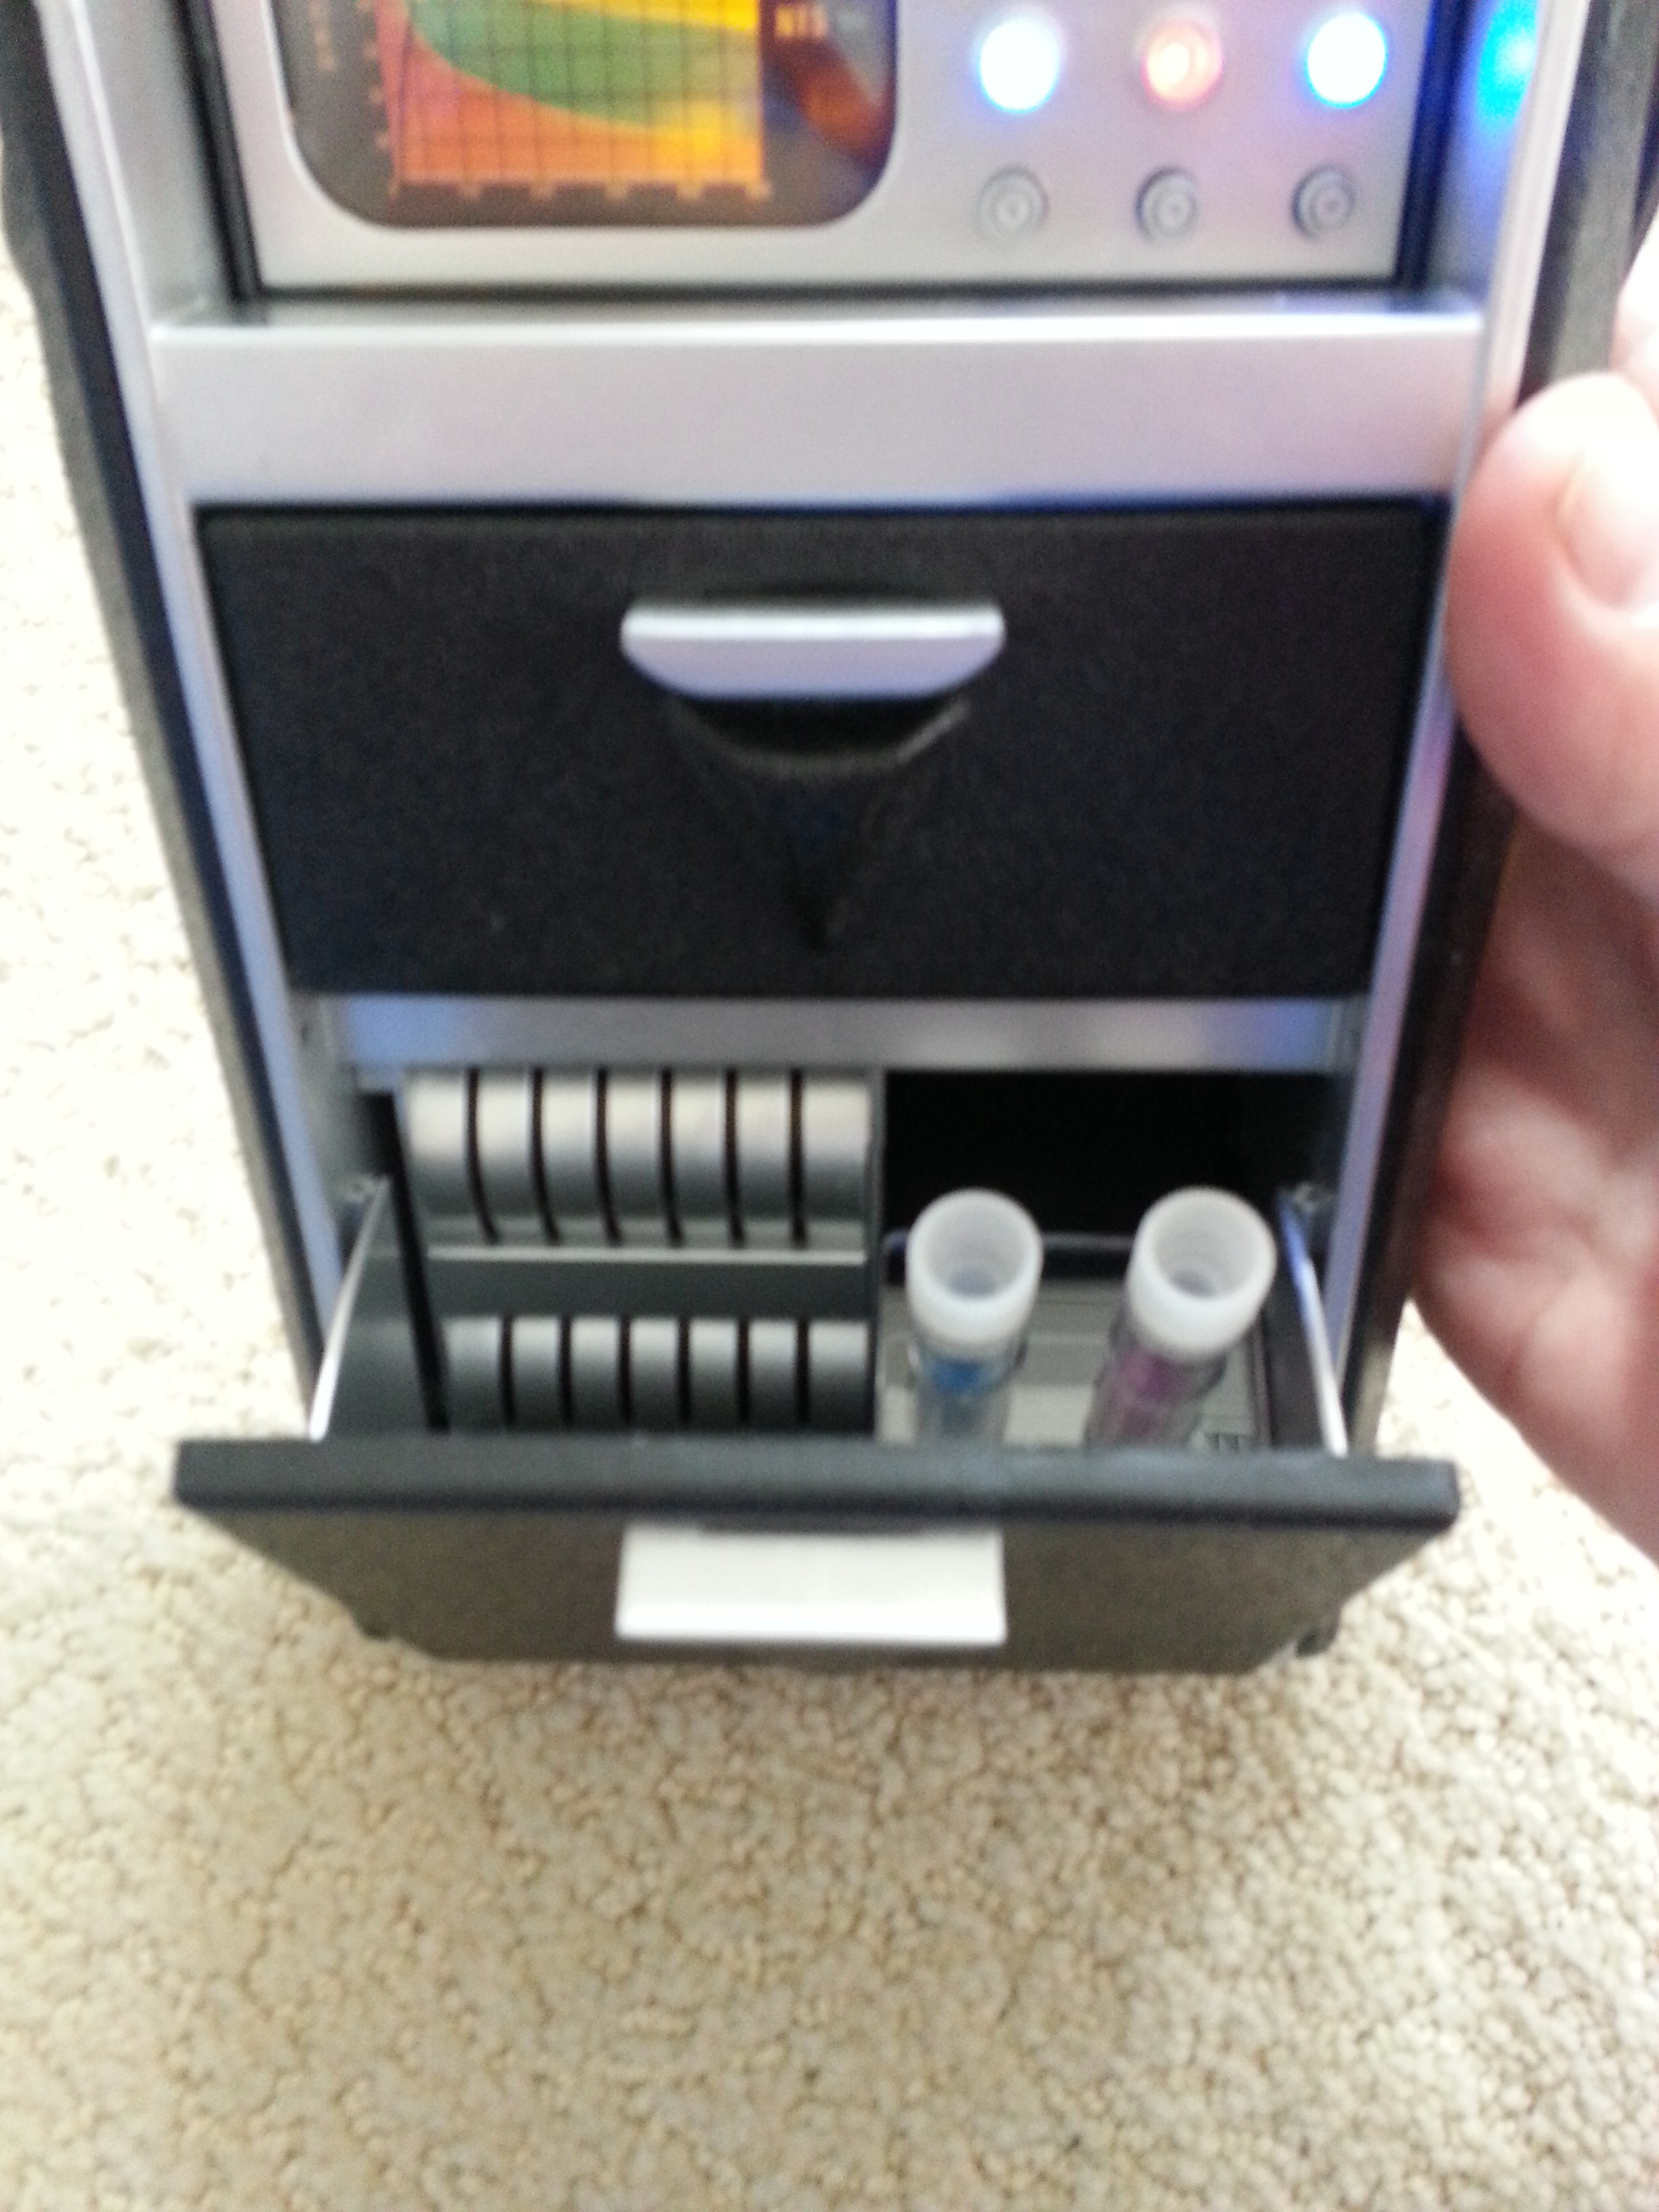
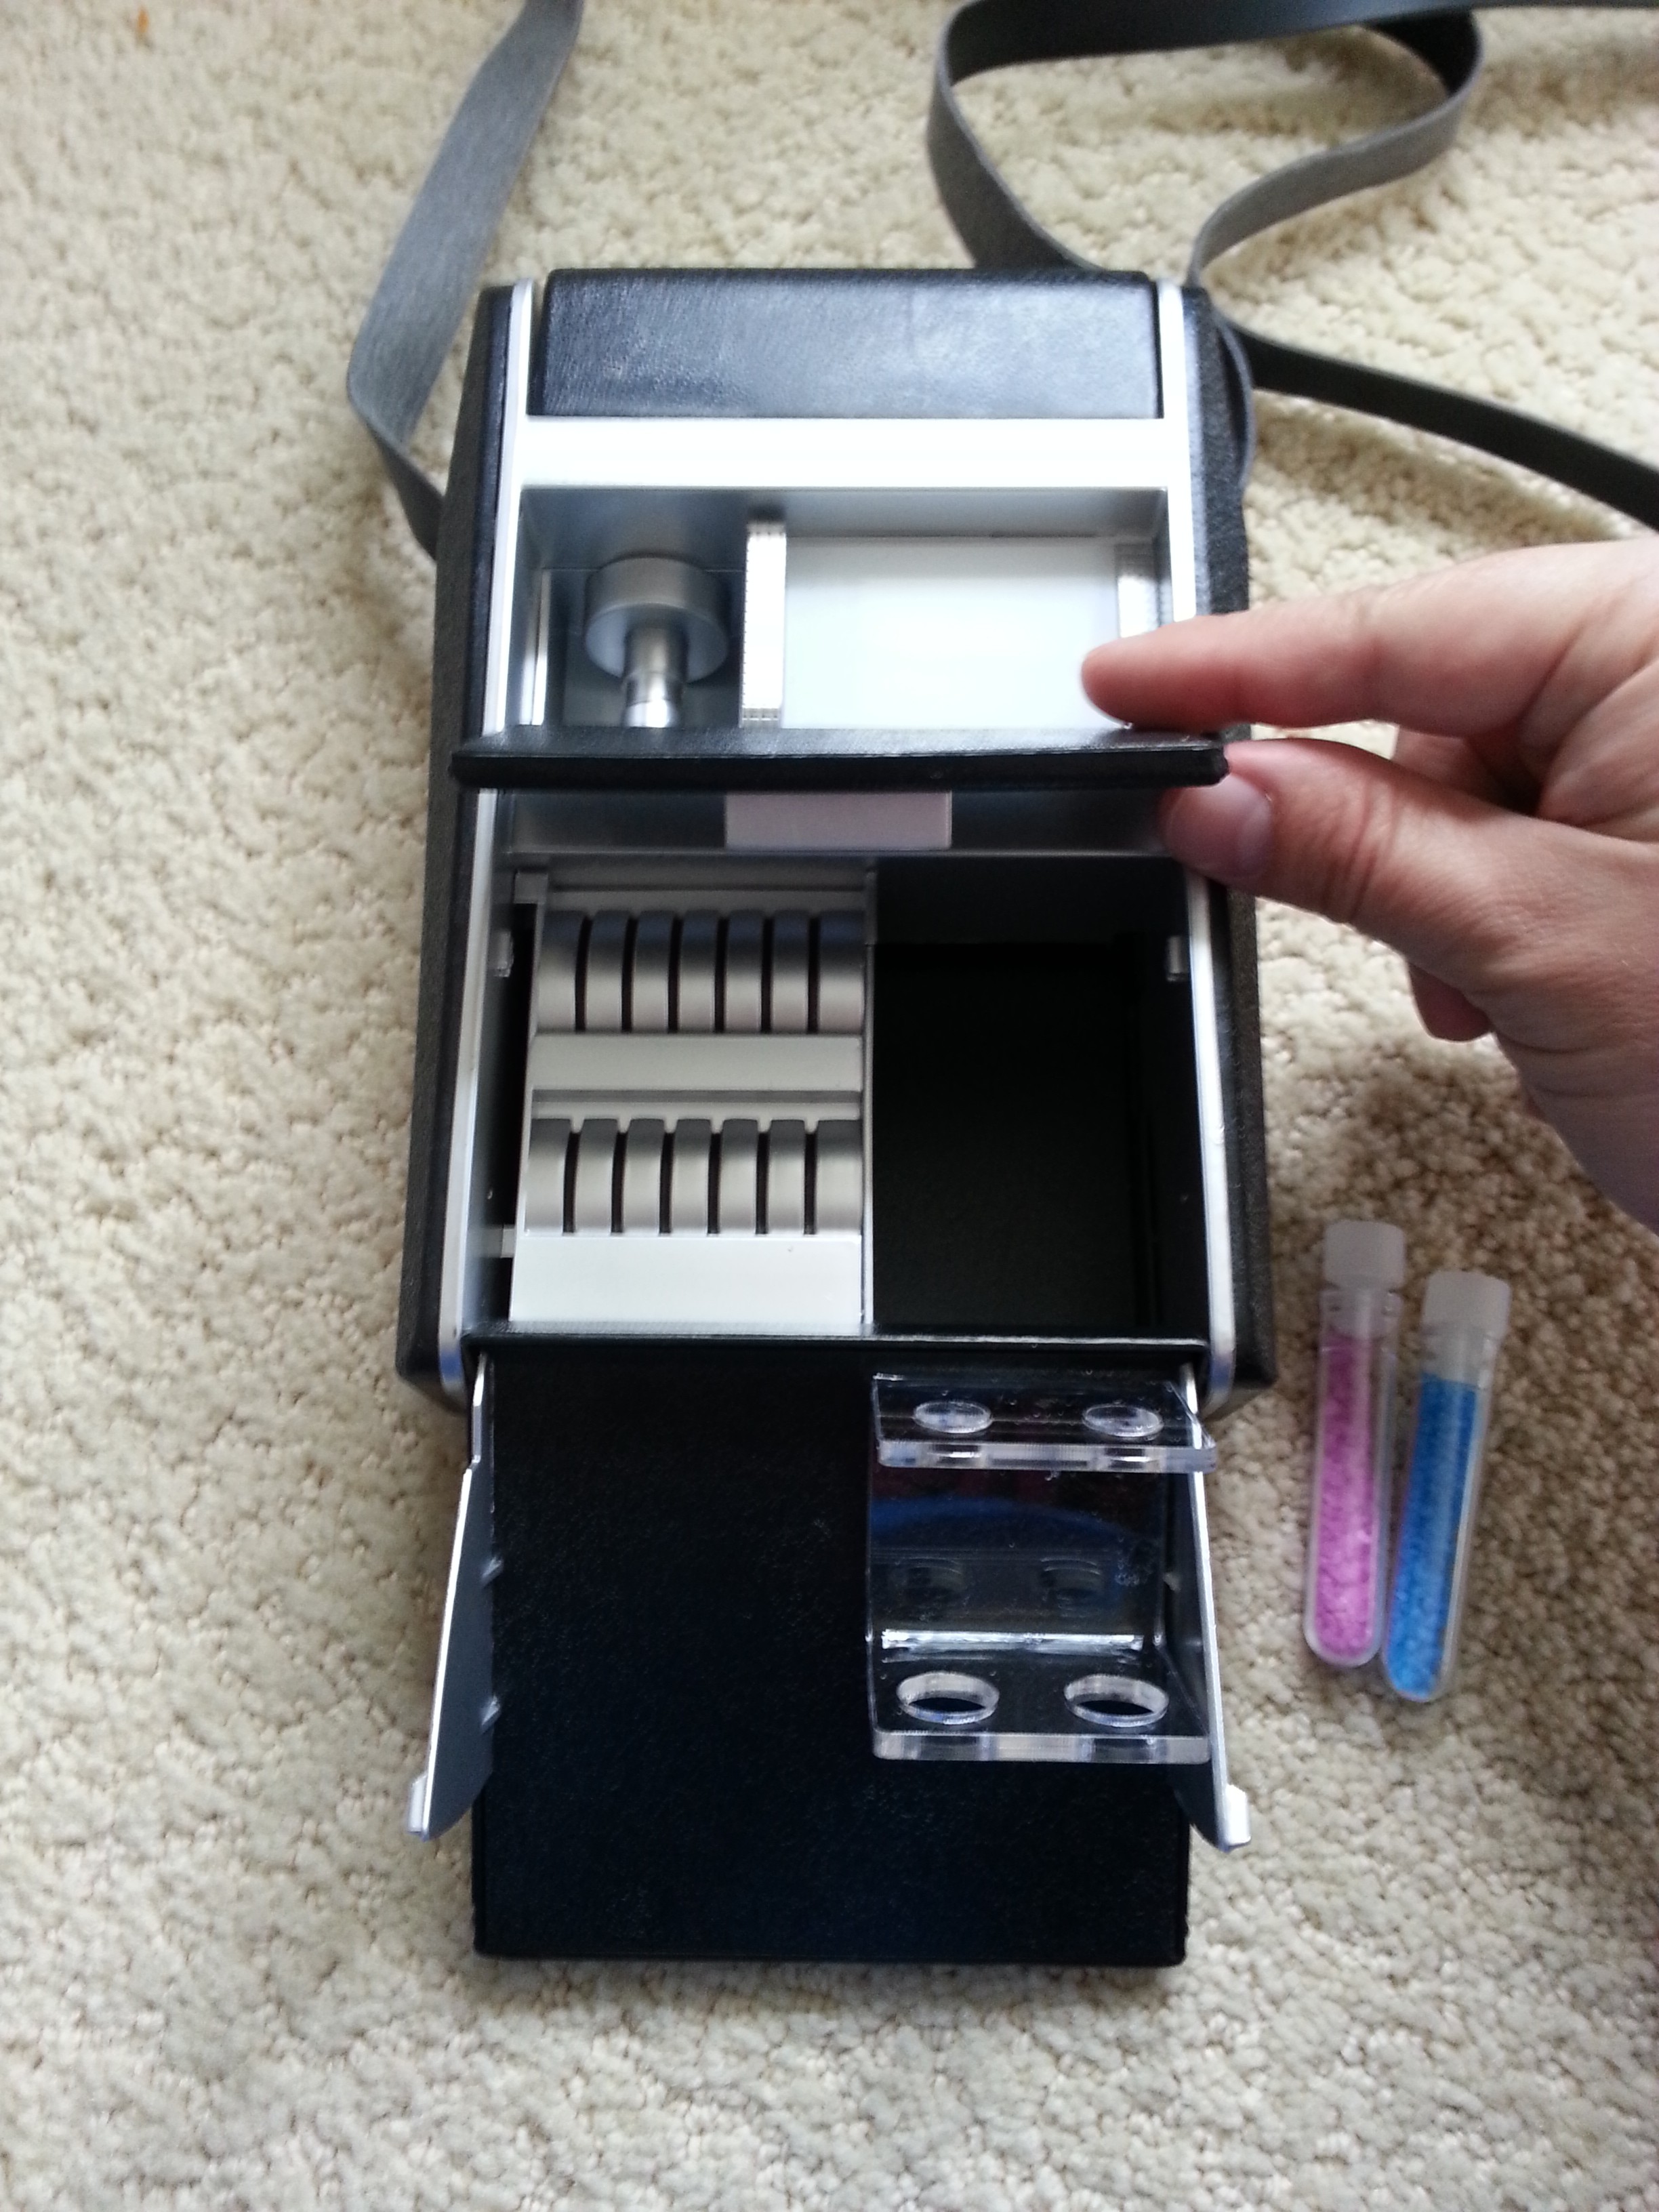
The lower door reveals more "data tapes" on the left (in reality, the battery pack resides behind this) and a rack on the right which holds two test tubes; on-screen, the geological tricorder could analyze samples inserted thusly.
![]()
A catch prevents the door from opening fully, but this is easily bypassable. All in all, it's already obvious that this will have plenty of room inside for what I want to do.
![]()
I have the RPi and some other stuff on order, but before that gets here I can at least start taking this baby apart. See you next update for the teardown!
Star Trek TOS Picorder
Turning a toy "Star Trek" Tricorder into the real thing with a Raspberry Pi
 After cutting out some of the plastic pins and supports from inside the head unit, the TFT and its controller board fit beautifully. Our tricorder has a screen!
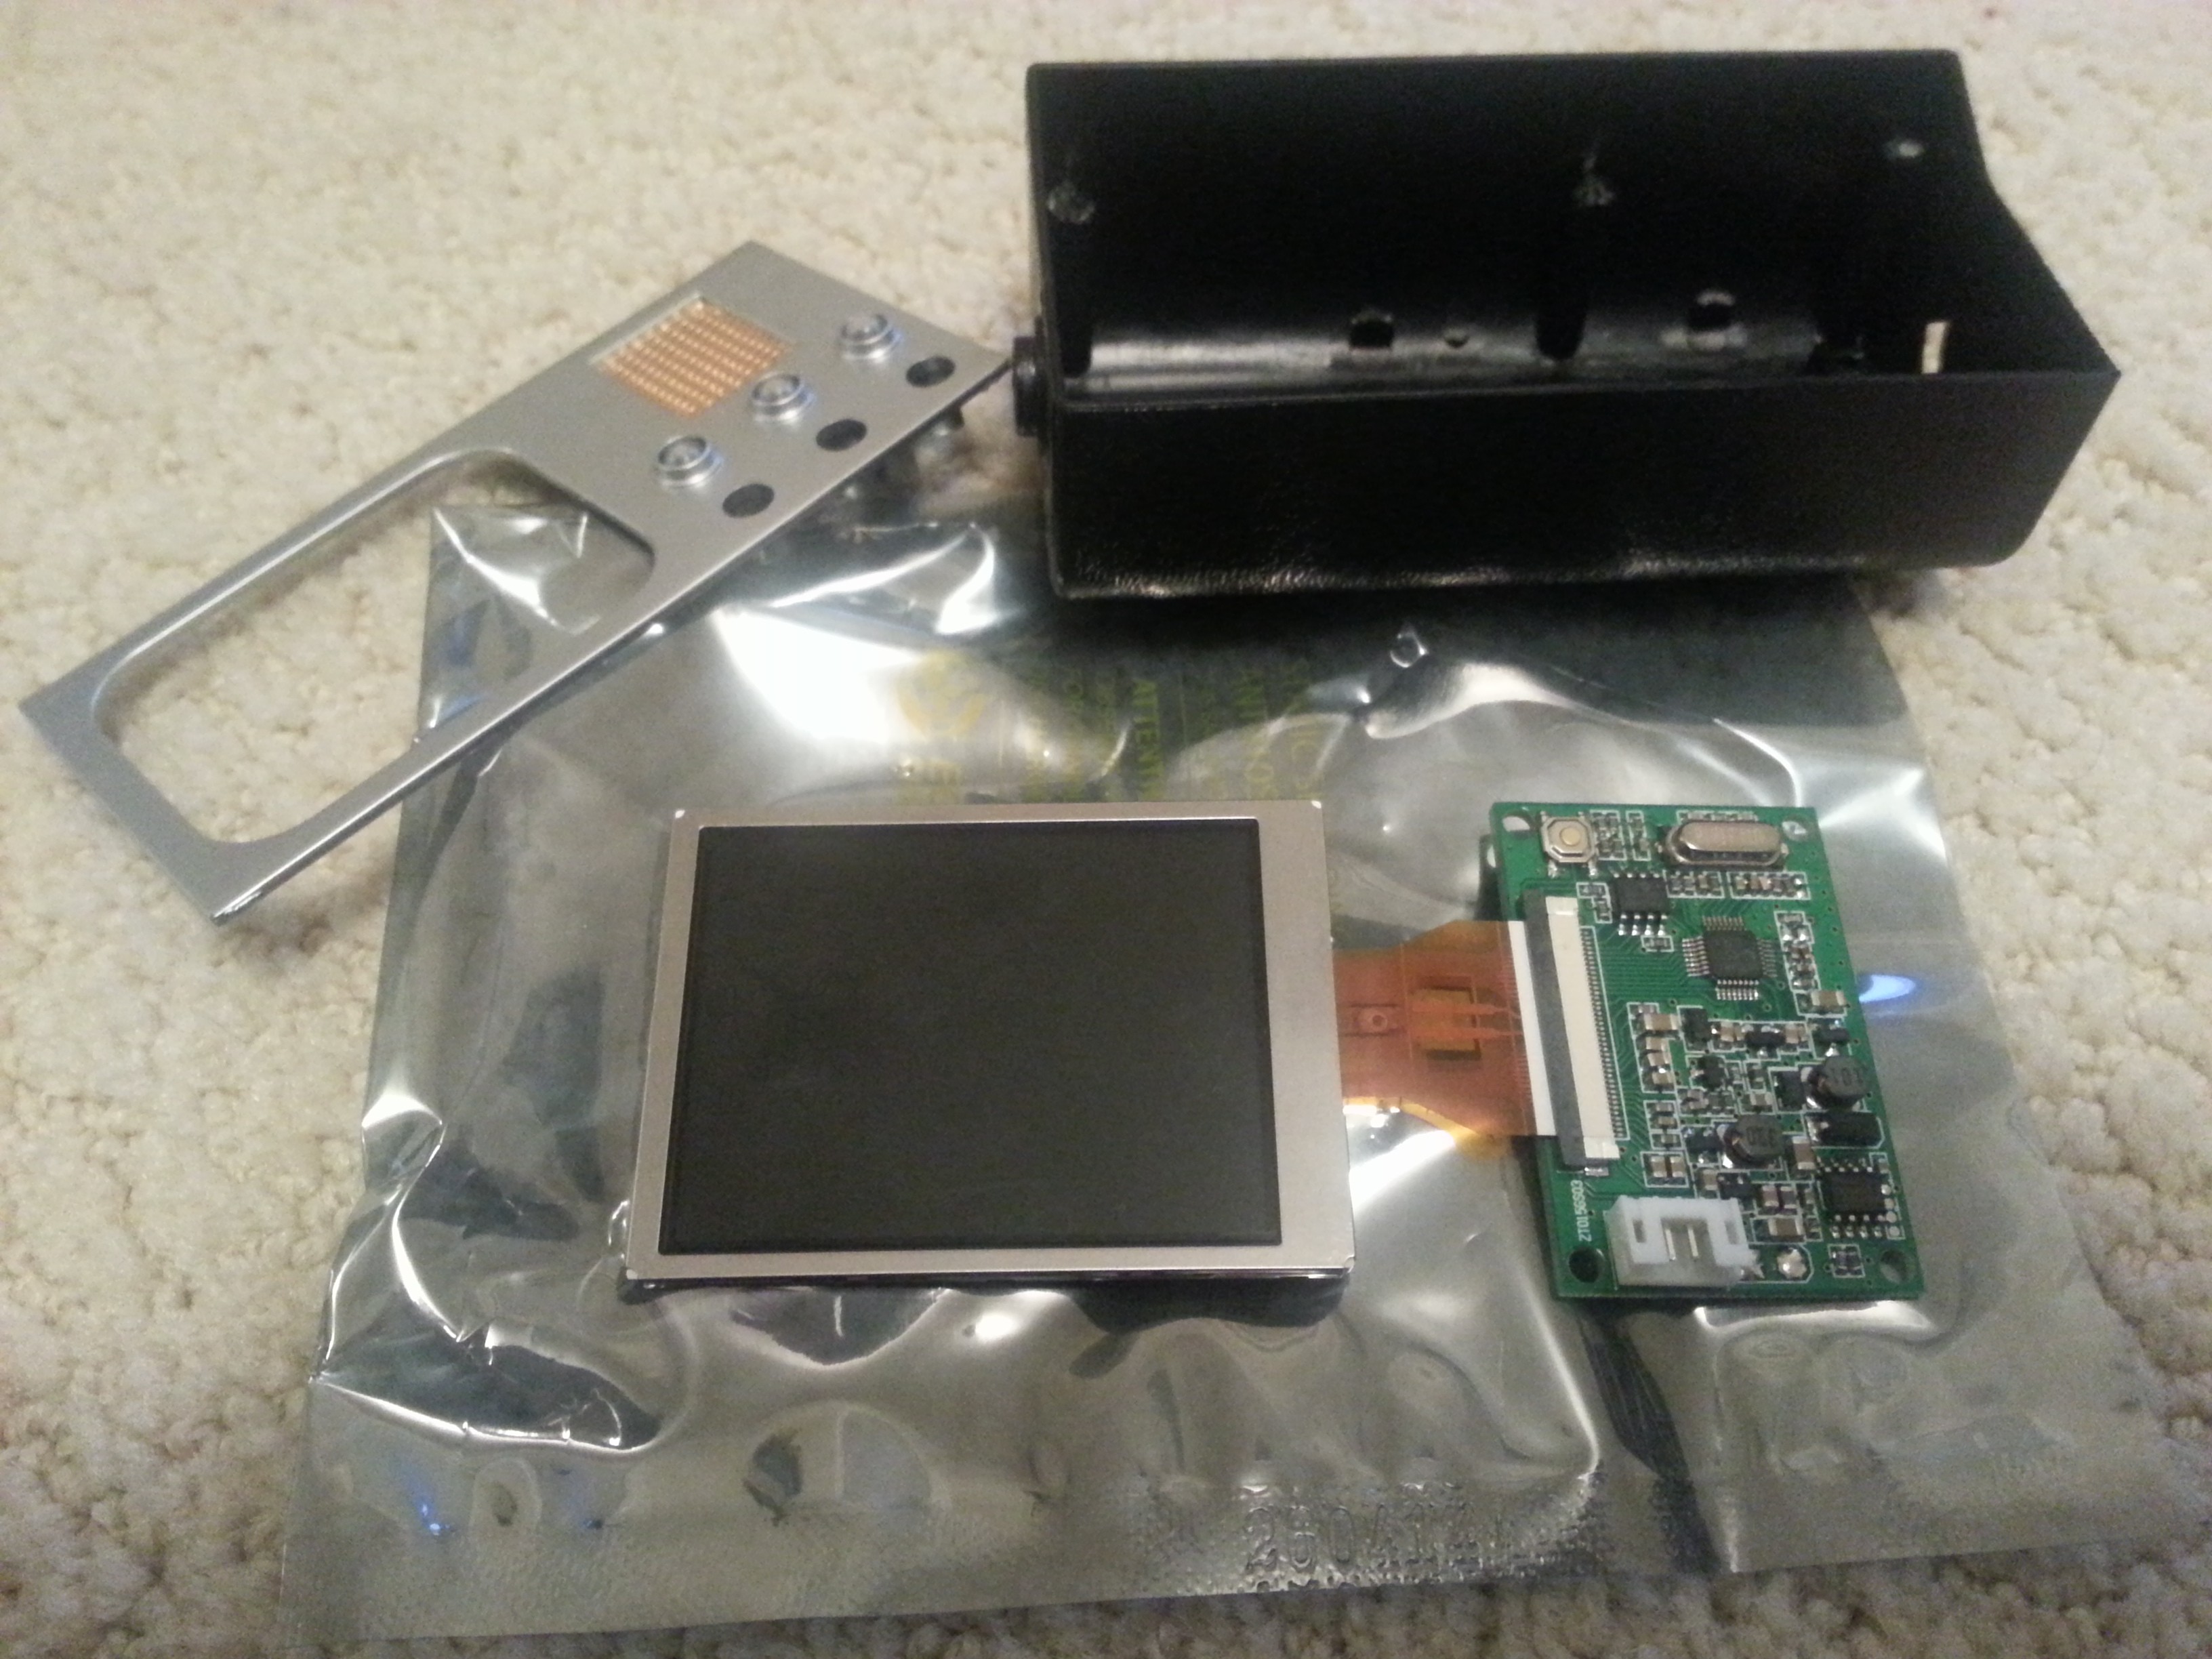
 Finally, with everything disassembled, here's what it all looks like.