NOTICE: THIS PIECE CAN BE USED FOR OTHER TYPES OF 3 BY 3 BY 3 CUBES!!!
I tried playing with the Rubik's Cube without the piece, but it just messed it up more. So I decided to 3d Print it. I went online and figured out the measurements, also measuring the broken piece. After figuring out the measurements, I went onto Solidworks, making a 1.905 by 1.905 by 1.905 centimeter cube. I added a rectangular prism and cut different areas to finish it off. But, I had messed up. I measured the part that hangs on the Rubik's cube, wrongly. I printed it, which only took 22 minutes, then found my mistake. The part would fit in the Rubik's Cube without taking the pieces off. So I started a new project, starting with a 1.905 by 1.905 by 1.905 centimeter cube. I then measured each side of the Flange or Connector. It was 1 by 1 by 1 centimeter cube cut off at certain corners. I felt confident with the 2nd design and printed it. After it finished printing, I took off the support piece. But, the Flange Or Connector was bigger than I thought it would be. I then went back on the the project to investigate. The 1.905 by 1.905 by 1.905 centimeter cube was the same size as the first design, but I made the Flange Or Connector piece to big. During the process, I had mistakenly measured one side in inches. I then started to have trouble. I failed twice 3d printing. One time it was to small and one was to big. I started to lose confidence. The Deadline was gaining speed towards me. So I went onto Tinkercad, an online CAD design website. (https://www.tinkercad.com/). I made a 1.905 by 1.905 by 1.905 centimeter cube, and a 1 by 1 by 1 centimeter cube at one of the edges. I then made 3 Wedges called a hole. I positioned each wedge at the top of the cube, and two on opposite sides. It took me about 30 minutes to perfect the shape. I put it in Cura, and Boom. It was Great. And It fit perfectly in the Rubik's Cube! I finished the Repair!!!
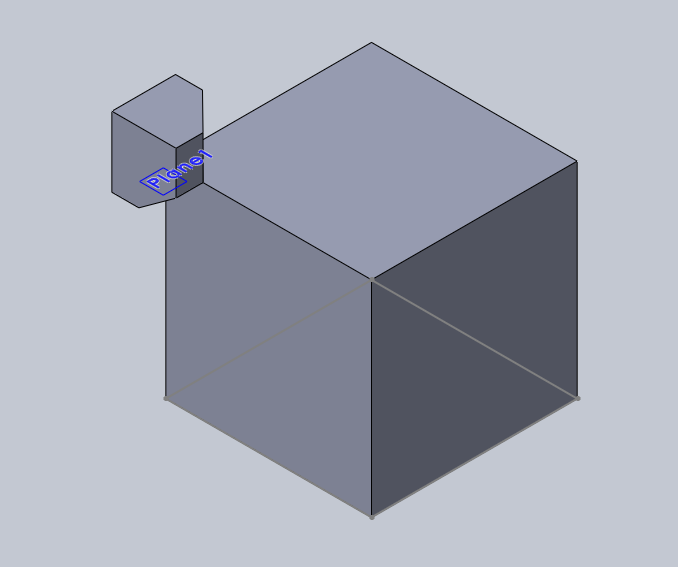
This is the flawed design, the first design.
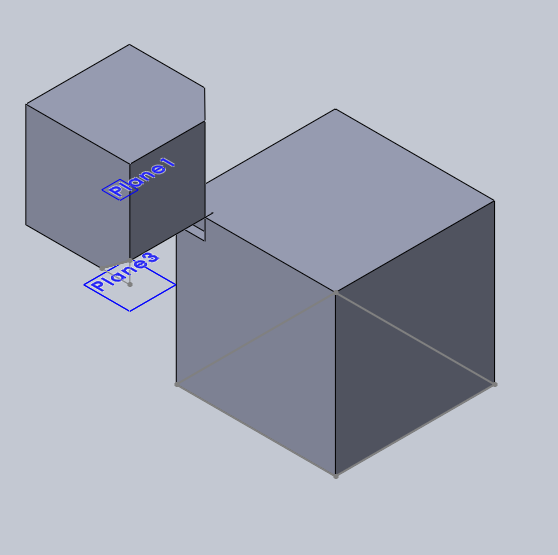
This is the a design in process.

This is the flawed Rubik's Cube Corner.
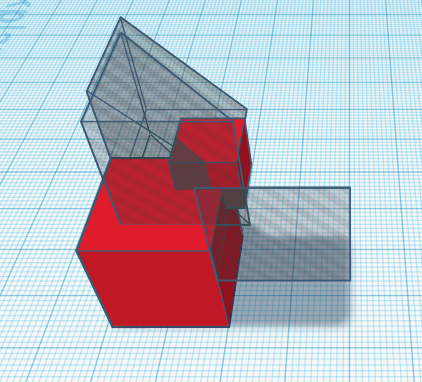
This is what it looked like before the third 3d print.
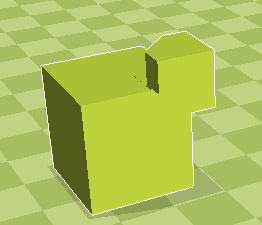
This is what the final and flawless design looked like in Cura!!!
Feel free to leave questions or comments on the project!!!
 Ian Hunn

The replacement cube looks a little on the big side. I don't think you accounted for the thickness of the labels. A couple of enhancements you could make to the model would be to round the edges, and engraving letters (or words) in the sides to indicate the colours of the sides of the replacement corner piece.