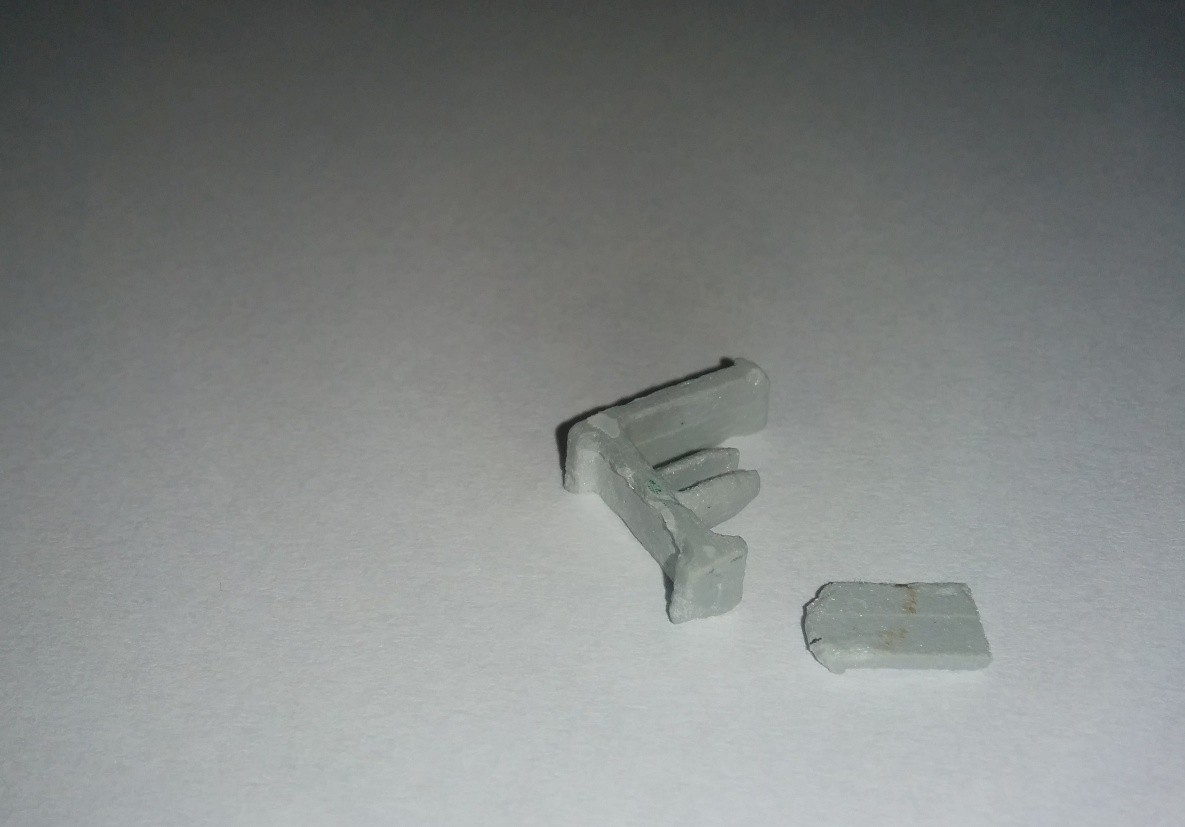
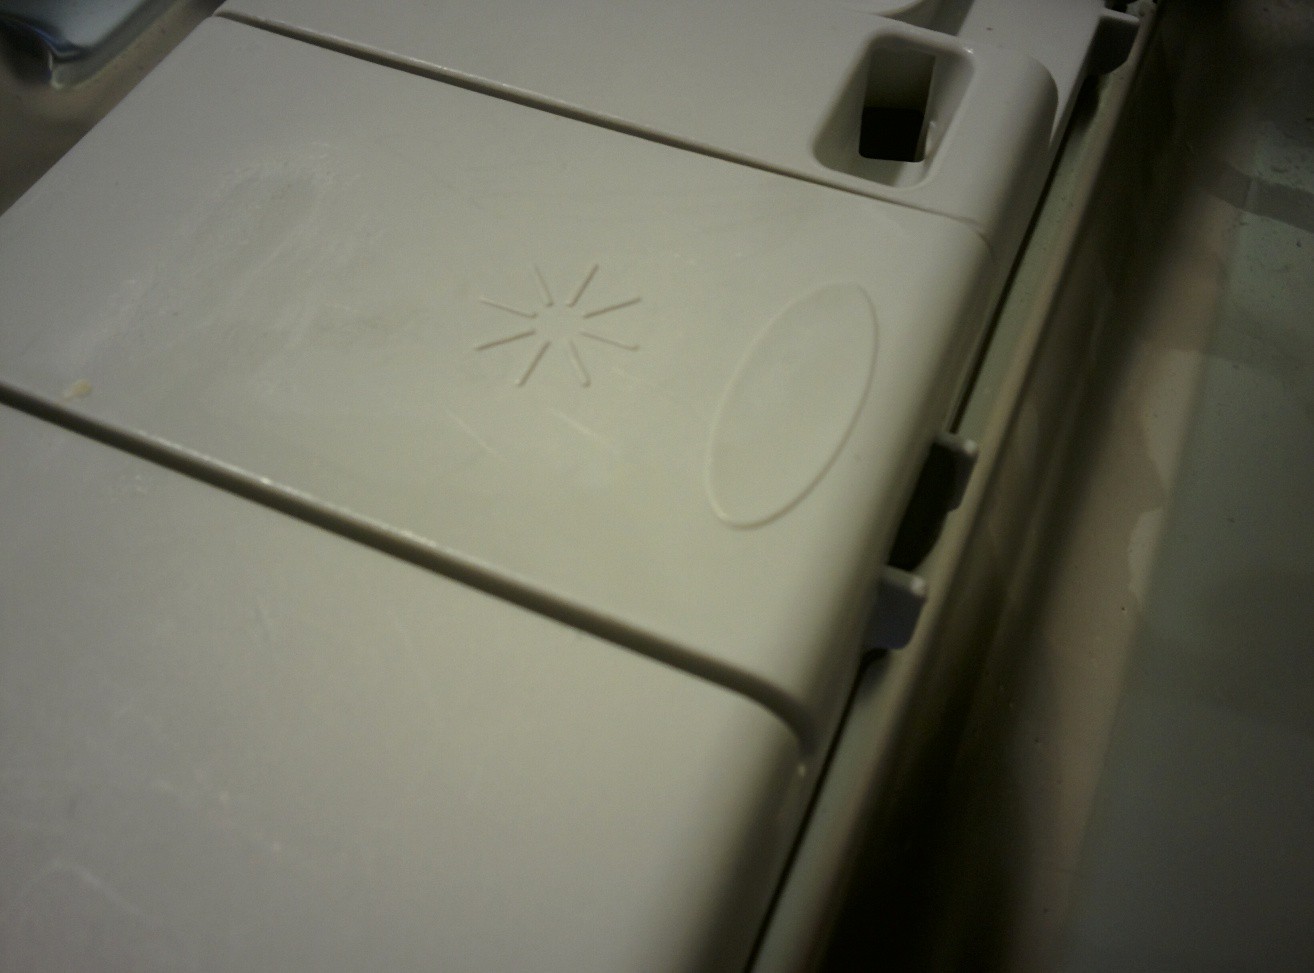
Let me start by showing what needs to be replaced:
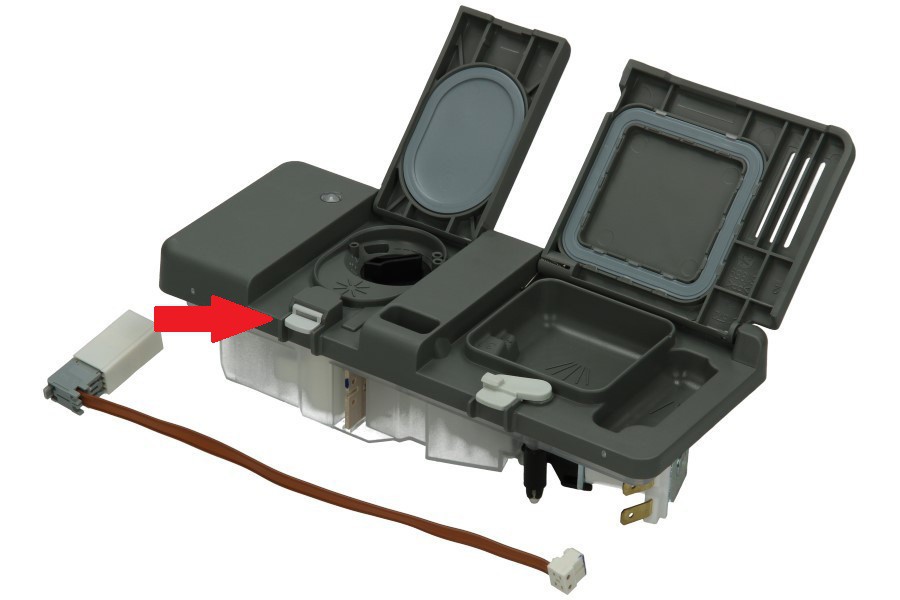
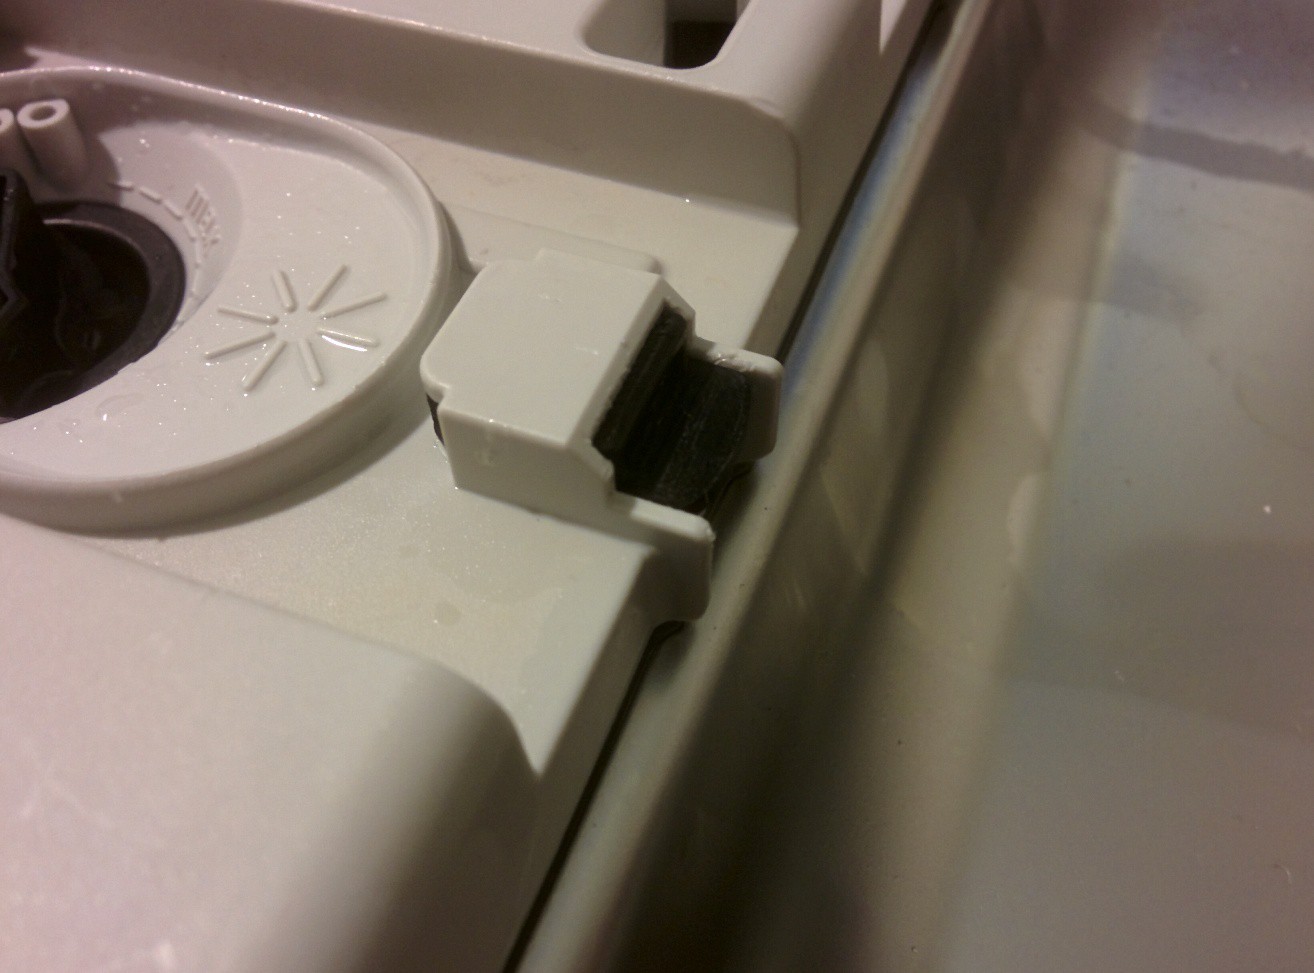
Hmm that doesn't look like much... Well let me show you the part in the dispenser unit, indicated by the red arrow:
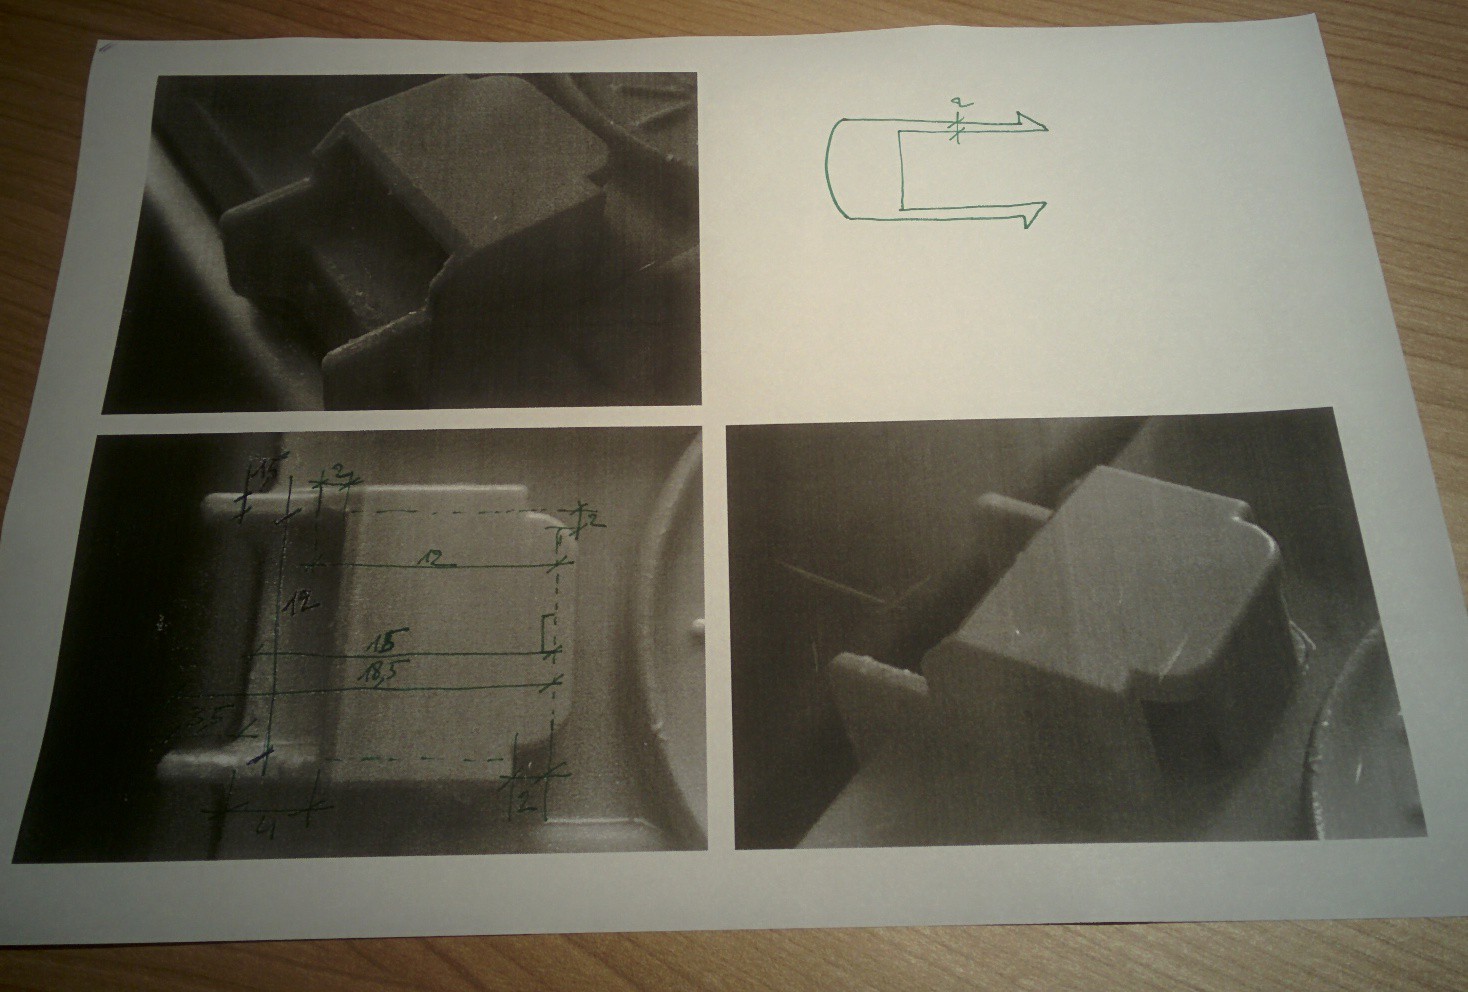
I started by making a few close-up photo's and annotating them with measurements:
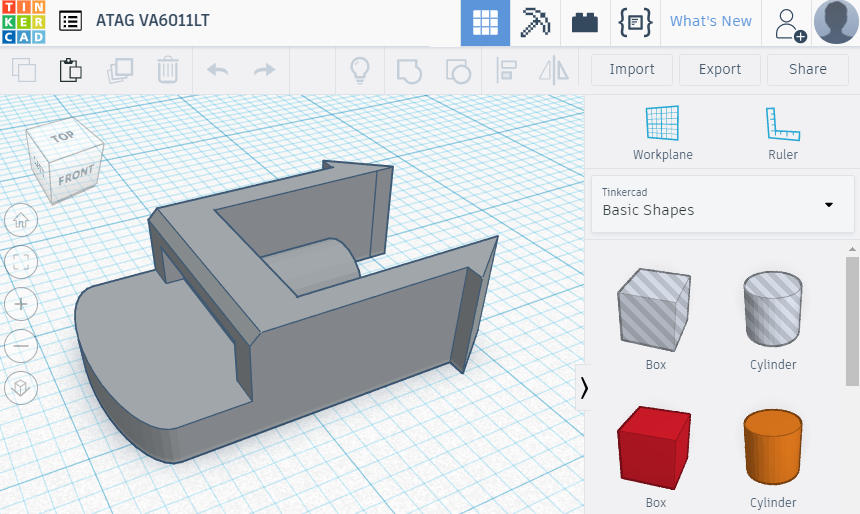
Because I never 3D printed anything before and because it is a very simple design, I decided to model the item in Tinkercad. I followed their tutorial and shortly after I was fully prepared to make my first model.
Modelling went very smooth. For me the difficulty lied within the fact that I lacked experience with 3D printers and didn't knew how strong or how flexible the end result would be. Also I didn't knew how well the printer could handle this small item. Therefor I made decisions as making the latching legs a bit thicker or didn't bother to create a slit in the spring holder.
There is no 3D printer in my house (yet) so I turned to 3D Hubs to find a local maker in my neighbourhood.
I was lucky because that fellow maker responded within 20 minutes. And less than an hour after I uploaded my model to 3D Hubs, I could pick up my custom made replacement part.
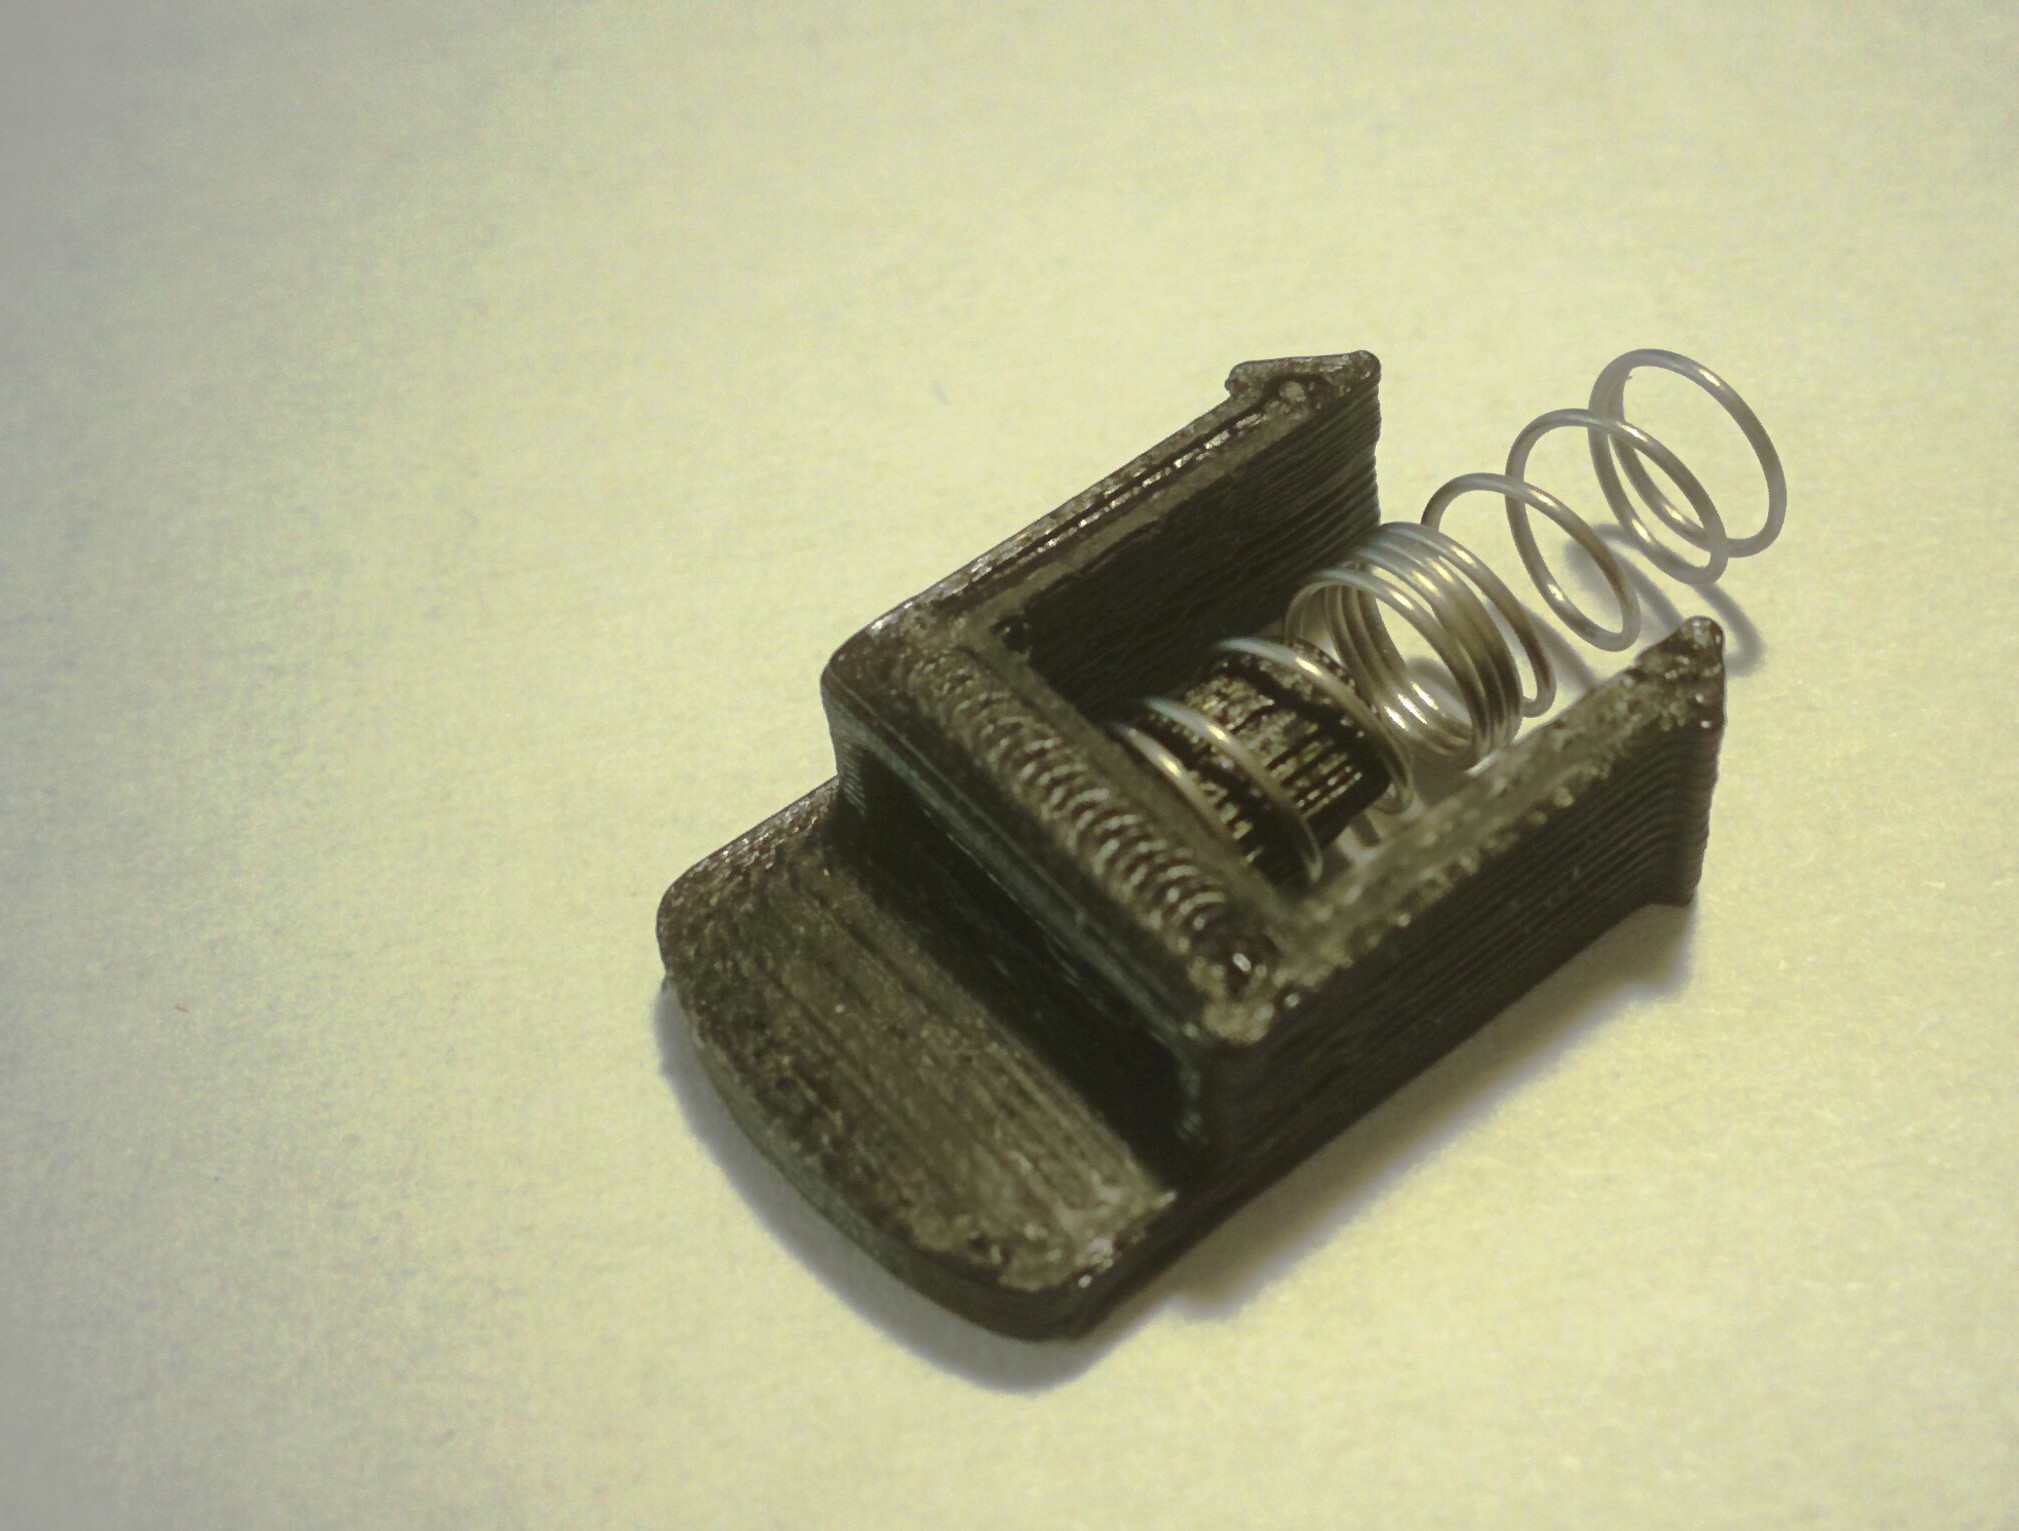
I ordered it threefold as I figured that I maybe had to sand it a bit if I made it too tight or if I broke one of the legs...
Little did I know that it was a perfect fit!
And even better, it kept the lid closed again!
I'm writing this six months after the repair. The item still holds the lid firmly closed!
The legs did bend up a little due to the hot temperature in the dishwasher but it doesn't impede its function.
I couldn't be happier, this was fun to do. The whole project was done in one afternoon (also thanks to the fast 3D printing service I got). And it costed me €2,15 for three items (I have two spare ones now) instead of €71,94 for the replacement unit.
My first 3D Print was a Repair!
Also thanks to Hackaday from where I knew tools as Tinkercad and services as 3D Hubs.

 Brieuc du Maugouër
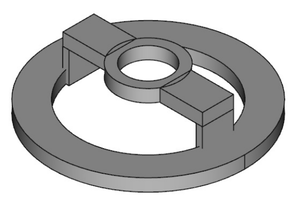
 Liam_Thompson
 Michal Wojciechowski
Many Thanks....i could also repair my diswasher