 Johnny
-
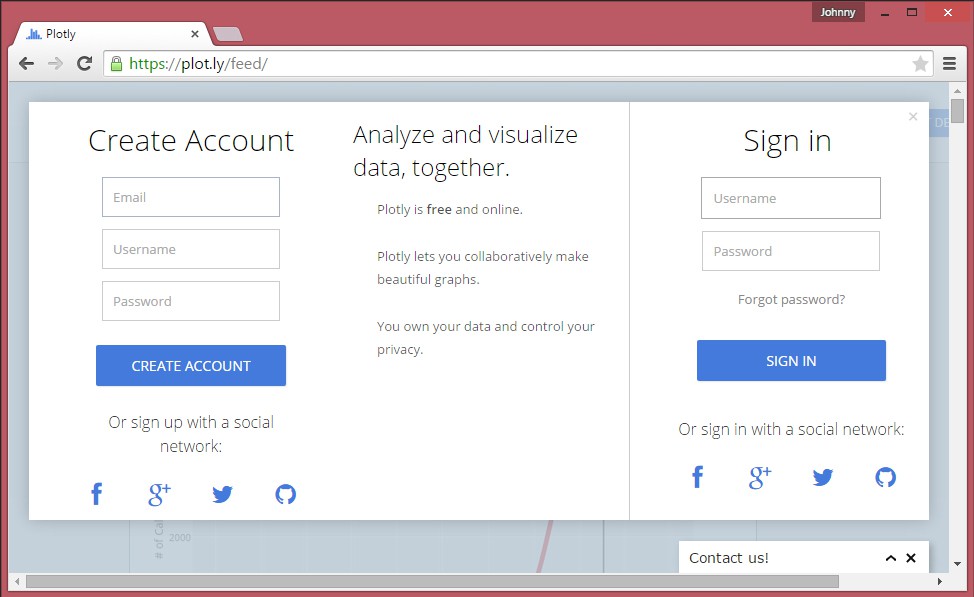
1Step 1
Visit the Plotly website and sign up. After that, go to your settings page, and generate a streaming token. Now write down your Username, API Key, and Token.
![]()
-
2Step 2
Visit the ESP8266/Arduino github page. Here you will see instructions to install the ESP8266 Board Package into Arduino IDE 1.6.5 or newer.
![]()
-
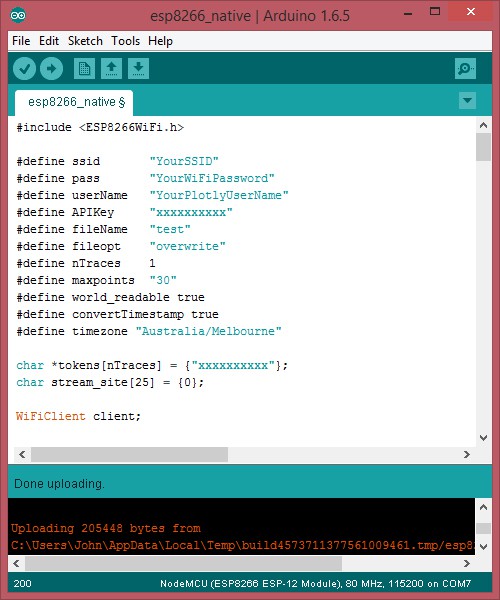
3Step 3
Past in the code I have included in my project details section into the Arduino IDE (1.6.5 or above), add your own WiFi SSID and Password, plotly username, API key and token into the code and save.
![]()
-
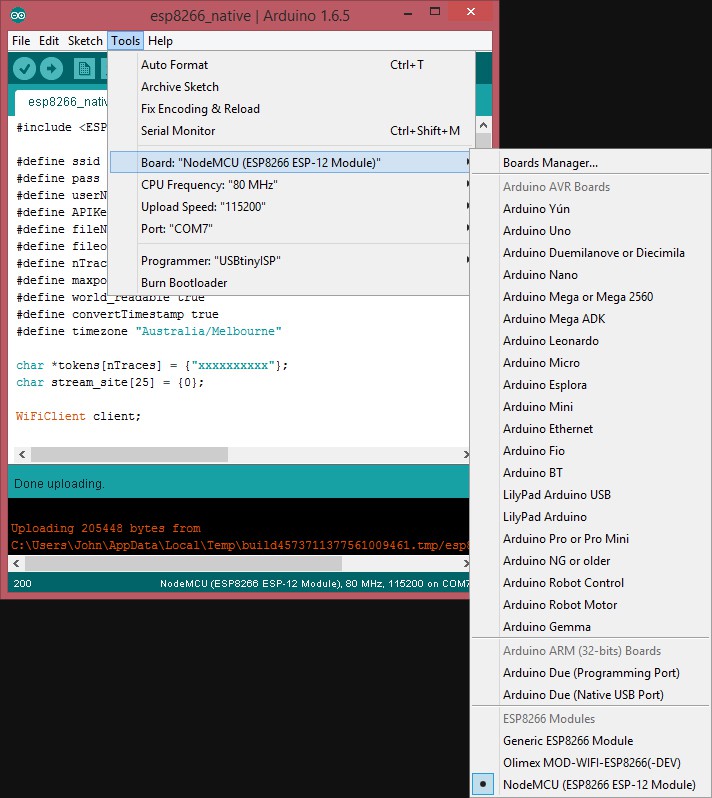
4Step 4
Now select your board type as "NodeMCU (ESP8266 ESP-12 Module)".
![]()
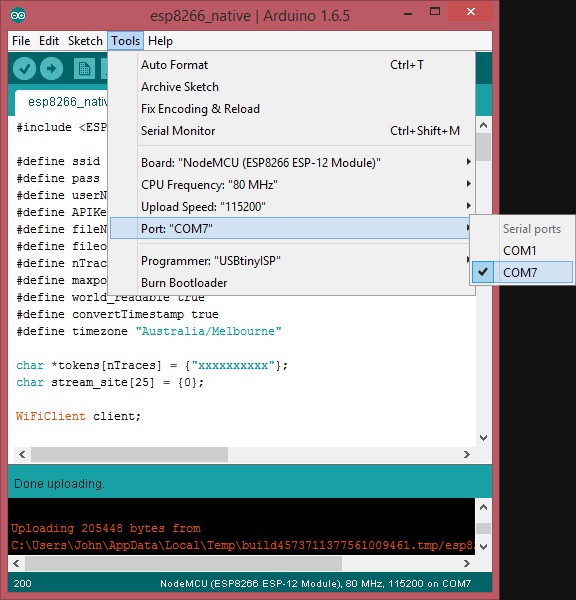
Select the com port your nodeMCU is on
![]()
-
5Step 5
*MIGHT BE REQUIRED FIRST TIME YOU PROGRAM IT*
Put the ESP8266 into flash download mode. This is usually done by holding GPIO0 low, when reseting the device (toggle RST pin LOW which is normally held at HIGH). To do this on the nodeMCU, hold down the FLASH button while shorting the RST pin to GND momentarily. The RST pin and GND are conveniently next to one another.
Now that the ESP8266 is in flash download mode, use the IDE to download your arduino code like you would any other arduino.
-
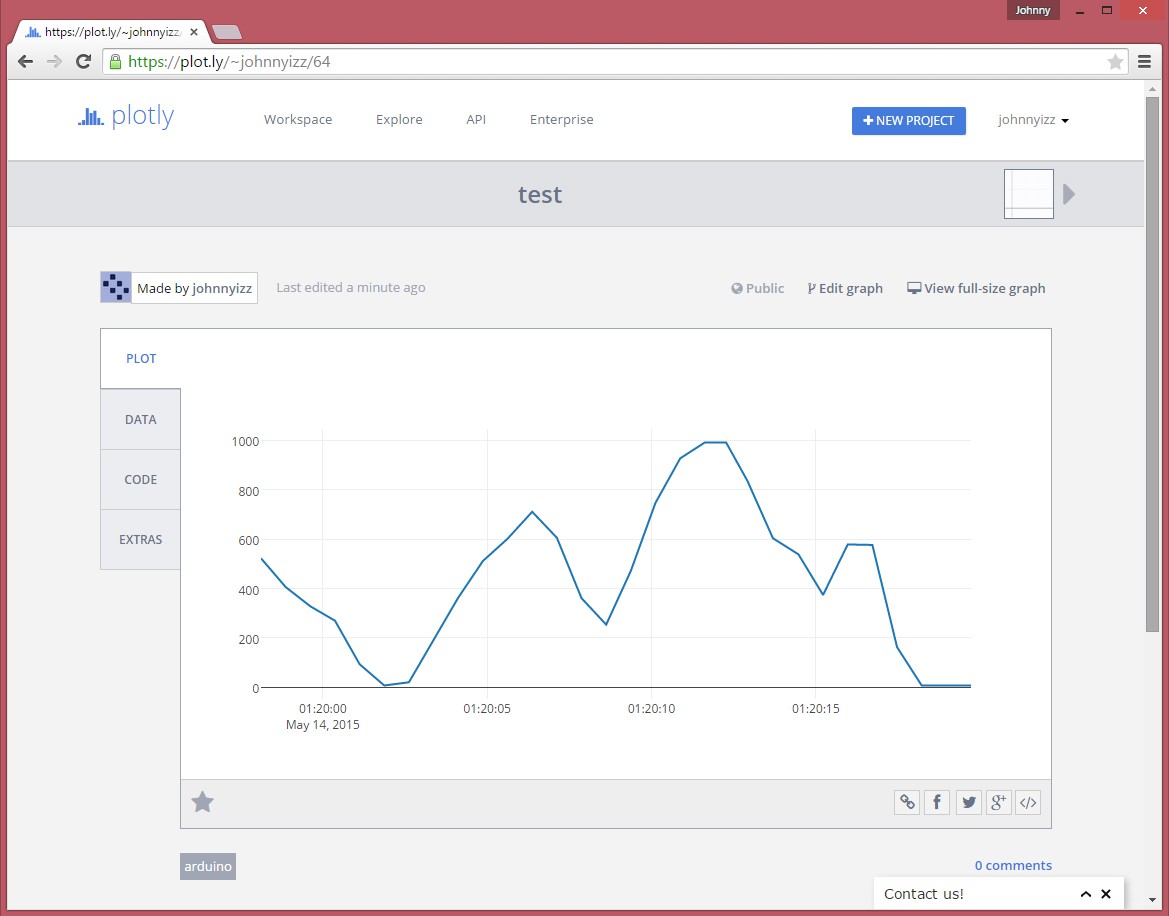
6Step 6
Now that your ESP8266 has the code on it, open up serial monitor to find the web address that your real-time data is displayed. Should look something like "http://plot.ly/~yourUserName/12". Go to the site and enjoy :).
![]()
plotly + ESP8266
(Plotly has stopped support) A $6 Wireless Real-time Data Logger/Grapher

Discussions
Become a Hackaday.io Member
Create an account to leave a comment. Already have an account? Log In.
Great project. I've tried duplicating it but there appears to be an issue my with communication to plot.ly. I get *ERROR!* at the end of the "client.find("~")" test. I've tried regenerating my API key and re-entering, but to no avail (I don't understand why the API key isn't visible without regenerating).
Also, doesn't pressing the reset button connect RST to GND ?
Are you sure? yes | no