I am running a little low on the resin which I use to cast these parts. Right now I am using Smooth-On PMC®-770 Urethane Rubber. It has a Shore 70A hardness, which is pretty close to that of the rubber in a car tire. While I was ordering more I started looking at the datasheet and came across this little gem of information.
"Curing - Allow the mold to cure (at least 16 hours) at room temperature (73°F/23°C) before demolding. Do not cure rubber in temperatures less than 65°F/18°C. Cure time can be reduced with mild heat or by adding Smooth-On “Kick-It®” Cure Accelerator.
Post Curing - After rubber has cured at room temperature, heating the rubber
to 150°F (65°C) for 4 to 8 hours will increase physical properties and performance. "
Two parts of this are really interesting to me. The first is that the cure time can be reduced with mild heat, the second was increasing the physical properties. Every time I cast my mold I am getting 5 parts. I typically wait about 4-6 hours before removing from my mold. If you let the parts cure for 16 hours you can open the mold without any fear of tearing the parts. This material is tough at that point. But since the parts remove from my mold easily, if I am careful I can remove them around the 4-6 hour point. It is a risk, but it allows me to cast the mold 2-3 times a day.
The idea of adding a little heat to speed up the process sounds great to me. I did a little more reading and found this bit of information on Smooth-On's FAQ page.
"Heat Curing – can be used to accelerate the cure of polyurethane rubbers and plastics, platinum silicone rubbers, epoxy resins and other materials. For example, subjecting a urethane mold rubber mold to mild heat (150 F / 60 C) will reduce the cure time from 16 hours to around 4 hours. Consult product technical bulletin for more information."
If I can cut my cure time down to a quarter the normal time with a little heat, I could up my production. I could remove the parts from the mold every 90 minutes or so. I could potentially 30-40 parts a day. I happen to have an old toaster oven that I have not used in over 5 years.

Previous experience has taught me that the listed temperatures on ovens is often very far from the actual values. They tend to have cheap controllers on them or just poorly programmed ones. I used to have an oven that would swing ±20°F. I claim that is the reason I could never cook anything.
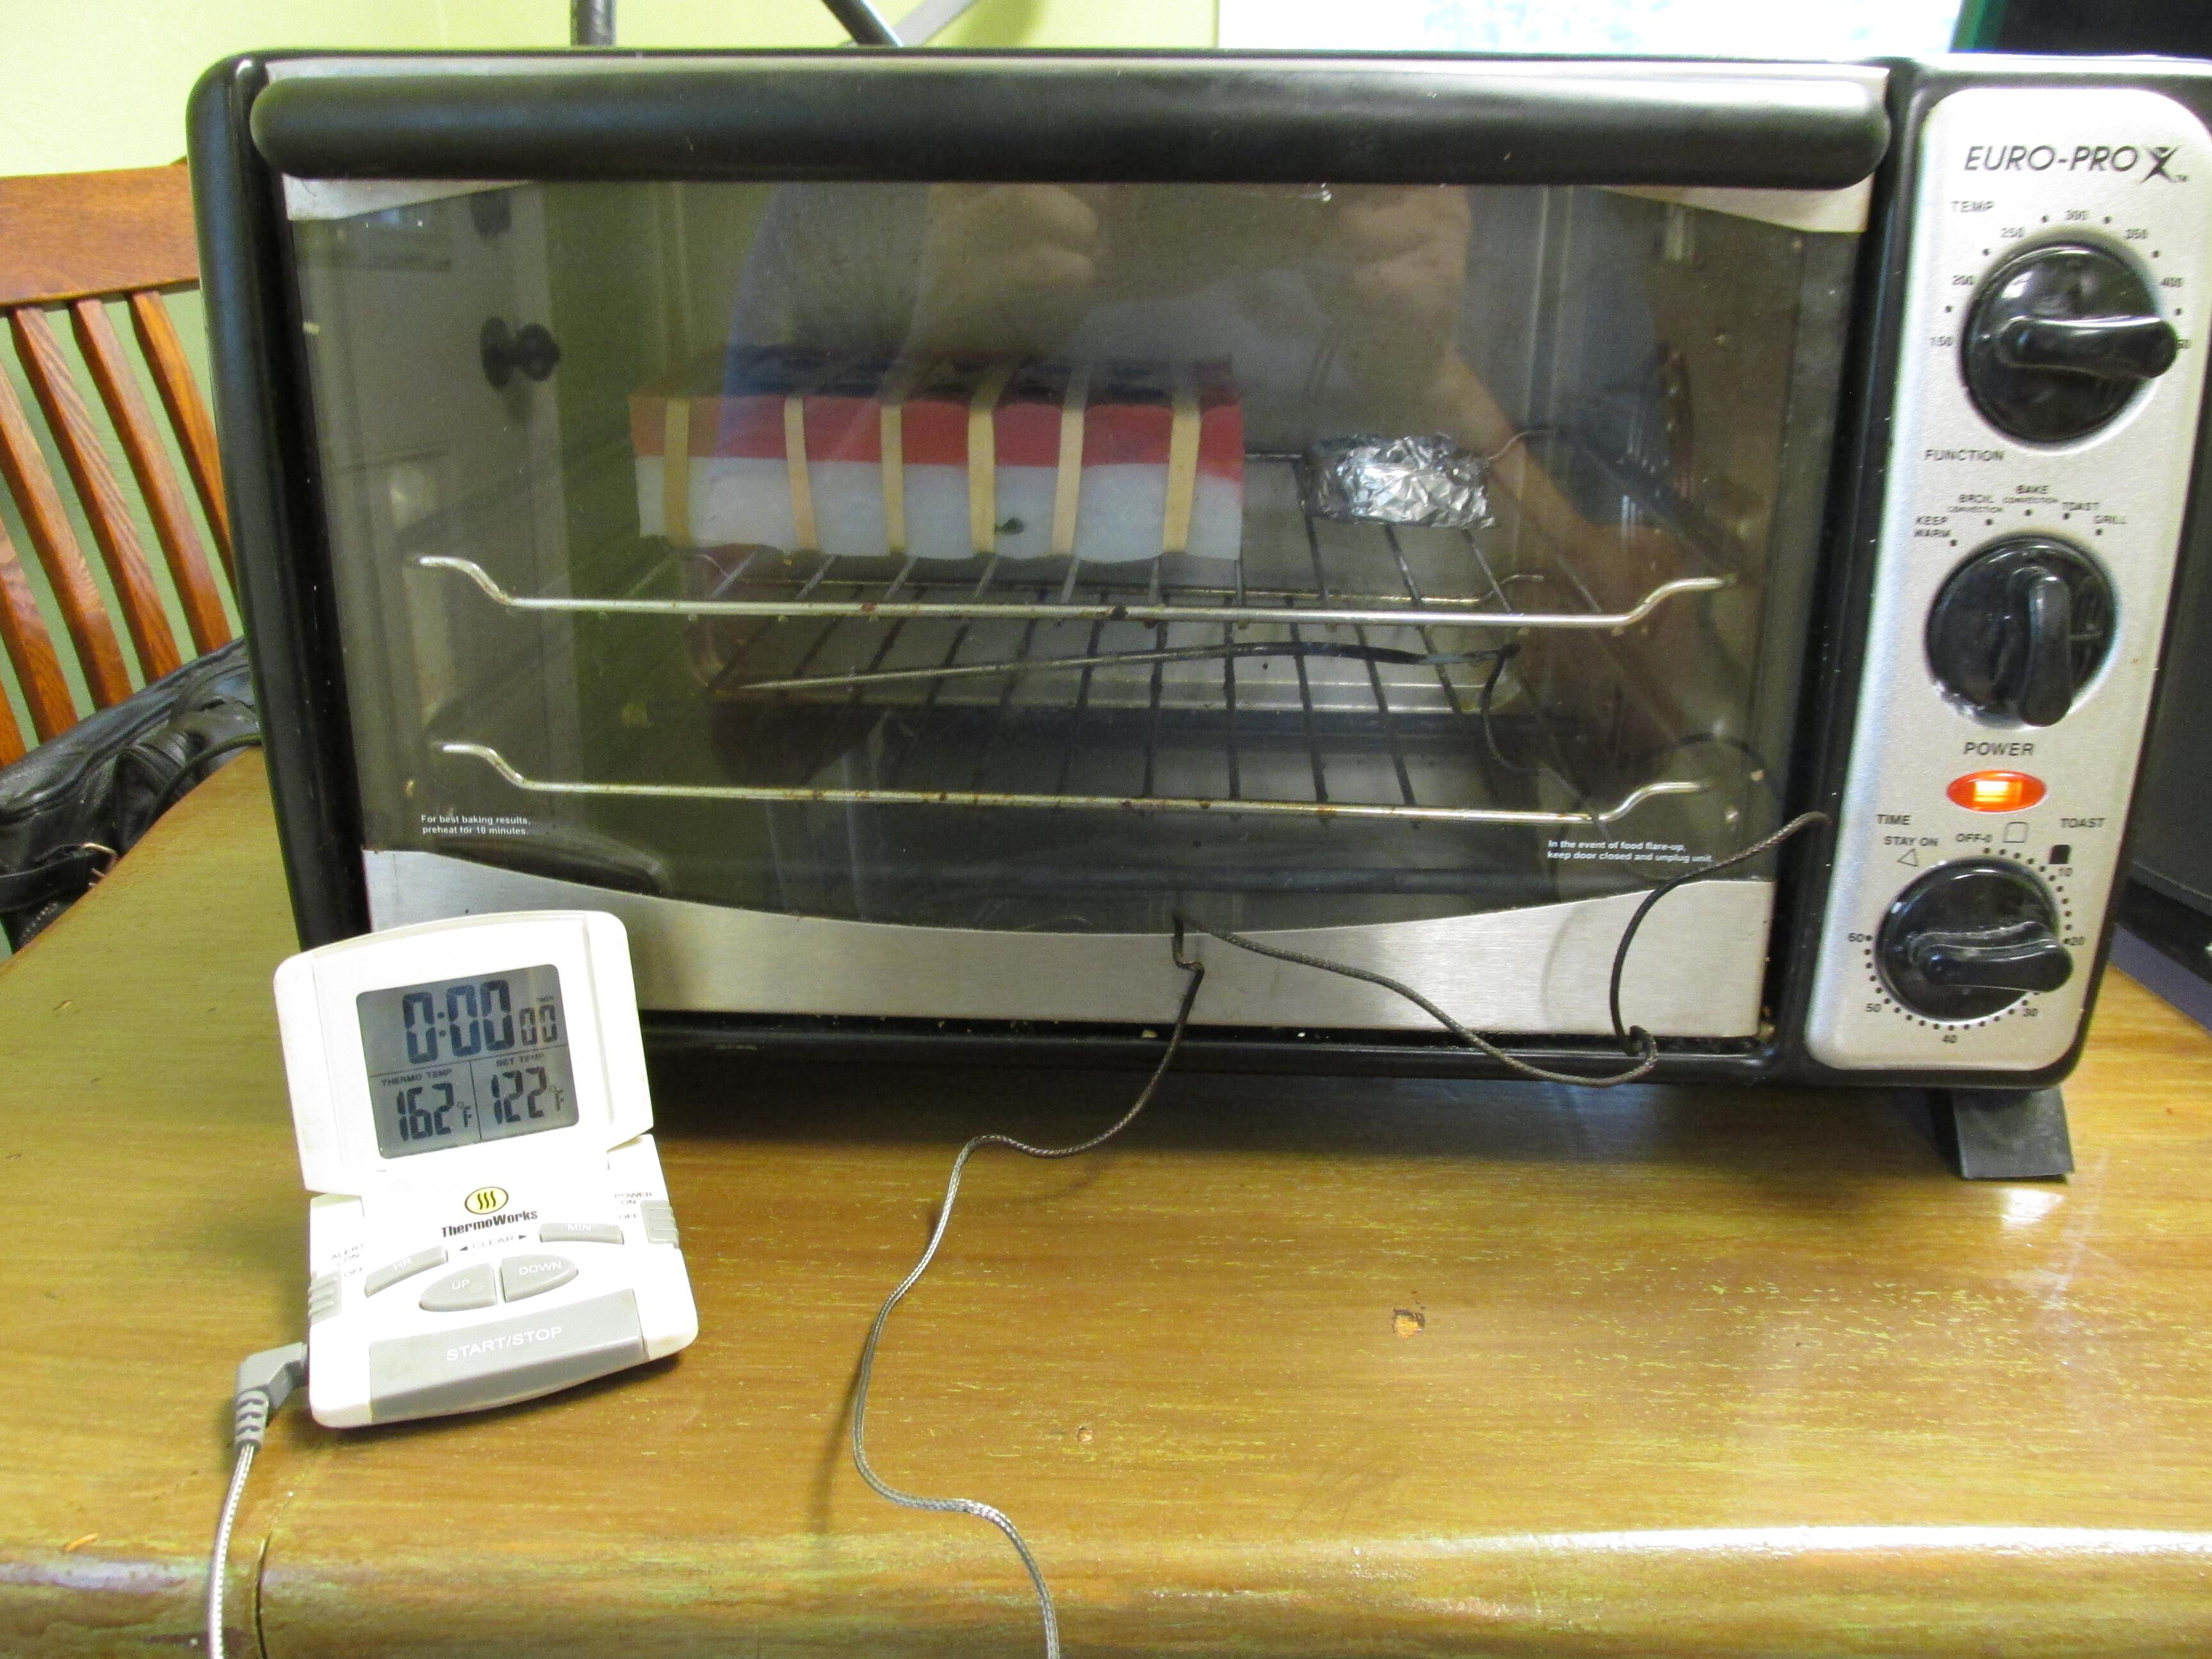
So I put my digital thermometer in the oven, set it to 150°F and let it sit for a while. The steady state temperature was around 215°F. There was also a 'Keep Warm' setting, so I tried that and it was stable around 160°F. Close enough for what I needed.
I mixed up my resin following the same procedure as before, vacuum degassed it and filled my mold. I poured the leftover resin into a cup made from aluminum foil to use as a test part. Then I put the mold and the test part in the oven, set it to the 'keep warm' setting and set it for one hour.
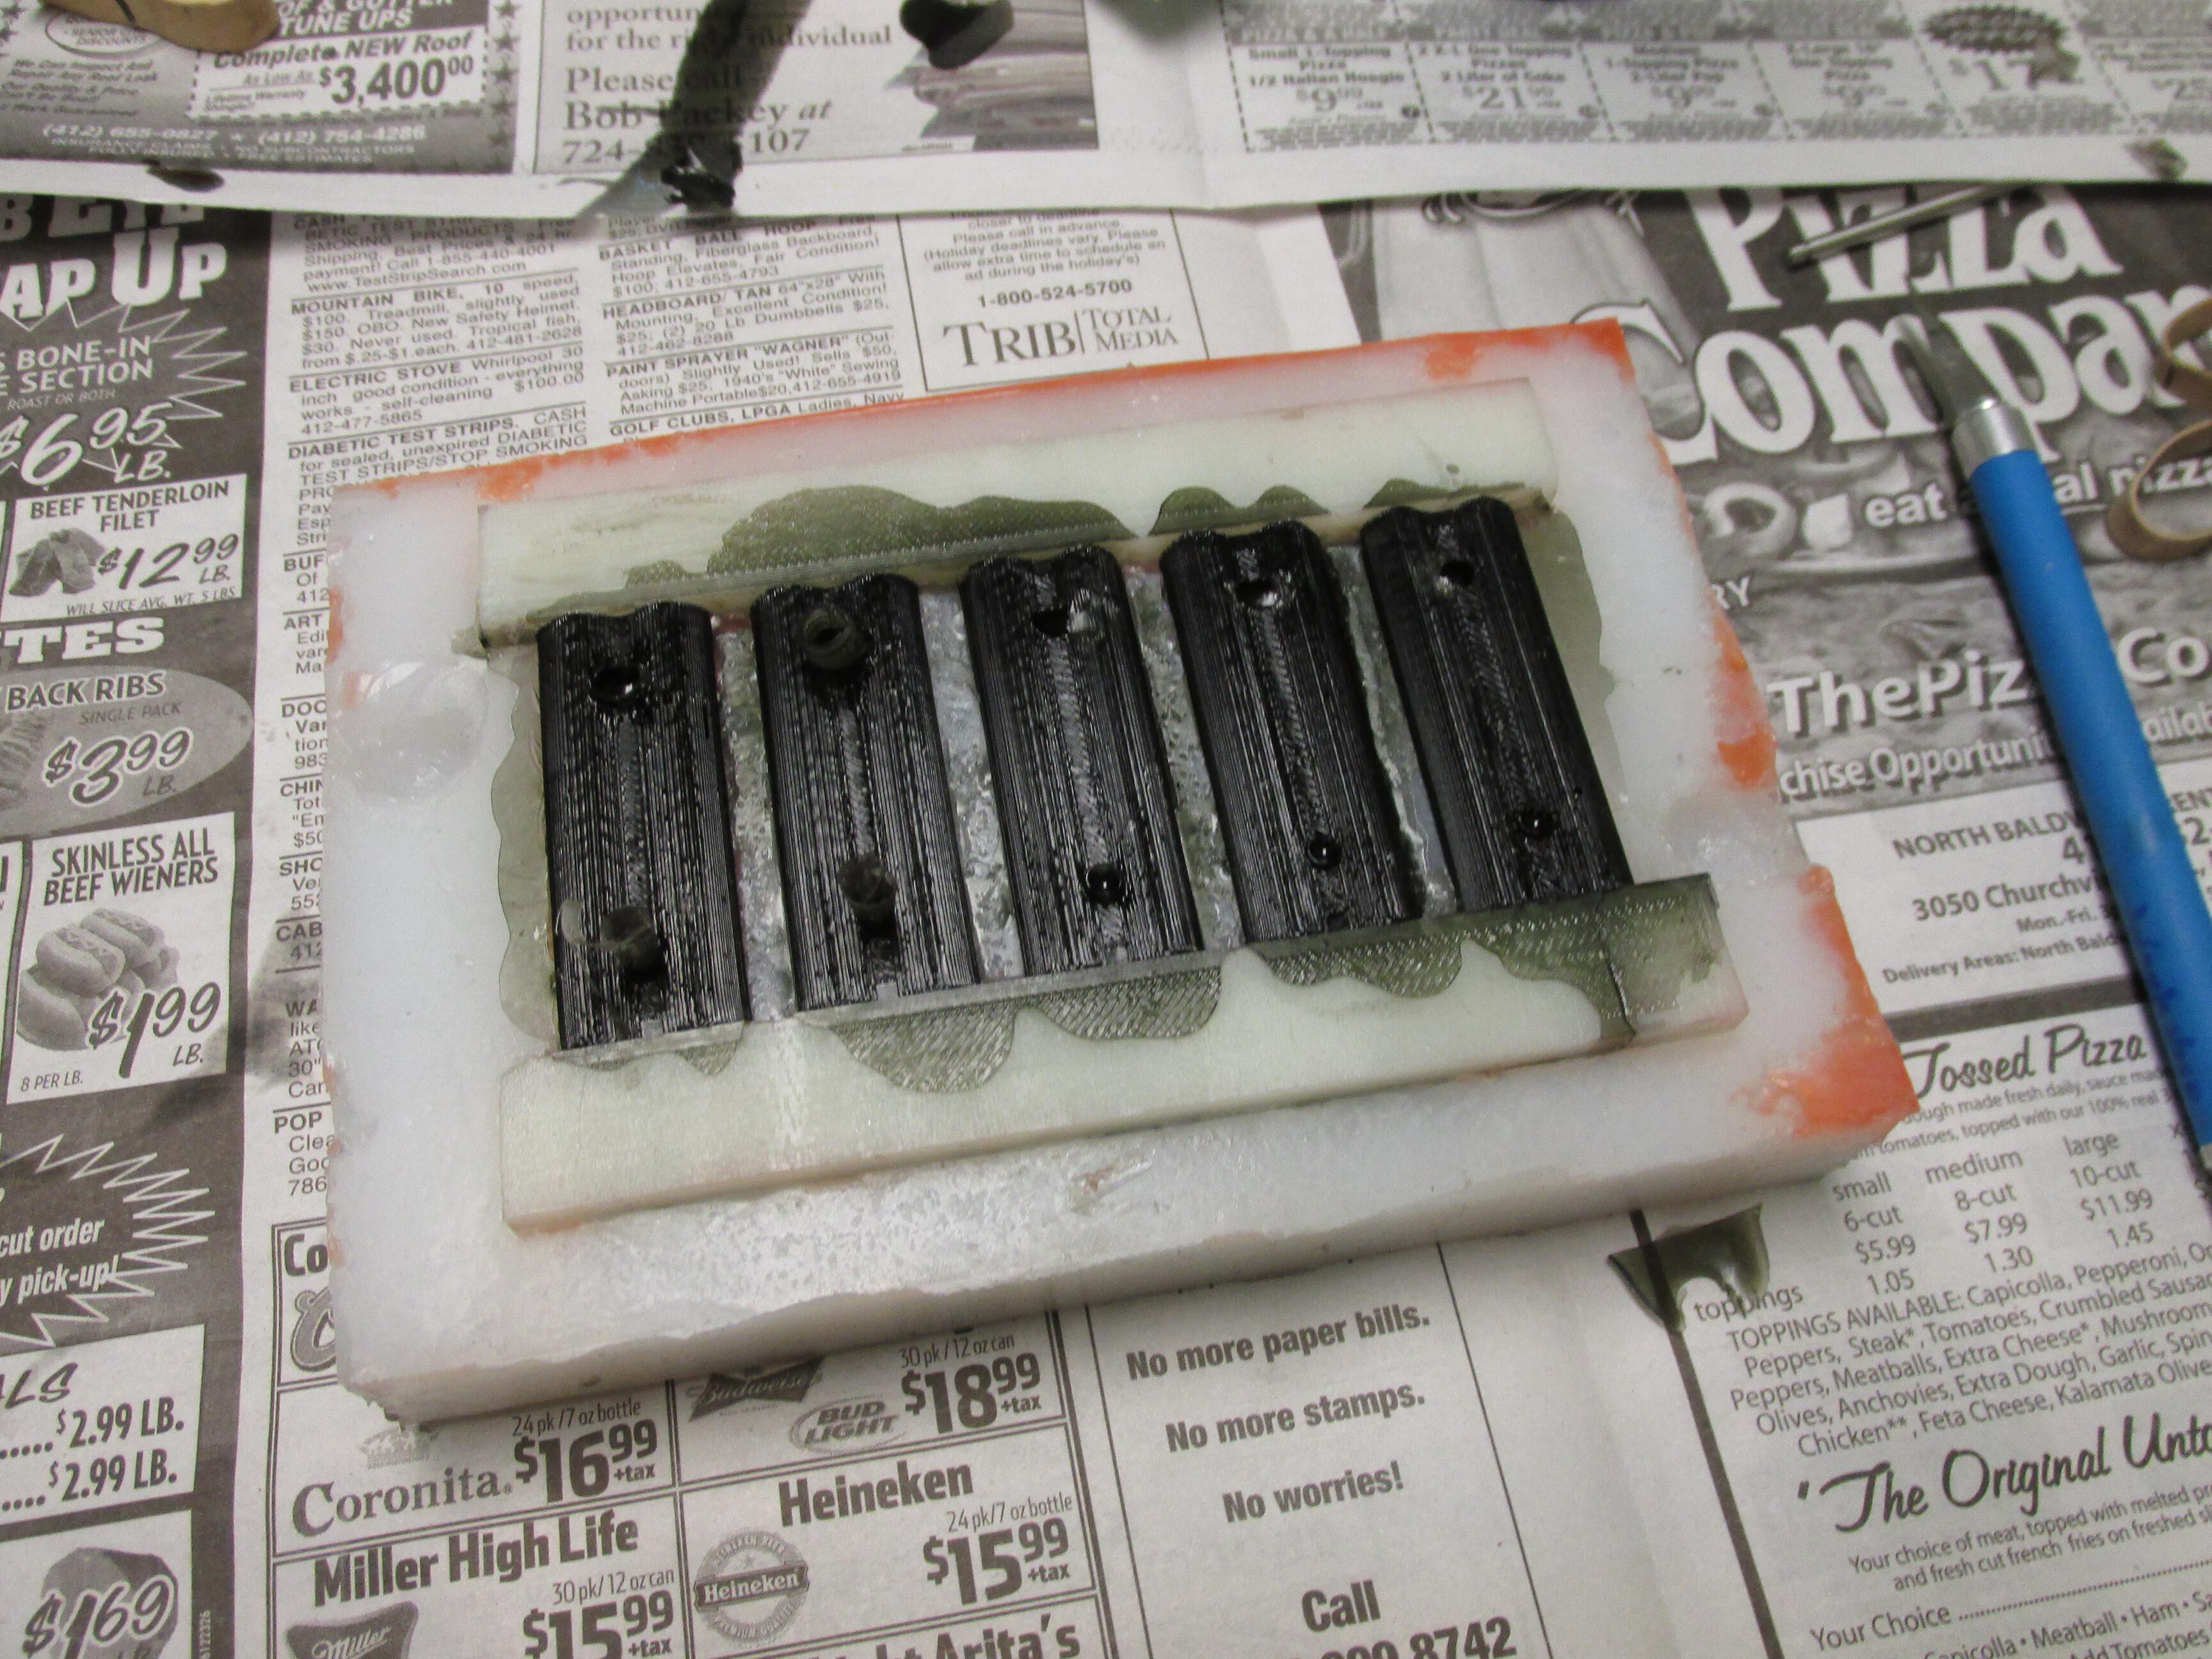
While my parts were baking, I went and watched an episode of SuperNatural. It lasted about 45 minutes and I went back to check on the parts. The test part was already very rigid, so I pulled everything out of the oven and tried to be patient while it cooled off. I opened the mold and everything looked great.
 It looks like there might be a little more flash on these parts than the previous ones. I suspect that the heat makes the resin flow a little easier and it can work its way in between the mold halves. You can also notice that the sprues are much smaller or almost none existent on some parts. I again suspect this is do to the resin flowing more as it got hot. But all in all it worked out great. Now I can make 5 parts almost every hour.
 jupdyke
Discussions
Become a Hackaday.io Member
Create an account to leave a comment. Already have an account? Log In.