Now that I am cranking out the treads at a much faster rate, I need to start looking into testing this design out. That means building a tracked robot. Because my goal is to test out the modularity of the system, I actually want to test out many different tracked robot designs. Right now I am planning on building a base platform that will house the battery, motors, motor controllers and receivers. This will connect to the track sections of the robot. I plan to build several different configurations of the tracks and be able to put them on and take them quickly.
So in order to start playing around with those ideas I needed some sprockets. One of the aspects of this design that I loved was that I would be able to use any of the standard roller chain sprockets already available.
Mcmaster has around 150 different roller chain sprockets just for number 35 chain. You have idlers, drive, hardened teeth, non-hardened teeth, machinable bore, finished bore, bushing and many other types. On top of that you have a range of sizes from 9 teeth all the way to 72 teeth sprockets. Here is a link if you dont believe me.
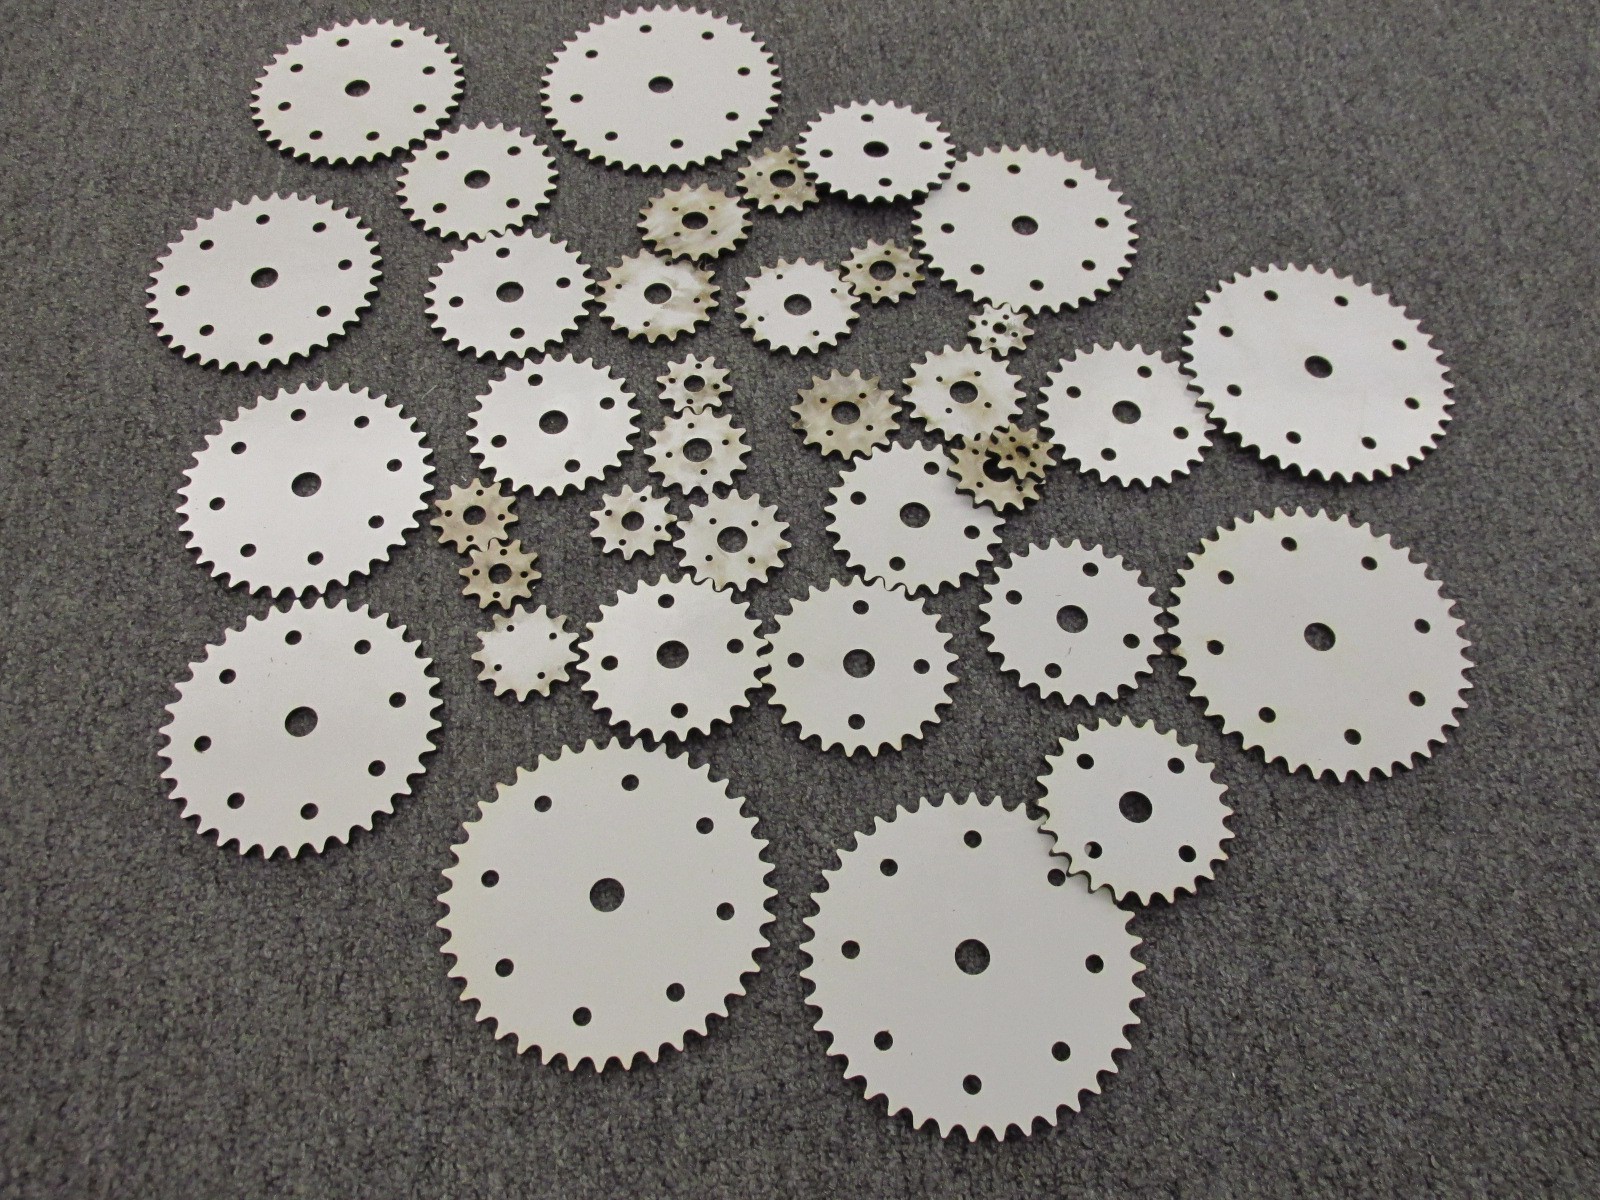
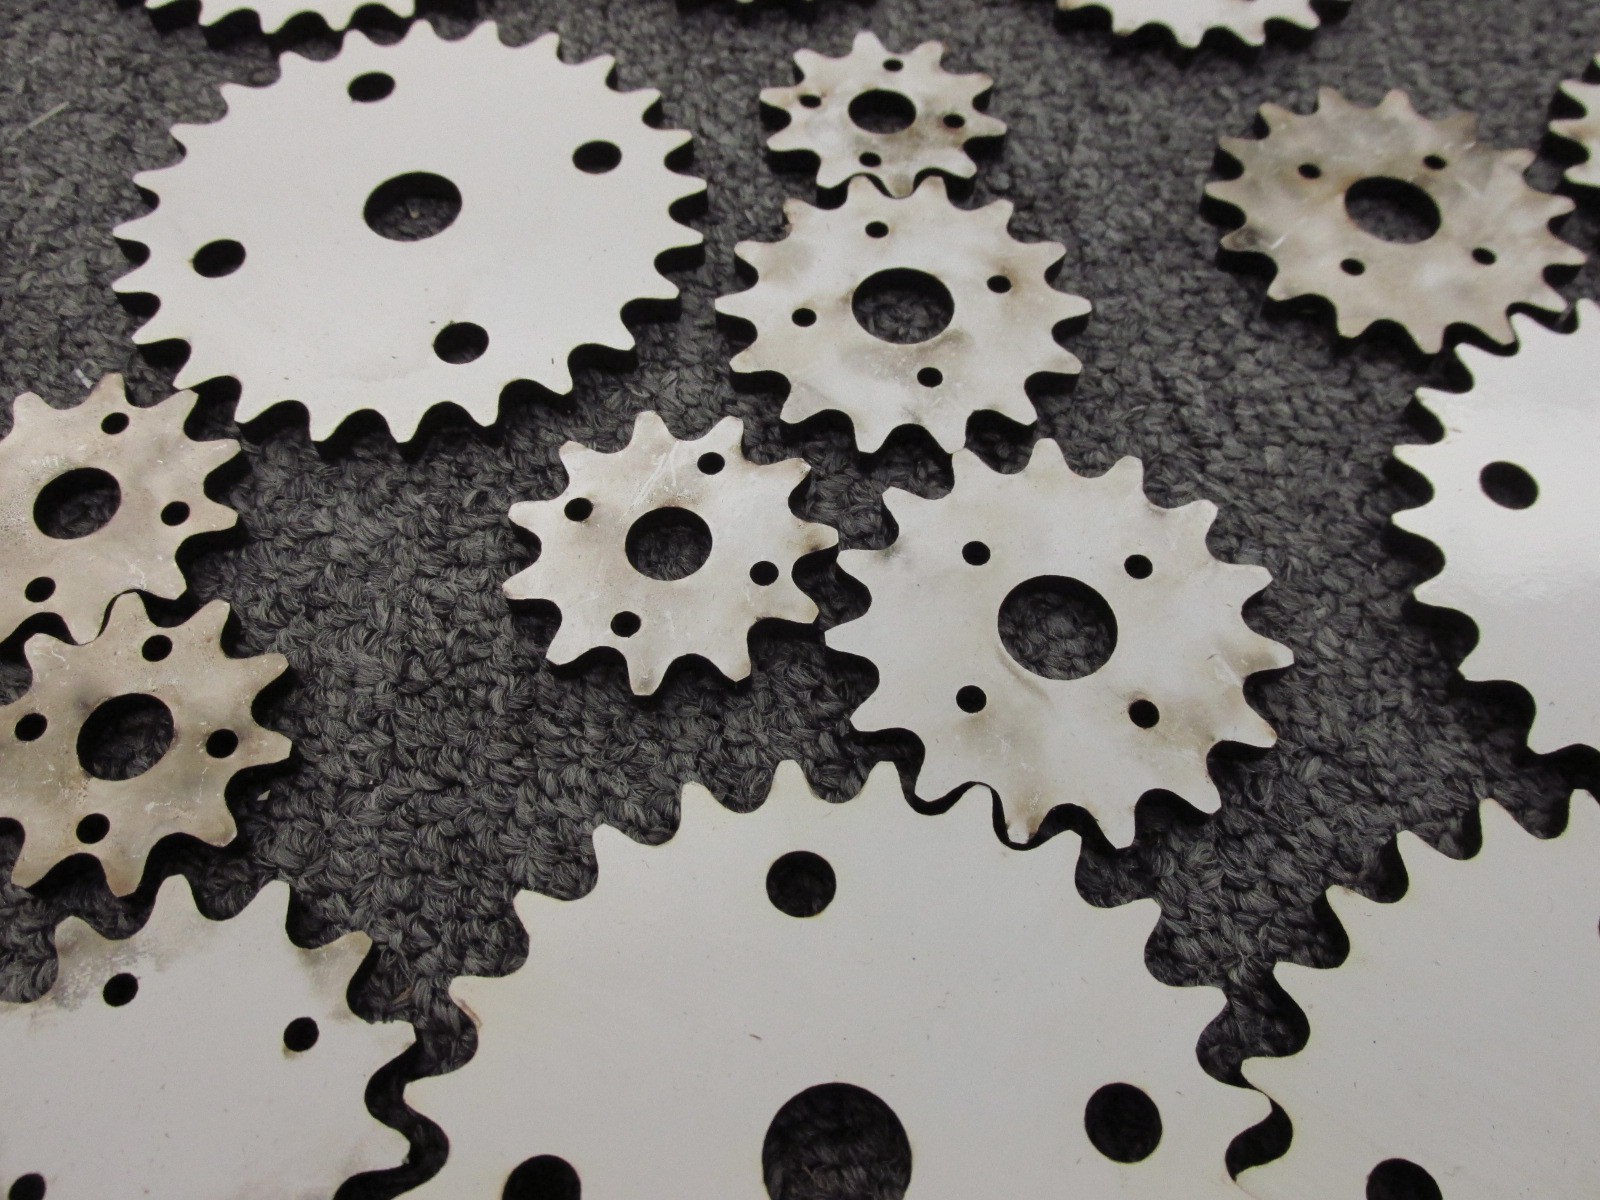
In order to start messing around the different sprockets and seeing what I could learn I wanted to get my hands on a bunch of sprockets. While these sprockets are inexpensive in general the price does add up. So before I ordered a bunch I thought I would laser cut some prototypes. I stopped by home depot and picked up a piece of hardboard that was coated on one side with white board material. The width of this fits into the roller chain almost perfectly. Then I used SolidWorks to make the DXF for laser cutting the sprockets. Here is what I had after 2 or so hours.
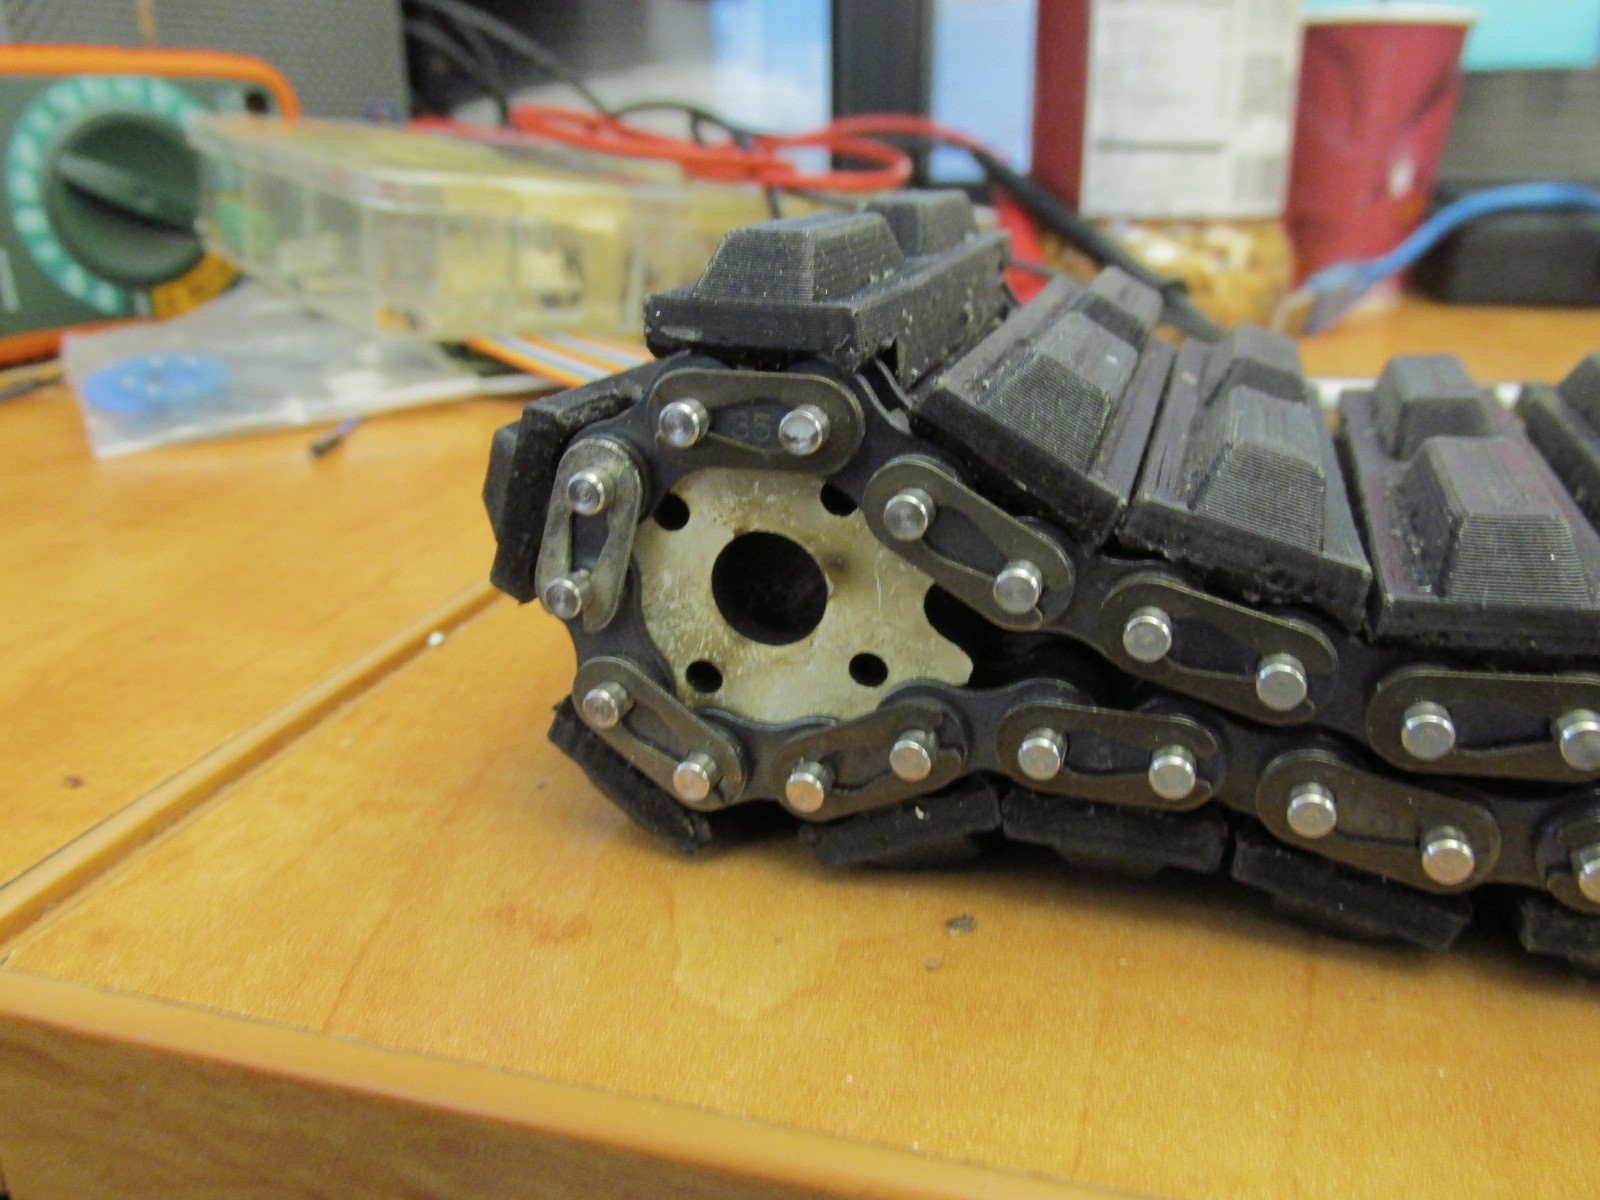
I made sure to cut the smallest size because I wanted to see that the track could wrap around it without problems. I had tested this in the CAD program, but sometimes real life is a bit different. So far so good.
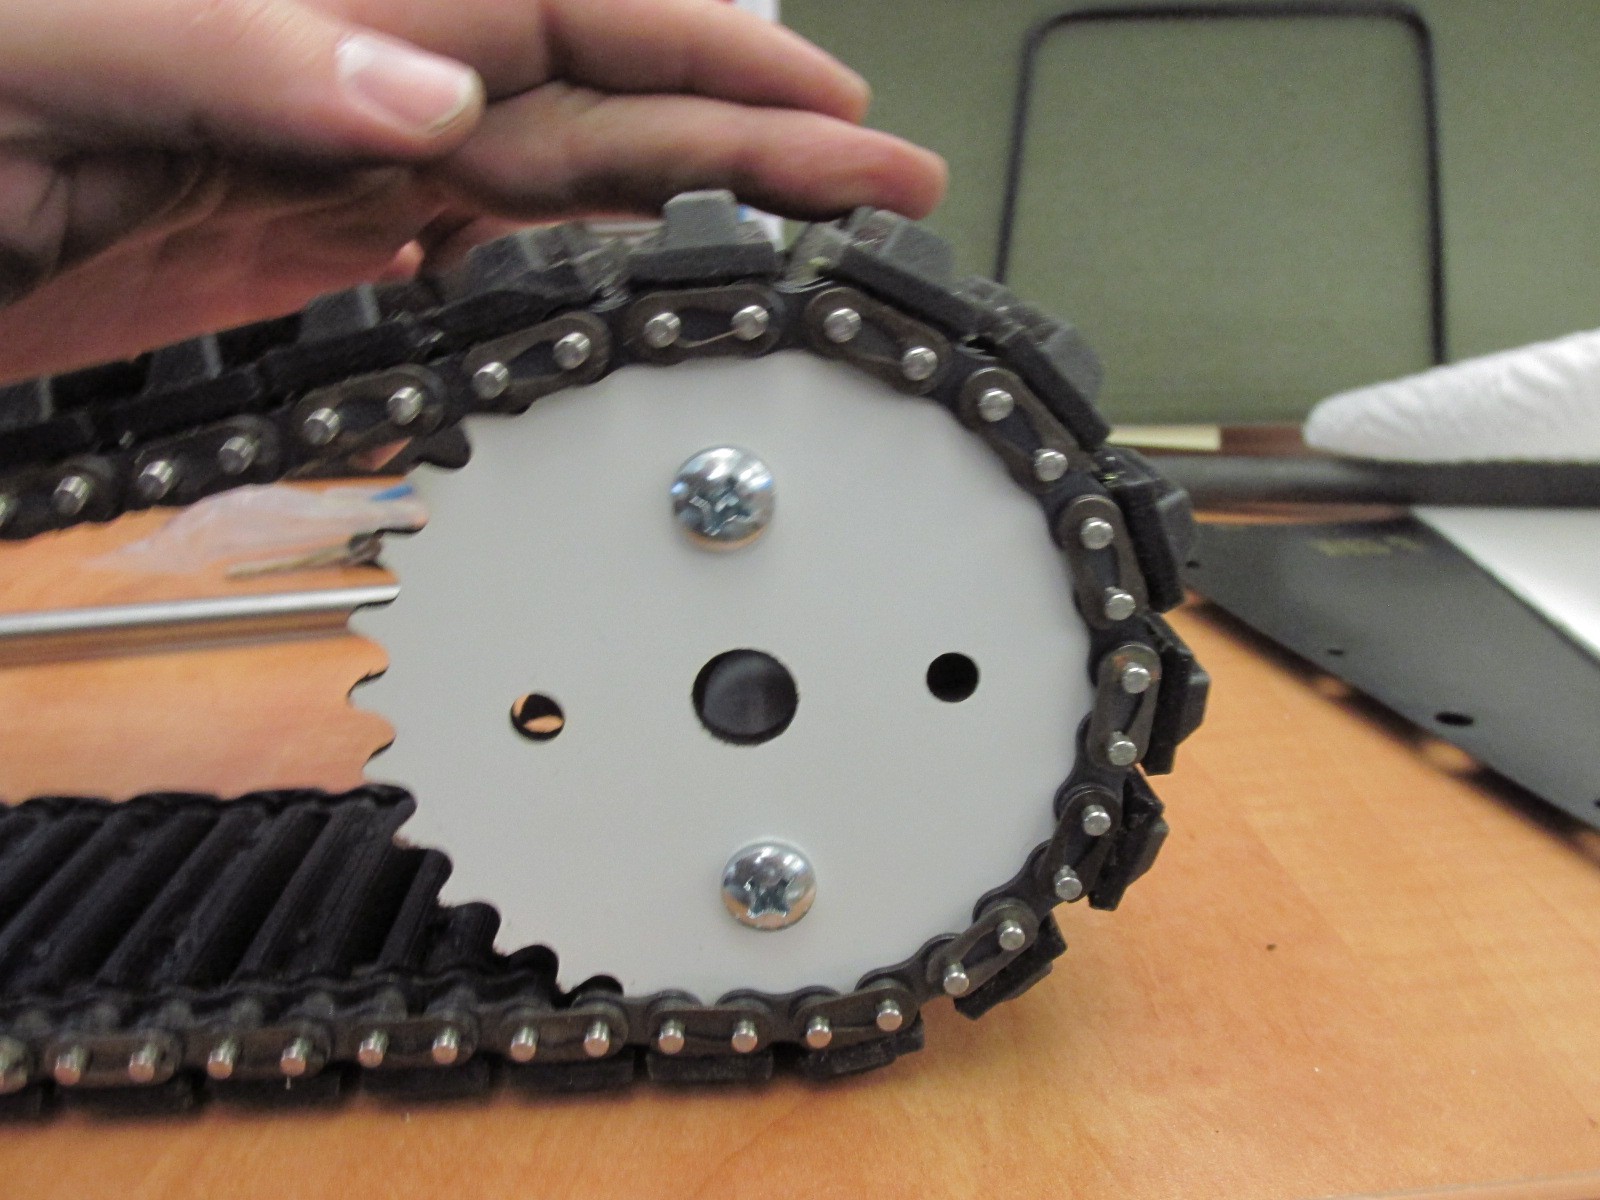
I also cut a very large sprocket. This one is 45 teeth and has a diameter of 5.6". Again the track wraps around without any problems.
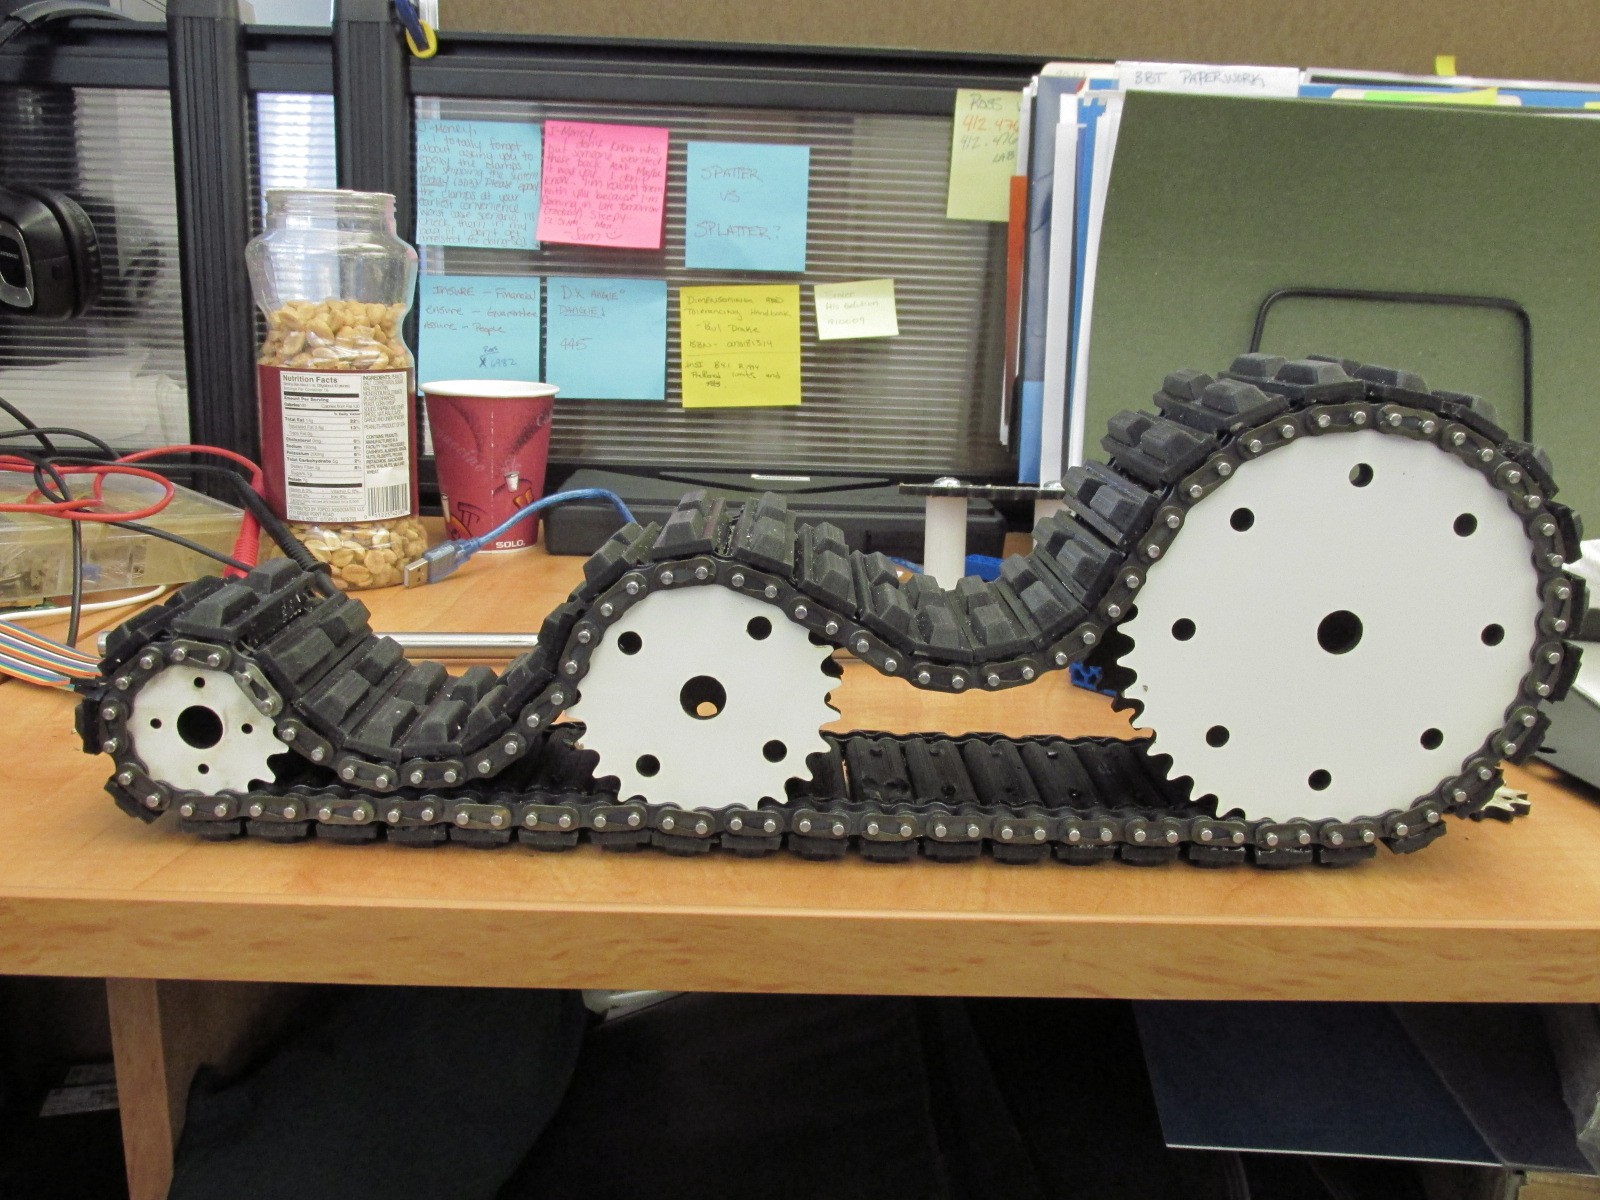
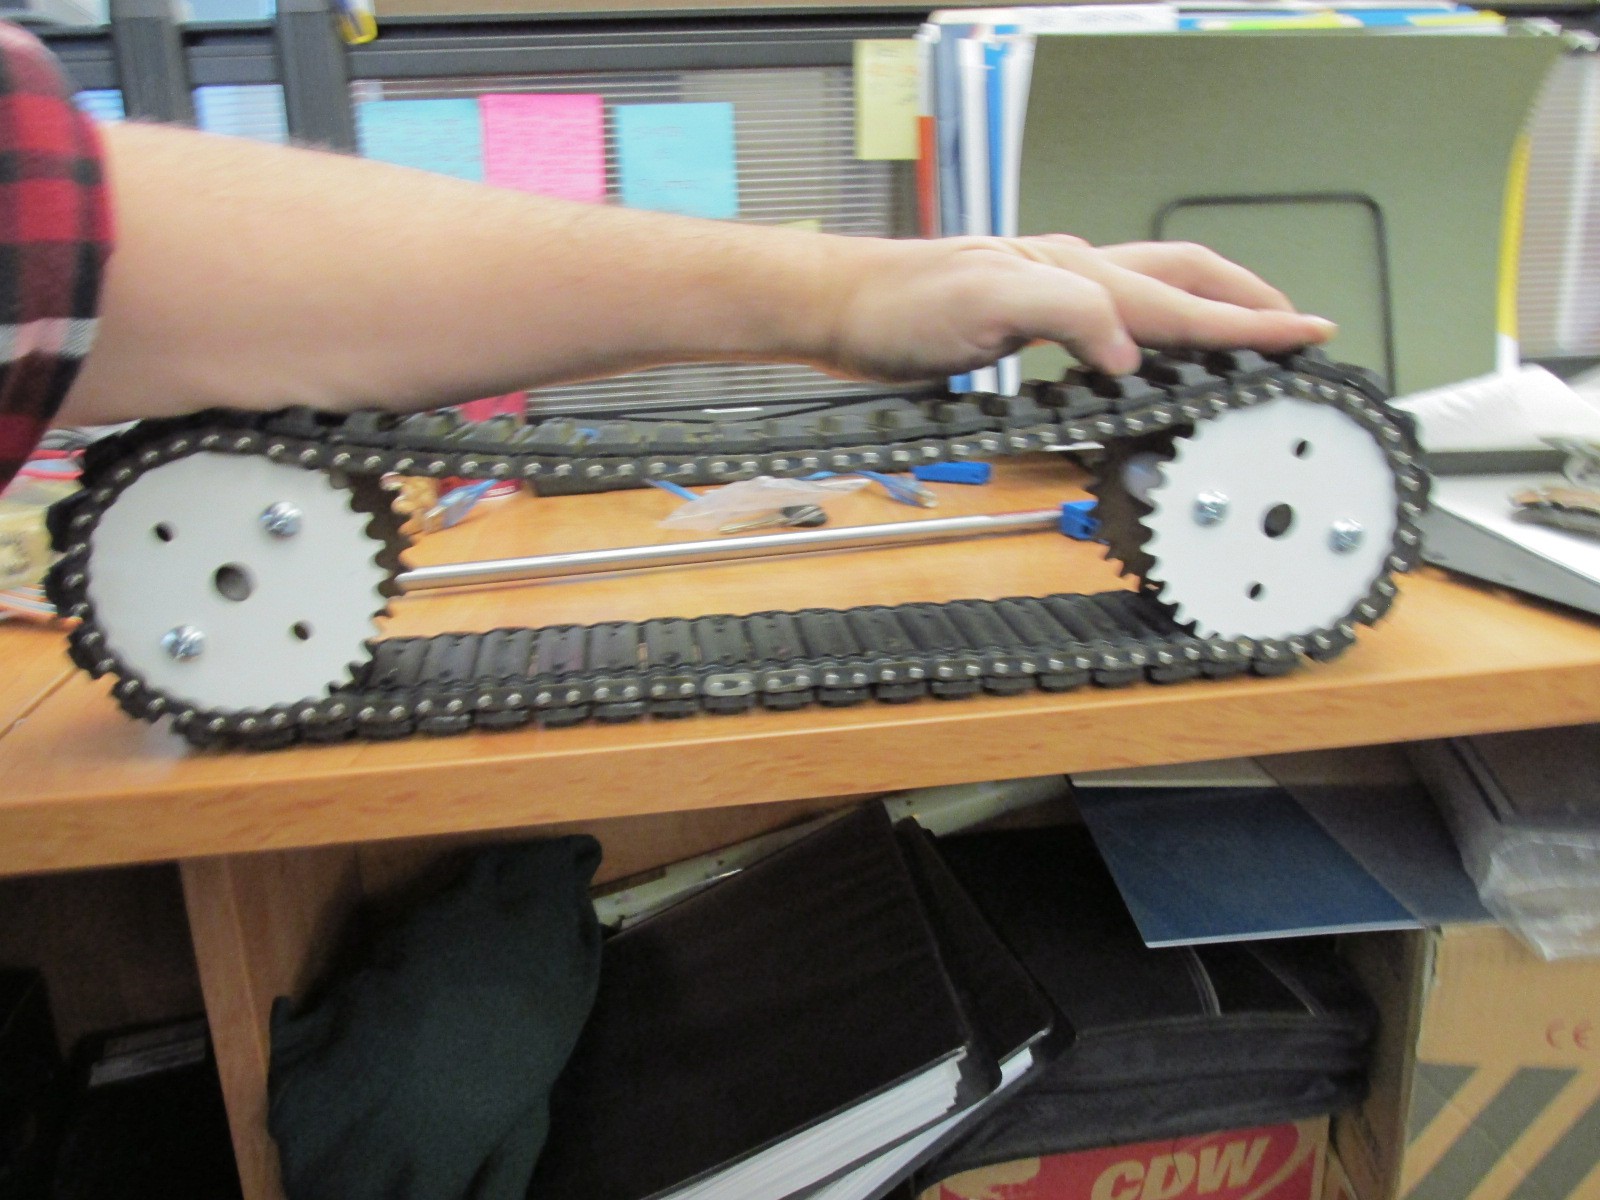
And here are a few more pictures of various sprocket configurations. Below you can see what 50 treads look like assembled. I was surprised how easily they went together. I had designed it to be simple, but it turned out to be easier than thought it would be.
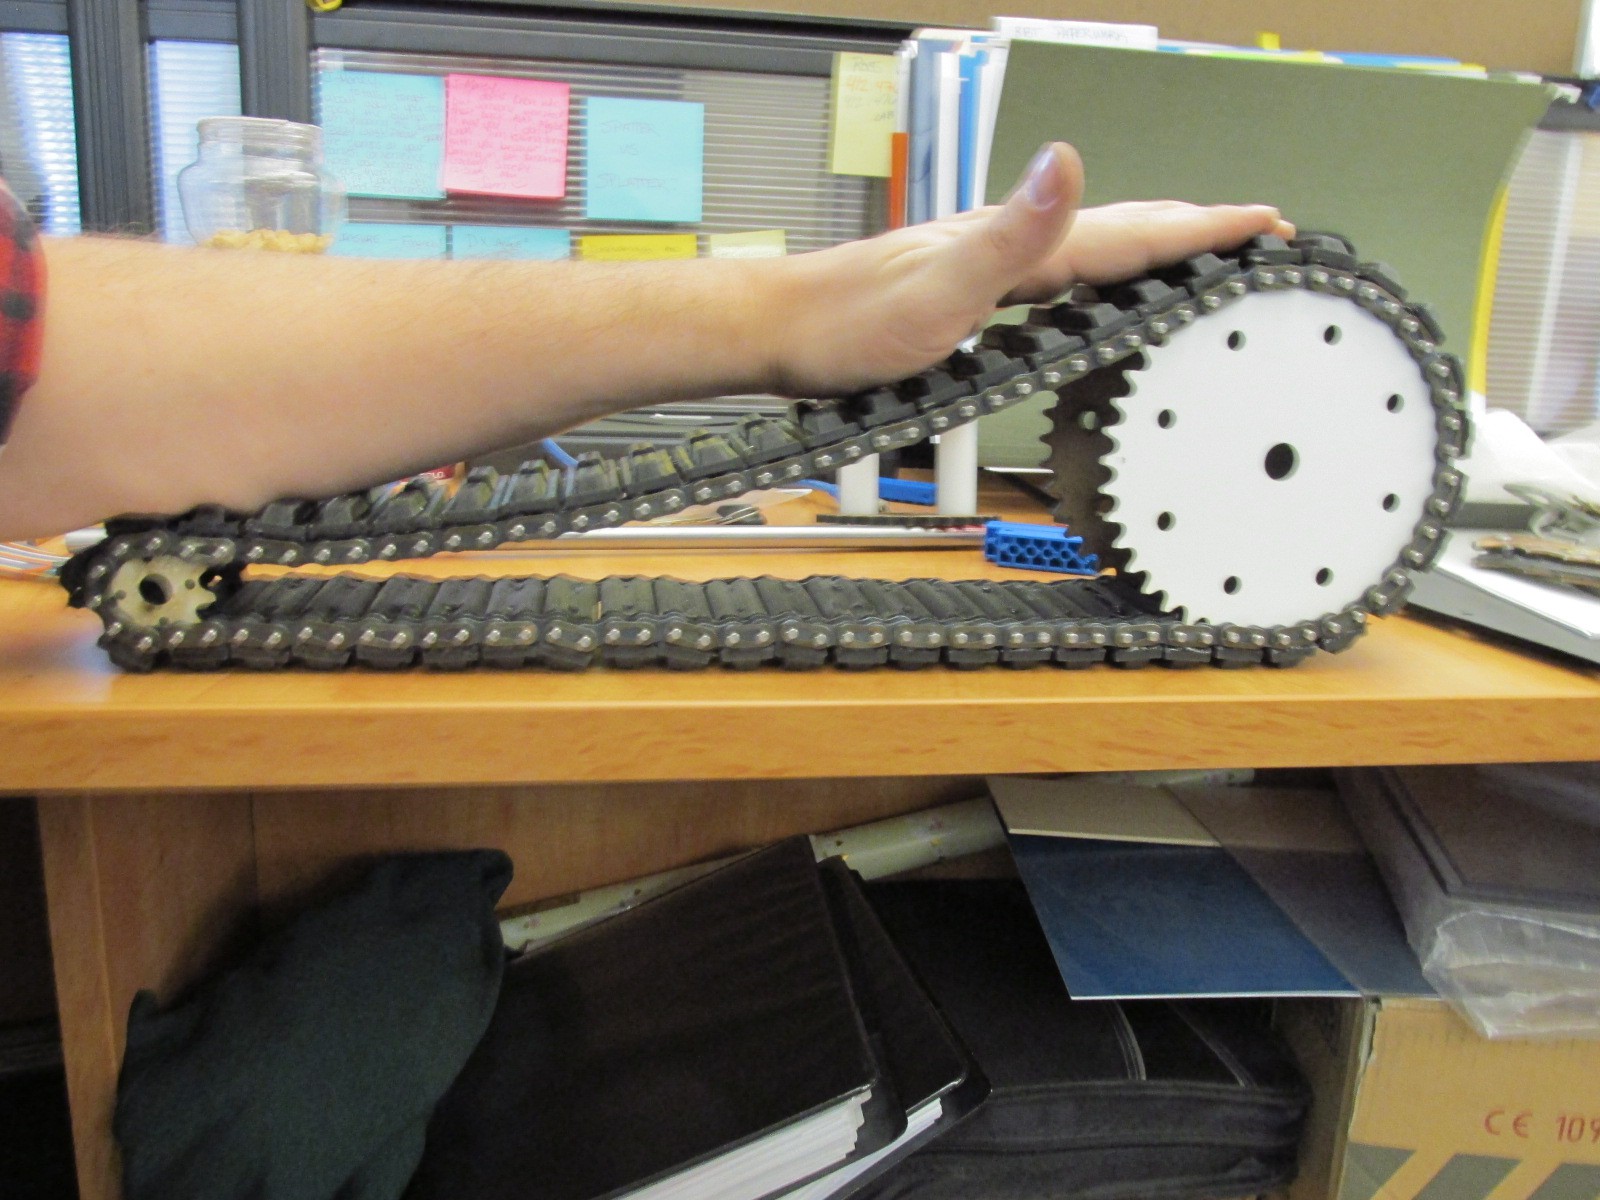
I am sorry that a few of those are blurry. I was trying to hold the track with one hand while taking a picture with the other. Not an easy thing to do. One issue with the laser cut sprockets is that the teeth are not tapered like a real sprocket would be. I knew this was going to be the case, but being play with sixty or so sprockets for about $9 was worth it.
I few other odd and ends parts of this project. I started reworking my toaster oven to provide better temperature control. I ordered a arduino uno, a thermocouple amplifier, and some solid state relays. I was able to salvage an old toaster oven, thermocouple and a VFD display. So when I combine those together I should have just about all I need for a reflow oven, or in my case a resin curing oven.
I also started working on acquiring all the bits for building a radio controlled robot to drive around with these tracks. I ordered two old cordless drills for motors and started digging through my rc car and quadcopter parts for the rest. I already have the transmitter / receiver, battery, battery charger, and various scrap material to start with. So hopefully I will have a working tank robot soon.
I still have a lot to do, including strength and wear testing, and to start driving these tracks over all sorts of tarrain. So stay tuned.
 jupdyke
Discussions
Become a Hackaday.io Member
Create an account to leave a comment. Already have an account? Log In.