 Pat Hogan
-
1Step 1
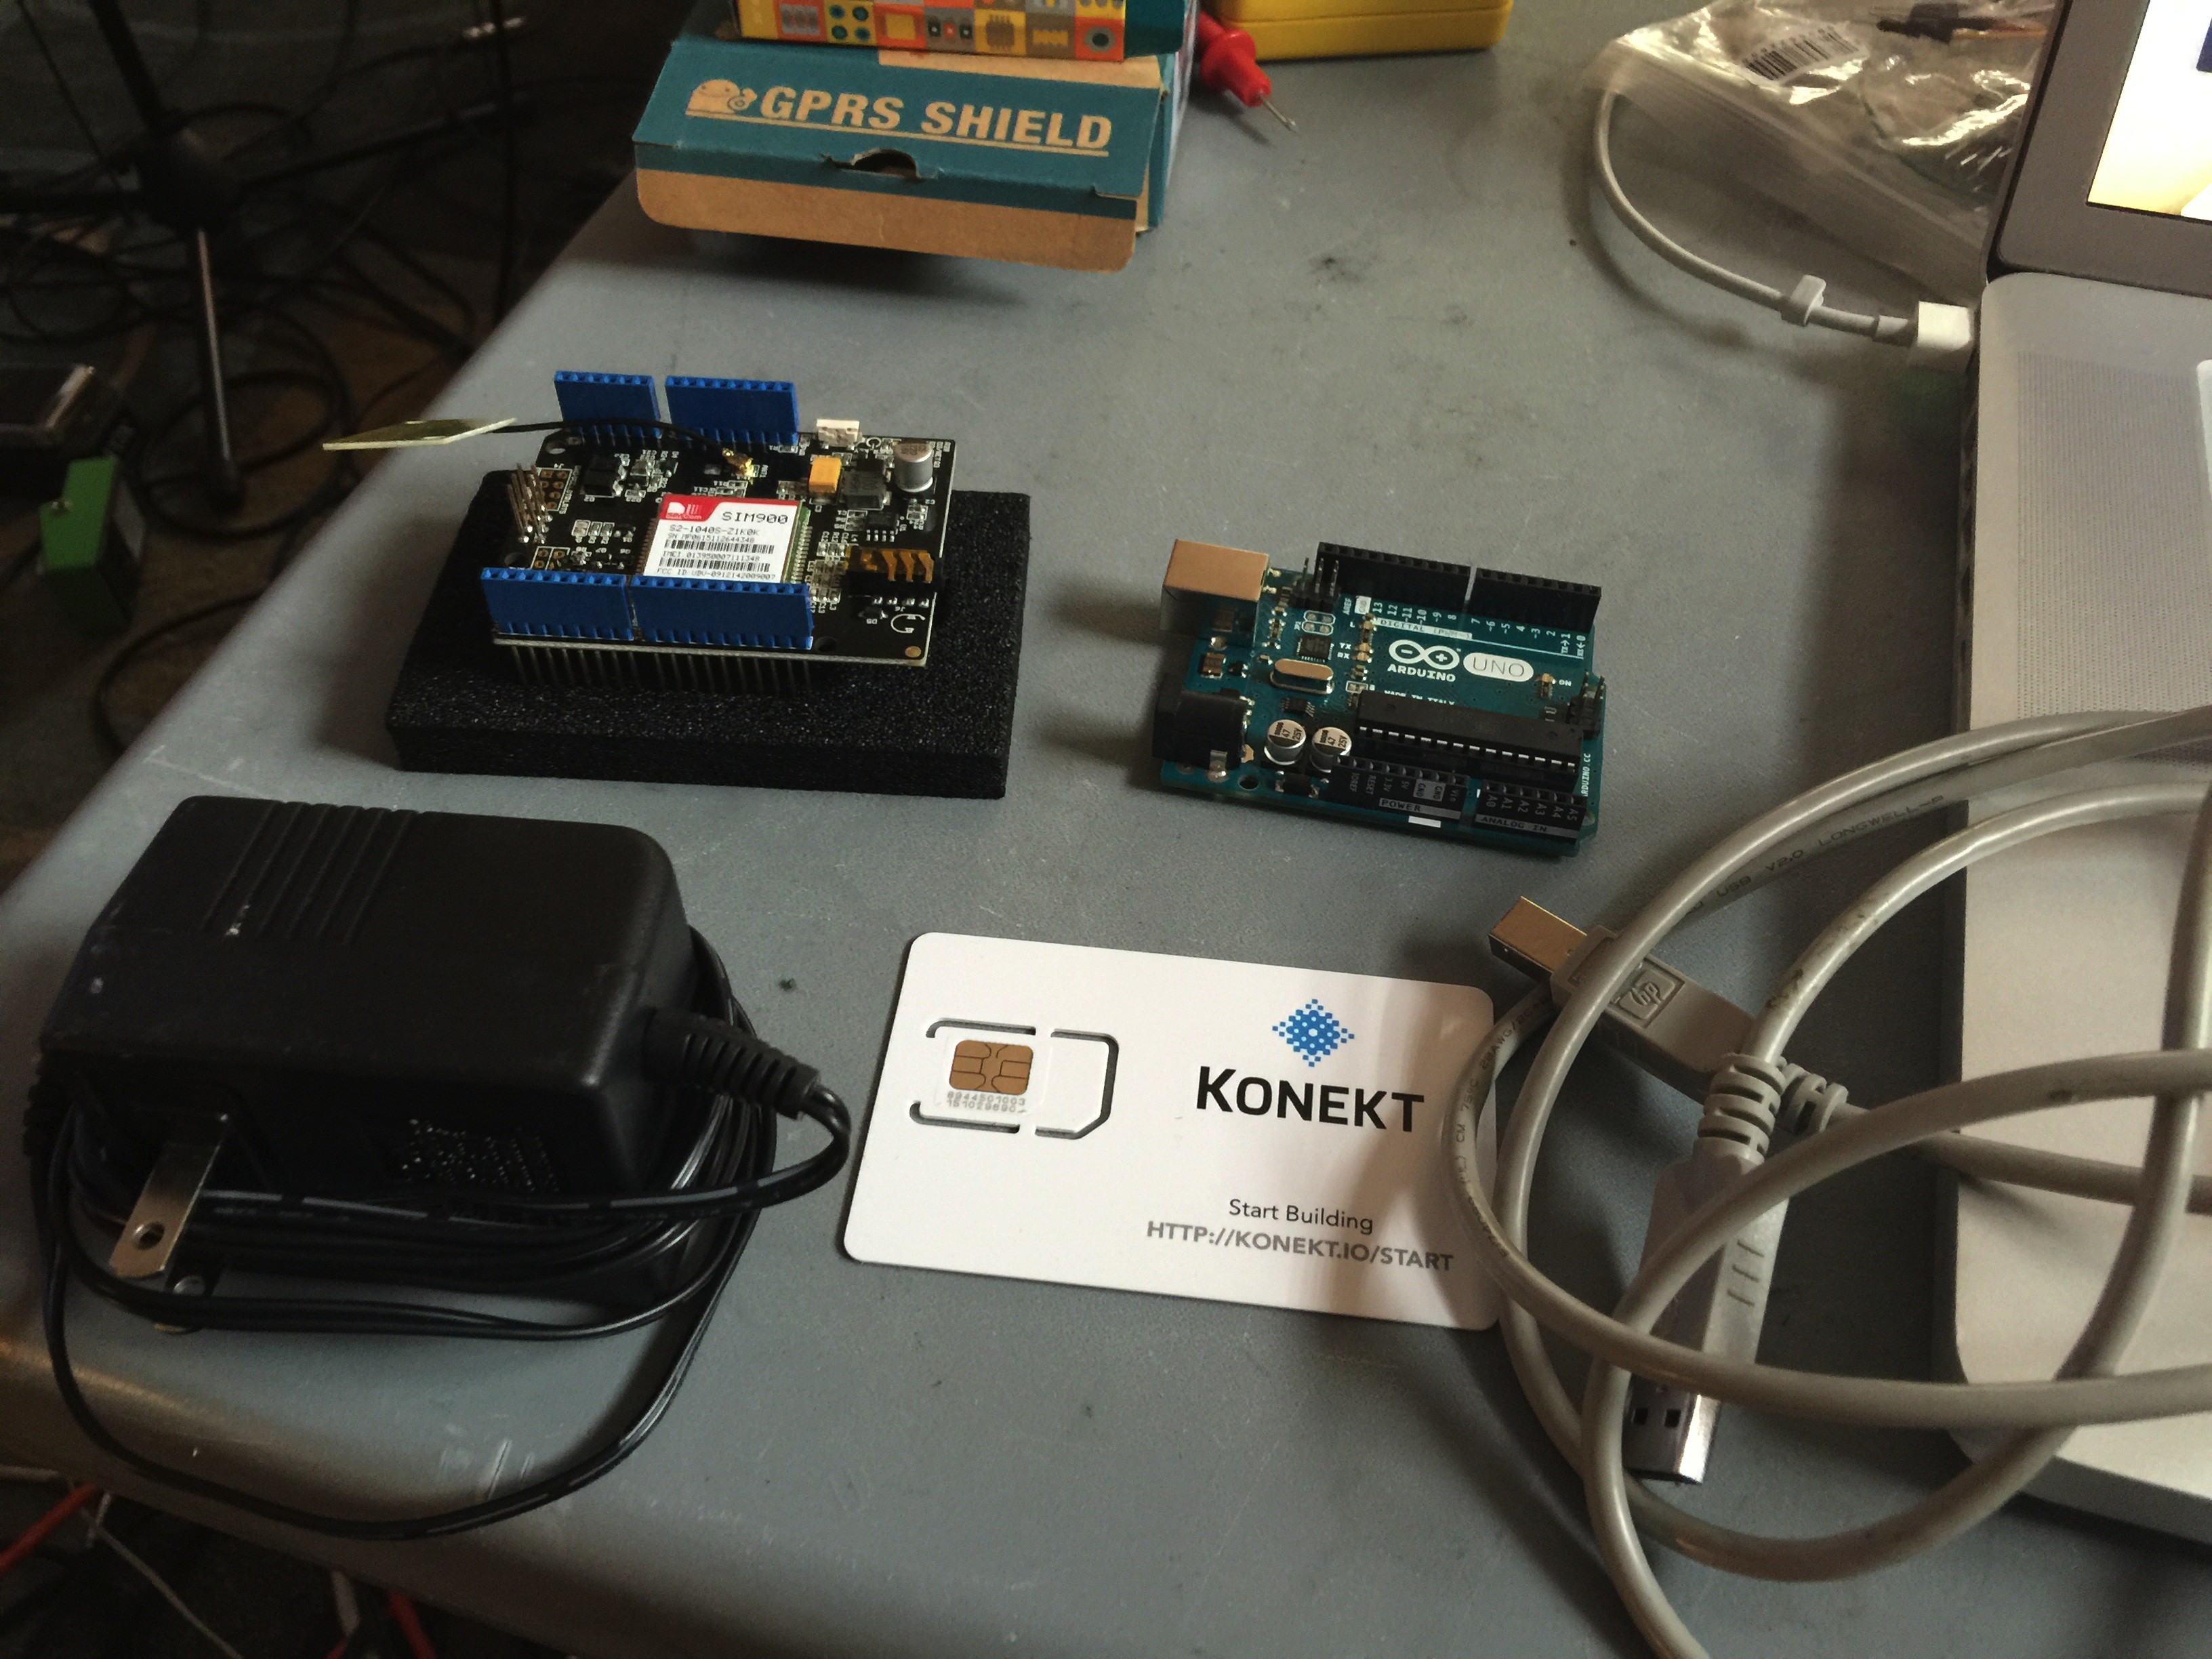
Unpack your beautiful new hardware
![]()
-
2Step 2
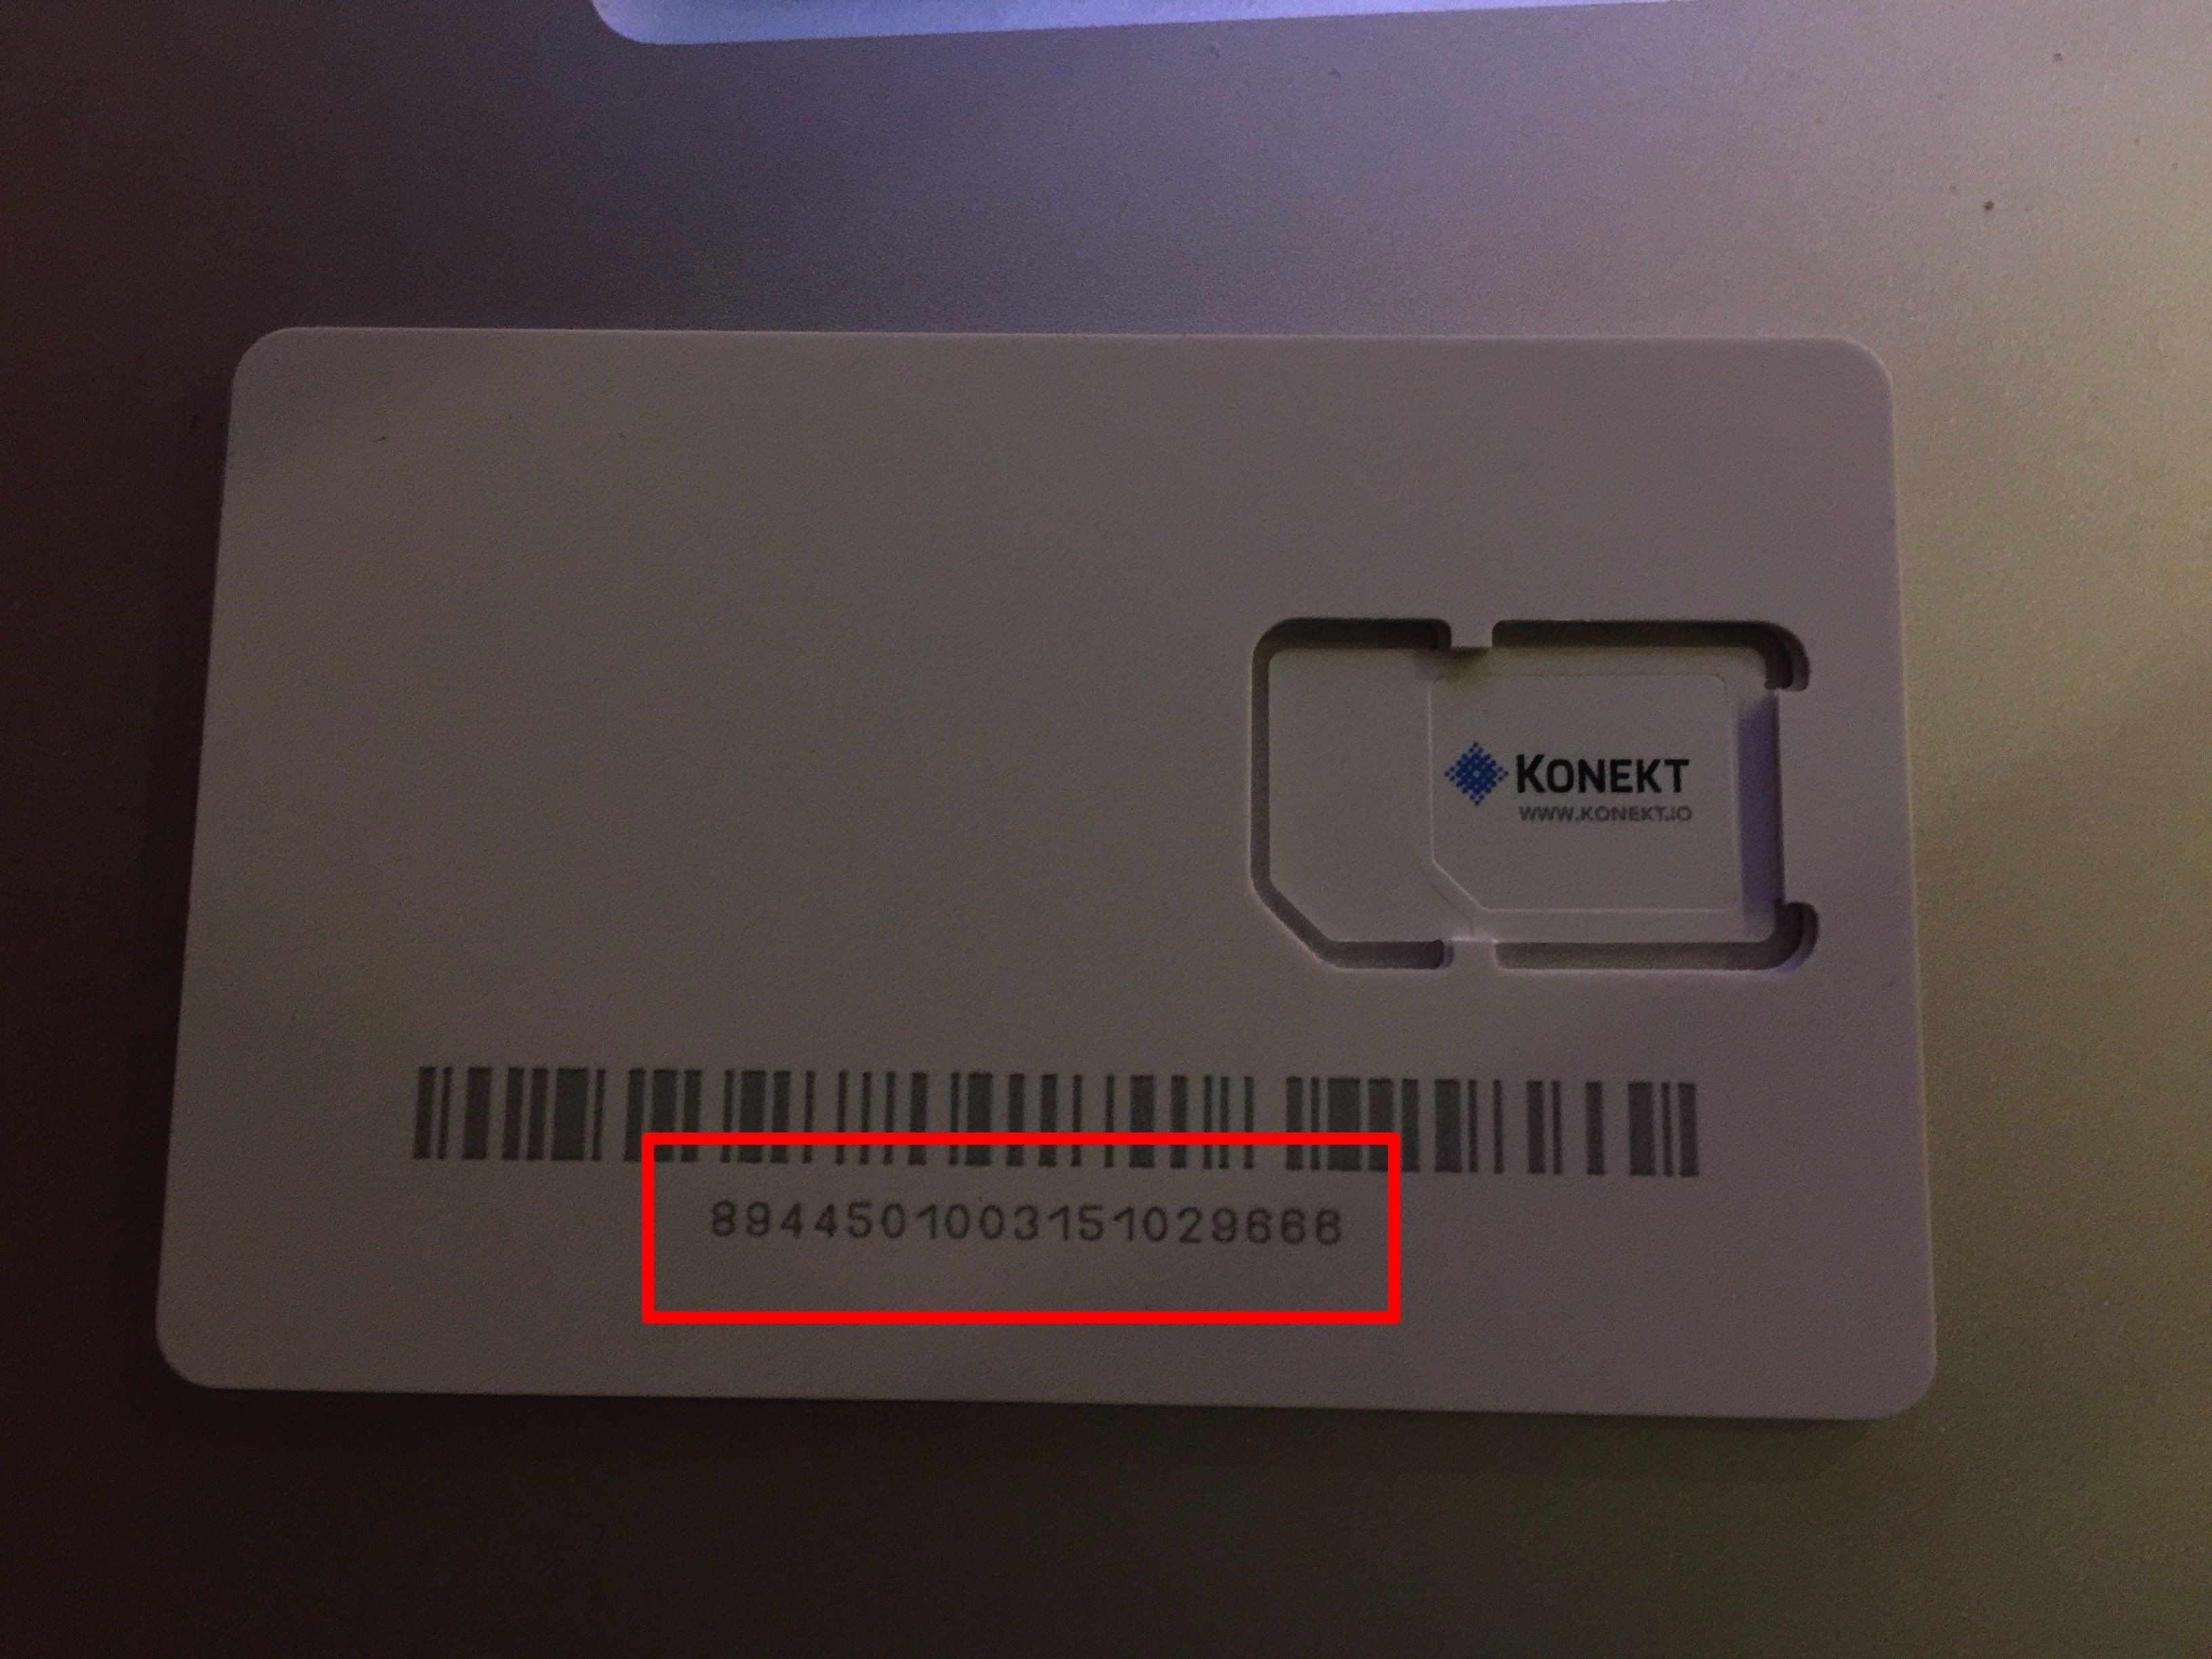
Register your SIM on the http://Konekt.io portal here
- The SIM number is the long number printed on the back of the white card (also printed directly on the SIM itself).
![]()
-
3Step 3
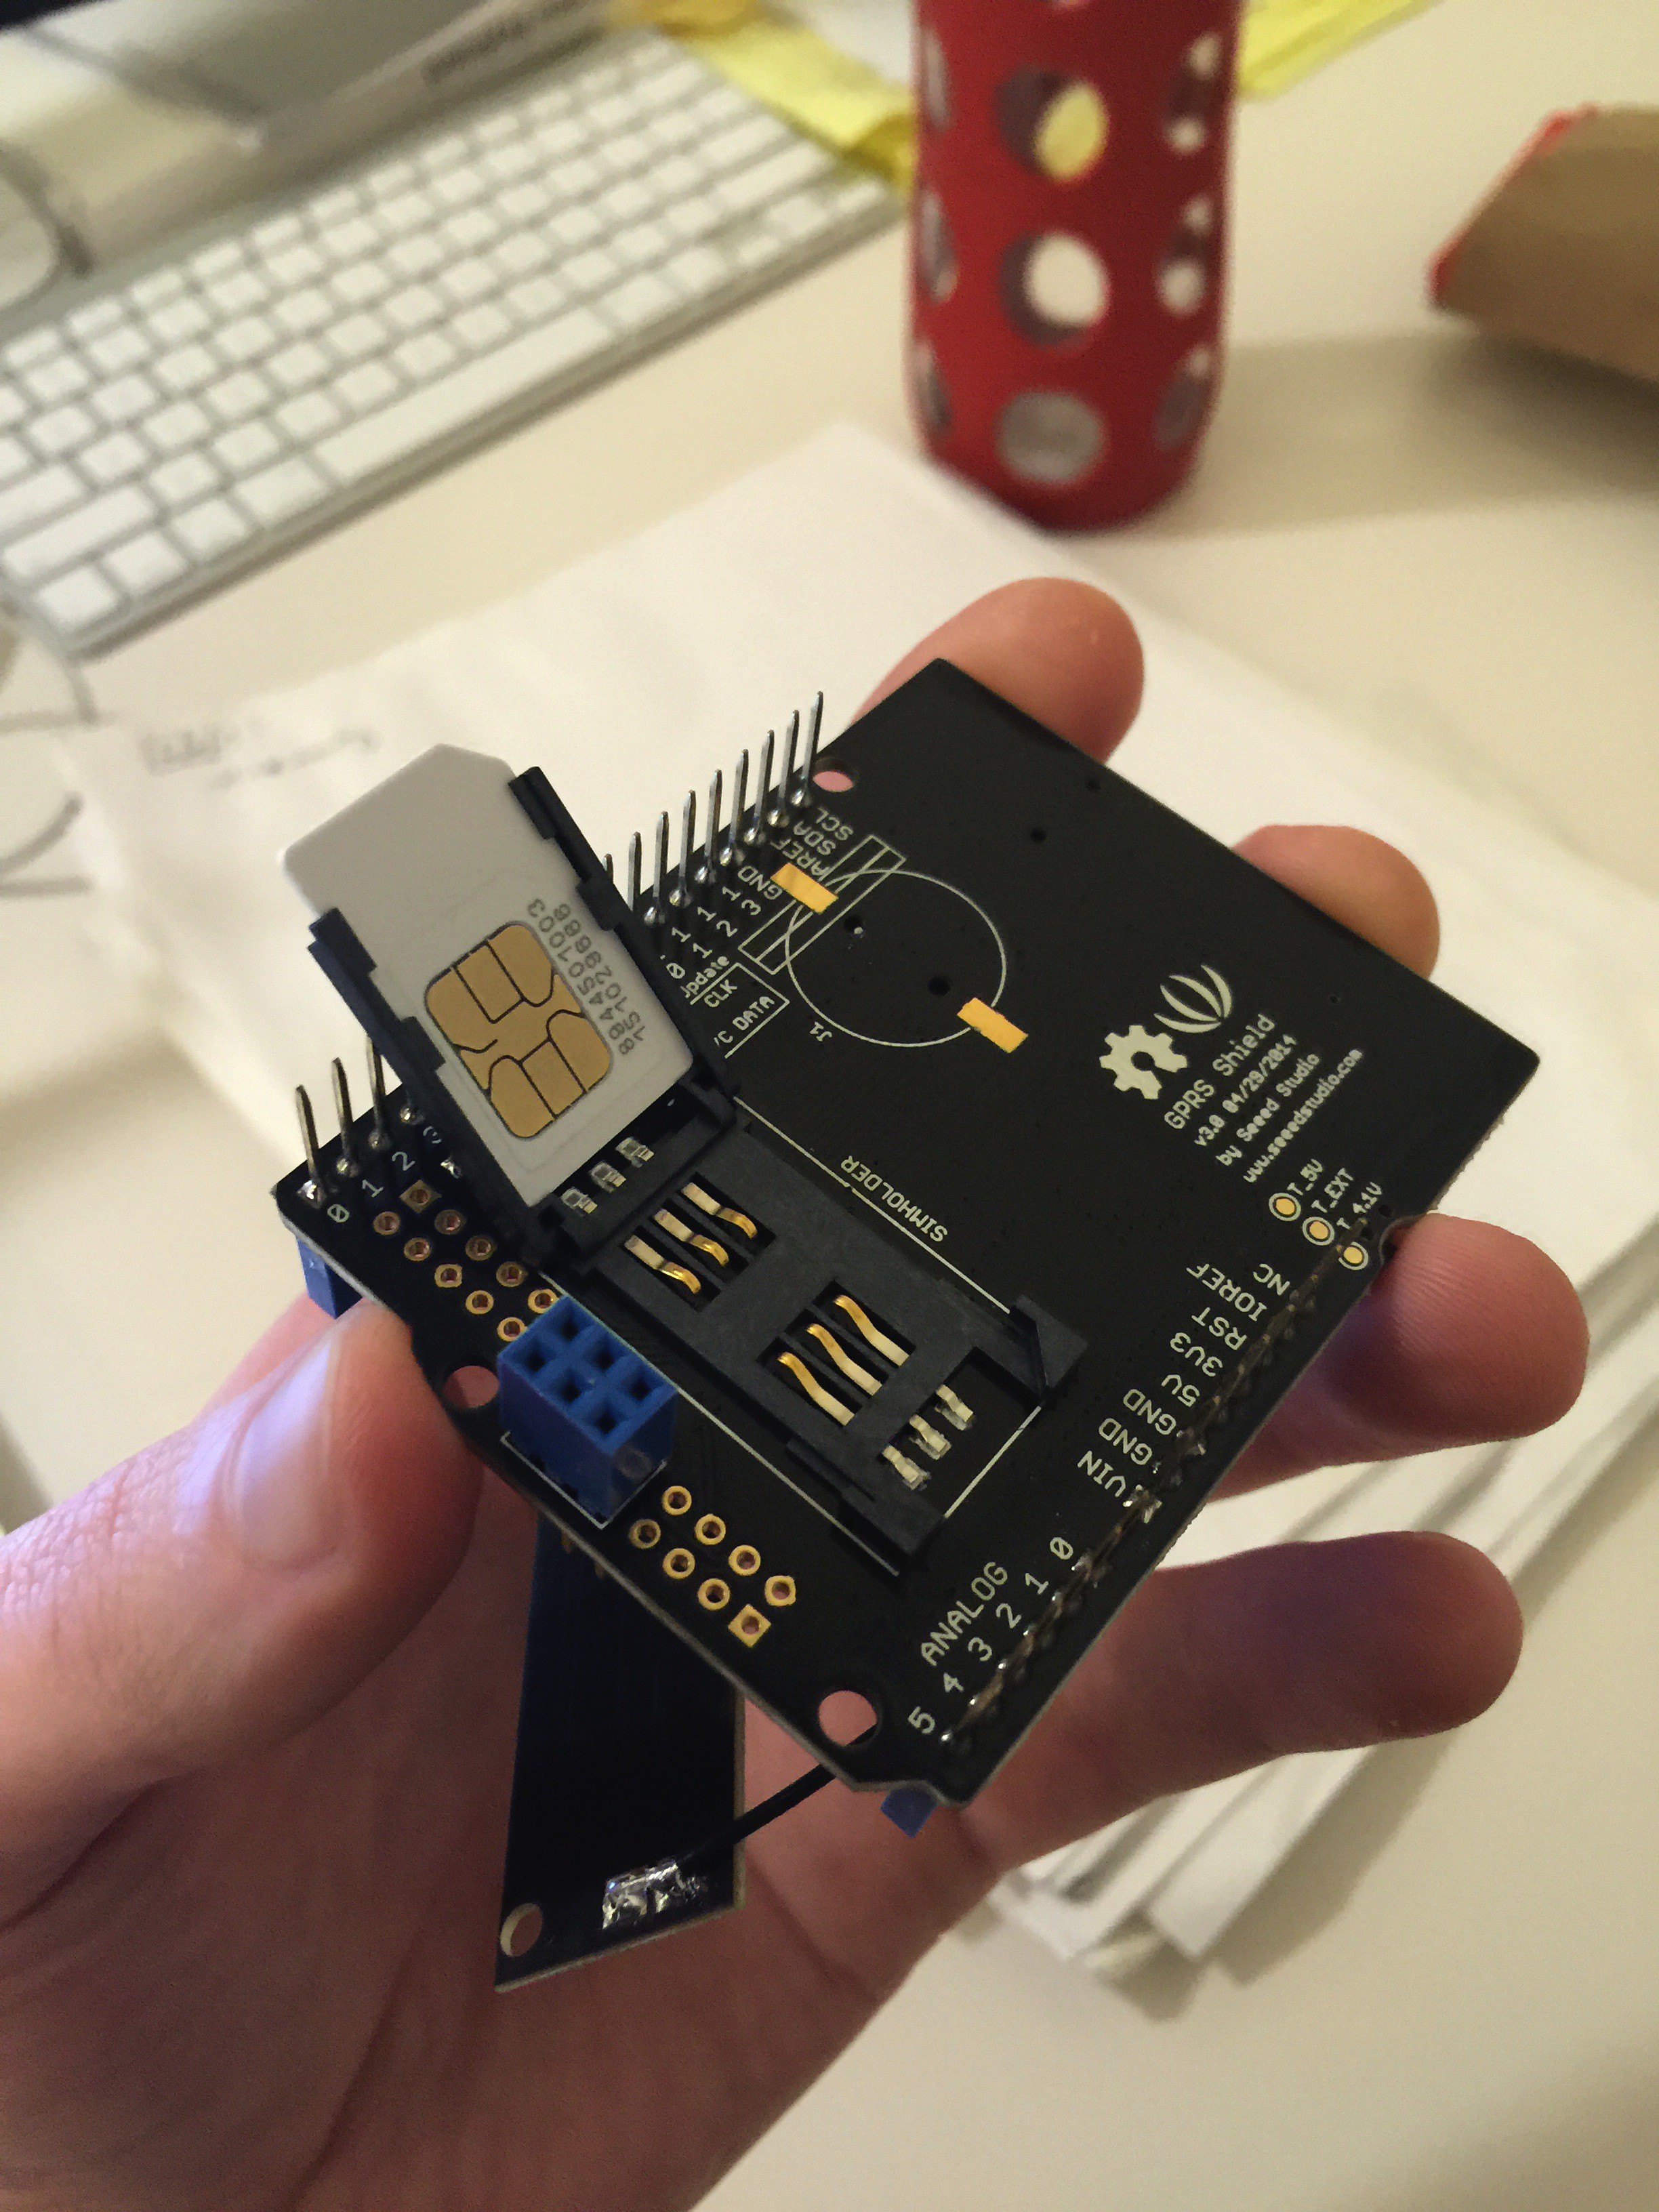
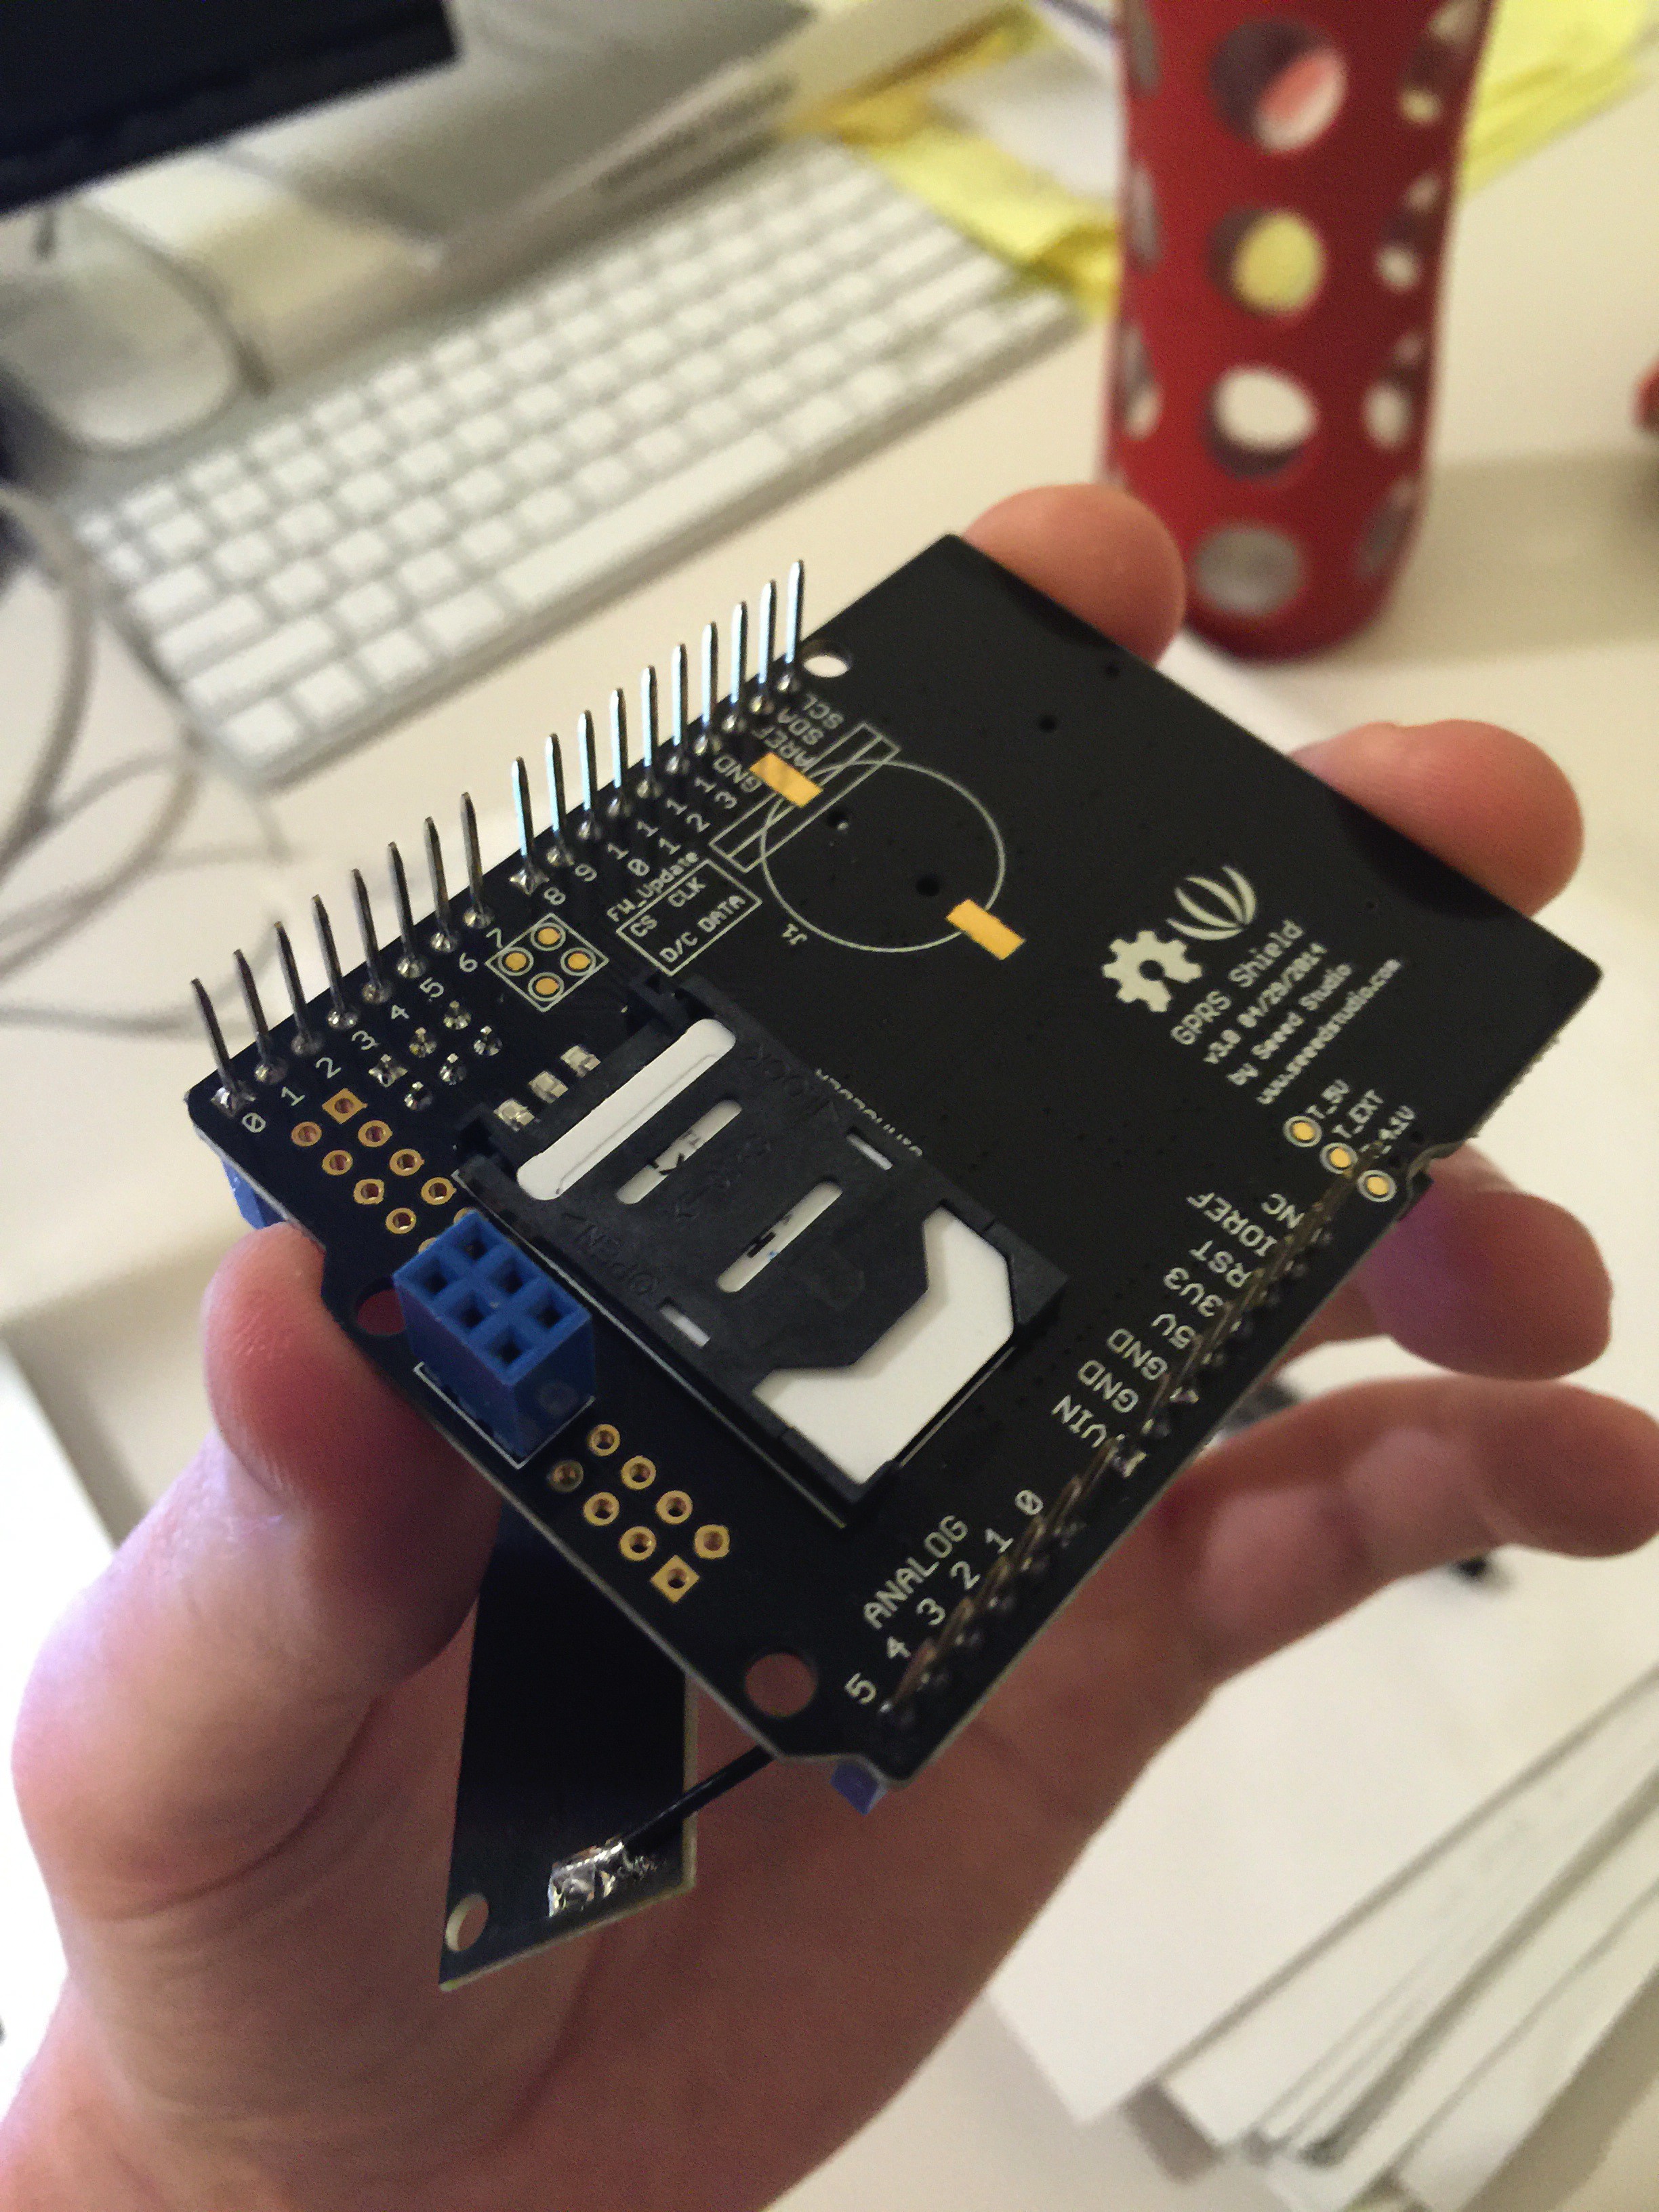
Punch out the Konekt SIM and slide it into the slot on the back of the GPRS shield
- To open the slot, you may need to slide the case slightly horizontal, in the direction of the "OPEN" arrow.
- Make sure the SIM is inserted so that the metal connectors will touch when the case is closed.
- After shutting the case, make sure to lock it by sliding it slightly horizontal in the direction of the "LOCK" arrow.
![]()
![]()
-
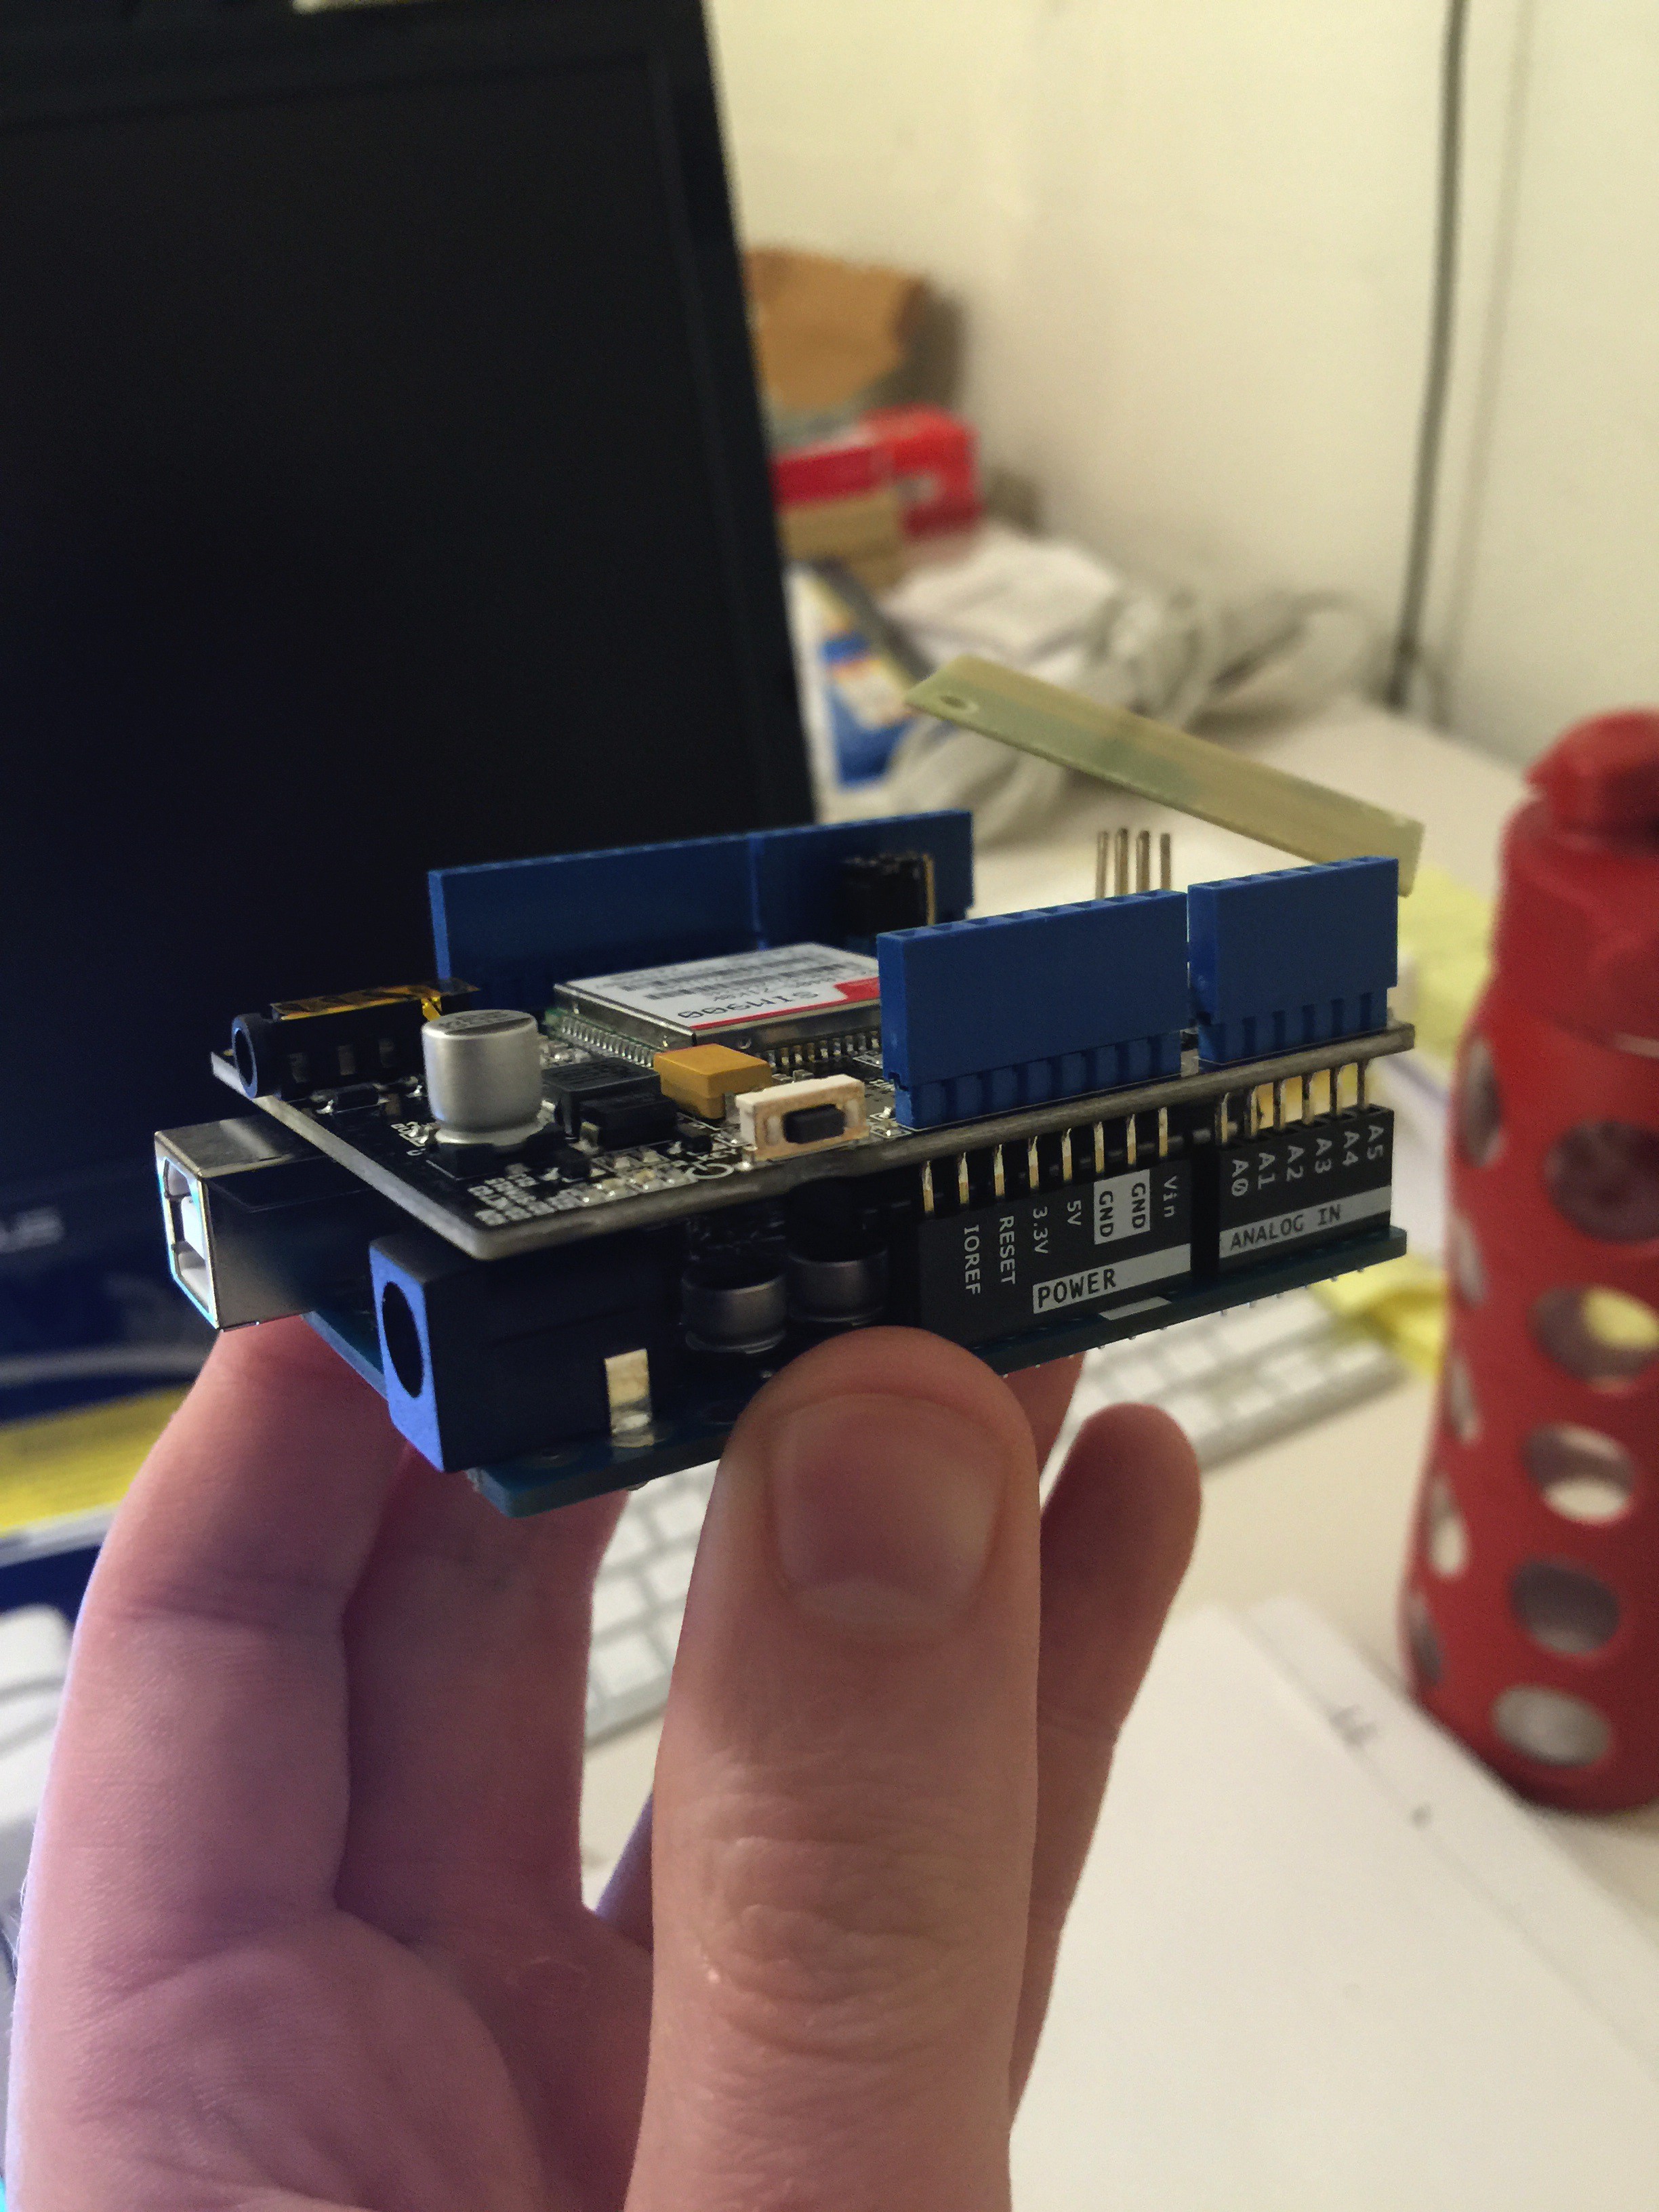
4Step 4
Stack and connect the GPRS shield on top of the Arduino
![]()
![]()
-
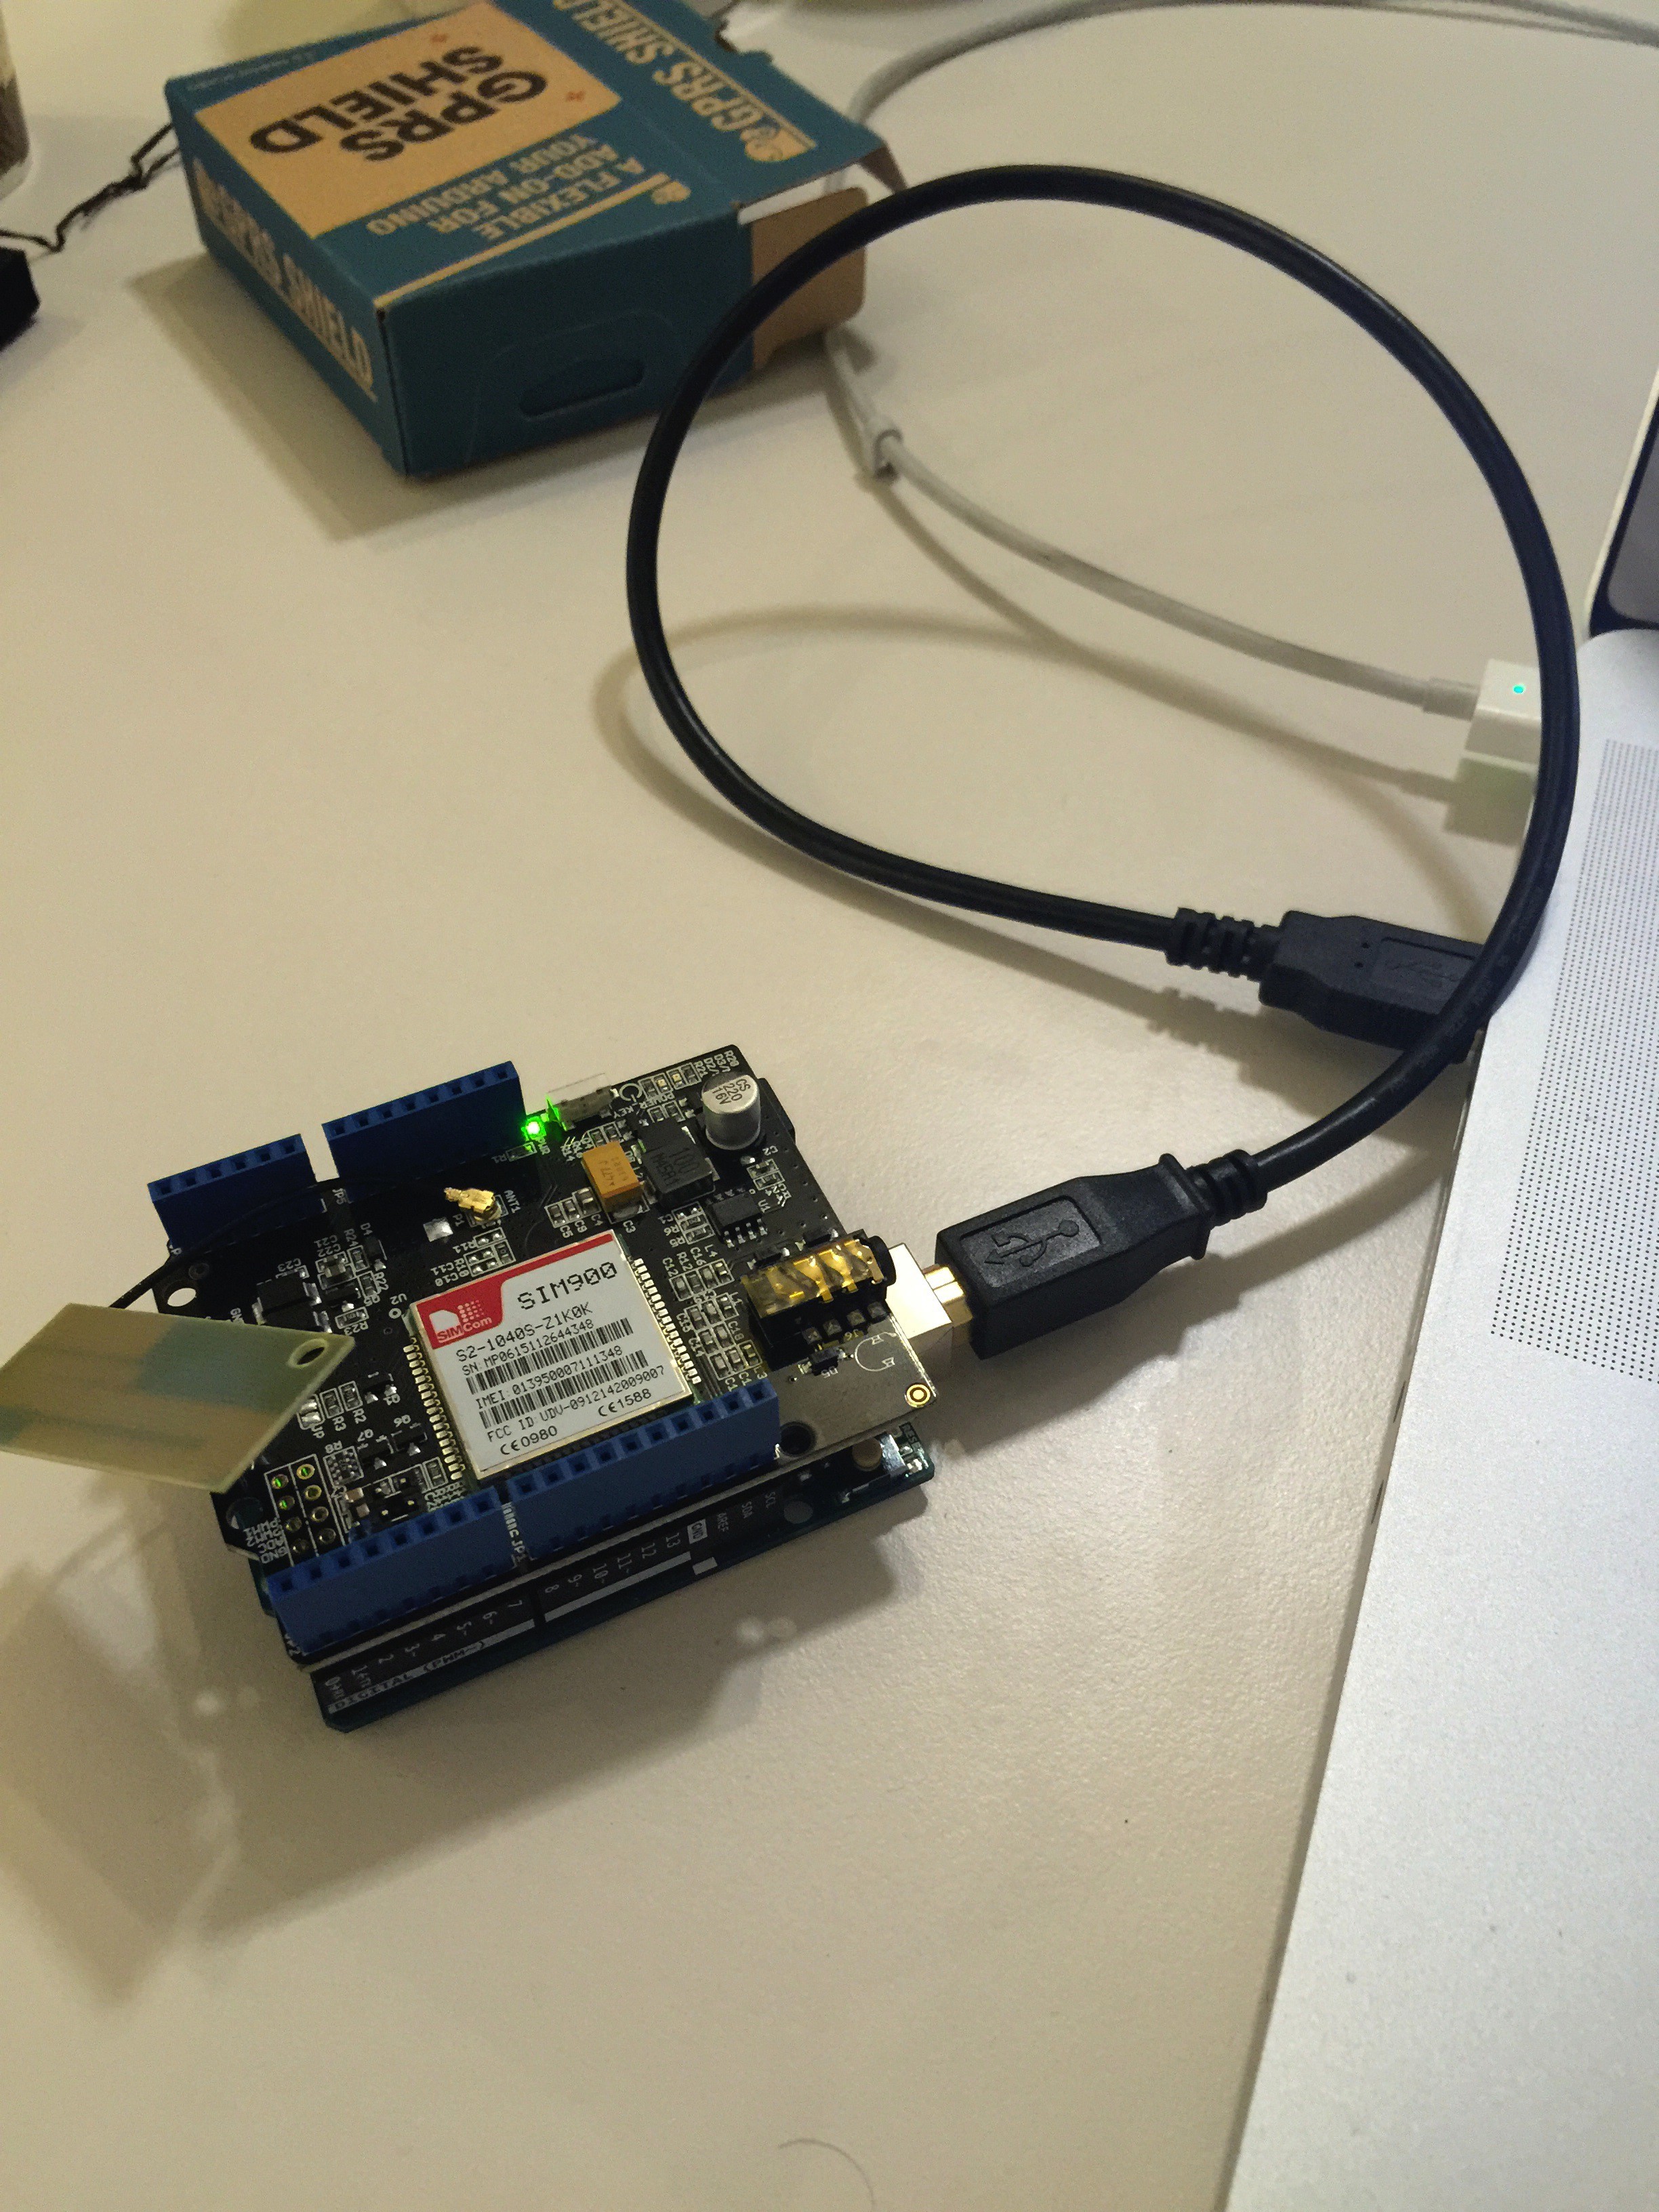
5Step 5
Connect your computer to the Arduino via USB
- A green light should illuminate on top of the GPRS shield.
- You may also want to plug in the power adapter at this time.
![]()
-
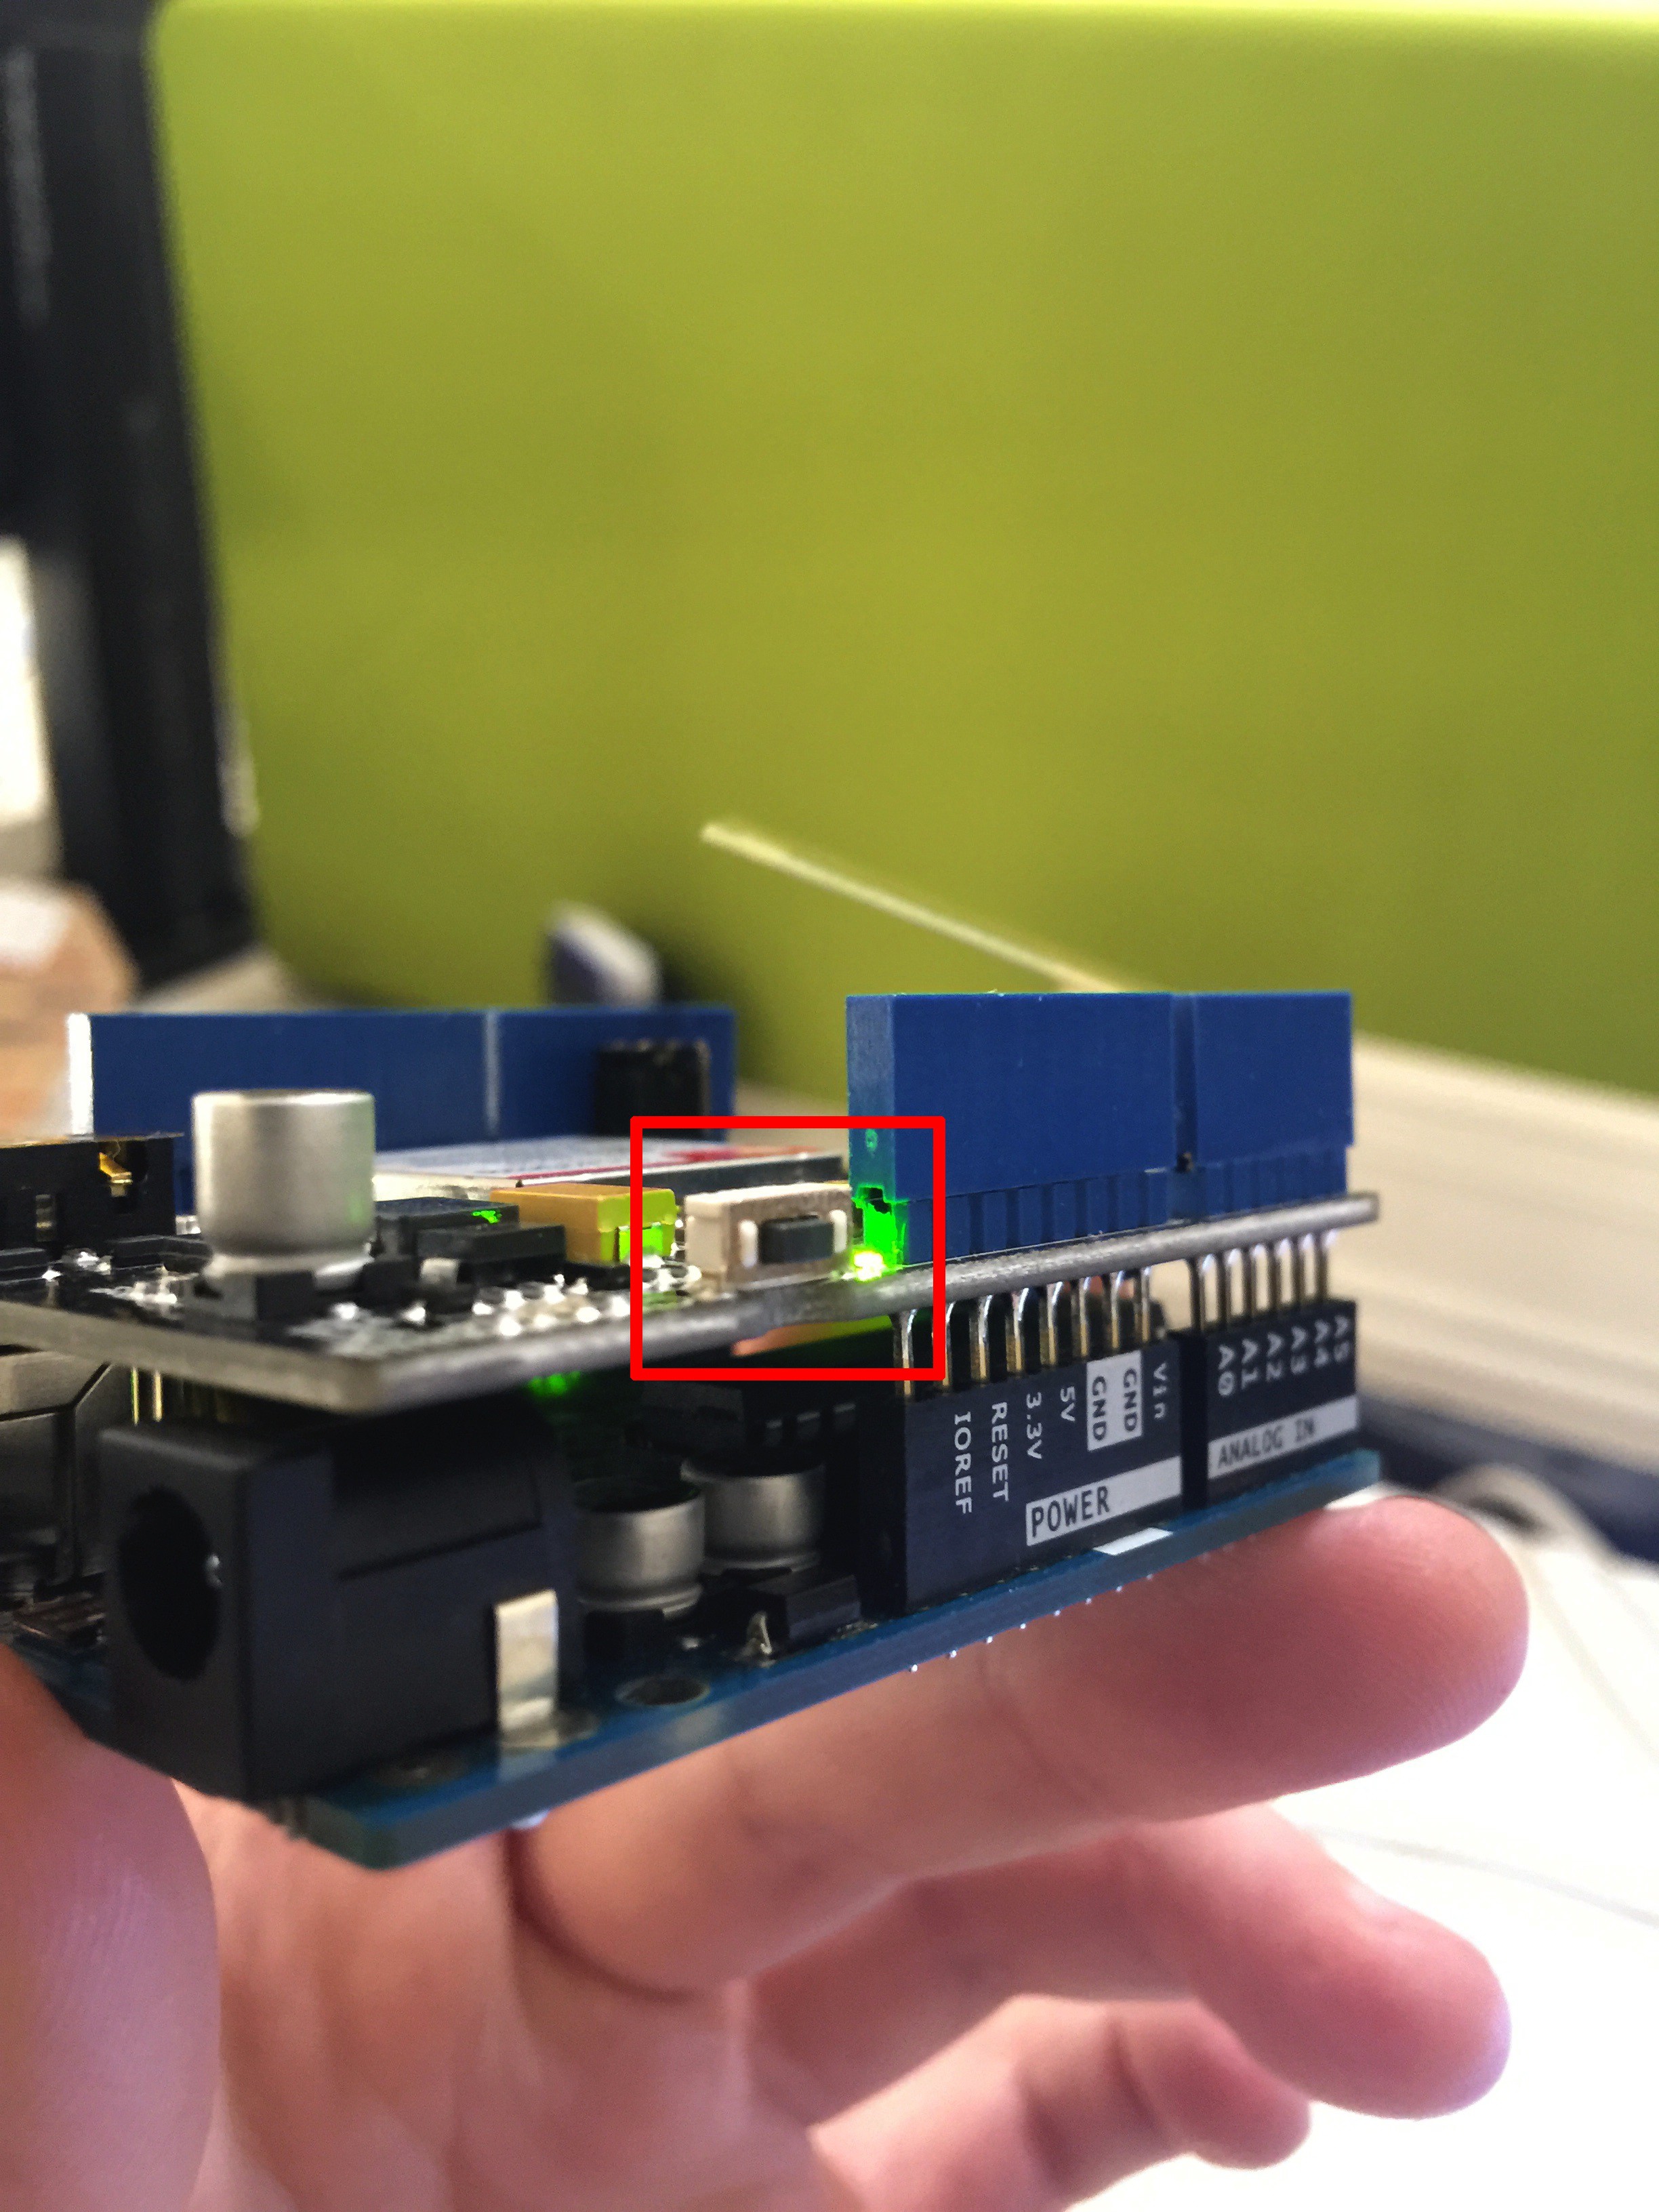
6Step 6
Power on the GPRS shield (tiny button on the side)
- Hold the button down for 2 seconds, then release. A red light will illuminate to tell you that the shield is on.
- A green light will start flashing next to the red light, about once every second – this flash rate tells us that the device is attempting to connect to the cell network.
- After about 5-10 seconds, the green light should slow down to a flash rate of about once every 3 seconds – this tells us that the device has connected to a cell network.
![]()
![]()
-
7Step 7
Boot up the Arduino Software
- For help getting the Arduino software up and running with your device, detailed step-by-step installation instructions can be found here.
-
8Step 8
Copy and paste the demo sketch I've provided below
- This is a modified sketch of the Seeed Studio GPRS source code example found here (reference this for an additional example of how to send an SMS). My modified sketch has simply filled in the Konekt APN and test url for you.
/* Note: this code is a demo for how to use a gprs shield to send an http request to a test website (using the Konekt APN) In order to communicate with the Arduino via terminal, make sure the outgoing baud rate is set to 19200, and that a carriage return is appended to the end of each command. Then, in order to initiate the demo http request, simply enter: 'h' into the terminal at the top of the serial monitor. */ #include <SoftwareSerial.h> SoftwareSerial mySerial(7, 8); void setup() { mySerial.begin(19200); // the GPRS baud rate Serial.begin(19200); // the GPRS baud rate delay(500); } void loop() { // Input 'h' to run the test HTTP program if (Serial.available()) switch(Serial.read()) { case 'h': SubmitHttpRequest(); break; } if (mySerial.available()) Serial.write(mySerial.read()); } // SubmitHttpRequest() // // Note: the time of the delays are very important void SubmitHttpRequest() { // Query signal strength of device mySerial.println("AT+CSQ"); delay(100); ShowSerialData(); // Check the status of Packet service attach. '0' implies // device is not attached and '1' implies device is // attached. mySerial.println("AT+CGATT?"); delay(100); ShowSerialData(); // Set the SAPBR, the connection type is using gprs mySerial.println("AT+SAPBR=3,1,\"CONTYPE\",\"GPRS\""); delay(1000); ShowSerialData(); // Set the APN mySerial.println("AT+SAPBR=3,1,\"APN\",\"http://apn.konekt.io\""); delay(4000); ShowSerialData(); // Set the SAPBR, for detail you can refer to the AT // command manual mySerial.println("AT+SAPBR=1,1"); delay(2000); ShowSerialData(); // Init the HTTP request mySerial.println("AT+HTTPINIT"); delay(2000); ShowSerialData(); // Set HTTP params, the second param is the website to // request mySerial.println("AT+HTTPPARA=\"URL\",\"http://konekt.io/test.html\""); delay(1000); ShowSerialData(); //Set the context ID mySerial.println("AT+HTTPPARA=\"CID\",1"); delay(1000); ShowSerialData(); // Submit the request mySerial.println("AT+HTTPACTION=0"); // The delay is very important, the delay time is based on // the return time from the website, if the return data is // verylarge, the time required might be longer. delay(10000); ShowSerialData(); // Read the data from the accessed website mySerial.println("AT+HTTPREAD"); delay(10000); ShowSerialData(); // Close the HTTP connection and display the data mySerial.println("AT+HTTPTERM"); delay(100); } // ShowSerialData() // This is to show the data from gprs shield, to help // see how the gprs shield submits an http request. void ShowSerialData() { while(mySerial.available()!=0) Serial.write(mySerial.read()); } -
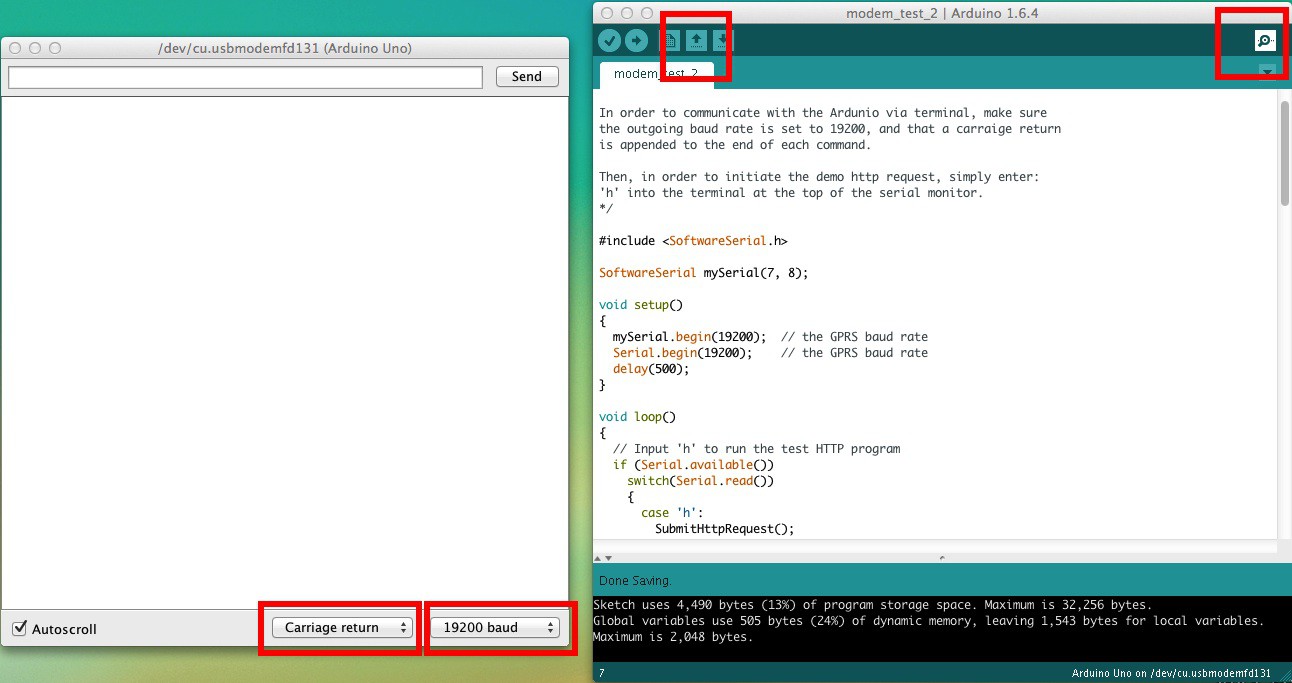
9Step 9
Upload the sketch to the Arduino and open the serial monitor
- Make sure the baud rate is set to 19200, with a carriage return appended to the end of each command.
![]()
-
10Step 10Enter 'h' into the terminal at the top of the serial monitor to run the test-HTTP script
Connecting Arduino to Cellular via Konekt
Use Konekt's M2M Platform to Connect an Arduino to Cellular!


Discussions
Become a Hackaday.io Member
Create an account to leave a comment. Already have an account? Log In.