Leon Bataille
-
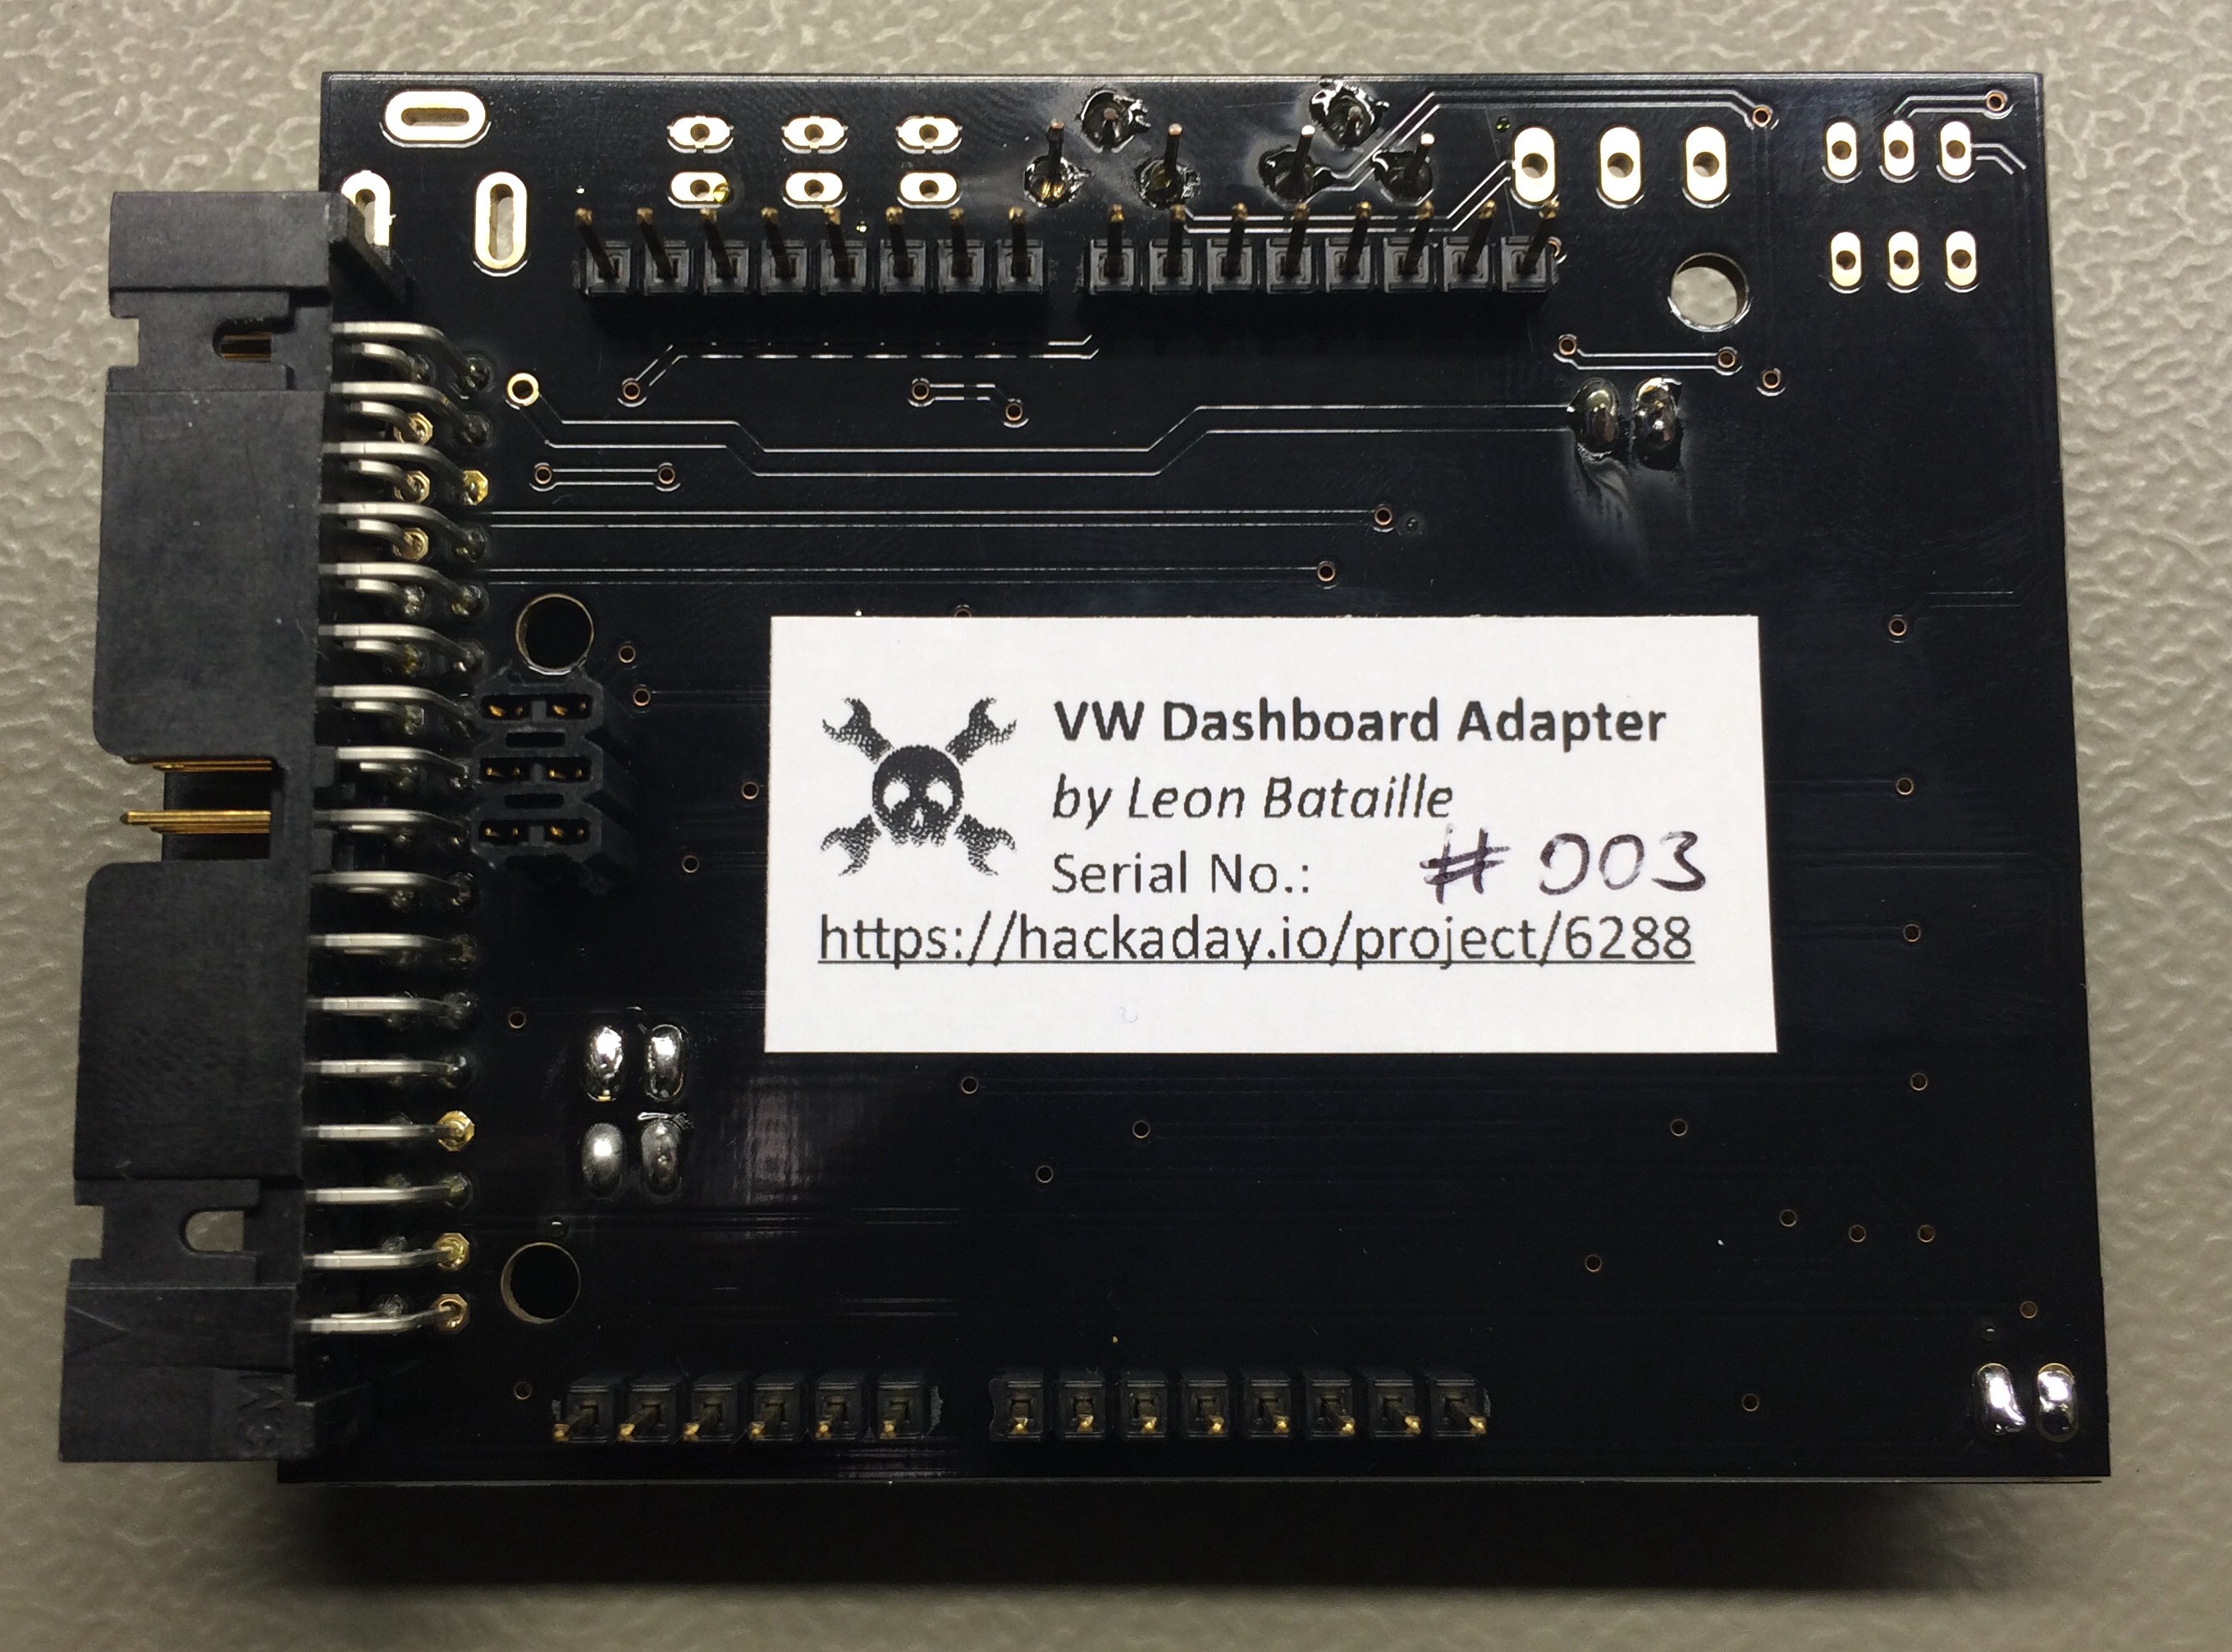
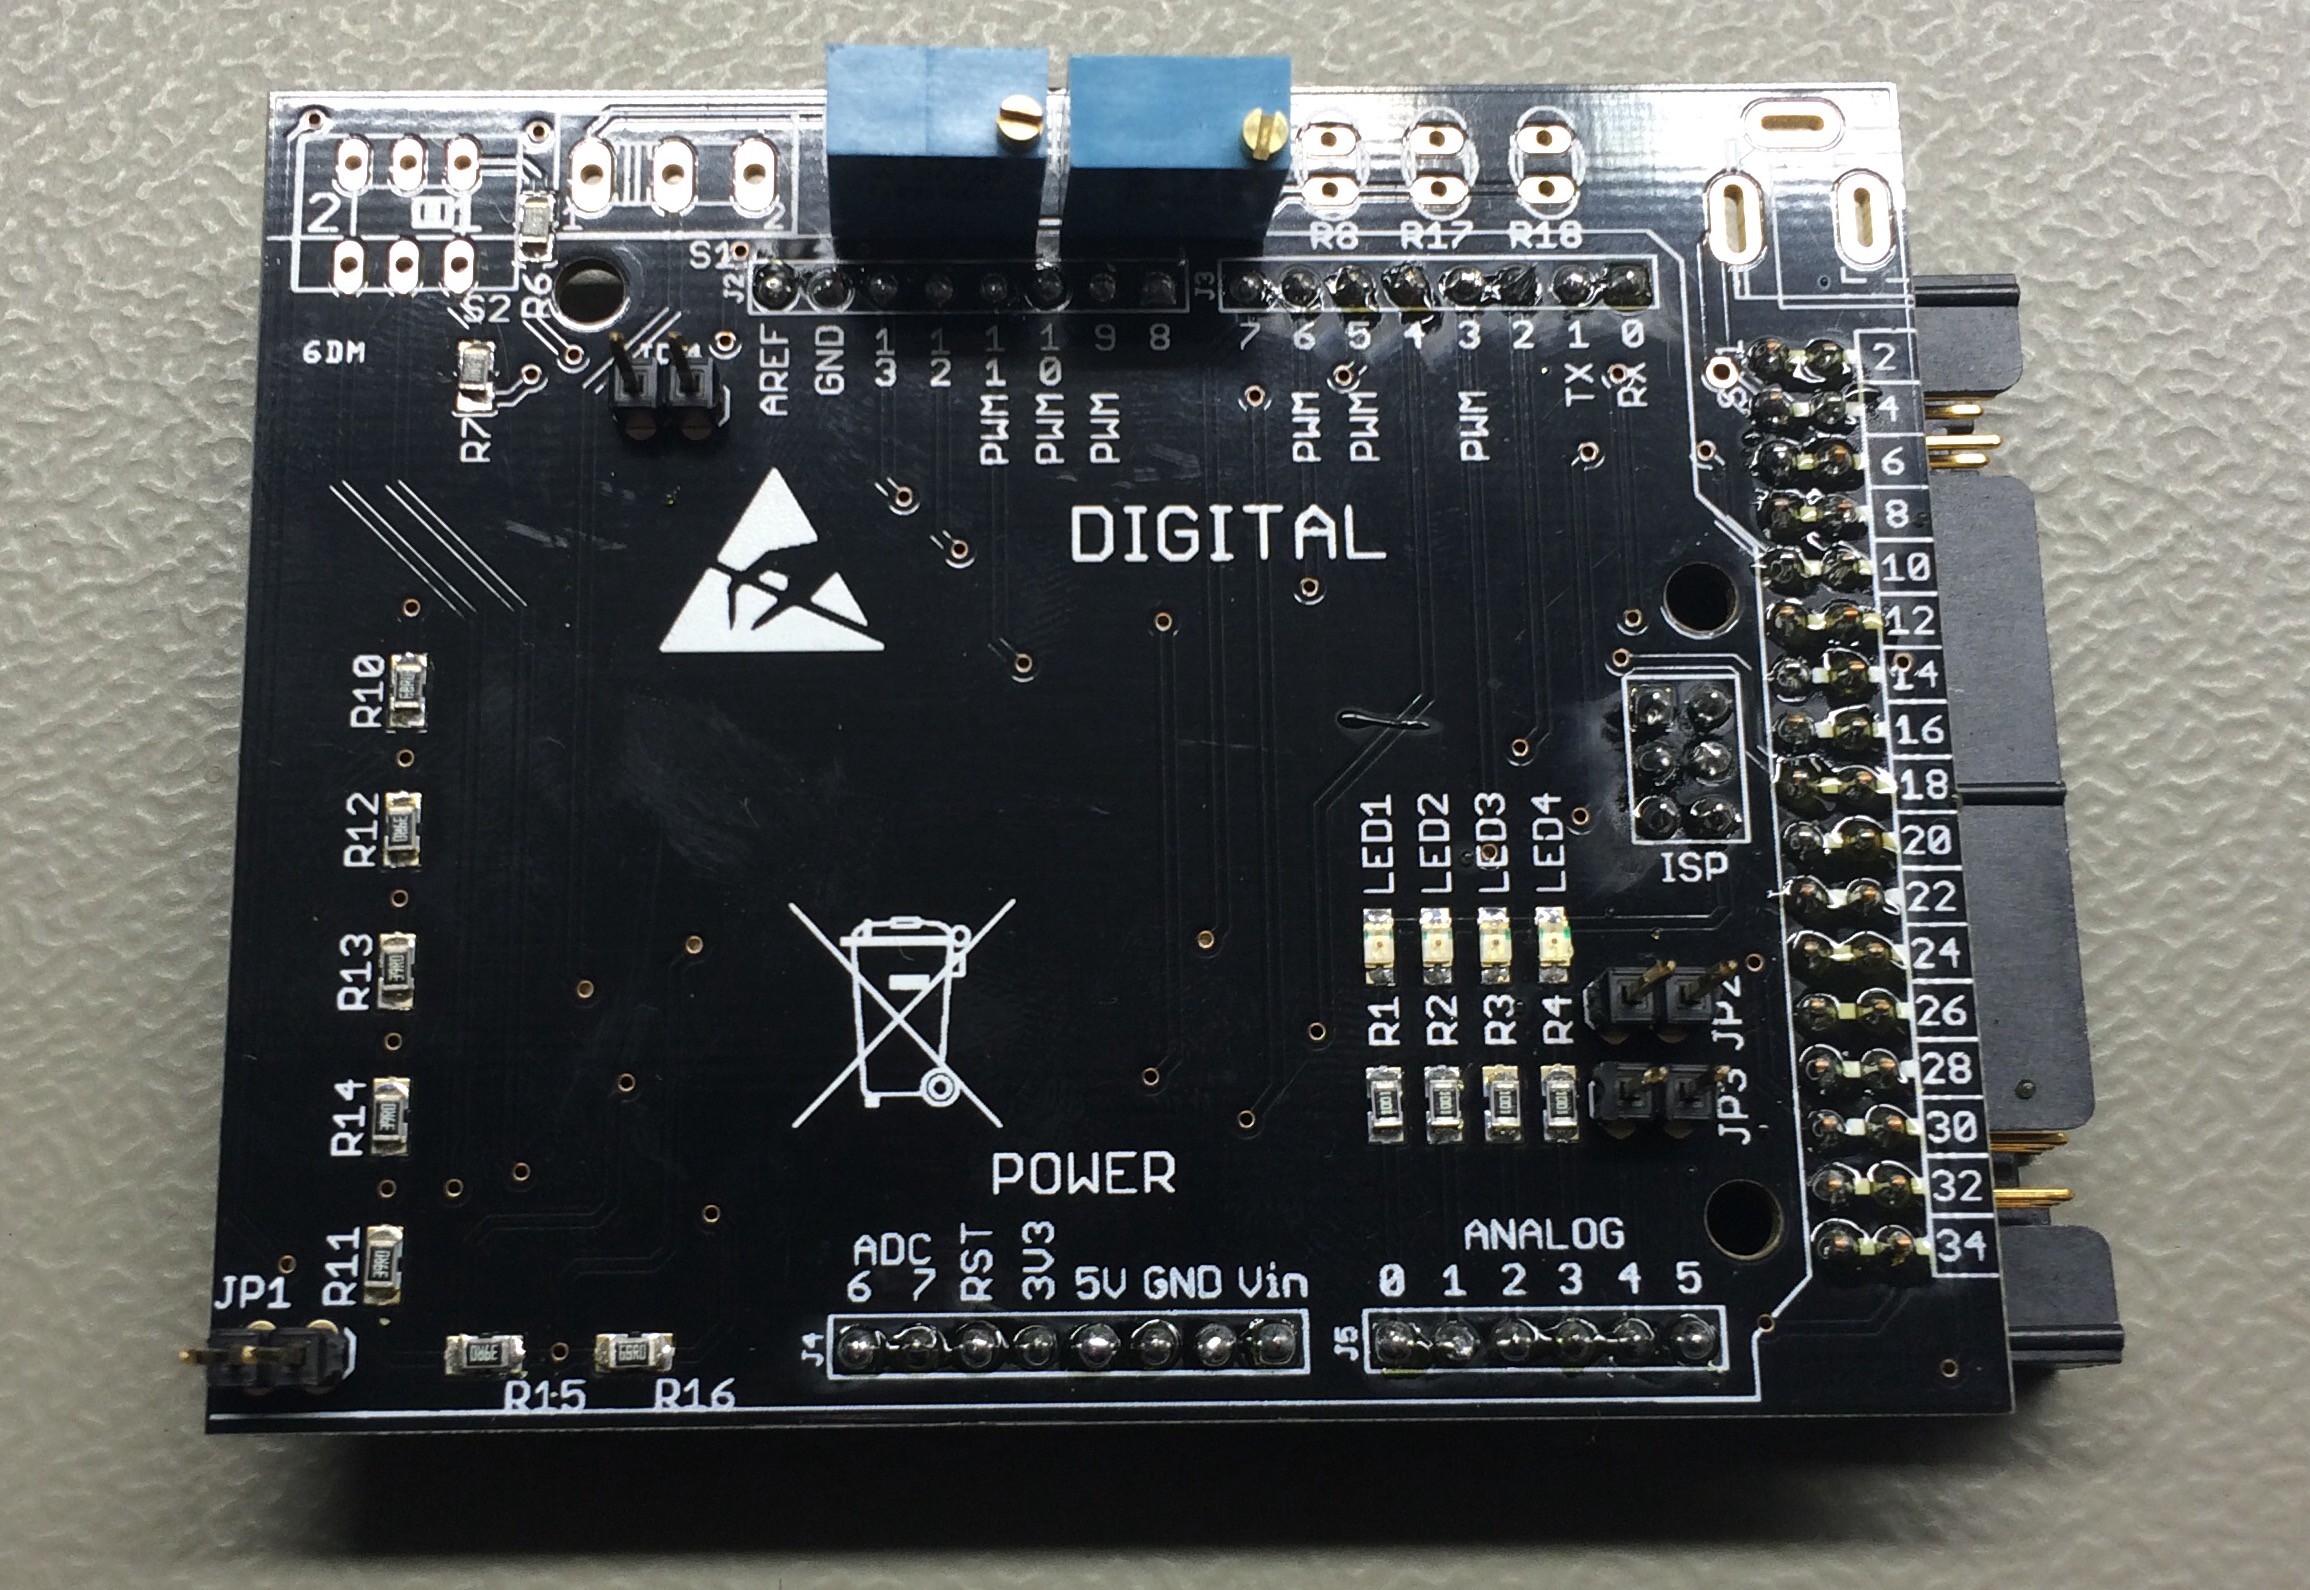
First PCBs are ready
11/19/2015 at 14:48 • 1 commentThe first PCBs are ready to use.
![]()
![]()
-
Equipping the Board
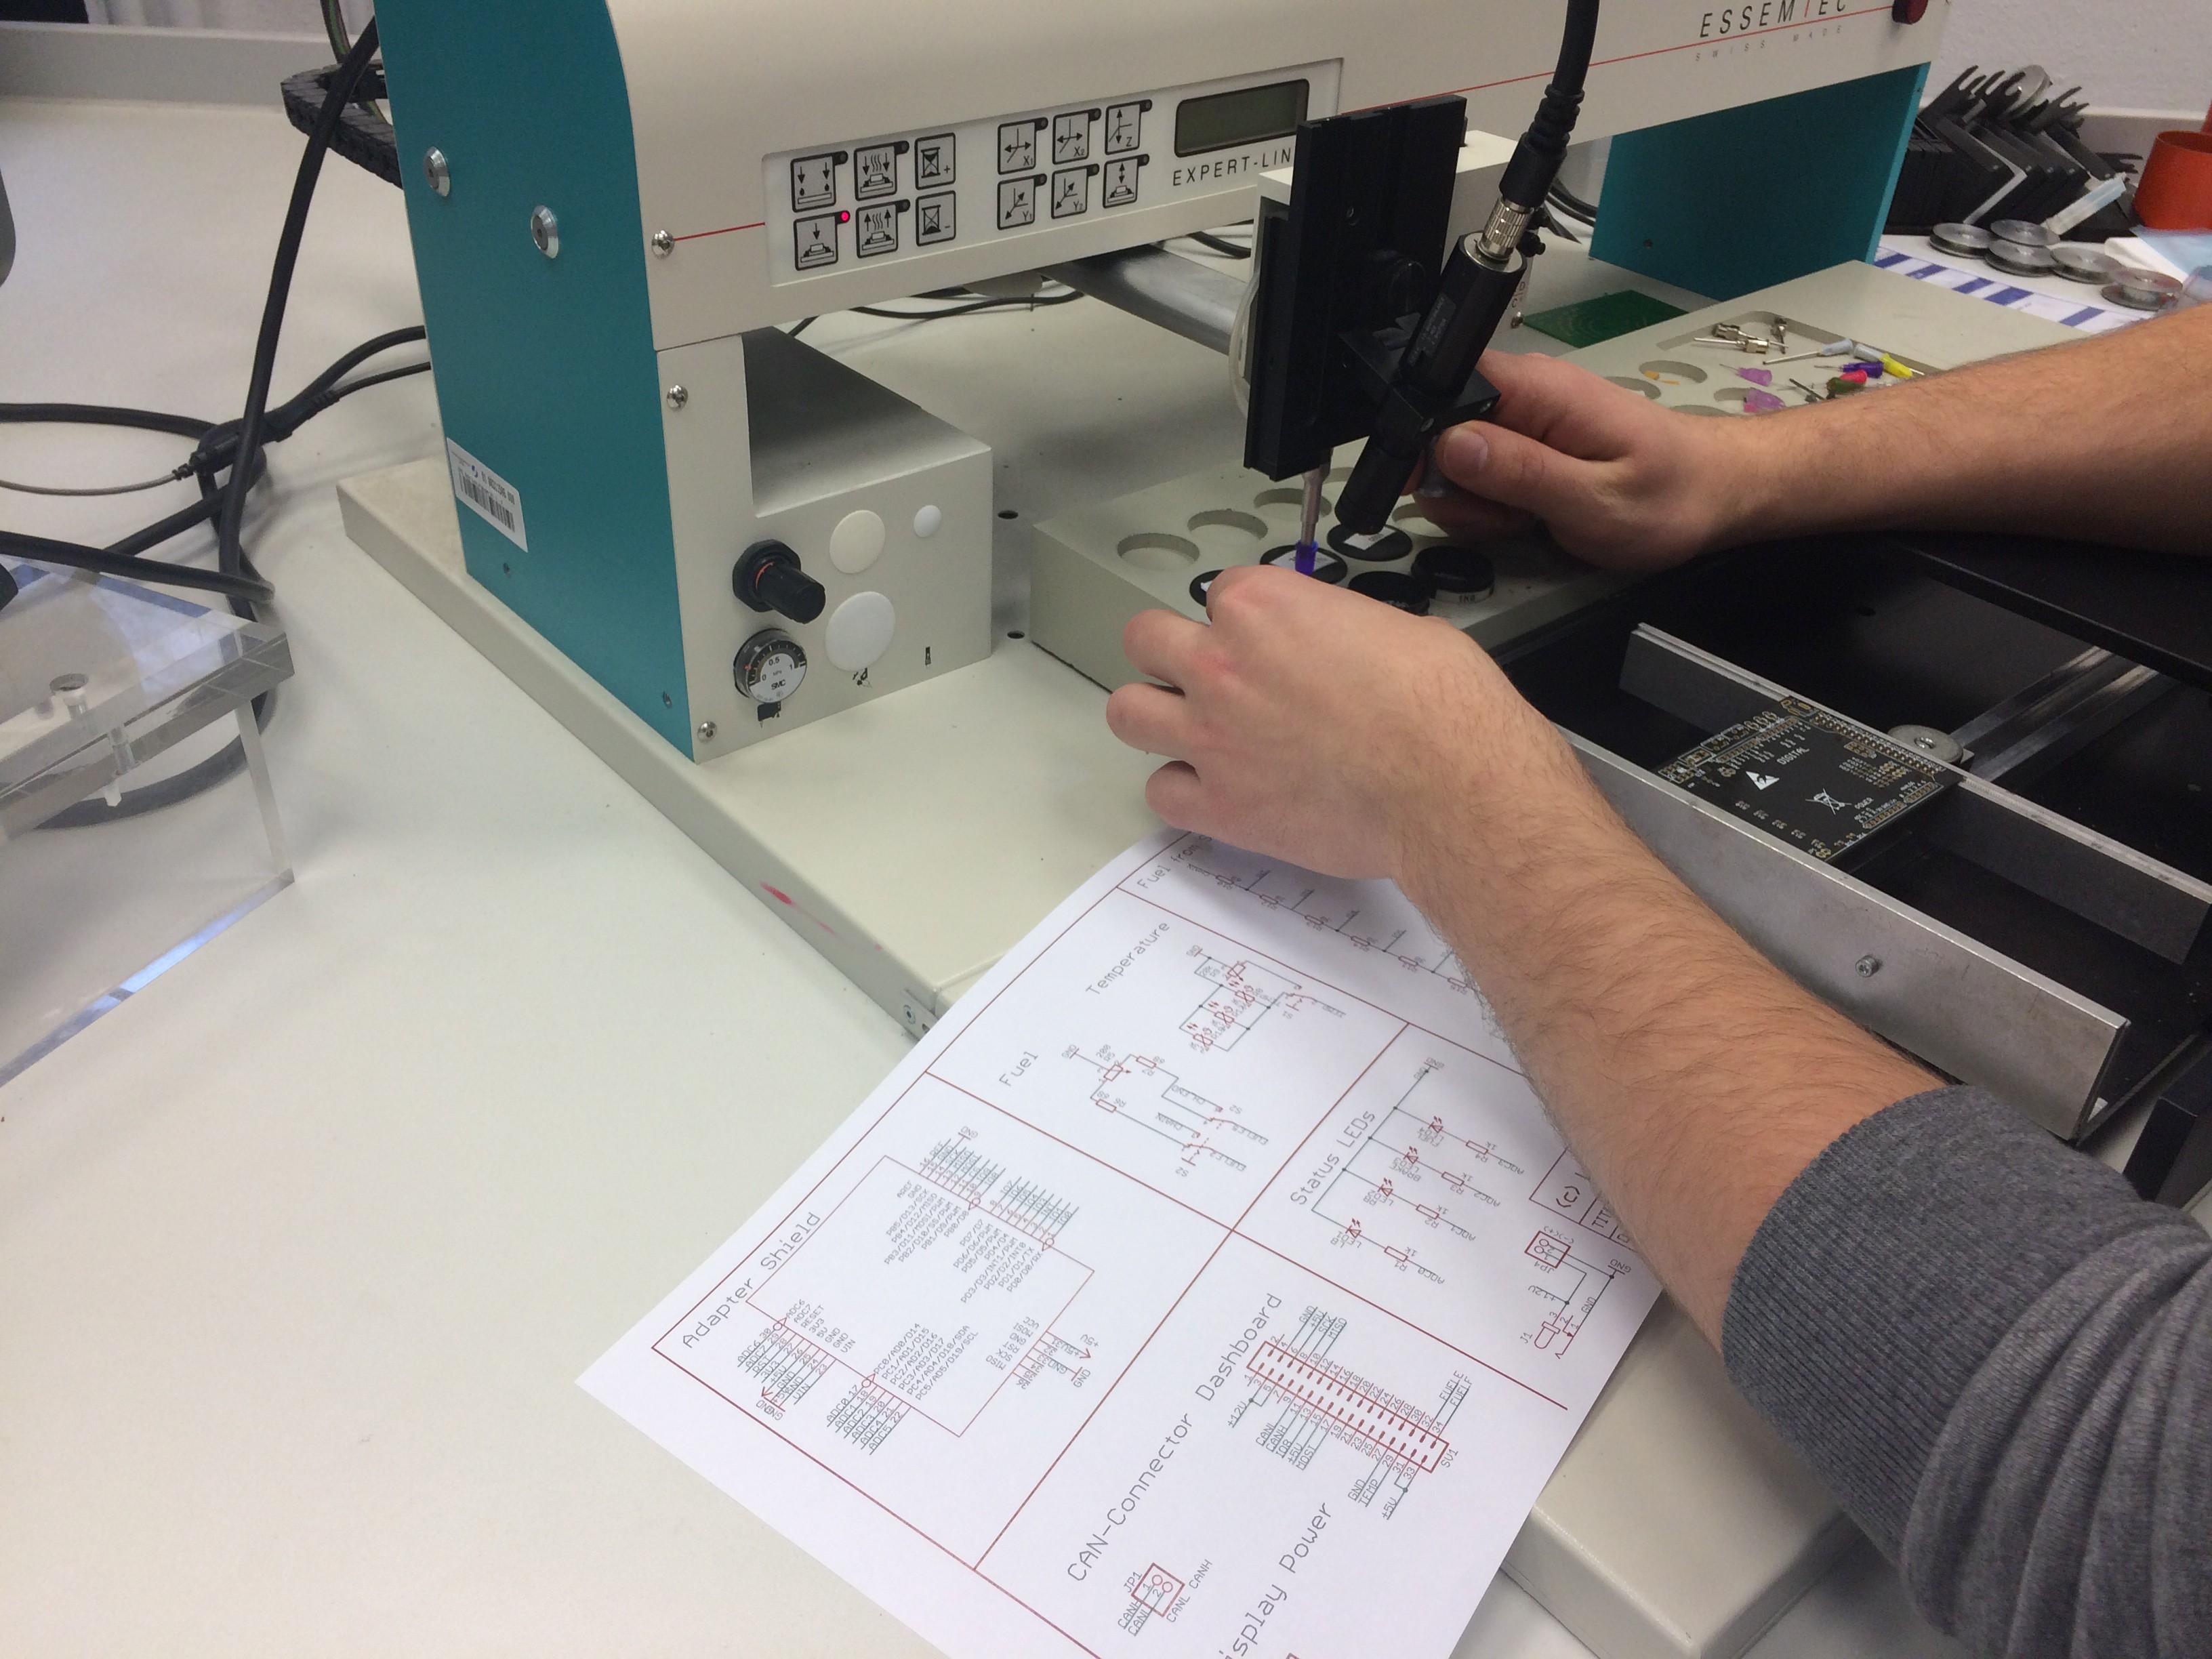
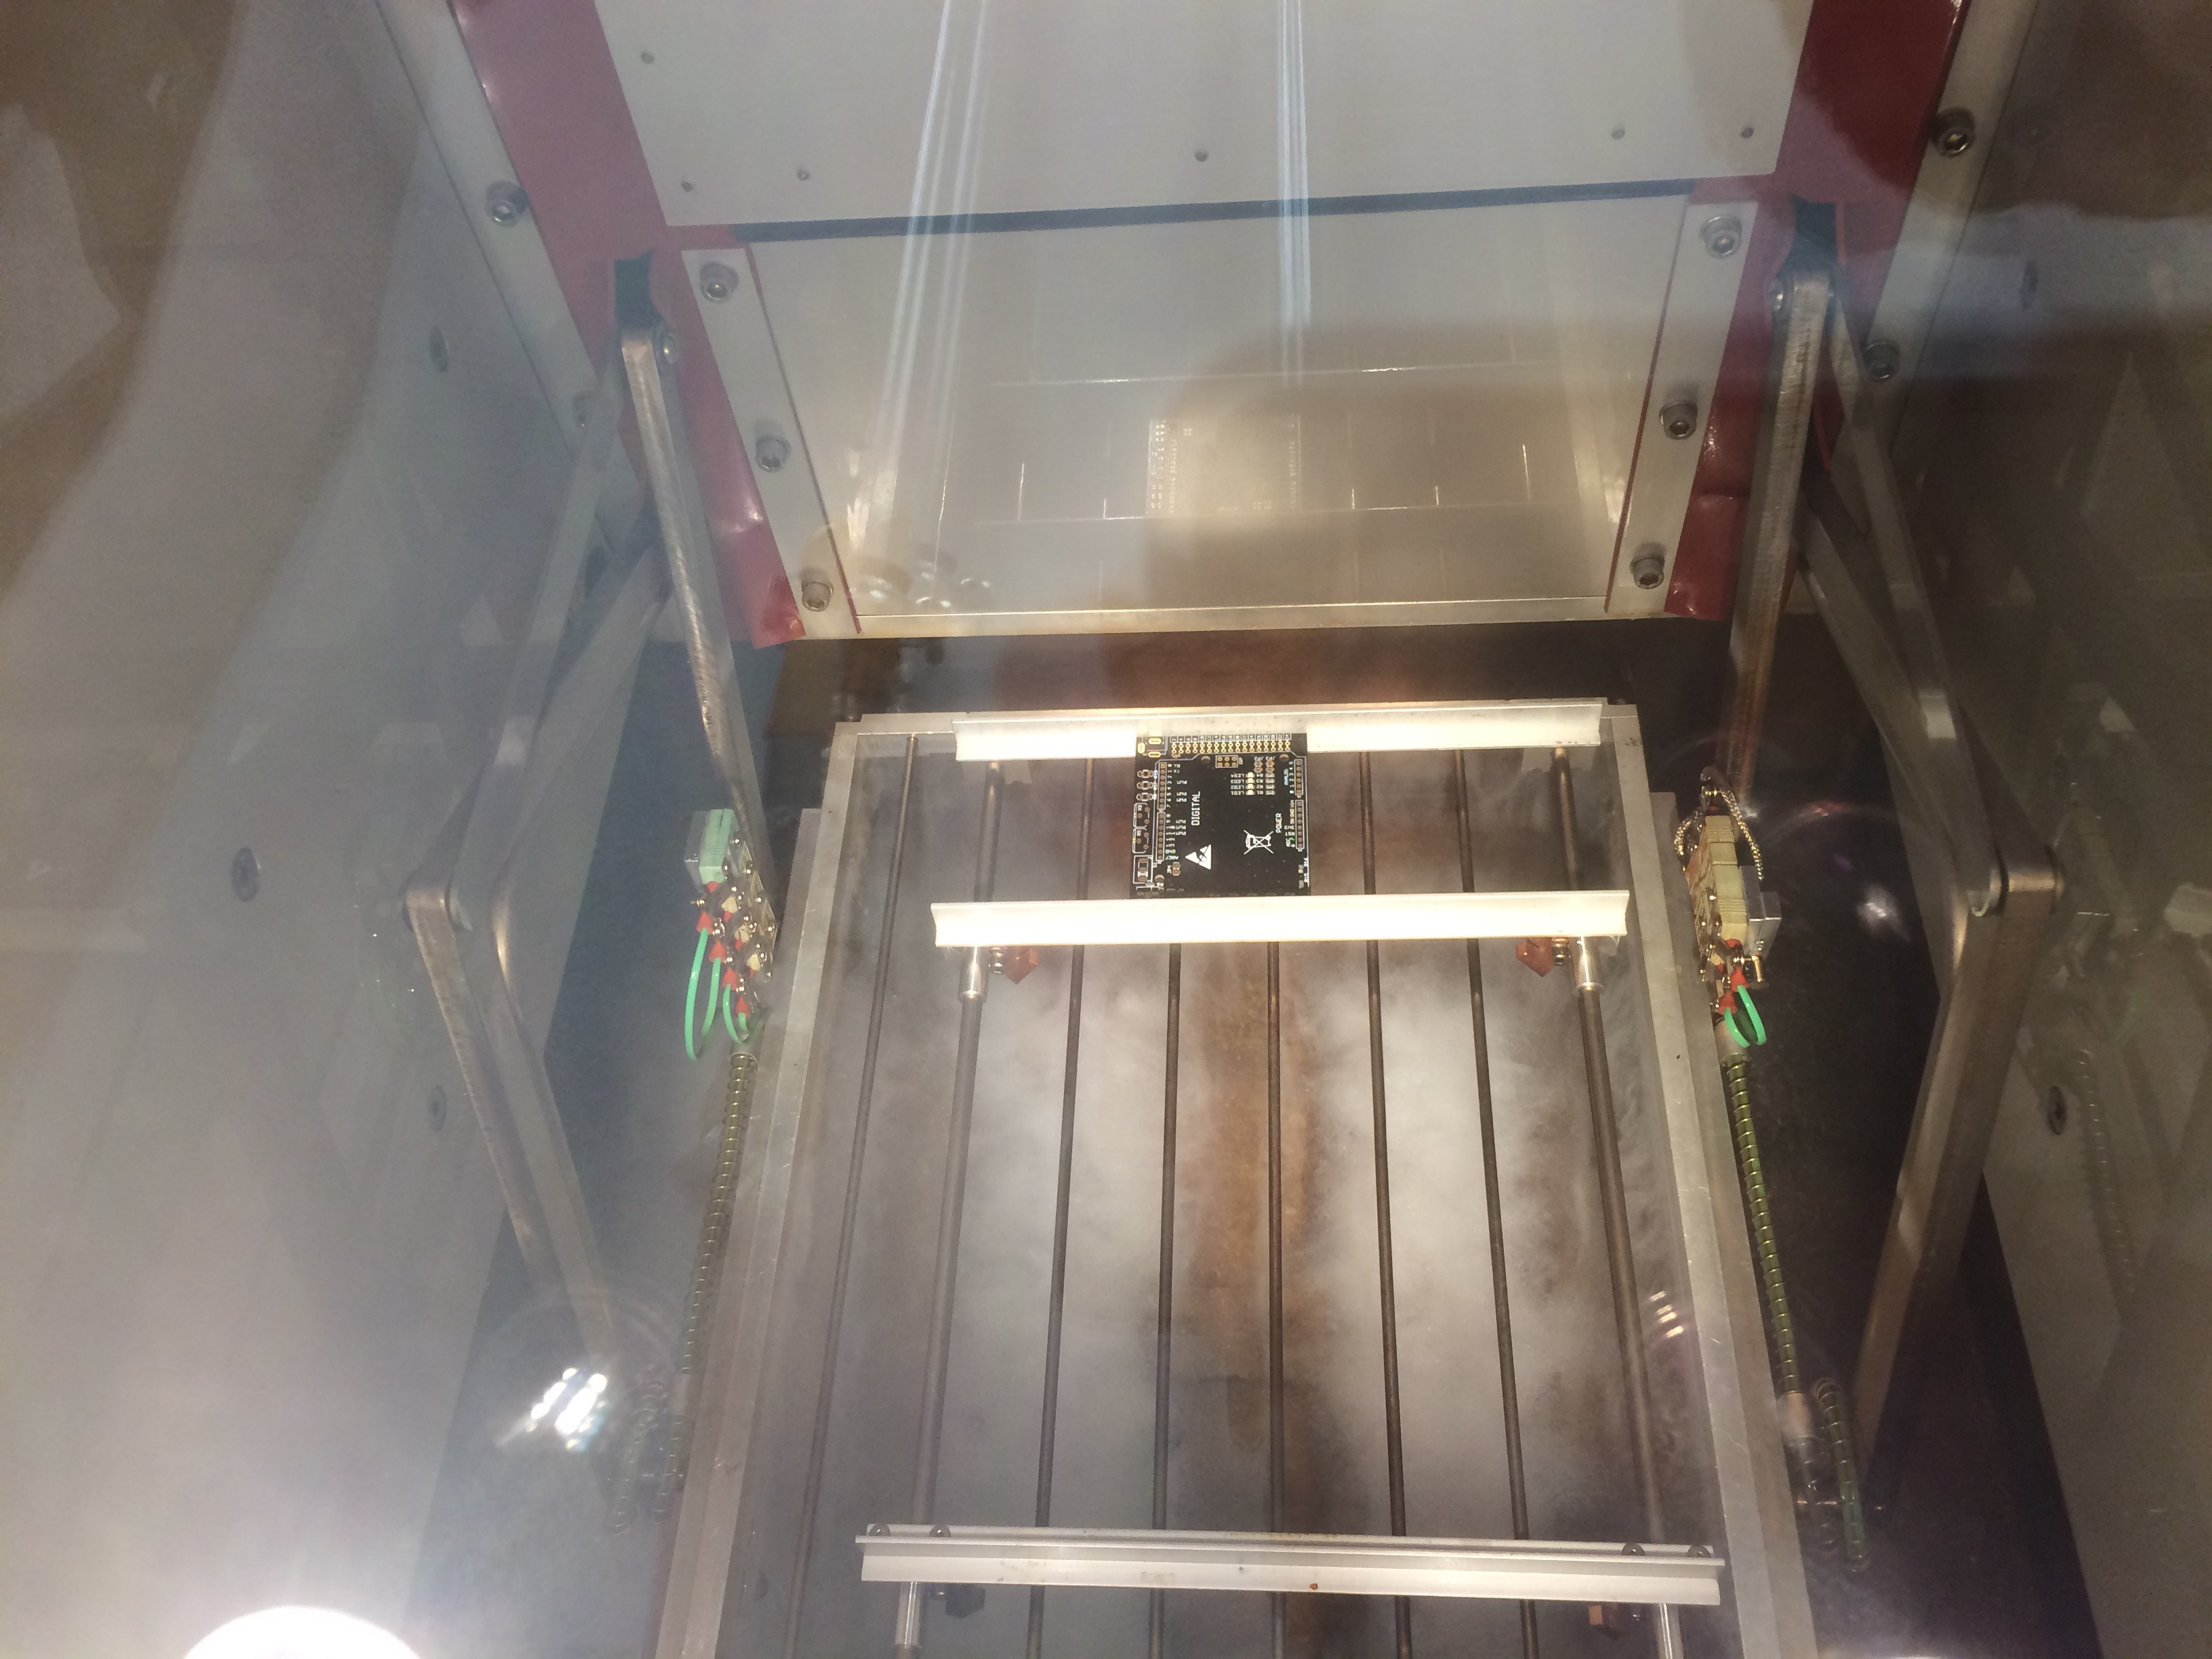
11/16/2015 at 16:50 • 2 commentsToday @Sepp and I equipped the PCB with the SMD components:
With this machine you're able to put the SMD components on the board.
![]()
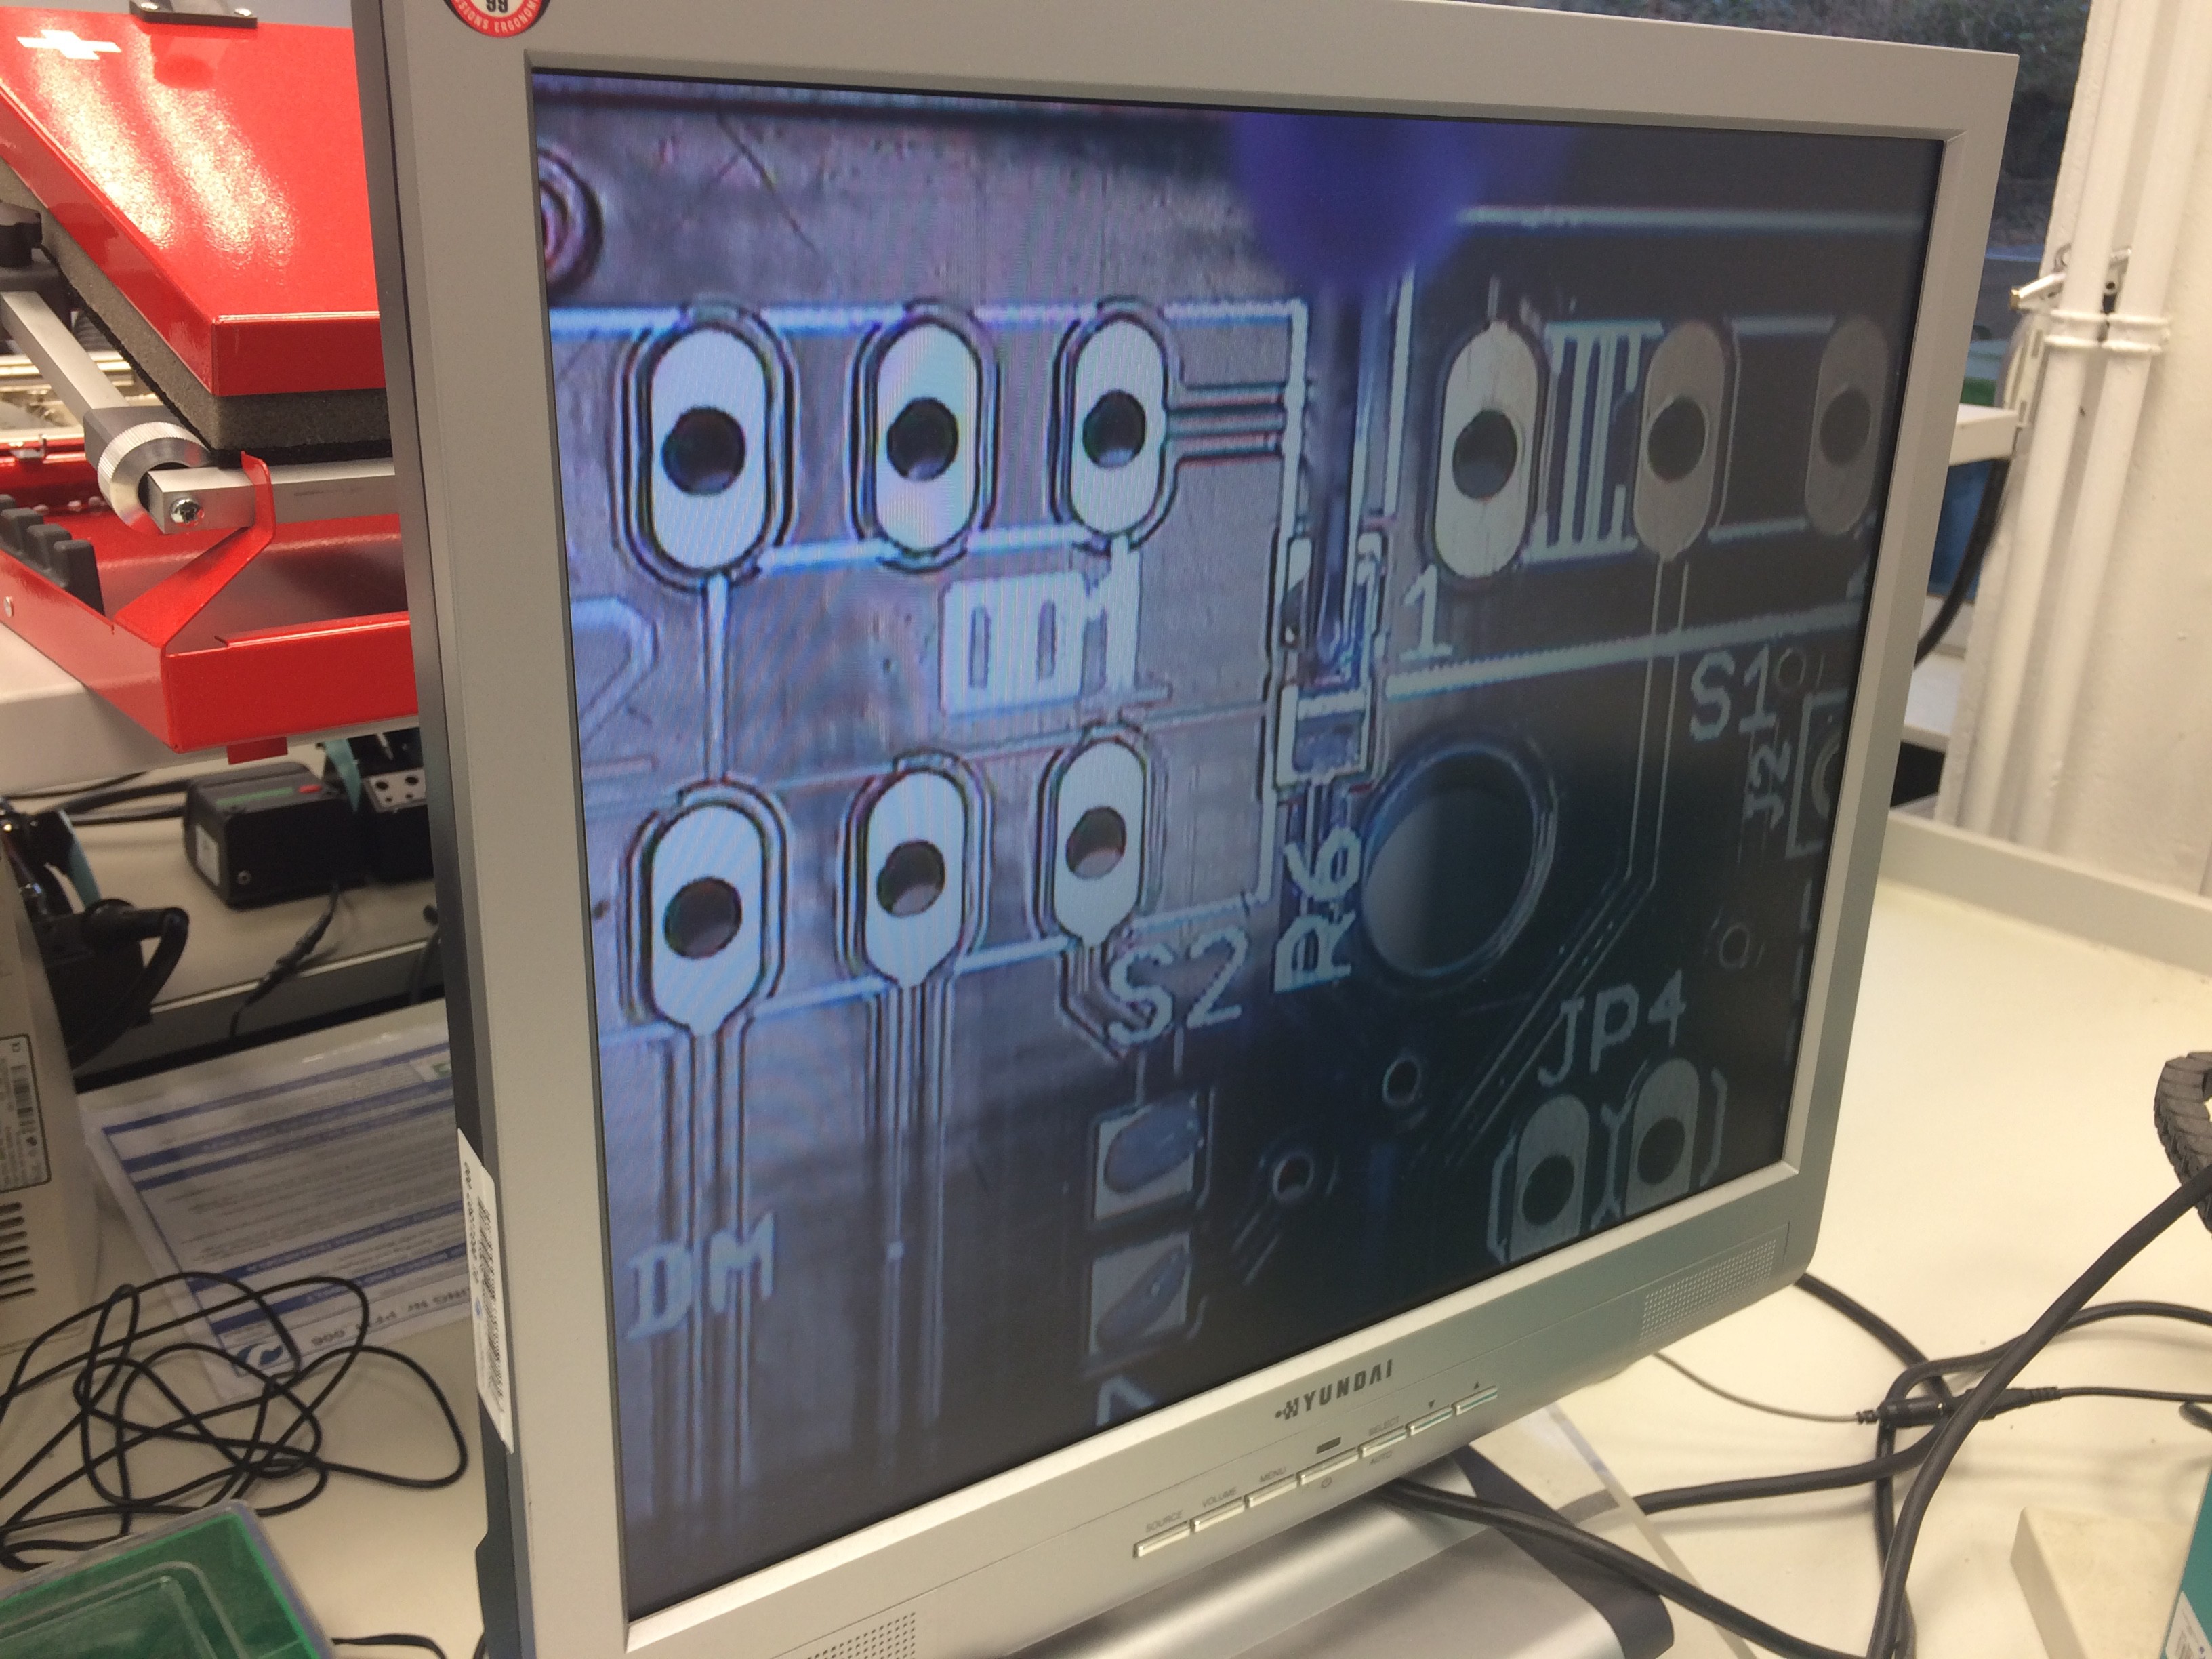
The machine has a little camera on the positioning pin, so you're able to see what you're doing.
![]()
In the SMD oven the compents stick to the board with soldering cream, which becomes solder after 15 minutes of baking.
![]()
Thanks for the support! I'm courious when the project hits the 20.000 viewers mark.
-
PCB arrived
11/15/2015 at 15:46 • 1 commentThe time has come - The ordered PCB is now here.
Thousand thanks to Seeed Studios and their activity, which made these PCBs possible!
![]()
I'll keep you updated. Next step is to equip the board with the needed components.
-
Protect your Arduino!
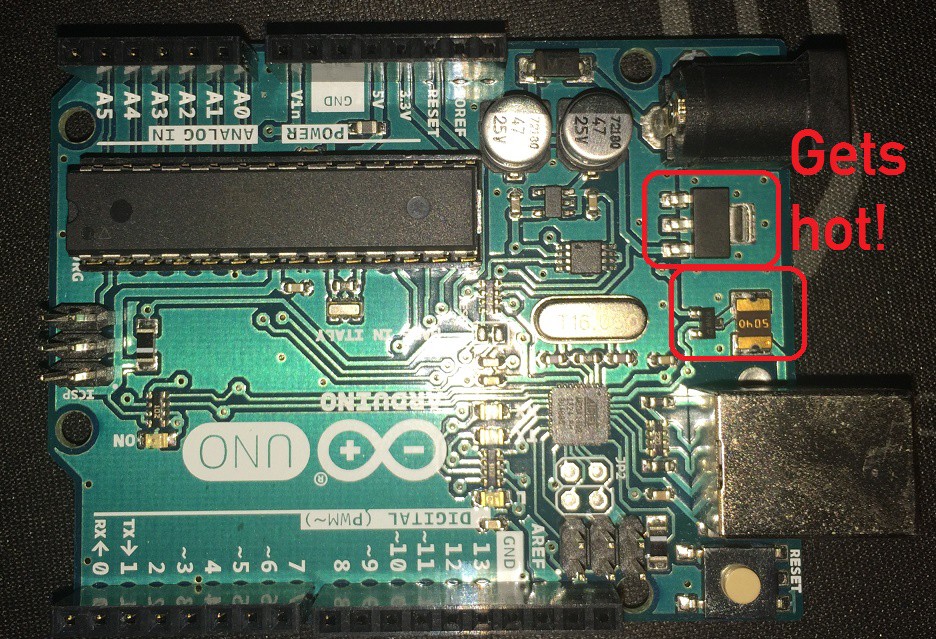
11/15/2015 at 15:41 • 0 commentsPlease make sure, that the diode on the Arduino UNO doesn't get too hot. If you use a Chinese clone Arduino you should be even more careful as those models get even more hot.
I recommend to connect the dashboard pins 31 and 32 with an external 12V DC power supply!
![]()
-
Fritzing Wiring Diagram
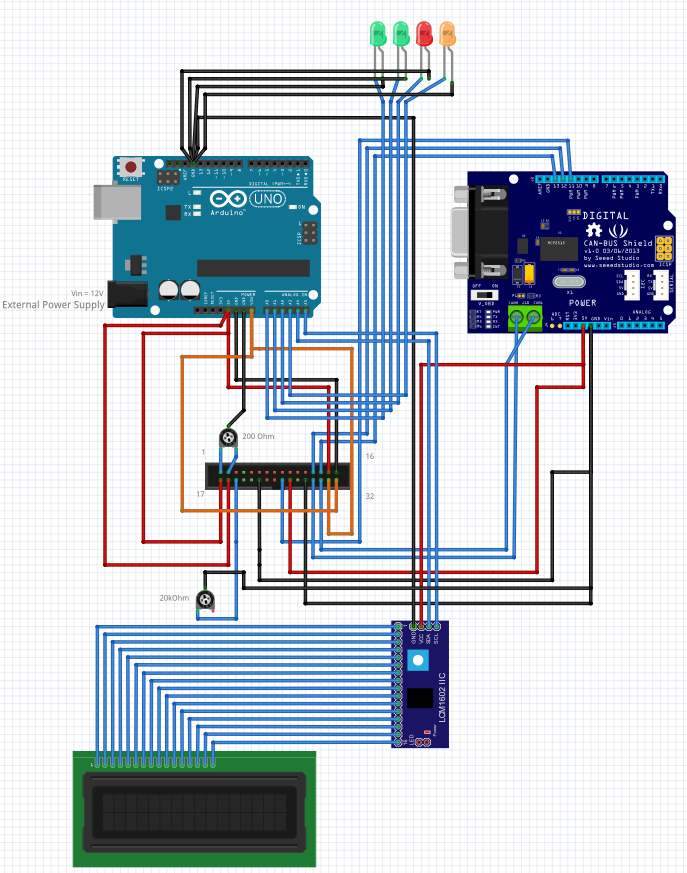
11/13/2015 at 14:29 • 1 comment@Jeroen vd Velden and I drew a Diagram with Fritzing (a free wiring tool).
You may download it from the download section.
Thanks for your support :)![]()
-
3D-Print of front panel complete!
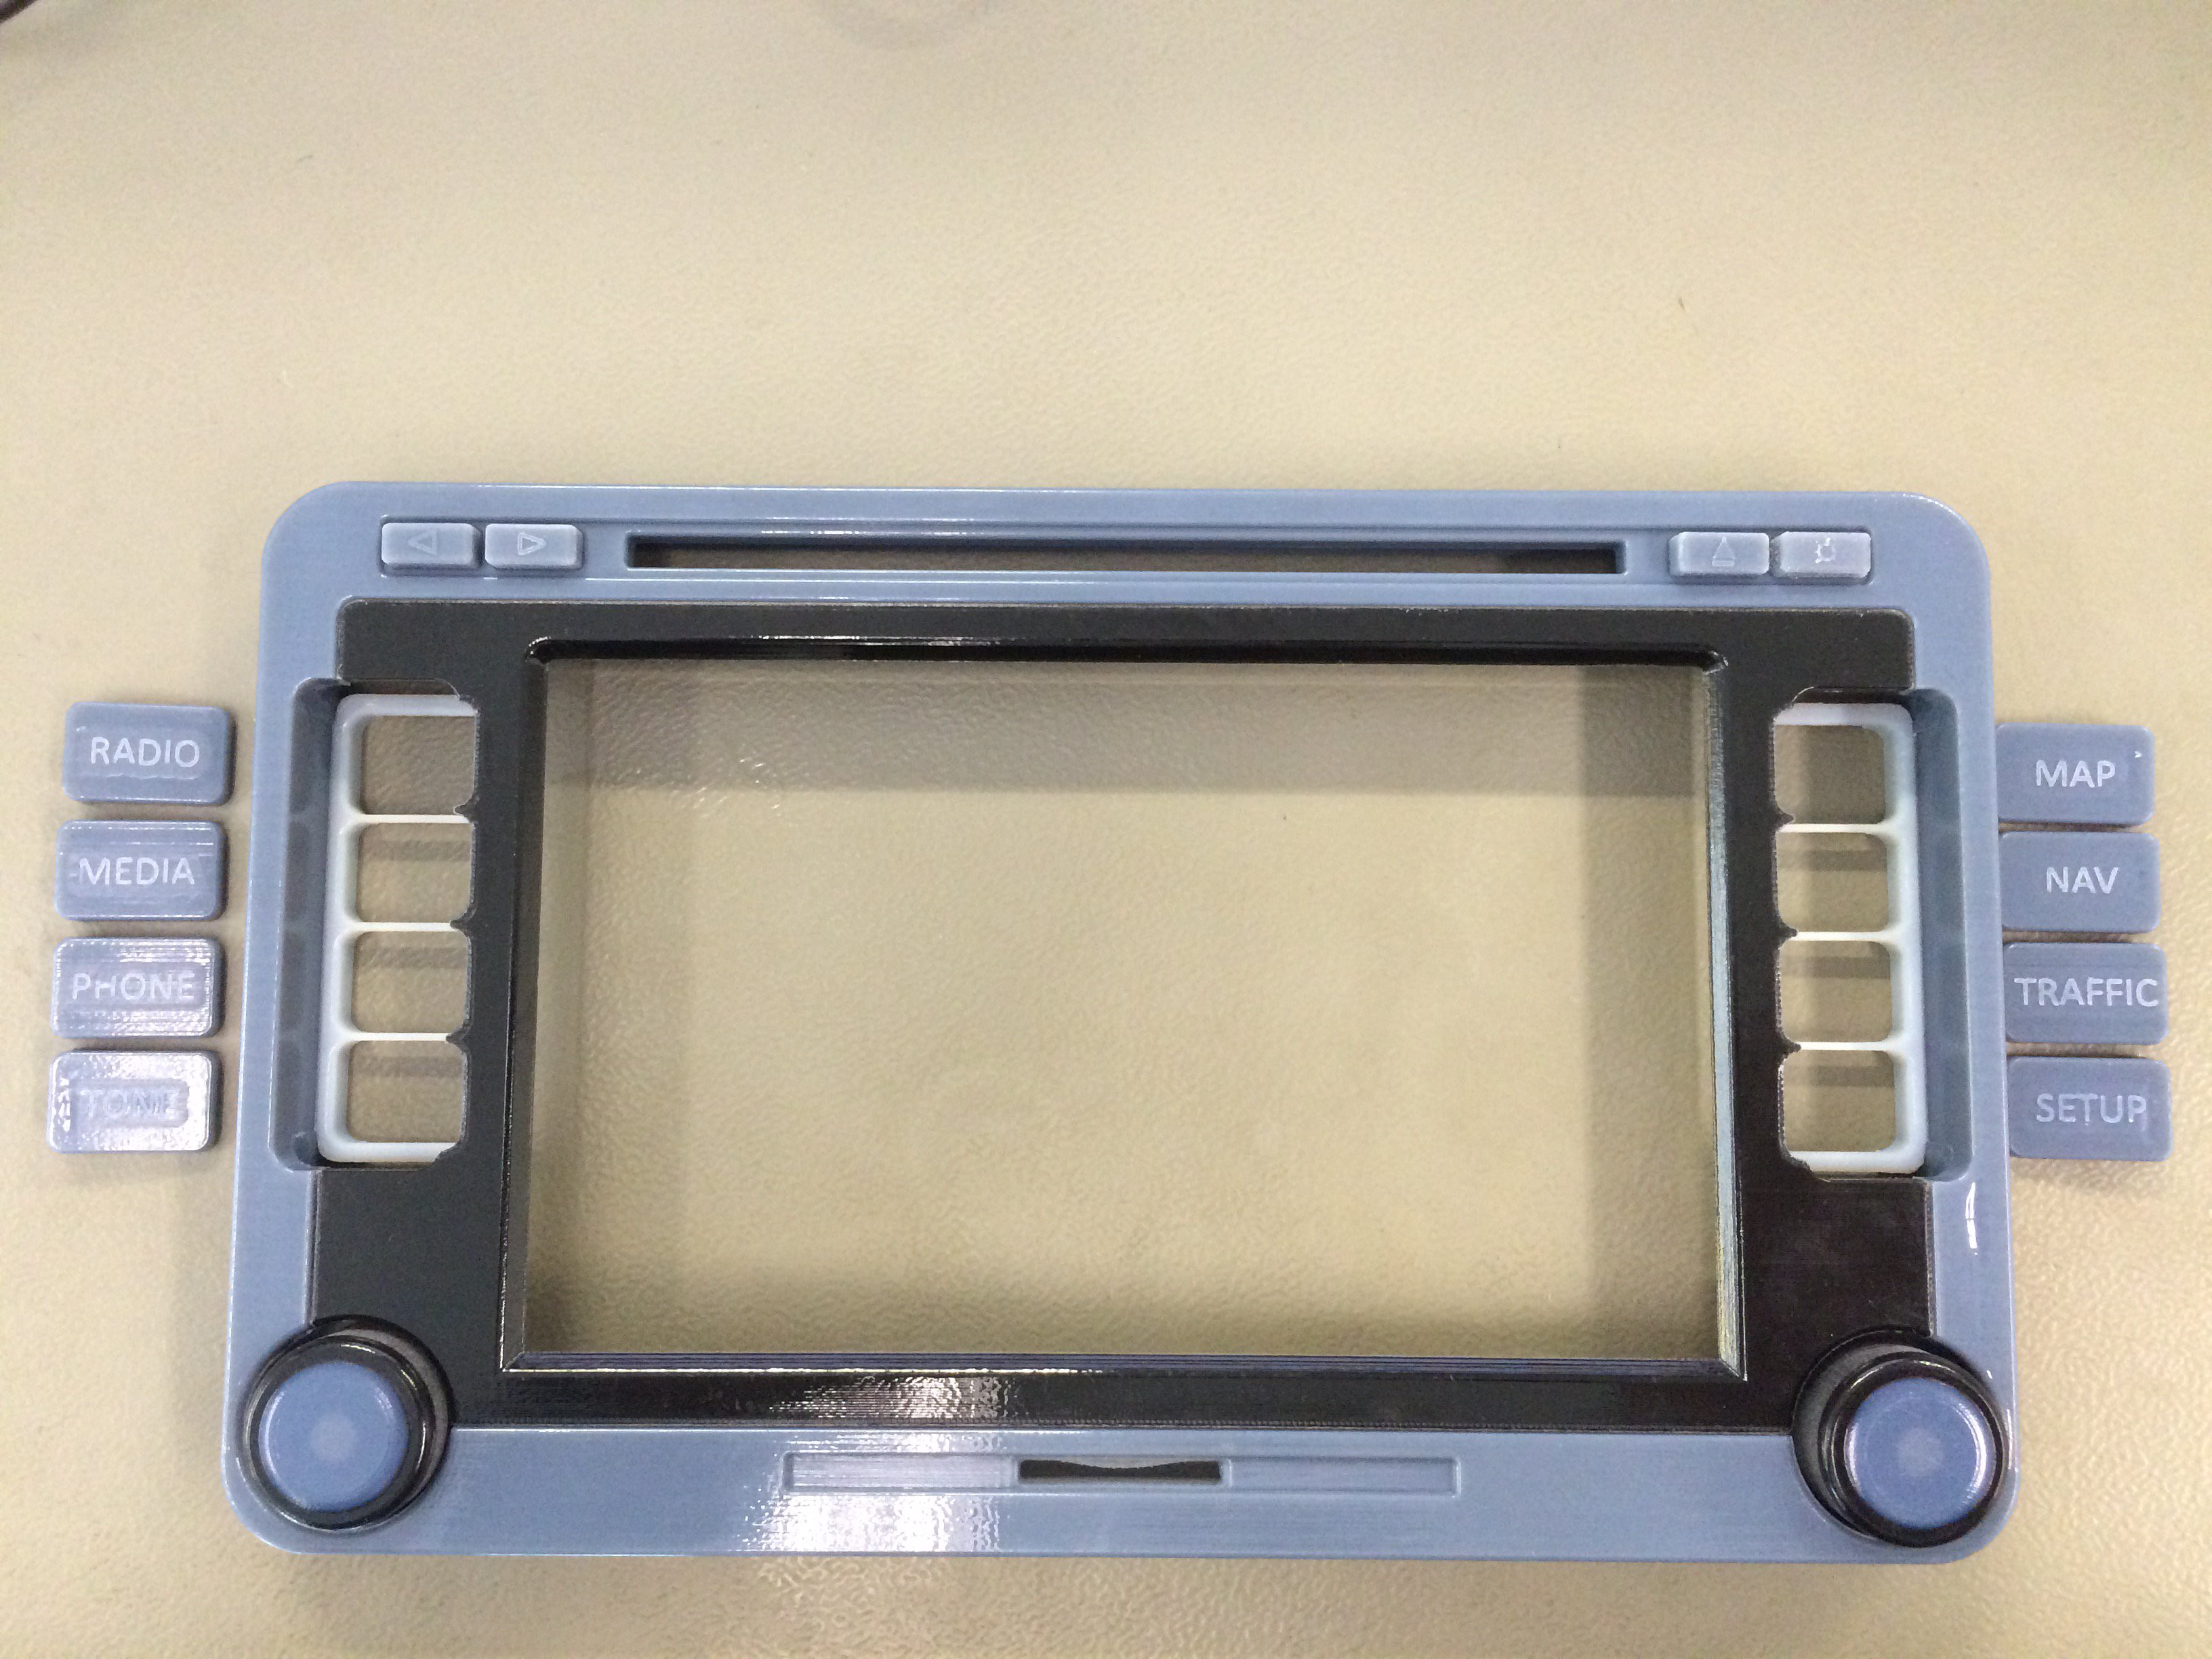
11/03/2015 at 10:04 • 1 commentThe designed front panel for the radio has been printed.
![]()
and assembled with touchscreen display:
![]()
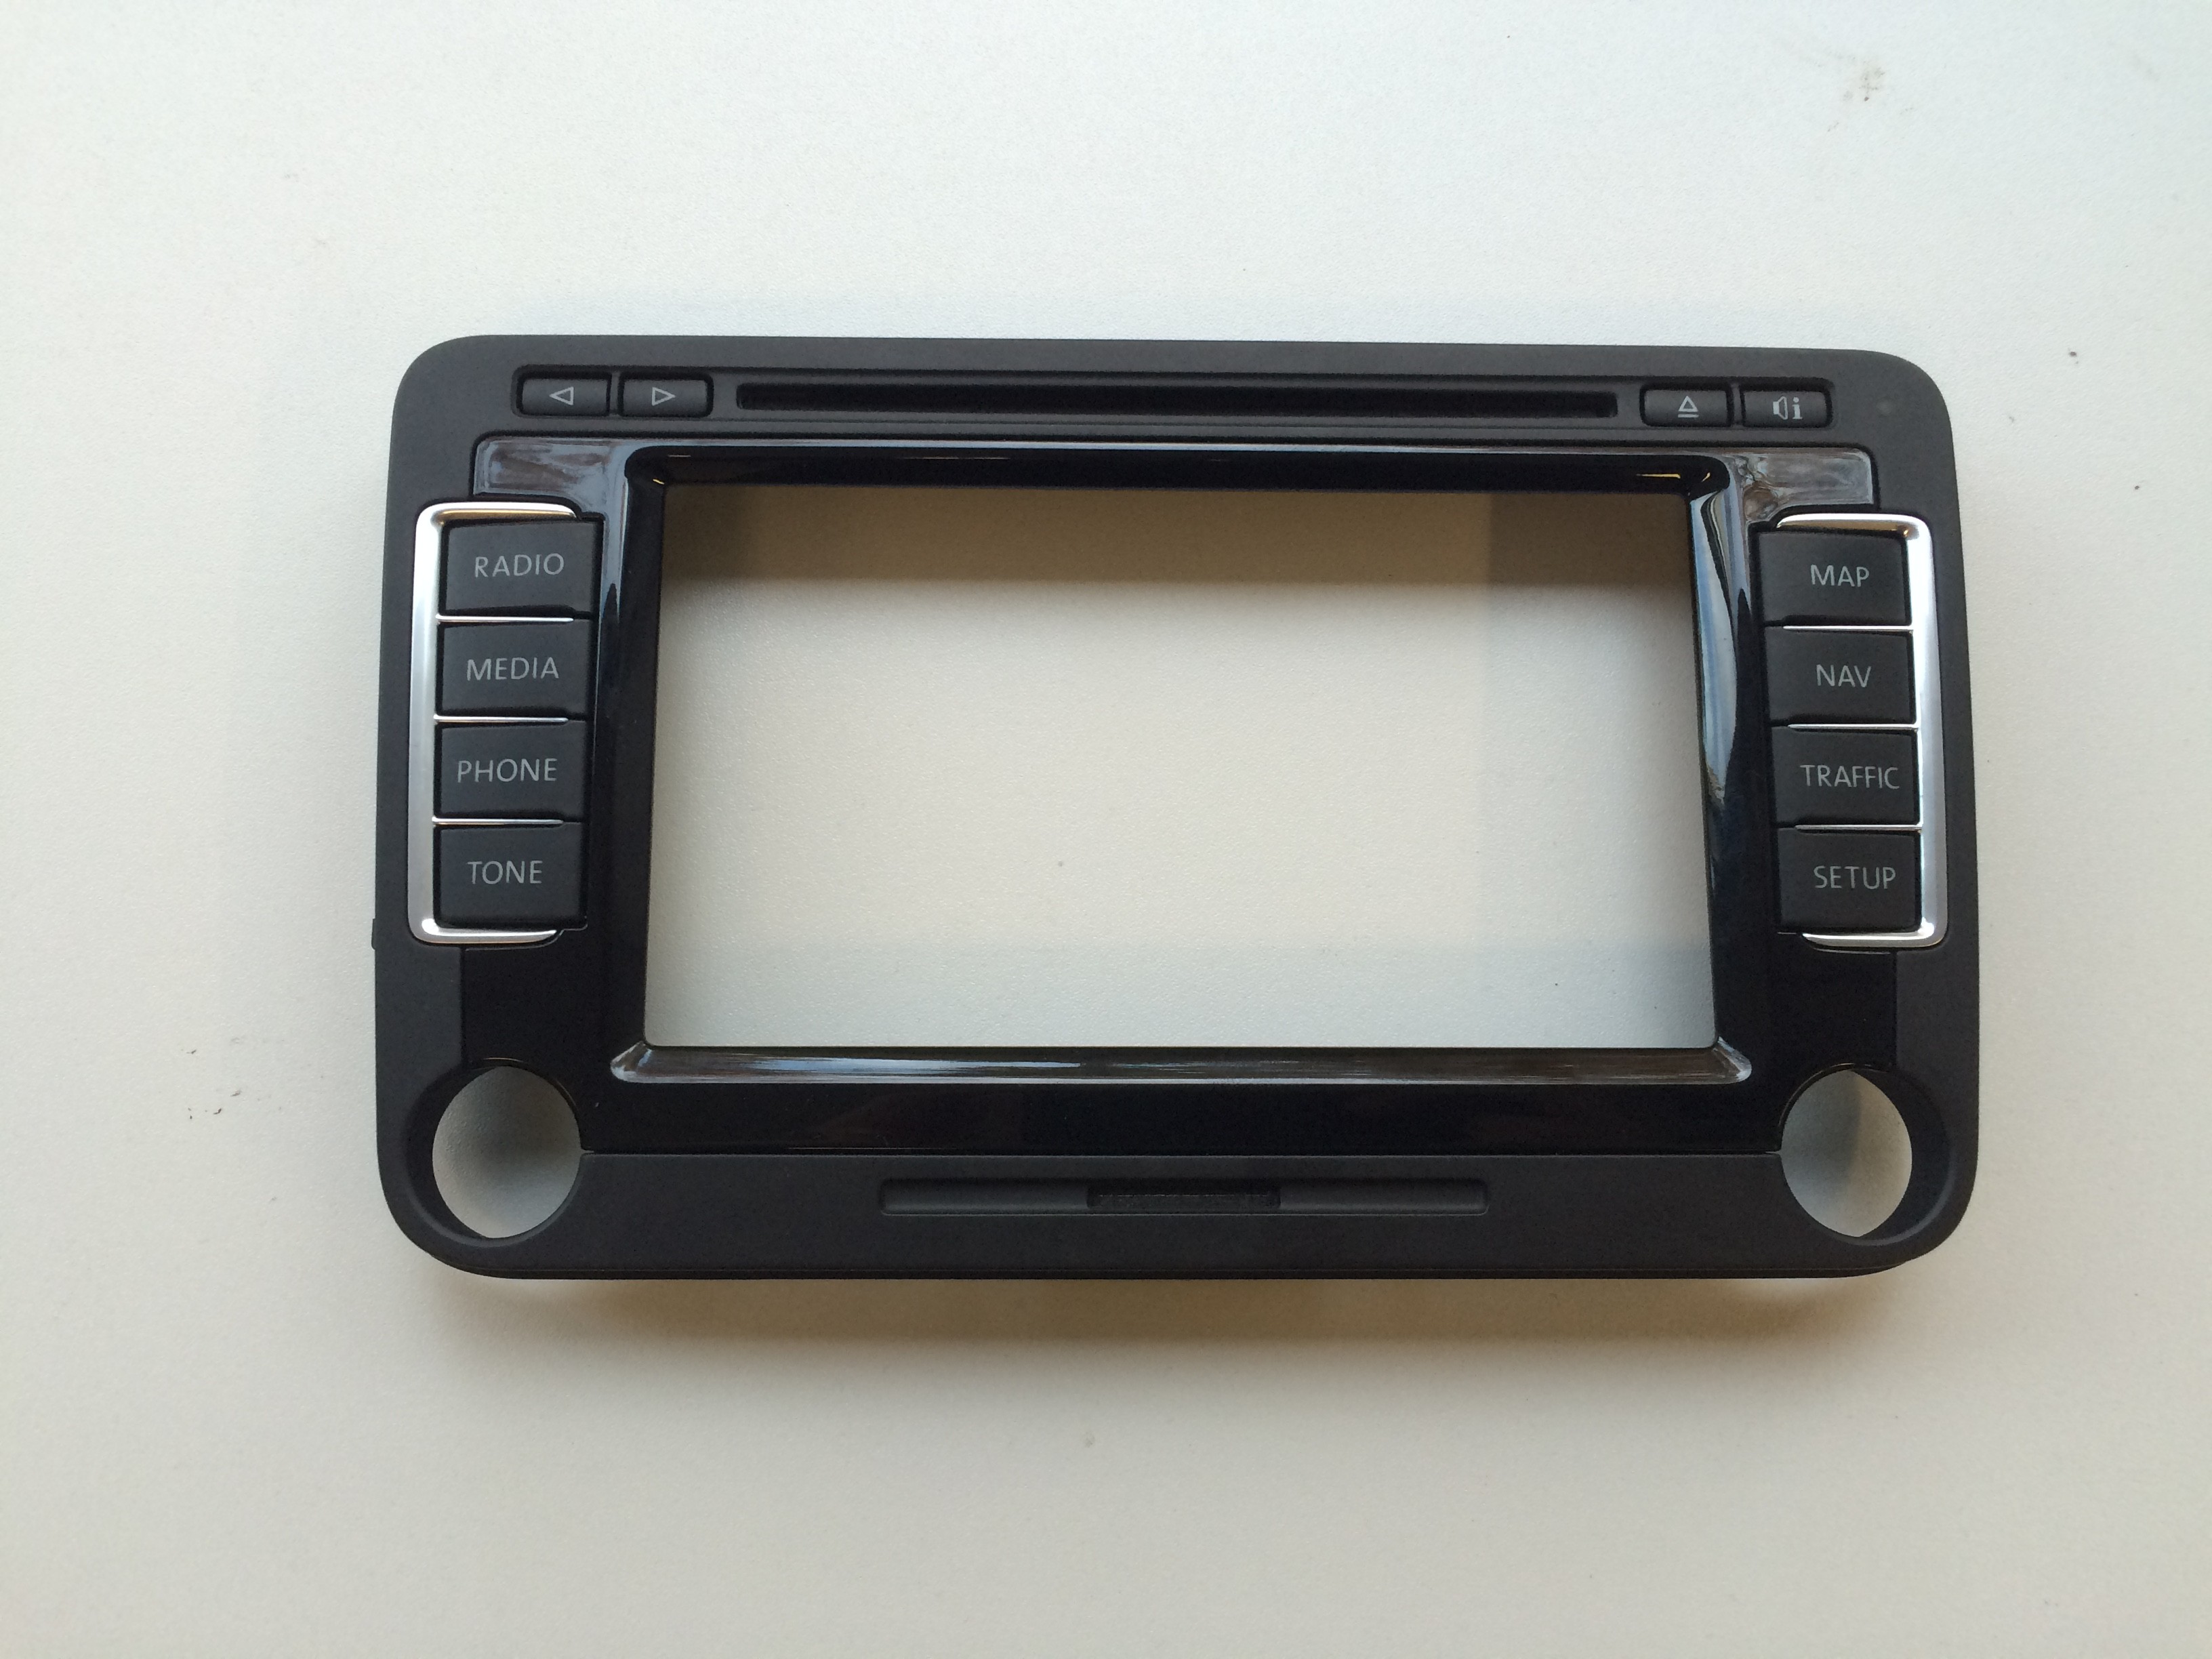
This is the original:
![]()
-
Circuit Board is ready to build
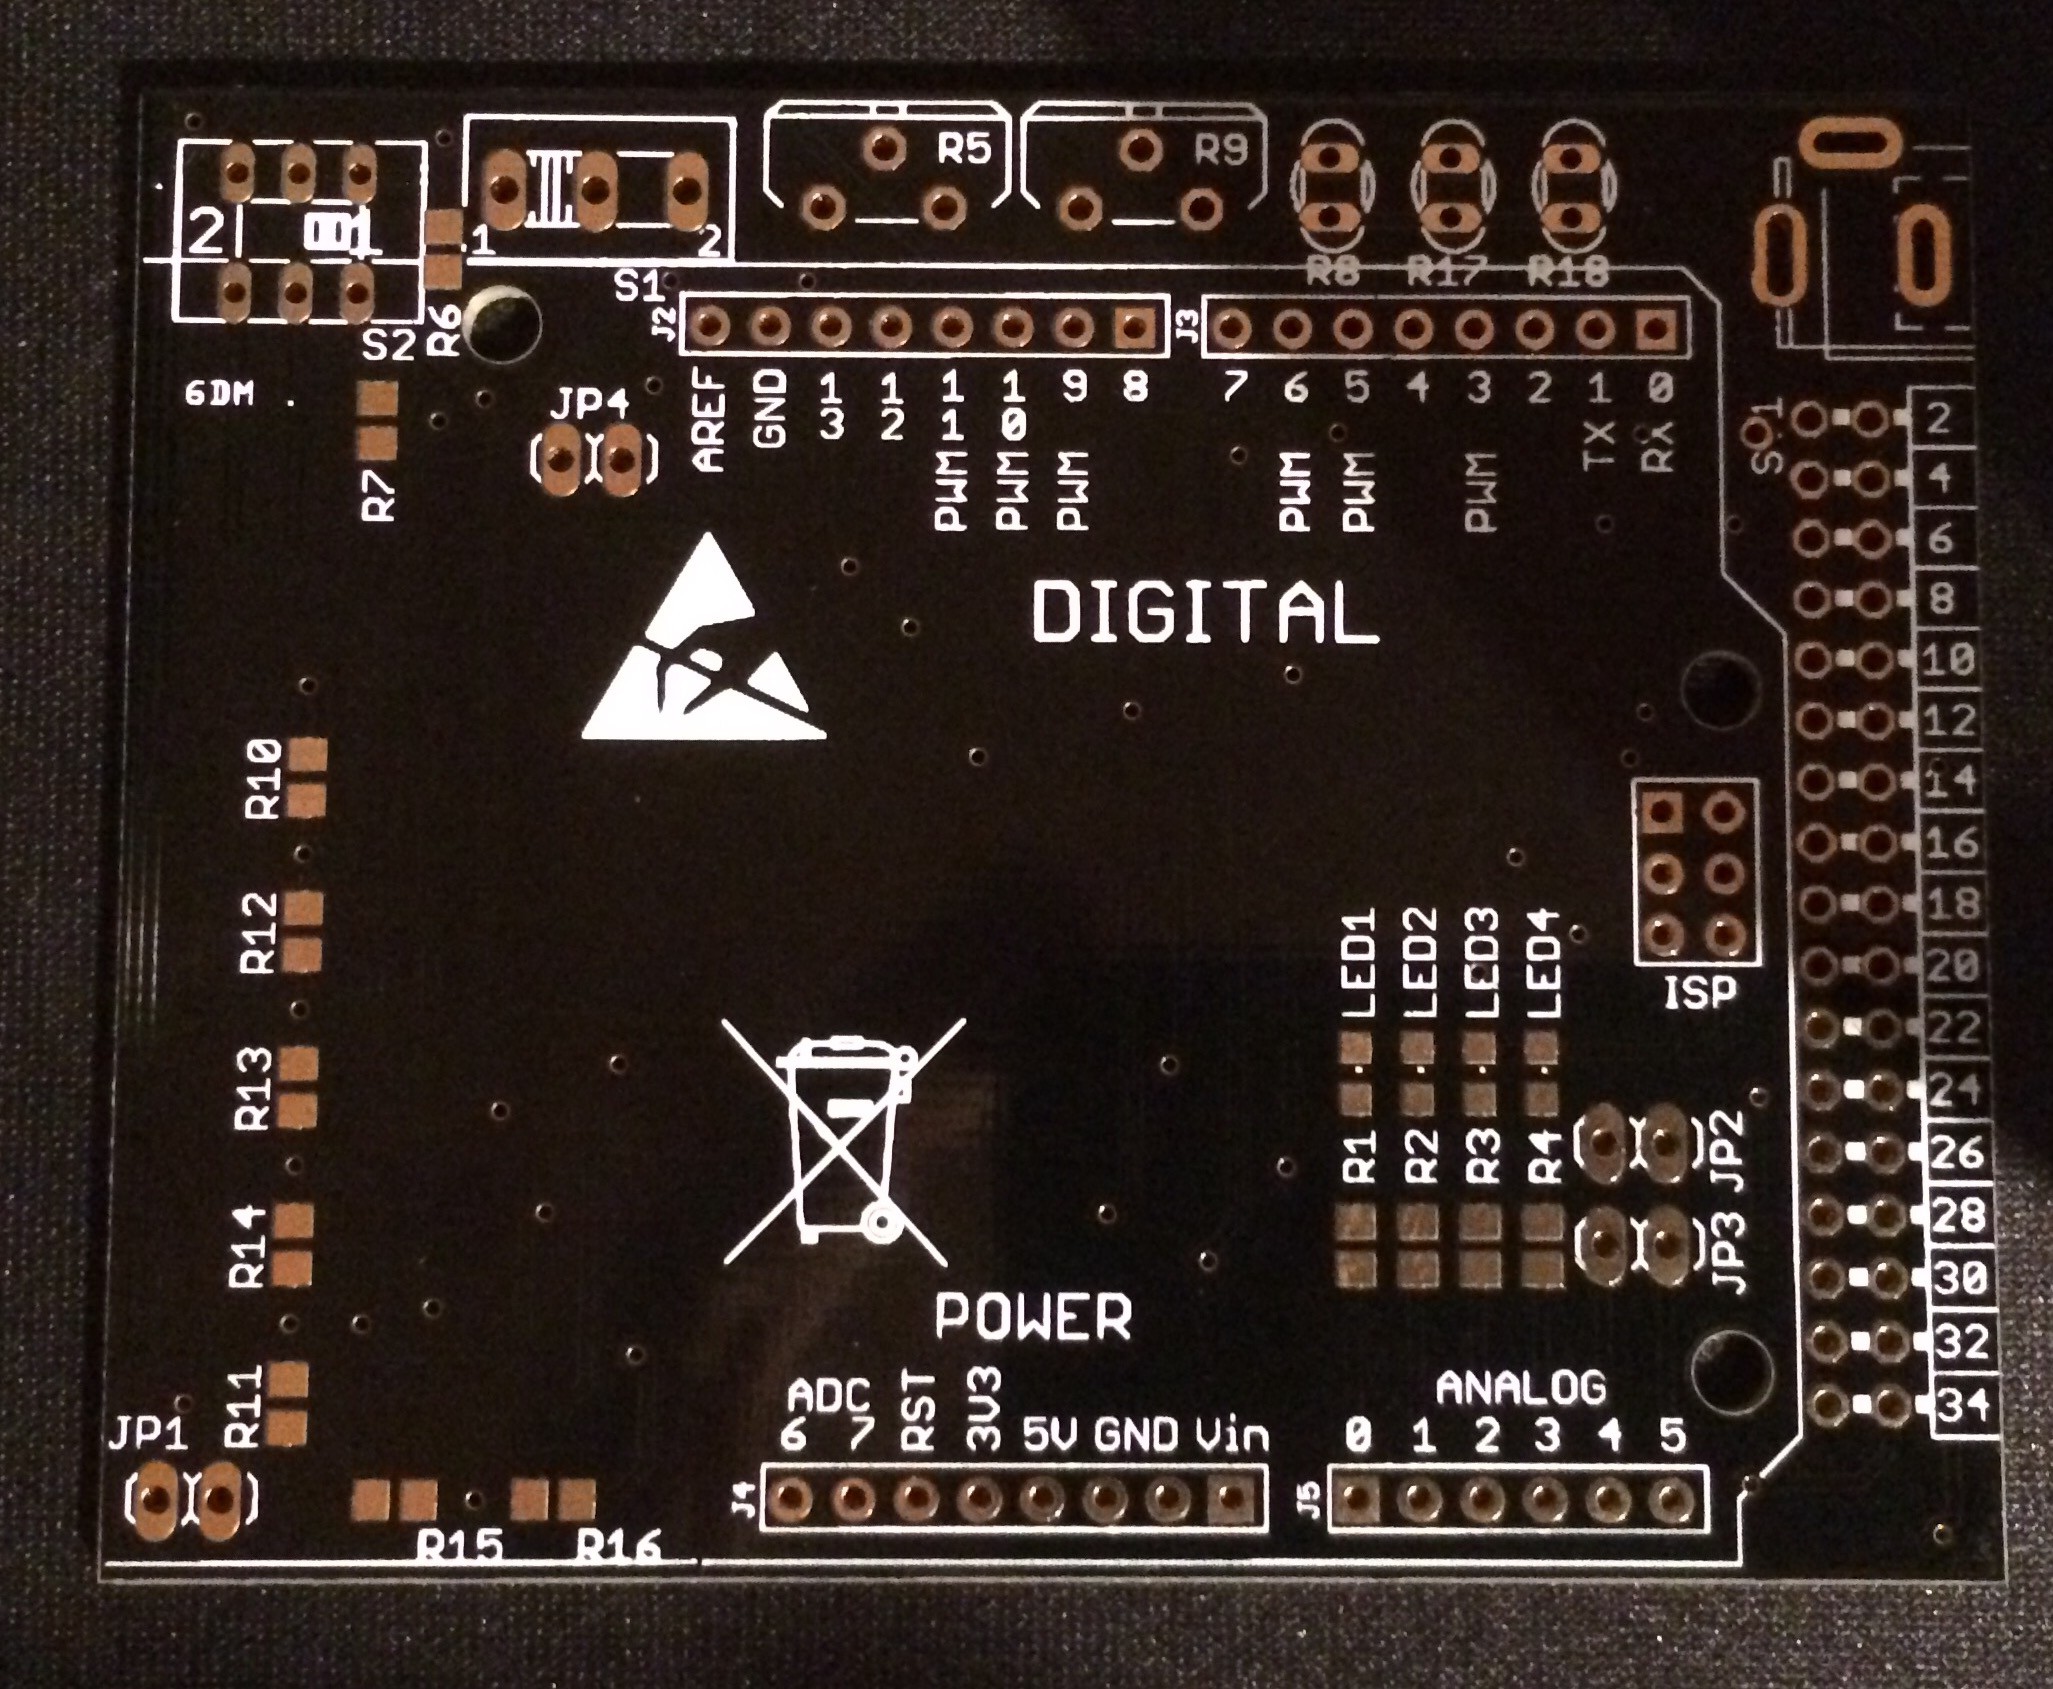
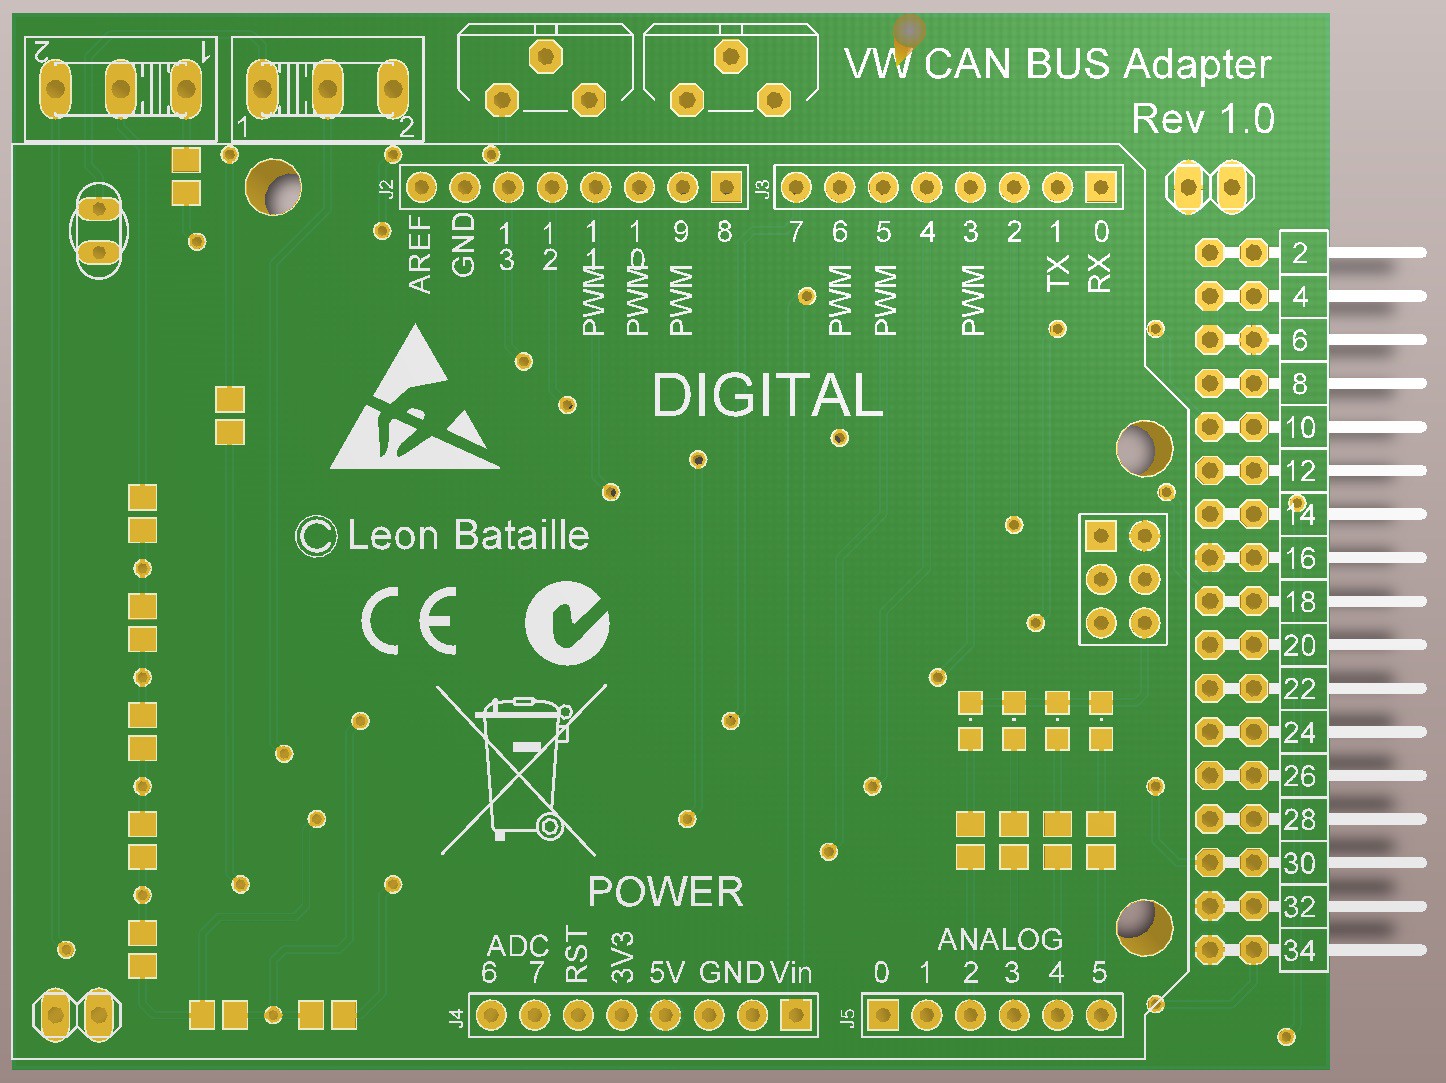
10/17/2015 at 09:06 • 4 commentsthe circuit board I mentioned in one of the last project logs is ready to get produced.
Thanks to the activity of Seeed Studio PCB Fusion Service, the board is being produced at the moment.
After its production it should be like this:
![]()
Thanks for the support!
Next time I'll post the produced board
-
Improved Arduino Sketch
10/16/2015 at 10:31 • 0 commentsI've completely rewritten my code for this project.
It includes:
- RPM
- Speed (but not as accurate as expected)
- Turning Lights (with blinking feature)
- Backlight
- Support for LC Display
For Source Code see: https://hackaday.io/project/6288/instructions
The next sketch I'll upload will contain support for the fuel and temperature sensors.
So stay tuned to my project and make sure you subscribe!
Thanks for your support!
-
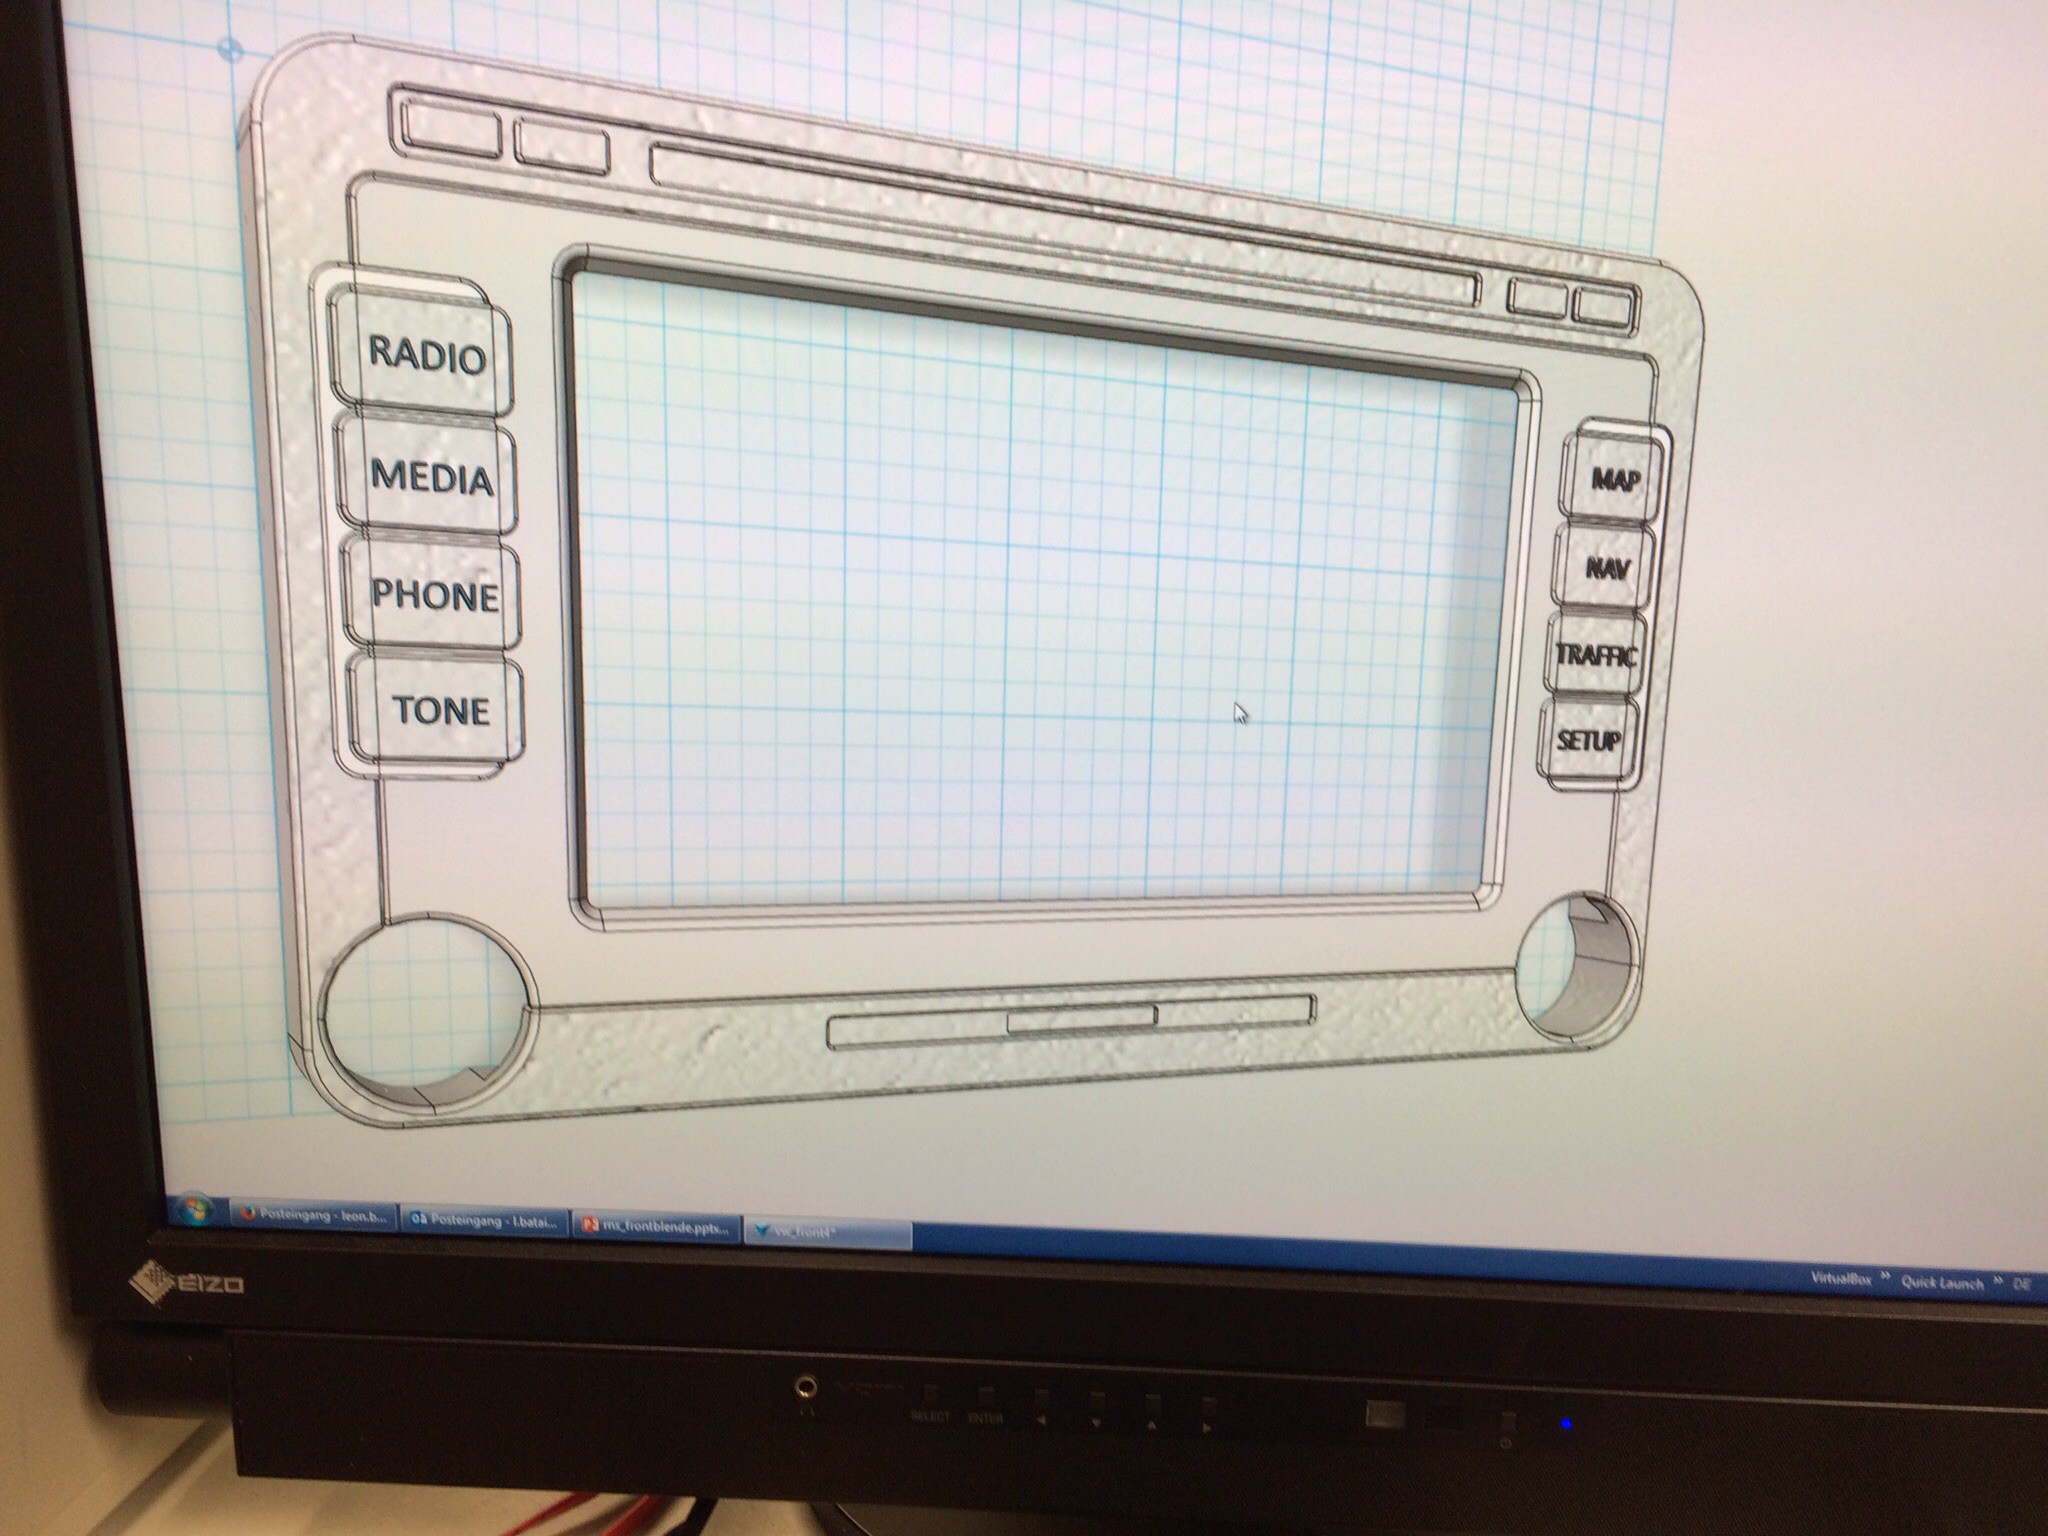
Designing a better radio case
10/01/2015 at 05:15 • 0 commentsHere's a photo of my new case for the radio which I'm designing at the moment.
![]()
The STL file will be available when the job is printed :)
I'm also going to upload all relevant files for this project, so that you're able to reproduce the whole project.
Thank you for the huge support!
-
Found a solution for the KPH gauge???
09/21/2015 at 18:37 • 2 commentsI filmed my first achievement of getting the KPH gauge work partially.
And I found out at that moment that the ABS - Control-command just created many errors in this gauge.
Now I know why this occured: The ABS sensors have an incredibly important task of sending also speed signals to the CAN line. So I have to get back to this situation where the KPH gauge is wiggling around. And then the multiplacator has to been set to the specific value. This shouldn't be a big deal.
I'll keep you up to date!
Thanks for following and skulling - Keep on!
CAN BUS Gaming Simulator
Controlling a VW CAN BUS dashboard of a Polo 6R with an Arduino and a CAN BUS shield using the Telemetry API of Euro Truck Simulator 2