-
1Step 1
To recreate your own counter-top Arduino controlled garden the process is actually quite simple.
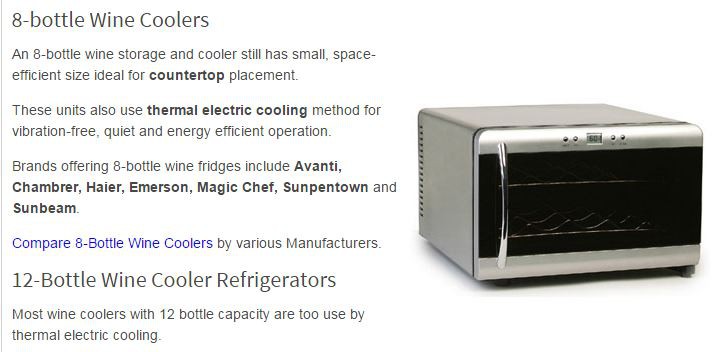
1. Procure a wine cooler. These Peltier cooled units can often be found on classifieds or at second-hand stores for a very reasonable cost. Here are just some of the types you can get. You can even use a compressor style cooler with the same control circuit/code I have provided just the relay connection will be slightly different.
If you would like to grow taller plants like dwarf tomatoes, large herbs, peppers etc- get the same tall & slim style cooler you see I have used.
If you would like to grow more "greens" like lettuces etc- I would suggest getting one of the lower & wider units as this will maximize your grow area for that crop. Something like this one:
It is totally up to you! Now on to the modification!
-
2Step 2
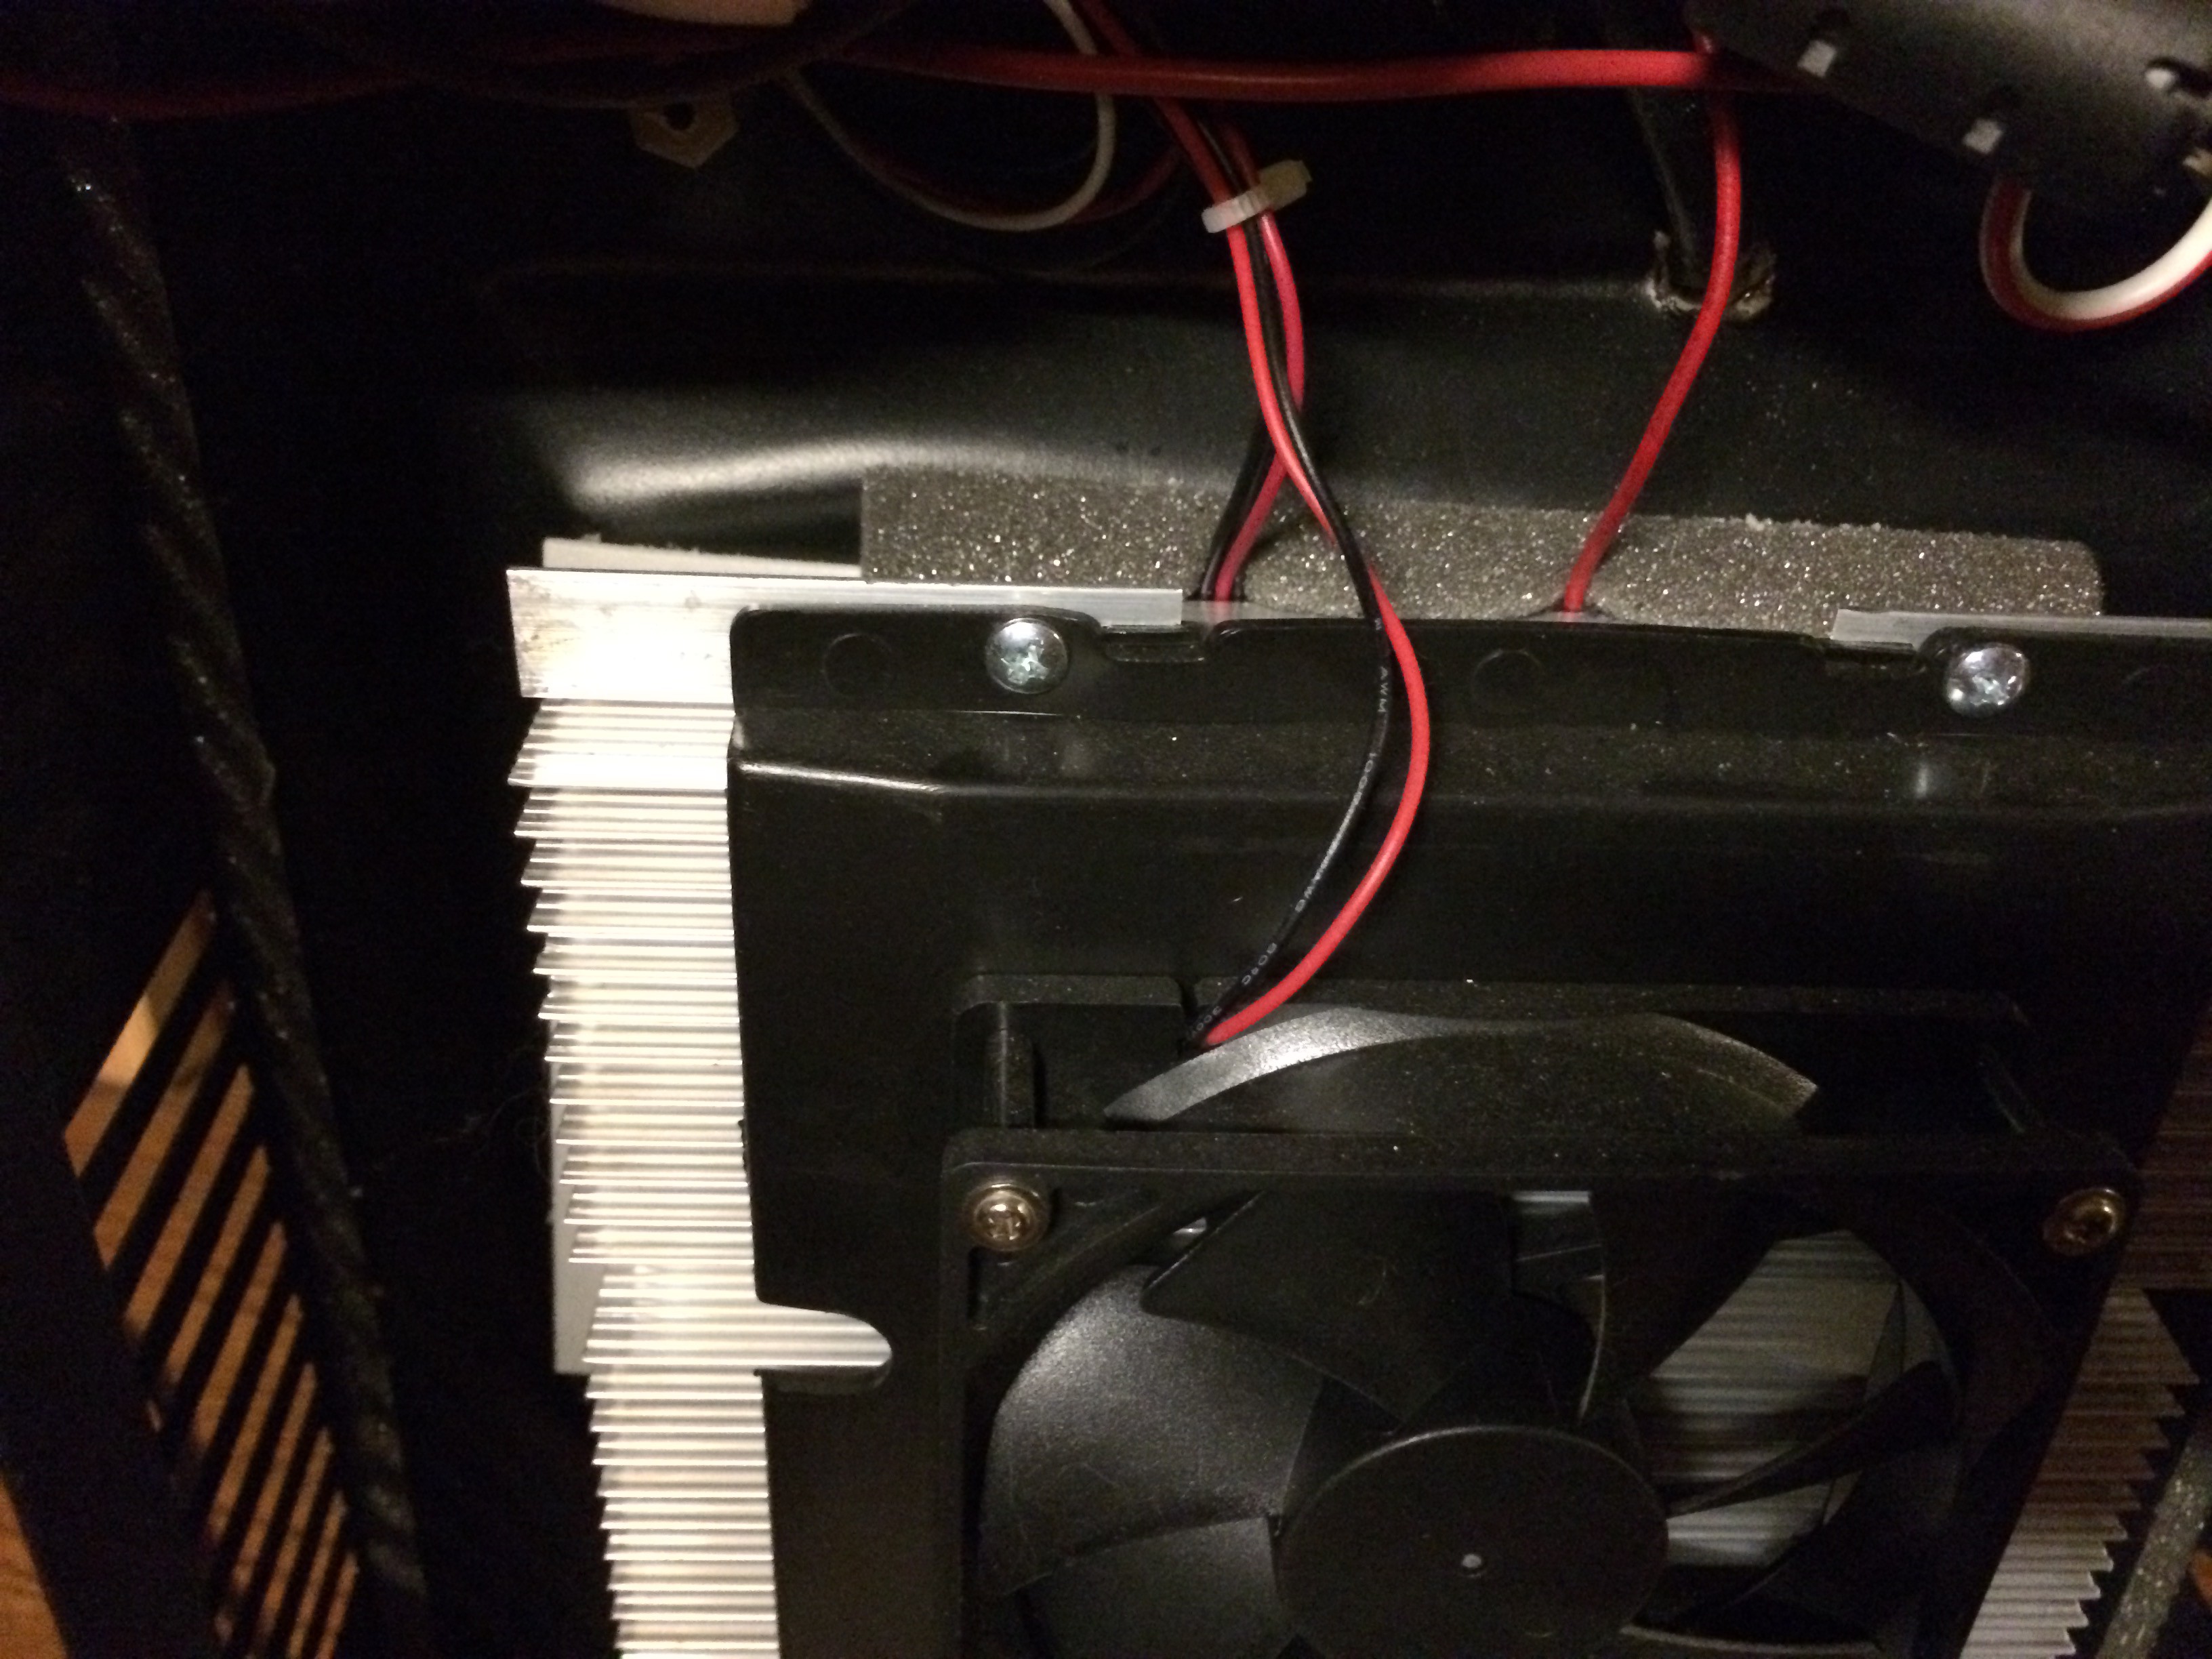
Disconnect all the on-board control equipment PCB's etc . For cooling only function (using the code to be shared here) you need only to re-use the 12V fans (usually 2) and the peltier.
This is quite easy. In the back of the units you will find the wiring for the 2 fans (internal and external) as well as the TEC device (peltier junction which cools and can also heat).
At the end you should have 3 positive wires and 3 negative wires. like these:
Let's hook them up! -
3Step 3
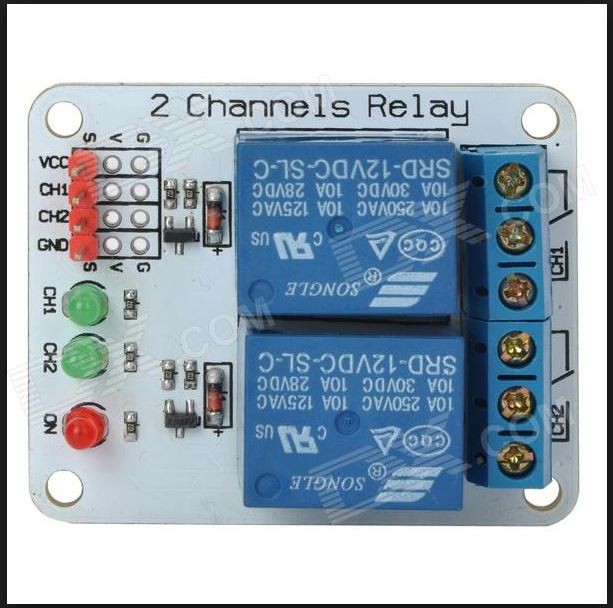
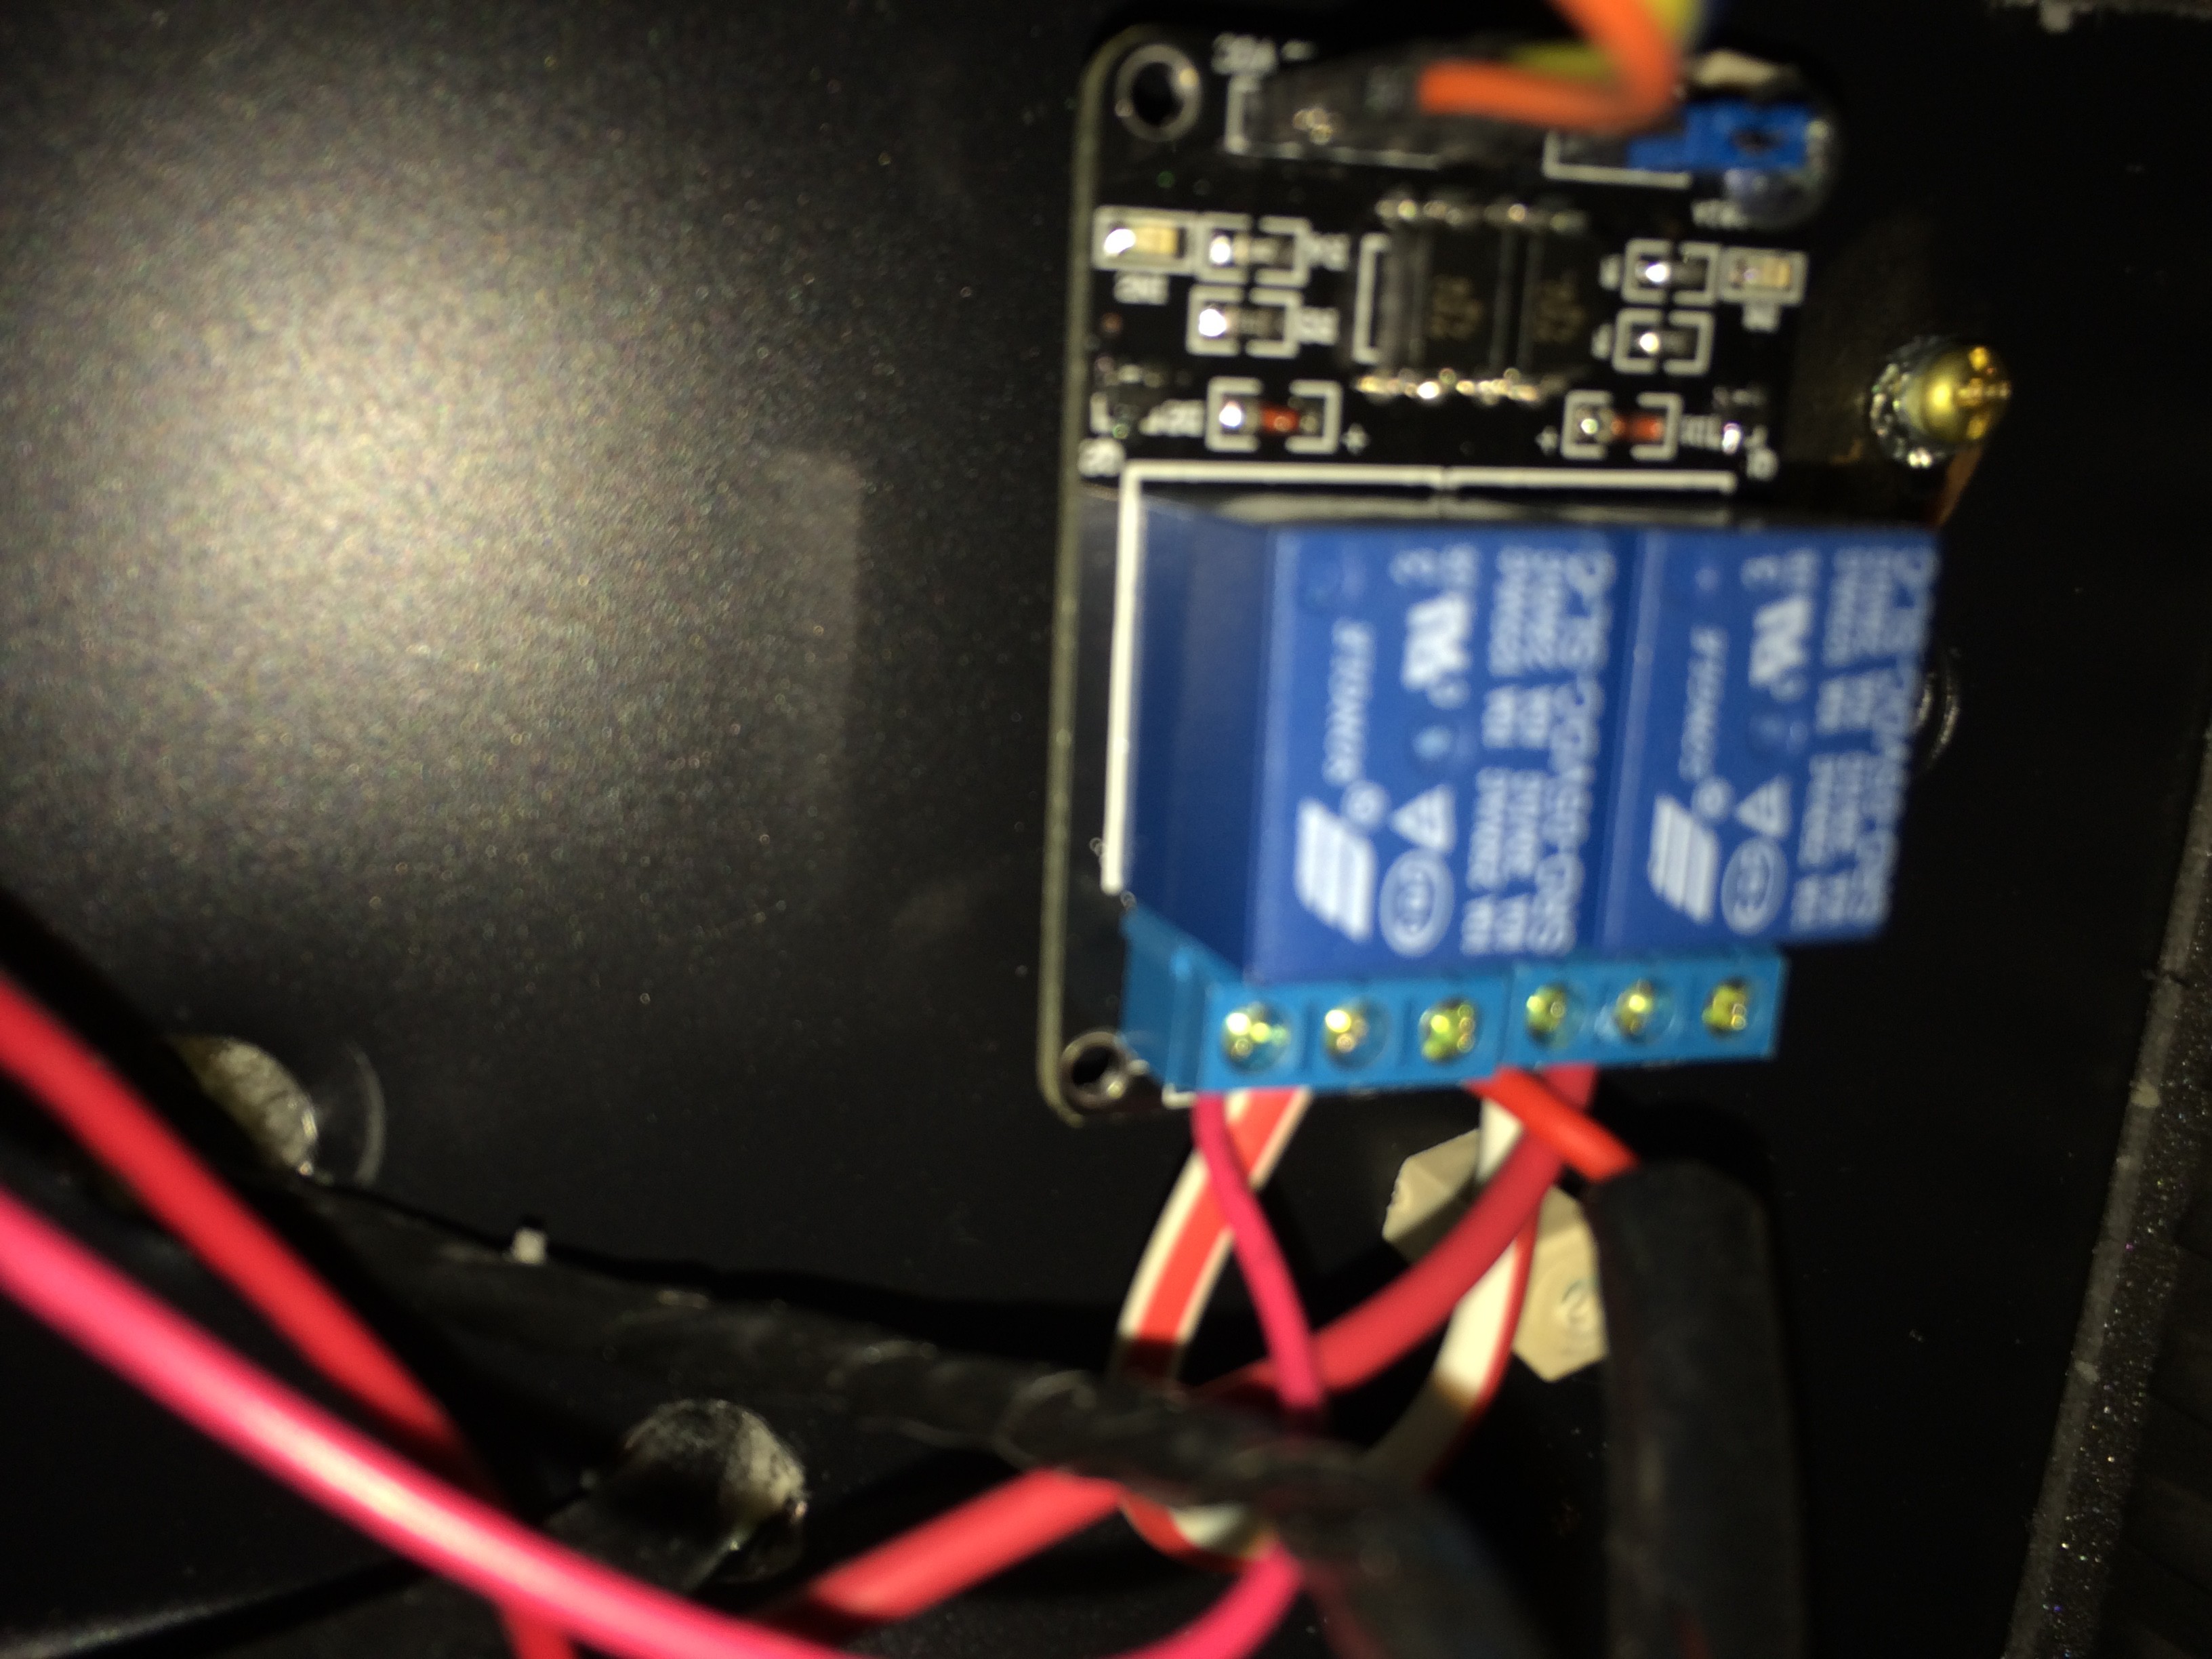
3. Connect the N.O. (normally open) relay output terminal to the 2 fans + and petier +. These are both hooked to a single terminal as we use them all at once for control. The other side of the N.O. connection is hooked to B+ from your external 12V power supply.
When done yours make look a bit like mine here: (you may be using different wires etc of course)
The large wire is just "daisy chaining" power from one relay to the other to simplify splices etc.Connect the negative leads from your fans and peltier to the negaive side of your 12V power supply.
-
4Step 4
Relay control pin for the temp is run back to the Arduino "TempPin" found in the code here:
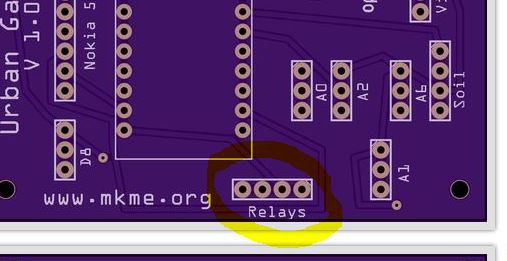
Ground and VCC are hooked up to the Ground and VCC on the Arduino if you are using your own board. If you are using the pre-made custom board you can find it here:
As you can see in the previous steps I am using a 2 relay "module" so both my cooling and lighting are on one unit. So the 2 signal lines are bundled as well as power and ground =4 terminals.
Let's do the lights next....
-
5Step 5
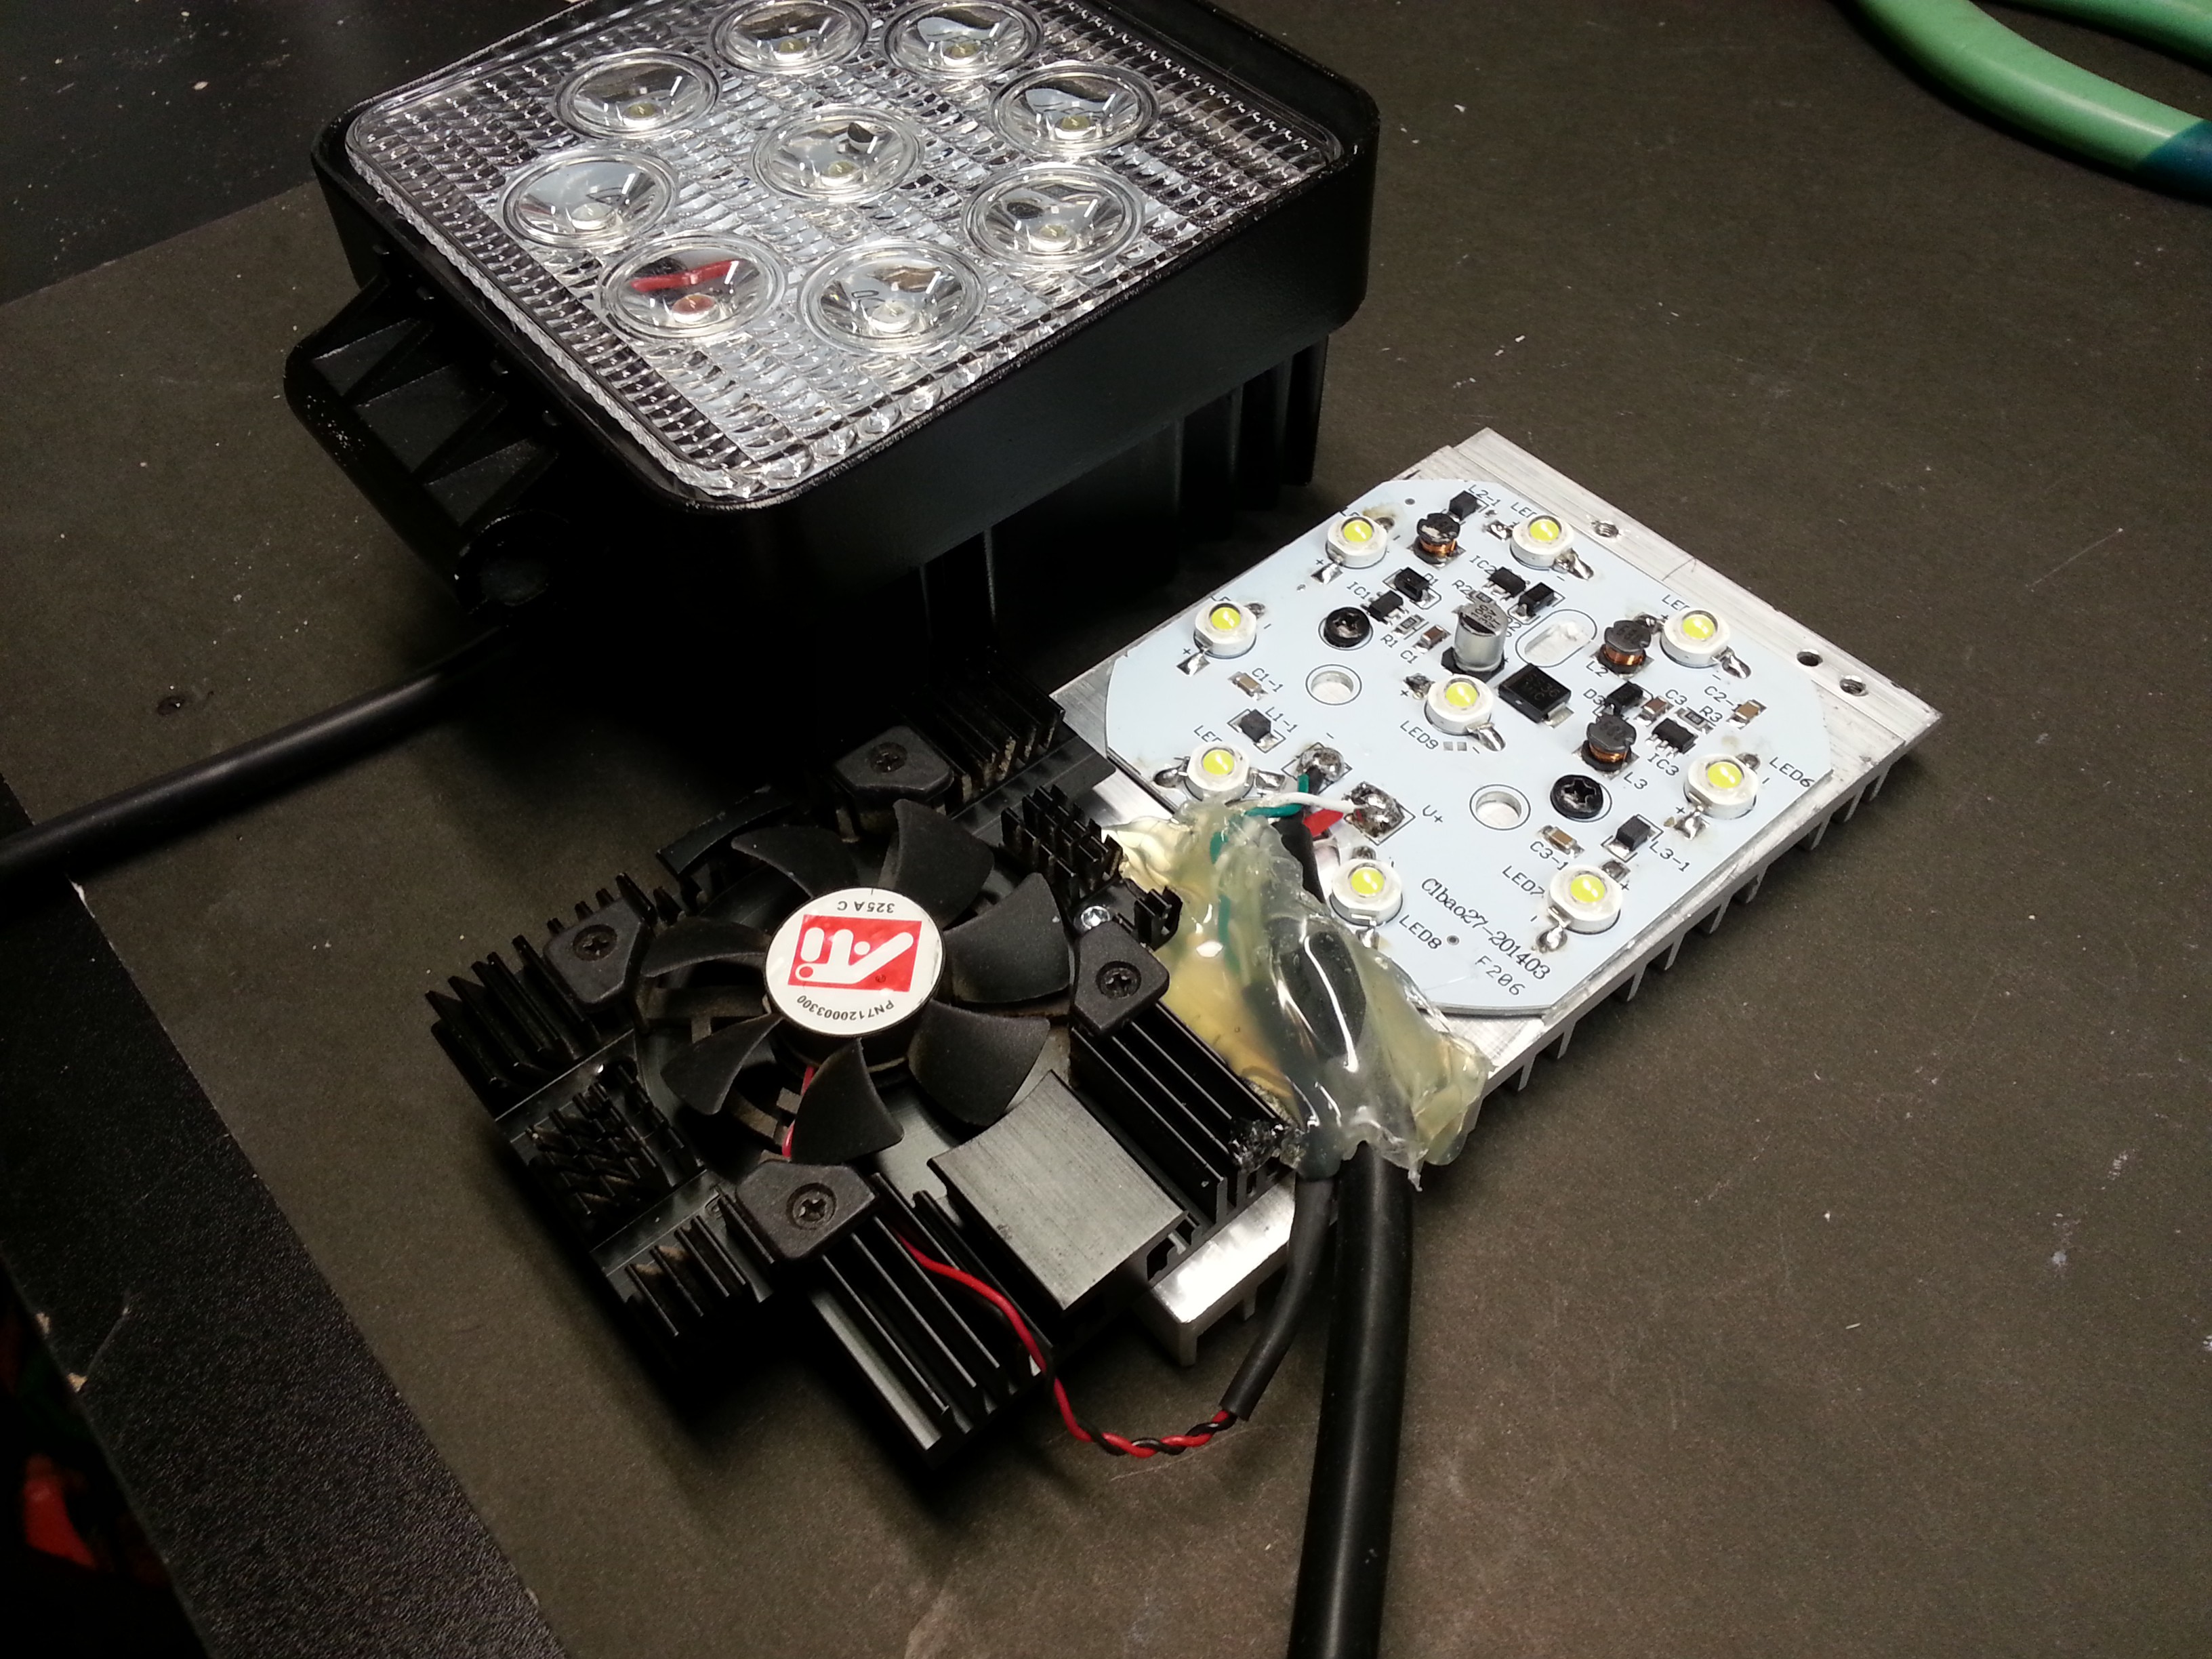
Decide what type of lighting you wish (any can be used). The spotlight I used (in the components list) works very well. If you decide to use a commercial "grow" LED light I'm sure your results will be astounding.
![]()
Repeat the previous relay wiring to the second relay. B+ from your 12V supply to the N.O. side of the relay and the light B+ to the other side. Light ground goes to your 12V supply ground.
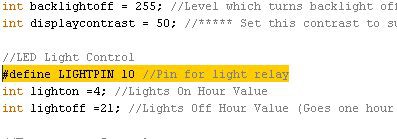
For relay control use "LIGHTPIN" (found in the code) . If you are using the custom PCB you just need to use the other signal pin which is connected to Arduino pin 10
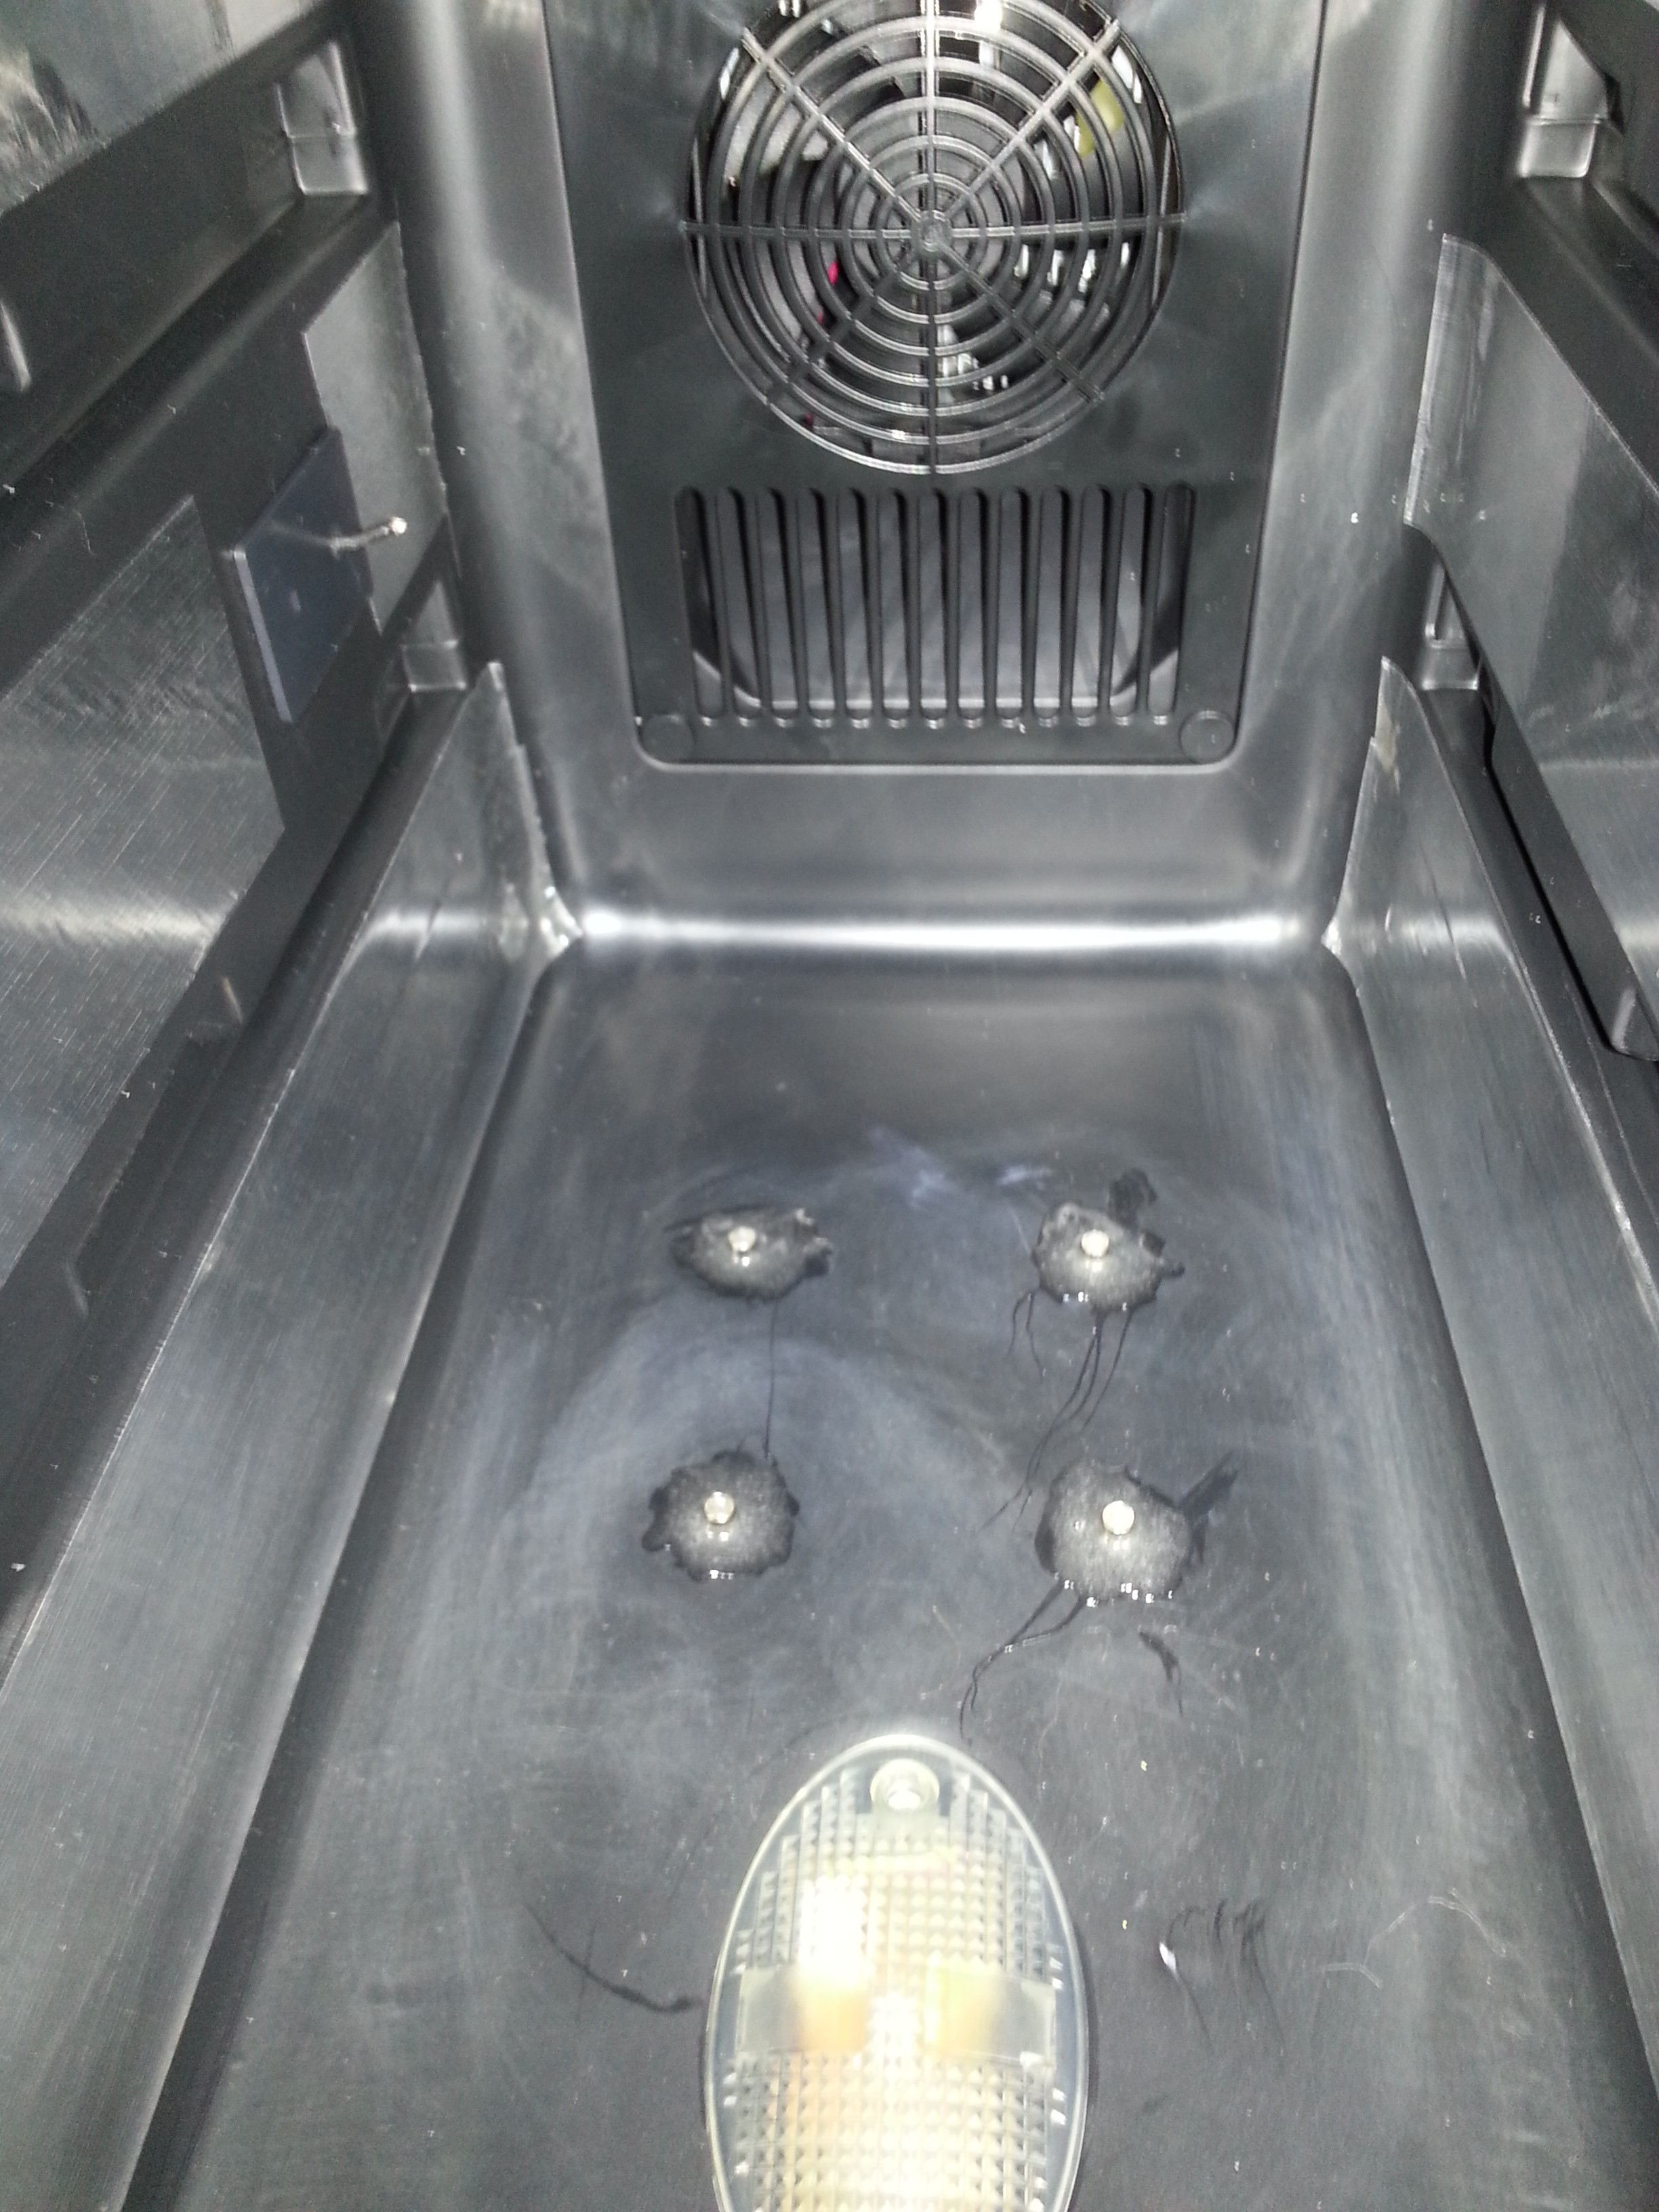
Mount your light to the top of the chamber (I used rare-earth magnets glued to the top with epoxy):
![]()
I would suggest covering your light with a "dome" (I think a Tupperware dish would be perfect) and ventilating this to the outside through the top of the cooler. This will minimize the heating effect from the lights and reduce energy consumption for cooling.
As the light is already on the top of the chamber- a simple "vent hole" would allow for a basic chimney effect. Adding two holes which would have one enter and one exit forced via the small fan I think would be ideal for this.
Even without any ventilation mine works very well though :)
On to the sensors...
-
6Step 6
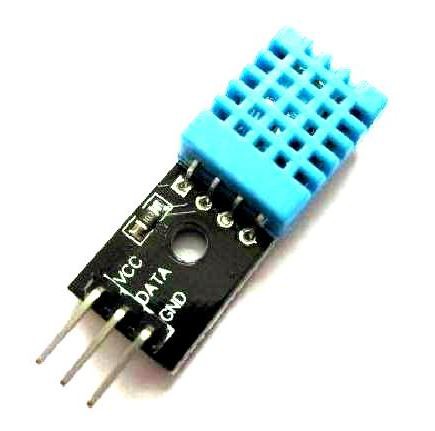
Your DHT11 temp and humidity sensor should look something like this:
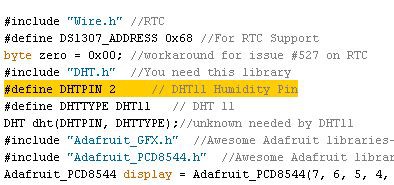
Connect the DHT11 Temperature and humidity sensor as per the connections in the code ( "DHTPIN") Shown here:
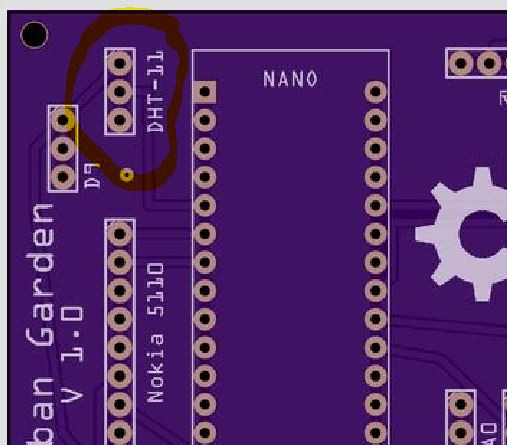
If you are using the custom PCB this is already done for you. Connect the VCC and ground as well as the signal pin which is already connected to Pin 2 here:
Once you are wired up just place the sensor in the upper back area of the grow chamber where it will not be in direct light from the LED's. You can use a bit of foil to make a hood if needed. -
7Step 7
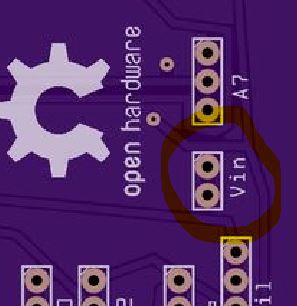
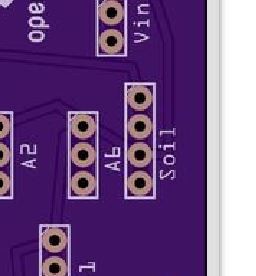
7. Connect the Arduino to your power supply + and ground. The NANO has a capable regulator so you can connect it directly to your 12V supply via the Vin pin.
if you are using the custom PCB you can find them handily broken out at Vin :)
-
8Step 8
8. Your soil moisture sensor should be an analog one similar to this (if you are using my code):
Hook it up to VCC and Ground with signal going to "moisturepin" which is defined as 3 in the code. If you are using the custom PCB- again this is easy :)
There is an extra pad on the PCD in case a person needed it for the digital output someday but for now it is not hooked to anything. Use the one which traces back to pin 3.
Stick the probes into your soil and that's it.
On to the LCD display!
-
9Step 9
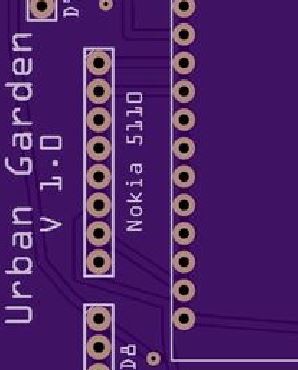
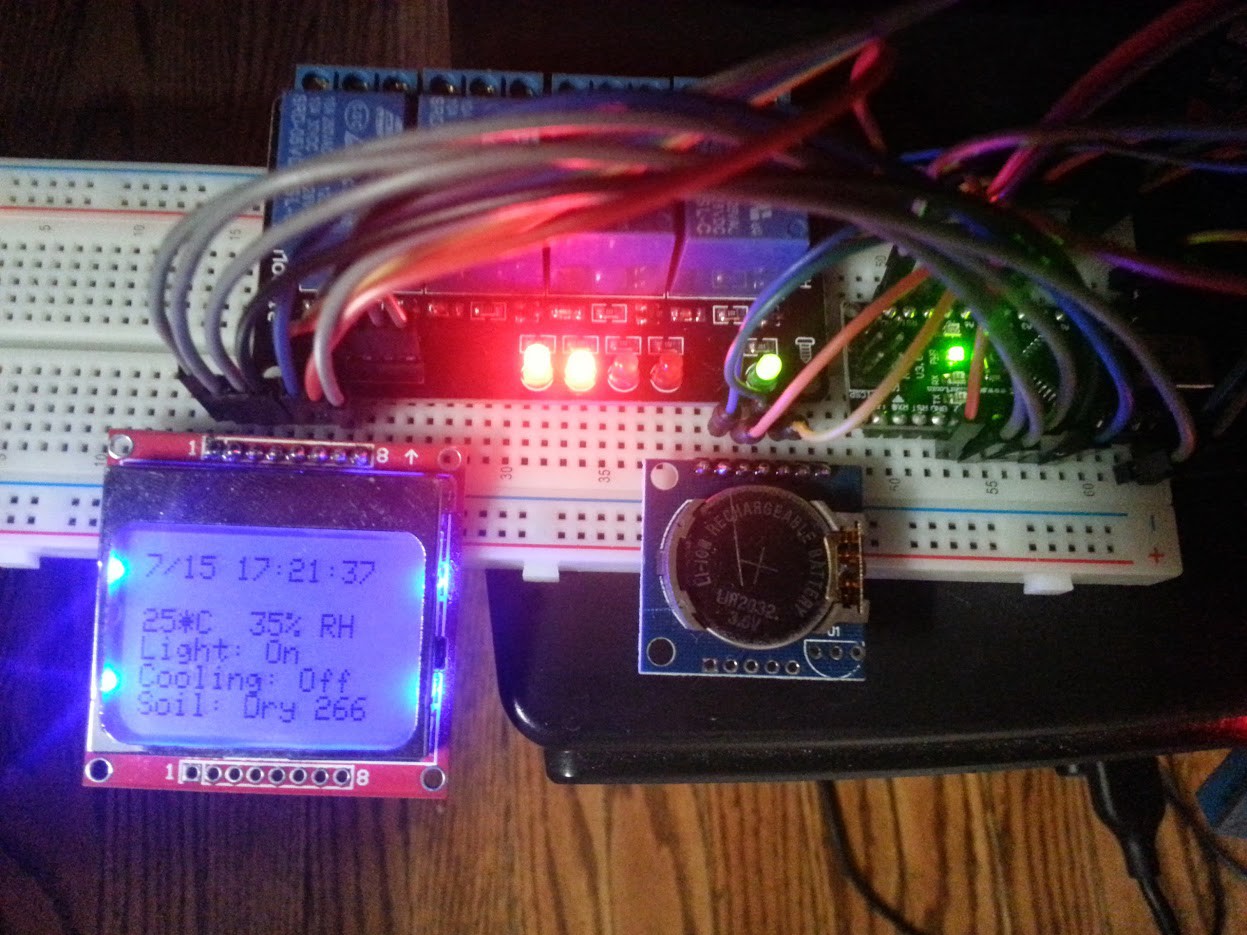
9. Connect the Nokia 5110 LCD Display as per the pins shown in the code.
You could also use any LCD or OLED you desire by modifying the code/connections. If you are using the custom PCB- well again this is easy:
The code section to check your pins is here:
As always with Arduino make sure you have the libraries installed. The amazing ones from Adafruit work perfect for this and many other projects! Show them some love if you can.
![]()
On to time keeping...
-
10Step 10
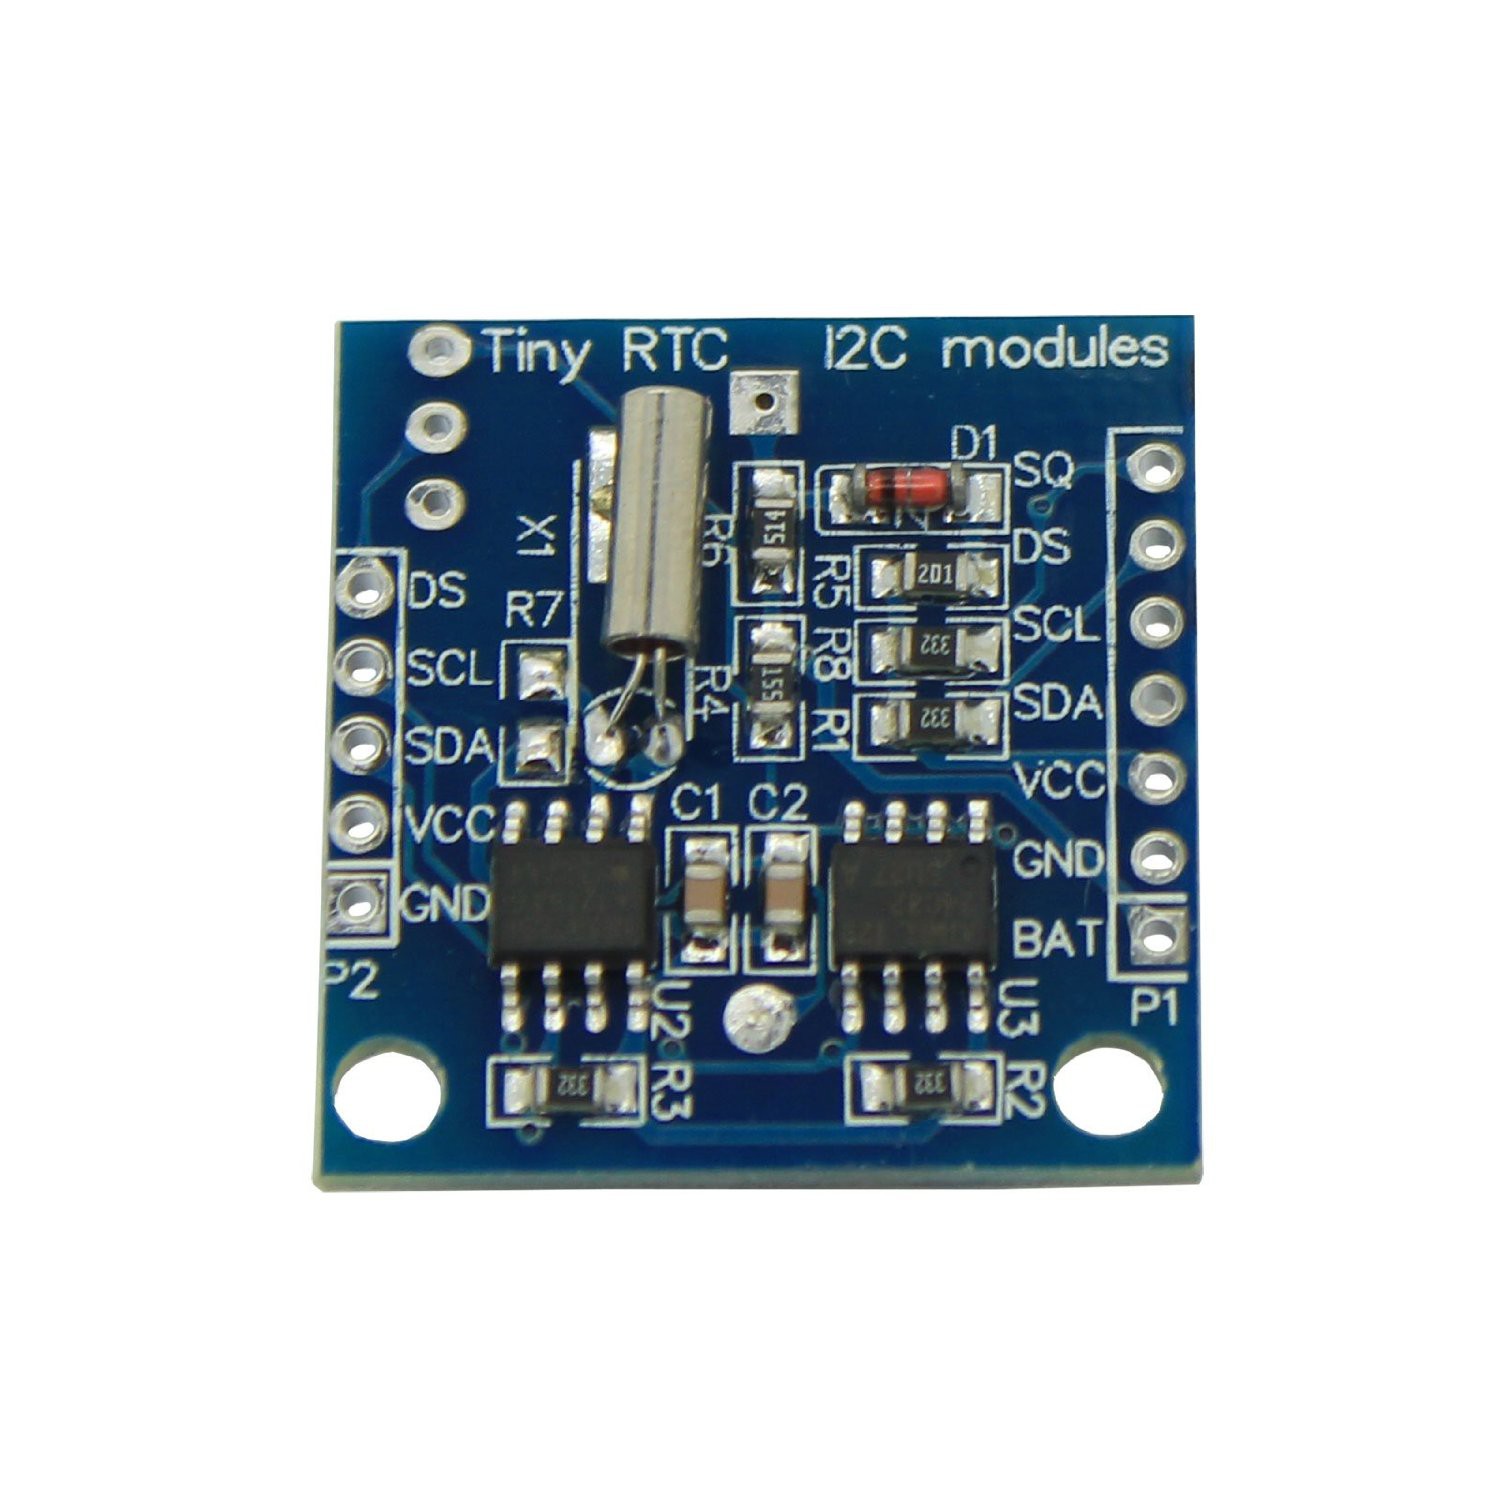
Program your real time clock to correct time (varies by unit) and connect to the pins shown in the code. If you would like to use the custom PCB without any fuss or modifications you need to be using the Tiny RTC :
Use the sketch outlined in my code (setrtc.ino) to set the date/time on your RTC. This only needs to be done once.![]()
This is probably the hardest part so take your time. Find the I2C address and program it correctly so your light cycle and custom cooling cycles can work correctly.You can also use any other RTC module but you will need to modify the code/wiring to suit that module, communication and format. I have had great luck with these ones and I love the simplicity.
Urban Kitchen Garden
Open Source Arduino controlled counter-top garden for growing vegetables, herbs, or greens for sustainable foods right in your own home.
 Eric Wiiliam





Discussions
Become a Hackaday.io Member
Create an account to leave a comment. Already have an account? Log In.