 Mark Arnott
-
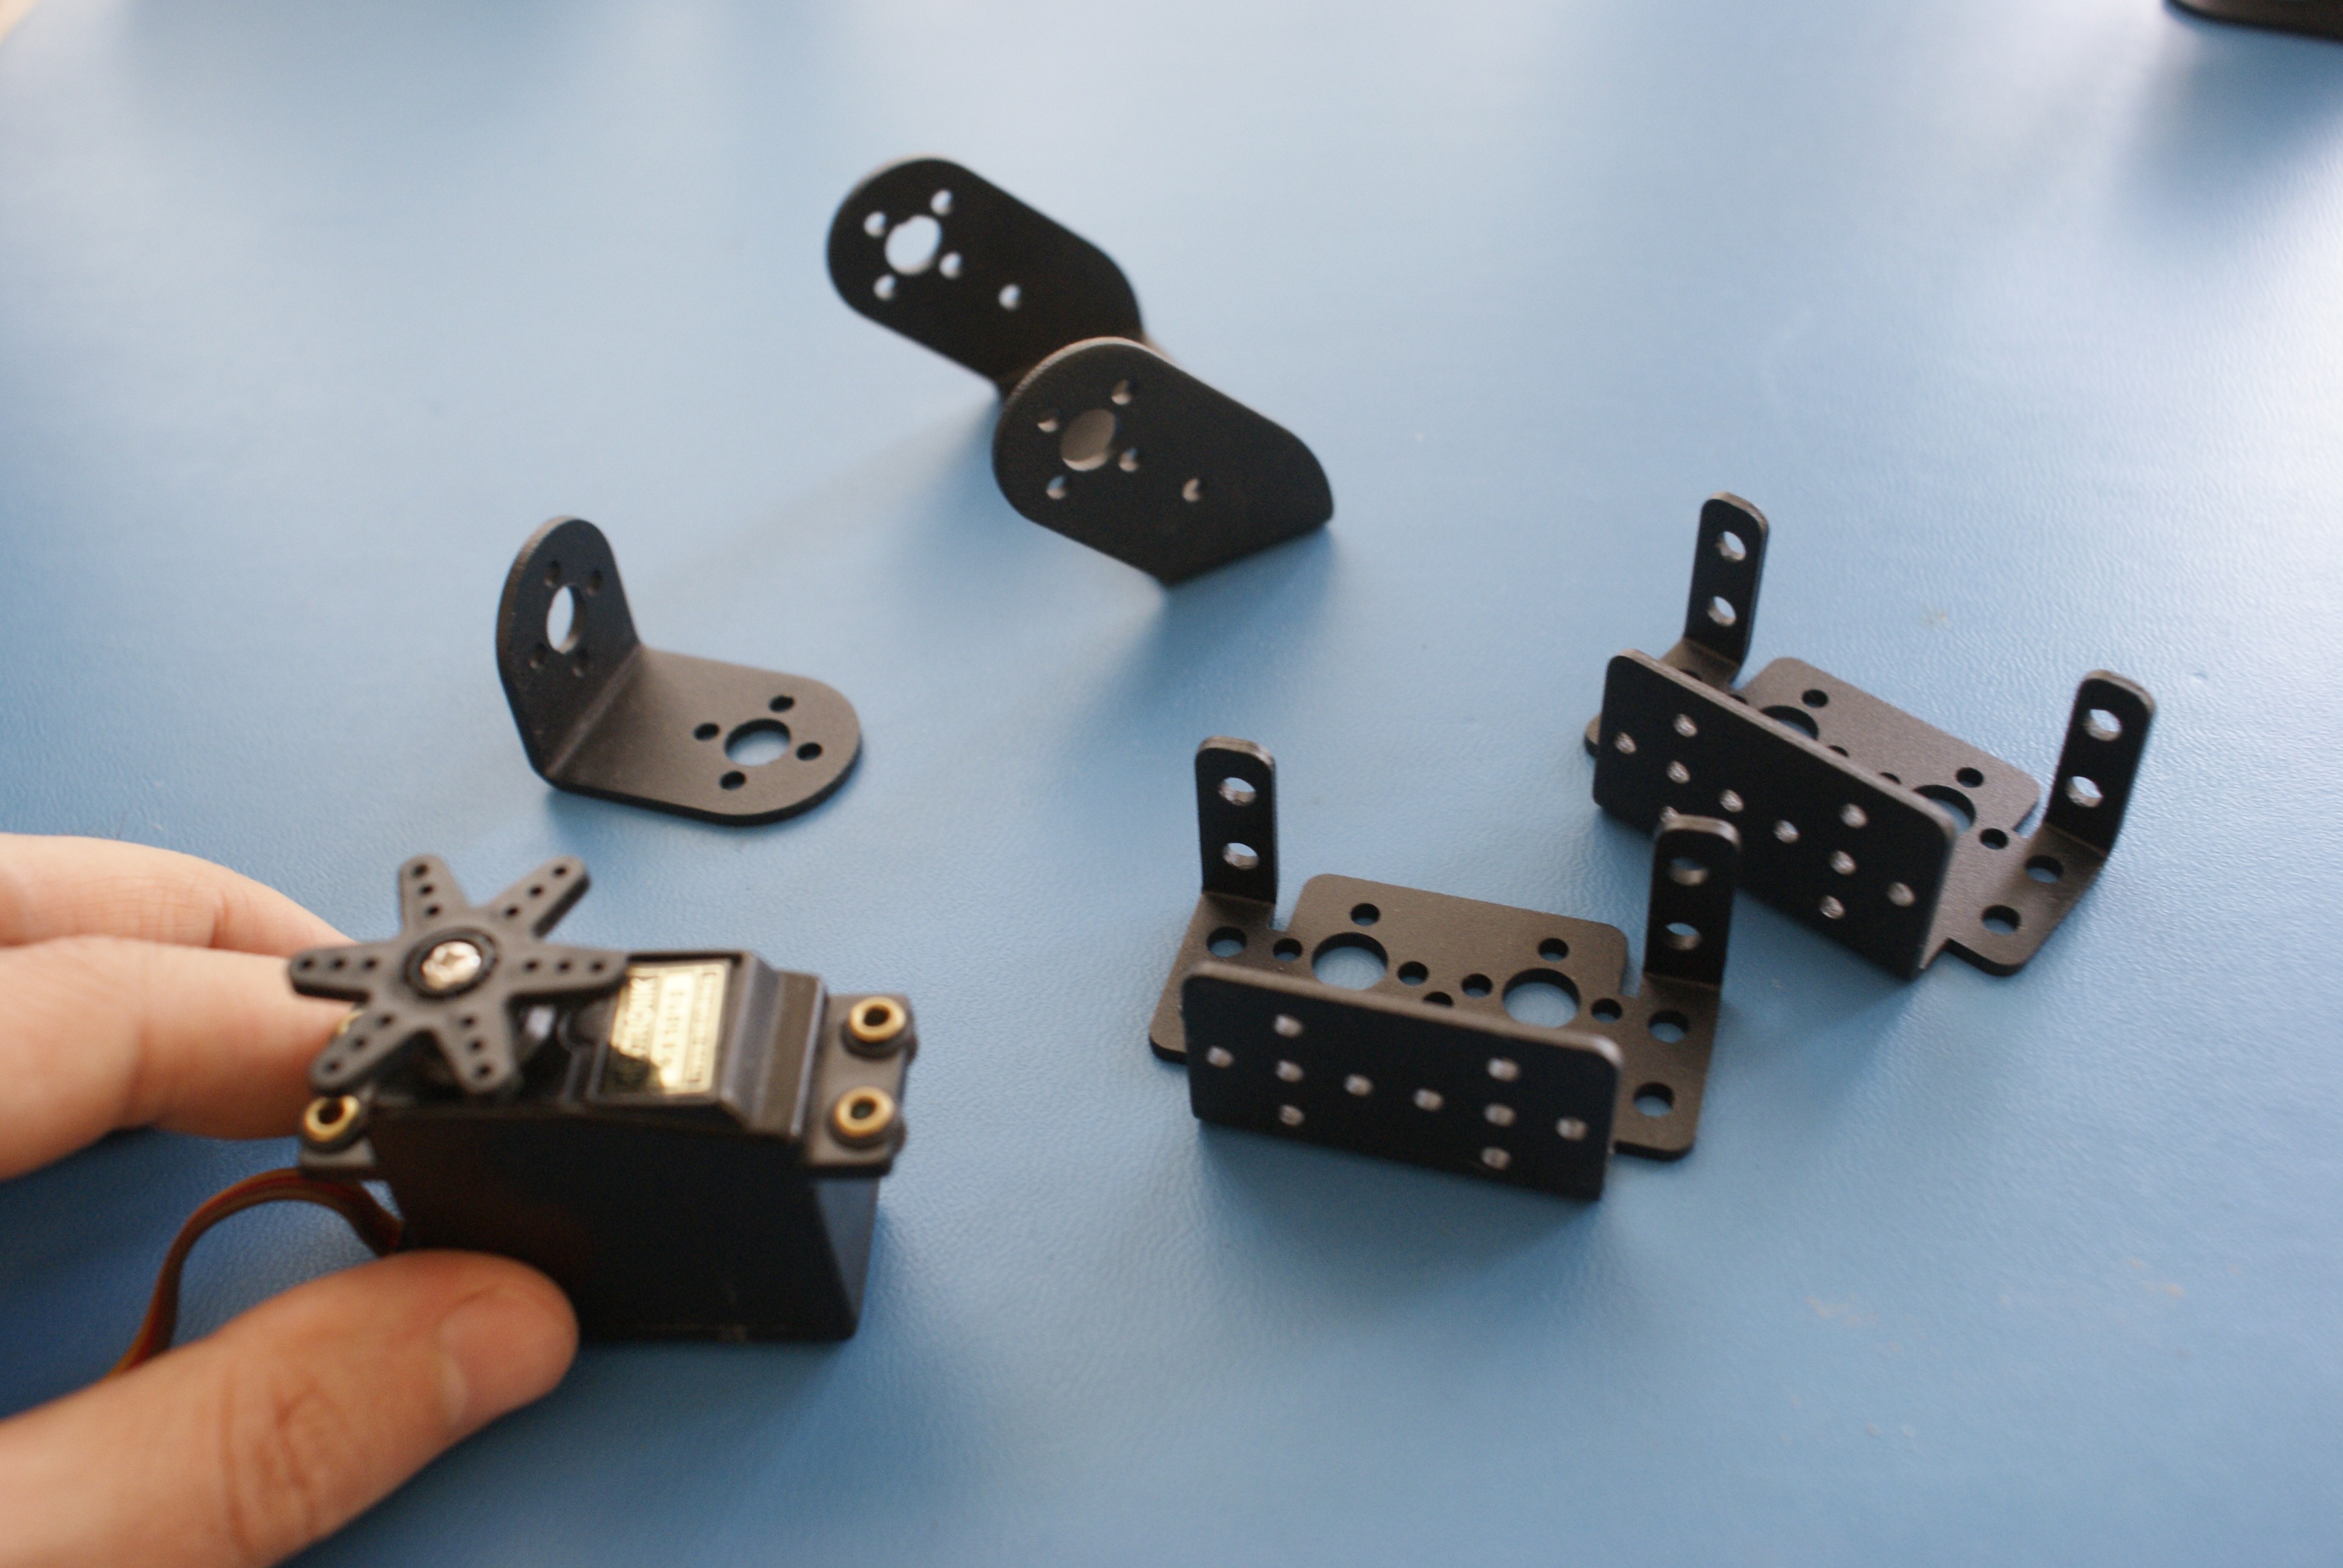
1Step 1
The first step to do purchase some servo motors and a servo bracket kit. I got the servos from Hobbyking and the bracket kit is from ebay.
![]()
-
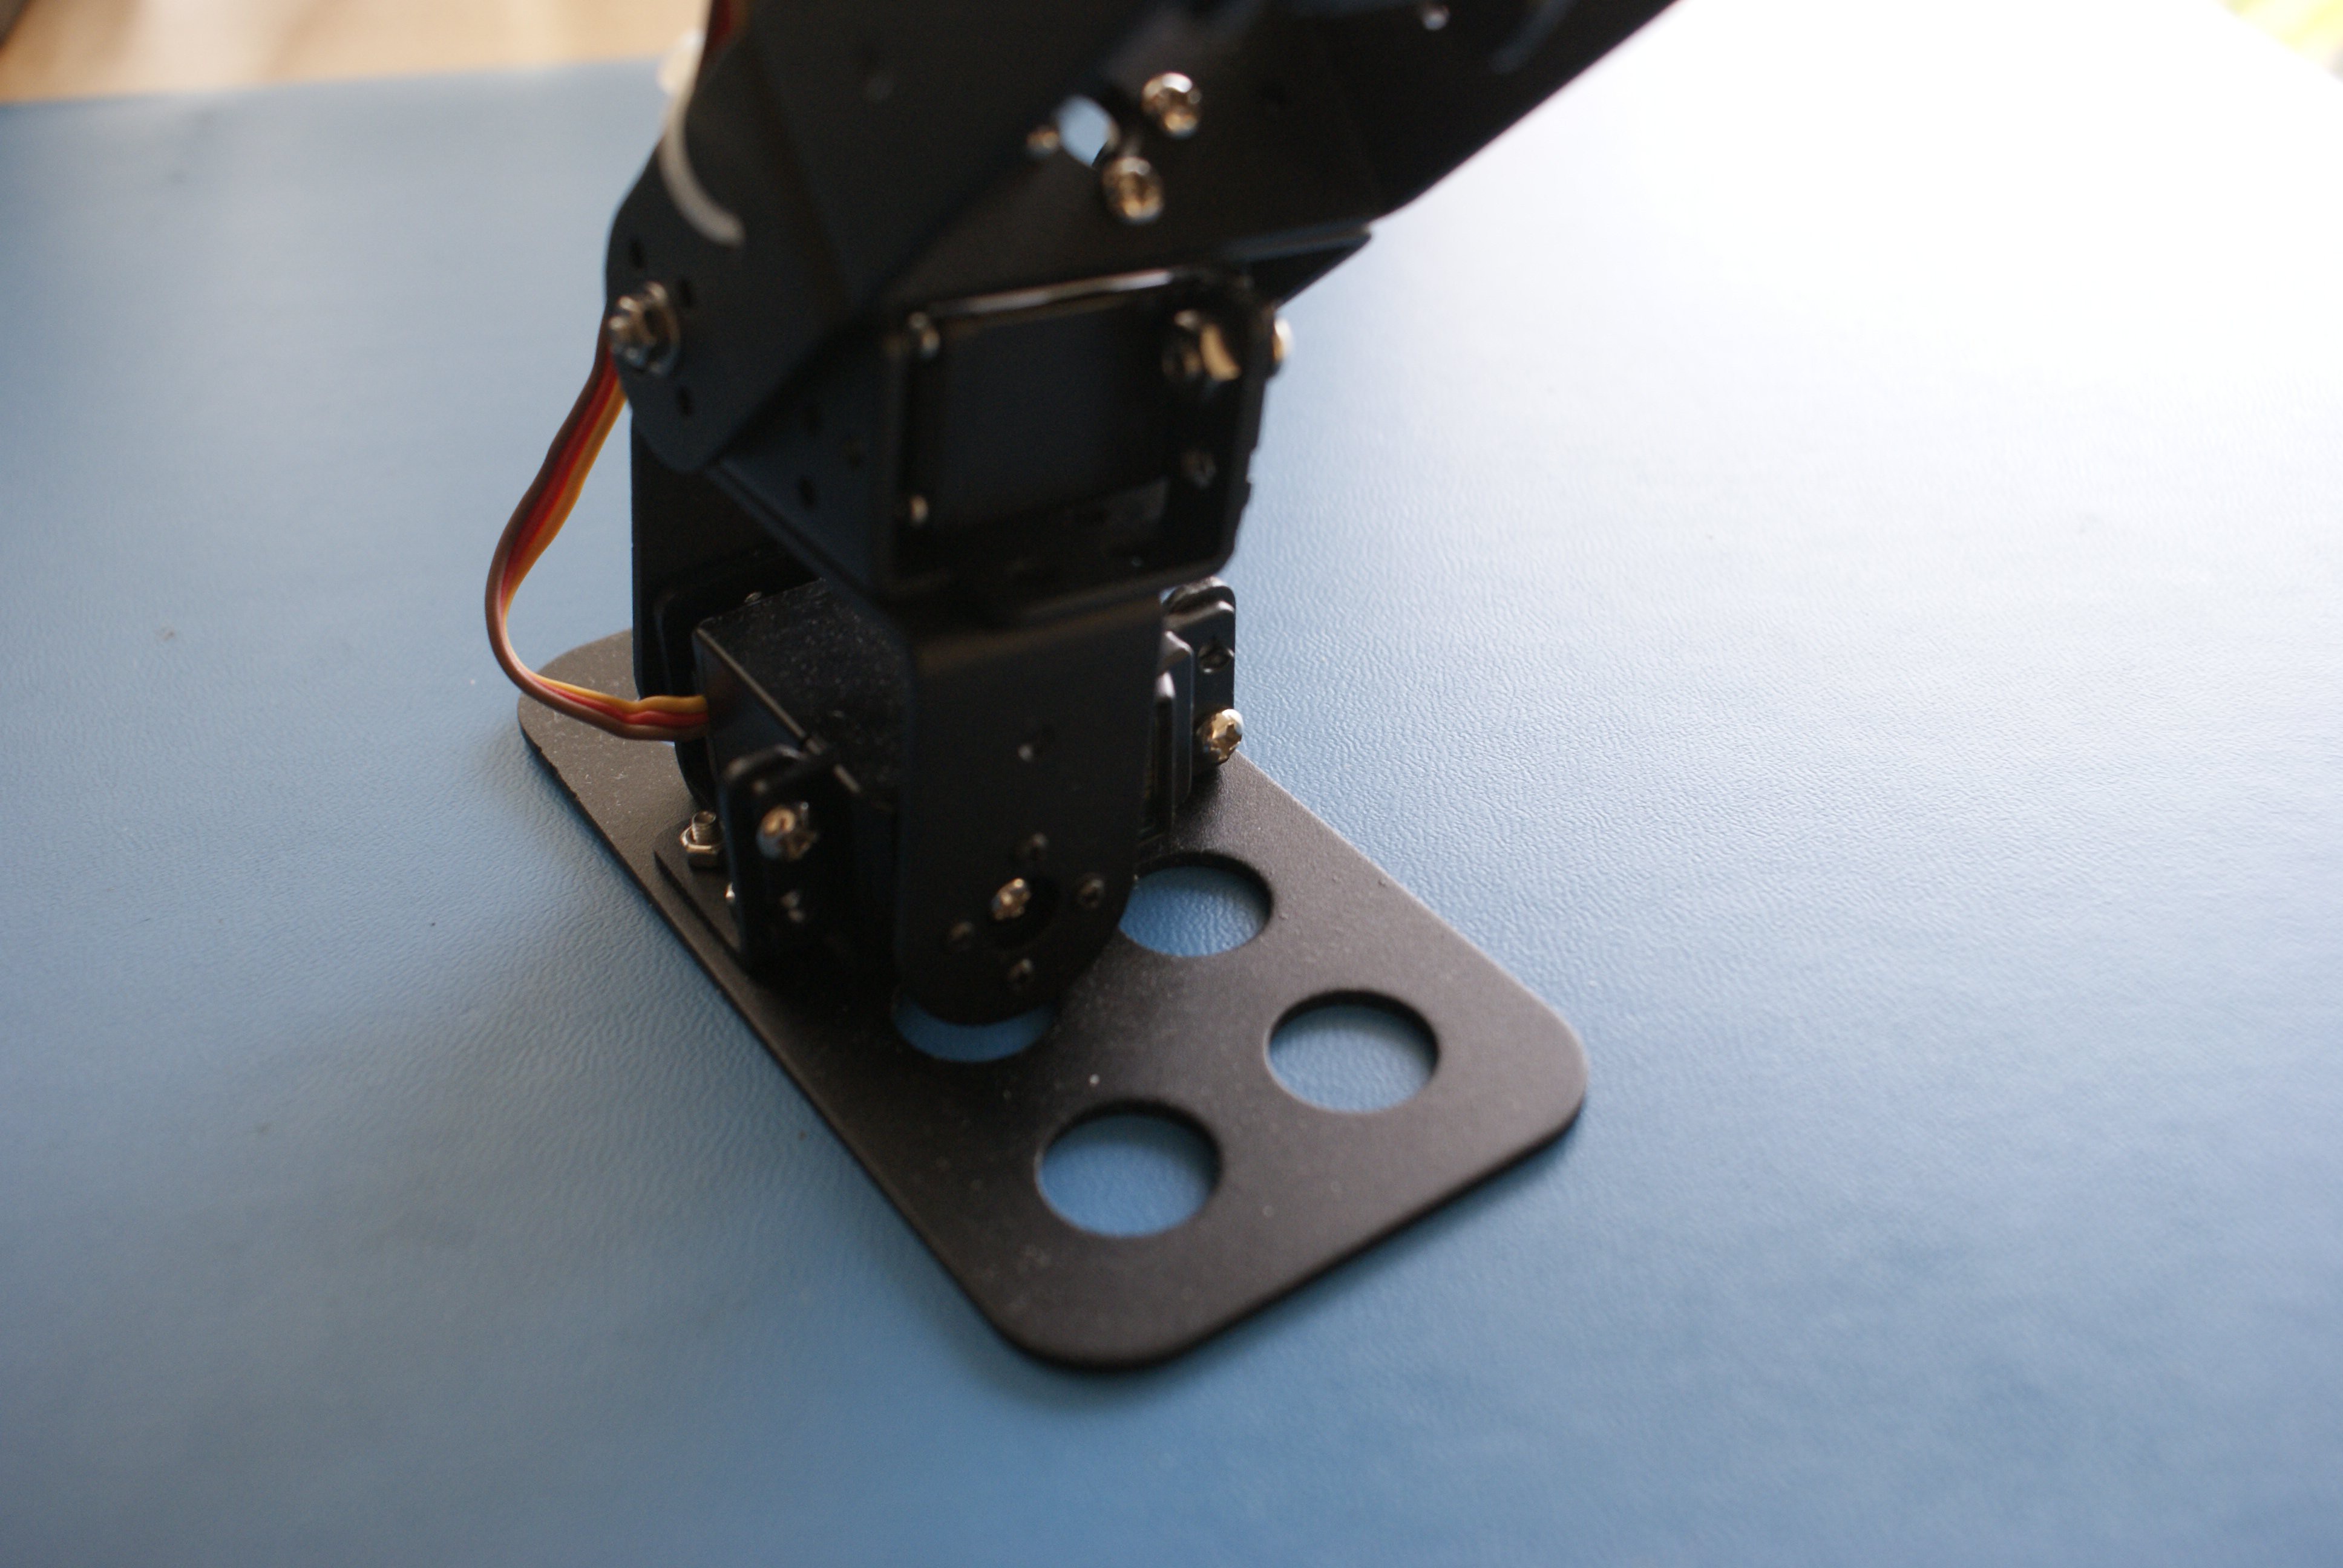
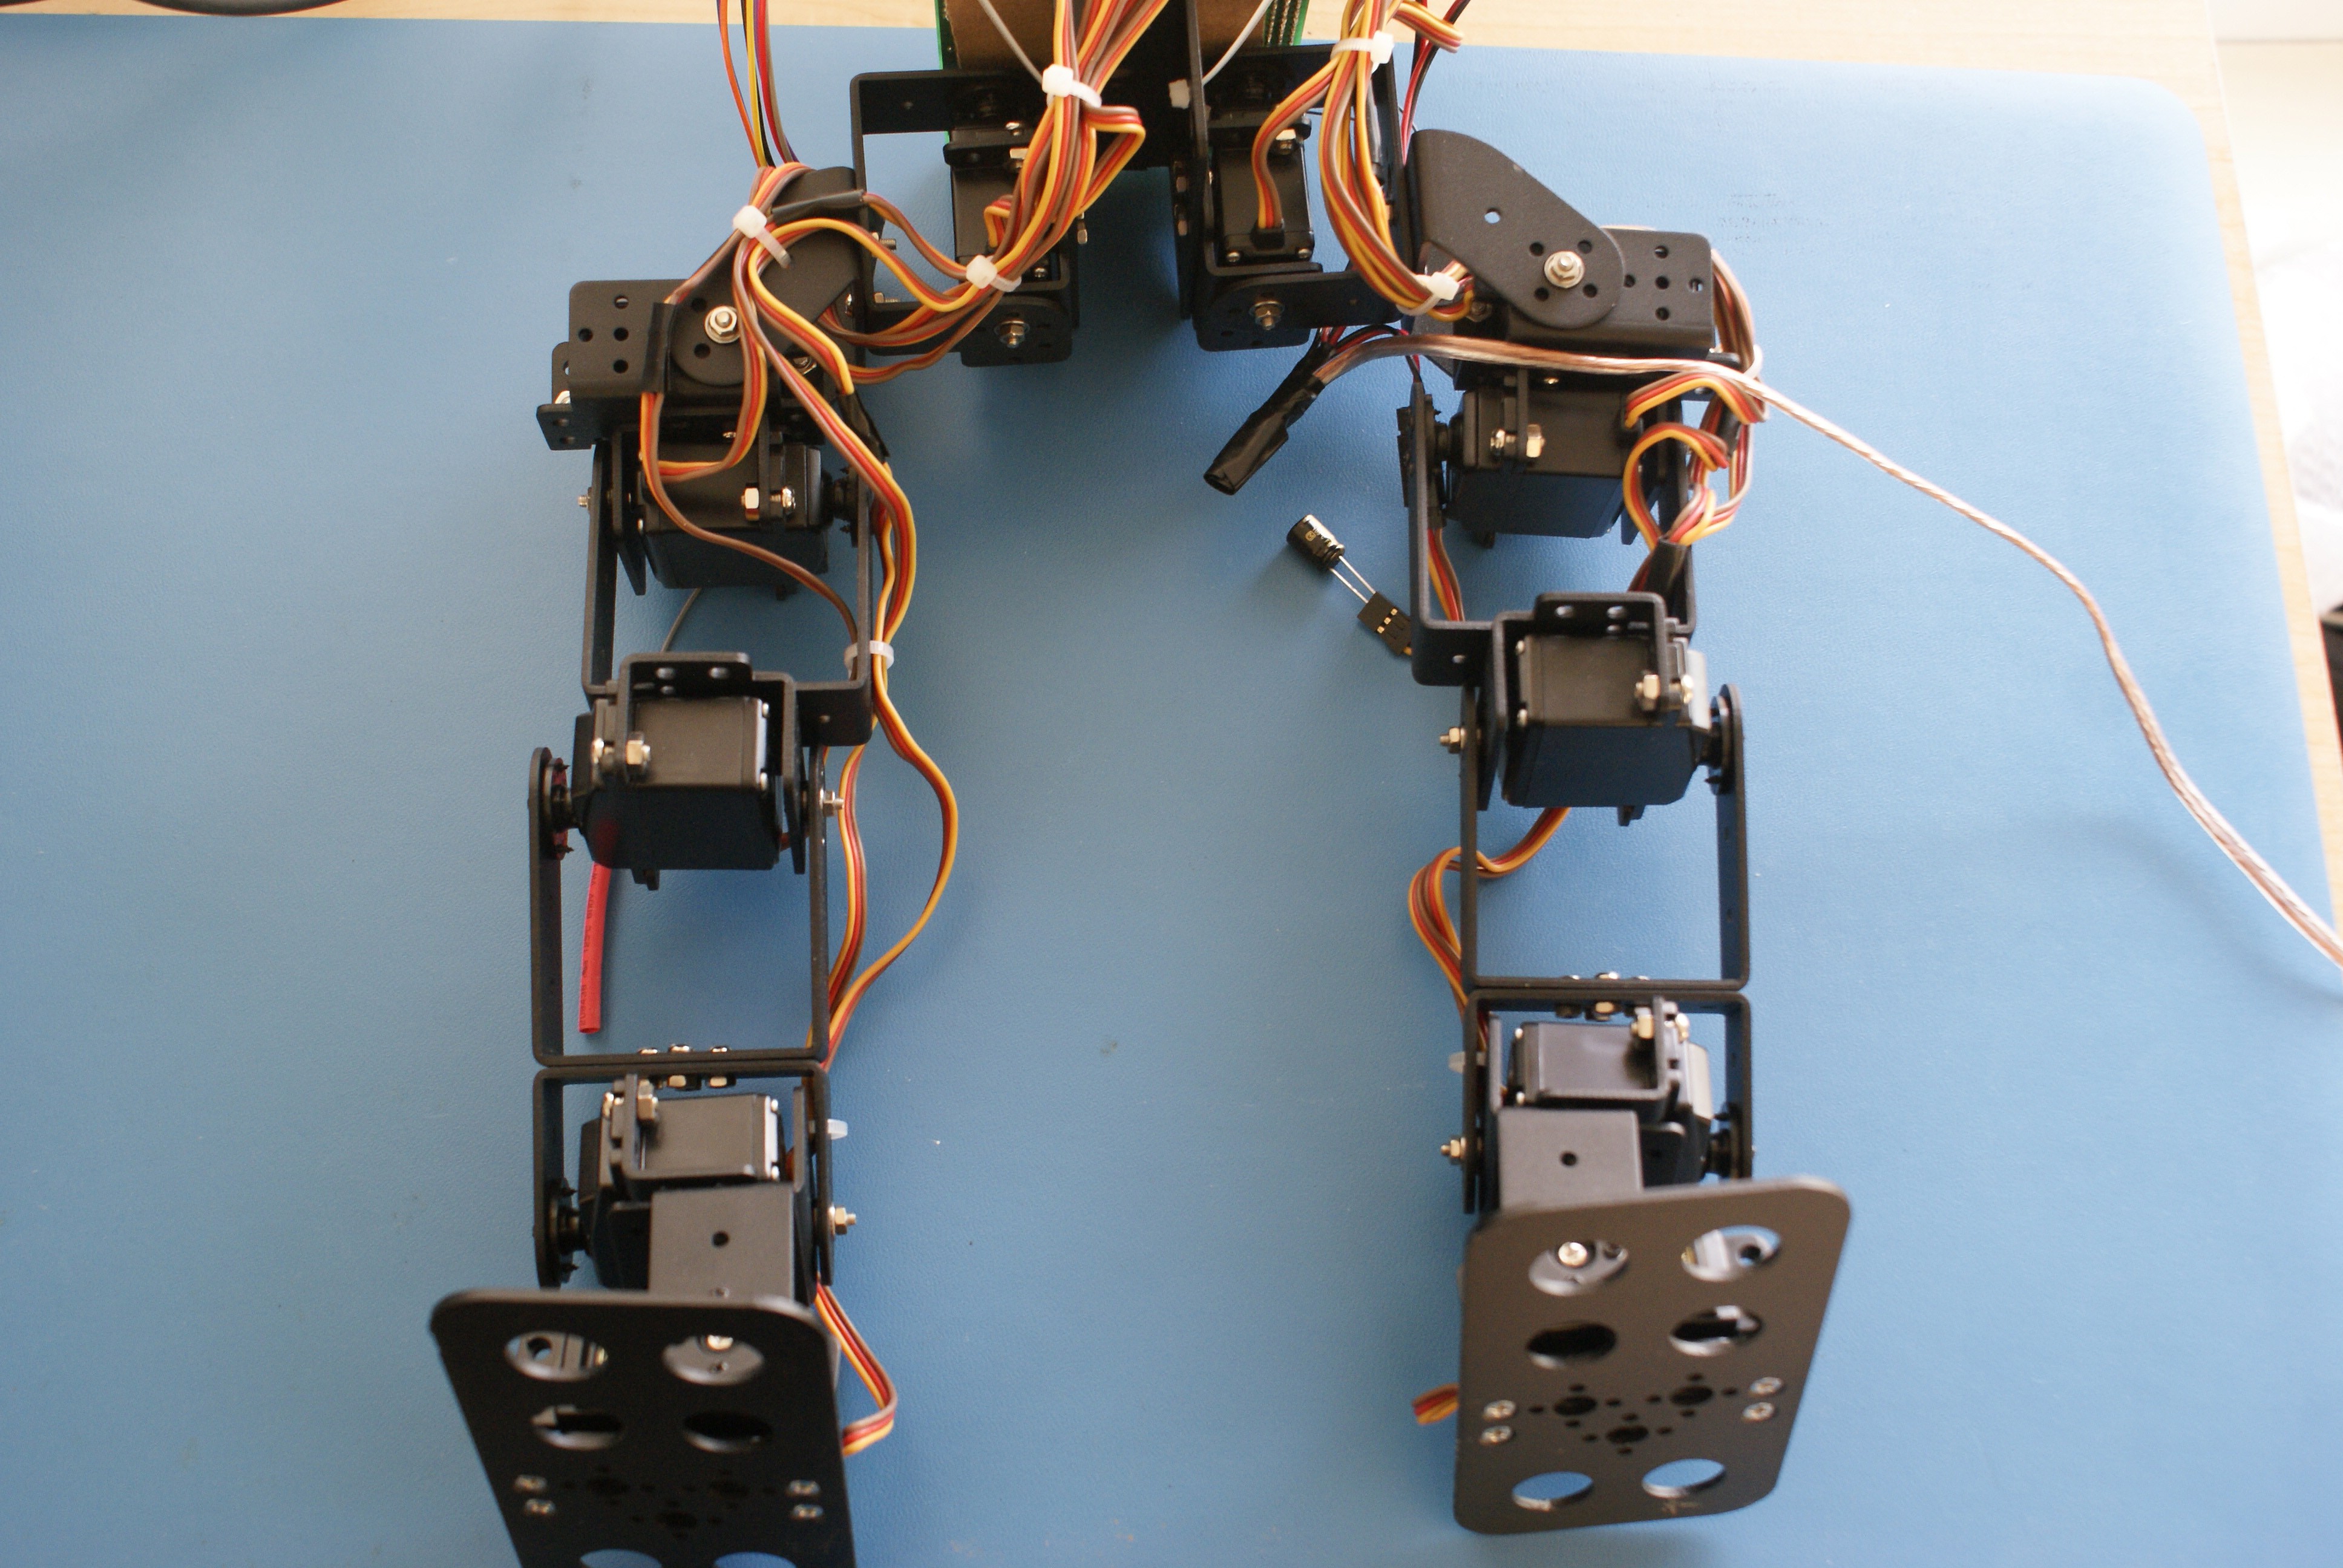
2Step 2
Next built the robot the way you want to with the different pieces in the kit. I built my robot with two legs. Each leg has 6 servo motors. It can take some trial and error to find a good layout for the robot.
![]()
-
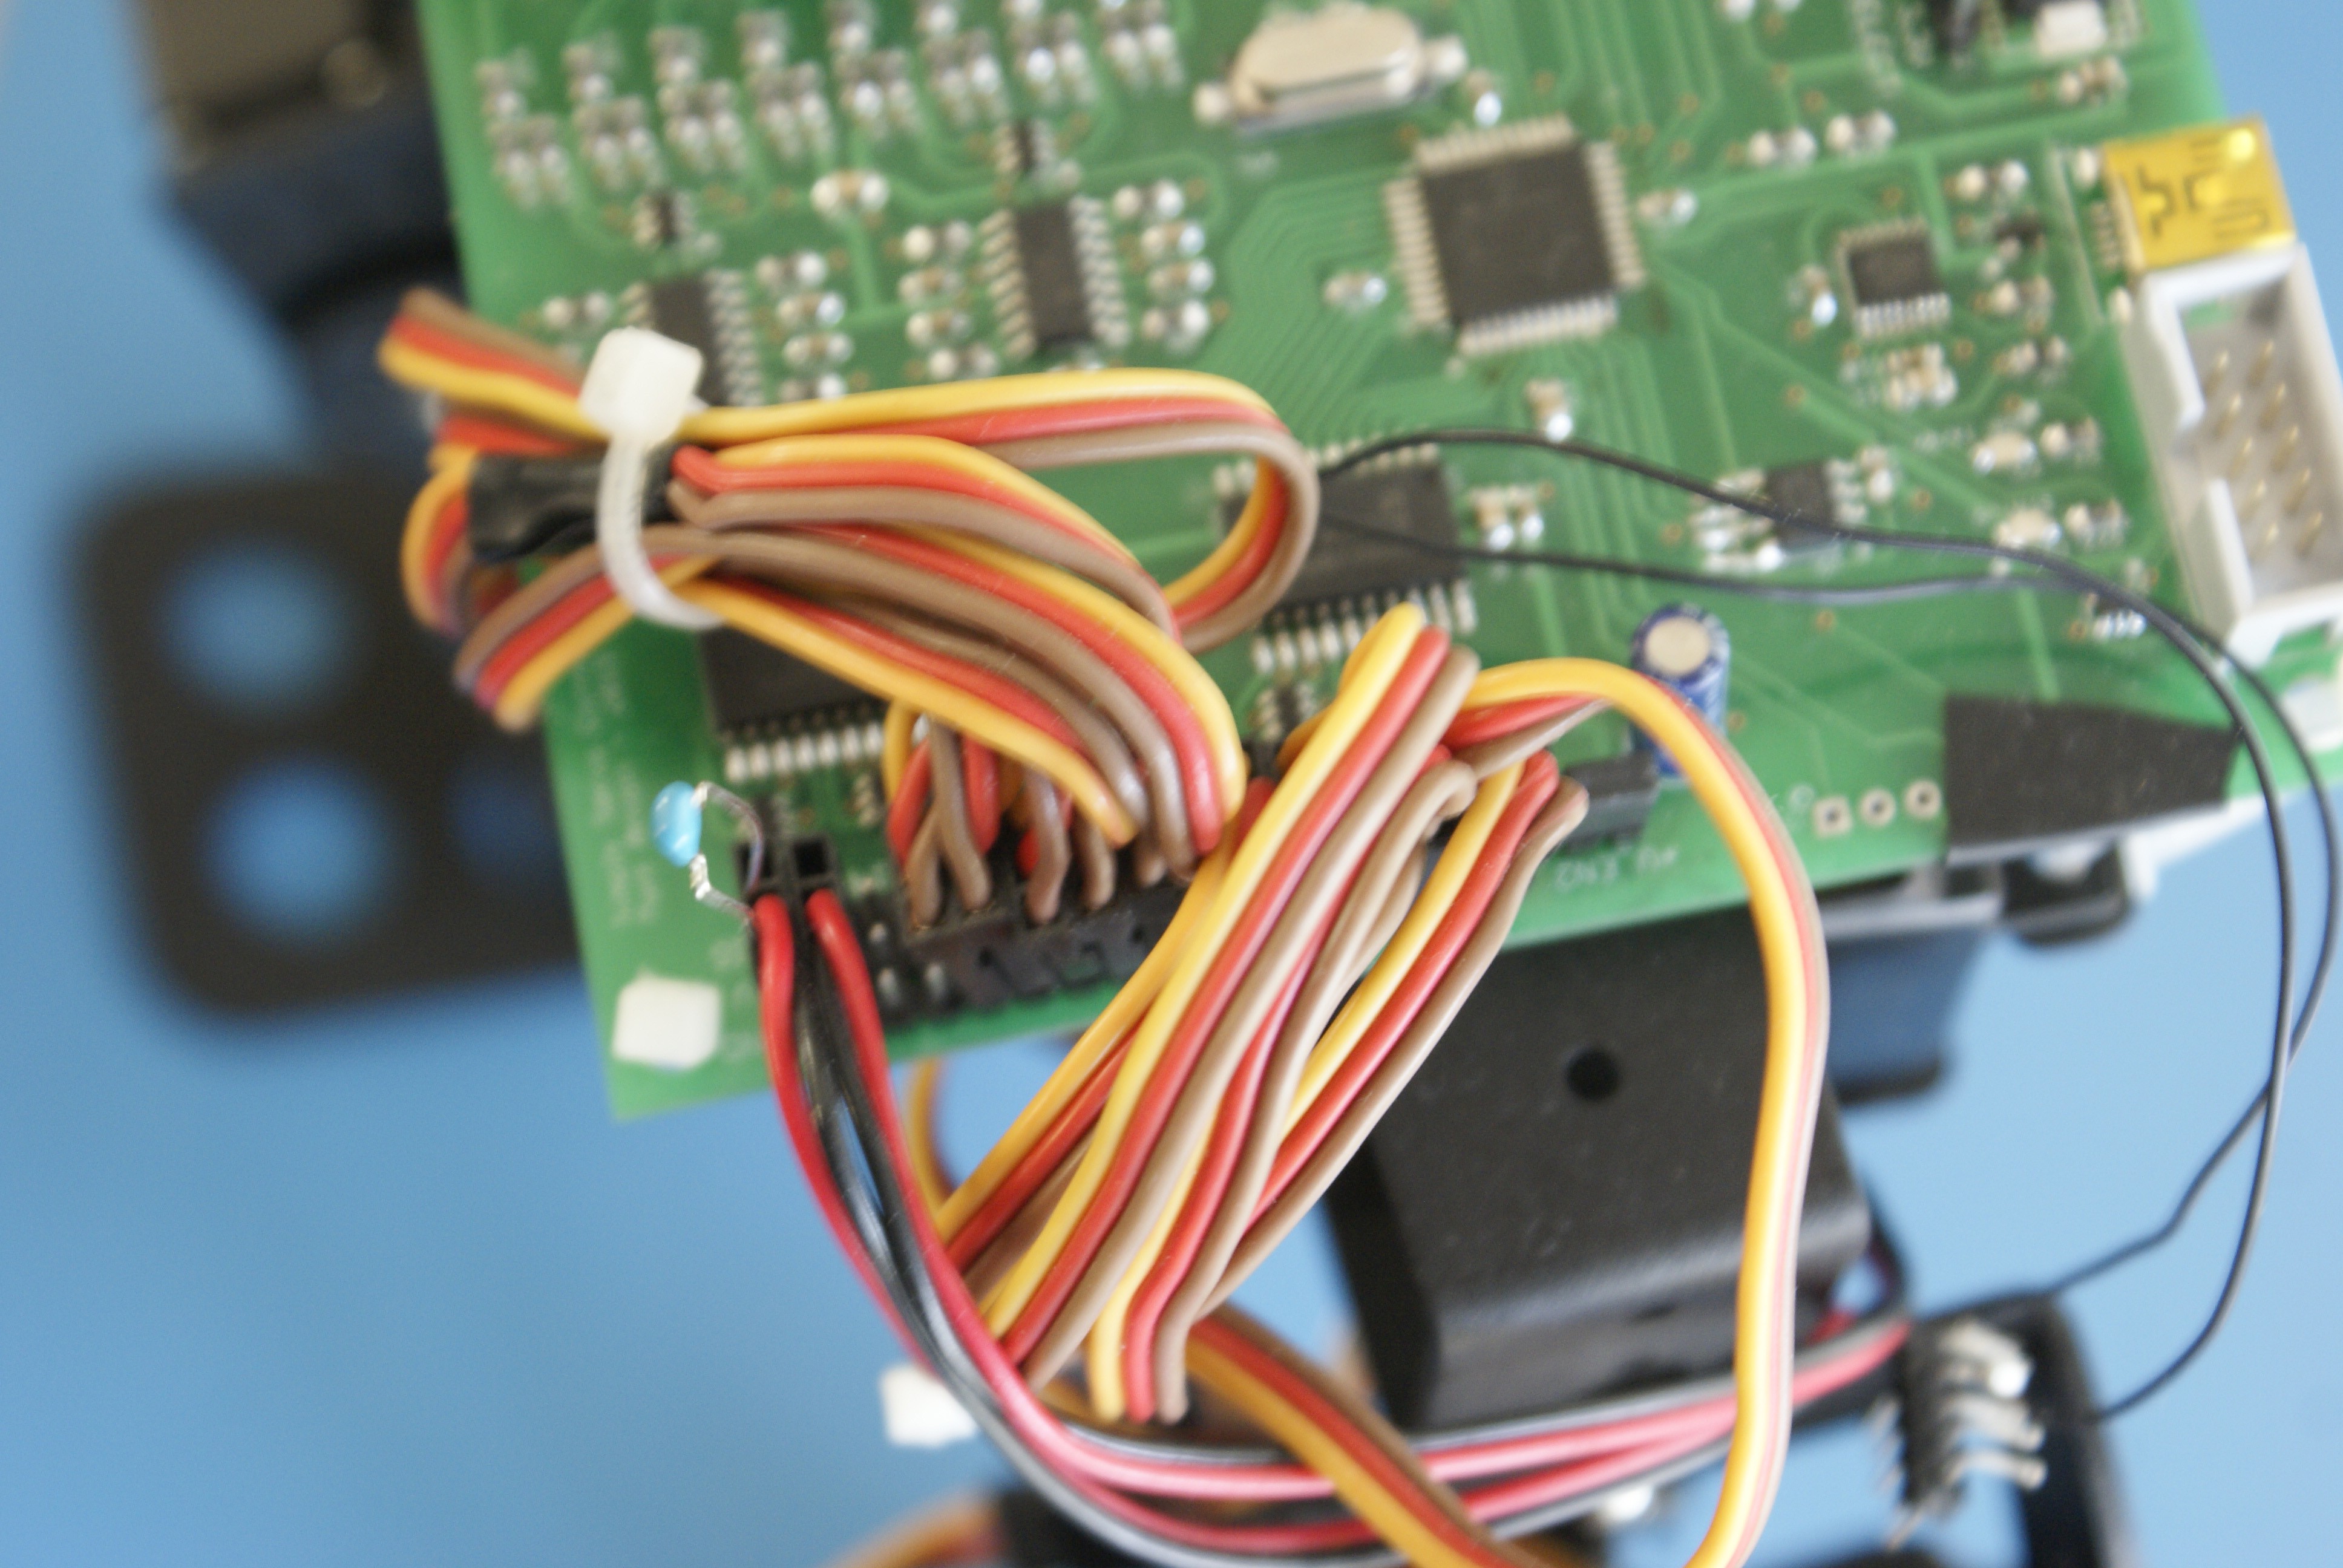
3Step 3
Once the robot is put together bundle and route the wires to the top where we will attach the control board. The control board used is the Smart Servo Controller. Check out the Kickstarter page here for more information: https://www.kickstarter.com/projects/143152889/smart-servo-controller
![]()
-
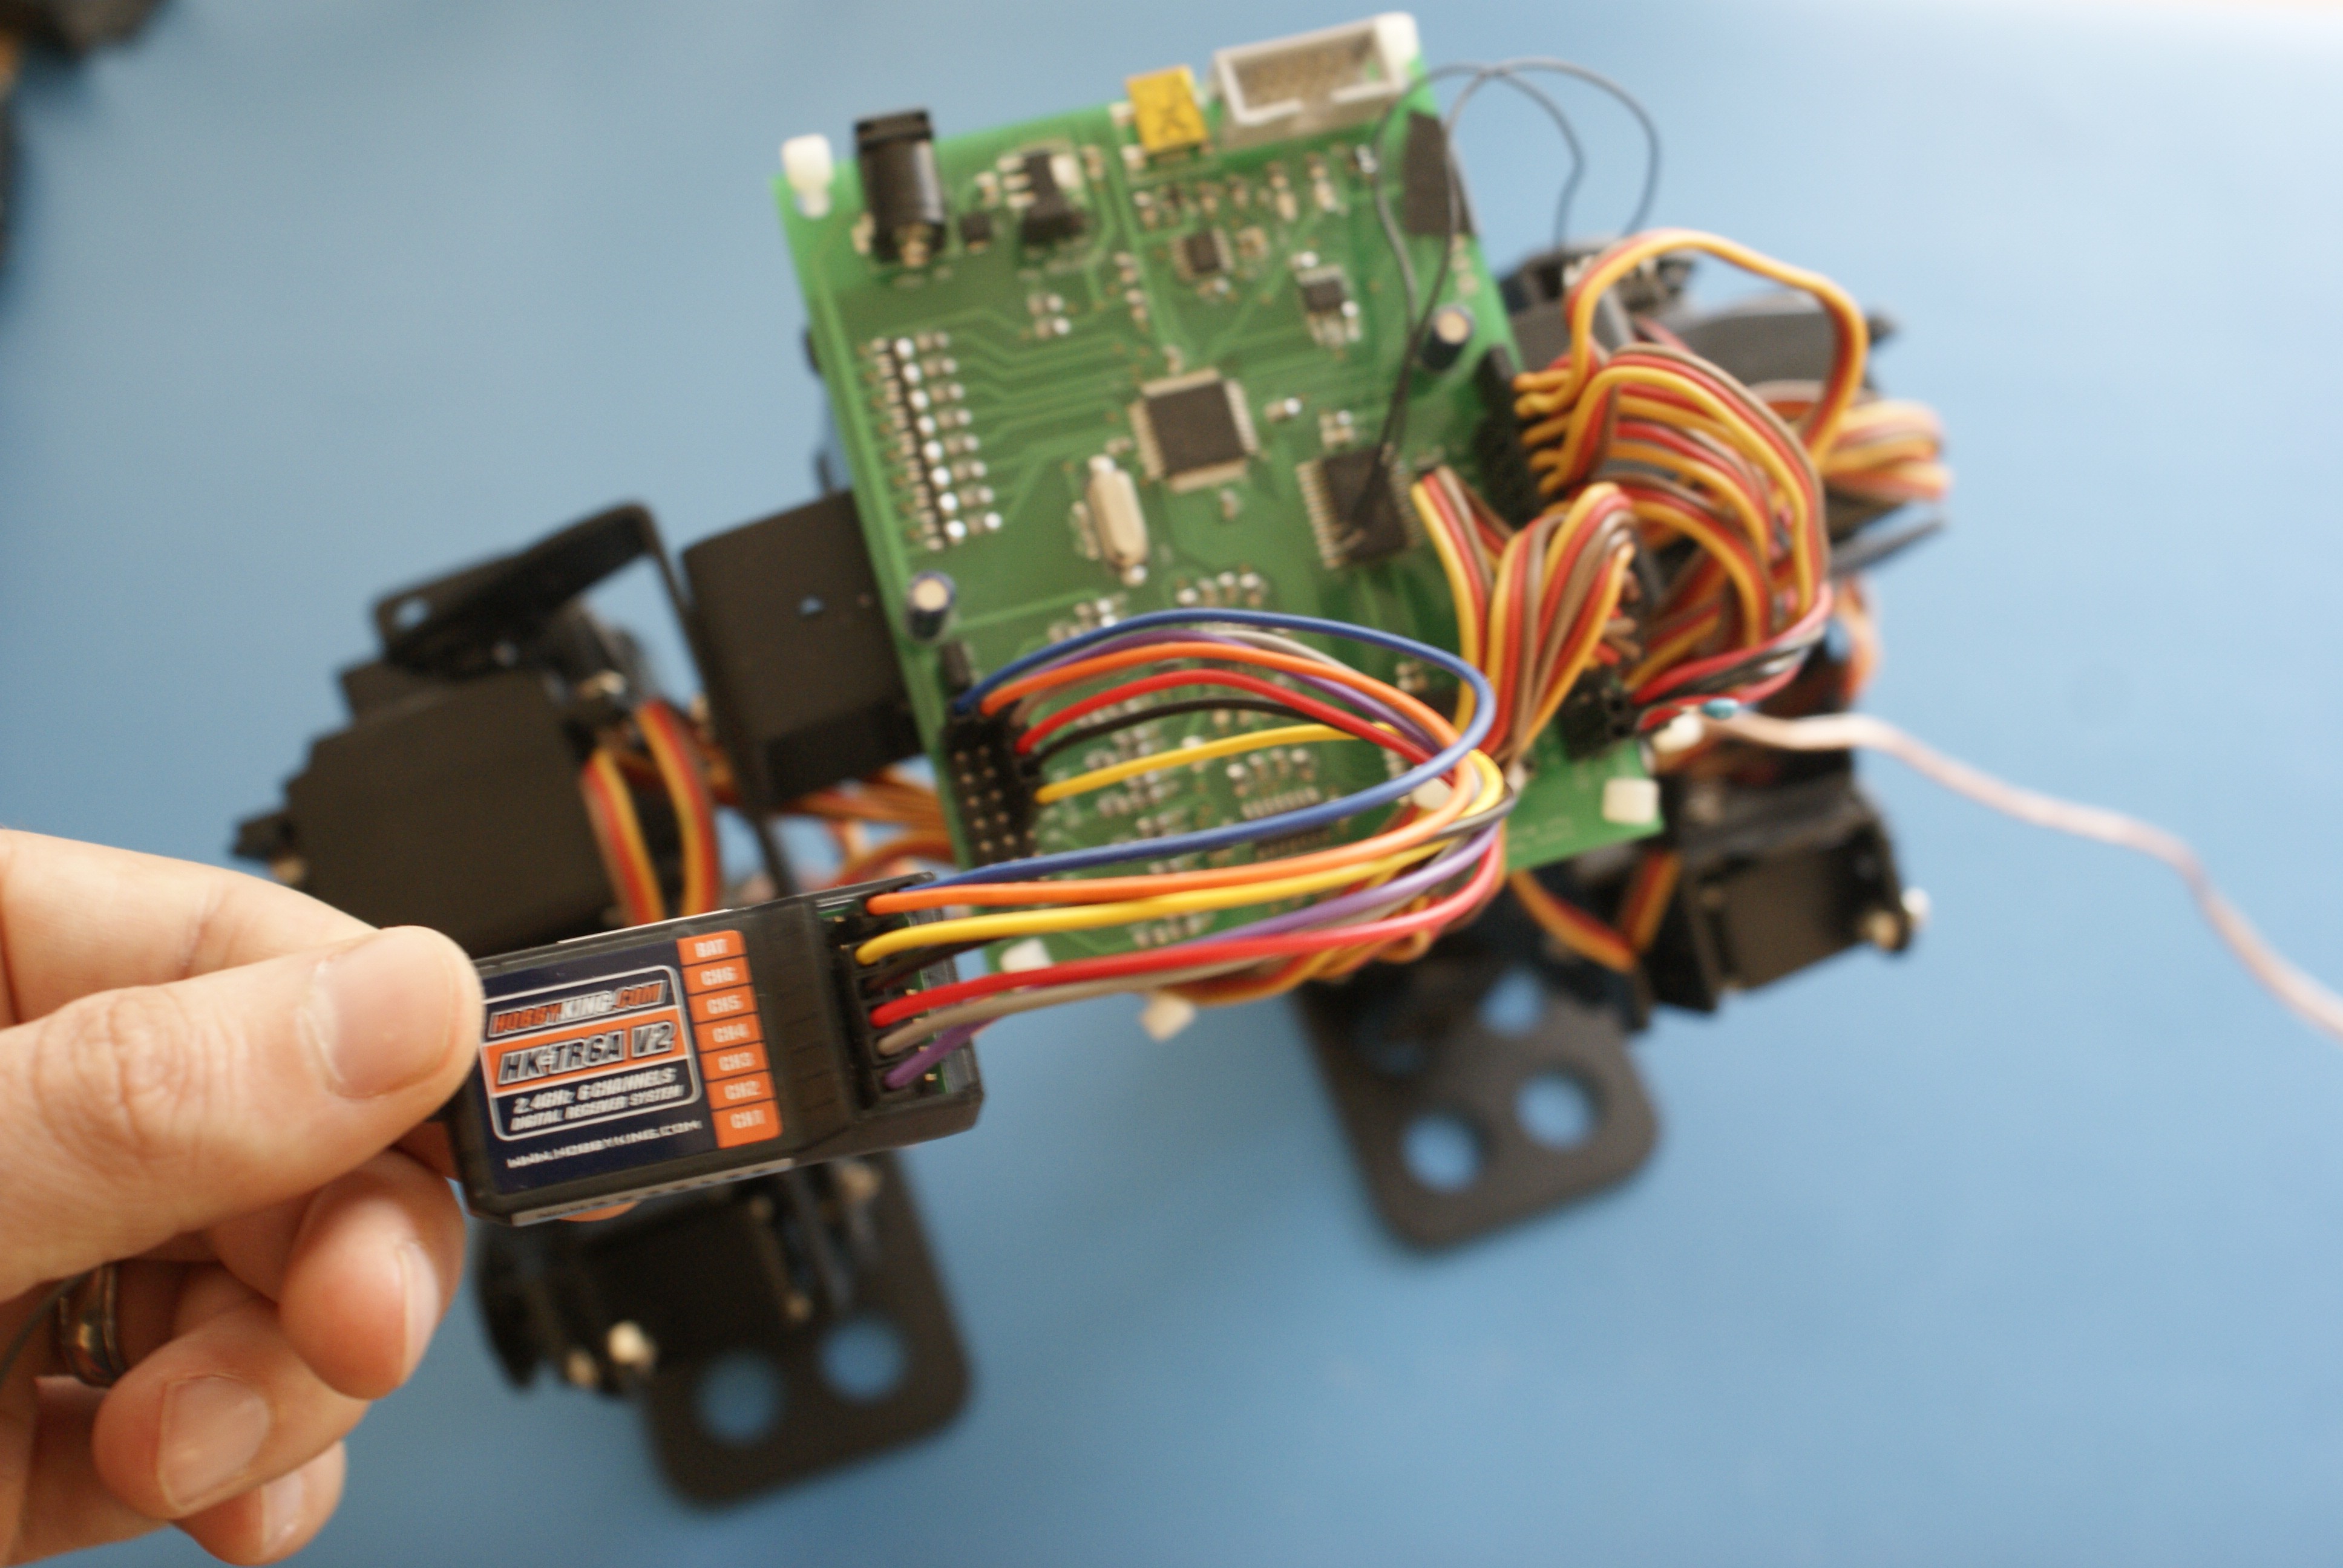
4Step 4
Connect the servos up to the output channels and the radio receiver to the input channels. Make note of what servo is connected to each channel. This will make your life easier later.
![]()
![]()
-
5Step 5
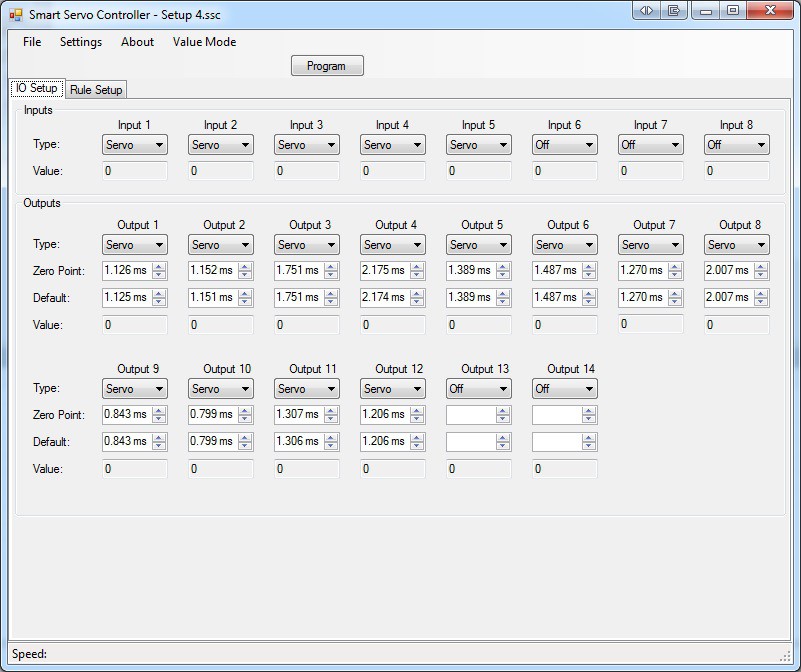
Next we need to set up the software with the correct input and output channels. The input type is Servo because we are using a RC receiver. The output channels are of type Servo as well.
Set the default servo positions by using the value picker. Adjust each servo to position so that the robot will be in a neutral standing postilion.
![]()
-
6Step 6
To use the Value Picker hold down CTRL key and click on one of the numeric value boxes. As you move the slider up and down the servo will move to that position. Once done press ESC to save that value in the parameter spot.
![]()
-
7Step 7
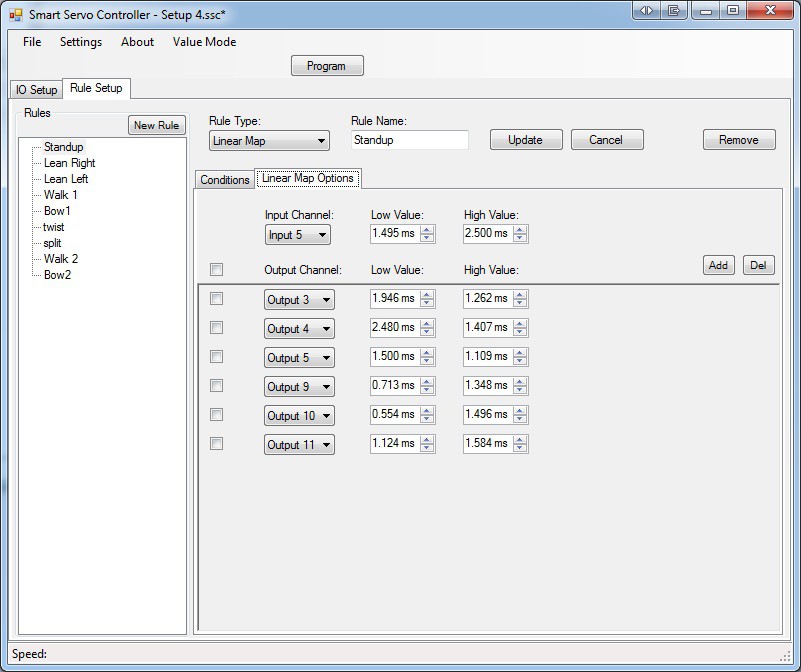
Next we create a series of rules that maps the input channels to the different functions we want for the robot to walk. I created 9 rules as shown below. The 'Standup' rule makes the robot go from the crouched position to the standing position. Do this by creating a linear map rule by:
- Selecting the input channel.
- Setting the input channel low value by using the value picker and moving the joystick axis to where you want the sitting position to be. Move the actual joystick and the value will show up on the screen.
- Set the input channel high value with the value picker to where you want the joystick axis to be when the robot is standing.
- For each servo in the legs set the low values to make the robot crouch.
- For each servo in the legs set the high values to make the robot stand.
Now when you adjust the joystick axis from crouch to standing position the servos will move appropriately.
![]()
-
8Step 8
Repeat the previous step for each axis on the radio controller for each set of movements you want it to do. You can have multiple rules running at the same time and the outputs will be added together.
The following video gives a sample of how to map an input to two output channels.
-
9Step 9
When you are done press the program button. Now it is time to play see how well you can make the robot walk!
If you found this interesting please support our kickstarter campaign for the Smart Servo Controller: https://www.kickstarter.com/projects/143152889/smart-servo-controller
Also follow our facebook page for more updates and demos: https://www.facebook.com/smartservocontroller
Walking Robot
I build a walking biped robot using the Smart Servo Controller.

Discussions
Become a Hackaday.io Member
Create an account to leave a comment. Already have an account? Log In.