Close
0%
0%

Magnifier Lamp

A home made LED magnifier lamp

Similar projects worth following
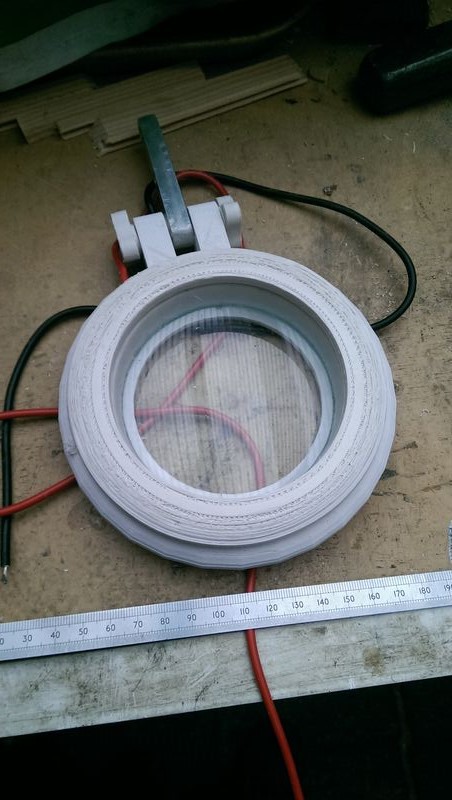
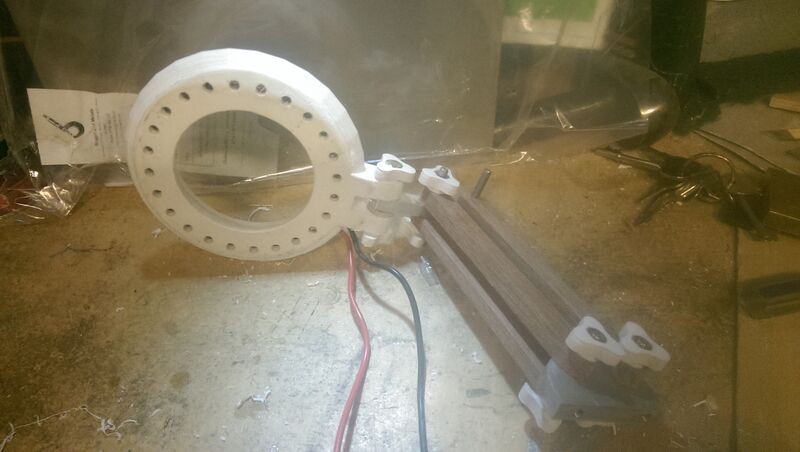
I am hoping to do some SMD work and a magnifier would be a great help. The head has been 3D printed and the body and arms are wood with aluminium.

I've tried to use as much as possible from my "scrap box". The aluminium components are things I cast from old hard disks back in 2008. http://workshopshed.com/2008/06/blobs-to-blocks-2/

The base was found dumped outside a furniture shop by Euston, I squared it up with a saw and surform before drilling, sanding and varnishing.

The arms were from an old garden parasol that had got worn out by the weather. I believe they are teak. They were planed and sanded to size before drilling. These will likely be left in a natural finish.

The 3D parts are designed using OpenSCAD and printed with a Cel Robox printer.

Designing and making the head - http://workshopshed.com/2015/03/magnifier-lamp-head/

Designing and making the thumb-wheels - http://workshopshed.com/2015/03/thumb-wheels/

  • 10 × 3D printed thumbwheels
  • 1 × 3D printed head
  • 1 × Magnifiying lens 7x Stripped out of a cheap hand held magnifier
  • 24 × White LED 5mm
  • 5 × Stainless steel bolt

View all 12 components

  • Wheels

    Andy from Workshopshed09/04/2015 at 05:58 0 comments

    The last couple of thumb wheels have been printed.

  • Adding some weight

    Andy from Workshopshed09/04/2015 at 05:57 0 comments

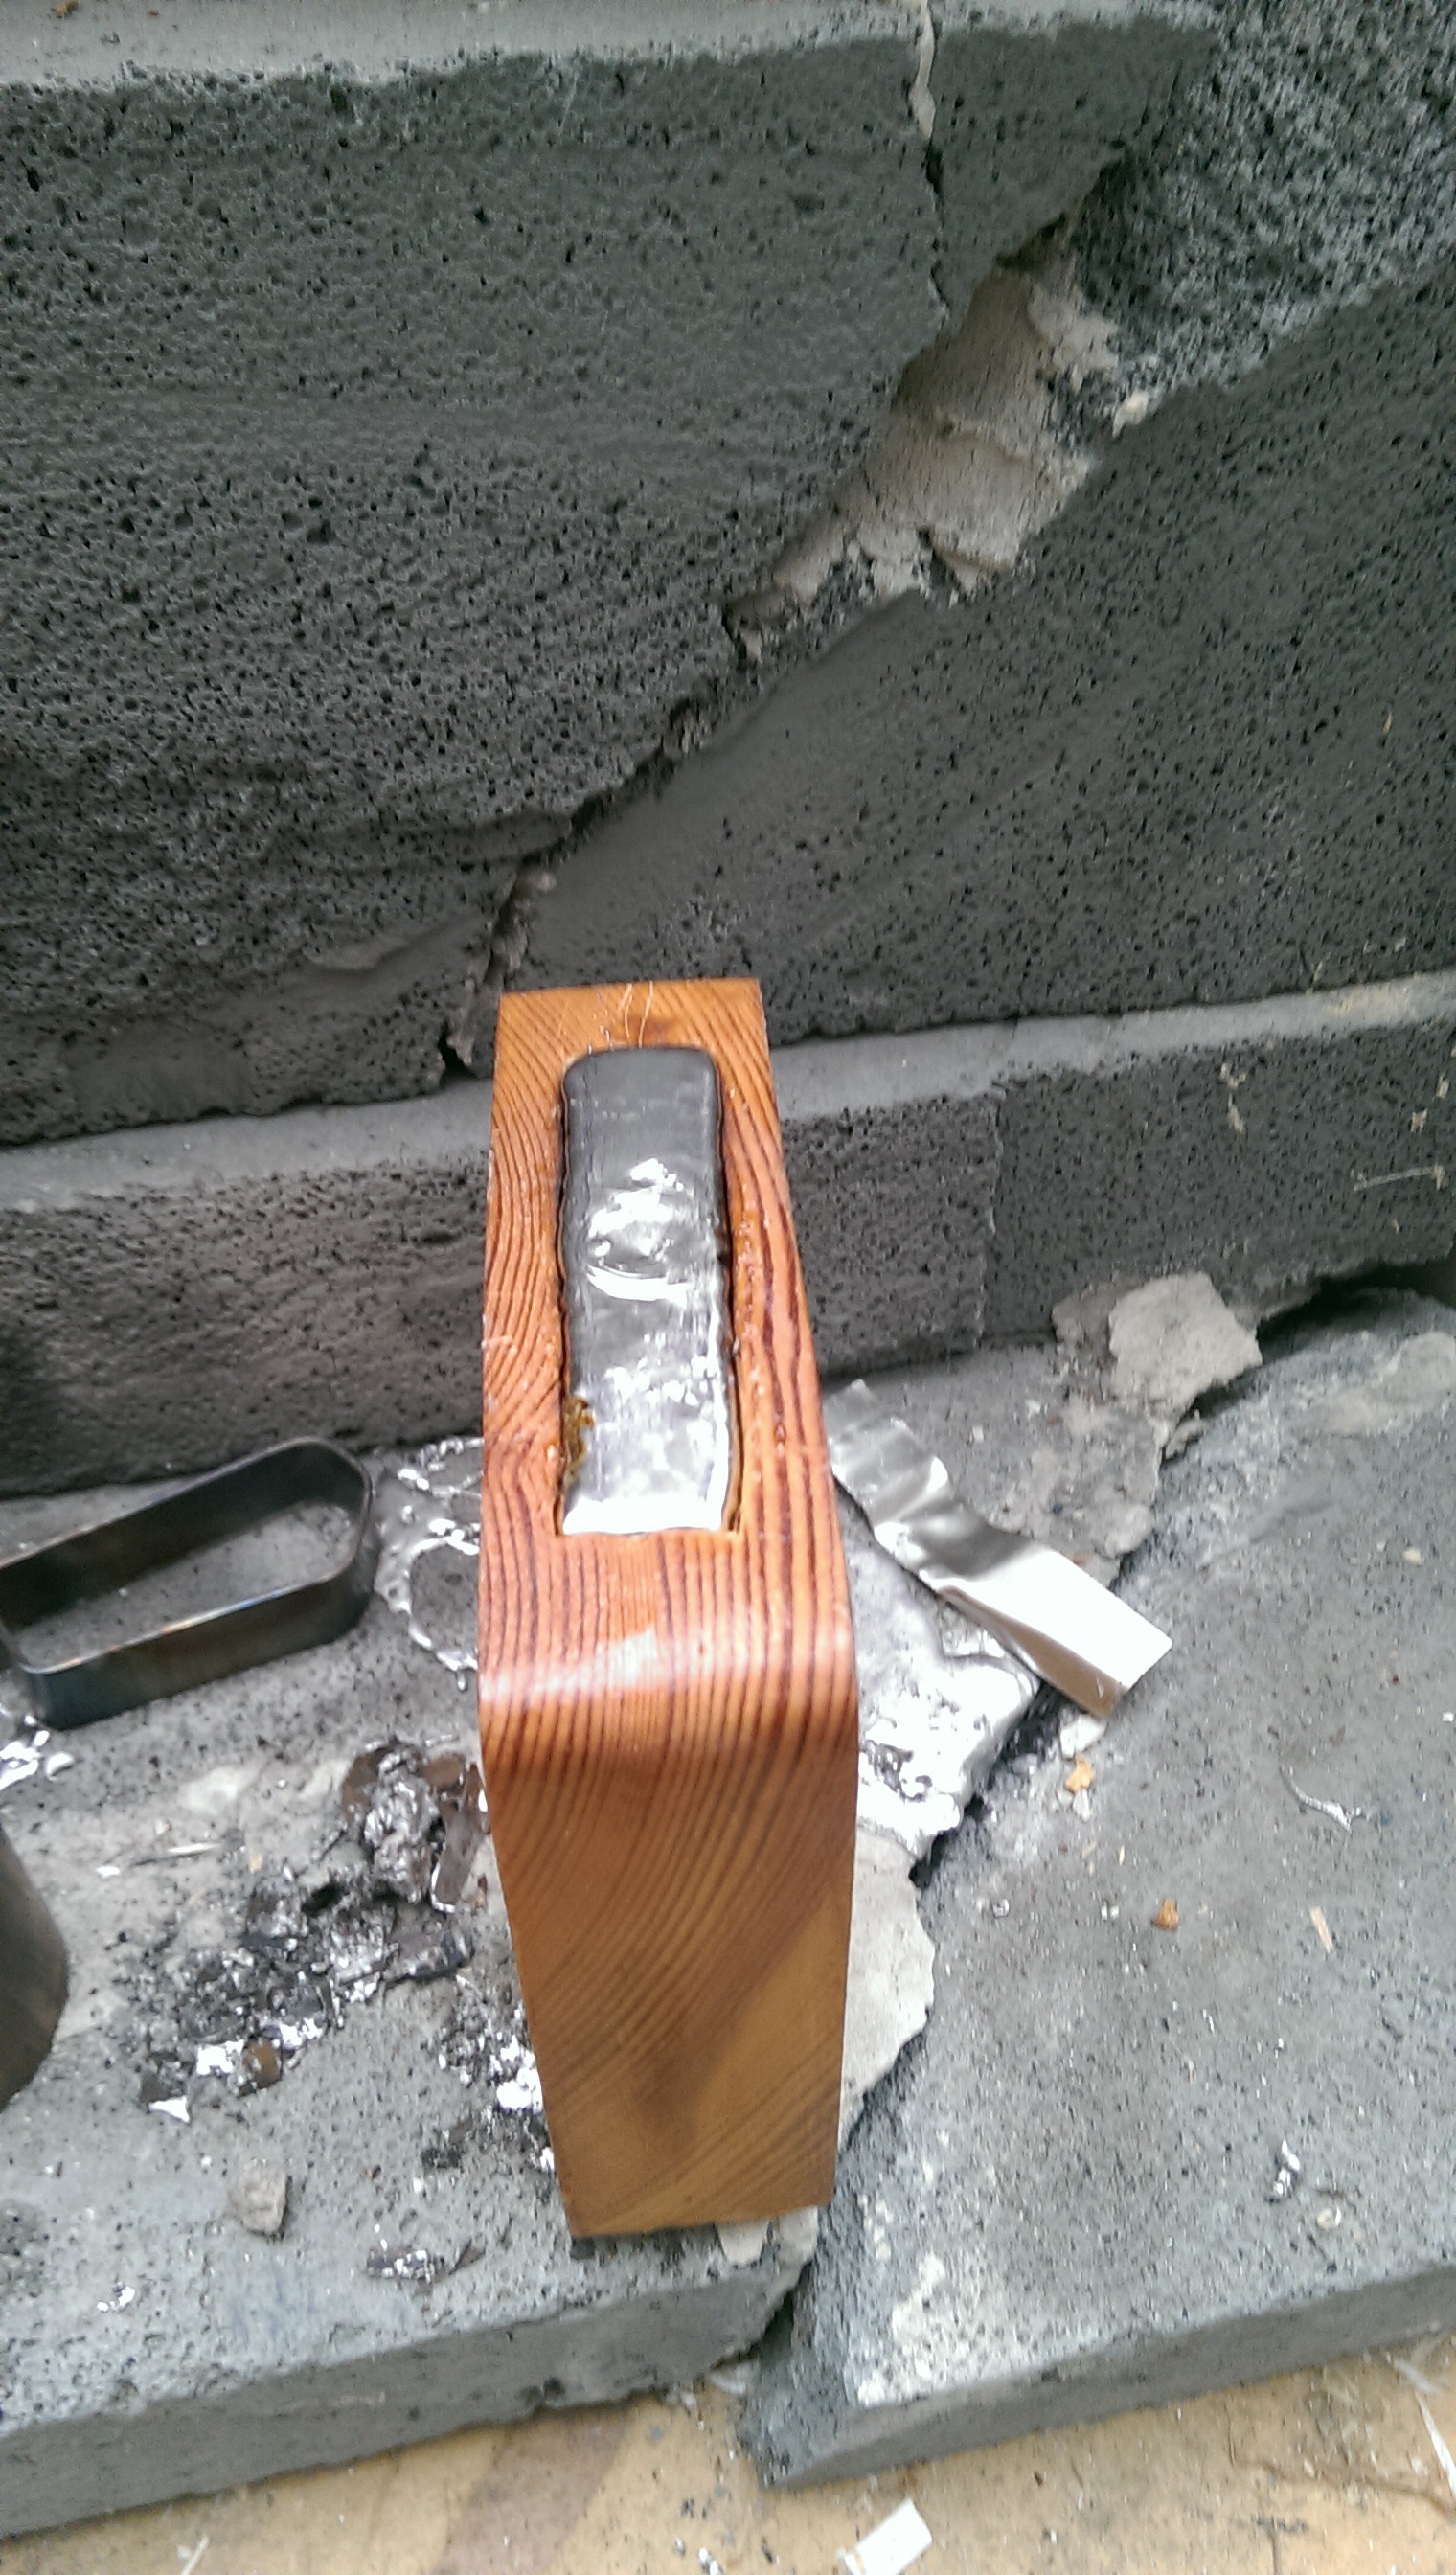
    I've hollowed out the base and added lead.

  • Printed lid

    Andy from Workshopshed07/29/2015 at 05:50 0 comments

    A lid was printed, the fit was off as I'd got my tolerances reversed, a bit of scraping got it to size but I've used some blobs of silicone sealant to hold it in place. The print required a support structure and the top surface is not the best but it's good enough for my needs and I can always paint it if desired.

    I also seemed to have misplaced (or forgot to print) two of the thumbwheels so I'll need to do a couple more of those.

  • Knocked over....

    Andy from Workshopshed07/23/2015 at 18:18 0 comments

    The base is going to need a bit of a redesign, if you extend the lamp all the way out then it topples over. I plan to chop a hole in the side and fill with some lead. I can also use this to put a panel on for the power socket and switch.

  • LEDs soldered

    Andy from Workshopshed07/16/2015 at 14:28 0 comments

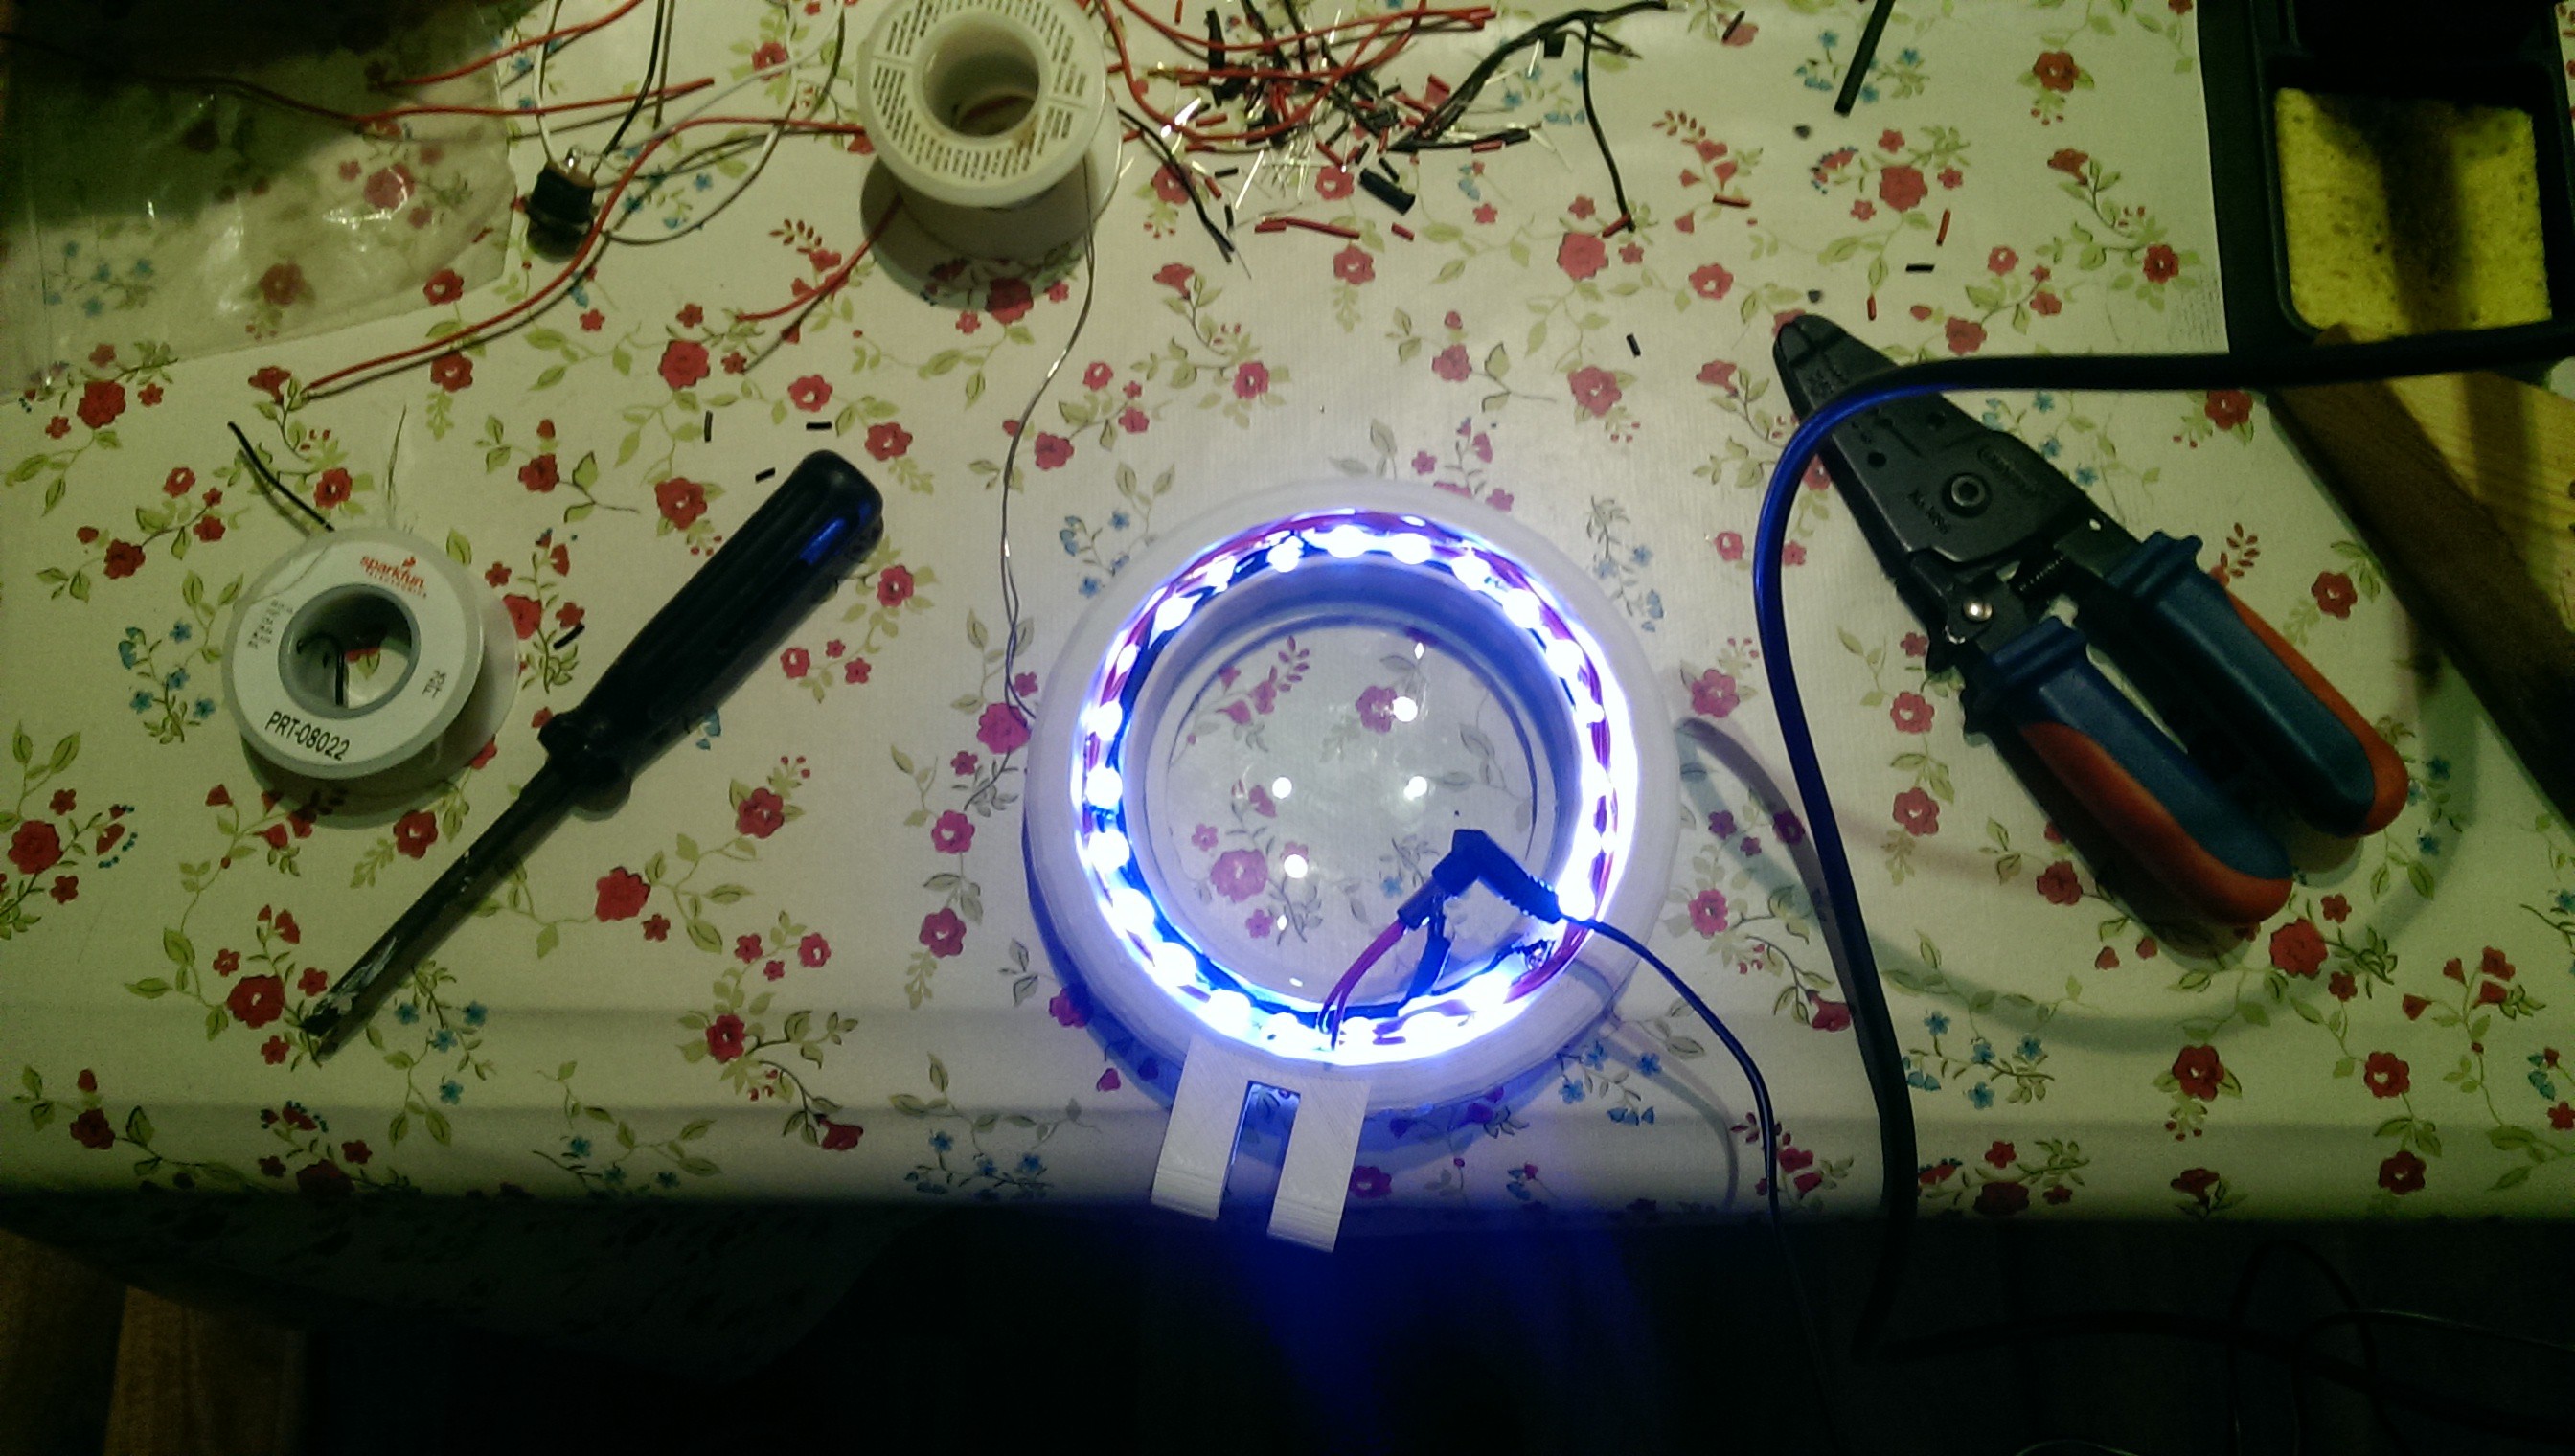
    The soldering of the LEDs went well. Next up, fitting the head to the base and wiring the cabling.

    http://workshopshed.com/2015/07/led-jig/

  • LED Jig

    Andy from Workshopshed07/09/2015 at 07:02 0 comments

    A simple jig made by drilling through the head to form 3 holes in the block of wood. I then formed an LED in the head and bent the legs at the right level. The two nails were banged in to form a height gauge. I can now solder up the LEDs without having to do it in place risking burning the ABS head.

  • Magnifier Lamp - What next

    Andy from Workshopshed07/08/2015 at 07:04 0 comments

    Next steps are to fit the LEDs and wiring. I might add another coat of varnish to the base and there's some feet to be screwed on.

View all 7 project logs

Enjoy this project?

Share

Discussions

Similar Projects

Does this project spark your interest?

Become a member to follow this project and never miss any updates