GuyisIT
-
Upgrade time!
04/04/2016 at 19:49 • 0 commentsOk, so I haven't touched this projector or the photobooth in way too long. But what better time to bring out some upgrades than a baby shower? Currently planned upgrades are:
- RaspberryPi 2 > Raspi 3
- Add some WS8212 LEDs for better feedback about what's happening
- Controlled with an Arduino
- Make a protoboard for the circuit instead of breadboarding everything
- Figure out why not every picture prints- maybe the new Pi will help???
I'll update the project logs throughout the next two weeks while I make improvements.
-
Project Log 3
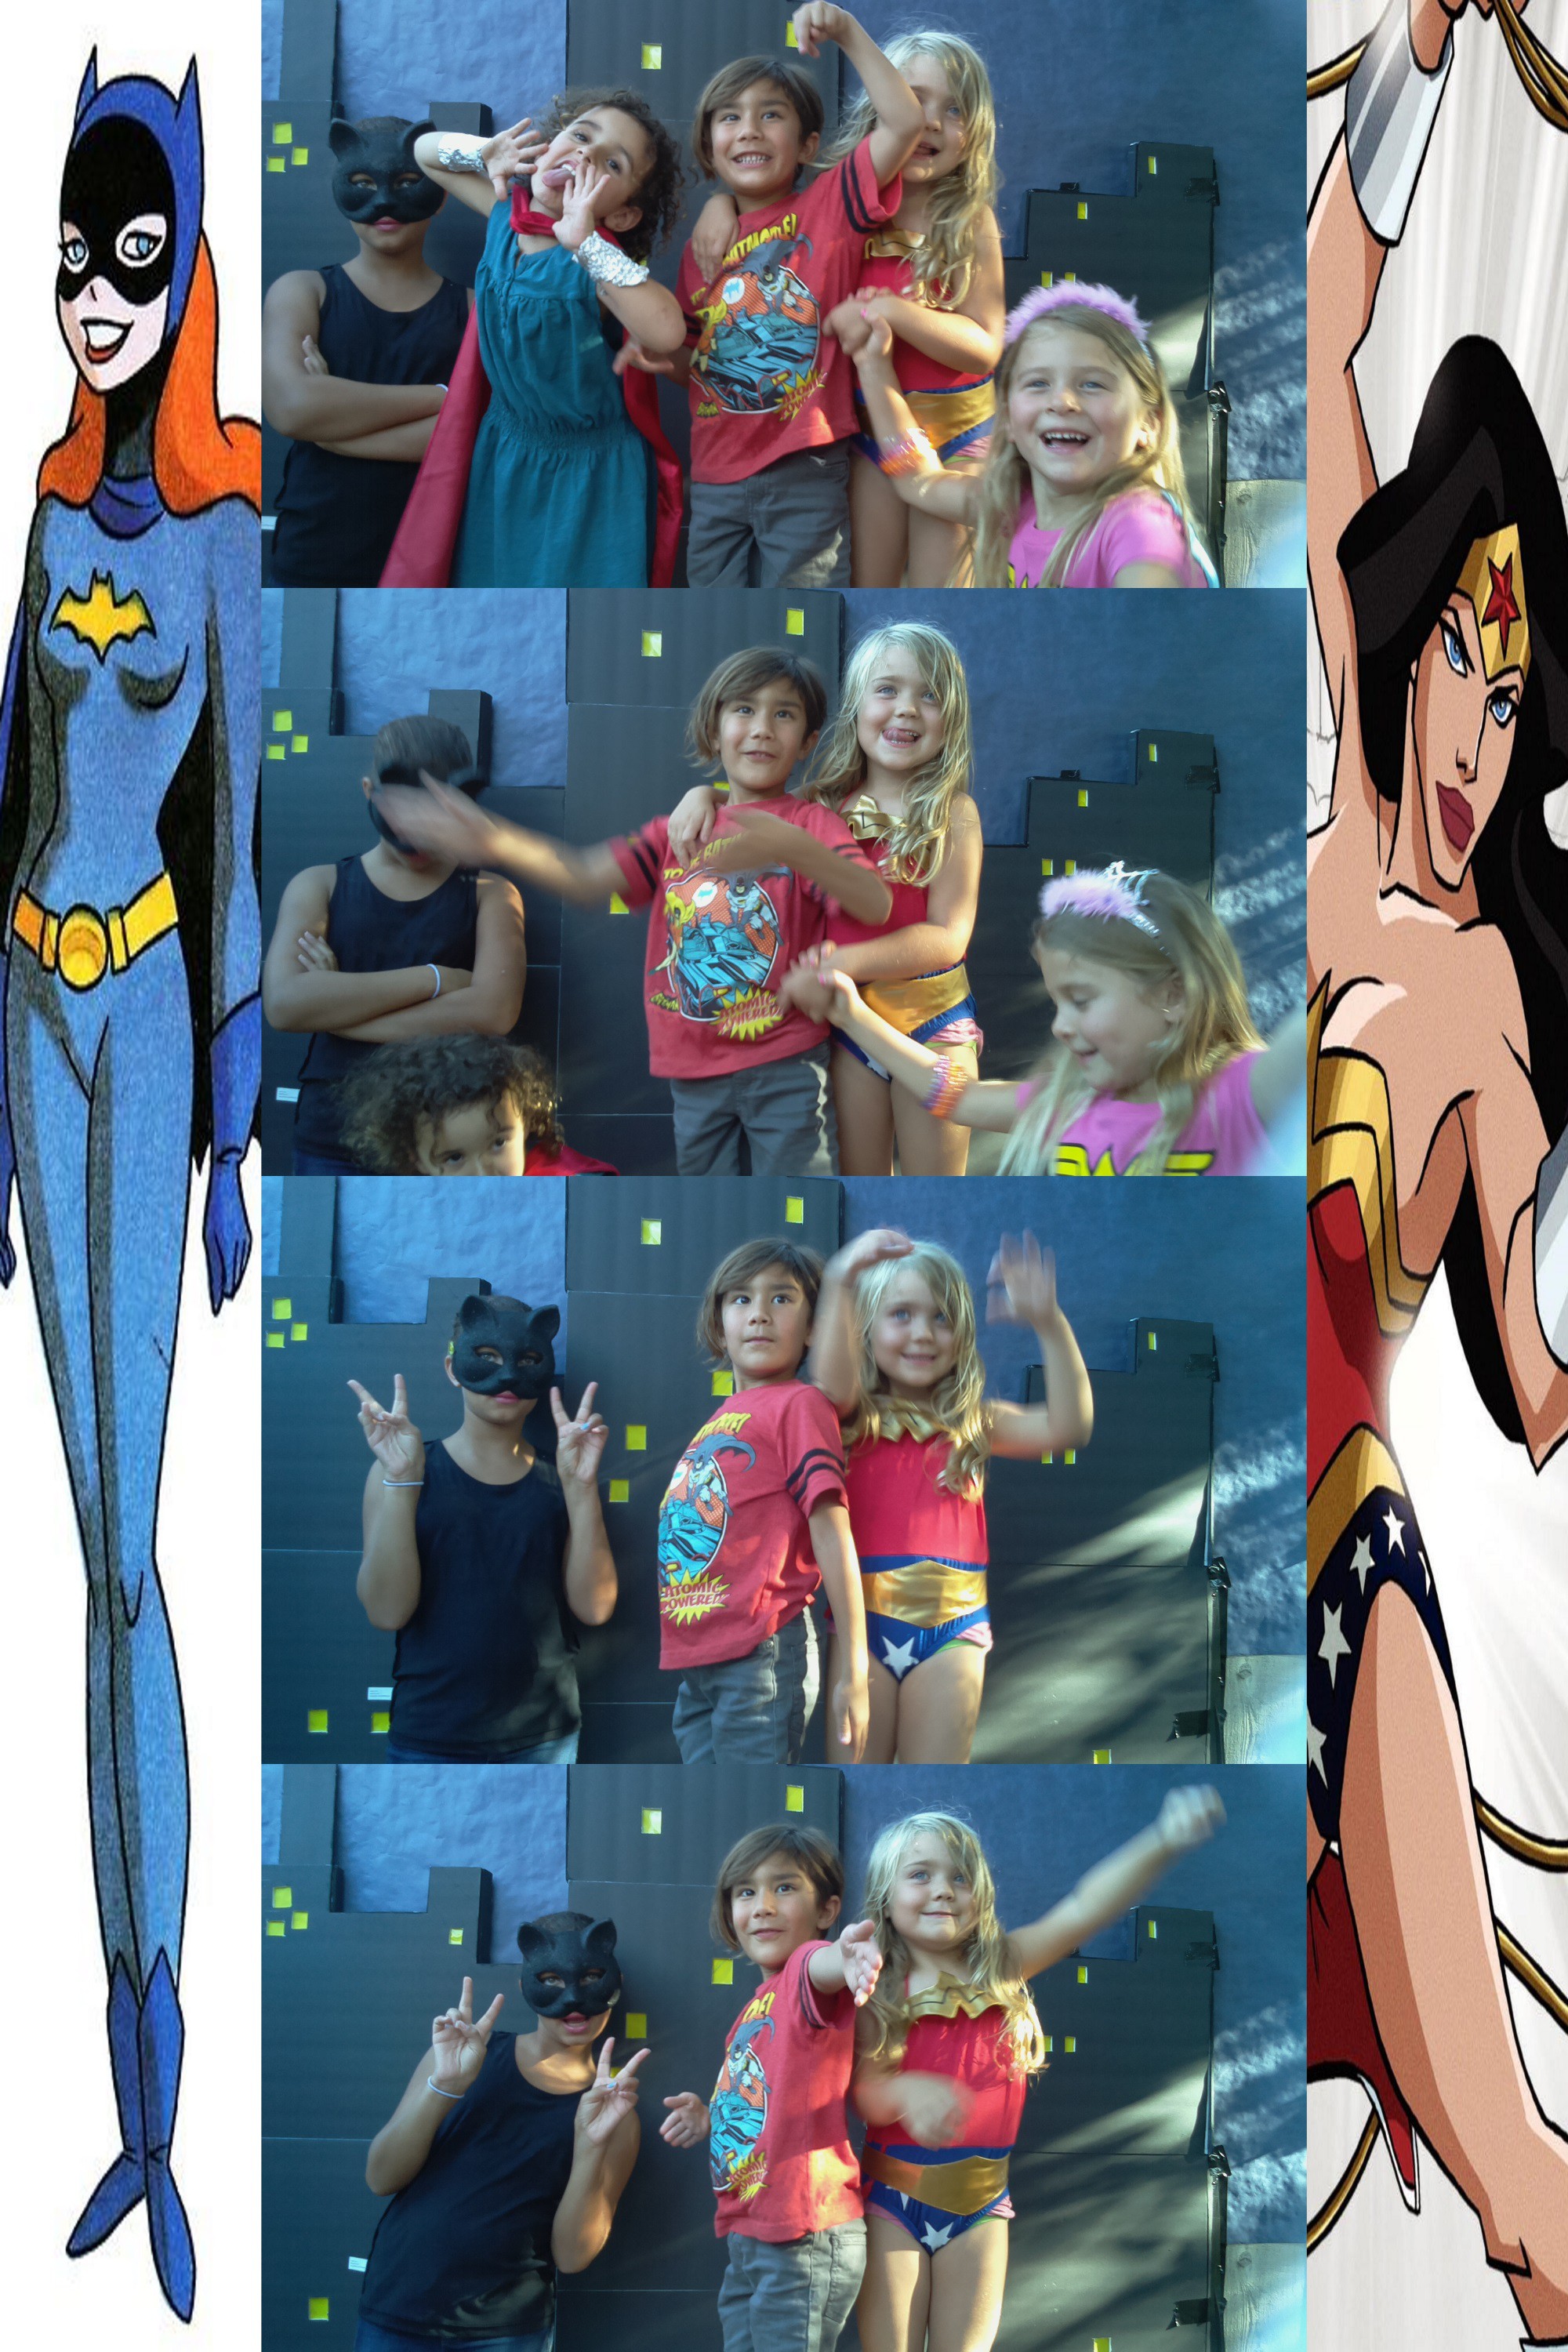
07/28/2015 at 20:20 • 0 commentsSo this past weekend was my daughter's 5th birthday party, the reason for this project.
![]()
The photo booth was a big hit, but did have a few snags. First, the printer wasn't printing anything, so I tweaked the code ( I commented out the wait 2 minutes after the file is sent to the printer before you can take another picture. This keeps the printer from being overwhelmed.) That didn't fix the problem- but a reboot did. I didn't have time to re-enable the wait time, which led to another problem- kids kept hitting the buttons right away to take another picture. The photos were captured just fine, but not every picture made it out of the printer successfully.
The front of the photo booth, seen below mounted to a re-purposed lemonade stand from a prior birthday, is just a plywood board wrapped in fabric. You can see the two lights in mason jars up top, triggered by a relay when photos are taken. The screen in the middle is just a 19" TV. There are three arcade buttons on the bottom left for choosing photos. There is a hole in the center of the board for the camera.
![]()
I need to take a better picture of the back of the board, so I'll upload that in my next post.
My plans for improvements are:
- Add an audio cue when a picture has been taken (buzzer or audio file)
- Make a better 'ready light' for when you can take a picture
- improve printing - I think lowering the printed resolution might improve the transmission speed to the printer
- Power switch- right now on/off is handled by plugging/ unplugging from mains
- Upload pictures to the web
- GUI (using pygame?)
-
Project Log 1
07/17/2015 at 23:13 • 0 commentsOK, so PL1- the log where I start talking about the Raspberry Pi, python code, and bread boarding. I should state now that despite python being super easy to work with and use, I did need lots of help getting to a working product. I mention those who helped below.
Physically, my build was initially (and still is, I suppose) a shameless copy of Scott A. Fay's RPi photobooth wiring setup. In addition to the bread board setup, knowing the Canon SELPY would work with CUPS was important, as the photo printer was the biggest expense in this project. Below is the version 1 of my replica, with only a single 'ready' LED. (Ignore the microcontroller on the breadboard- it does nothing with this build.)
![]()
Now the photobooth setup has 3 buttons (one for each option of photo), along with a relay that turns on the two flash bulbs. I have funny story about my moving from bread board to protoboard, but I'll save that for project log 3. ;-)
For the code side of things, John Croucher's photobooth.py was the corner stone of my code. While I didn't end up using pygame (partly because I got tired of trying to figure it out), seeing how CUPS and PIL should work was really handy.
My pictures come out of the camera at 1920x1080 by default (because I'm using the FMV preview, I assume? I don't really know why it's not 5MP stills- it works out though because it means less processing time is required for manipulation.) From there, I use PIL to rotate the photos if needed, then stitch them together on top of a 'background image' that also contains the boarder splash images. These are used to bring the image ratio to 3:2, matching the 4:6 photo paper I'm printing on.
I need to give credit to Mad_man111 and ConcurrentHashMap credit for figuring out how to take a series of photos. I use this, along with time.sleep calls, to snap four photos to four constantly-rewritten temporary .jpgs.
def take_pictures(): with picamera.PiCamera() as cam: counter = 0 for each in range(4): counter = counter + 1 cam.start_preview() if counter == 1: #length of preview time for first picture time.sleep(6) if counter > 1: #length of preview time for pictures 2-4 time.sleep(3) cam.capture(imgPath + '/image' + str(counter) + '.jpg') cam.stop_preview() -
Project Log 2
07/06/2015 at 06:32 • 0 commentsI'm starting with PL2 because it's late and I don't want to write about my code/ GPIO layout tonight!
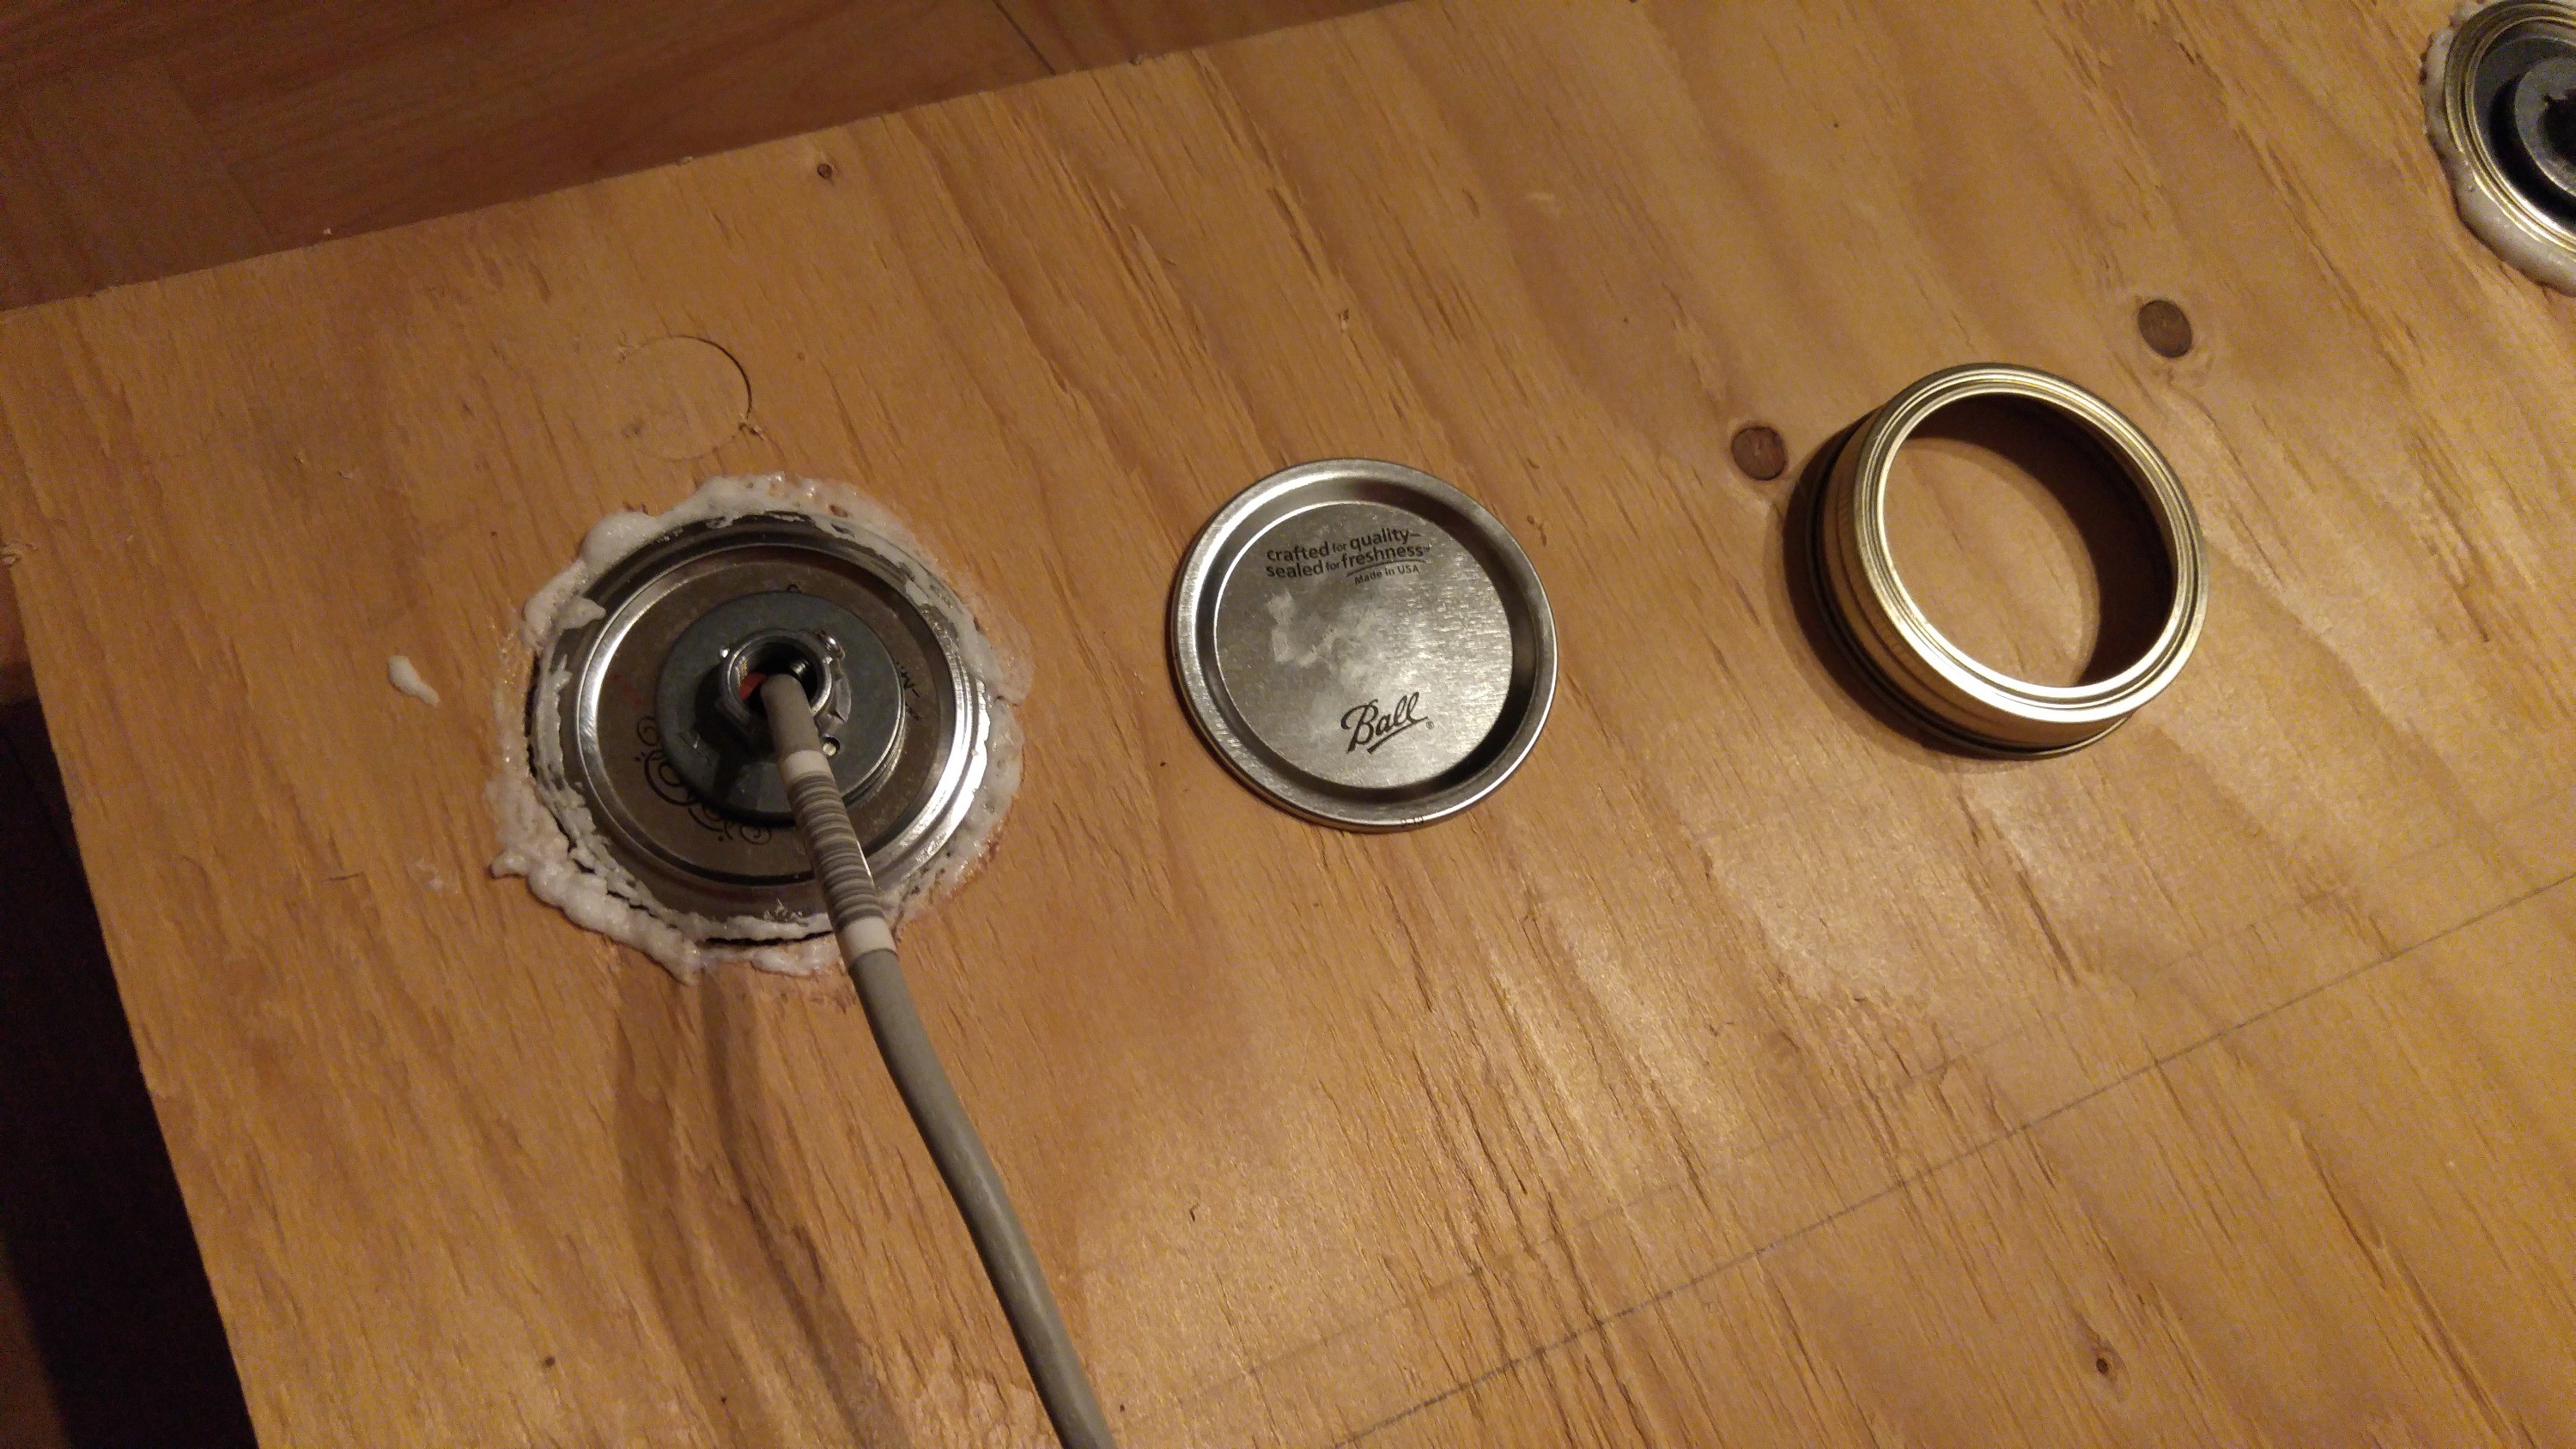
Today I spent some time getting started with the photobooth front. It's a piece of plywood with some mason jar lids glued into holes I cut. In the lid insert I've attached light sockets, which will have 'flash' bulbs installed for lighting the picture.
![]() Above is the jar lid ring being glued in place, and below is the finished product, with an unaltered lid ring and insert next to it for comparison.
Above is the jar lid ring being glued in place, and below is the finished product, with an unaltered lid ring and insert next to it for comparison.![]()
Lastly, we have a picture (which I evidently couldn't crop) of the front of the board, with the two mason jars installed. I currently don't have any bulbs that will fit, so tomorrow I'll head to Home Depot to grab some 40-60w bulbs that are rated for enclosed spaces and some glass frosting spray for the jars, to diffuse the light.
![]()
Tomorrow I'm also taking the board into work, where I'll have access to better saws to cut a hole in the middle of the board for the screen.
I also need pick up some arcade-style push buttons to mound on the bottom, and cut holes for thoses plus the RasPi camera, and lastly a slot for the printer paper to come out of.


 Above is the jar lid ring being glued in place, and below is the finished product, with an unaltered lid ring and insert next to it for comparison.