-
Prototype in action
09/20/2015 at 22:56 • 0 commentsHere you can see different demos with the new interface. Demos contain information about both of cameras, frontal and eye camera.
DEMO 5
This is a small video where the user calibrate the Eye of Horus system.
DEMO 6
This is a small video where the user can write with a keyboard and the Eye of Horus connected.
DEMO 7
This is a small video where the user move the eye finding different numbers in the wall.
DEMO 8
This is a small video where the user move the eye finding a bird in the wall.
DEMO 9
This is a small video where the user play with the position of a drone.
DEMO 10
This is a small video where the user control the state of a light.
-
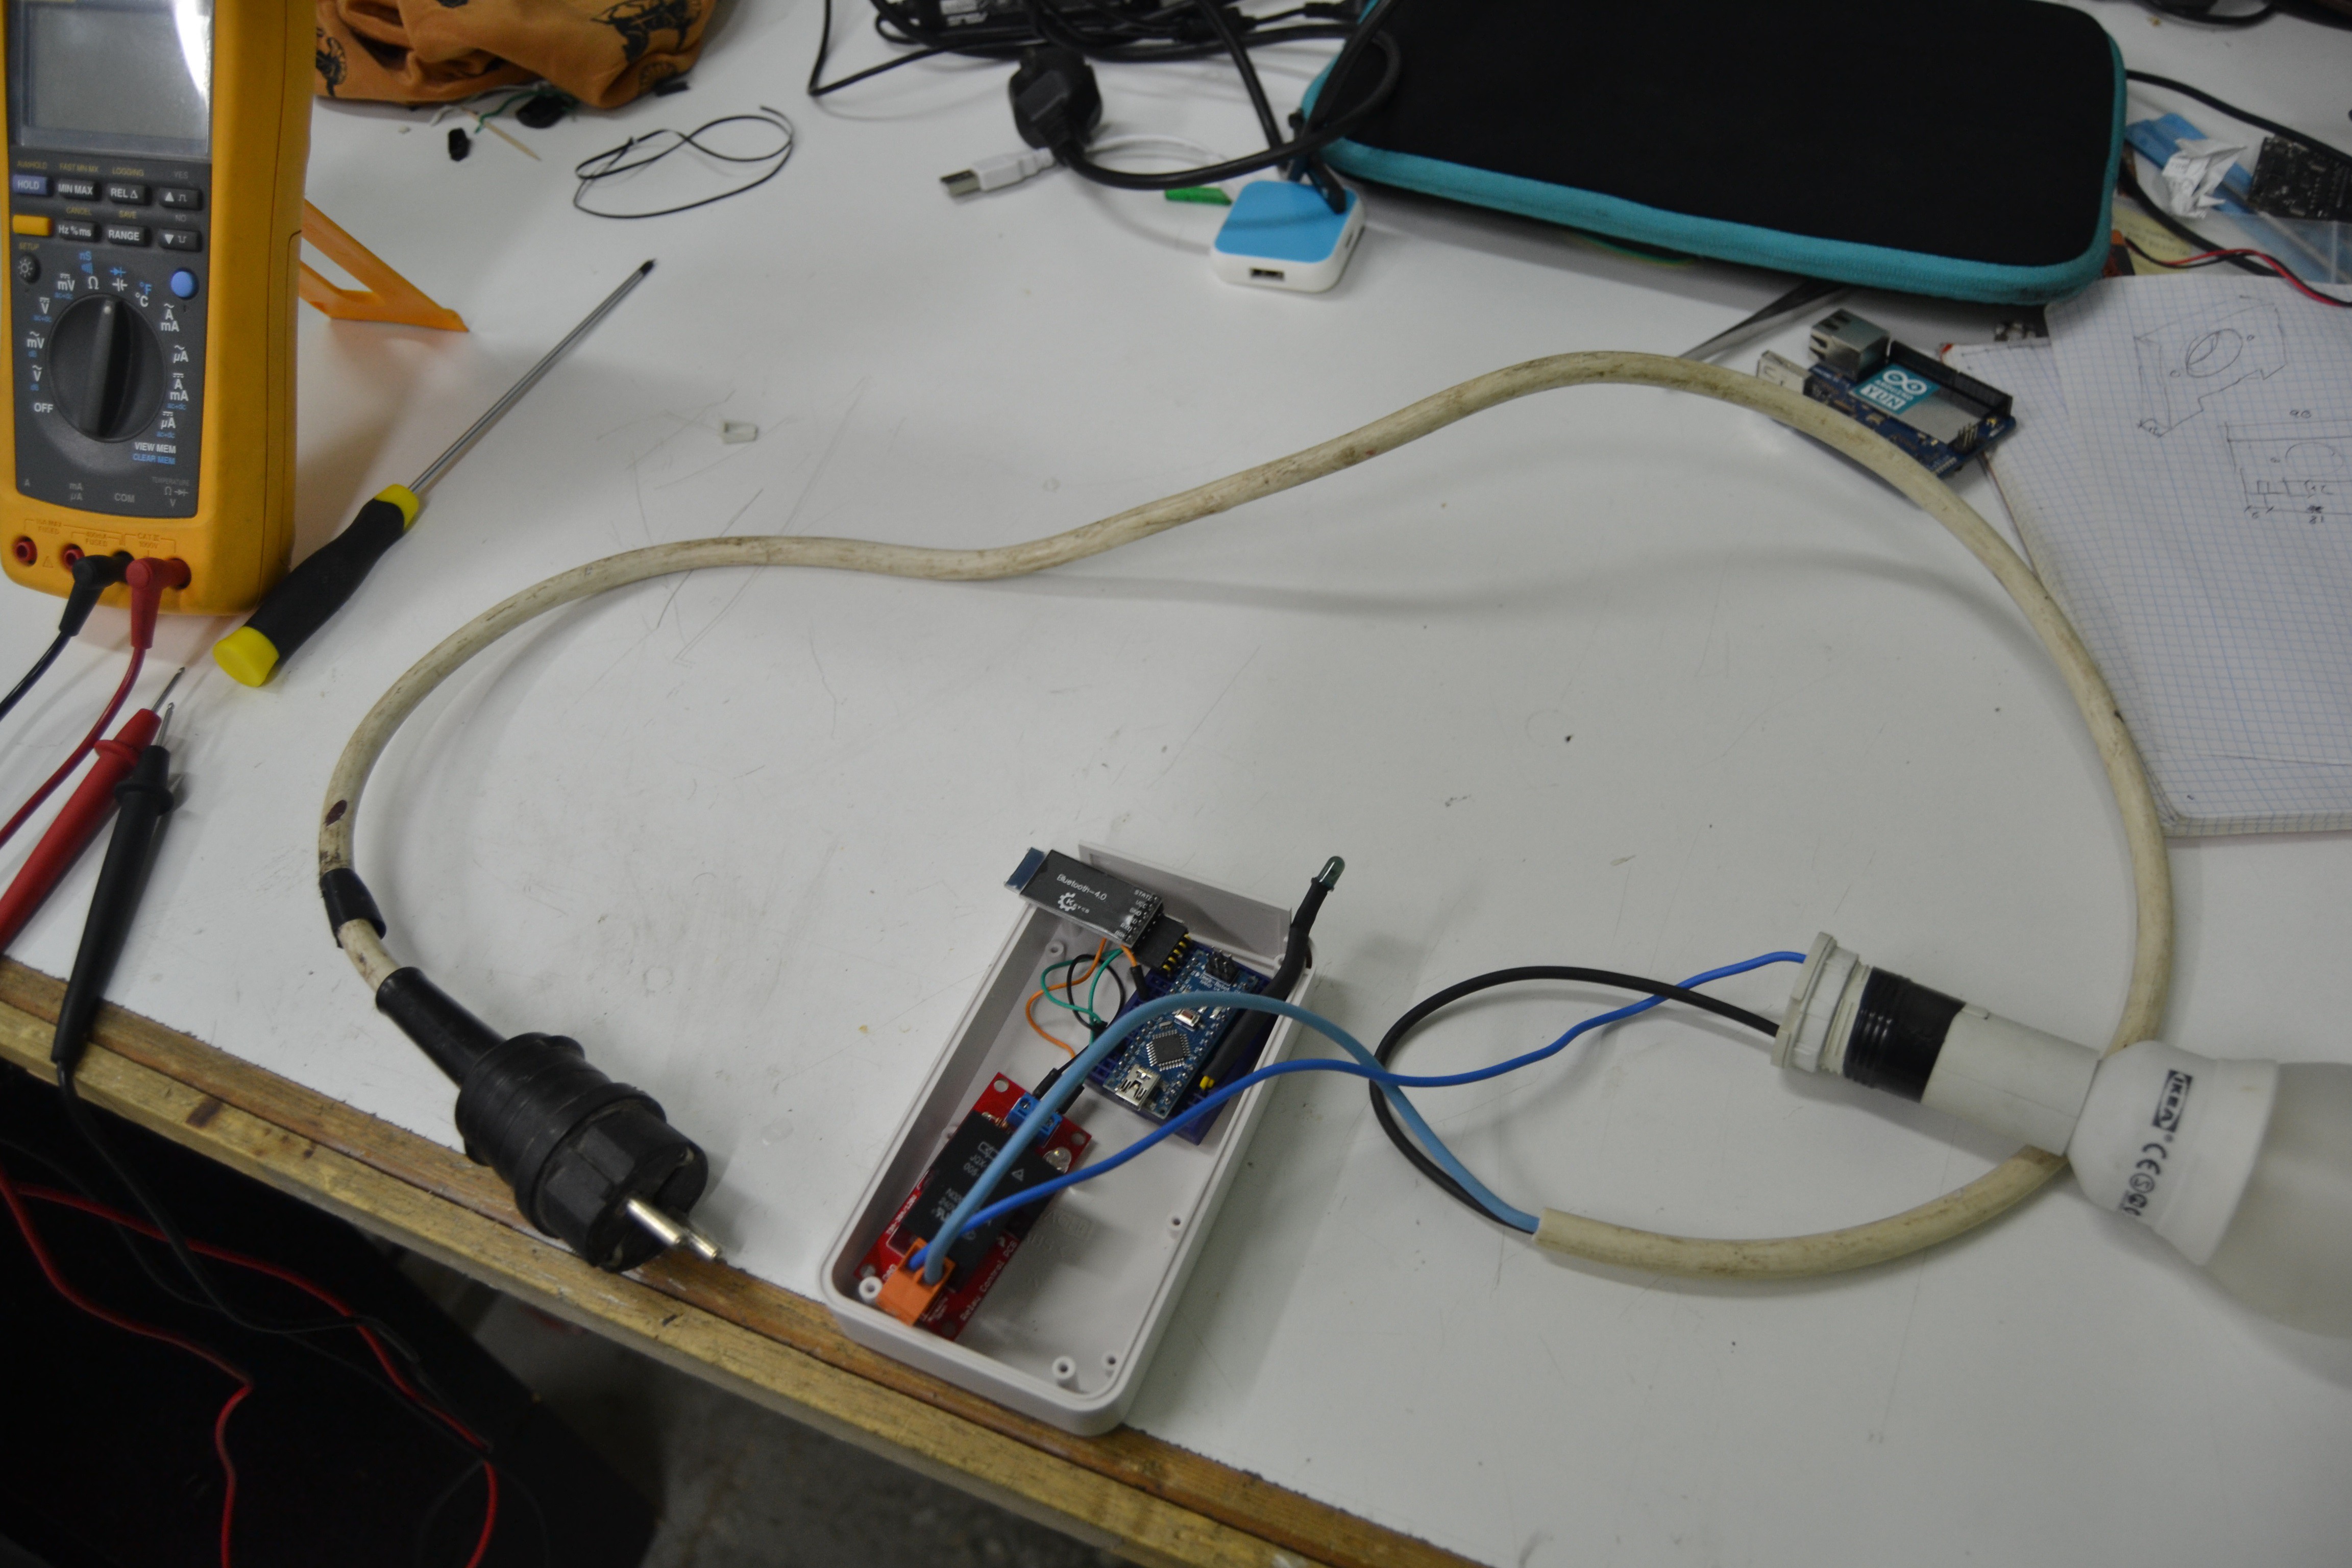
Prototype of BLE controller - Controlling the light
09/20/2015 at 22:53 • 0 commentsHere we have the first test with the BLE controller. It wait until the Eye of Horus signal. When it receive the signal the controller turn on and turn off the ligth.
You can see the result in the video. This is a small video where the user control the state of a light.
-
New Software available - Processing interface
09/20/2015 at 22:25 • 0 commentsWe have created several DEMOs using processing as software interface.
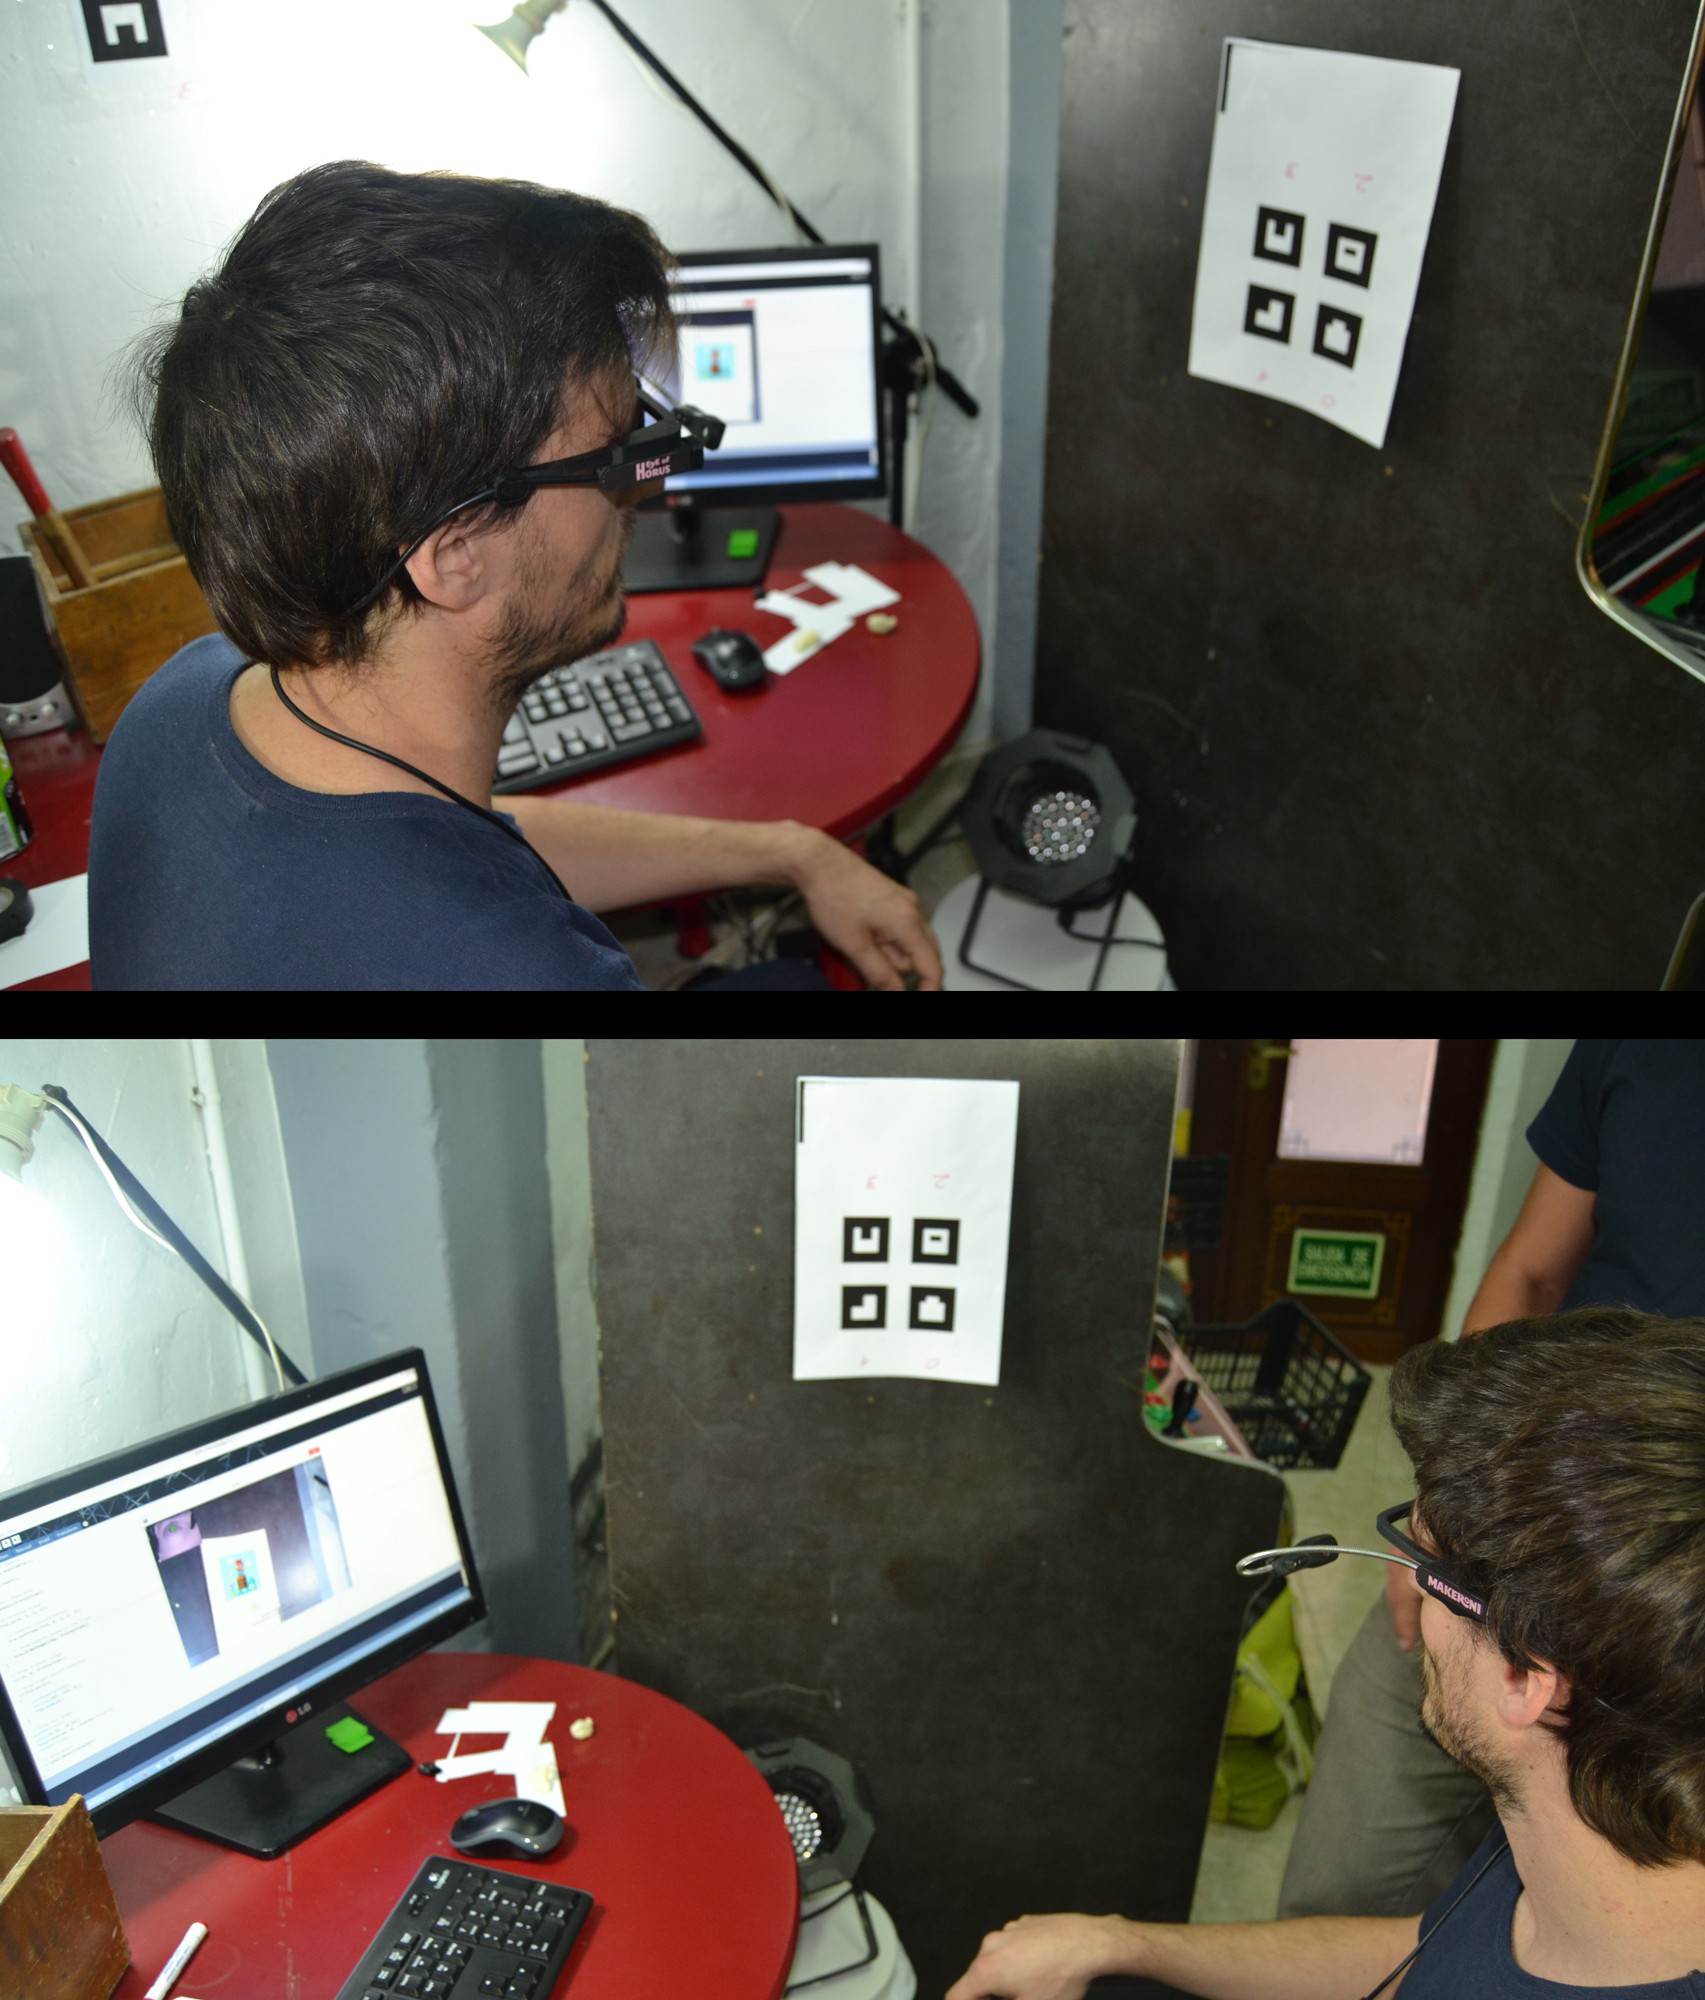
The main DEMO is a calibration test that allow to connect frontal camera with eye camera.
This is a small video and some photos where the user calibrate the Eye of Horus system:
![]()
You can see all the software in our GitHub:
https://github.com/Makeroni/Eye-of-Horus
VERSION 1
https://github.com/Makeroni/Eye-of-Horus/tree/master/version_1
First prototype of the Eye of Horus.
VERSION 2
https://github.com/Makeroni/Eye-of-Horus/tree/master/version_2
This version 2 of "The Eye of Horus" contains major improvements in Hardware and Software.

We organized the repository in version_1 and version_2 folders as a clear way to see the historical evolution of the project.

For additional information please check also the version_1 folder.
-
Artist’s rendition of the “productized” design/look
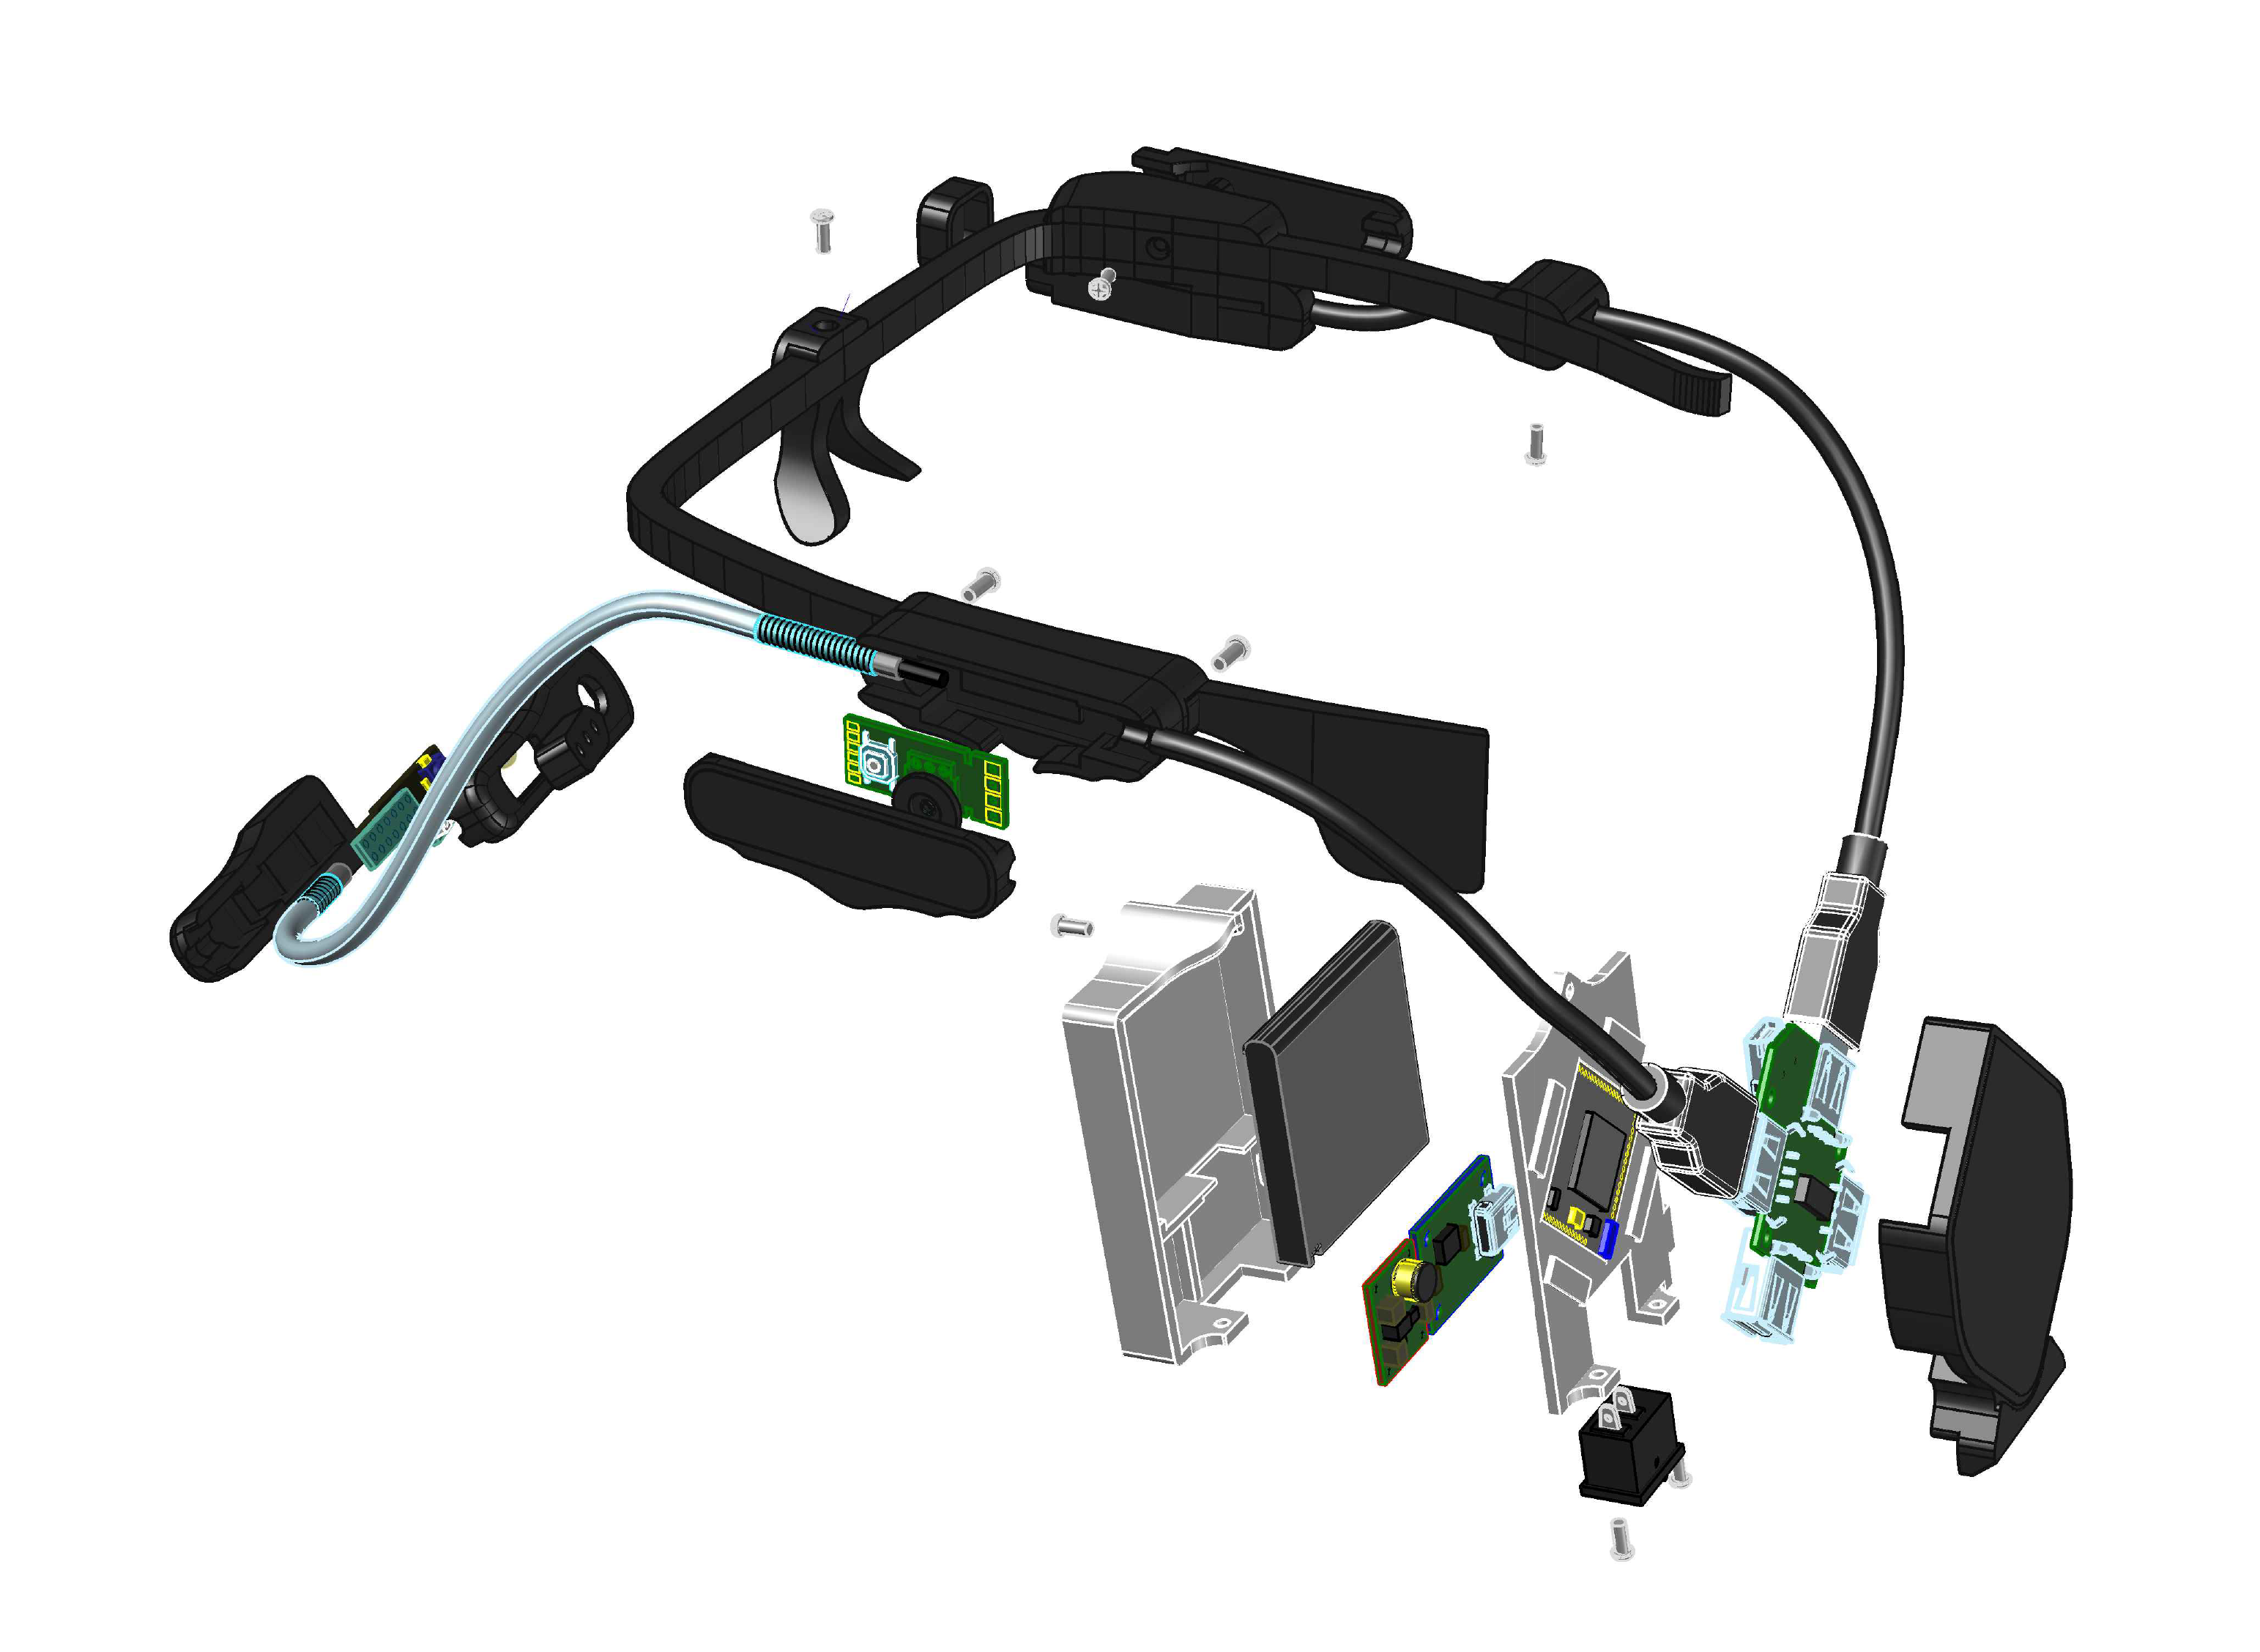
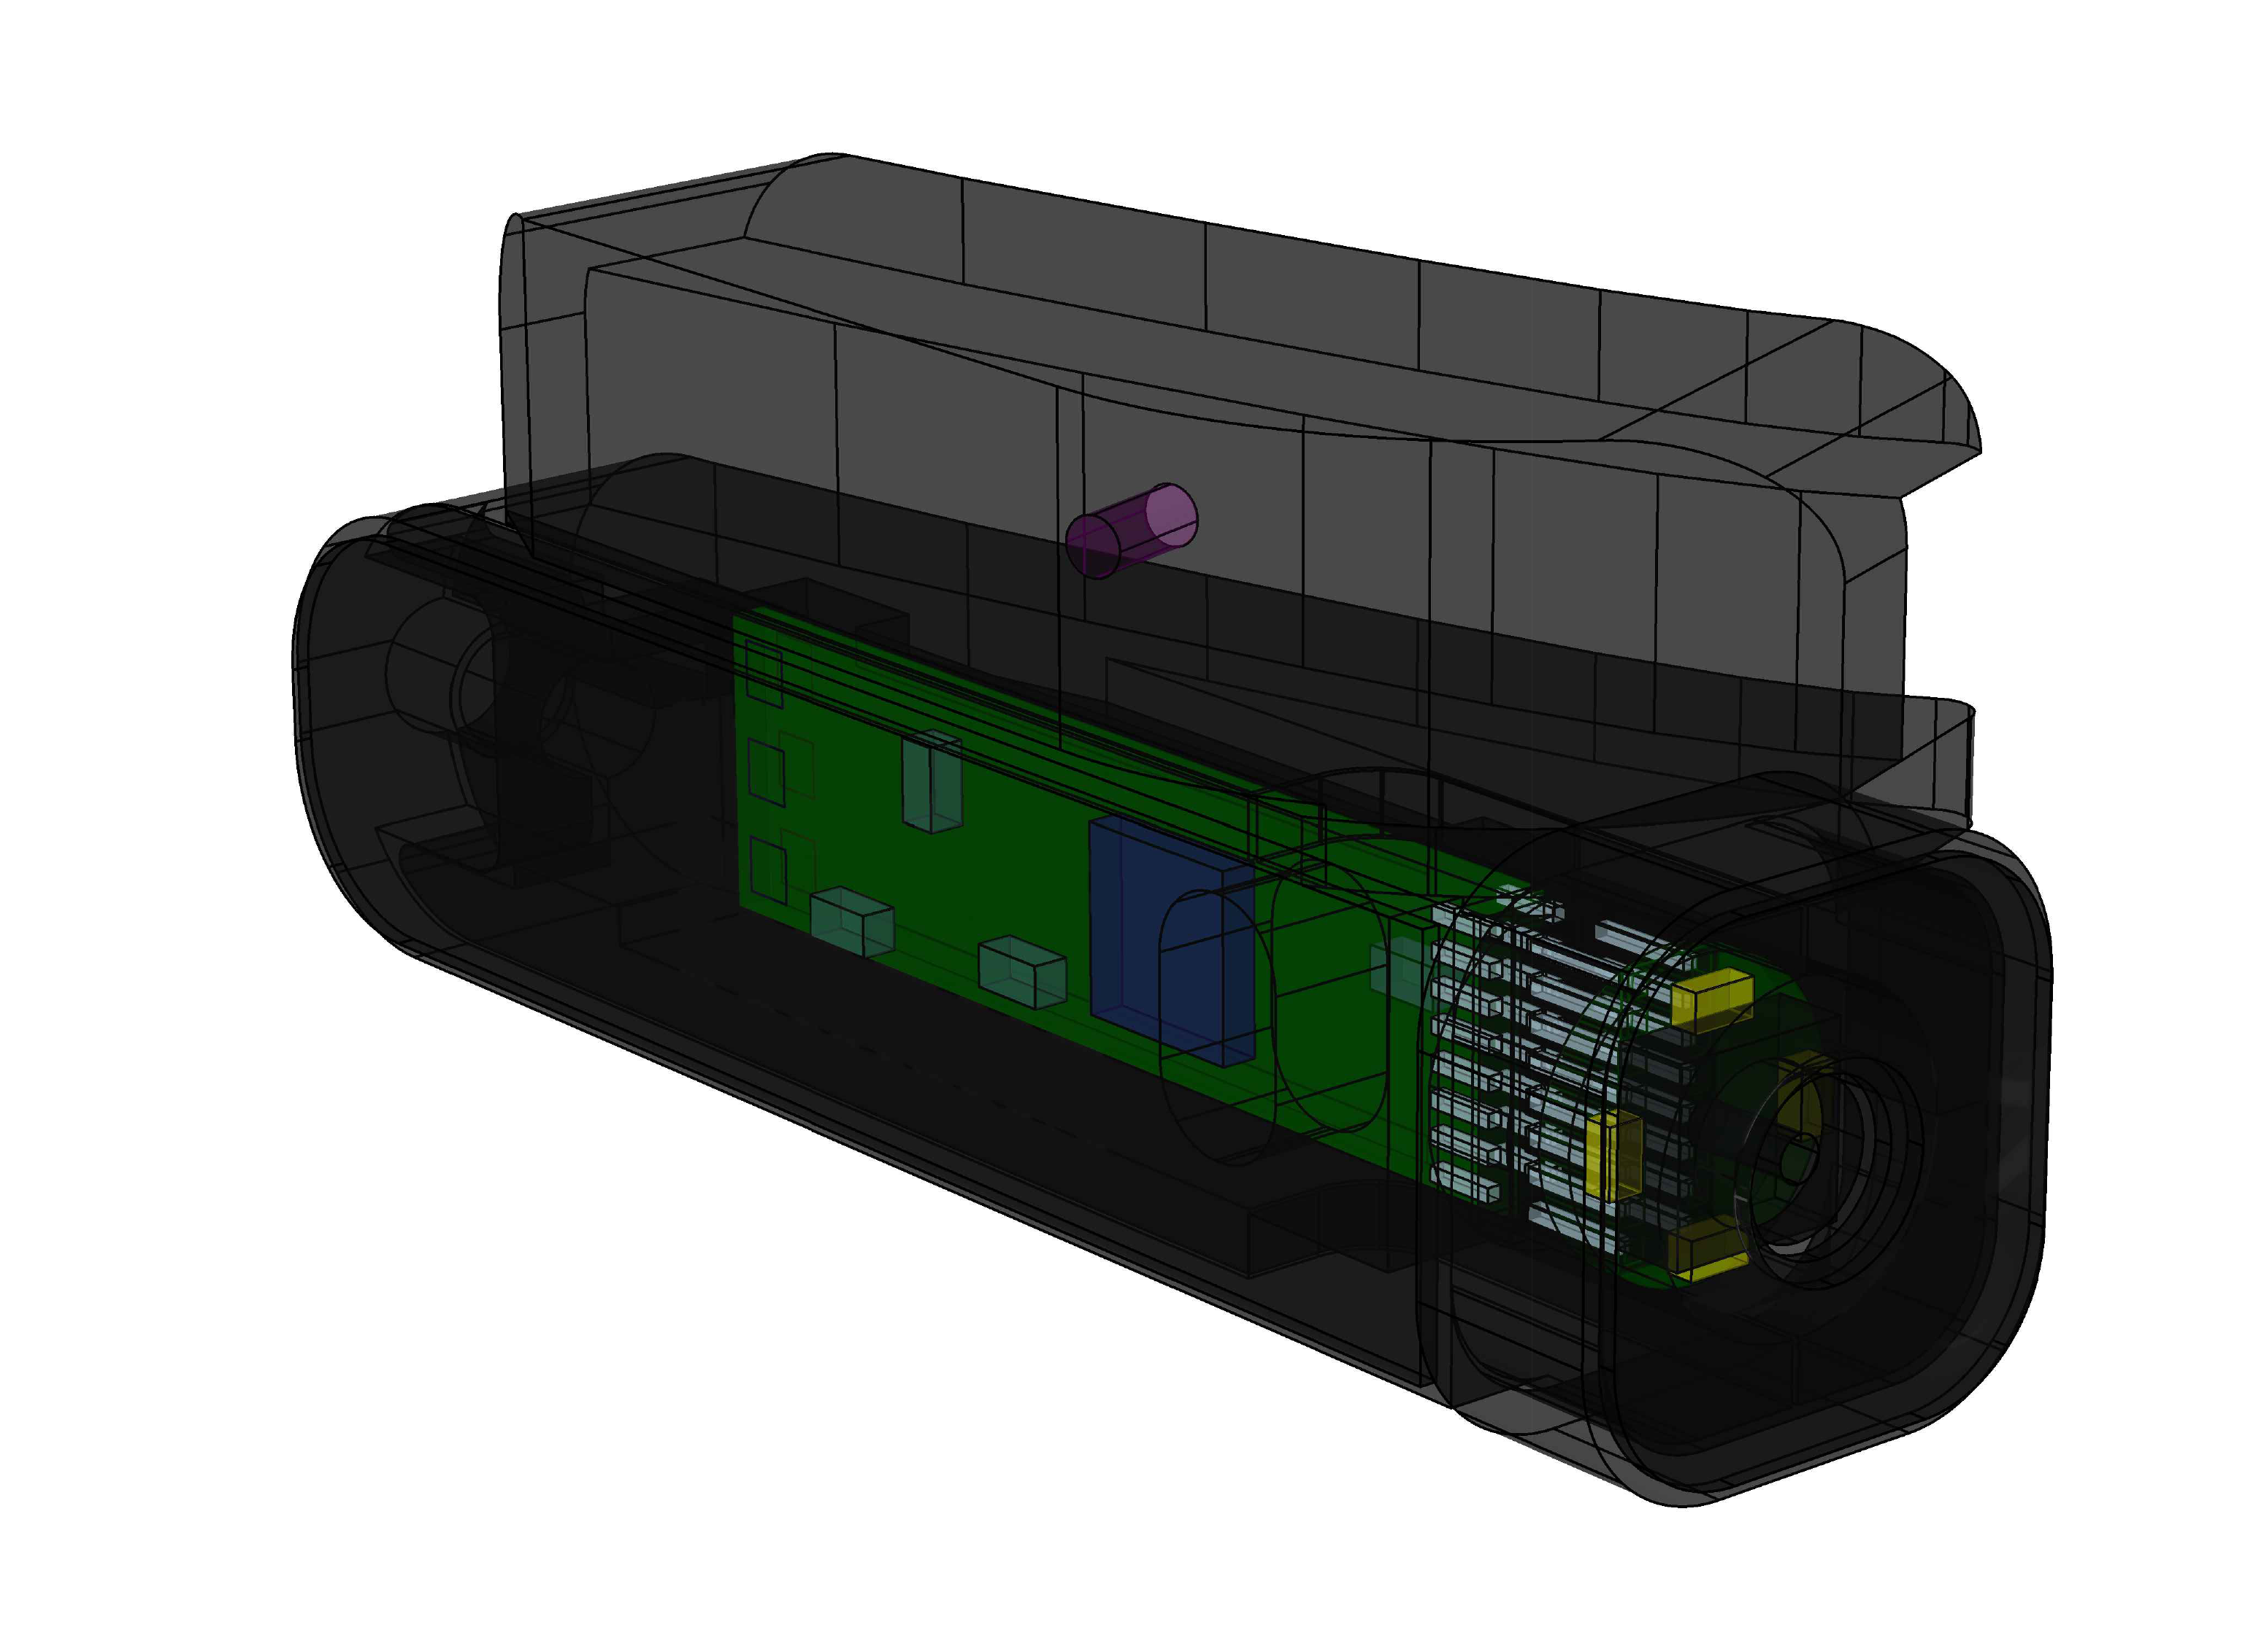
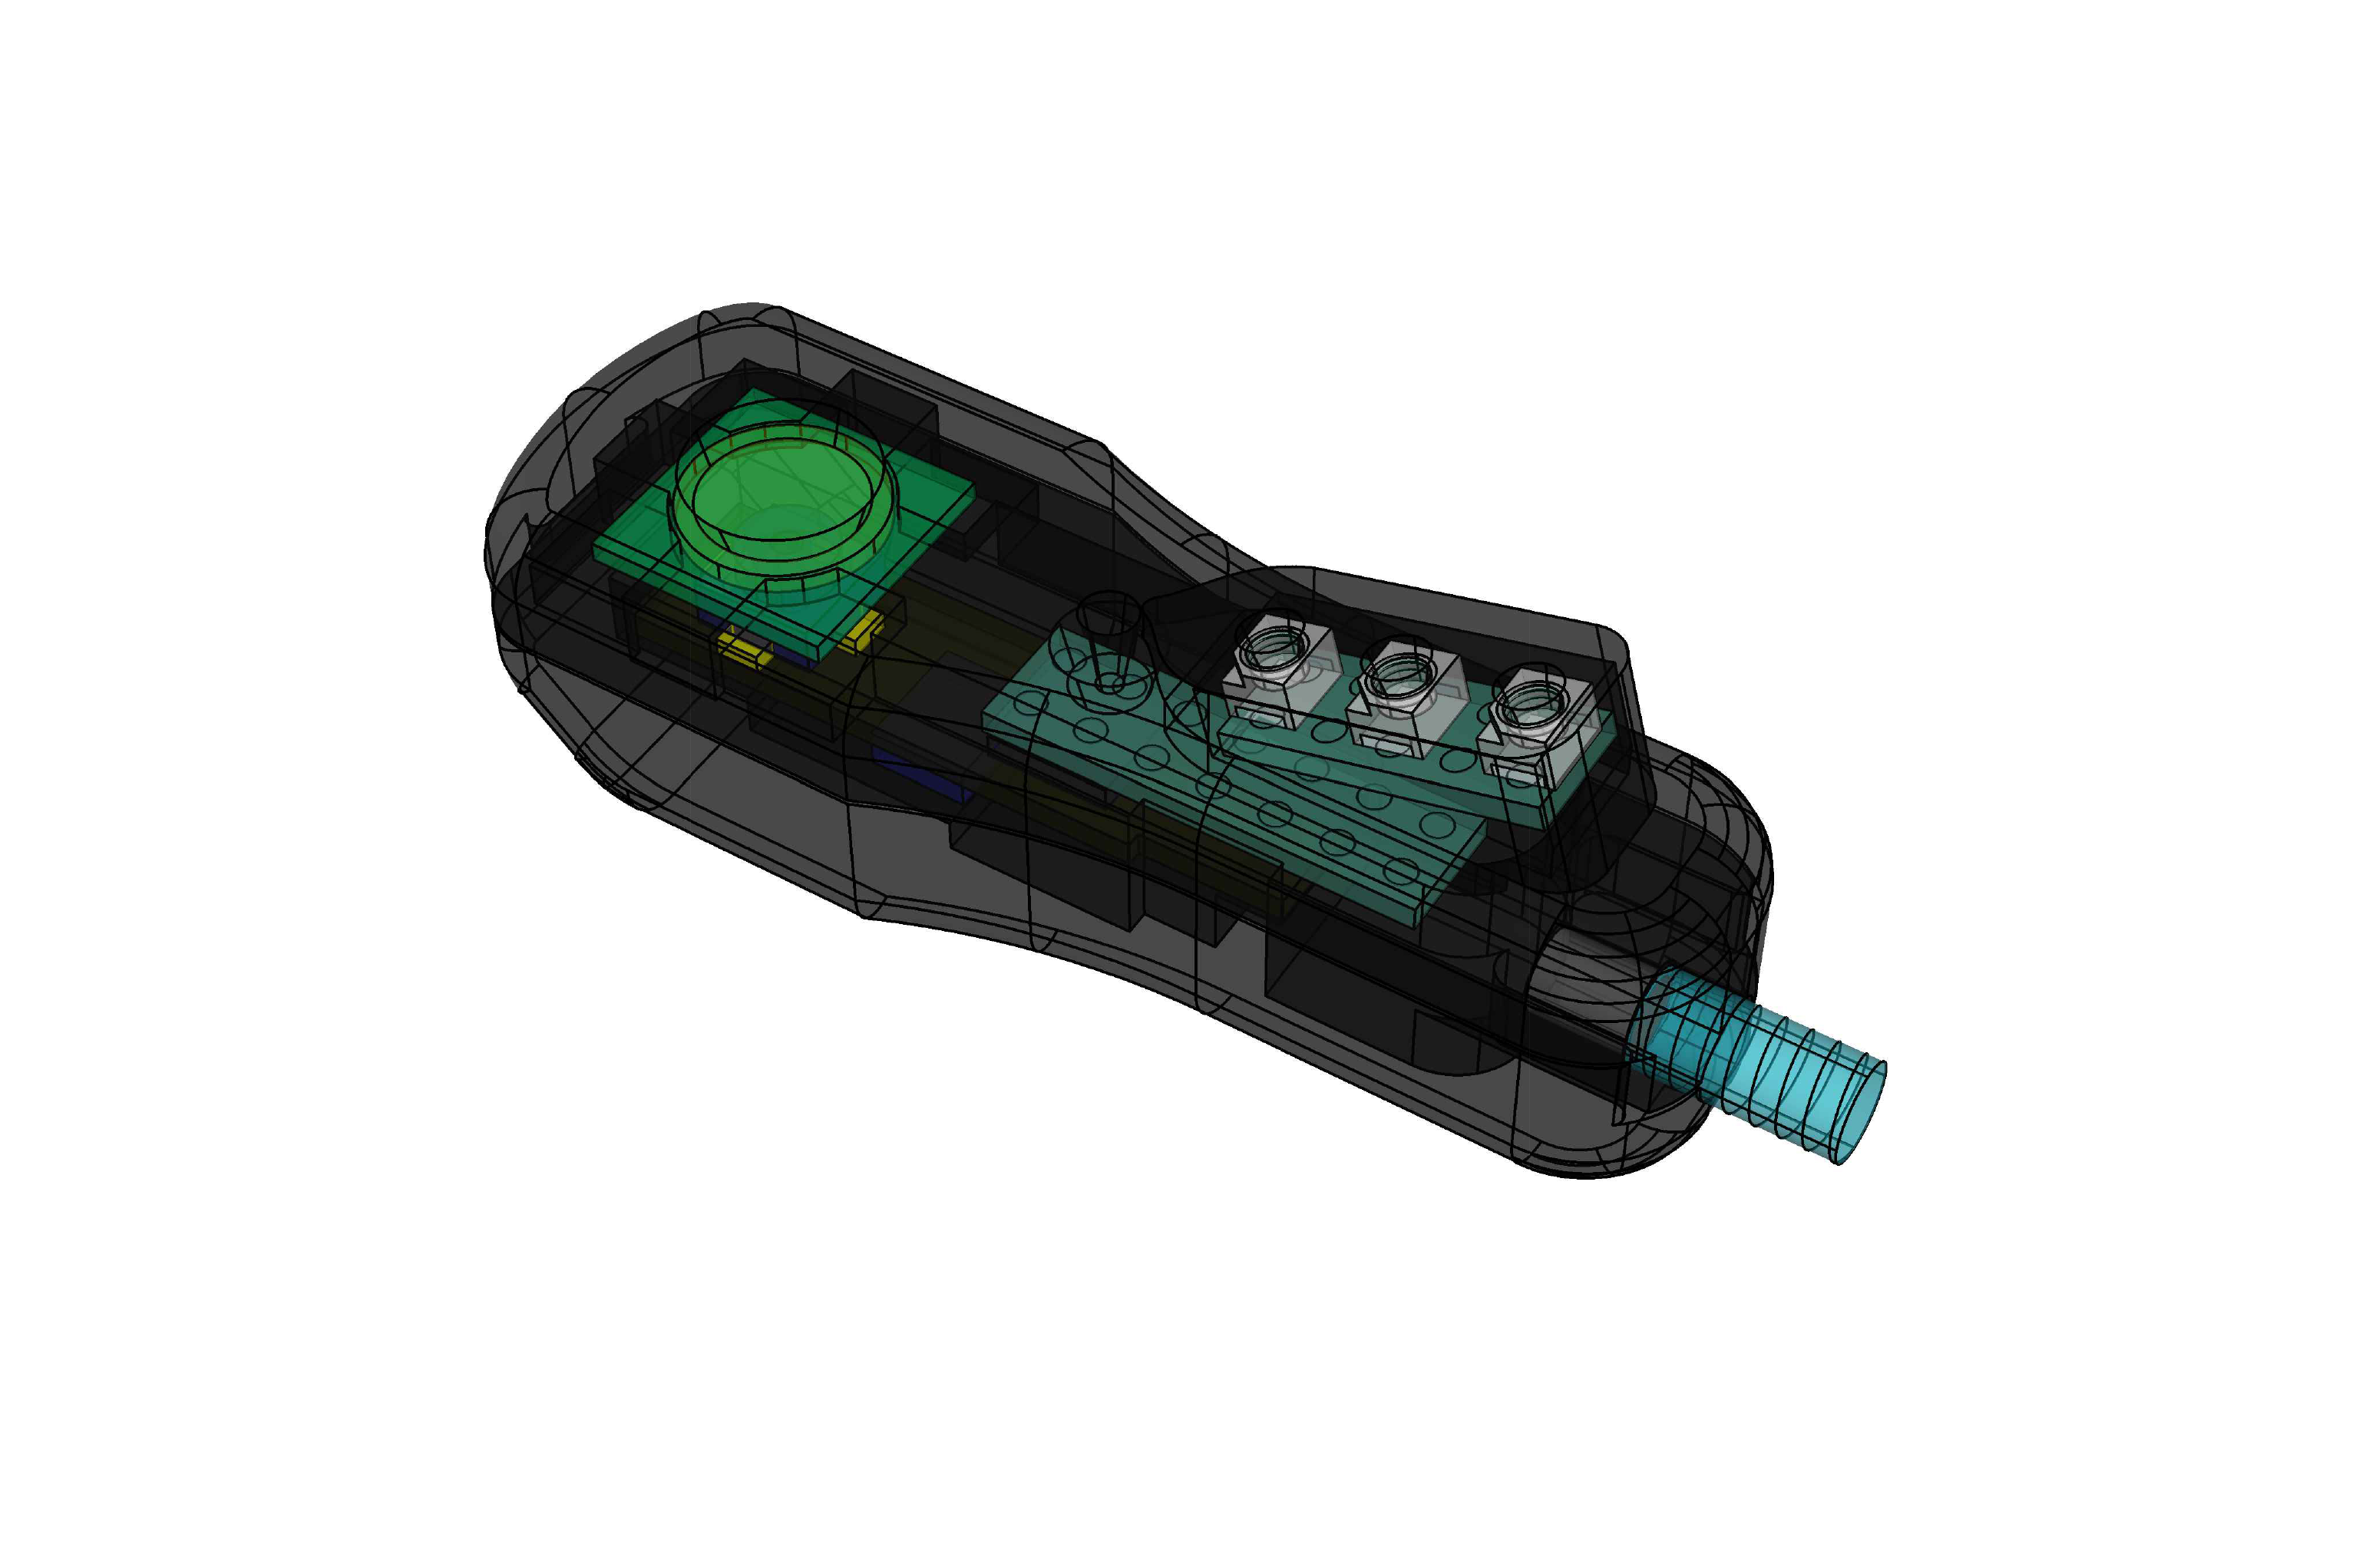
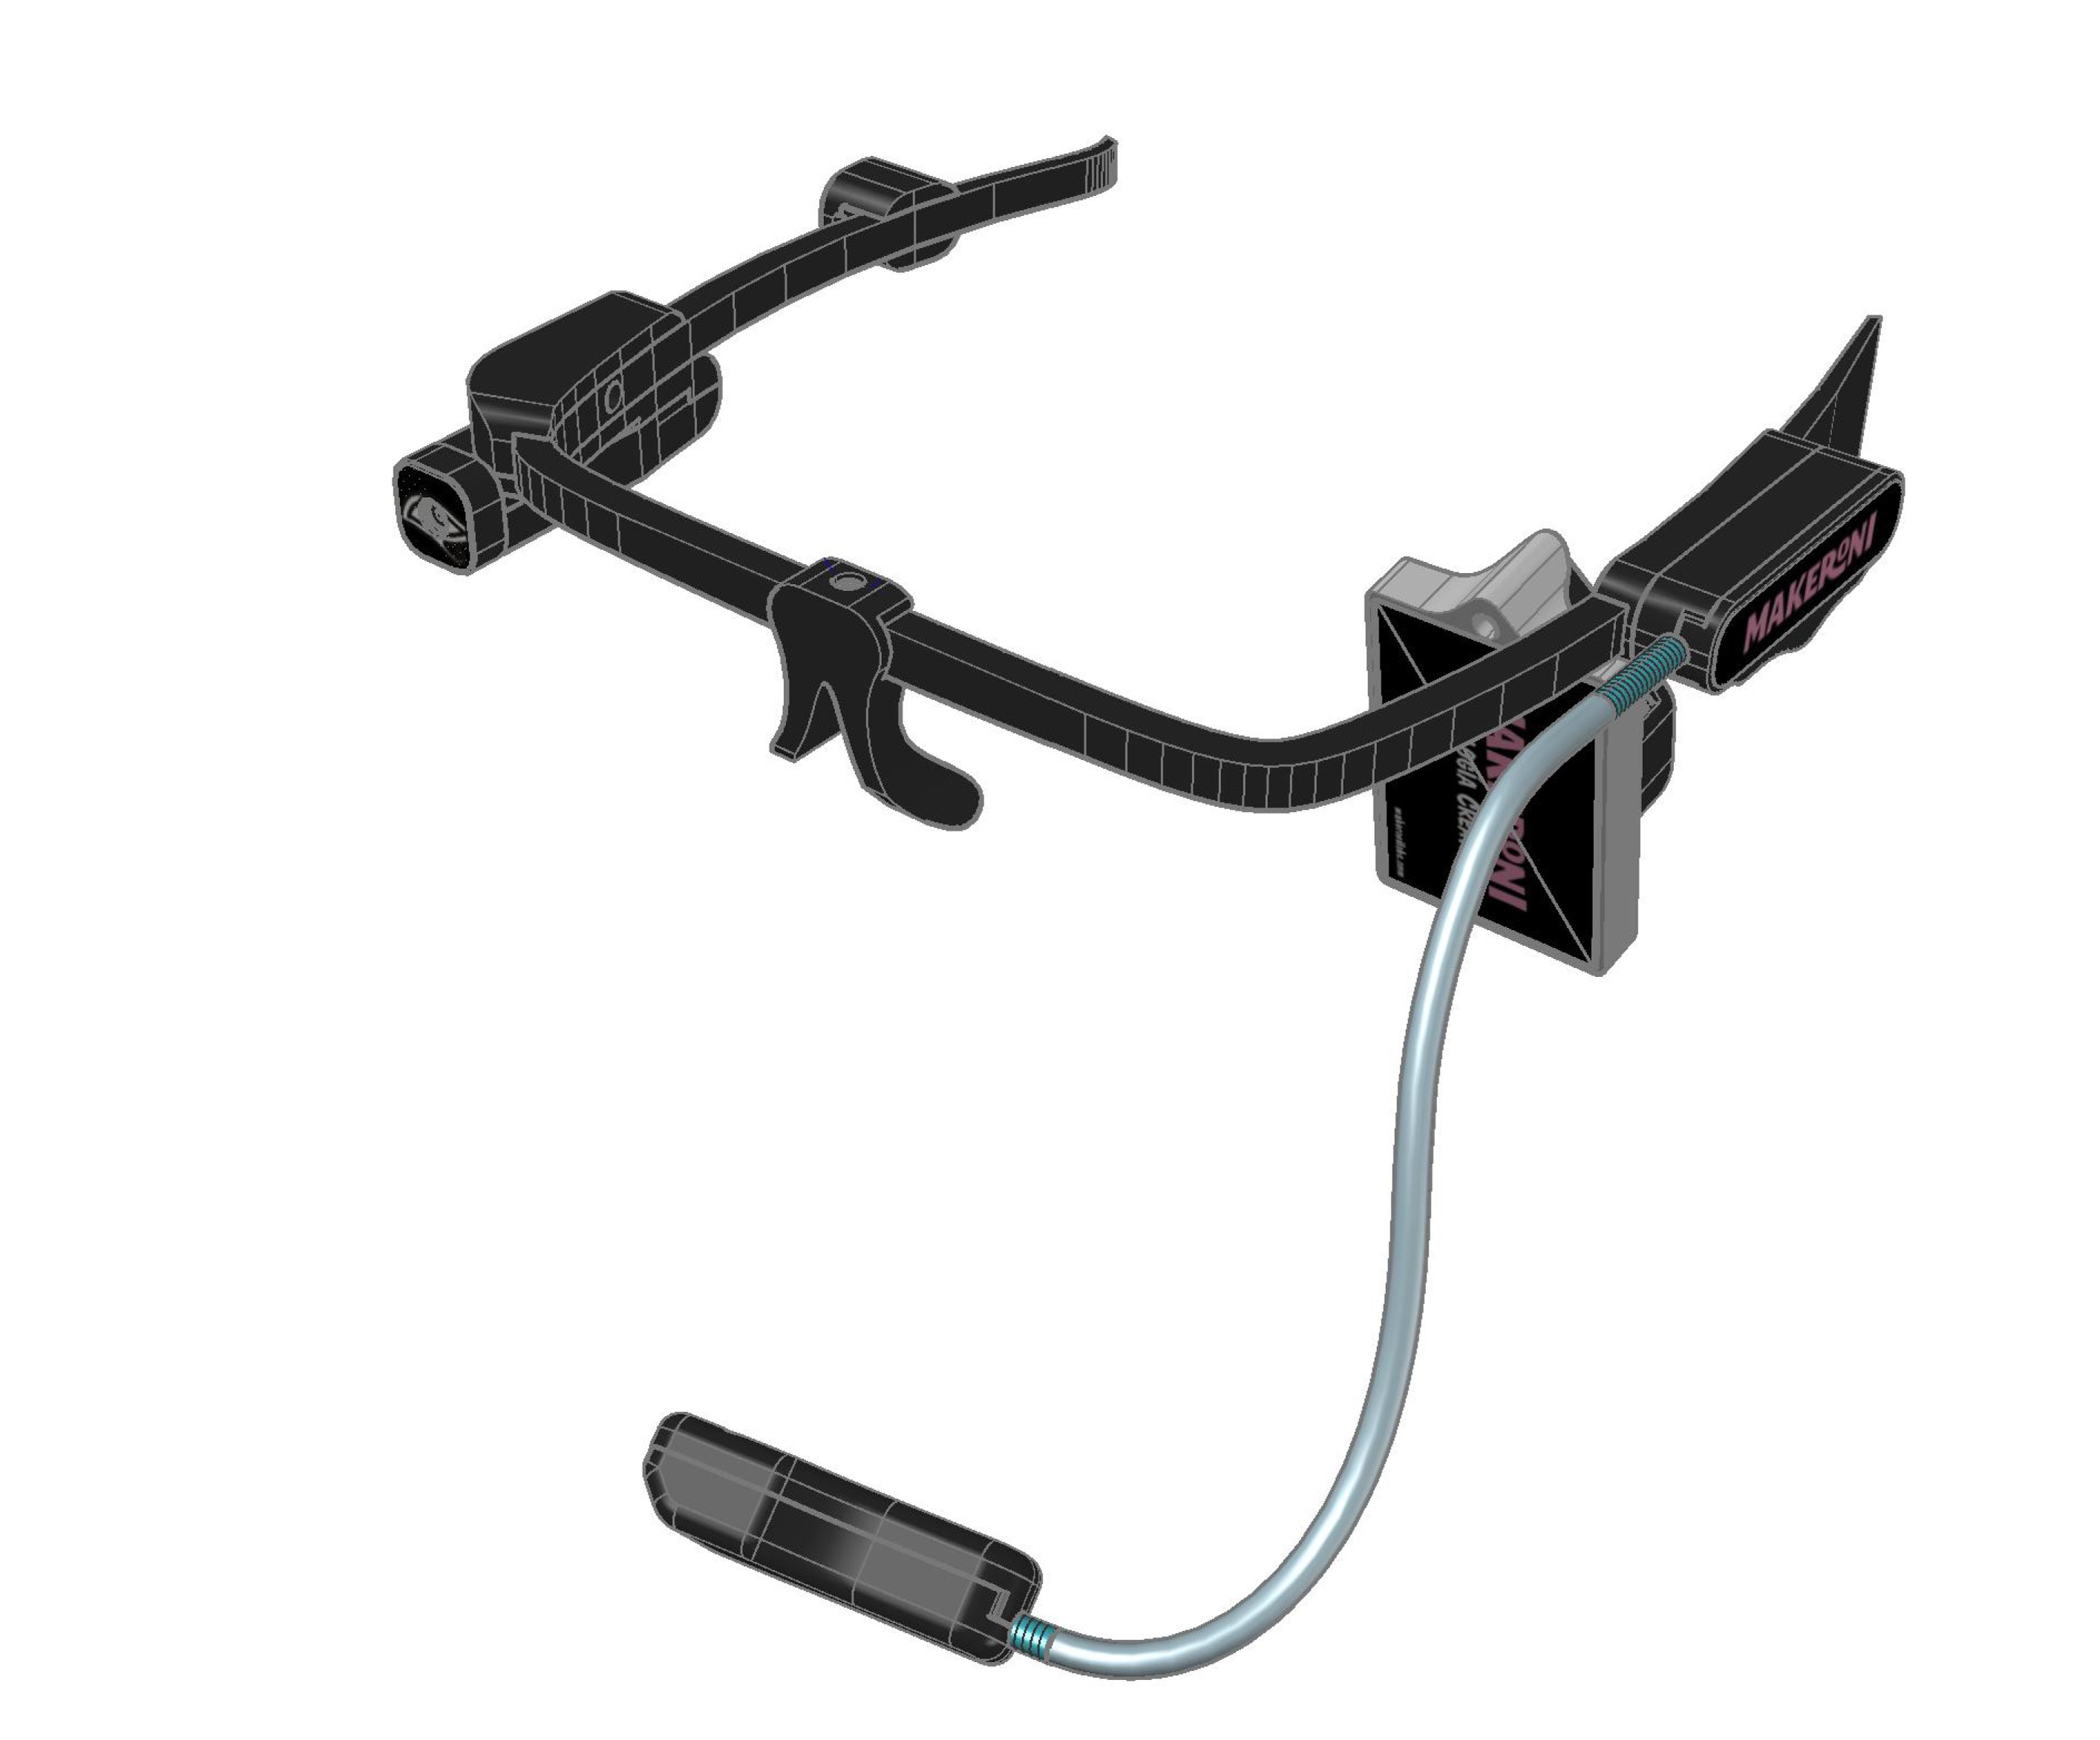
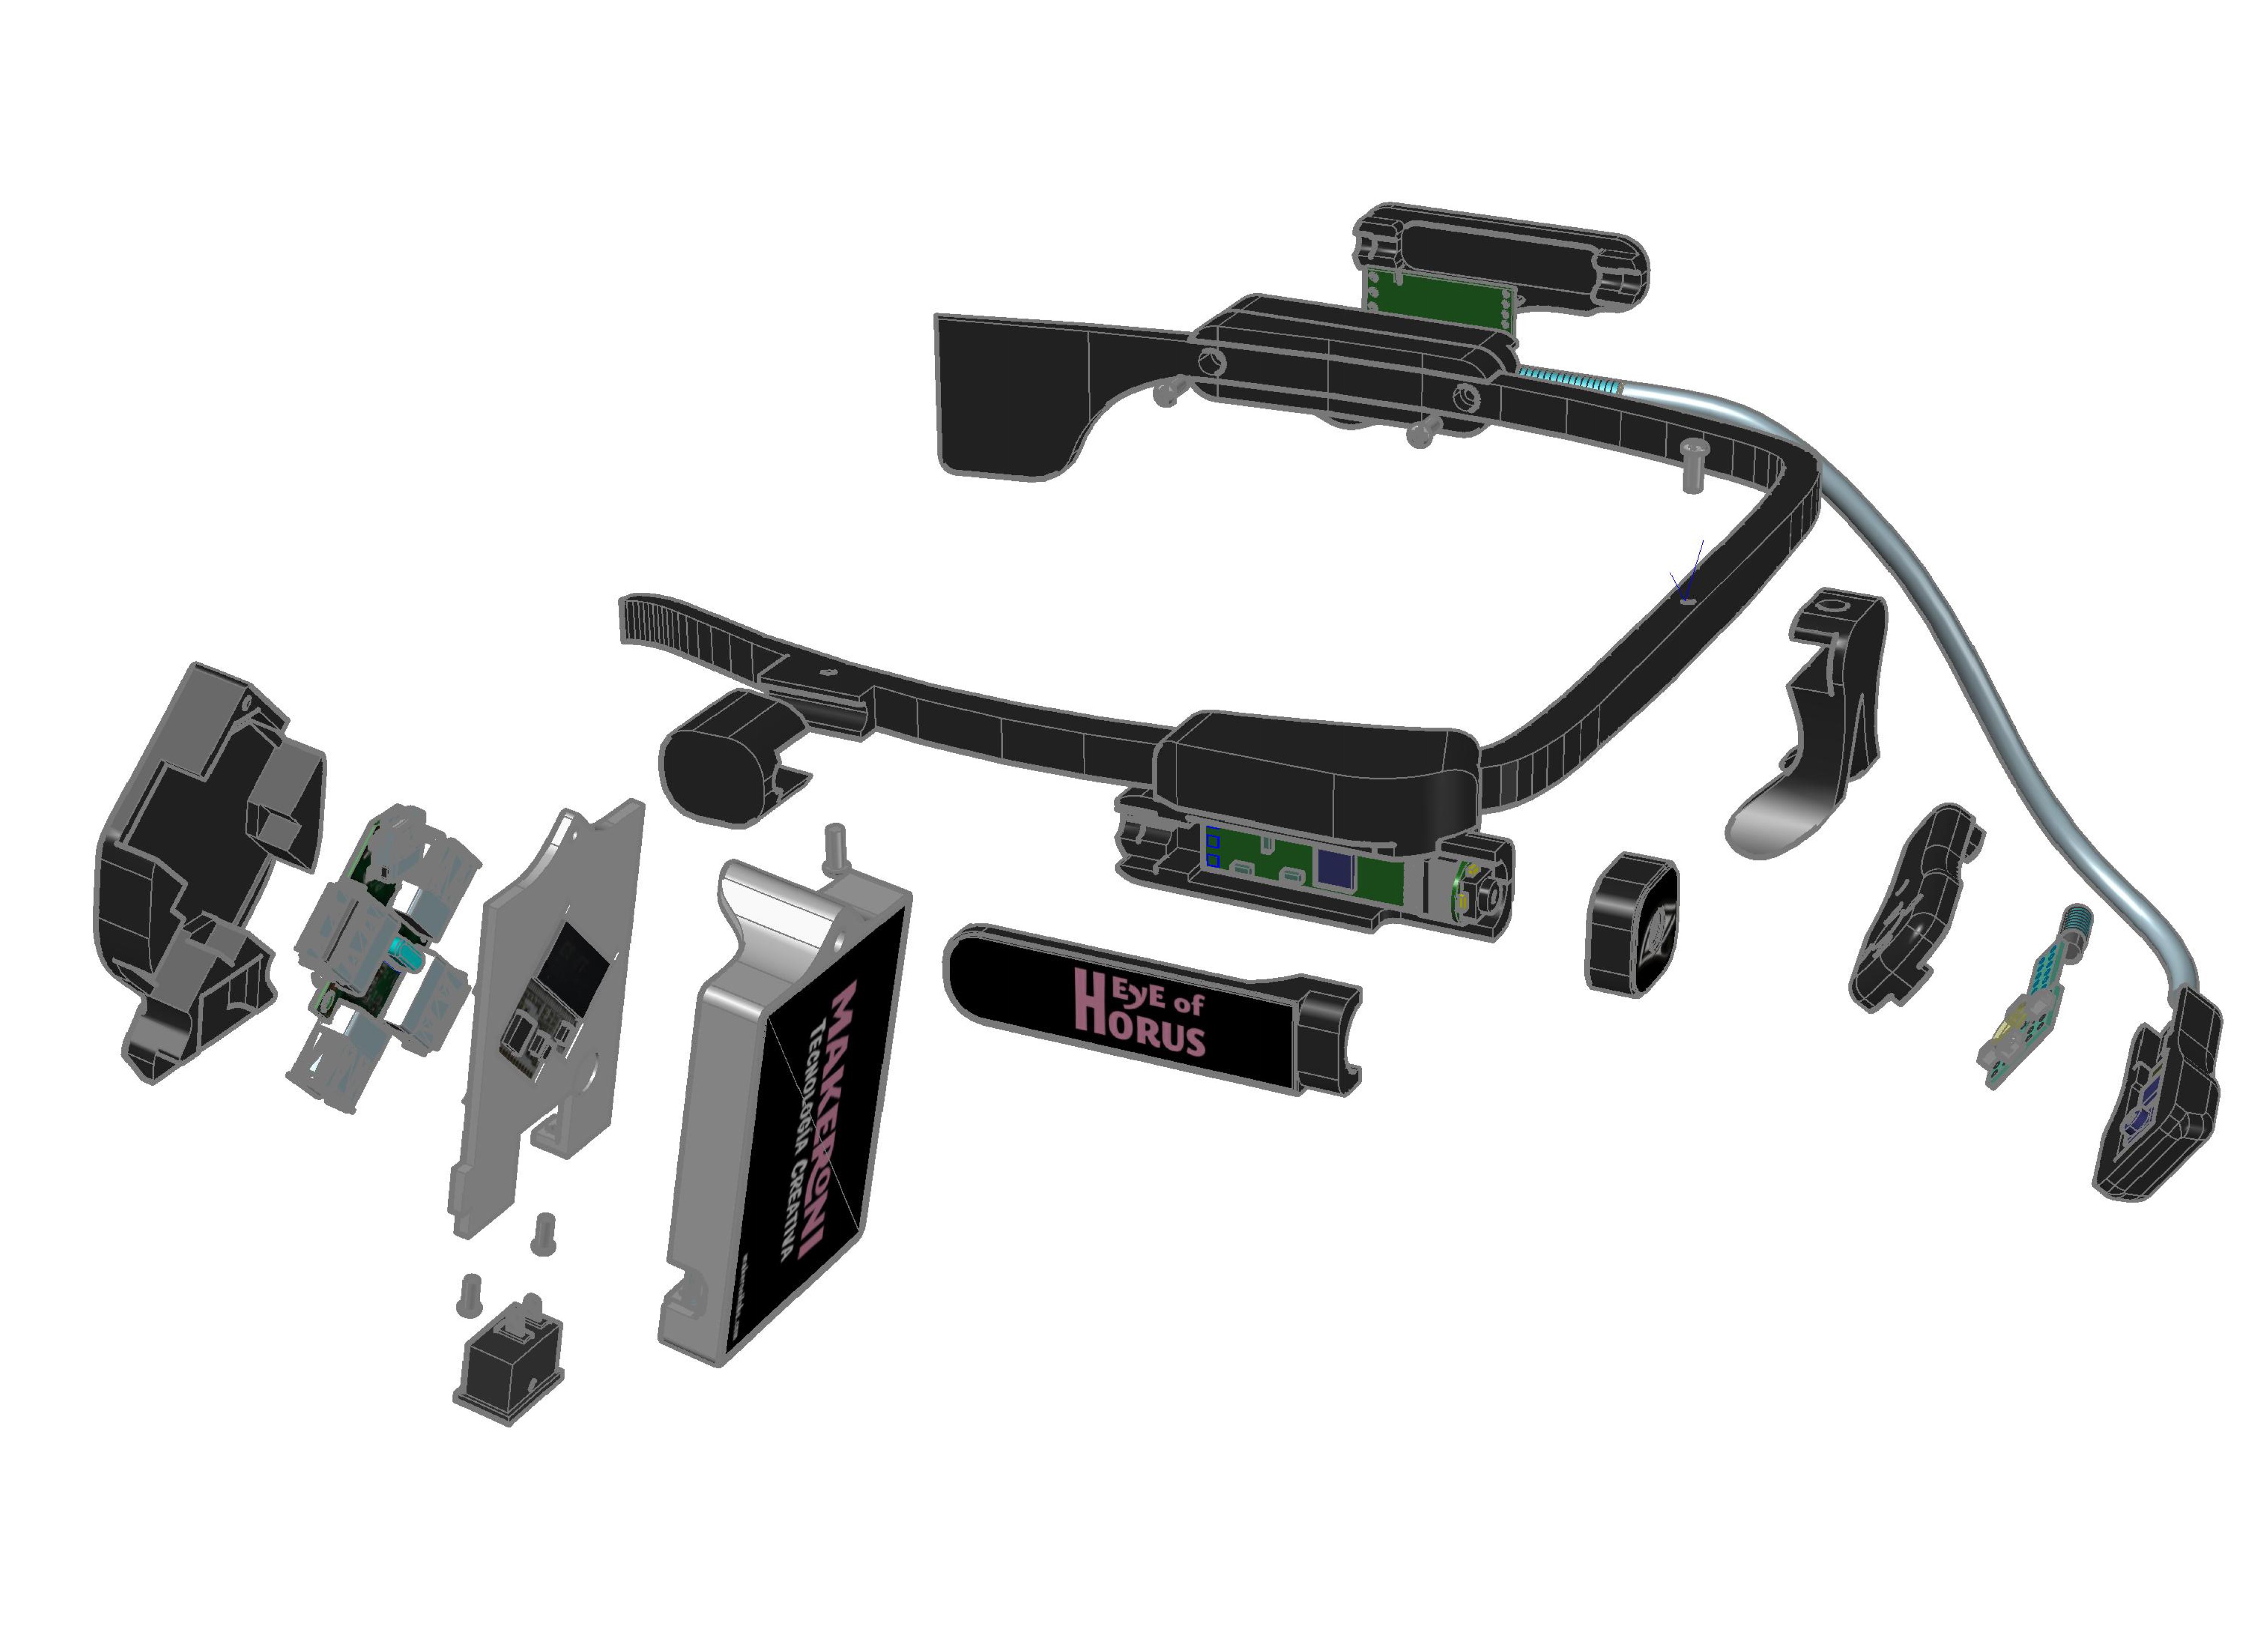
09/20/2015 at 22:16 • 0 commentsHere we show the renders of our actual version of the product:
![]()
We have added a frontal camera:
![]()
![]()
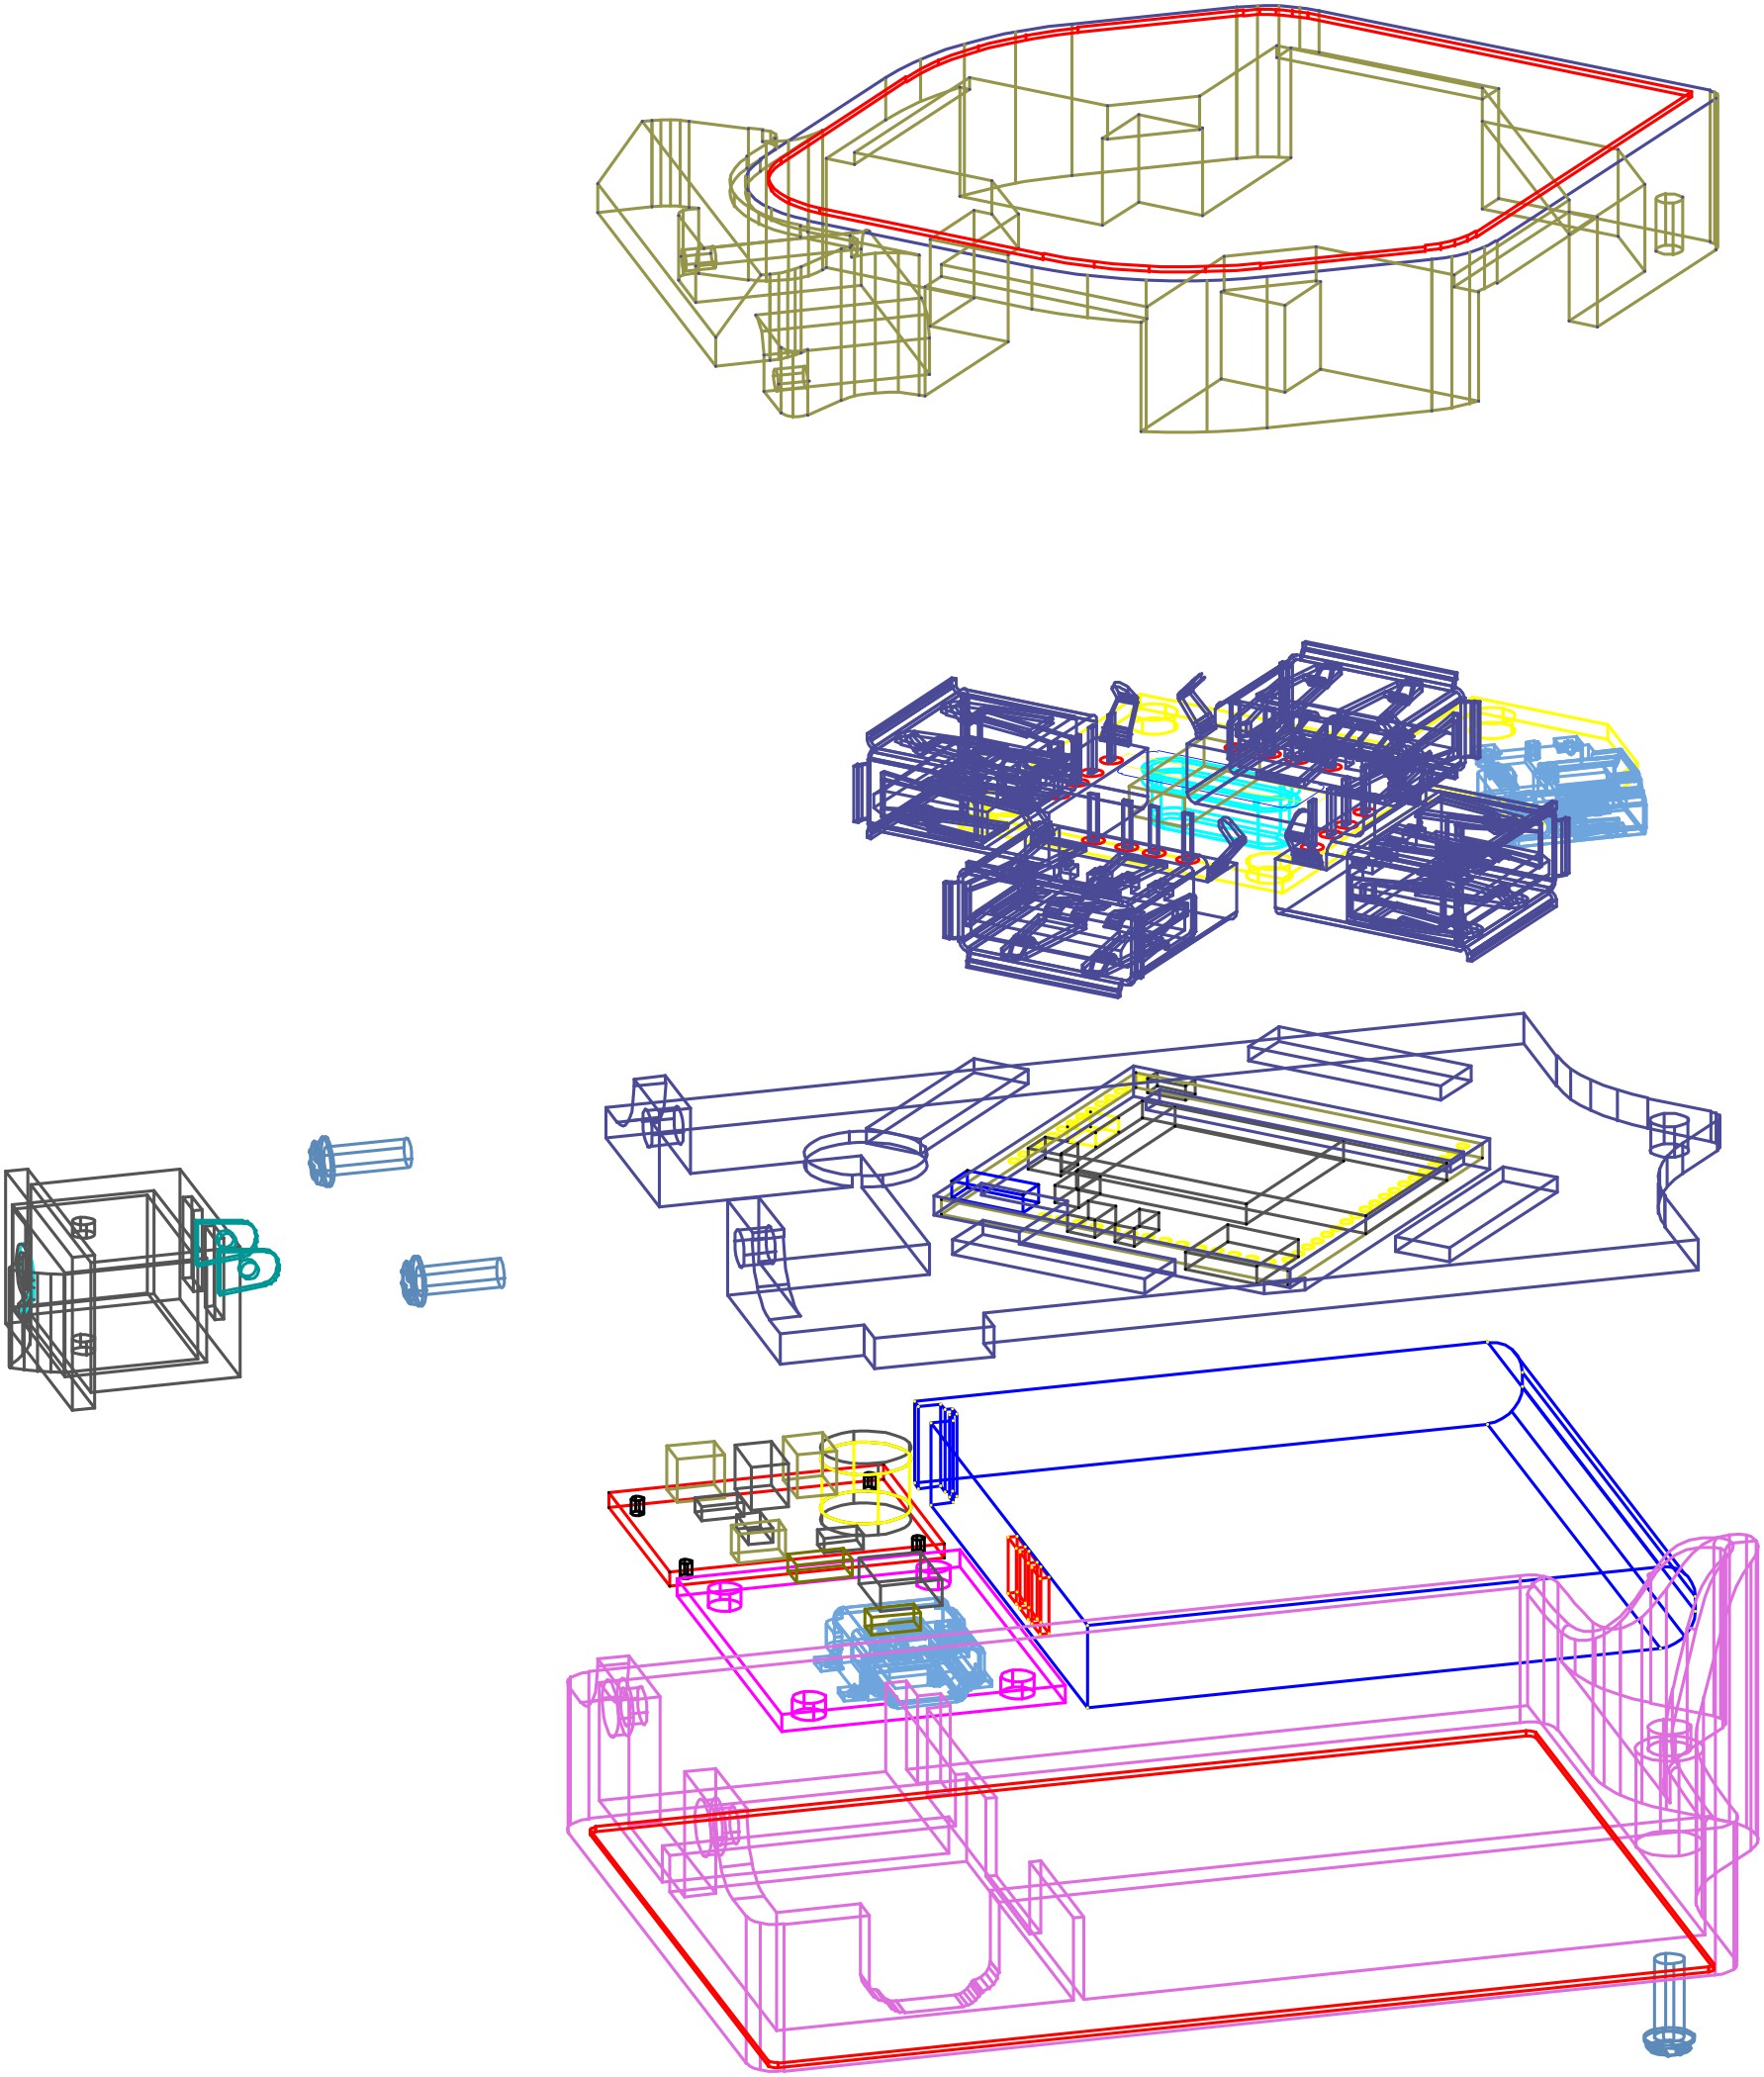
In the last design we have modified the design of the IR emiter and the eye camera in order to solve a luminosity problem:
![]()
-
First test with the frontal camera - Keyboard detection
09/20/2015 at 21:30 • 0 commentsHere you can see the first test using the frontal camera with an example detecting the position of the eye in a keyboard. It was a programming challenge that our member Rubén prepared for Borja, other member of Makeroni.
-
About us
07/28/2015 at 17:19 • 0 commentsABOUT US
The four members of the team have different technological backgrounds as electronic engineering, physics and computer science but we all share passion for making all kind of inventions mixing any available technology.
We are all members of MAKERONI LABS, a non profit that was born in Zaragoza in 2012 following the MAKER movement that is currently shaking the world.
Its main purposes are:
- -Promote a collaborative workspace for the development of new technologies.
- -Promote the dissemination of new technologies; both projects developed by members of the association, as other people.
To fulfill these purposes are working on:
- -Create and maintain a physical or virtual, collaborative work space.
- -Promote and coordinate the development of technological projects for companies and individuals, by members of the association.
- -Promote the capacities of members of the association in competitions, talks and exhibitions.
- -Conduct outreach to the diffusion of new technologies activities.
-
EoH demos
07/28/2015 at 17:18 • 0 commentsDEMOS
Here you can find some examples of use:
Eye of Horus - Open Source Eye Assistance
FUTURE
The most important part of this project is the viability and profitability. We believe this project is highly sustainable. We can create a crowdfunding campaign using all the documentation.
-
Prototype V2 Designs
07/05/2015 at 13:18 • 0 comments![]()
![]()
![]()
-
Software Implementation
07/05/2015 at 13:11 • 0 commentsOur final goal is to obtain an autonomous device but during the weekend the software development was divided in two blocks: server and client. Server software is running inside the Eye of Horus while the client is running on a laptop computer.
Server
This part of the software is executed in the VoCore module, a coin sized linux computer suitable for many applications. This module acts as a server running OpenWrt, a Linux distribution for embedded devices.
The server software is in charge of:
- Capturing the video captured by the camera
- Streaming the data over WiFi using a lightweight webserver
Client
This part is in charge of:
- Receiving the video stream
- Processing the images of the eye in order to detect the center of the pupil
- Provide a user interface to calibrate the system
- Control the mouse in the laptop computer according to the coordinates dictated by the eye
The video stream in the client was processed in real time using HTML5. A segmentation library was developed from scratch to threshold the images and analyze its morphology to detect the pupil and compute its center of mass.
At this point, the user has a mouse controlled by his eye and can interact with any 3rd party software installed in the computer.
A demo of the client sofware recognizing the center of the pupil can be seen in our website. You can play with the range selectors in order to see how it affects the recognition and reach optimal calibration when only the pupil is highlighted. The system will consider the center of gravity of the highlighted area as the coordinates where the eye is pointing. Calibration is very important and it may depend of the illumination. Thats the reason why the Eye of Horus has 4 leds illuminating the area of the eye. The pupil detection system has proven to be quite robust with the illumination provided by the device.
-
Hardware design
07/05/2015 at 13:10 • 0 commentsThe hardware development efforts were split in two different branches:
1) Design and fabrication of the 3D printed case and frame.
2) Design and assembly of the required electronic components.
3D Printing
The casing was designed to integrate the electronic components of the system. It consists of several 3D printed pieces to hold and position the camera, the infrared lights and allocate the electronics and batteries. The complete 3D model can be viewed online in the following link.
We started with a simple design that has been improved to the current version:
Version 1: The first goal was to design and fabricate a case which could be fitted as an accessory of the Google Glass. A replica was 3D printed as we did not have an actual product. The casing consists of a small box containing the battery and the processor connected through an USB wire to the camera. An articulated tube which ends in the camera holder and the infrared lights allows the system to be mobile and frame the eye pupil.
Version 2: In the second version, which is the end of this prototype, the molding of the glasses is independent and functional without the need of the Google Glass. The look and the fastening system of the electronic components have been improved in this second version.
Electronic design
Eye Tracking device
This part corresponds to the wireless system that captures and analyzes the eye pupil images under infrared illumination.
During the development process, several iterations have been made improving the prototype features and finally designing a printed circuit board (PCB) that could be manufactured with a low cost.
- Prototype 1: A first prototype was built over the table with no case to test hardware and software.
The parts used in the different prototypes are common:
- VoCore v1.0: VoCore is a coin-sized Linux computer with wireless capabilities. It is also able to work as a fully functional router. It runs OpenWrt on top of Linux and contains 32MB SDRAM, 8MB SPI Flash and using 360MHz MIPS processor.
- Power circuit: It includes a system DC/DC which supply 5V to the circuit thanks to a lithium battery
- Camera: an small size USB endoscope camera was disassembled to remove the infrared blocking filter and replace it with a band pass filter with the oposite effect. This task was complicated due to the small size of the optical elements.
- IR leds: infrared leds are responsible to illuminate the eye. The pupil is an aqueous medium that absorbs this light and results in a dark spot clearly visible in the images.
- Bandpass filter: a lens that filters the non-infrared frequencies of light emphasize the monochrome effect and prevents ambient light from affecting the system.
- Prototype 2: Once the basic software and hardware was validated, a second version was developed to complete and integrate the system using the 3D printing models of the first version of the casing.
The system was modified to overcome the following hardware problems:
- Remove the electronic noise emitted by WiFi shield that affects data transmission in the camera wire.
- Correct the placement, orientation and intensity of the infrared LEDs for a correct eye pupil illumination.
All electronics components of the prototype were replicated in the second version to get a better finish of the product.
The assembly is the result of the first model of the product. It could be an addition to Google Glass using its front camera like a data gathering system of the physical world.
- Prototype 3: On this part, a printed circuit board was designed based on the information obtained from the previous prototypes. It would allows a low cost and replicable electronic device.
This is a open source project, so all schematics are available. Anyone can download, edit and manufacture the device.
Light beacon device
A prototype was designed using infrared flashlight pulses with adjustable frequency. This light, only visible in the front camera thanks to a band-pass filter, allow to differentiate the targeted devices
The system also integrates a bluetooth low energy (BLE) module which can receive requests from other devices. In our case, a computer linked with other BLE module is in charge of sending the turn on/off request when the main device indicates that the user is in front of the object and the eye tracking reveals that is looking at the beacon (in the example it would be a light lamp).
The integrated components in this prototypes are:
- Serial Bluetooth 4.0 BLE Module: responsible for the communication of BLE with PC.
- Relay control module: to control a device connected to the network.
- Arduino Pro mini: the main microcontroller in charge of communicating with other modules and components.
- Infrared LED: responsible for carrying out the lighting flash.
Eye of Horus, Open Source Eye Tracking Assistance
Interacting with objects just looking at them has always been a dream for humans.
 Makeroni Labs