Kenneth Zaborny
-
K-9's 3D printed parts
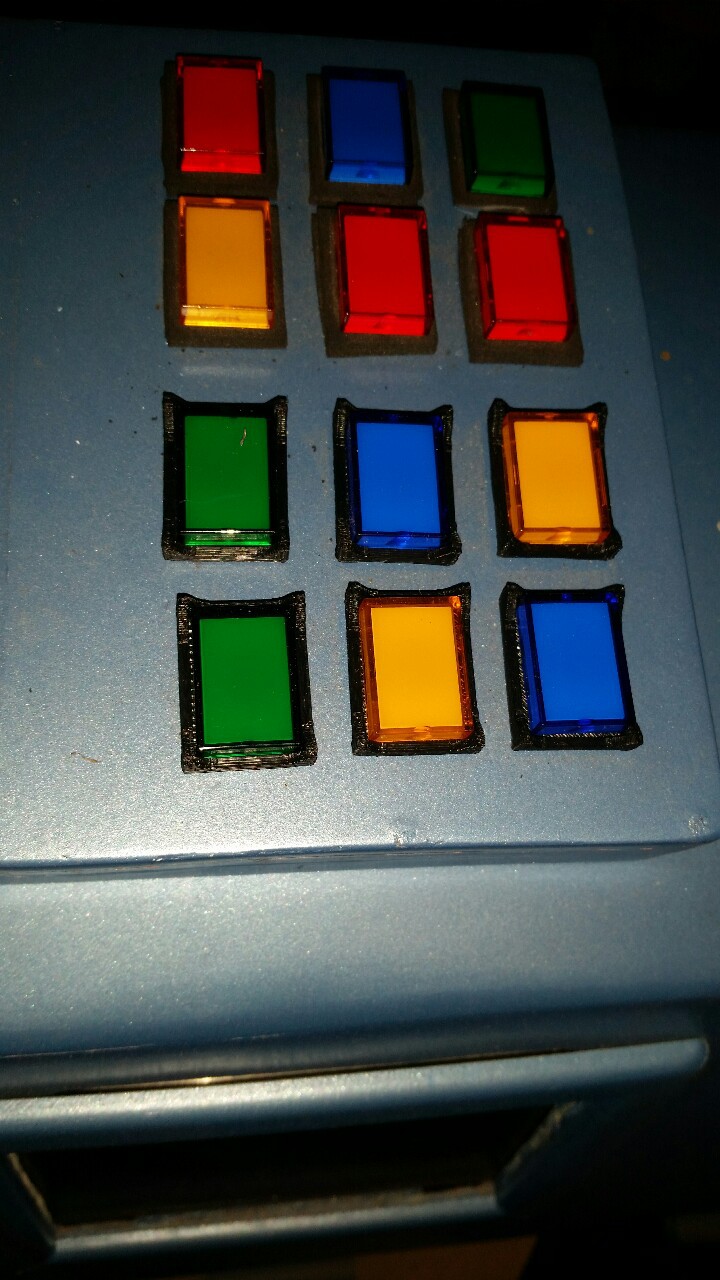
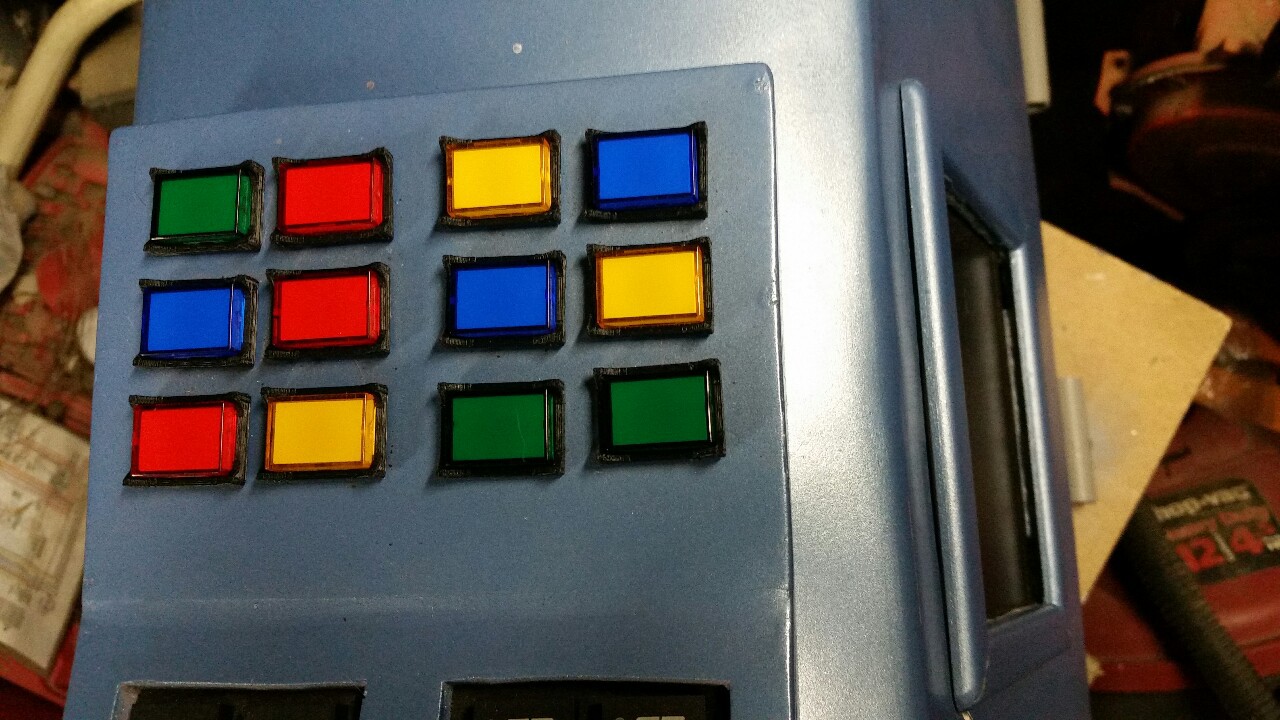
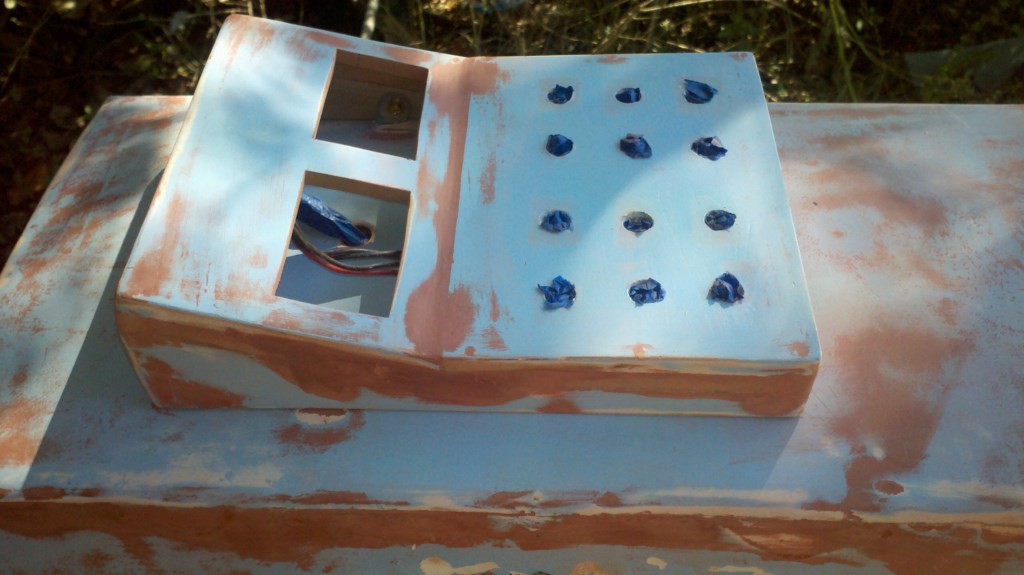
02/07/2016 at 21:54 • 0 commentsWhen I originally built K-9 I didn't have my 3d printer. Now that I do I figured it's time to upgrade a couple of parts. The first part I knew I wanted to improve were the buttons surrounds. Normally K-9 builders spend a lot of money to get the proper surrounds for the buttons on K-9's back. I was using bits of leftover black foam.
Here you can see the before and after.
![]()
Upgrade complete.
![]()
-
K-9's upgrades
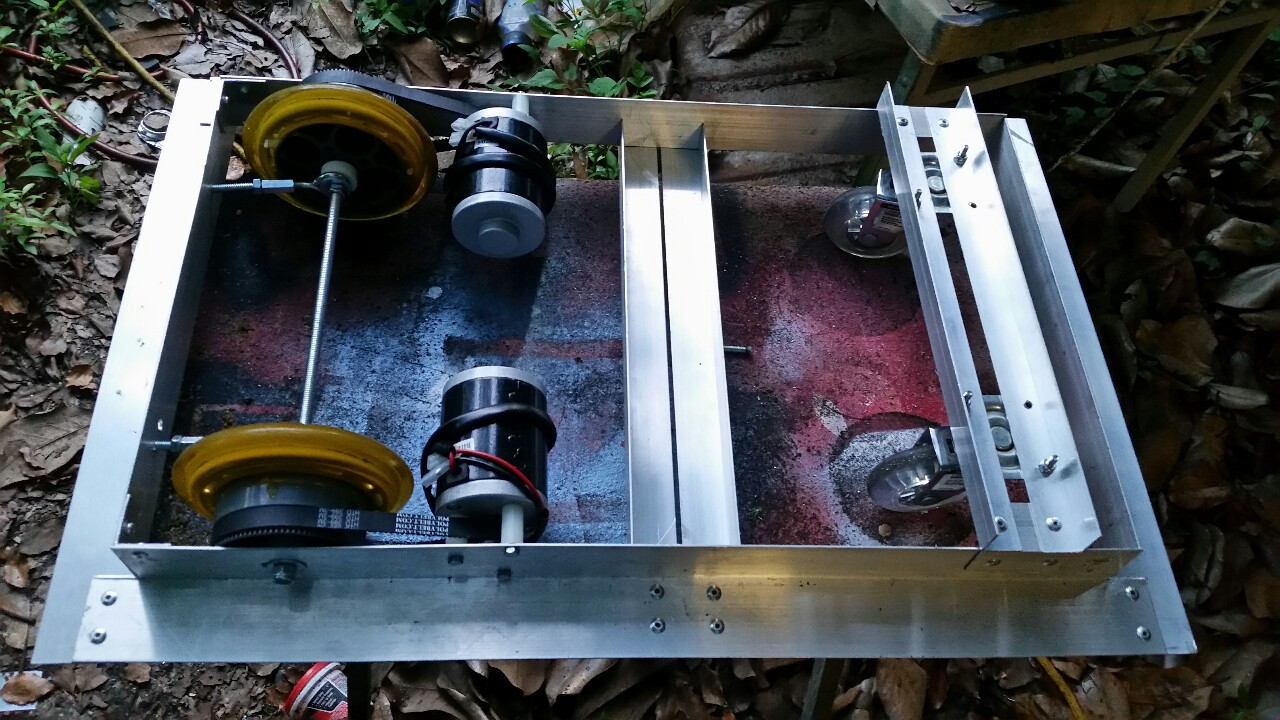
08/10/2015 at 17:59 • 0 commentsThe old drive base worked well but being made from the steel of a discarded bed frame made it very heavy. I decided to build a new frame from aluminum. This shed a lot of weight and improved K-9's handling by removing a heavy battery from directly over the front casters.
![]()
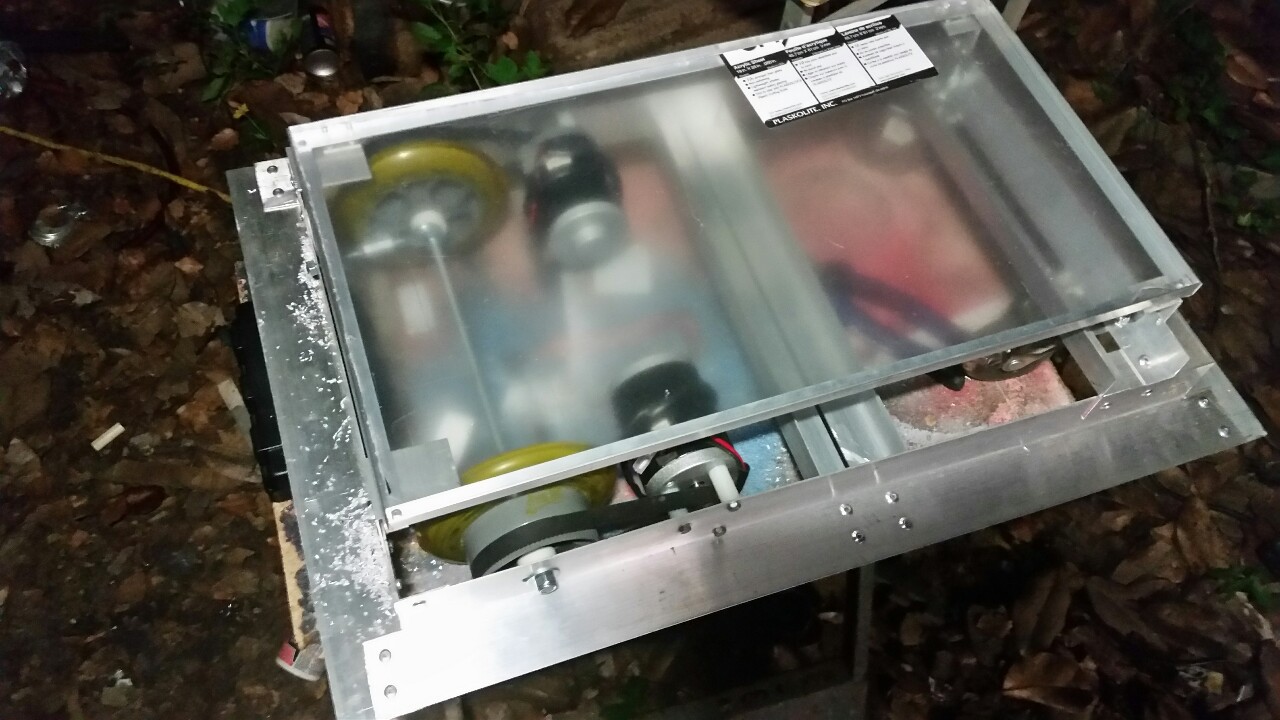
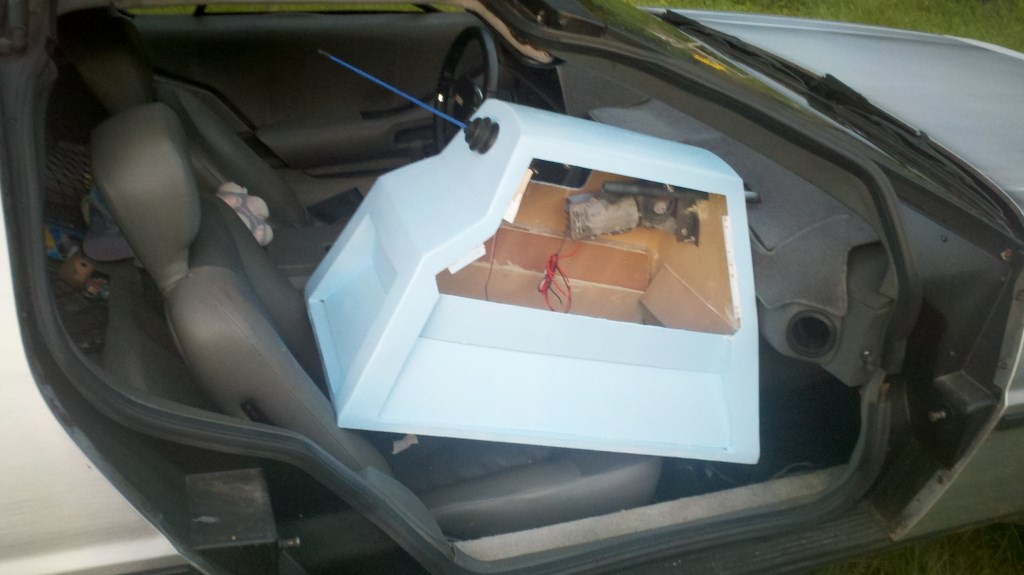
I had an incident at a convention where the poor access to the batteries nearly caused a fire. I knew I wanted easier access to the batteries so I designed the electronics tray to lift up.
![]()
![]()
-
K-9's upgrades
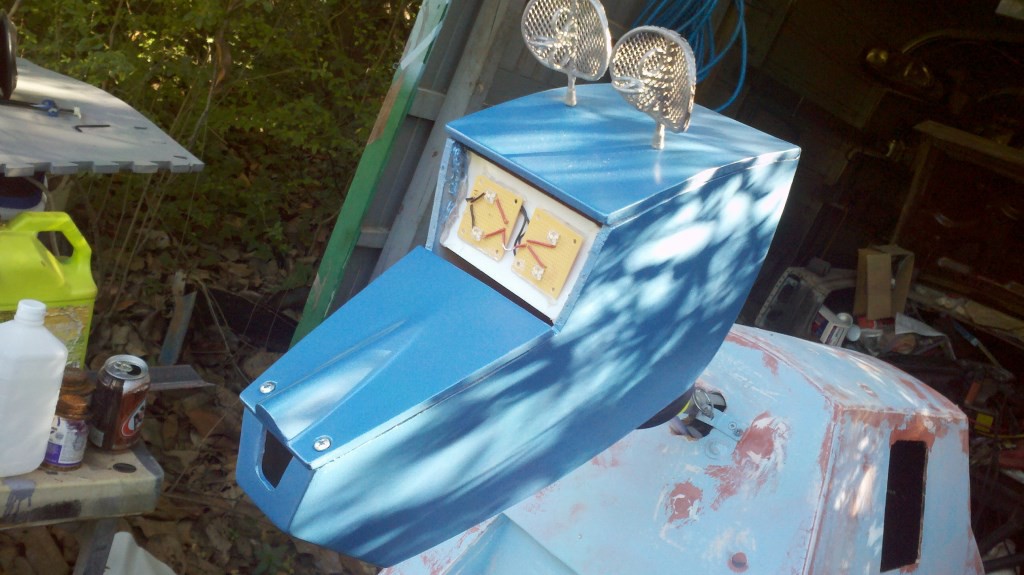
07/21/2015 at 16:52 • 0 commentsK-9's rebuild began with a sanding and filling over the first paint job. I embedded a magnet in K-9 so I could attach things such as 3d printed celery or a Starfleet commbadge.
![]()
I also moved the button panel up slightly. This kept the buttons from hitting the body and gave me room to hide a voltage regulator and Arduino Micro for the LED s
![]()
The pipe connecting the head to the neck motor was upgraded from plastic to metal. My father cut a metal tube on his work's mill based on my template.
-
K-9's outing
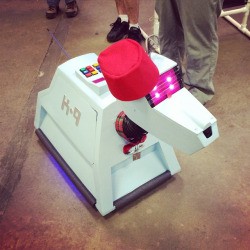
07/14/2015 at 20:19 • 0 commentsK-9's first convention taught me a few lessons. The convention was in August and the AC in the building stopped working. The glue I used to keep K-9's head attached to his body weakened to the point where his head just fell off. I jammed a pocket knife into the two ends to keep it from happening again.
![]()
K-9's ears stopped functioning, hence the fez. My 5v step down transformer board blew due to the heat.
![]()
I decided that I didn't like K-9's eyes, body color, or keypad lighting sequencer. I built a flux capacitor circuit to "randomize" the blinking but it just wasn't good enough. Right after I tore K-9 down expecting to have until February the next year to have him fully upgraded he was invited to a local expo in November as a "guest".
-
K-9's roughdraft
07/10/2015 at 21:09 • 0 commentsI've built K-9 twice. I had several issues with his original build that lead me to rebuilding him after his first convention. The paint was a major problem. It was just too bright. I also upgraded his eyes from the 4 dots to 2 rows of segmented LEDs.
-
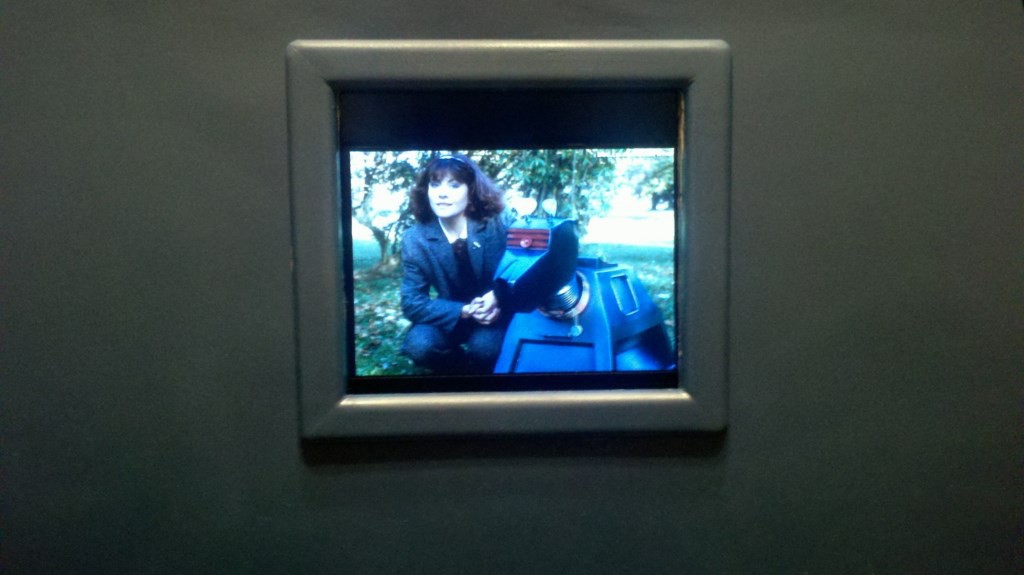
K-9's touches
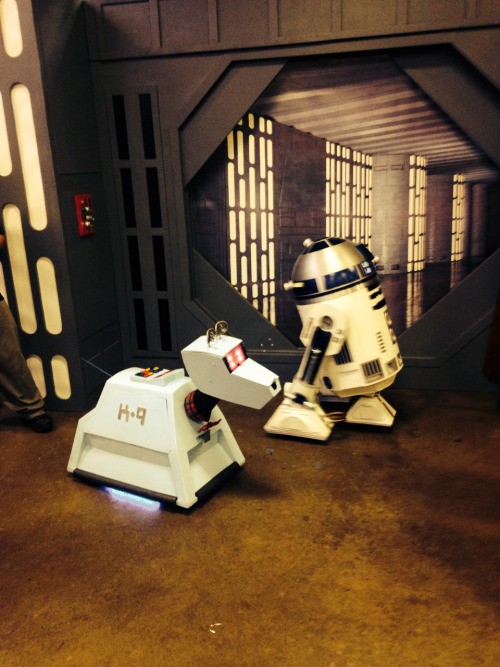
07/09/2015 at 18:47 • 0 commentsFrom the start of the project I knew I wanted a working viewer. I tried several ideas but finally settled on a basic picture slideshow viewer. I'd like to upgrade in the future once I find a screen that will fit in the enclosed space. Right behind the picture frame is the motor that drives K-9's head. Space is limited.
![]()
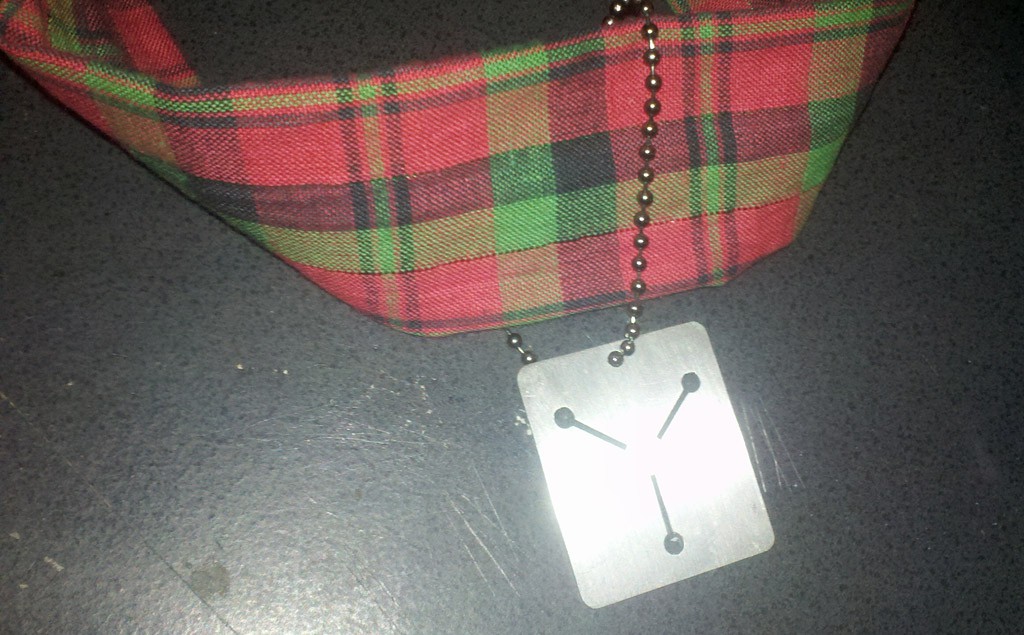
I designed this keychain for my DeLorean's keys when I first bought the car. When I had it laser cut out of stainless I had to order a minimum of 25. I sent 10 to the guys doing the restoration on the real Time Machine and 5 others to fellow owners. When I needed to find a tag for K-9's collar I realized this would be perfect.
![]()
He's designed to come apart so I can transport him in the car. It's only fitting he has a Flux Capacitor dog tag.
![]()
-
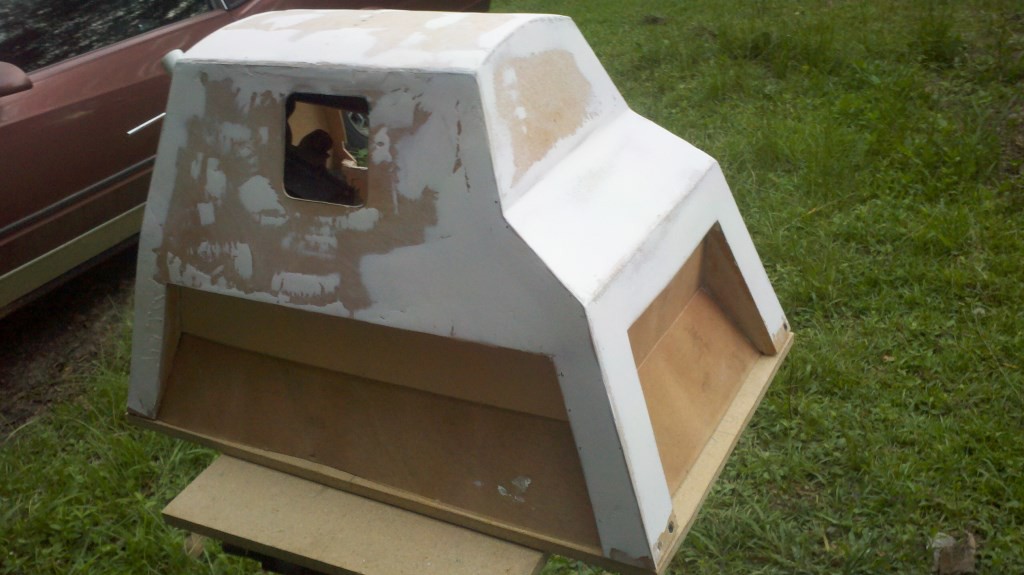
K-9's body
07/07/2015 at 21:09 • 0 commentsK-9's body is made from wood. I have no idea how many hours it took to build. I estimate it only cost about 50 dollars in material.
![]()
![]()
It took a lot of filling and even more sanding to get the smoothness I was after but the results are worth it. I have had quite a few people think he's made of metal.
-
K-9's test
07/07/2015 at 20:33 • 0 commentsThis is the second test drive for K-9's drive cradle. The parking lot is in terrible condition but it's larger than my kitchen floor.
At this point the electronics were mounted on a temporary piece of plastic.
-
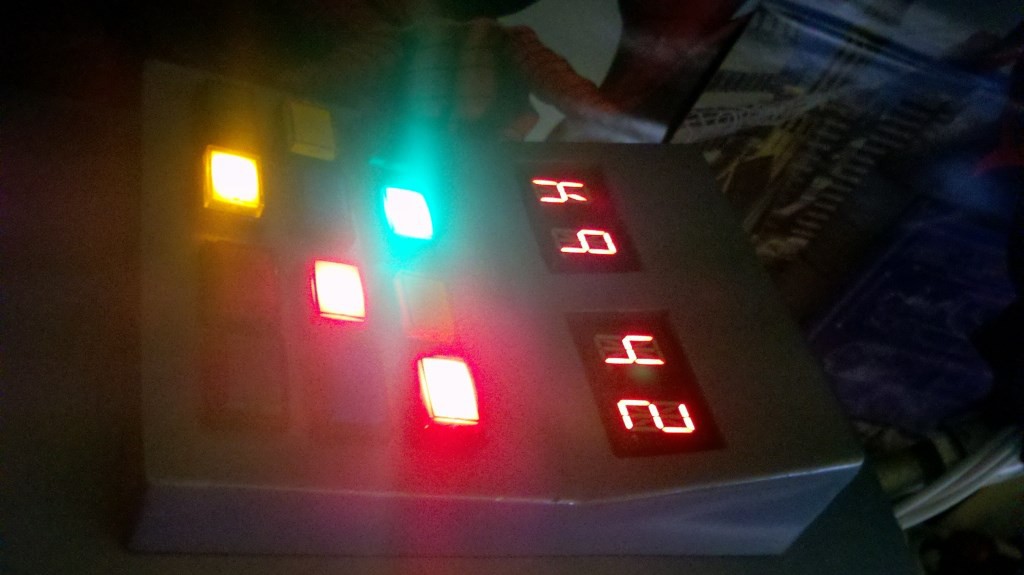
K-9's buttons
07/07/2015 at 18:09 • 0 commentsI wanted the buttons on K-9's back to light up randomly. Using code from a fellow K-9 builder, I set up an Arduino Micro and LED circuit.
The hex segments were set up to display "K9 42." The 42 is in honor of Douglas Adams who wrote one of my favorite Doctor Who episodes to heavily utilize K-9.
![]()
-
K-9's extras
07/07/2015 at 15:29 • 0 commentsI wanted K-9 to have as many features as I could reasonably install. One feature that I'm particularly proud of is his fully articulating laser cannon nose. It moves in and out as well as pivoting enough to aim at aerial targets (or children that get too rough).
Two servos are controlled by an Arduino Nano. The larger of the two lifts the plate that supports the pvc "cannon" and the smaller servo moves the cannon in or out. An embedded command to play a particular MP3 accompanies the command to change the cannon's position. A high intensity red LED is glued into the cannon to provide a shooting effect. The majority of kids that meet K-9 look down the cannon's barrel so I didn't use a real laser. Also, some conventions do not allow laser pointers of any kind.