(note) need to add this tag if I can figure out how to edit the tag section: 2015HACKADAYPRIZE (end note)
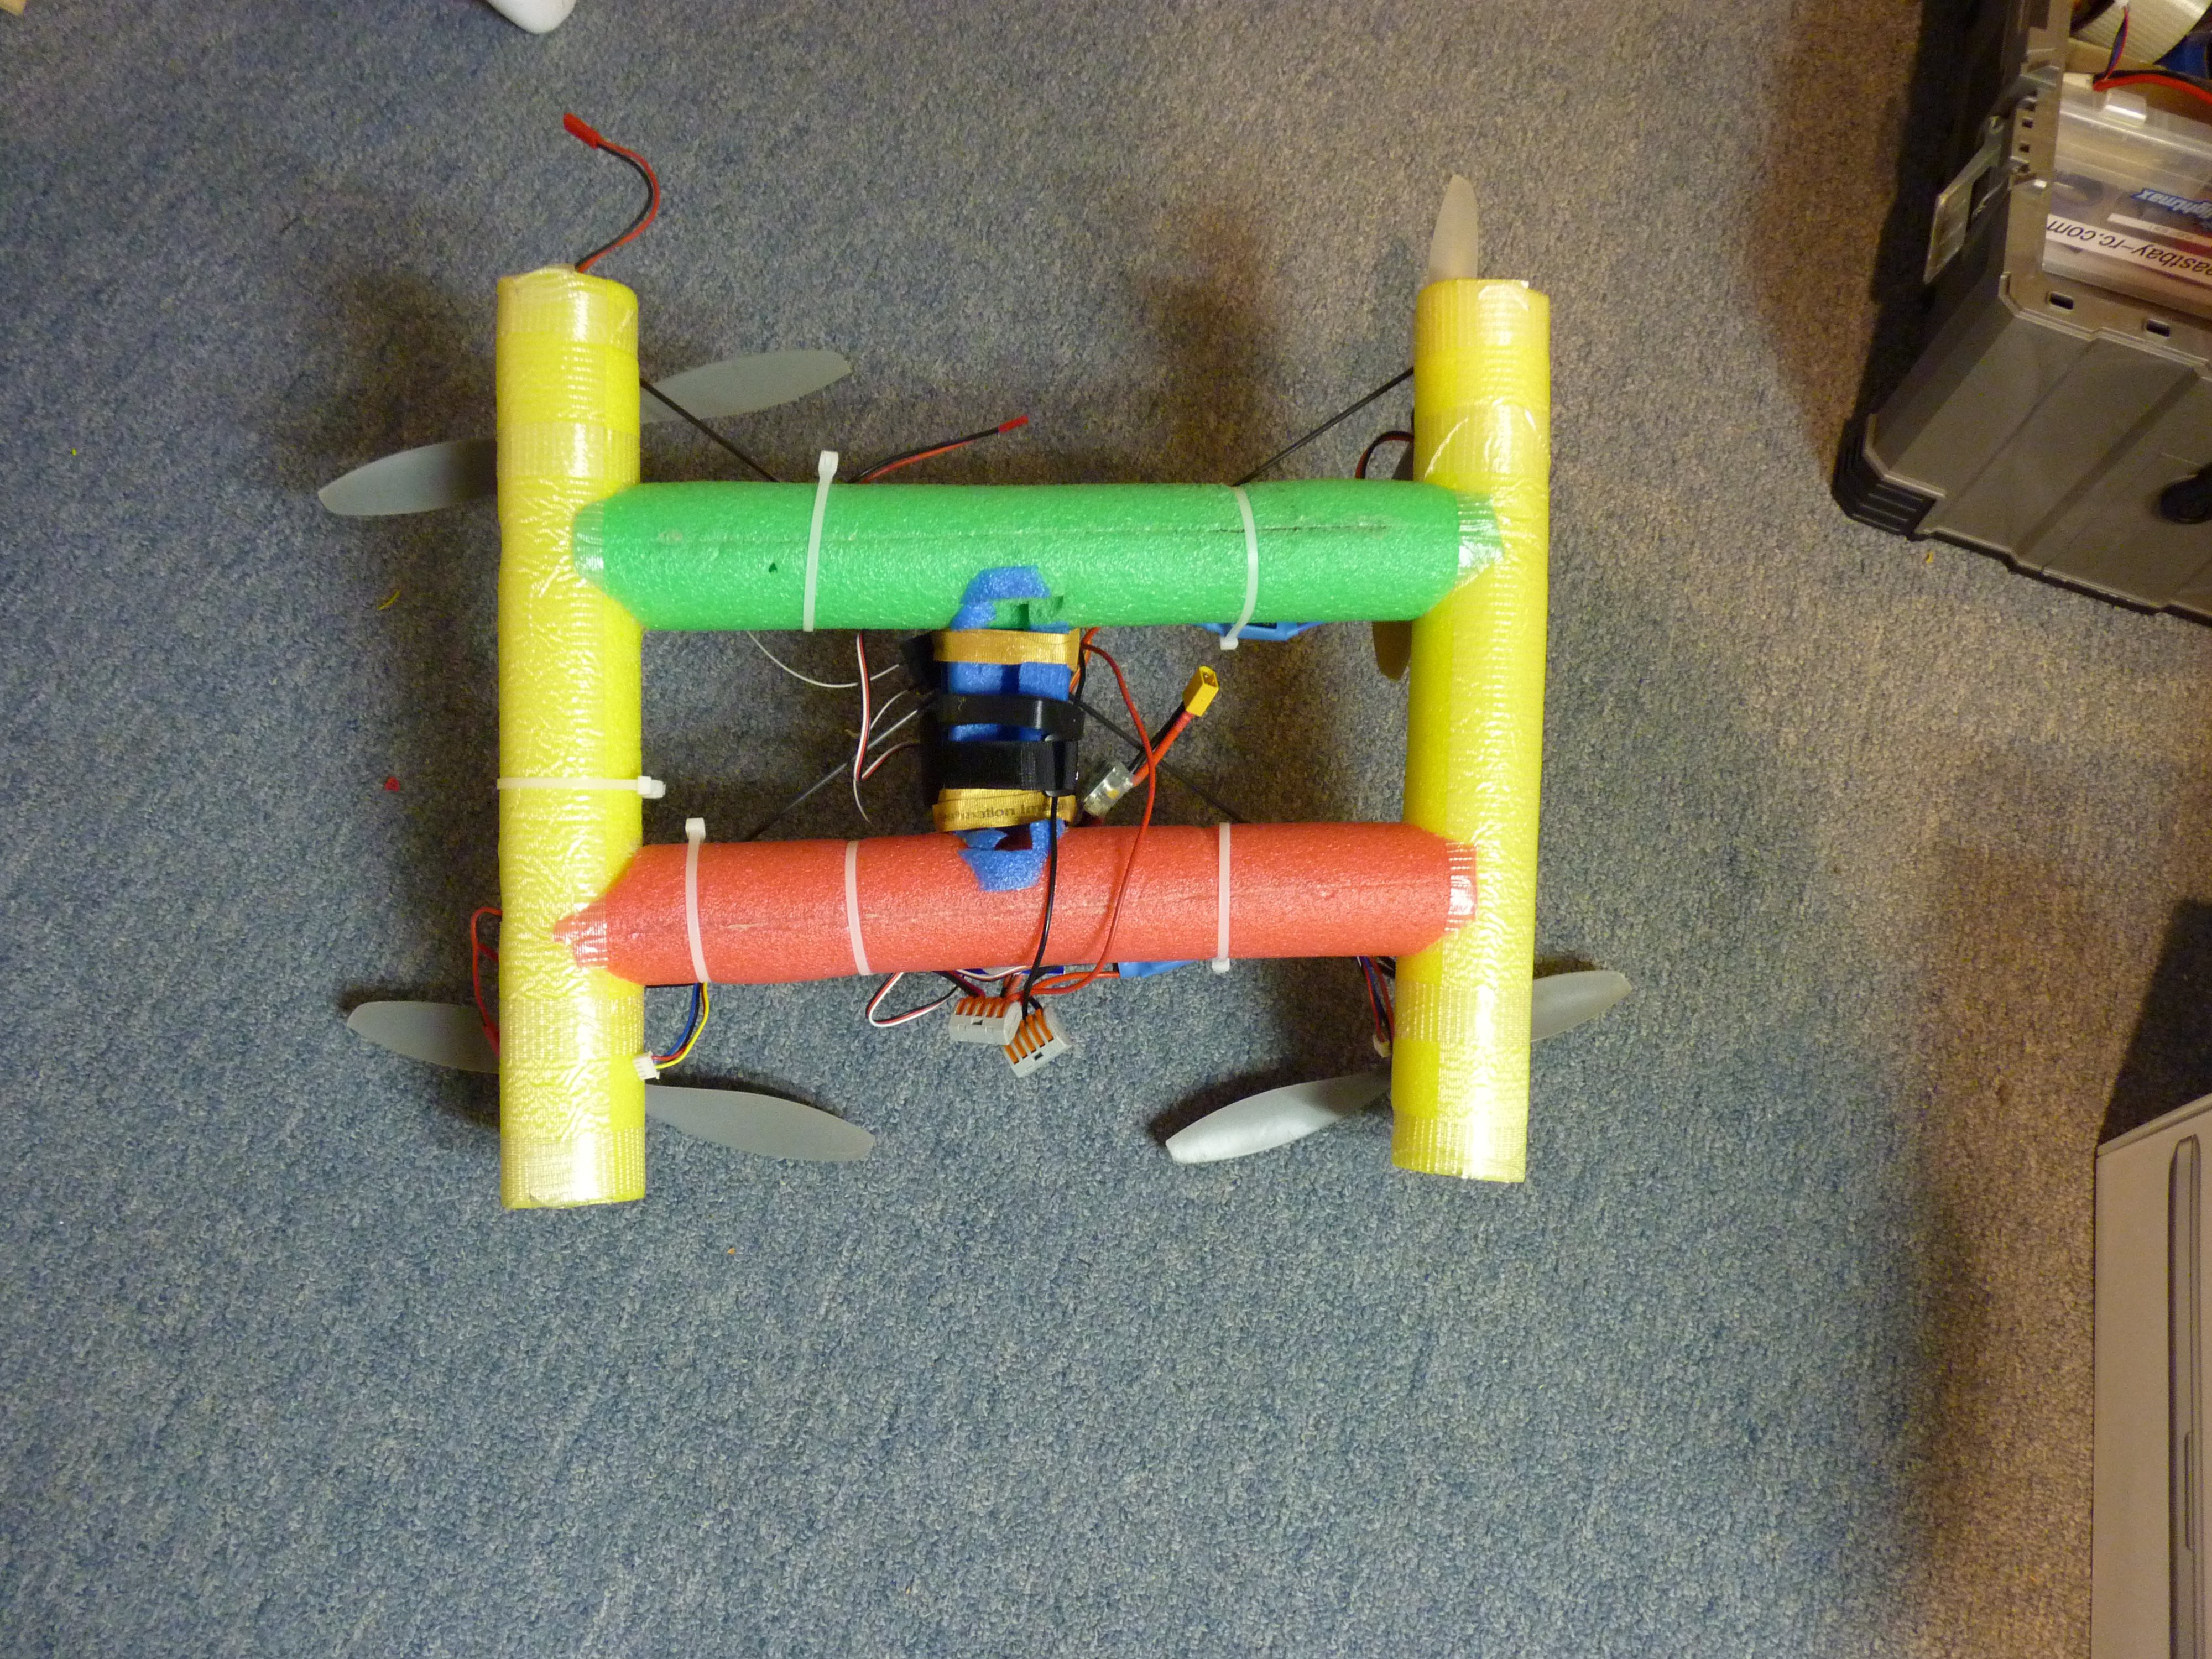
Here’s a quadcopter that I designed and built in response to a CrashCast challenge to build a flyable quadcopter as cheap and as sturdy as possible.
From a construction standpoint multicopters are interesting because (unlike helicopters) they have no moving parts and (unlike airplanes) do not depend on an aerodynamic body to fly. As a result, we see multicopters made from a wide variety of materials and construction techniques.
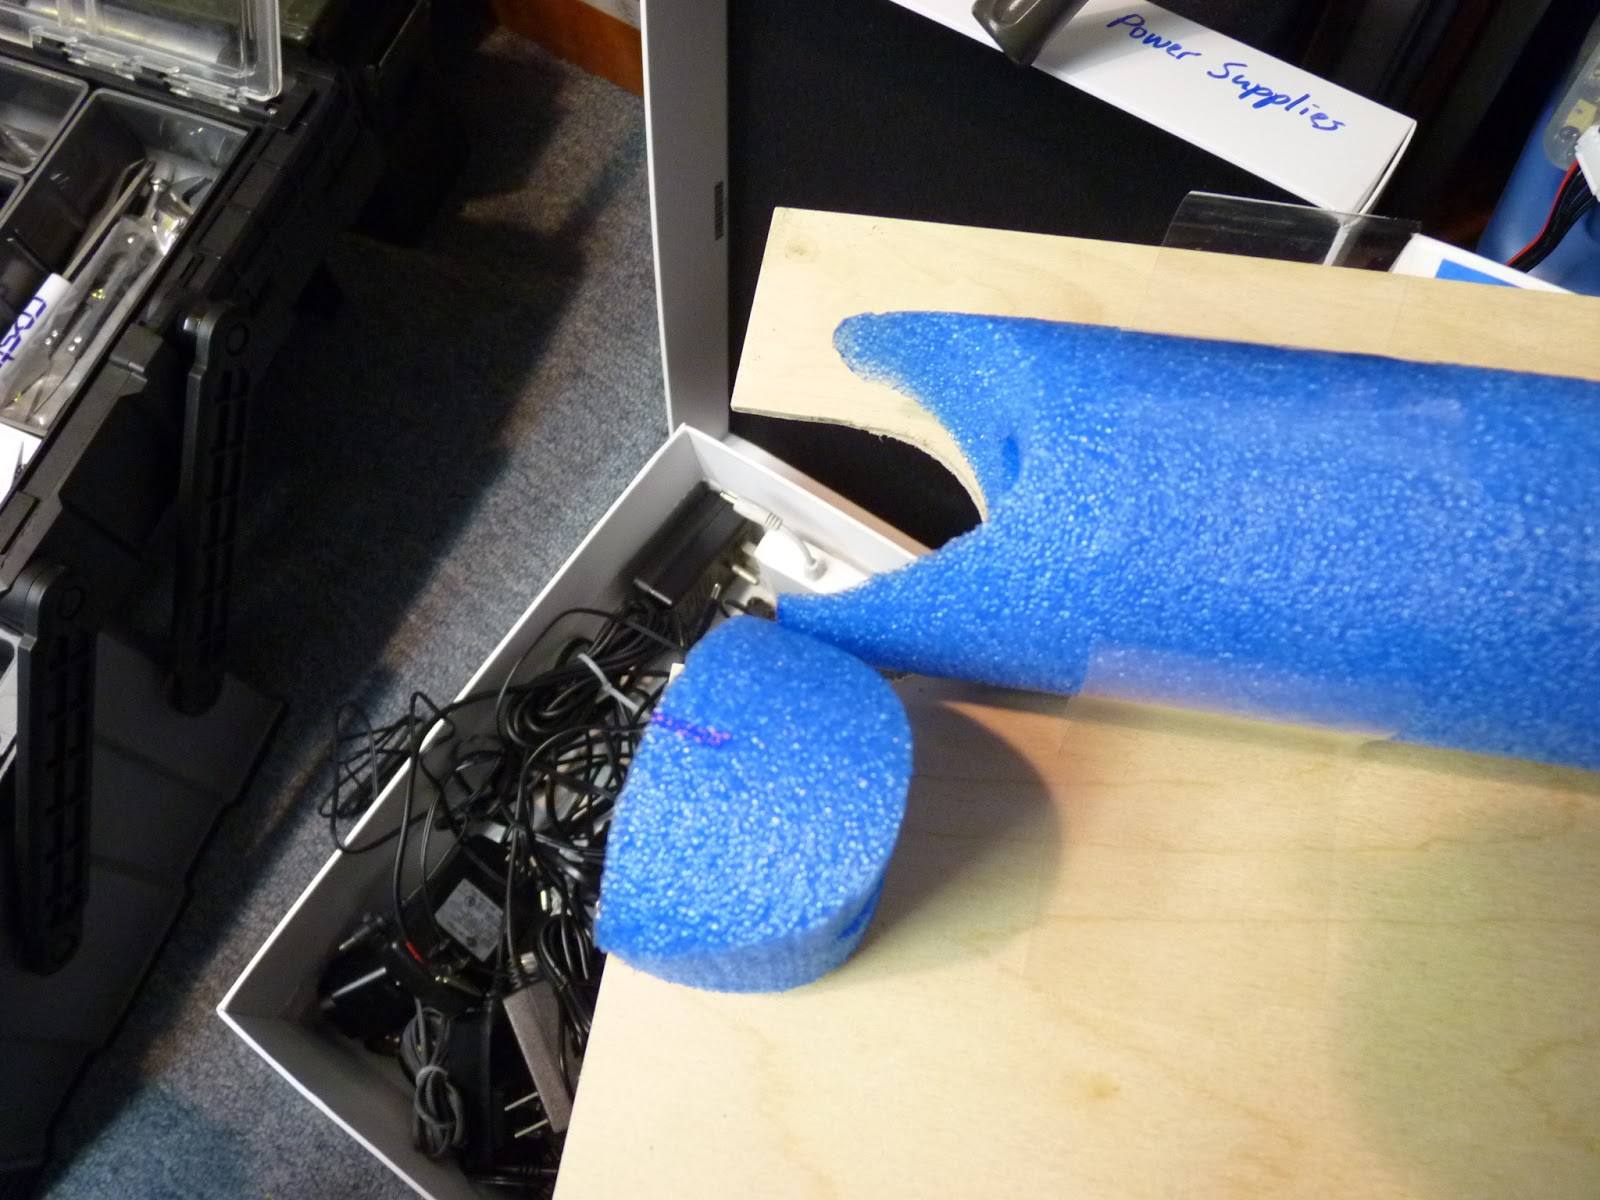
I had seen photos of a pool noodle unit previously and wanted to try one for myself for a couple of reasons:
- Pool noodles are cheap.
- It would be a good training unit when friends wanted to try flying. I can’t imagine much you can to do break a pool noodle!
- It would be highly visible. My main quadcopter has really thin arms and is hard to see at a distance.
- It would be easy to light up for night and evening flying.
- I wanted to see how simply a working frame could be built. For example, the motors are simply taped to the frame.
- Let’s face it, it’s just funny to think of flying pool noodles!
In keeping with the spirit of a pool noodle quadcopter, I wanted the construction to be as simple as possible (for example, the motors are taped onto the arms). I bodged it together in an evening with materials that were at hand. While originally done as an experiment in minimal design and construction, I was happy enough with the results that I fly it regularly and use it as a trainer when somebody wants to try flying.
It's actually quite pretty in the air!
 Mark Harrison


What's your battery and flight time? have you tried float test?