Close
0%
0%

Prototyping Desk

Prototyping can be an enjoyable endeavor, and I think it can be more enjoyable if everything you needed was right at your fingertips.

benBen
Similar projects worth following
This project is a personal one, not meant for the market, patents, changing the world, or any such things. However, if you like it feel free to use it!

The goal is to integrate into the desk several features, the most important being electricity. The desk will plug into the wall, and have its own outlets in several key locations. Along the same route, I'll also include ethernet, USB, and maybe display inputs.

There will be normal desk things like drawers and shelving. Built in lighting is also a strong possibility. At it's core, the desk is to be built around and utilize a computer. Integrating the computer, case, and/or components into the desk is possible, but more likely I would just use a standard desktop case and place it somewhere accessible. I've included a list of tentative features, suggestions are welcome! Pictures to come...

The original design I put together in CAD was a 3 part desk. While I may still do that in the future, it's probably the far future. I decided to focus first on the desk that will include the computer and electronics. In order to accommodate as many of the features as I can, I made it as big as I felt comfortable doing out of an 8x4 piece of 1/2" plywood (which meant I used the whole thing and only cut out a small portion of it). It's a little bit unwieldy, but the legs and shelf are bolted through so they come apart fairly easily.

Many of the features I want to add will probably just be places to house a device in order to make it most accessible. For instance, I'm certainly not going to integrate an O-scope into the desk, but I might have a particular location where I can mount a portable one such that it doesn't take up a crapload of room on the desktop and is still very convenient to use.

I'd love to hear suggestions for other features to consider, or for models of items I have listed below that are a great value, perform well, or just recommended by someone who's used them for a long time.

TENTATIVE FEATURES:

  • Collapsible and/or Modular (probably have to cross off collapsible for now)
  • Electrical (Uninterruptible Power Supply?)
  • Lighting
  • Networking
  • Whiteboard and/or pegboard
  • Sound System
  • Drawers/Shelving
  • DC/AC Power Supply
  • Oscilloscope/Signal Generator
  • Soldering Station
  • Wire Spools
  • USB Hub(s)
  • Monitor Mounting/Suspension
  • Integrated Computer
  • Spot welder
  • Bracket/metal bender
  • 3D Printer
  • An automatic oven so I don't have to cook my own dinner (hey, we can dream, right?)
  • 1 × 4x8 of 1/2 inch plywood
  • 7 × 8' long 2x4
  • 1 × 10 outlet rugged power strip
  • 4 × 4" long 5/16ths lag bolt
  • 4 × 5/16ths nuts and washers

View all 10 components

  • Adding Shelving

    Ben08/16/2015 at 23:46 0 comments

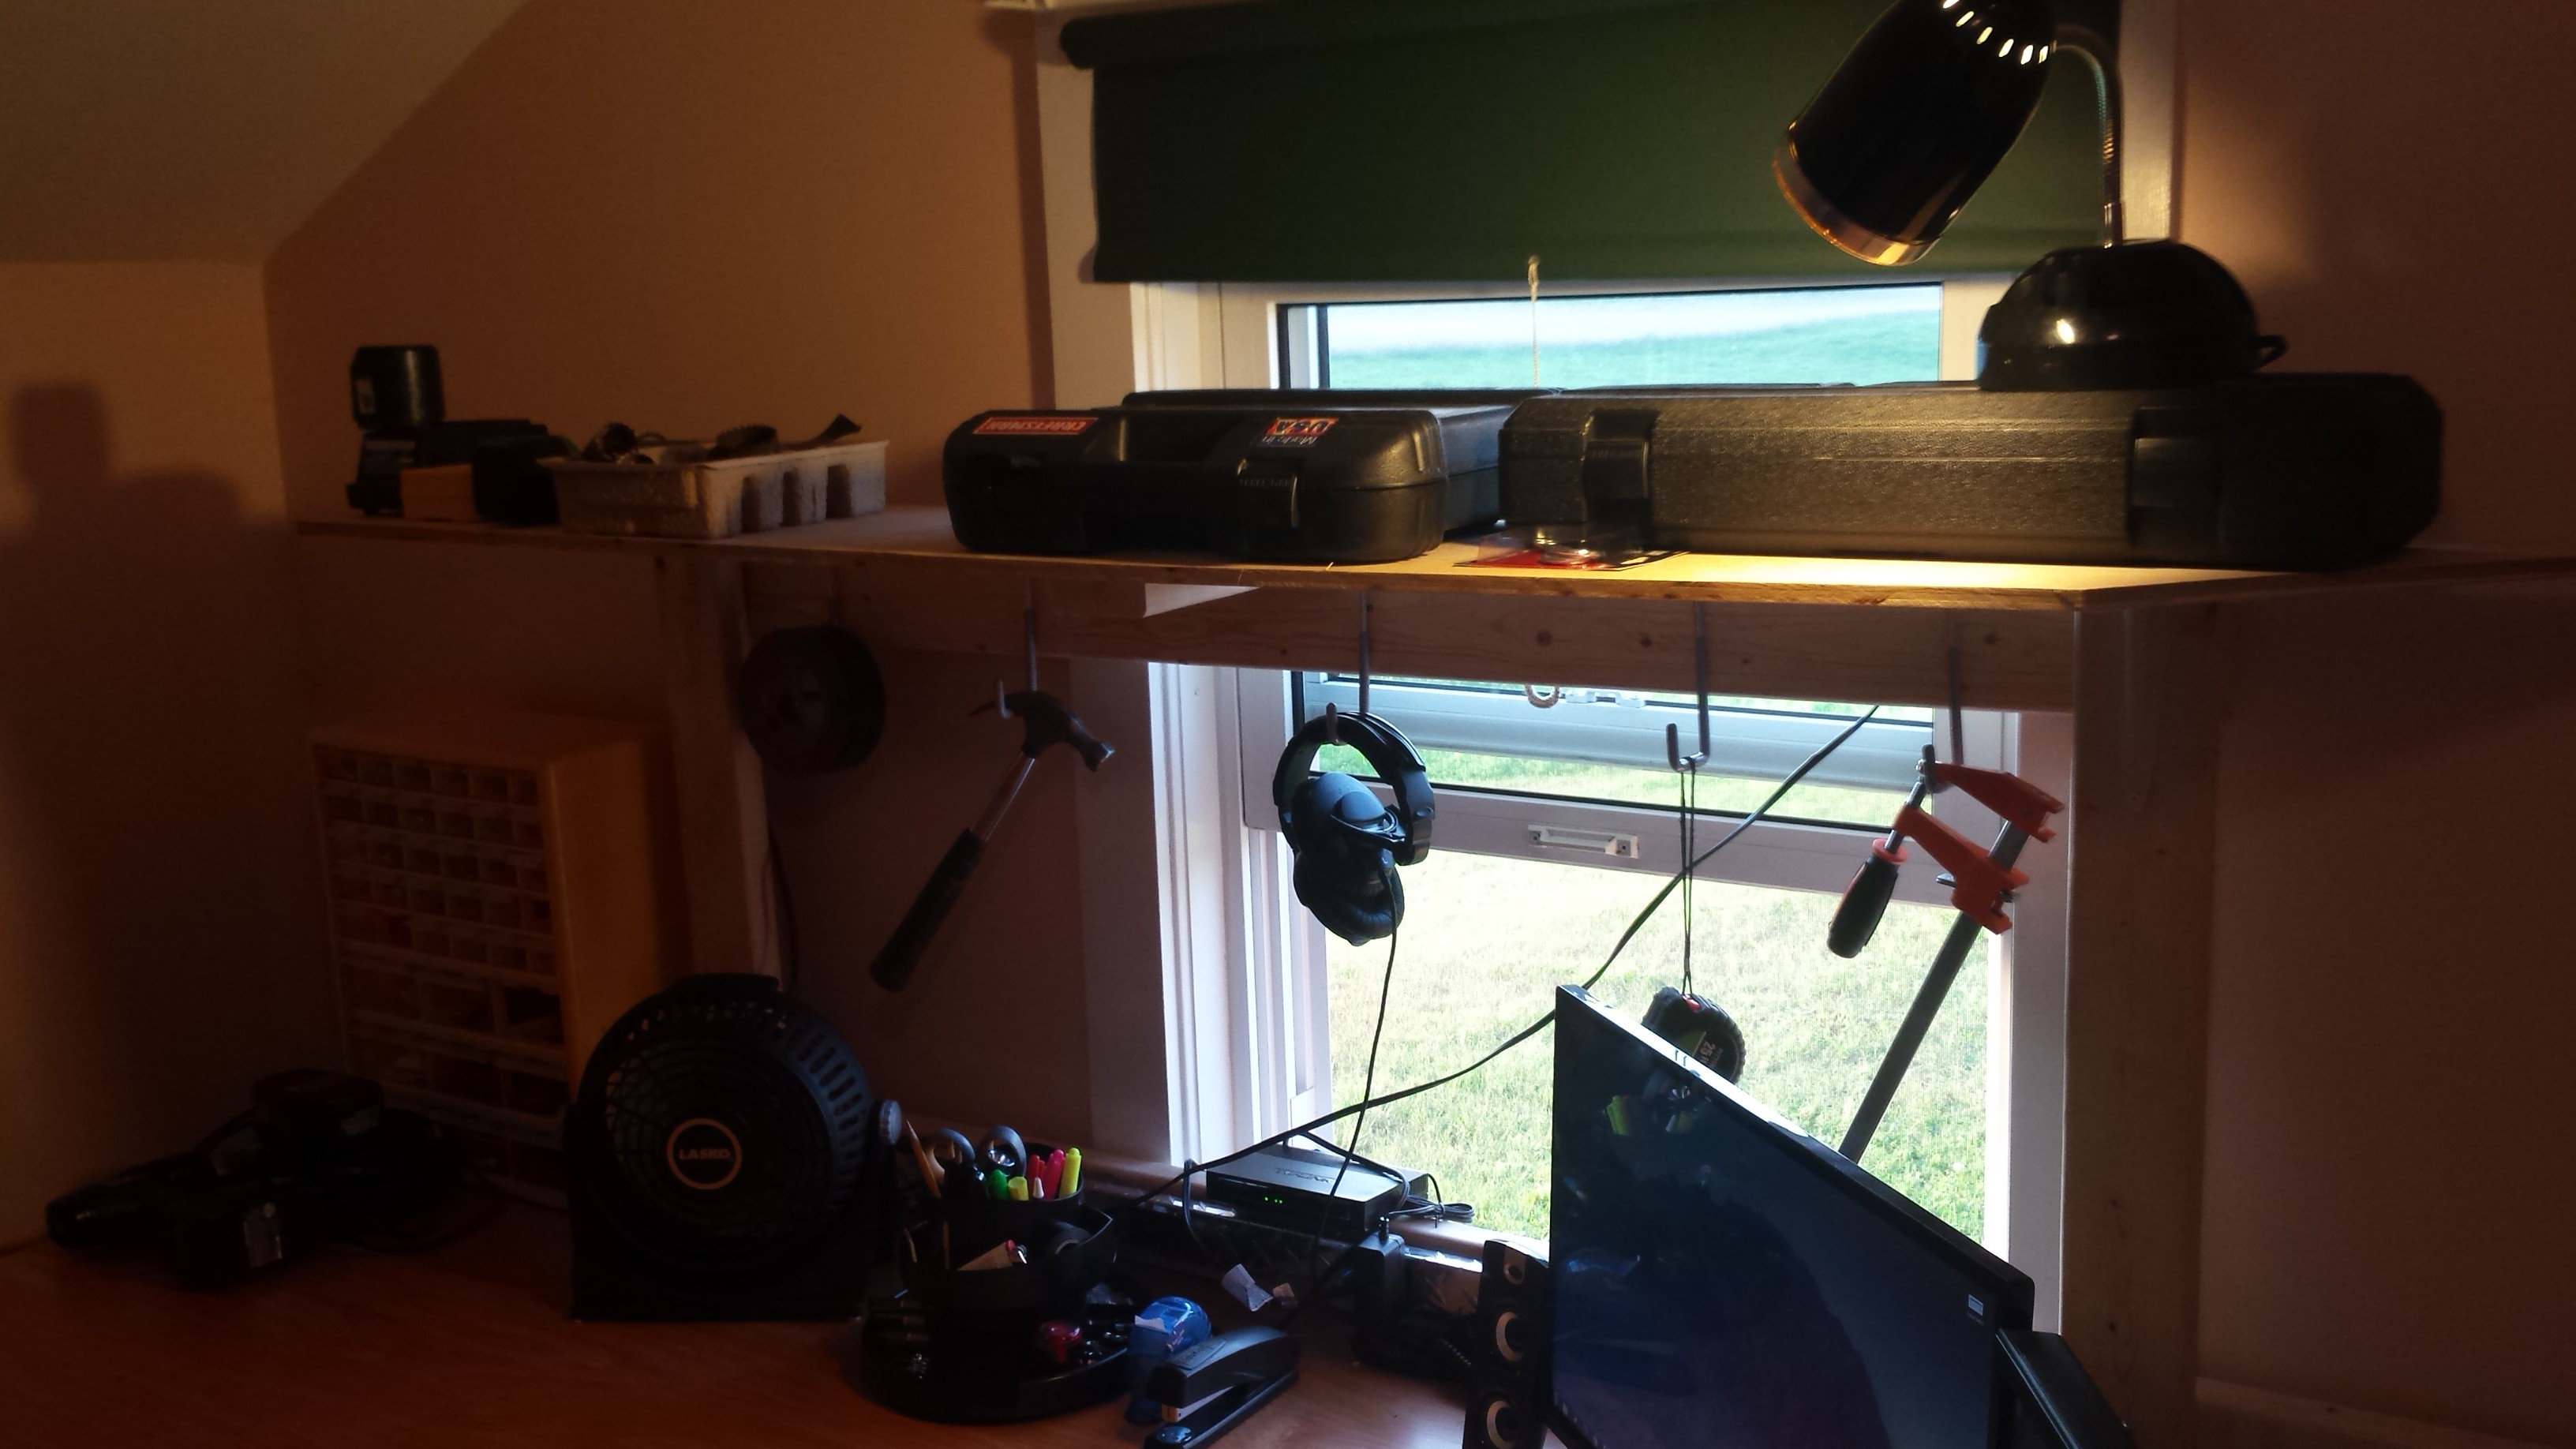
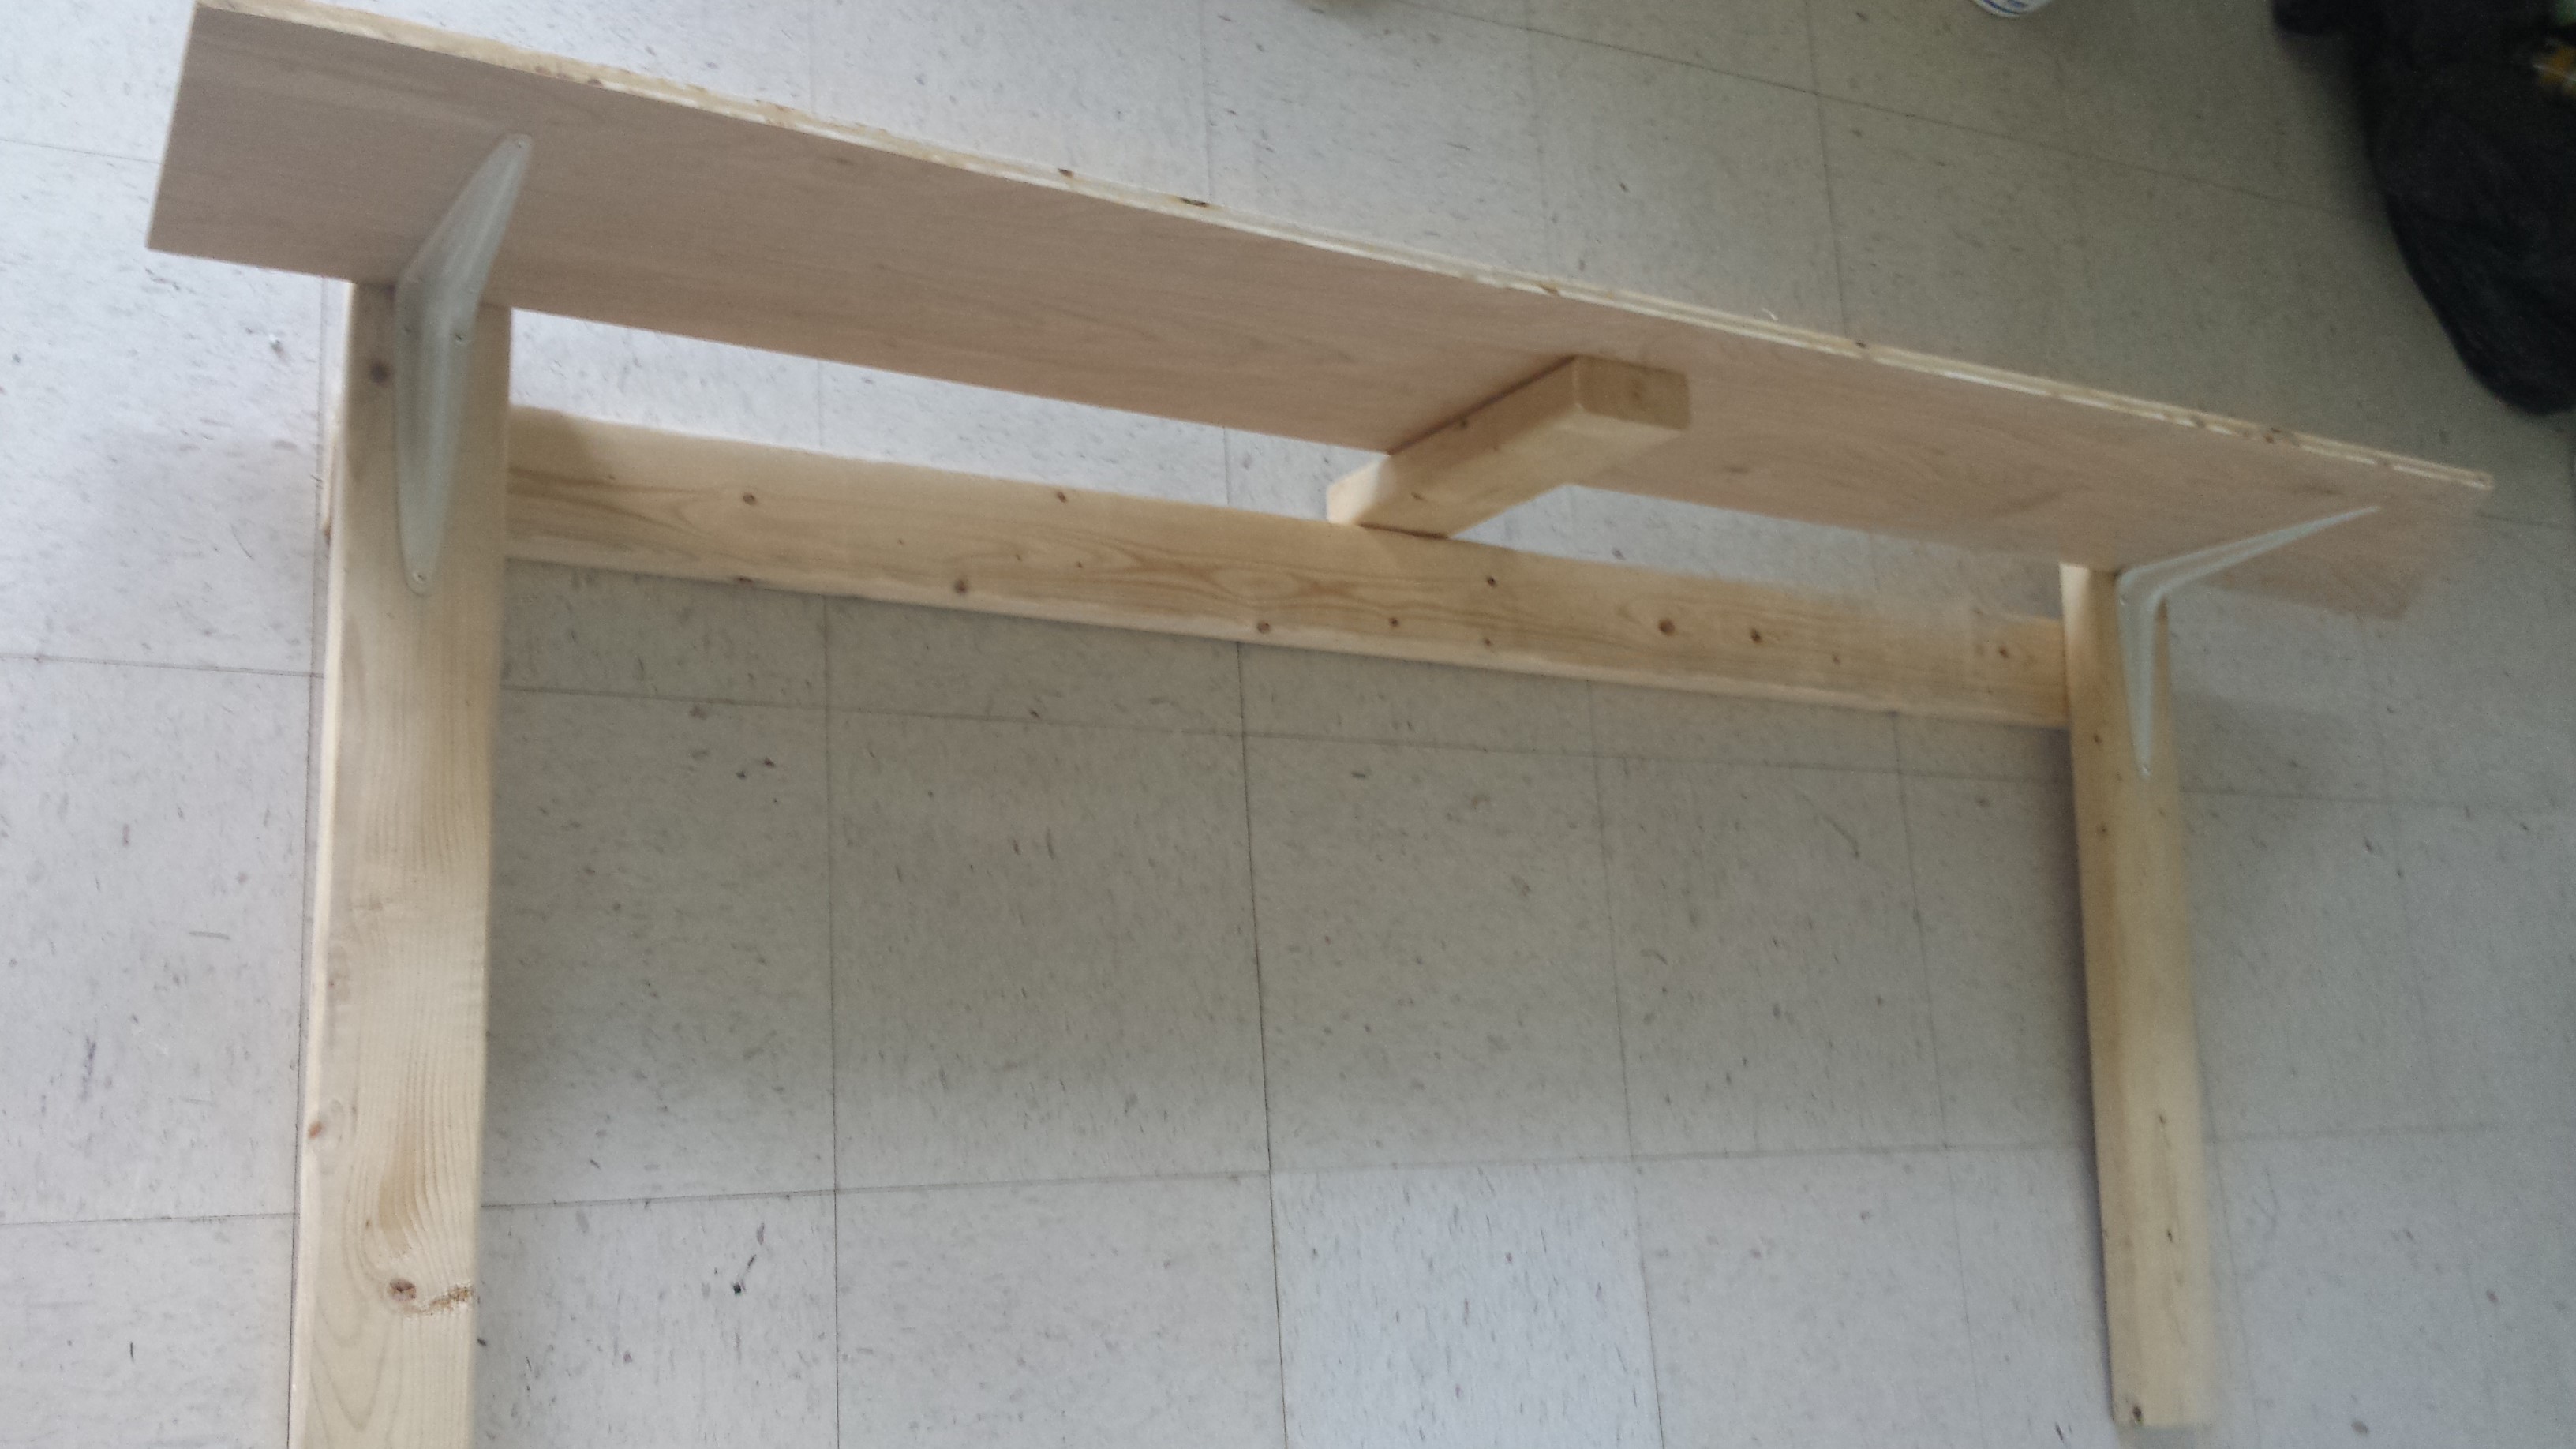
    Although the desk is rather large, storage space is currently quite limited. I found that as I was working on the electrical, it was rather tedious having to juggle what's on the desk, what's on the floor, and what's in my hands. So taking a break from the electrical, I used some leftover 2x4's and plywood to construct a quick shelf. It's not ideal, but it works for now.

    The 2x4 on the top linking the two supports was quite warped, and while I did my best with spacers to keep the platform level, it did end up a little sloped, but not too badly. The great thing about working with wood is it's cheap, easy to cut, and easy to put together. The problem with wood is it's heavy, and takes up a lot of room.

    I don't have the tools to work with metal at this point, so for now I'll keep using wood. In the end, I'll probably replace the 2x4's with some steel or aluminum framing, and likely I'll integrate it with suspended monitors similar to this project.

  • Preliminary Modeling

    Ben08/16/2015 at 00:22 0 comments

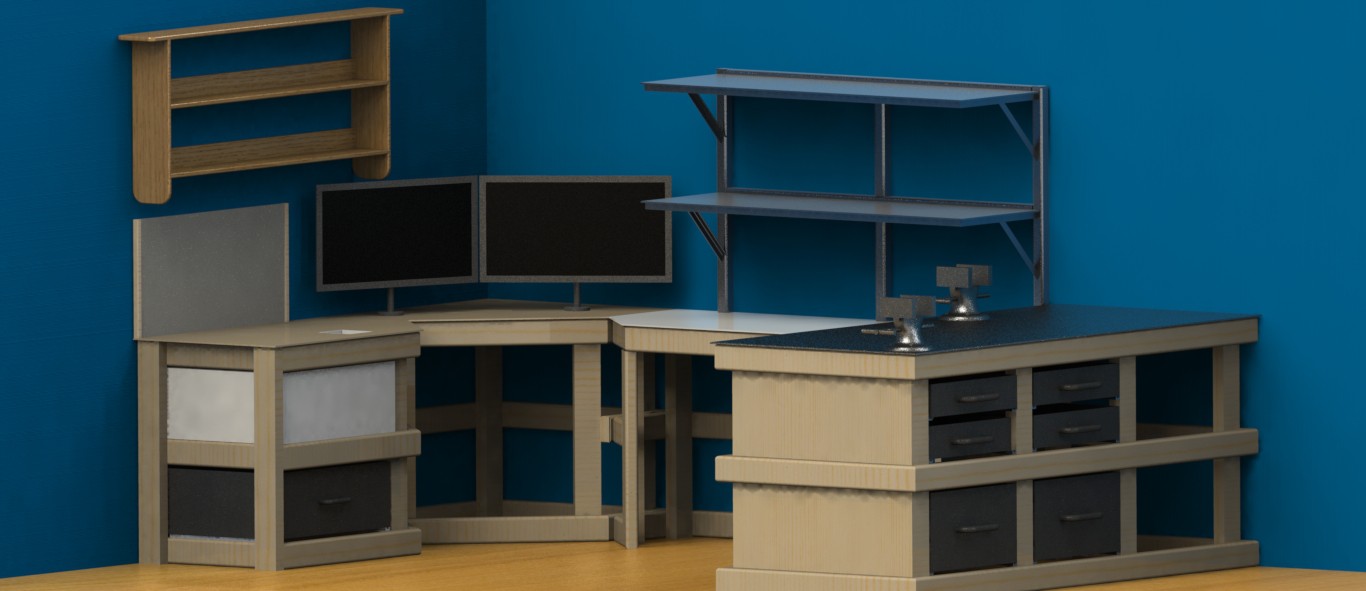
    When I first thought about this project, I immediately jumped into CAD and started modeling. I wanted to see how much I might expect to use in materials, what kind of orientation I would like, etc. The first models I made used a series of 3 individual desks. One desk was for electronics and more sensitive equipment. The 2nd was for drafting and storage. The third was for construction and meant to be rugged. In the end, I know I won't build them exactly as they appear in the model, so they are more to help provoke inspiration. For instance, it's way over-designed, there's no way I need that many 2x4's...Also some of them are in really weird spots like the one on the floor under the monitors.

    (Also, how come there's no way to reorder project logs? I never uploaded this originally, but really it should be my first log...not the fourth)

  • Electrical and Network Installation

    Ben08/16/2015 at 00:16 0 comments

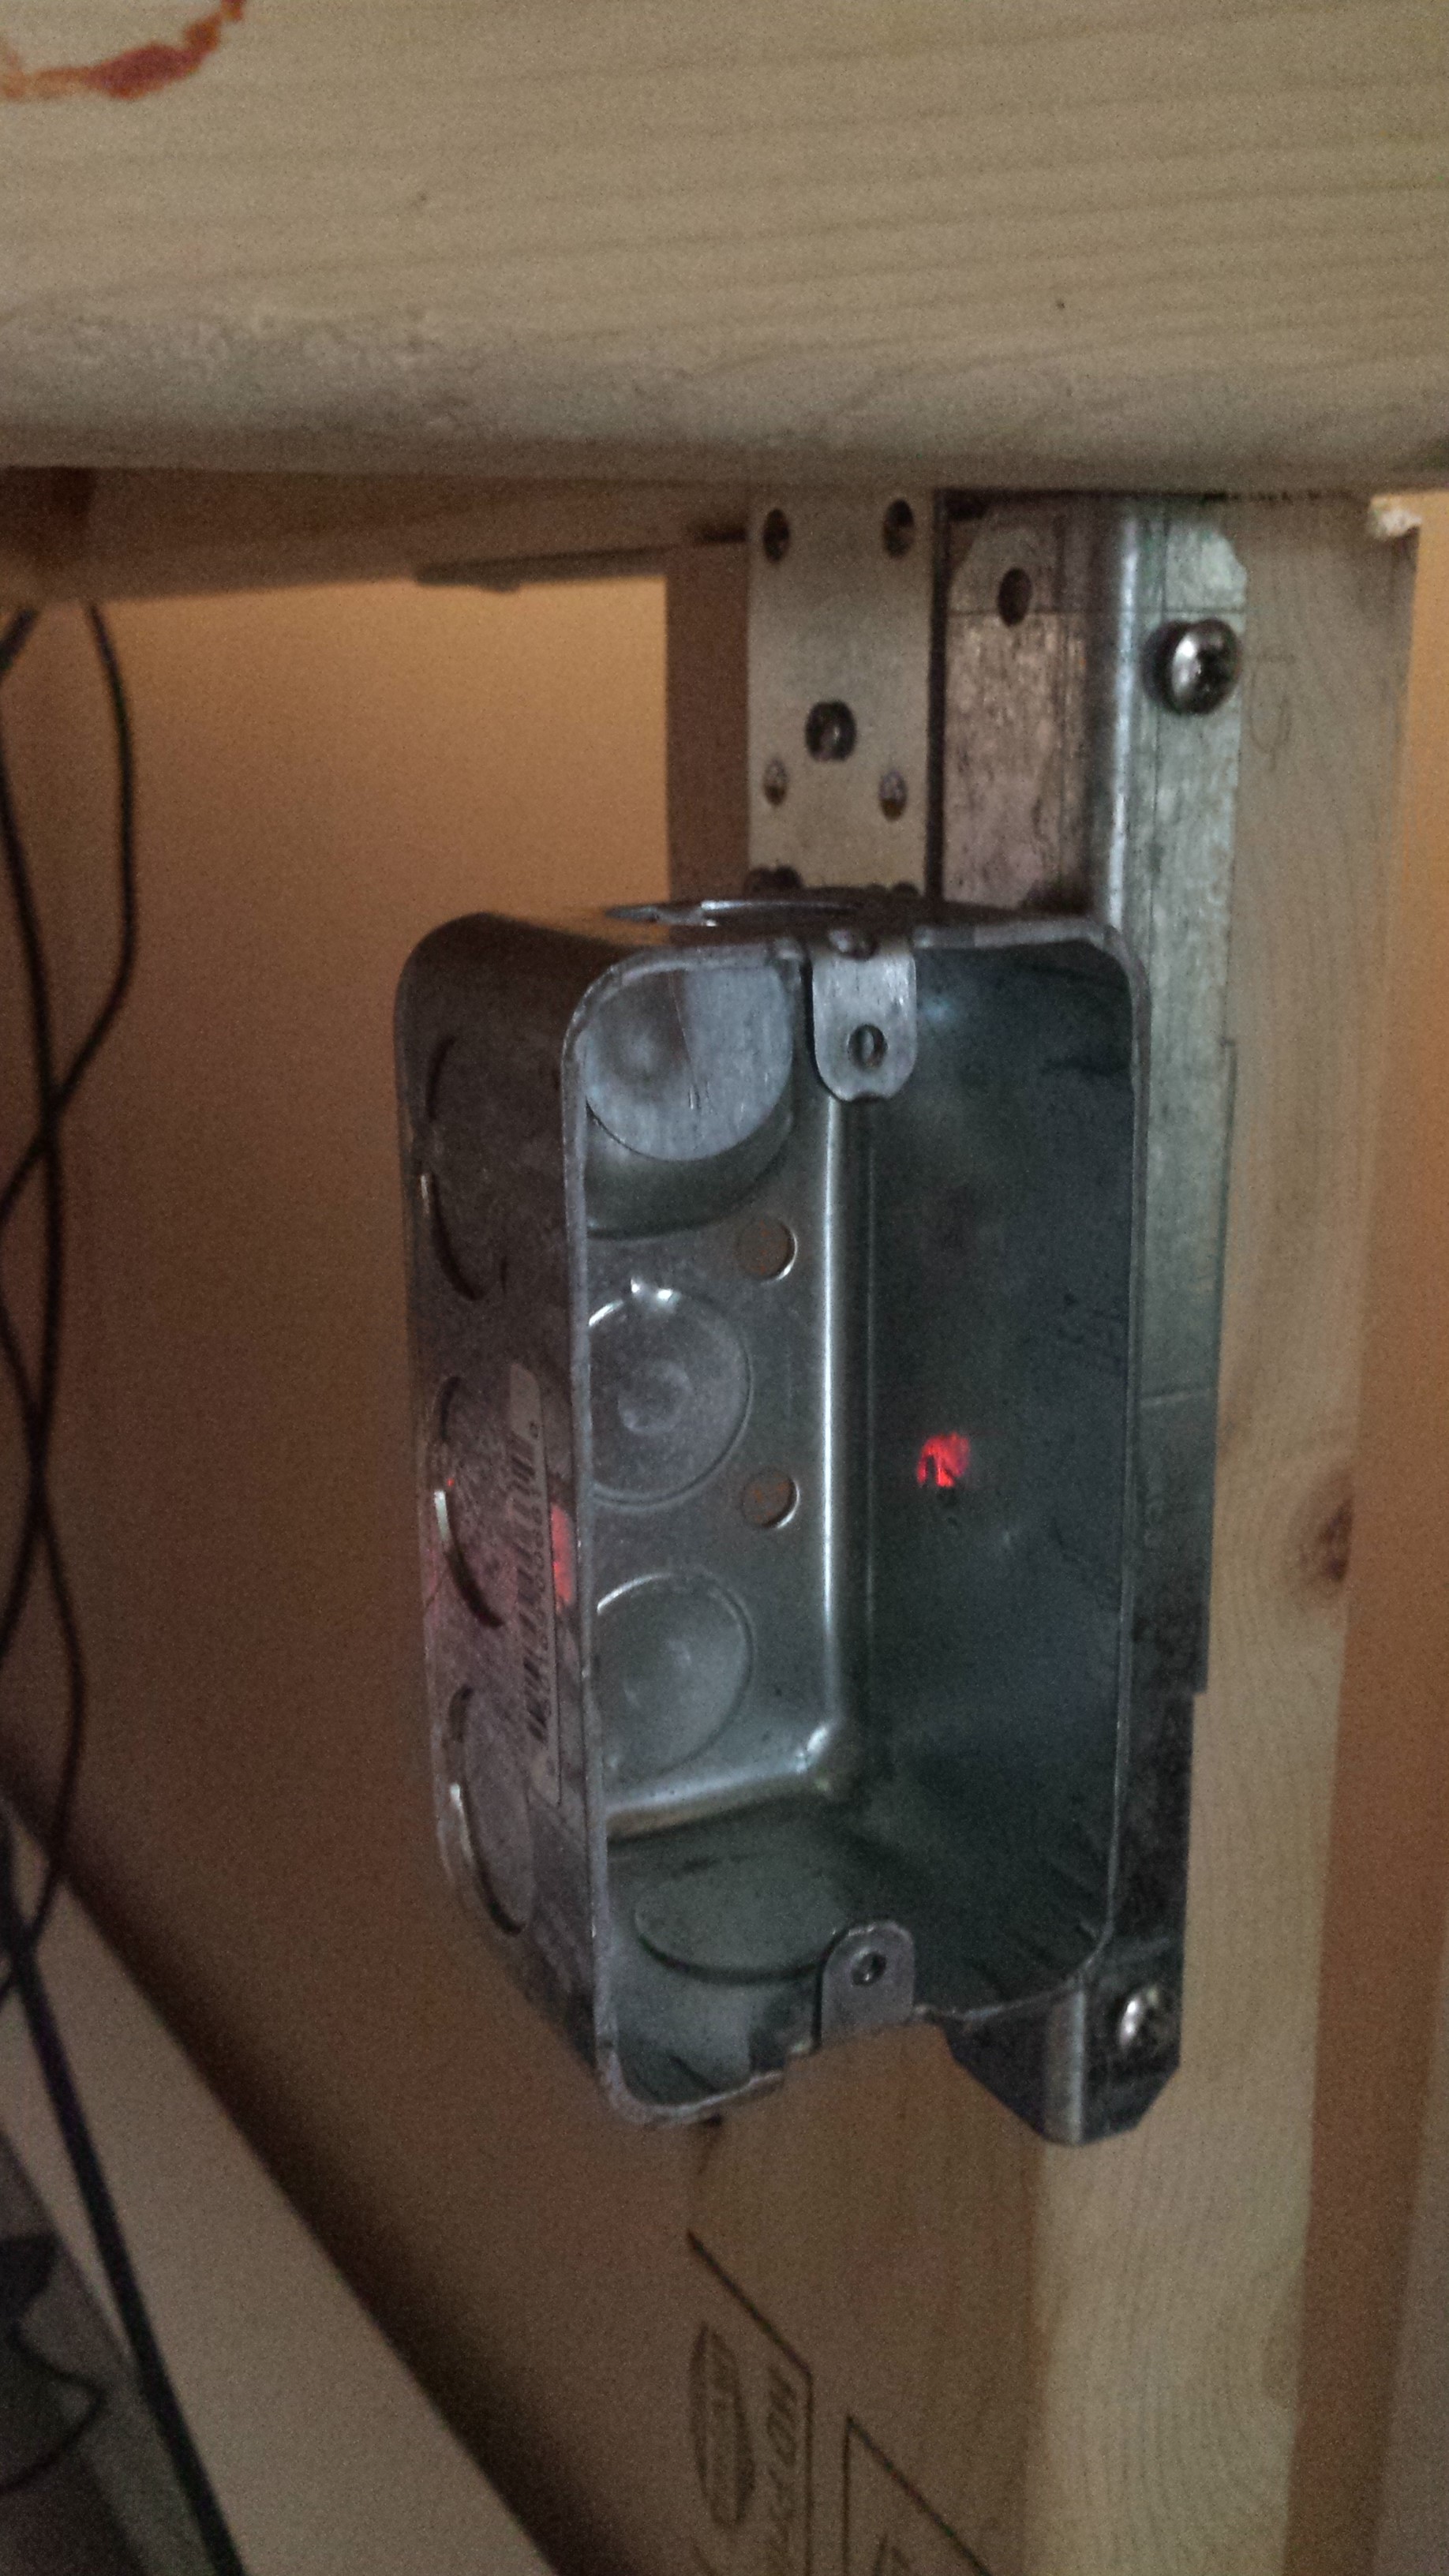
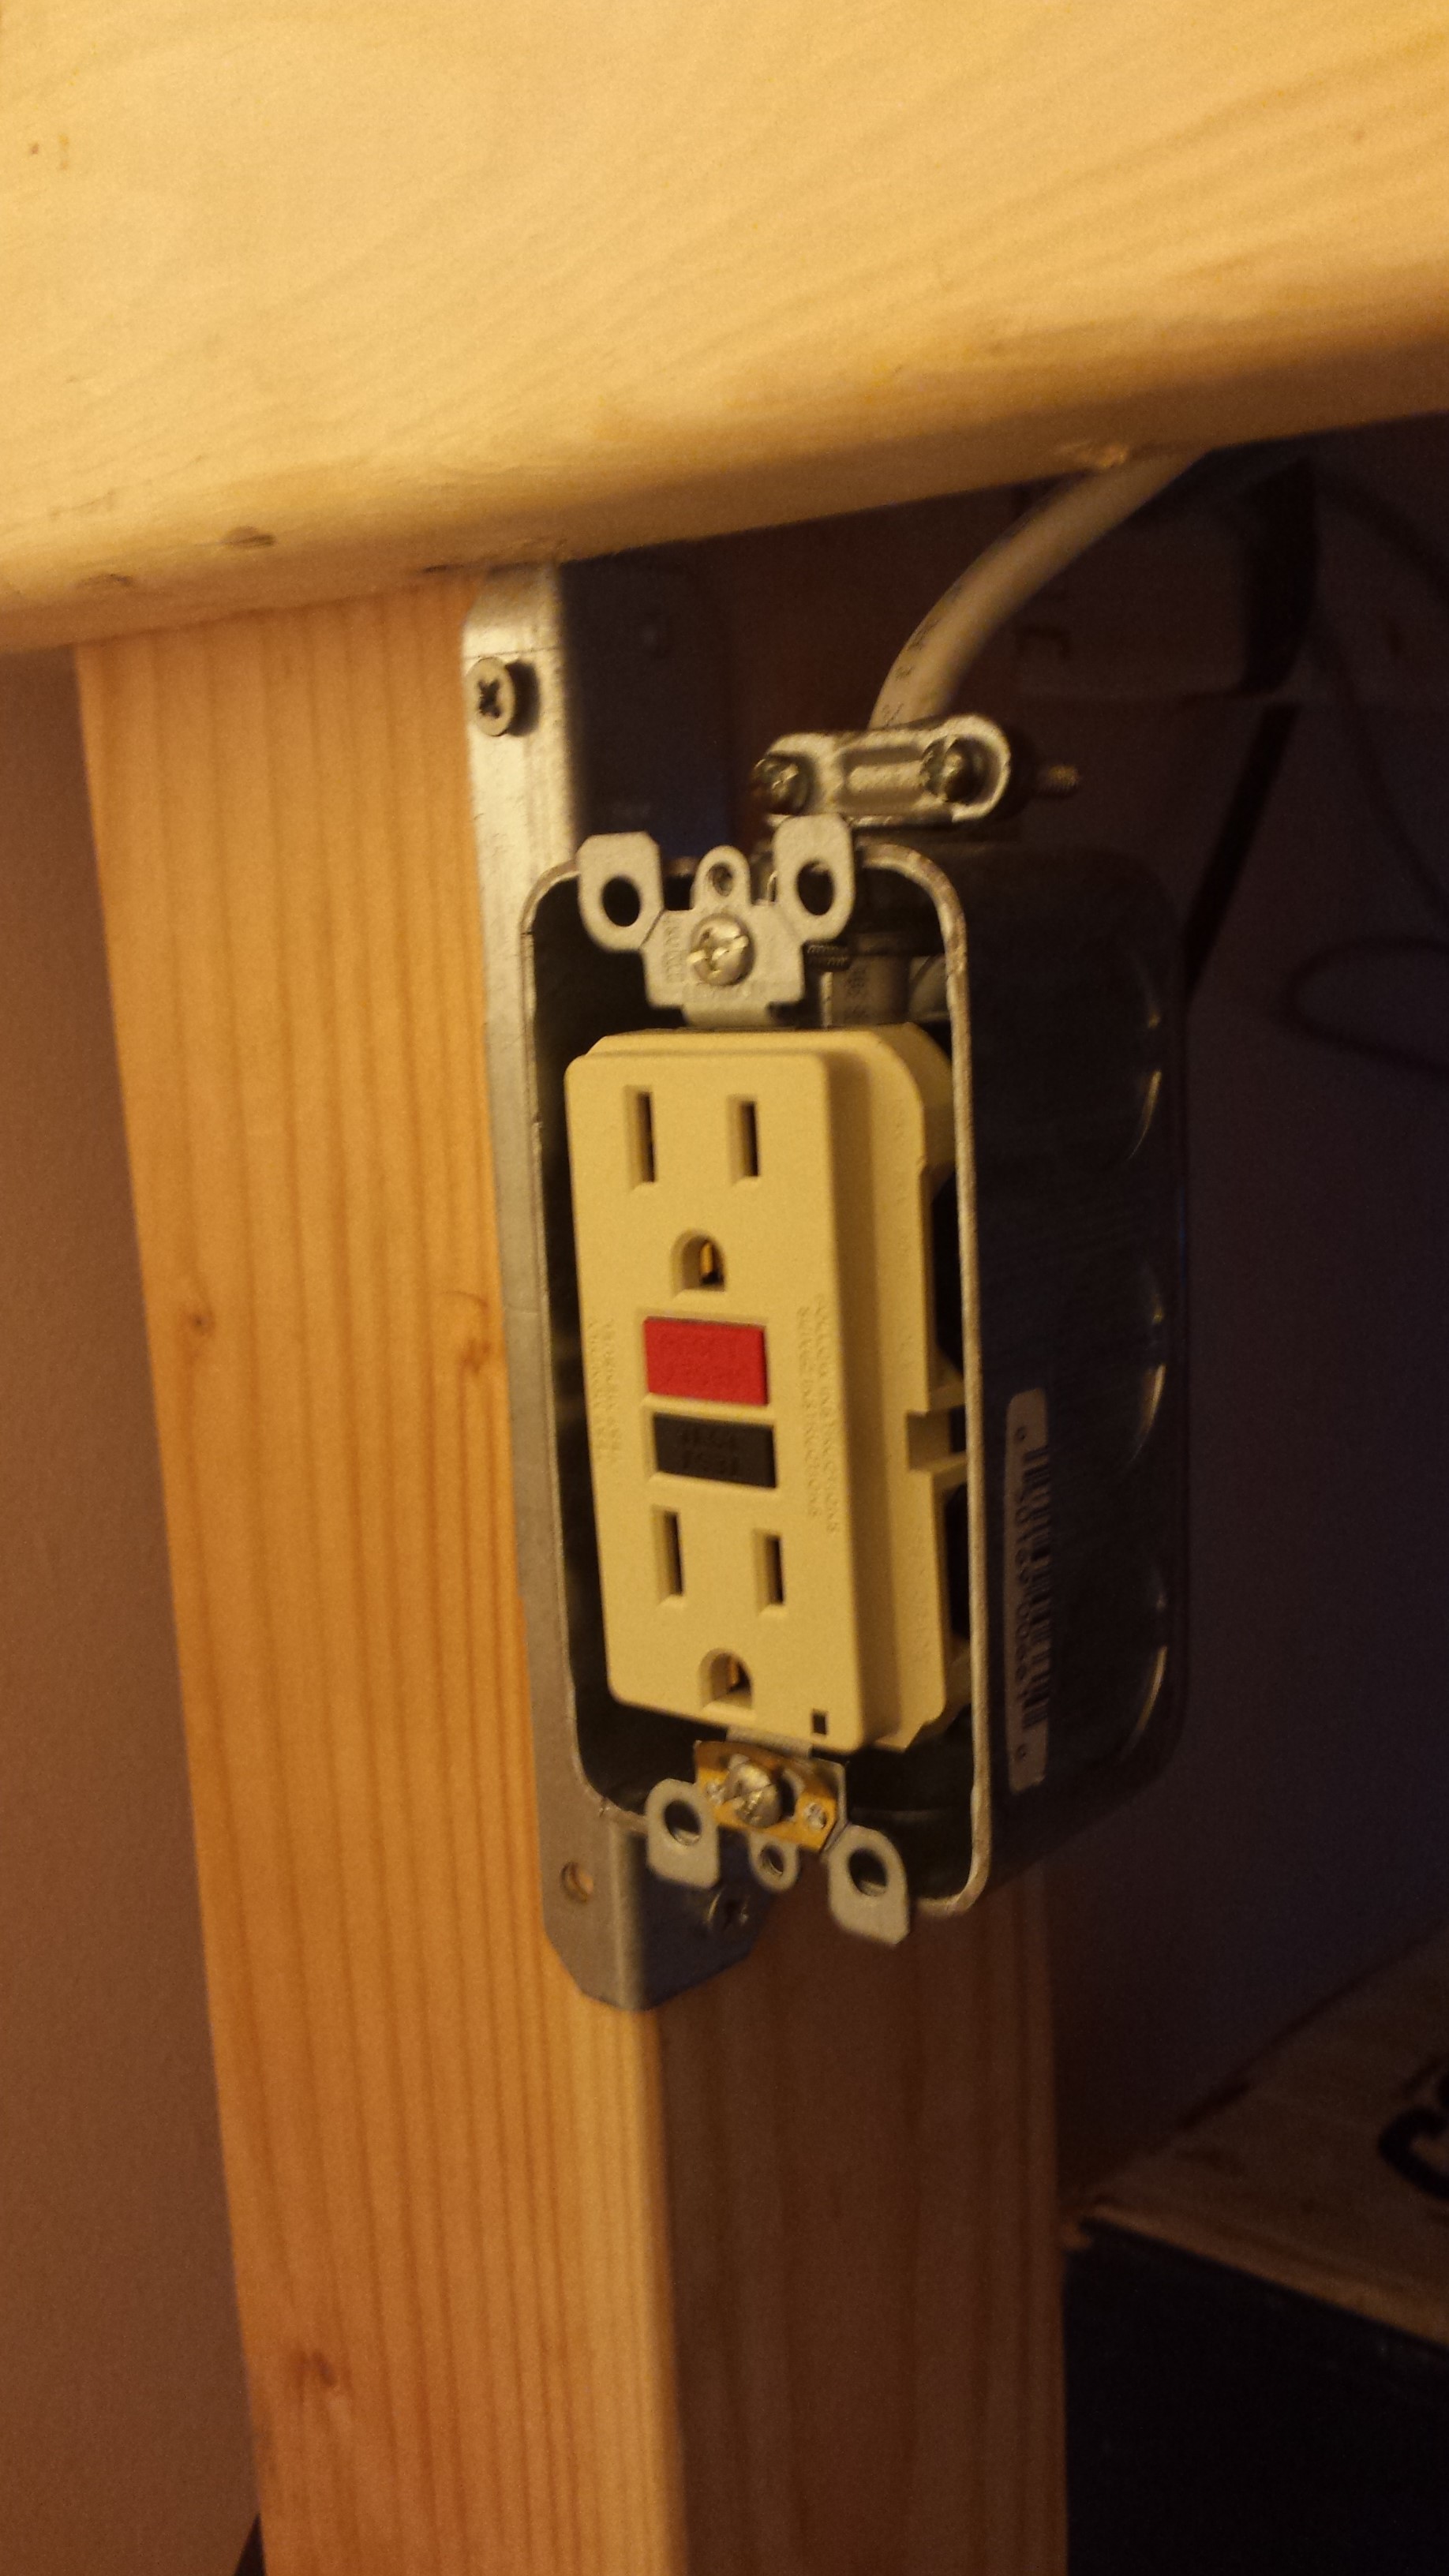
    Installing electrical is somewhat new for me, so I want to make sure I do it right. Ideally, the desk will plug in to a standard wall outlet. I've started by mounting some outlet receptacles on the legs, although I'm not 100% sure this is how I want to do it in the long run. I would prefer to mount all the electrical to the underside of the desk, this way it's self contained for when I have to move it.

    The first outlet is a GFCI, just in case the outlet I'm plugging into is not.

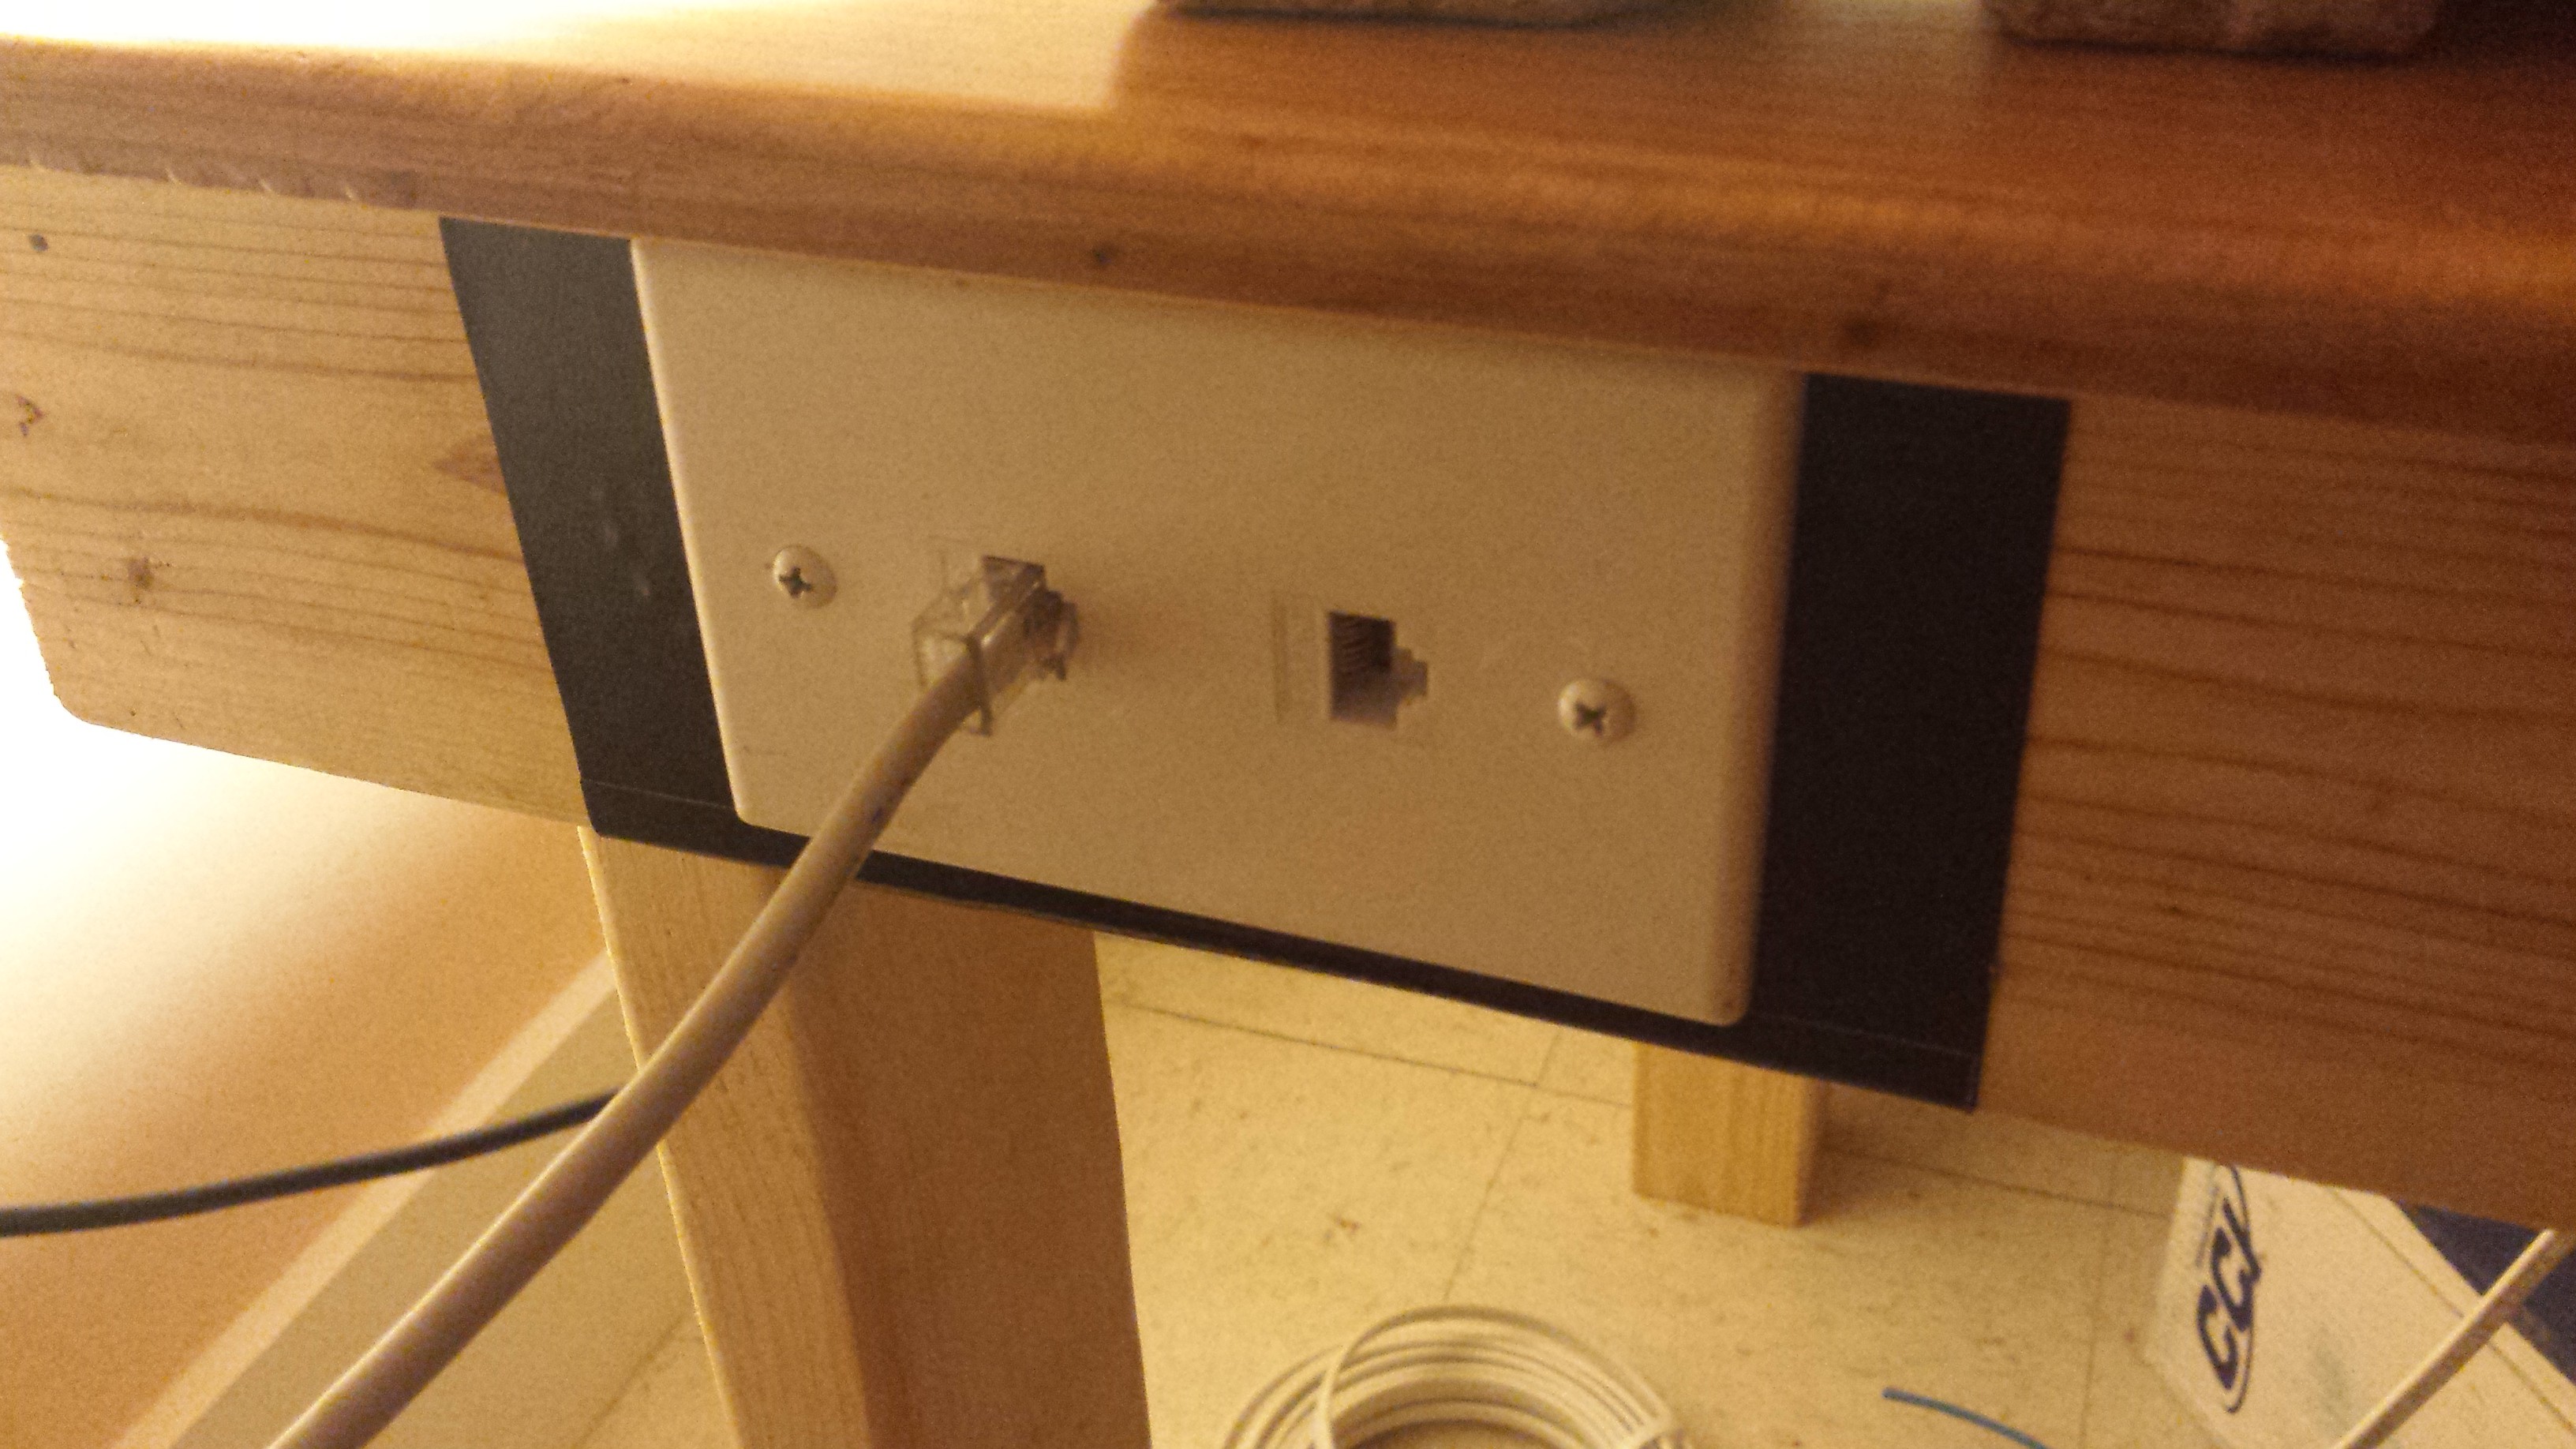
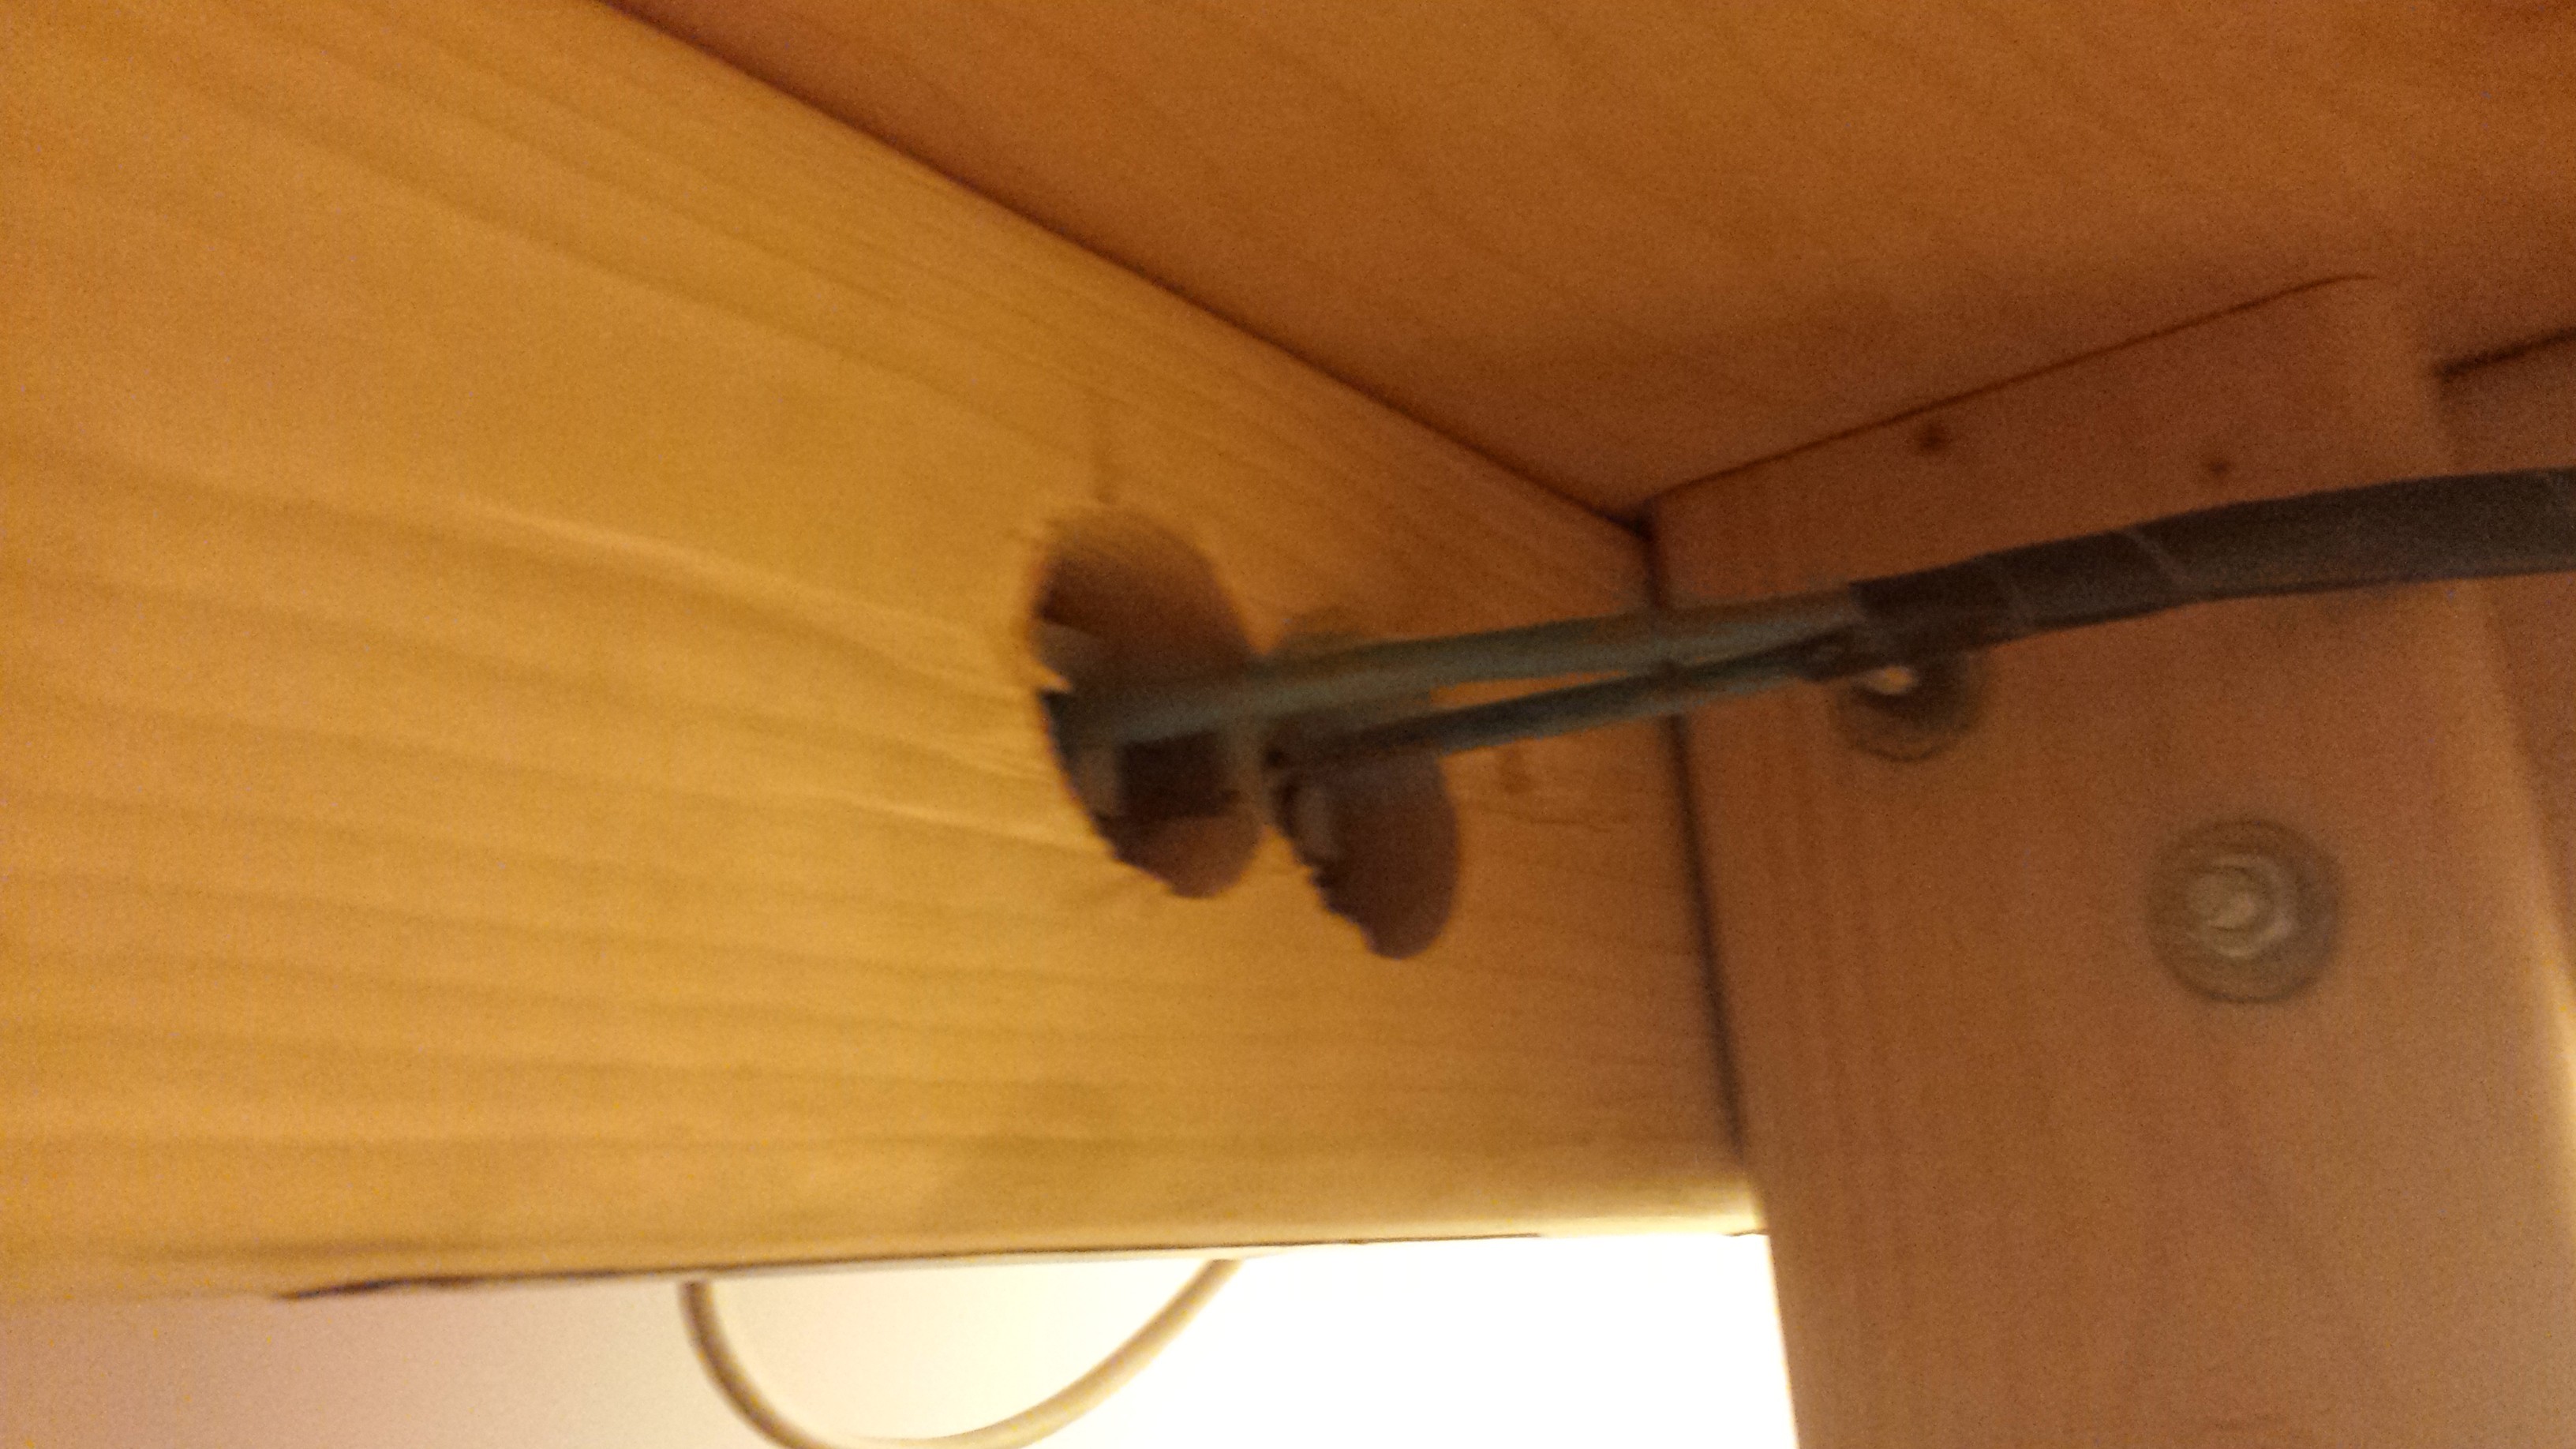
    I have an 8 port ethernet switch mounted above the 10 outlet power strip. This will connect to 2 - 2 port ethernet outlets, as well as the computer, and home network. The ethernet outlets are screwed directly into the frame, I cut two holes to let me feed the cables through.

    The electrical and network wiring will probably be an ongoing thing, as I need to make room or come up with ways of making it better. Next step: Shelving

  • Setting it up

    Ben08/15/2015 at 23:12 0 comments

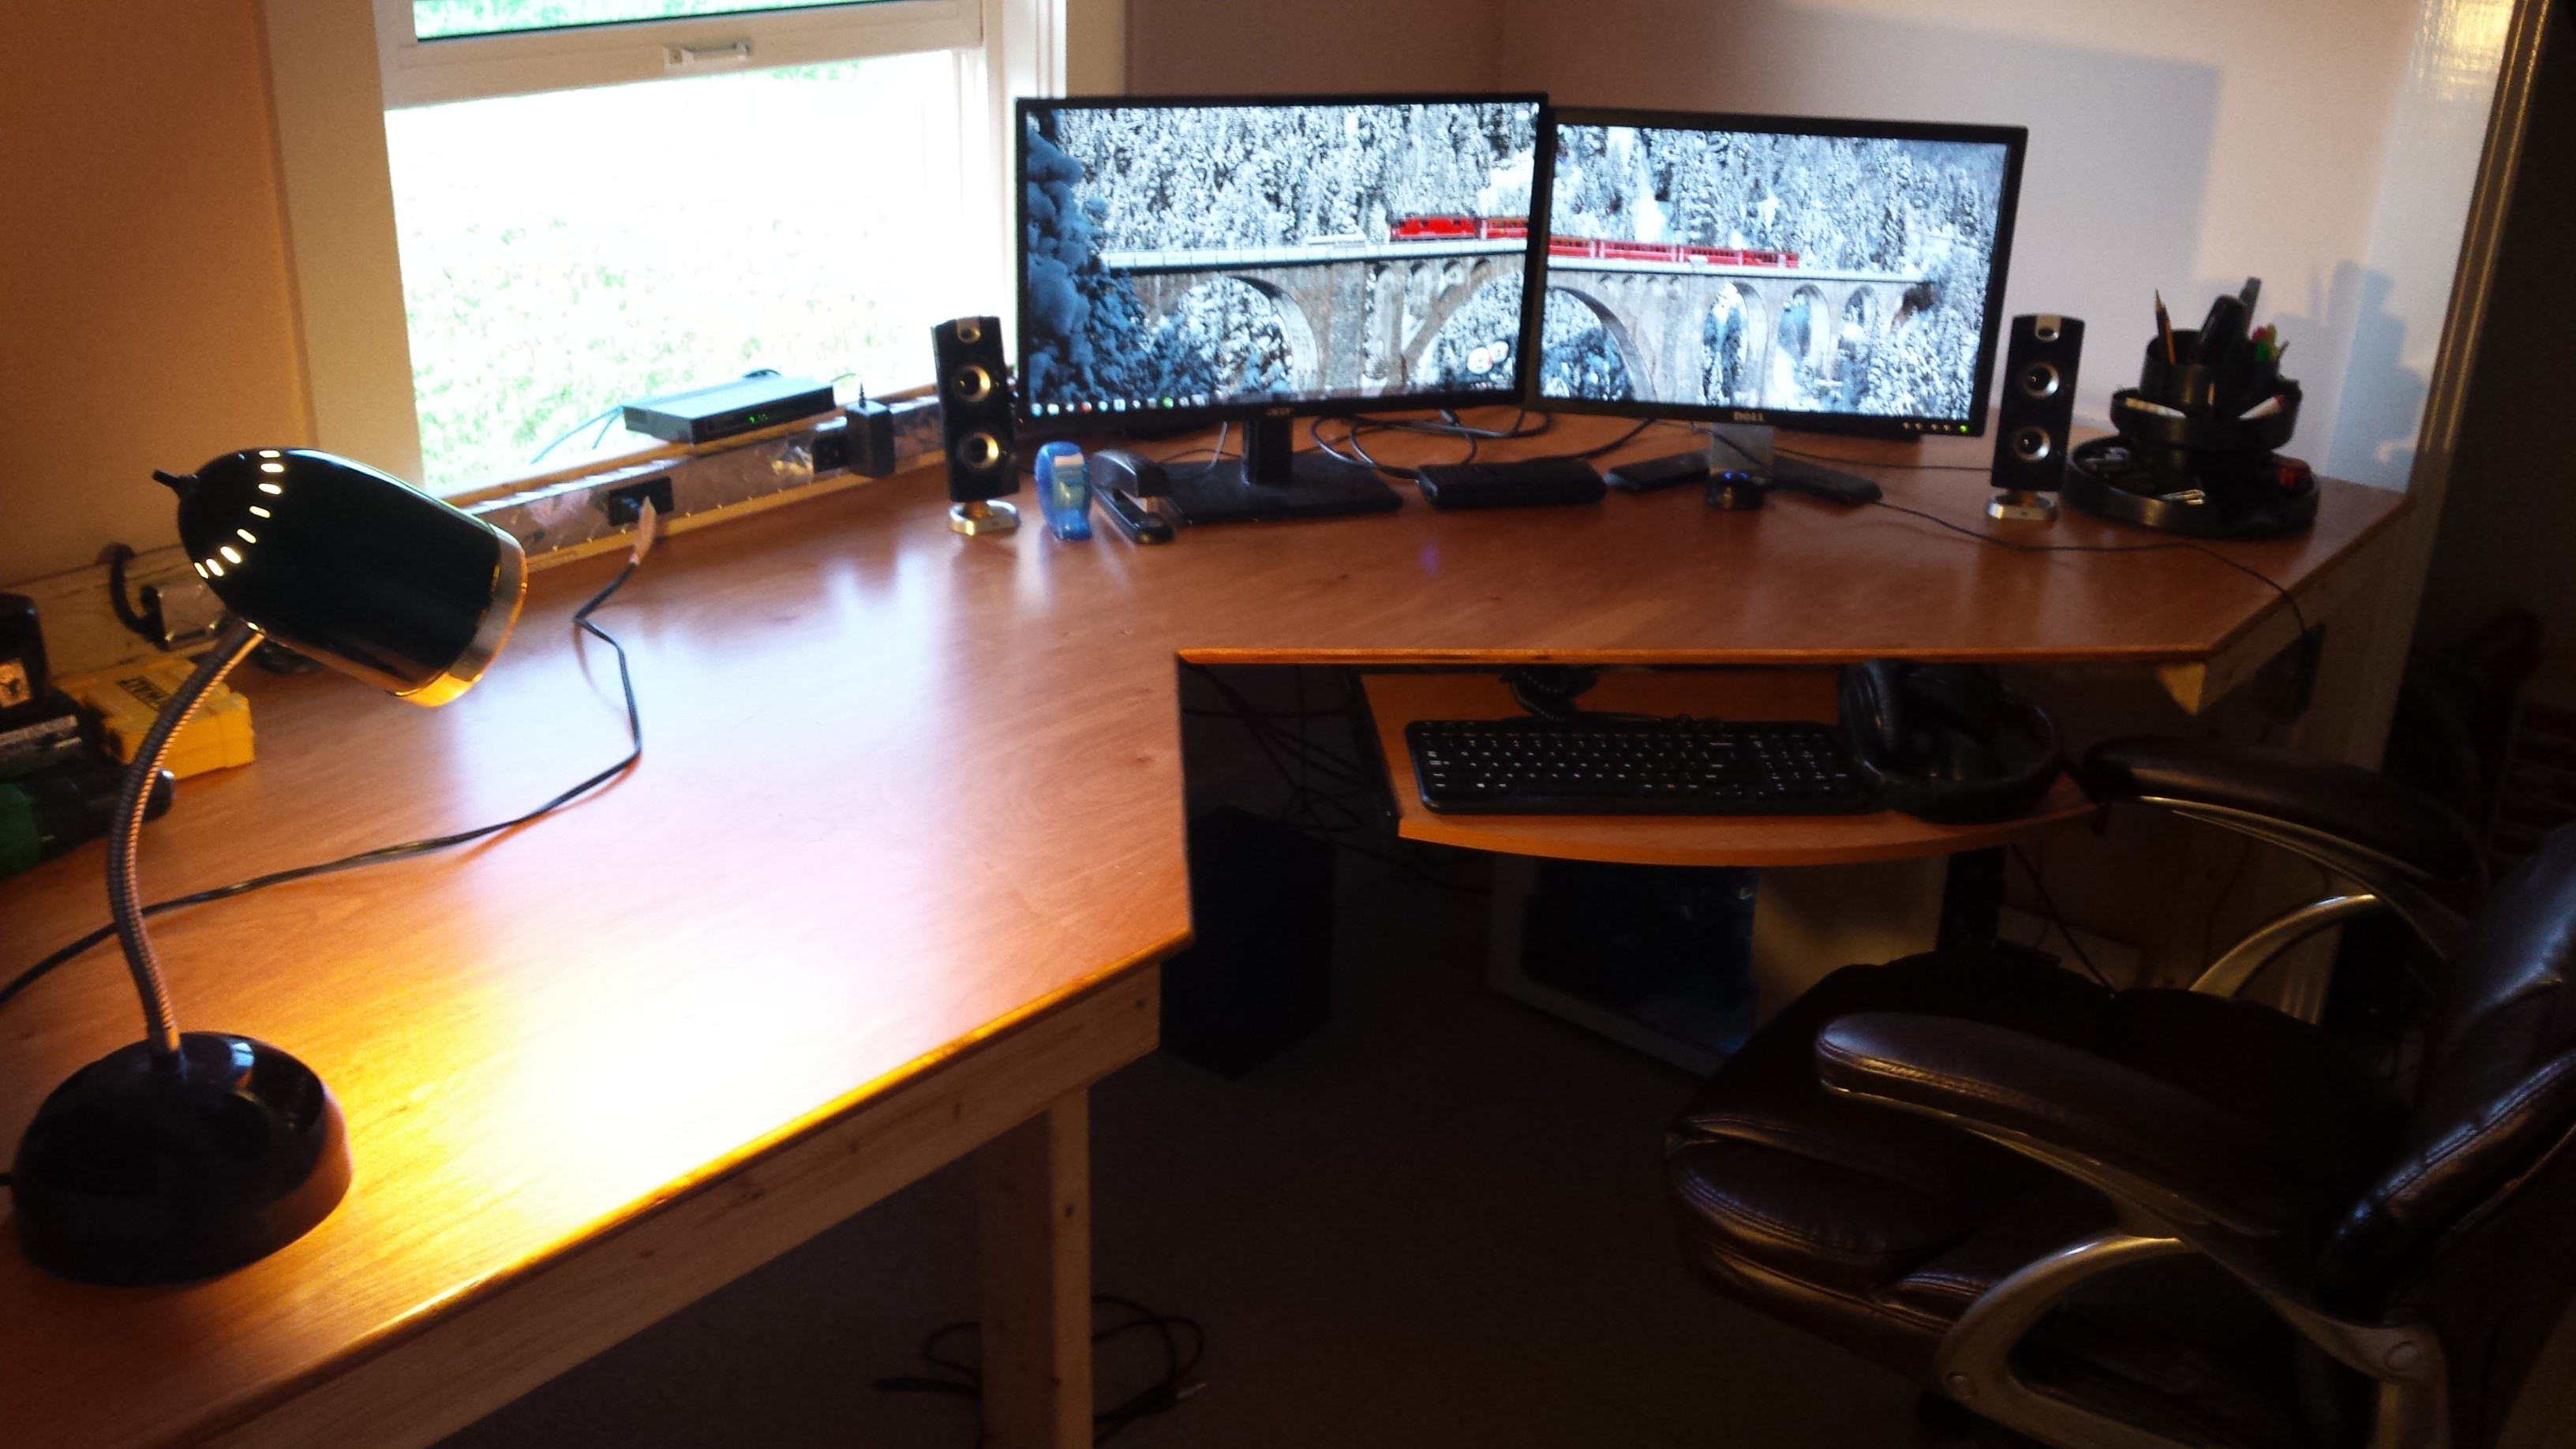
    I wanted to be able to use the desk as I worked on it, so I brought it inside and set it up. I also added a 10 outlet power strip to an 8 foot 2x4 in the back to help with cord management until I get the electrical worked out. Next step: Electrical

  • A Desktop to Start

    Ben07/10/2015 at 01:54 0 comments

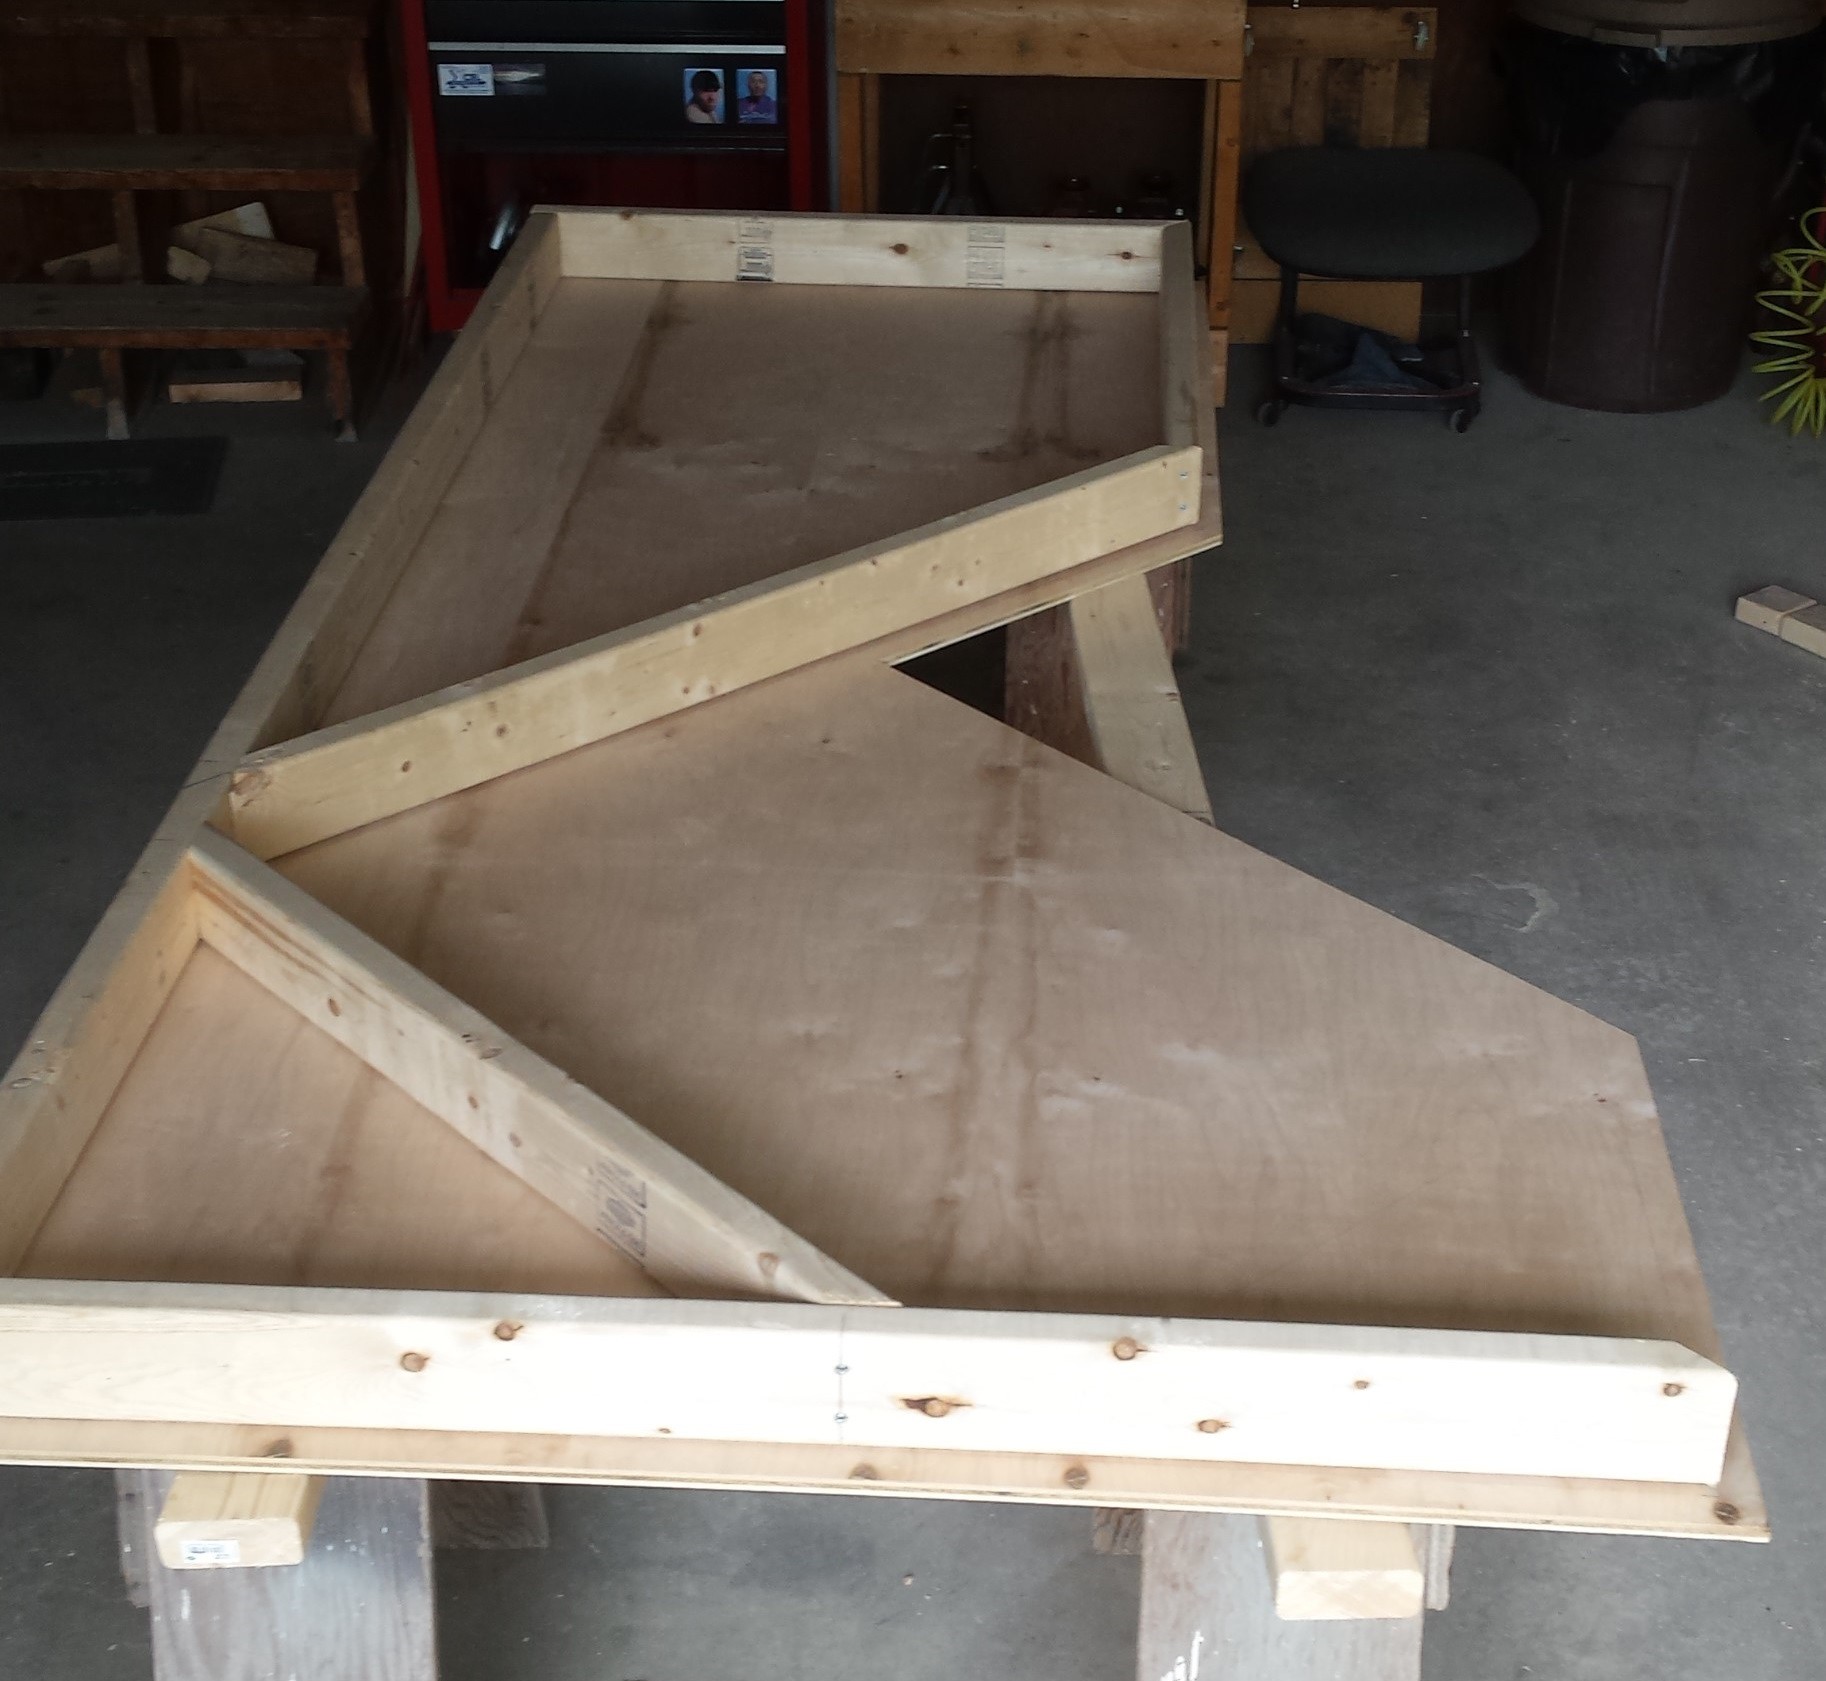
    Starting simple, I cut an 8x4 piece of 1/2" plywood and screwed it on top of a 2x4 frame for support. The open piece at the bottom right I eventually added two more pieces to make a triangle. I didn't want a 2x4 going across the large gap because that's where I would be sitting.

    Originally I used four 2x4's bracketed to the frame for legs, but replaced the back two with 4x4s bolted through for increased stability. I am going to re-purpose the two back-legs for supports in the middle to help reduce sagging. I ended with a coat of stain, and 3 coats of polyurethane. Coming next, electrical and cable routing...

    Edit: Since this post I've also replaced the two front legs because the brackets just weren't holding up very well to moving the desk around. I'm currently considering adding casters to all 4 legs because even though they're bolted through, they still are not are not solid enough for my likes. I also have two extra supports in the middle to keep it from sagging, and I'm not sure what to do with these (whether I should also get casters for them or if there's better solution.)

View all 5 project logs

Enjoy this project?

Share

Discussions

Similar Projects

Does this project spark your interest?

Become a member to follow this project and never miss any updates