-
3D printed enclosure
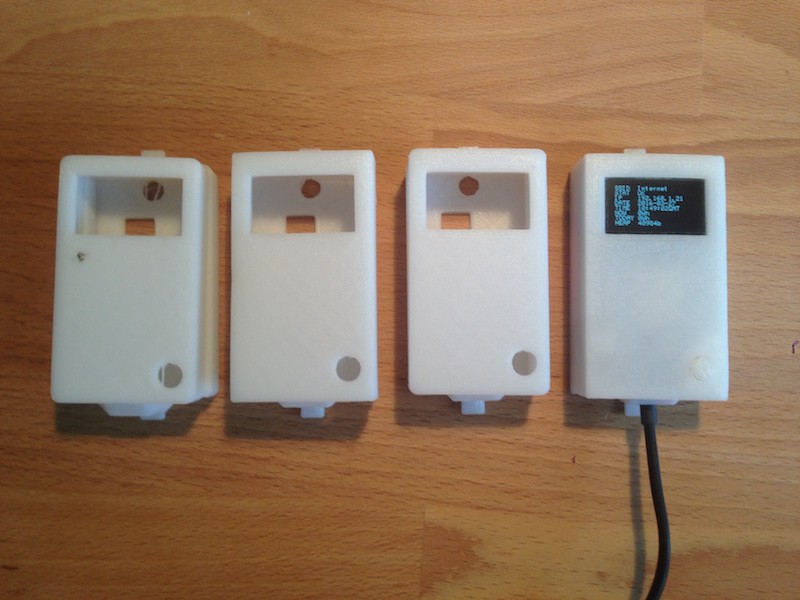
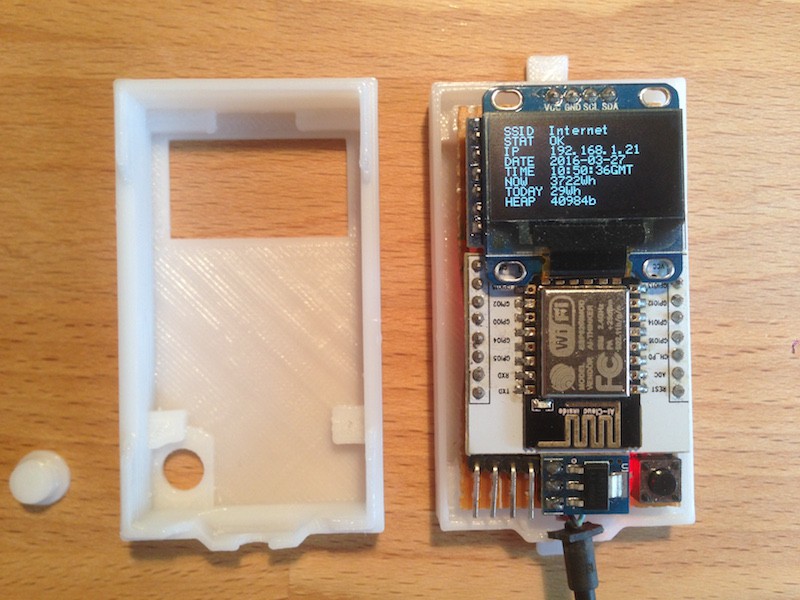
03/26/2016 at 13:56 • 0 commentsTo hold the IPM against the power meter I made an enclosure using SketchUp (with STL exporter) and my 3D printer.
![]()
It only took me 4 iterations to make a box!
![]()
![]()
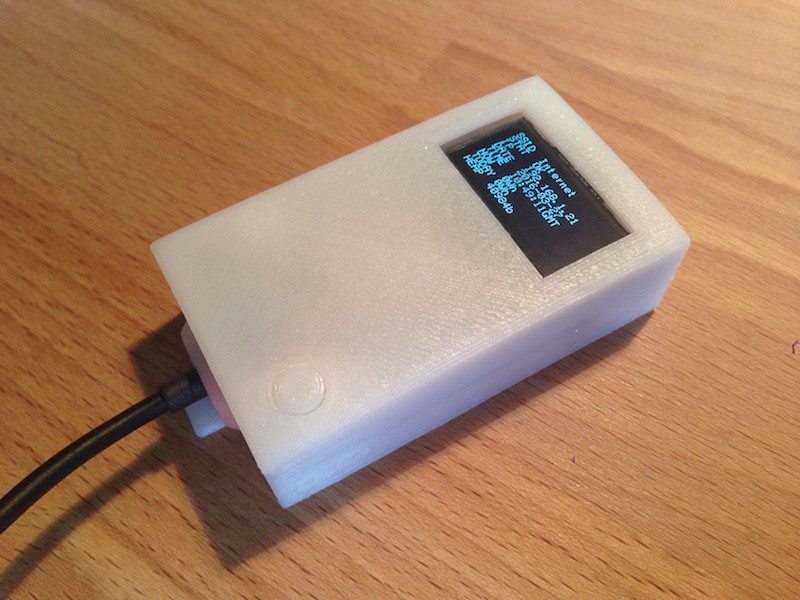
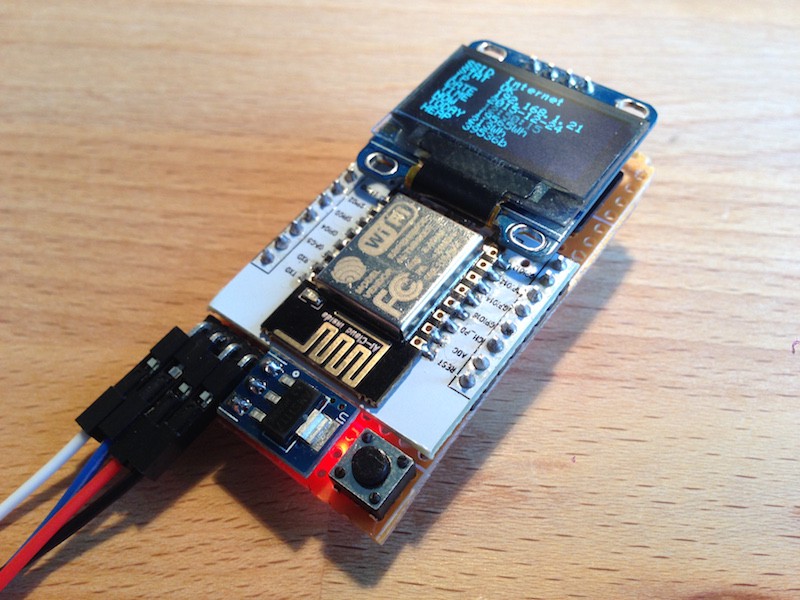
The button on the bottom right has 2 functions: hold it down before turning on the IPM and it will enable programming mode (allows to upload new sketch from Arduino), once the program is launched the button can be used as a normal input to do something interesting, currently it just forces a screen refresh.
![]()
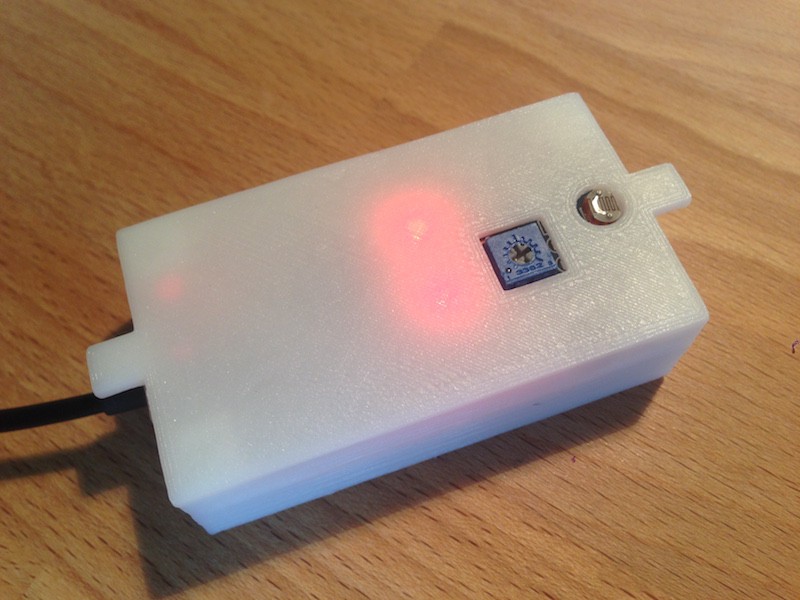
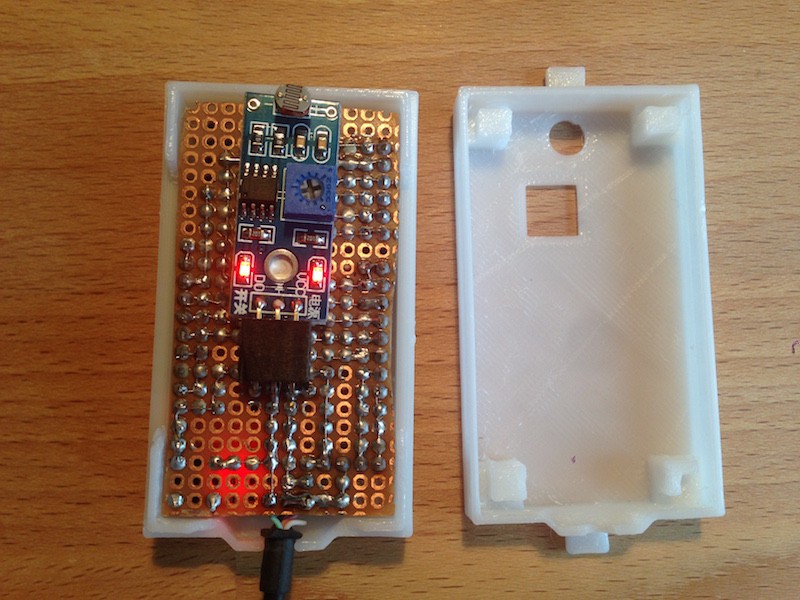
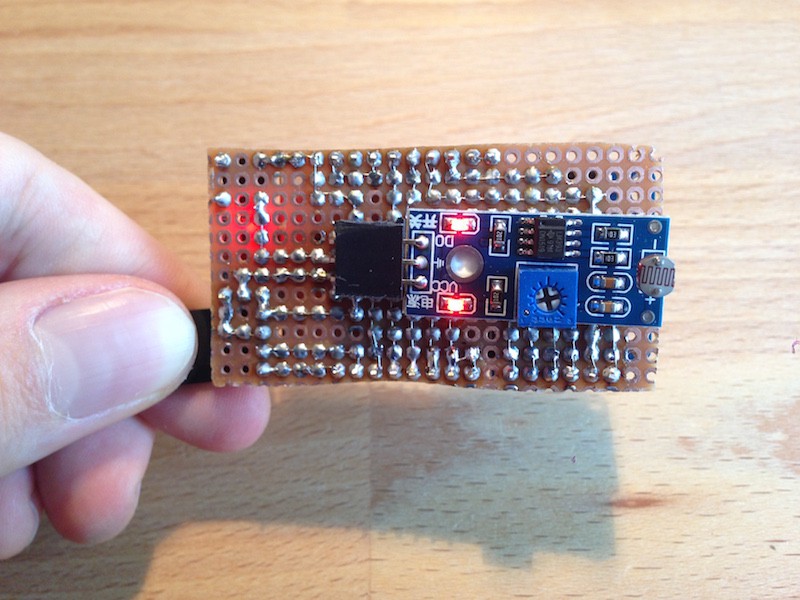
On the backside you can easily access the potentiometer to trim the light detection threshold. The red LEDs of the light sensor module shine through the relatively transparent white PLA plastic. I plan to attach the IPM to the power meter with cable ties like my previous version, thus the protruding flaps on top and bottom.
![]()
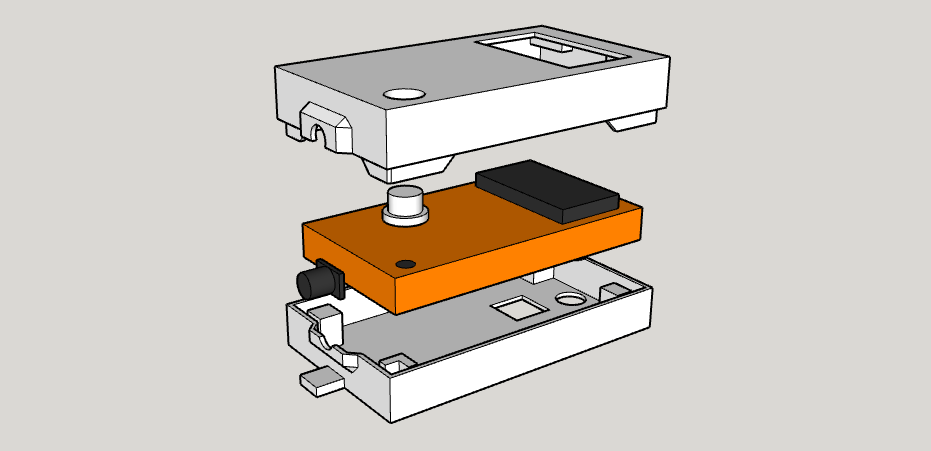
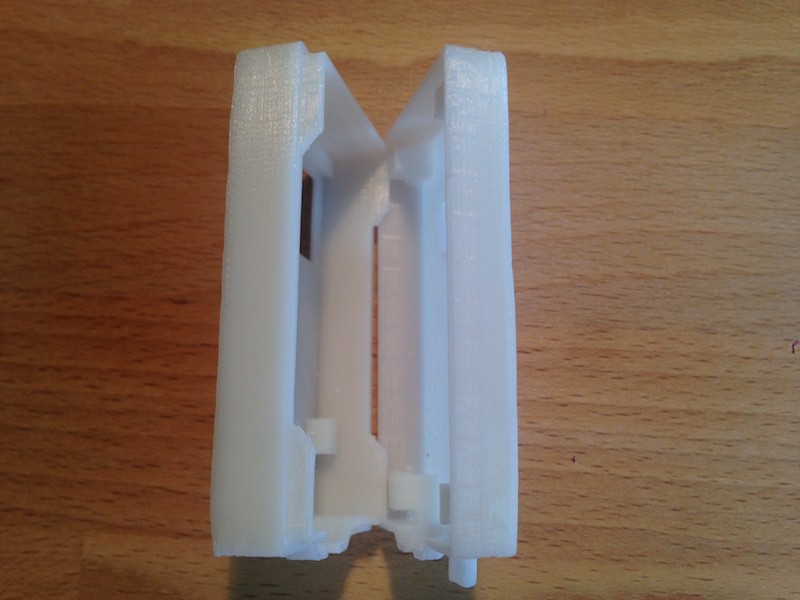
Inside the enclosure there are some elements that are in contact with electronics, in order to make a snug fit.
![]()
I spent a while figuring out how to make the two parts hold together. 3D printing locking clips was no good as they would be solicited in the direction of the deposited material, this is usually a bad idea and will break after a while. In the end I used my 3D printer's inaccuracy to my advantage and printed fitting parts without any margin, this made a very strong press fit.![]()
-
Proper parts list
03/25/2016 at 08:05 • 0 commentsThe HAD.io parts list section in a project is a great feature, but not very useful for other than a vague idea of what constitutes the project.
I think the parts list would benefit a lot from pictures next to the parts, a reference code, link, price, quantity... The form factor of the parts I chose for the IPM is rather important, as others types might not fit on the perfboard just as well.
I like sourcing my parts from eBay, partly because it's absurdly cheap and also because during the 1-month delivery period I forget what I ordered, then when something arrives I'm happily surprised to find something in my mailbox (thus my sail mail notifier).
Here's proper parts list with pictures, references, the lowest listing price and links to them in no particular order, every part is only needed once:
Picture Reference Link Price ![]()
AMS1117-3.3 LDO
This lowers the 5V input to 3.3V for the ESP8266eBay $1 ![]()
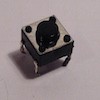
Button (through hole)
To put the ESP into programming modeeBay $1 ![]()
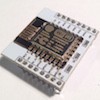
ESP8266-12E with breakout board
The heart of the systemeBay $3 ![]()
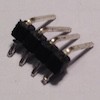
Right angle, male pin headers (single row)
For programming and attaching the light sensoreBay $1.5 ![]()
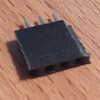
Female pin headers (single row)
To connect the light sensor to the boardeBay $1 ![]()
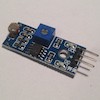
Light sensor
To read the LED blinks on the power metereBay $1 ![]()
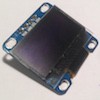
0.96" OLED display (I2C)
To display stuffeBay $6 ![]()
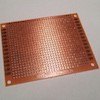
Perfboard/prototype board
To connect everything togethereBay $2 ![]()
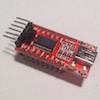
FTDI programmer (5V/3.3V, settable via a jumper)
To program the ESPeBay $2 ![]()
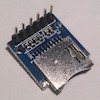
Mini SD card reader module for micro SD card (SPI)
To save data on the SD cardeBay $1 ![]()
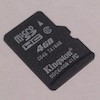
Micro SD memory card
To hold the data, anything above 16MB is goodeBay $1 ![]()
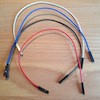
Jumper cables
To connect the programmer to the ESPeBay $1 ![]()
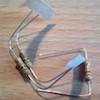
10kOhm through-hole resistor
To pull-up the button signaleBay $1 ![]()
USB cable
Doesn't matter which type, it's going to be broken anywayeBay $1 14 parts Total $23.5 Some bits and pieces like wire and solder are also needed, I expect any self respecting tinkerer/hacker to have them or break the nearest appliance to get some.
If you don't like eBay then there are other places you can buy cheap electronics from, such as DealExtreme, AliExpress, Elecrow to name a few.
-
Power supply connector
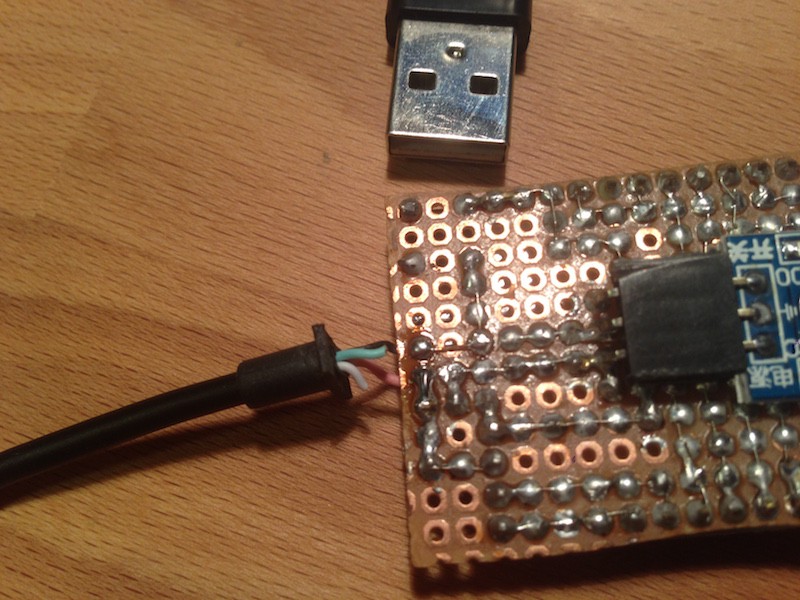
03/24/2016 at 06:29 • 0 commentsI didn't properly plan the power supply connector, the perfboard is already crammed with so many things that there's not much space left to add a proper keyed connector.
Until now I've used the 4 right angle pins for programming and supply, but without a keyed connector it's only a matter of time before it releases its magic smoke, so I ended up soldering a USB cable.
![]()
-
Story of V1
03/16/2016 at 05:28 • 0 commentsPower awareness
![]()
My house is heated by an air-to-air heat pump, water is heated by a mix of electric boiler and a couple of small solar water heaters, everything runs on electricity.
For some reason my power company refuses to provide me with detailed power consumption information, maybe it is because they cannot provide it as their simple system does not have this data, maybe for security reasons...
In any case I wanted to know my consumption at any given time, to have this data saved somewhere and understand when it was consumed. I believe that having this data is the first step in making useful decisions when trying to lower one's electricity usage.
The Electricity Usage Monitor
![]()
The first version of the power meter was based on a CC3200 development board that I got from a Texas Instruments (TI) workshop, it is still running as of now. This board is programmed by TI version of Arduino IDE called Energia. However the absurd number of abstraction layers, lack community and example code made it very uncomfortable and time consuming to work with.
I had to skip some features I really wanted to have, notably a live view of the consumption and a local storage of data (SD card for example). The advantage the CC3200 had over the ESP8266 at the time (January 2015) was SSL requests, as I wanted to push the data to Google Spreadsheets which requires SSL.
If it's not broke then it does not have enough features yet
![]()
Fast forward one year, I have one year worth of data. My father asked me to look into installing solar panels on the roof of the house, this was an excellent usage of this data. I was be able to provide exact numbers to the solar panel provider, they could make their calculations based on the actual electricity usage.
Green energy, not viable yet
![]()
I don't know what's with the solar panel providers, but their prices make absolutely no sense. I calculated a return on investment of 16 years at best with the offers I got from 4 different companies. The solar panels and inverters had a guarantee of 10 years, if something goes wrong after those 10 years, before the panels have time to pay for themselves, the repair costs are on us and the return on investment is gone. When I told the providers about the absurdity of their prices they just shrugged and said "it's the norm in the industry".
On top of that the solar panel technology is evolving rapidly, a couple of years from now there will probably be more efficient and cheaper panels available.
The only way solar makes any sense is with the economy of scale: buy a lot, pay low price per panel, amass subsidies, get the return on investment in less than a year, but that requires a lot of land and capital.
I conclude that in 2016 a small solar panel installation (about 30m^2) is financially not worth it yet, even with subsidies.
The Internet-of-Things Power meter
![]()
There are other methods to save on electricity, like consume less or consume during night hours when the kWh price is cheaper. More data is better!
The Electricity Usage Monitor could only save data with an hour-resolution, but what about the maximum peak usage, current electricity usage...? I want to turn on my electric kettle and see the power usage climb by exactly the same kW number that is written on the kettle.
I also wanted an easier way to program, more visual and cheaper platform. Also I wanted this project to be somewhat easy to build so other people could also benefit from it.
The Internet-of-Things Power meter had to be dirt cheap, provide an easy way to program and deploy. I also wanted to try to make a project using perf-boards instead of making PCBs, I believe that ordering custom PCBs for a small project like this is a slight obstacle that a lot of people are not willing to get over.
I decided on the ESP8266 as it has come a long way, has had a lot of bug fixes and features added since 2015 and is programmed via Arduino IDE, which is super easy for anybody. I used the same principle of counting the LED blinks on the power meter to know the consumed Wh, added an LCD for visual feedback and SD card to securely store the data.
-
Insanity?
03/13/2016 at 10:41 • 0 commentsThe definition of insanity is doing the same thing over and over again, but expecting different results
- Albert Einstein (allegedly)
Well, that actually paid off, it seems the software woes have worked themselves out without any changes... maybe the libraries were updated too, but that's probably unrelated. Anyway the project is slowly crawling again.
Currently the basic HTTP authentication (to access uploading functions and such) makes the ESP crash systematically, so I need to solve that somehow. However I'm very pleased to say that it handles connection stress very well, with lots of requests maxing the incoming buffer to the point of getting warning messages (LmacRxBlk:1) it still holds, counts the blinks and updates all other internal stuff.
I spent some time looking towards FreeRTOS for a while, I wanted to get closer to the hardware and perhaps root out the issues, but I saw that all my time went into writing libraries for all the peripherals, which all exist on Arduino IDE... so I'm sticking with Arduino.
The next steps are to fix the authentication issue and 3D-print an enclosure. The board does not have a proper keyed power connector, only standard 2.54mm pitch pins where VCC and GND are side to side, I can see a tiny issue with that...
-
Software trouble
01/01/2016 at 10:39 • 0 commentsI can't understand for the life of me what's going on anymore, my project was working fine at home, but now I'm away from home and it developed an unpredictable behaviour.
I fixed the ESP restarting troubles somehow, but now it refuses to connect to the access point. I'm using the SDWebServer as the base example, which works great without modifications, no issues whatsoever. This is the serial debug output:
Connecting to 4a82dd
scandone
state: 0 -> 2 (b0)
state: 2 -> 3 (0)
state: 3 -> 5 (10)
add 0
aid 3
cnt

connected with 4a82dd, channel 11
dhcp client start...
chg_B1:-40
chg_B1:-80
ip:192.168.0.20,mask:255.255.255.0,gw:192.168.0.1
Connected! IP address: 192.168.0.20
MDNS responder started
You can now connect to http://esp8266sd.local
HTTP server started
SD Card initialized.
pm open,type:2 0
I added OLED screen support (uses Wire library) and some other bits and pieces and now it simply cannot connect to the AP. Sure enough by commenting it out the Wire library calls the thing works as expected again... but I don't have a screen anymore, no good! This is the output:
Connecting to 4a82dd
scandone
state: 0 -> 2 (b0)
state: 2 -> 3 (0)
state: 3 -> 5 (10)
add 0
aid 3
cnt
chg_B1:-40

connected with 4a82dd, channel 11
dhcp client start...
chg_B1:-80
Could not connect to4a82dd
pm open,type:2 0
It's like the Wire library interferes with the WiFi somehow. I need to test this on another ESP because I'm about to accuse the hardware at this point.
-
Hardware is ready
12/30/2015 at 10:22 • 0 commentsI soldered everything on a perfboard. Usually I make PCBs for my projects, but since I don't expect to need more than one of these critters I decided to try a perfboard. I discovered how annoying and time consuming it is to link two pads together with solder.
I had to use some wire in order to get the pads linked, the only thing I had was stranded wire, so I stripped some, took out the tiny wires and used those. The wire gauge is tiny, but it works so...
![]()
![]()
-
Another log
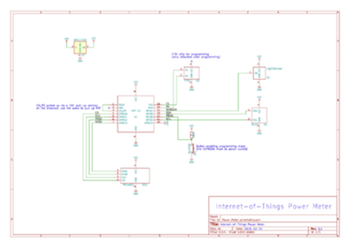
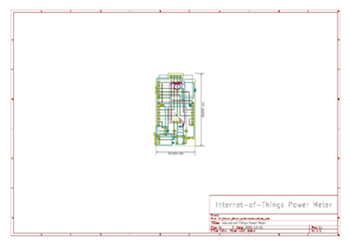
12/22/2015 at 12:10 • 0 commentsThe basics are done, I drew the schematics (for a perfboard) using KiCad and essentially it's ready to be soldered (see project files for the source).
![]()
![]()
However the software problems really annoy me. There are 4 different behaviours I noticed:
- The ESP starts up, initialises the screen and then resets
- The ESP cannot connect to the access point and retries indefinitely
- Connection goes well, it synchronises the internal time, but as soon as the light sensor detects something is crashes
- Everything works as expected
I don't have a lot of experience in debugging MCUs this complex, the error codes from the serial connection are complete gibberish to me. Maybe it has to do with how the memory is managed...
I have not yet done real load tests for the web server, but I suspect this might be another crash source. If anybody has experience in such behaviours and ESP programming help would be welcome.
-
Finally getting something done
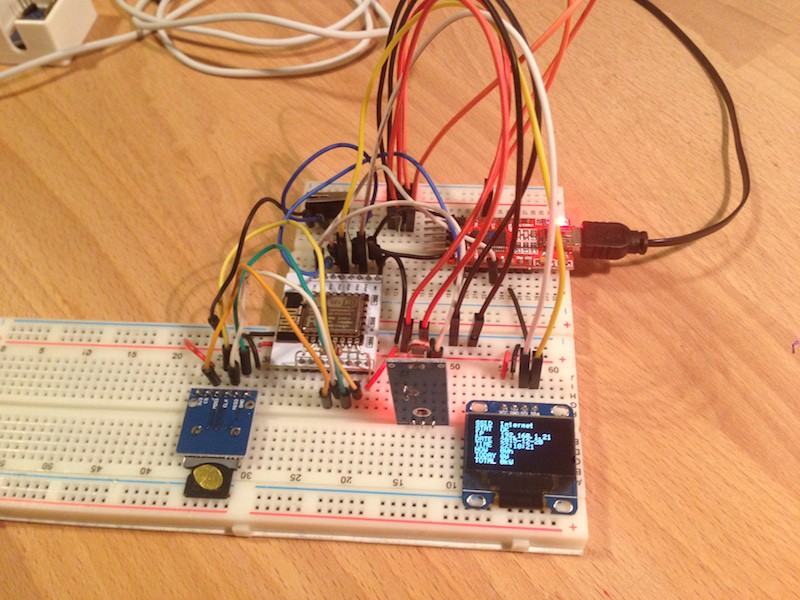
12/20/2015 at 22:37 • 0 commentsThe project is progressing well, it has most of the functionality I wanted:
- Counting LED blinks via an interrupt
- Internal time keeping
- Synchronising date and time with an NTP server
- Saving data to an SD card
- Outputting data onto a display
- Serving HTML pages from the SD card
I want to send the data to Google Spreadsheets, but doing SSL requests is a real pain with the ESP. Apparently it's possible, but convoluted and needs way too much overhead for my taste. I decided to do things differently: instead of the ESP sending the data to Google Spreadsheets a Google Script fetches the data hourly from the device and updates the spreadsheet itself, no SSL needed, only an additional routing rule on my router.
The electronics are still in a breadboard format. I'd like to avoid using a custom PCB to make it more "accessible" to other tinkerers, so I'm going to work on how to attach everything on a veroboard in the most compact way possible.
![]() I'm using Arduino IDE to program it, the latest libraries for the ESP8266 (the GitHub version) bring such cool features as basic HTTP authentification, but the system is very unstable: sometimes everything works fine, other times is crashes for some pseudorandom reasons... I can't really figure that out, more on that later.
I'm using Arduino IDE to program it, the latest libraries for the ESP8266 (the GitHub version) bring such cool features as basic HTTP authentification, but the system is very unstable: sometimes everything works fine, other times is crashes for some pseudorandom reasons... I can't really figure that out, more on that later.I'm writing proper documentation on hardware, software, programming and deployment with follow-ups. I'll host everything on my GitHub account as I have done with my other projects. Ideally it should be deployed in the beginning of 2016, but realistically I don't think I'll get anywhere near finishing it soon.
-
First leap
07/26/2015 at 00:36 • 3 commentsI've been developing this project for a while now to see how far I could take it, it seems it has huge potential. The ESP8266-12 is really a wonderful IoT chip and when coupled with an SD card reader, which is essentially an unlimited storage space, it can do awesome things.
I used the SDWebServer example to get started. It serves an .htm file from the SD card, which means the HTML and the code are completely separated, there are no more limitations to the size of the web page. This opens up a lot of interesting options. The example goes as far as to show how to view, upload and make/delete files and directories on the SD card... you can upload and download stuff via the tiny chip!!!
The SD card is formatted in FAT32 which means should anything happen to the device the contents of the card can be viewed with any computer, so if data is logged there it will never be lost.
Currently the ESP can connect to the WiFi network (in about 2 seconds) using the hardcoded credentials, show data and update the screen, do mDNS (so you do not need to know the IP of the device), serve web pages stored on the SD card and synchronise its internal time with an NTP server.
I think I'll be using this setup in my other projects from now on...
Internet-of-Things Power Meter
Simple, cheap, easy to build and deploy, the IoT Power Meter provides accurate statistics on household power consumption.


 I'm using Arduino IDE to program it, the latest libraries for the ESP8266 (the