Close
0%
0%

A VGA Display for the Intel Edison!

Playing Quake on the Internet of Things...

pkPK
Similar projects worth following
The Intel Edison is a system on a module which doesn't come with any provisions to hook up a display. That, of course, sounds like a tempting challenge!

My entry in the 2015 Hackaday Prize, VGATonic, is a serial graphics card. I set out to add video to a headless part - the Edison is my first conquest (with a Raspberry Pi, Odroid C1 and a Beaglebone Black for training wheels).

The two met with successful results, and this project is my brief writeup (and a video demo) so you can hopefully do something similar!

Here are the stats:

Intel Edison Arduino Breakout Board
VGA video over 25 MHz 5v SPI (with DMA)
10.1 Frames Per Second at 640x480x8bpp
40.4 Frames Per Second at 320x240x8bpp
One no-longer-headless System on a Module!

Prerequisites

  1. SPI Video Hardware
    1. My serial VGA video card, VGATonic (Github Repo here) (or)
    2. FBTFT almost certainly will work as well
  2. Intel Edison Arduino Breakout Board

Getting Started

  1. Intel Edison Board Support Package 2.0 (The February 2015 Release, not the July 2015)
  2. SPI DMA Patch from smaguire on the Edison Forum. (Thank you very much to jkramarz for the easy to use patch!)
  3. This configuration file for kernel compilation
  4. Framebuffer Driver. I'm using my home spun one I made for VGATonic.
    1. This pinmux shell script needs to run before the .ko files for VGATonic
  5. Mouse driver (GPM).
  6. Whatever you want!
    1. SDL Quake (run with -noudp and remove -mpentium from configure before build)
      1. Get SDL 1.2: https://www.libsdl.org/download-1.2.php first; the prereqs can be annoying - Google when/if you hit libPNG errors, you just need to rename the NULLs.
    2. Nano-X (this one took some work to compile, you should use Alex-T's Repos)
    3. Dosbox (It uses SDL)
      1. Quake (Yeah, I have two ways to run Quake - weird)
      2. Warcraft
      3. Simcity 2000
      4. Not sure, only tried those three... probably most anything, though.

  • Video Demostration of Graphics on Edison!

    PK07/30/2015 at 08:55 0 comments
  • Load Edison with Fun!

    PK07/30/2015 at 08:03 0 comments

    You're all set now, go get things that use the framebuffer! I didn't go for X.org, but here's what I tried:

    1. SDL Quake (remove -mpentium from configure before build)
      1. Get SDL 1.2: https://www.libsdl.org/download-1.2.php first; the prereqs can be annoying - Google when/if you hit libPNG errors, you just need to rename the NULLs.
    2. Nano-X (this one took some work to compile, you should use Alex-T's Repos)
    3. Dosbox (It uses SDL)
      1. Quake (Yeah, I have two ways to run Quake - weird)
      2. Warcraft
      3. Simcity 2000
      4. Not sure, only tried those three... probably most anything, though.
    4. DirectFB (I had issues, but lots of demos will run)

    The great AlexT's Edison repos: http://alextgalileo.altervista.org/edison-package-repo-configuration-instructions.html

  • Loading the Framebuffer and Getting Mouse Support

    PK07/30/2015 at 07:52 0 comments

    Loading the framebuffer is simple. Assuming your .ko files and pinmuxing file are in the same directory, 'cd' to it and run this line:

    ./oldpinmux.sh; insmod vgatonic.ko; insmod edison_vgatonic_spi.ko;

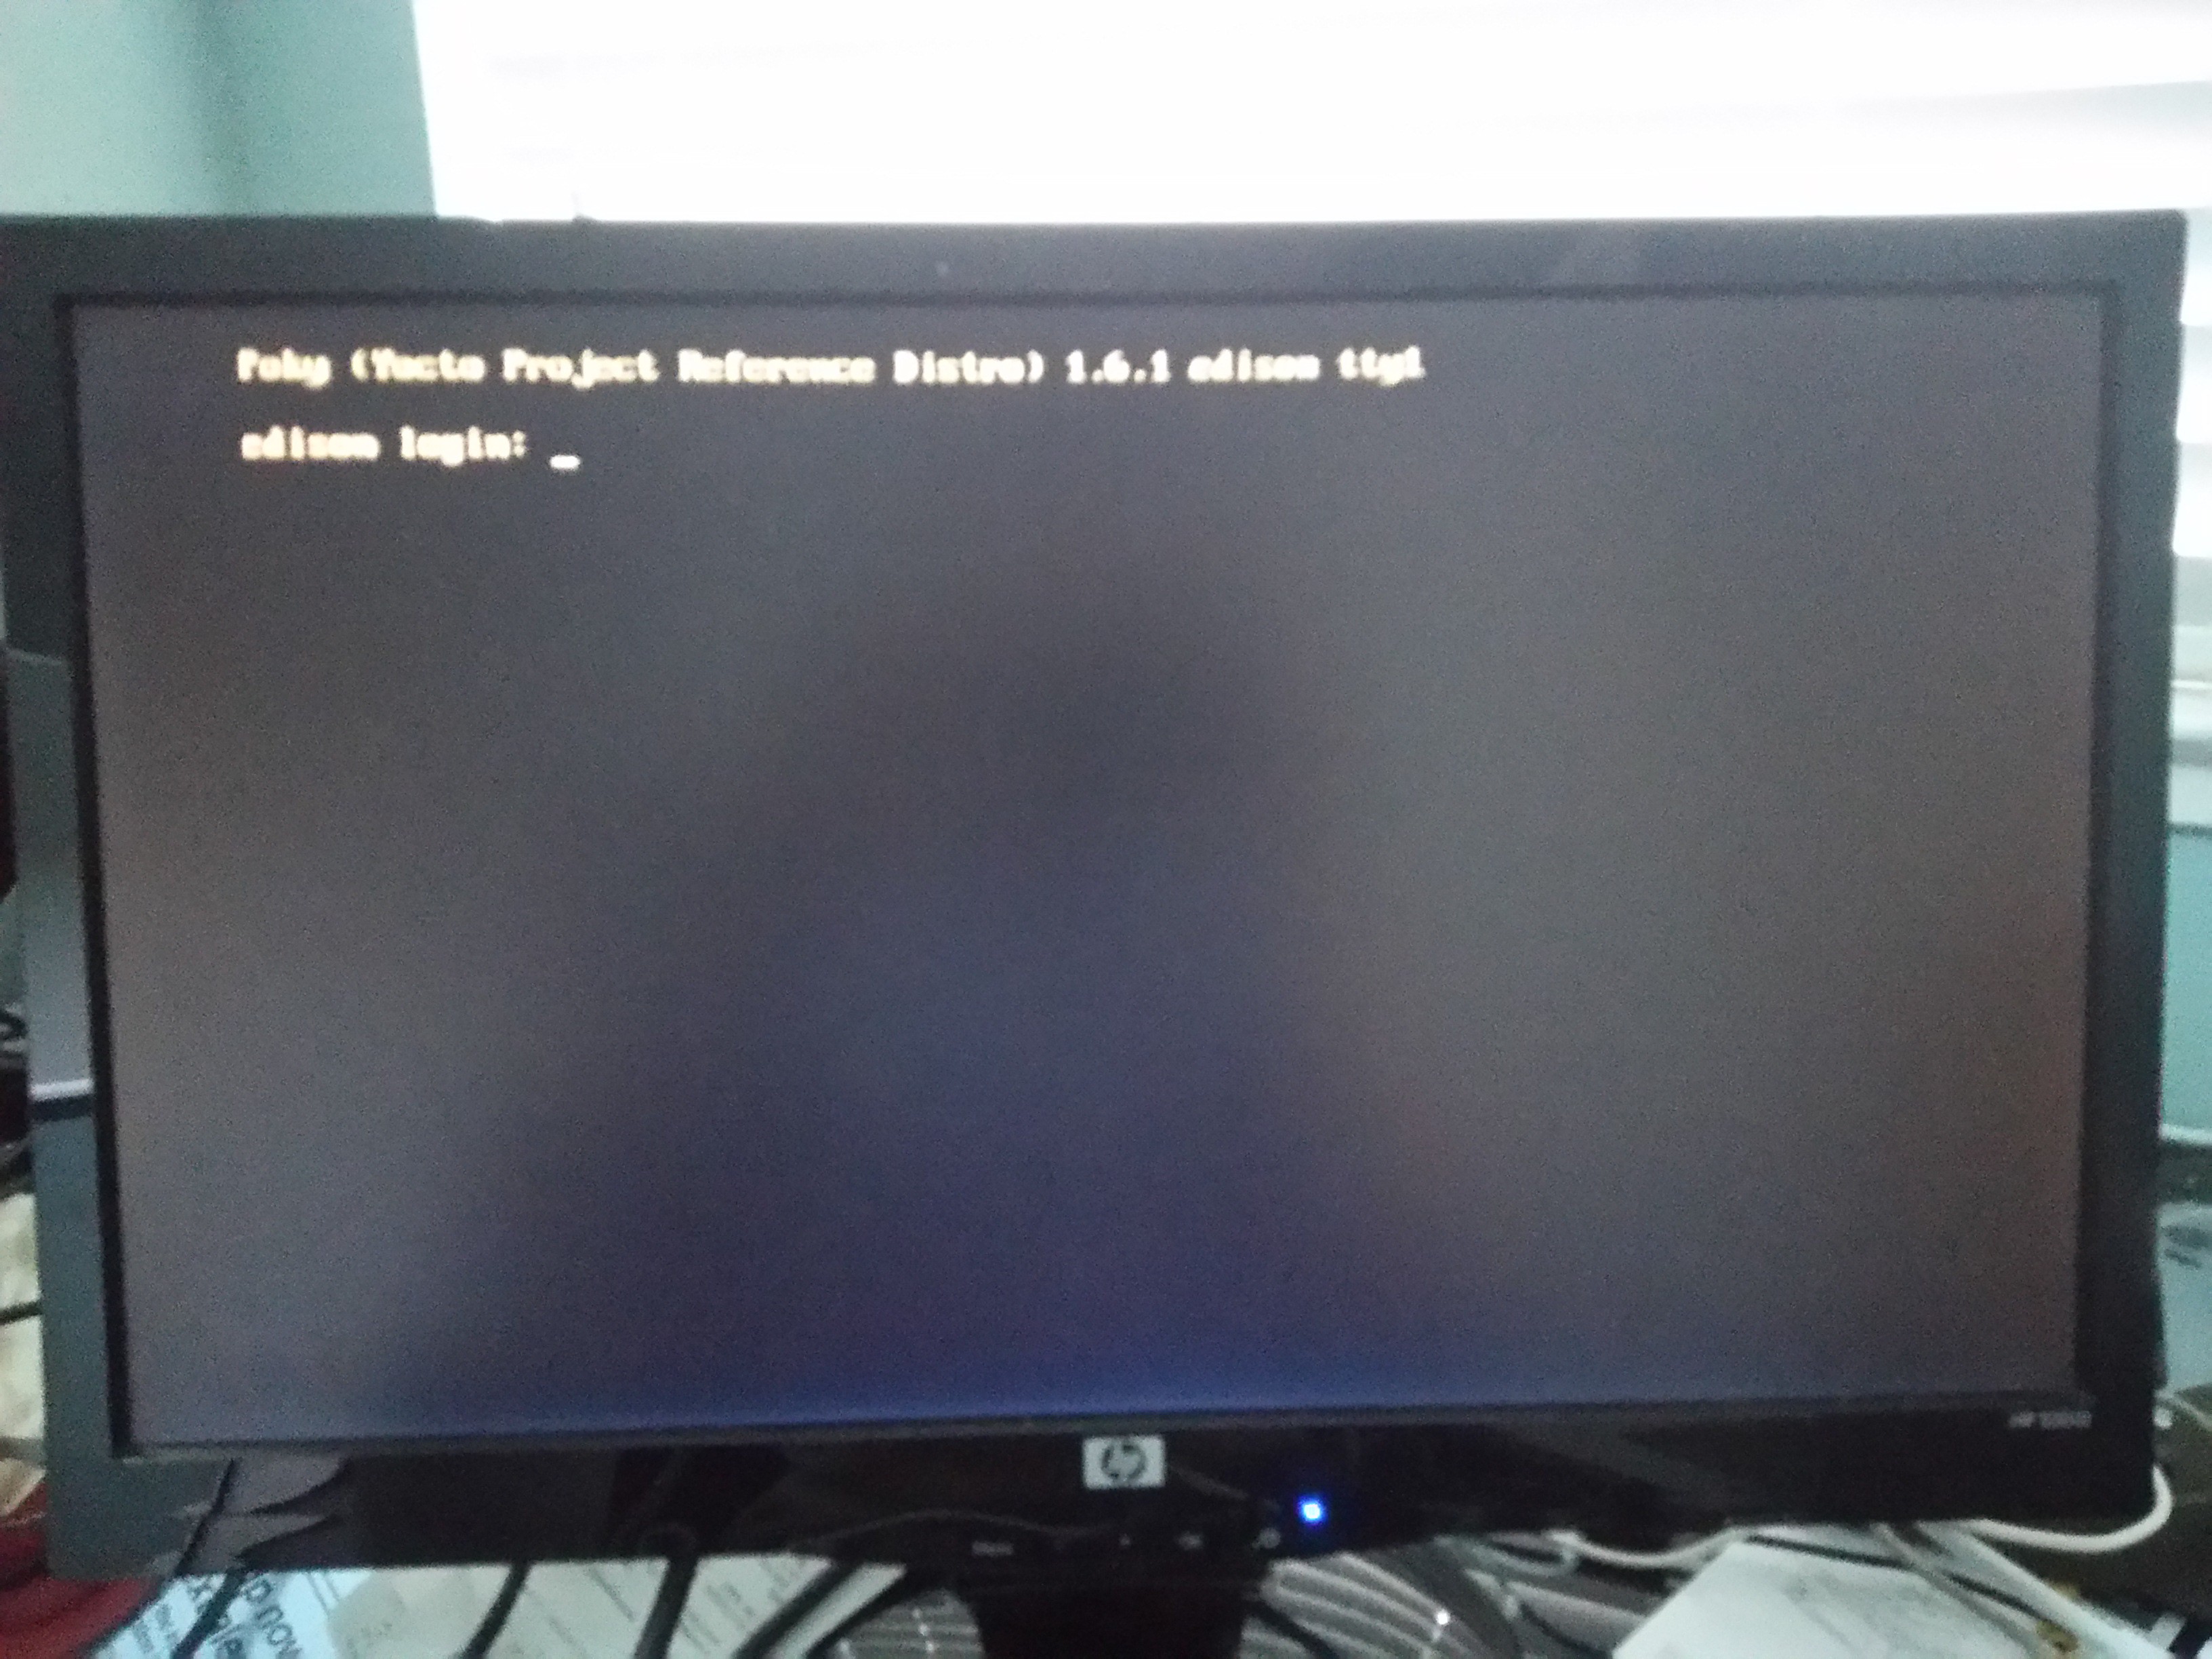
    You should very quickly see a patchwork appear on the monitor (if you're using VGATonic, that is!), then fbcon will steal the framebuffer almost immediately, and you'll see this:

    https://cdn.hackaday.io/images/627021438239523702.JPG

    You've got a monitor working! (But why quit there?)

    Next, switch the user switch next to the full USB port on the Edison's Arduino breakout towards the larger USB port, and plug in your keyboard and mouse. If you're like me, now you'll see new event devices in /dev/input - so go get GPM.

    DON'T GET THE 1.2 VERSION! I know it's the popular one, but do what it takes to compile the newest version from Github: https://github.com/telmich/gpm ( Commit e55e60cc492b51ced88b5637eded7130d5afef9f if you want to copy me exactly)

    Here is how I set up my mouse, yours will likely be similar:

    gpm -m /dev/input/event5 -t evdev -R

    You can test it's working by: cat /dev/gpmda*

    (Move the mouse, click, etc - you'll quickly know you got it!).

    To Kill The Console!

    Depending on what you do next, you may want to kill fbcon - it has a tendency to steal the framebuffer back from some things (like Nano-X). Here's how you kill it:

    echo 0 > /sys/class/vtconsole/vtcon1/bind
    echo 0 > /sys/class/vtconsole/vtcon0/bind

    I assume you can do that in reverse to bring it back, but I tend to just use my Macbook to run commands before switching to the keyboard/mouse on the Edison.

  • Getting a Working Framebuffer Driver

    PK07/30/2015 at 07:33 0 comments

    I encourage you, of course, to build the SPI VGA Video Card I'm working on for the 2015 Hackaday Prize, VGATonic - you can find everything you need between the Hackaday Project Page for VGATonic and the Github Repo.

    Realistically, though, most of you don't want to wait for PCBs, so FBTFT will almost definitely work as well - please let me know if you get it running!

    So, flash your kernel to Edison first, then come back here.

    Here's how I cross compile the VGATonic framebuffer for Edison (you're on your own for FBTFT):

    • git clone https://github.com/dqydj/VGAtonic.git # Put this somewhere
    • bitbake -c devshell linux-yocto # (In the bitbake window you compiled the kernel in)
    • #Now, in the popup window, copy the VGATonic/VGATonic_Linux_Drivers directory directly into the current directory, /linux
    • Rename Makefile_Edison_Rename_and_Cross_Compile to Makefile
    • make
    • scp it to your board (all .ko files)

    You also need to copy my pinmuxing script; I haven't yet added everything for initialization to the board specific file (after the HaD prize, perhaps?). Here is a copy. It works great as long as you run it before loading the kernel module.

  • Compiling the Kernel With Framebuffer Support and DMA to SPI

    PK07/30/2015 at 07:22 0 comments

    You should, of course, start with a cross compilation setup. I'm using Ubuntu 14.04 in Virtual Box just fine. I'm starting with the 2.0 version of the Image/Board Support Package . I can't guarantee it will work with the newer version; if you get it working let me know!

    A few changes have to be made to the kernel on the Edison before the framebuffer will work. Namely, the following things have to be enabled:

    CONFIG_FB=y
    CONFIG_FB_SYS_FILLRECT=y
    CONFIG_FB_SYS_COPYAREA=y
    CONFIG_FB_SYS_IMAGEBLIT=y
    CONFIG_FB_SYS_FOPS=y
    CONFIG_FB_DEFERRED_IO=y

    Here is the config file I used. Copy it to /meta-intel-edison/meta-intel-edison-bsp/recipes-kernel/linux/files/defconfig in your BSP/cross compilation setup.


    There are issues with SPI on the Edison with the 2.0 image - DMA won't work, and you'll be capped at 6.25 MHz SPI speed. Luckily smaguire and jkramarz have saved everyone a ton of work and got working DMA SPI writes at 25 MHz.

    Install that patch, then build. Just do it overnight - it'll take a while. This page is an excellent reference for building the kernel.

  • Getting the Hardware Ready (Prerequisites)

    PK07/30/2015 at 07:13 0 comments

    I did this with the Intel Edison Arduino Breakout Board. I assume it is possible using other methods, but I can't comment from experience.

    As for a display, I'd love if you tried my VGATonic VGA SPI video card, my entry to the 2015 Hackaday Prize. The feature I'm taking advantage of is the minimal (like, 2/307202 %) overhead SPI framebuffer.

    Everything you need to build VGATonic can be found on that page or in the Github repo.

    There is no reason why you can't do it with notro's excellent FBTFT as well.

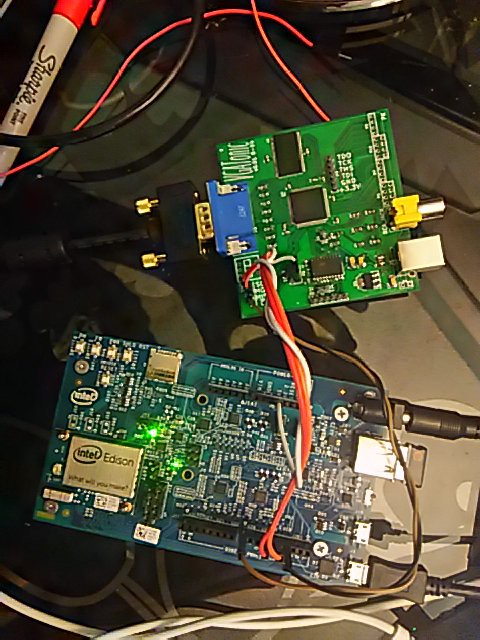
    25 MHz SPI at 5v on the Arduino breakout with this setup is rough: my jumpers are 8 inches or so long, and you're looking at about 3 connectors and another 3-4 inches between silicon. So, twist your SPI wires up with +5v and Gnd (I use Gnd with Chip Select - that is the most sensitive) to protect your signals as best you can (or use shorter/better wire!):

    https://cdn.hackaday.io/images/1887161438239528249.JPG

    That's the standard pins for MOSI and SCK (11 and 13), and a custom chip select - pin 8.

View all 6 project logs

Enjoy this project?

Share

Discussions

Similar Projects

Does this project spark your interest?

Become a member to follow this project and never miss any updates