Close
0%
0%

Mk 16 Capital Ship MDM

A an interactive scale model of a MK 16 Multi Drive Missile from the Honor Harrington Universe.

Similar projects worth following
This project's goal is to create an interactive scale model (similar to something you might find at a museum) of a Mk 16 Capital Ship Multi Drive Missile. The model will at a minimum the missile will run through an in-place simulated run. This simulated run will show the start up of the different parts of the missile and how they interact in an attack run.

Image Source: http://www.stormfromtheshadows.com/art.htm

Build Doc:

https://docs.google.com/document/d/1POd5k3NOQLyC4SDClqM-32kKq3NVj4JdU-bsBIcl7P4/edit?usp=sharing

Code for Mega 2560:

https://mega.co.nz/#!7ExilCwb!u0CslLI7CuWpHuYXrKW9tGG4rDE2EKfF0qyEzSQjKts

3d Printer Files:

http://www.thingiverse.com/thing:313341

Video of the Simulated Run:

https://www.youtube.com/watch?v=mEo16fq3USQ

https://www.youtube.com/watch?v=Pg4Xuf5LMrA


Thanks to:

Mathew G for putting together the code that made this work.

"a thrilling tale of procrastination, lowered expectations, and last minute bullshit." - Mathew

Scot Y for designing all the parts and seeing that they went together.

"Wow, this is taking forever" - Scot

Project summary

This project started slow as we hunted for a theme to work around. When the Mk 16 was decided upon we then sketched out a plan of attack. This plan fell to the wayside as we discovered that out 3d printer was much slower then expected. It took most of the time we were working on the project just to get the parts printed off. Next, it too 2 days (on and off) to get all the lights set up and hooked up. And finally we did a sprint to the finish line by getting the code working and documentation (somewhat) complete in just under 30 hours.

Due to most of the project being printing we did not do many project logs except to poke fun at our progress. We should have posted more but there was to little of interest to make the log worth while.

  • 1 × 3/8" Clear Rigid Thinwall Tubing ALE16015 Tubing.
  • 1 × 1" Clear Rigid Thinwall Tubing ALE16045 Tubing
  • 1 × 3D Printed Parts: http://www.thingiverse.com/thing:313341 http://www.thingiverse.com/thing:313341
  • 12 × Diffused Blue LED 5mm
  • 36 × Clear Orange LED 5mm

View all 11 components

View all 9 project logs

  • 2
    Step 2

    Build Payload MPDB:

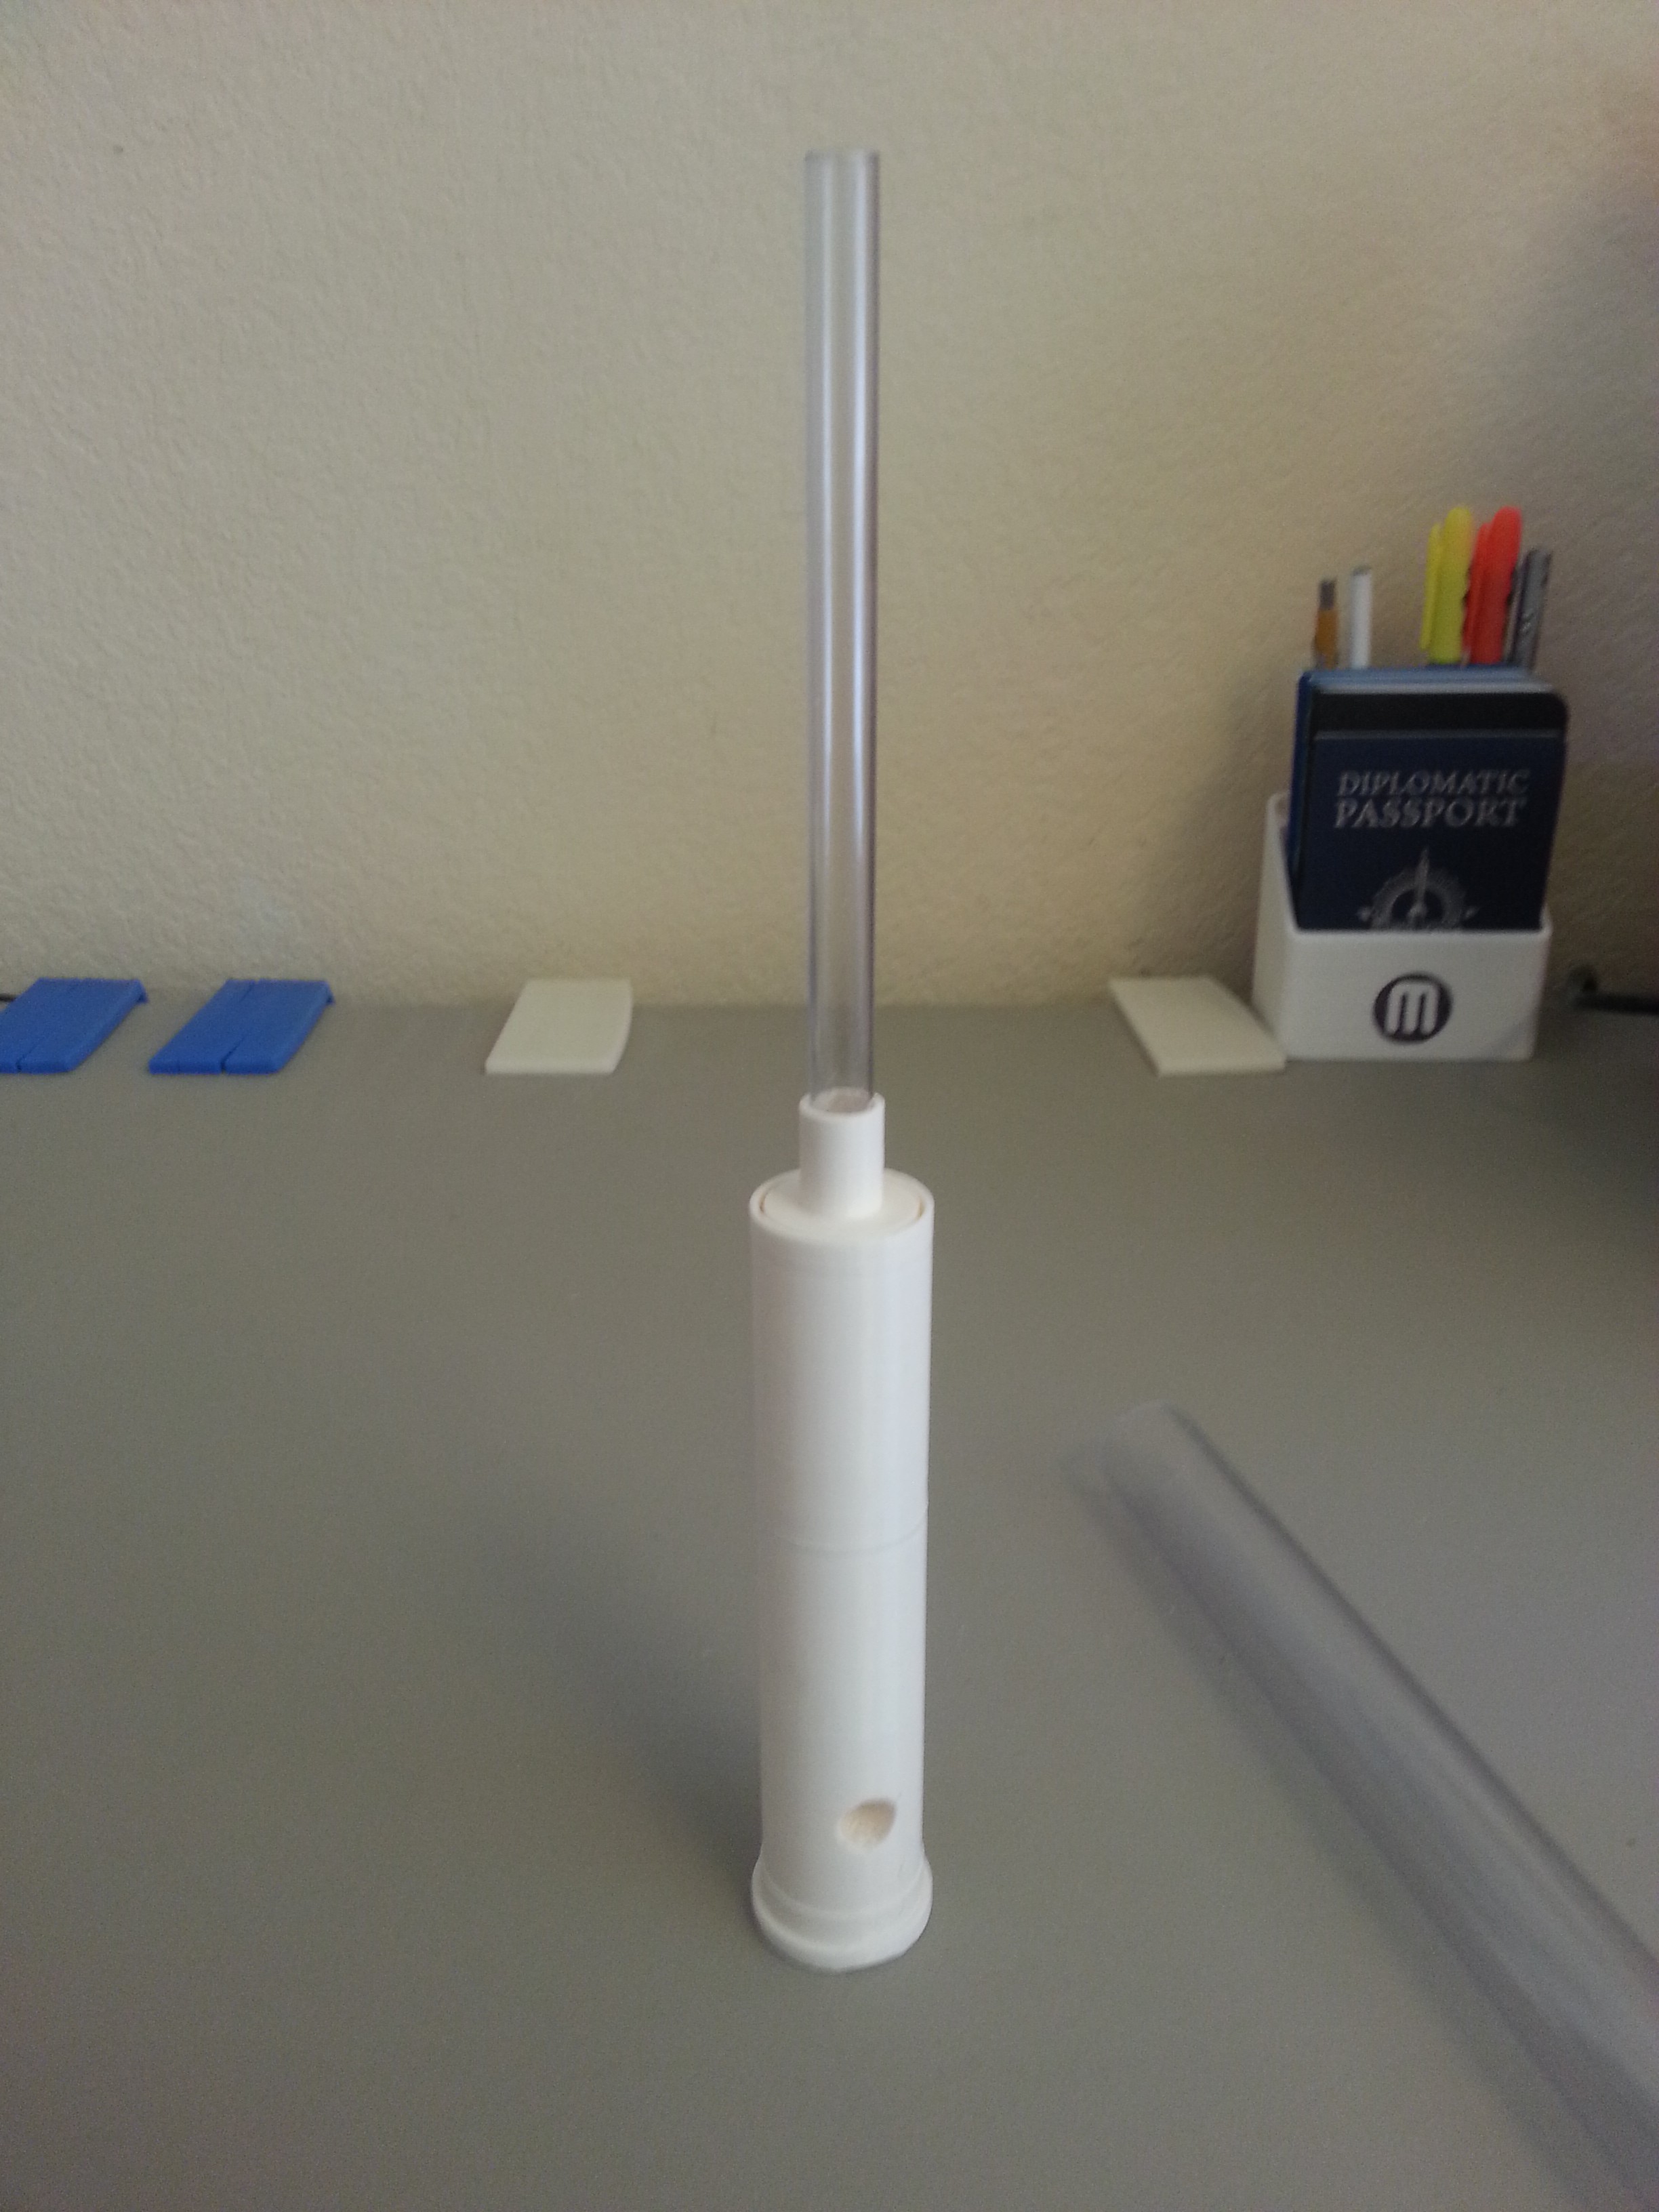
    1)  3D printed parts needed

    • 1x MPDB 1a
    • 1x MPDB 1b
    • 1x MPDB 2

    1) Cut Material:

    • Cut 1" tubing to 212mm
    • Cut 3/8" tubing to 130mm
    • Cut 3/8" tubing to 30mm

    2) Construct

    • Take 30 mm section of 3/8" tubing and place it into the center hole in the top of part MPDB 1a.

    • Take part MPDB 1b and place the bottom onto the 30mm section of 3/8" tubing and press part MPDB 1a and 1b together.

    • Take the 130mm section of 3/8" tubing and place it into the center hole of the top of MPDB 1b.

    • Take the section of 1" tubing and place it into the outside ring of part MPDB 1b (put the roughest cut end of the pipe into part MPDB 1b).

    • Put part MPDB 2 on the top of the 1" tubing, constructed above, alining the 3/8" tubing with center hole in part MPDB 2.

    • Press together until 1" tubing hits the first rig on part MPDB .
  • 3
    Step 3

View all 3 instructions

Enjoy this project?

Share

Discussions

Similar Projects

Does this project spark your interest?

Become a member to follow this project and never miss any updates