Close
0%
0%

DIY MIDI FIGHTER

My goal is to make a MIDI-controller that you can use to make music with.

Similar projects worth following
Are you a musician? Have you ever heard of the MIDI FIGHTER by DJ Techtools? Well, here is how to make one yourself! This is a MIDI device so you will need a DAW (like Ableton, Fruity Loops, Cubase, etc...) to use it. No other software is needed.

I've wanted to make a DIY MIDI Fighter for a long time. But I ran into a lot of problems cause I used an Arduino Uno at first. But I just couldn't make it work since the Arduino communicates via Serial and not MIDI. I had to install at least 3 of 4 softwares to convert the Serial signals into MIDI. Sometimes it worked and sometimes not, so I decided not to use the Arduino.

So after looking after boards that already send out MIDI signals, I found the Livid Brain Jr with 16 digital and analogue inputs and 16 digital outputs. And that's all I needed for this project. It's plug and play so you don't need any additional software for the board, but you can reprogram it if you want with a software called Brain V2 config.

Here is a track I made with this device: https://soundcloud.com/sd-aka-matte/finger-flow

  • 16 × Arcade Buttons Momentary switch
  • 1 × Livid Brain Jr A device that sends and recieves MIDI data from and to your computer
  • 32 × Wires
  • 1 × USB cable

  • 1
    Step 1

    Building the box

    First of all we need to make an enclosure. I decided to make my own cause I didn't find any online. I made mine in oak. I recommend that you don't make the box too small so you can fit the components inside. My box is 16cm deep, 16cm wide and 6.2cm tall on the inside. The wood is about 9mm thick. The holes for the buttons should be 30mm in diameter. If you make the enclosure yourself it might not look exactly the same as mine.

    To make the box you are going to need:
    • A saw
    • A drill with a diameter of 30mm
    • A file
    • A hammer
    • A knife
    • A pen
    • Nails
    • Sandpaper
    • Glue

    When you have all of these things you can start building it!

    1. Cut the wood plates

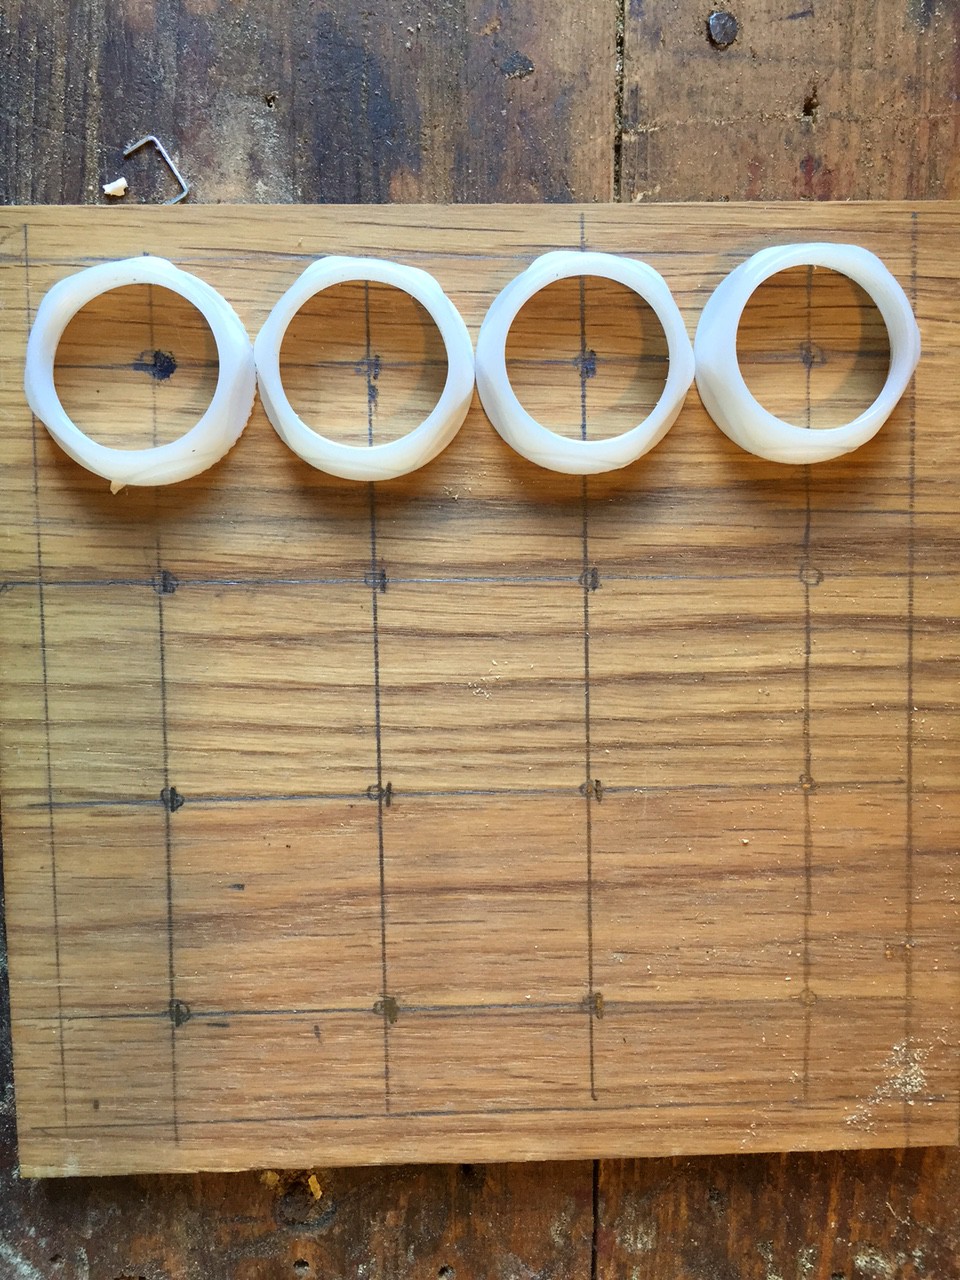
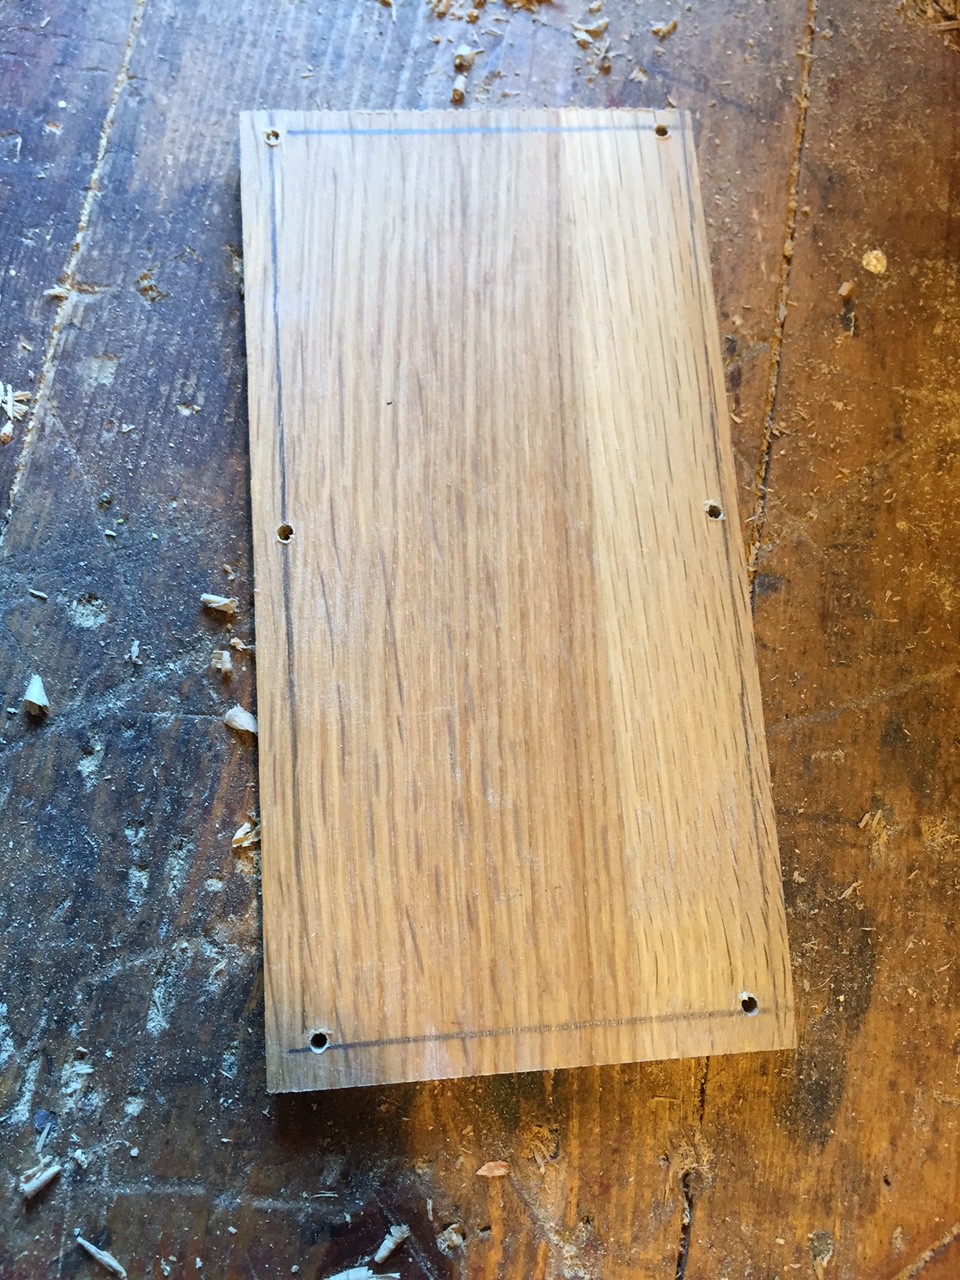
    First of all, cut the wooden plates to a wanted size. I recommend 16x 16x 6.5cm. Then draw out the holes for the buttons on the top plate. Next draw out the holes for the nails on the outer wood plates. When that is done check that everything fits together.

    Top plate:

    Side plate:

    2. Drill the holes

    This is the tricky part because when you drill the holes you want to make sure that the wood does not crack. So make sure you keep the plate secure with some nails for example. The wood will crack along the fibers if it cracks.

    Before you drill on the wood you are going to use, take a piece of wood you are NOT going to use for this project and drill a test hole with a 30mm drill and see if the button fits. When that is checked drill the 16 holes on the top plate you are going to use.

    Don't forget to drill the USB hole as well! Use a small drill for this. If you did forget (like I did) you can drill it later. And after the USB hole is drilled, use a file to make it square.

    Good luck! ;)

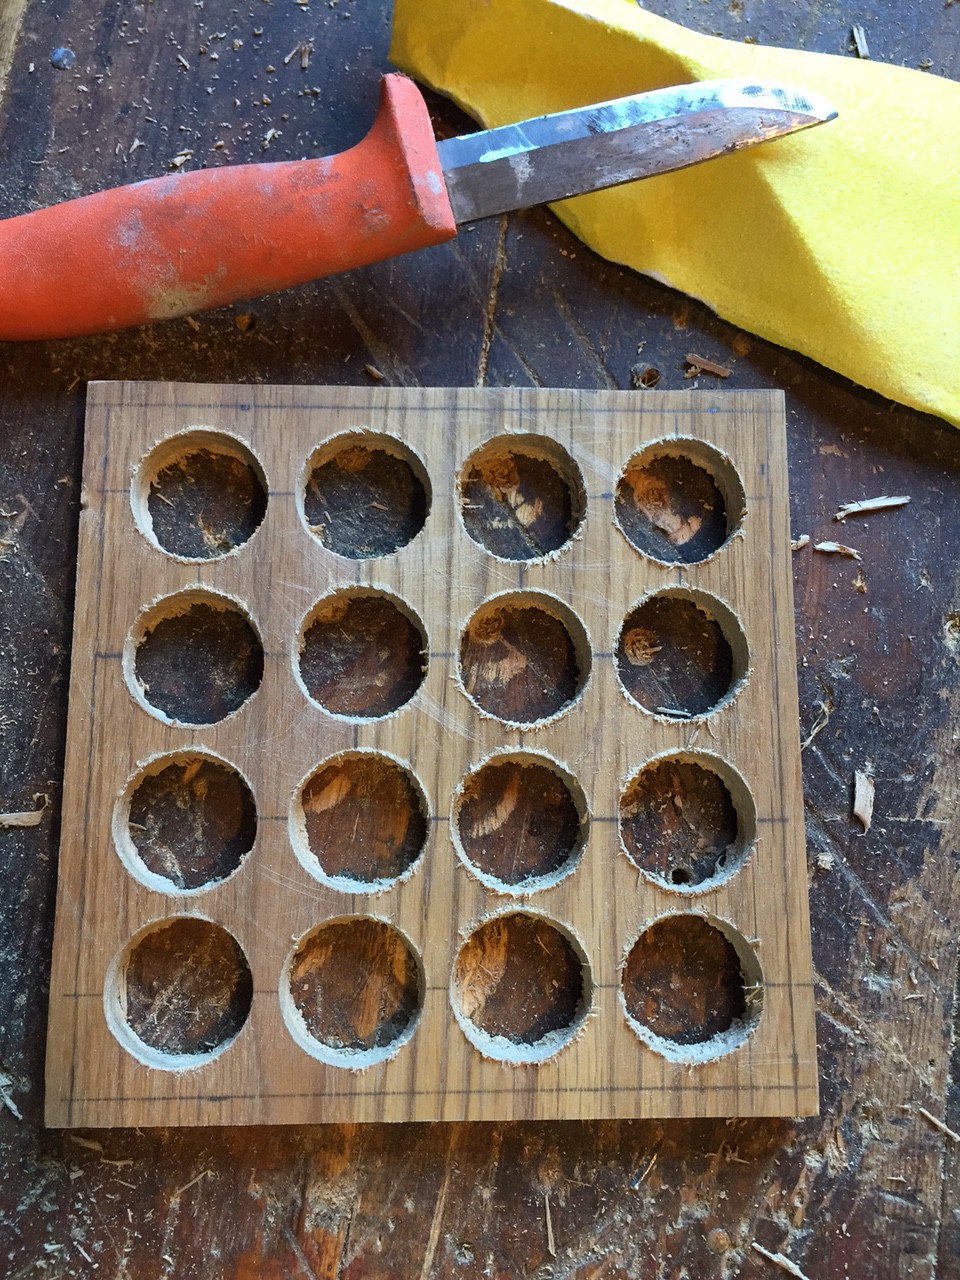
    3. Clean the holes

    Take a sharp knife an sandpaper and make the holes rounder and cleaner.

    4. Putting everything together

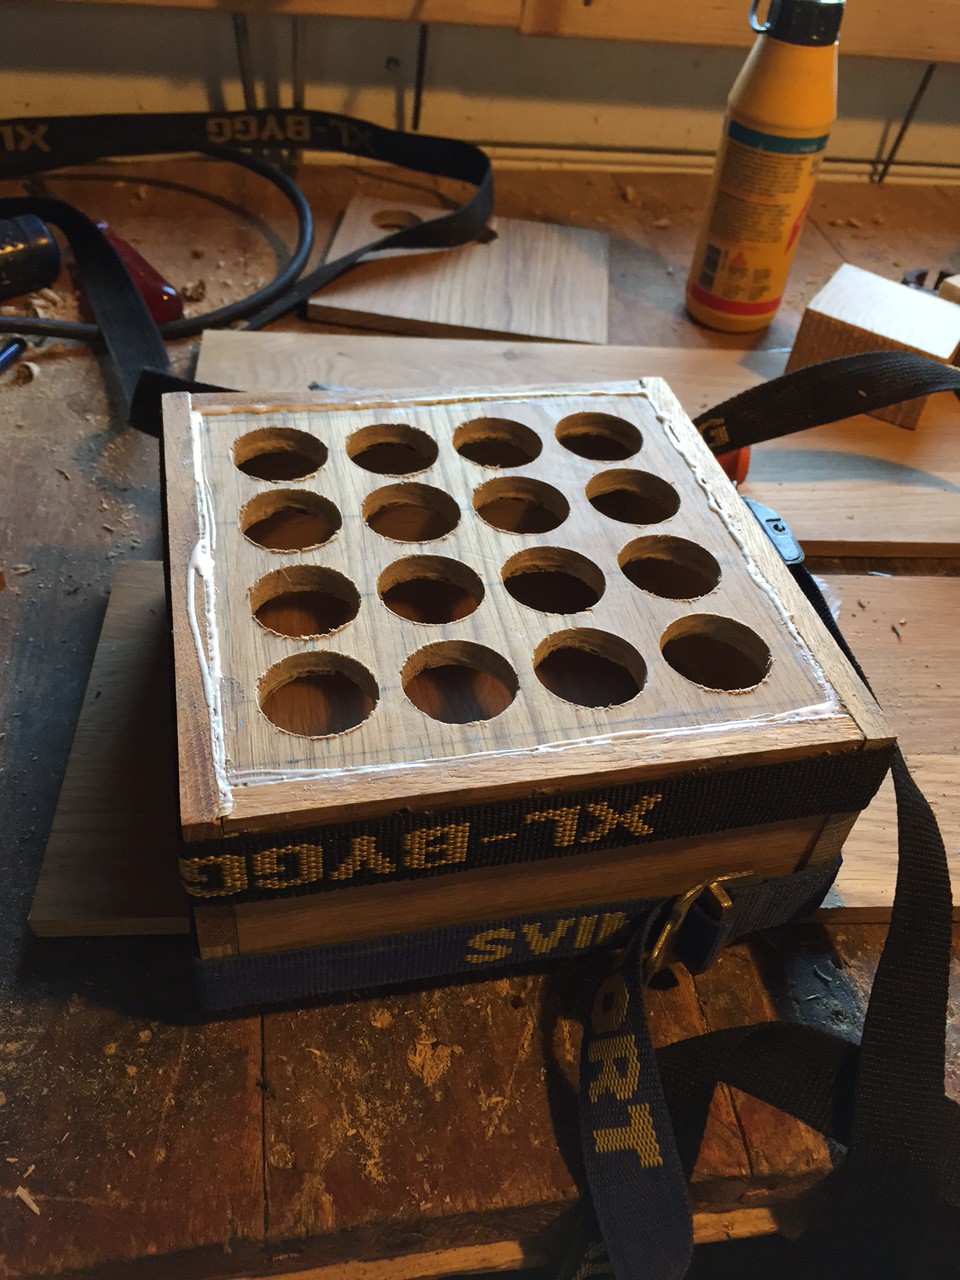
    Next up, glue and hammer the nails in the holes on the side plates. When you are done, secure the box and leave it for the night. But don't glue or hammer the bottom plate! Leave the bottom plate for later.

    5. Make the corners round (optional)

    For the final step on building the enclosure, use a file or sandpaper to make the corners round.

  • 2
    Step 2

    Yay! You made it to the second step! In this step we will solder all the components and connect them to the Brain Jr.

    For this step you will need:

    • A soldering iron
    • Solder
    • A wire stripper
    • 16 Arcade buttons
    • Wires

    1. Strip the wires

    Strip the wires.


    2. Put the buttons in place and solder

    I used the box to keep the buttons in place. So all you need to do is put the buttons as you want. When all the buttons are secured in place you can start soldering the wires to the buttons.

    5. Secure the board

    Take the bottom plate and secure the Brain Jr in place with screws. Don't forget that the USB of the Brain Jr has to be at the same position as the USB- hole.

    4. Connect the buttons

    When all the wires are soldered to the buttons you can connect them to the brain. Like the Arduino you don't need to solder the wires to the board, all you need to do is to stick the wires in the "Buttons" column (= digital inputs) of the Brain Jr (it's written on the Brain Jr).

    5. Close the box

    Now all you need to do is to put 2 or 3 screws in the bottom plate so that the box is completely closed. I recommend not to glue the bottom plate in place, cause then you can still open the box and fix a problem or maybe add something more to it.

    Congratulations! You now have a DIY MIDI Fighter in front of you! What are you waiting for? Go a head and make some crazy beats with it! ;)

View all instructions

Enjoy this project?

Share

Discussions

AVR wrote 12/02/2015 at 09:06 point

started a similar project years ago, and I'm just revisiting it now, glad others are building similar ones, more resources to share ! :)

  Are you sure? yes | no

Michael Mitchell wrote 08/13/2015 at 09:32 point

This is cool! We actually considered doing a wooden housing for the Midi Fighter classic at one point. The prototype looked very similar to this.

- MF designer

  Are you sure? yes | no

Mathias Sundgren wrote 08/13/2015 at 10:48 point

Thanx!

  Are you sure? yes | no

Similar Projects

Does this project spark your interest?

Become a member to follow this project and never miss any updates