Hooptie J
-
More Code and Electronics
11/05/2015 at 03:56 • 0 commentsThis week I've been spending time in 123D.Circuits and Fritzing Getting all my wires mapped, and testing out bits of code.
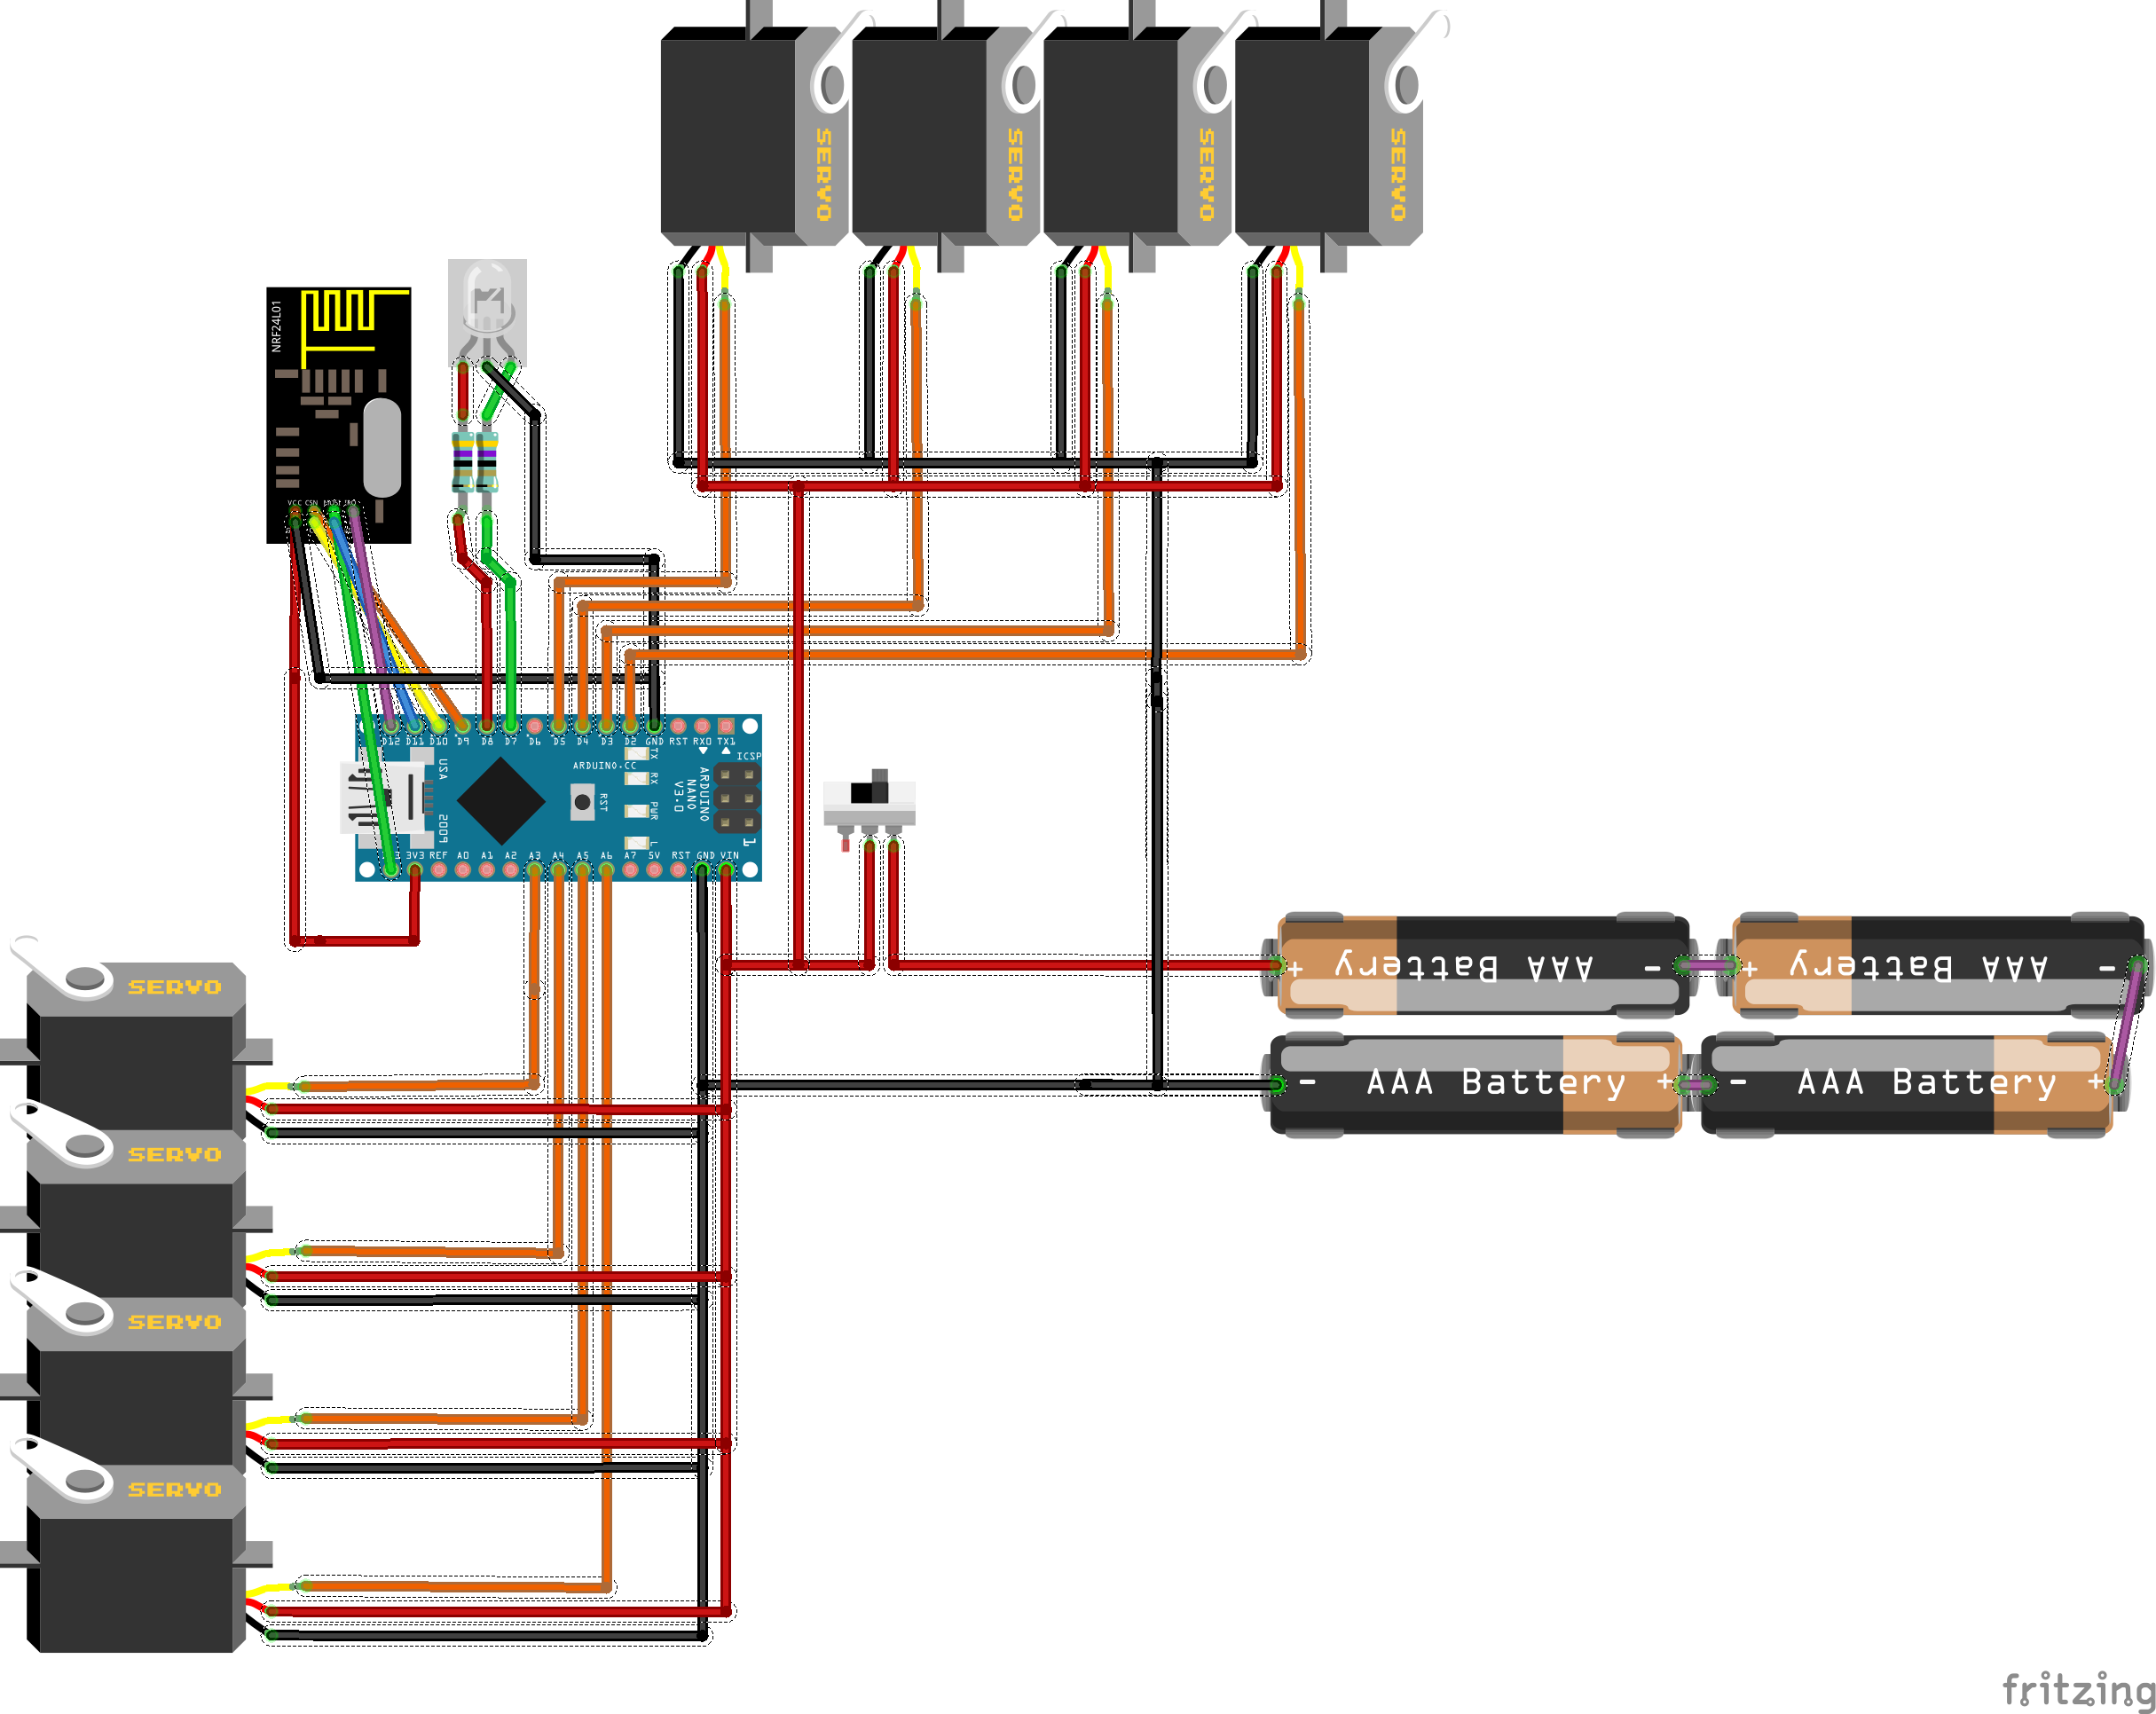
I bring you The robot-side Schematic - Thanks to fritzing.org!![]()
We're looking at - The 8 Robot Leg Servos, Battery pack for power, Arduino Nano uC, CommonAnode Dual Color LED, and the NrF24l01 2.4 module.
The receiver Powers on, and lights the red LED, once the radio gets a link from the transmitter/controller side the LED lights green, it will flip red if the signal is interrupted or out of range.
Transmitter/Controller side Coming Soon! -
Brraaaaaaiiinns..
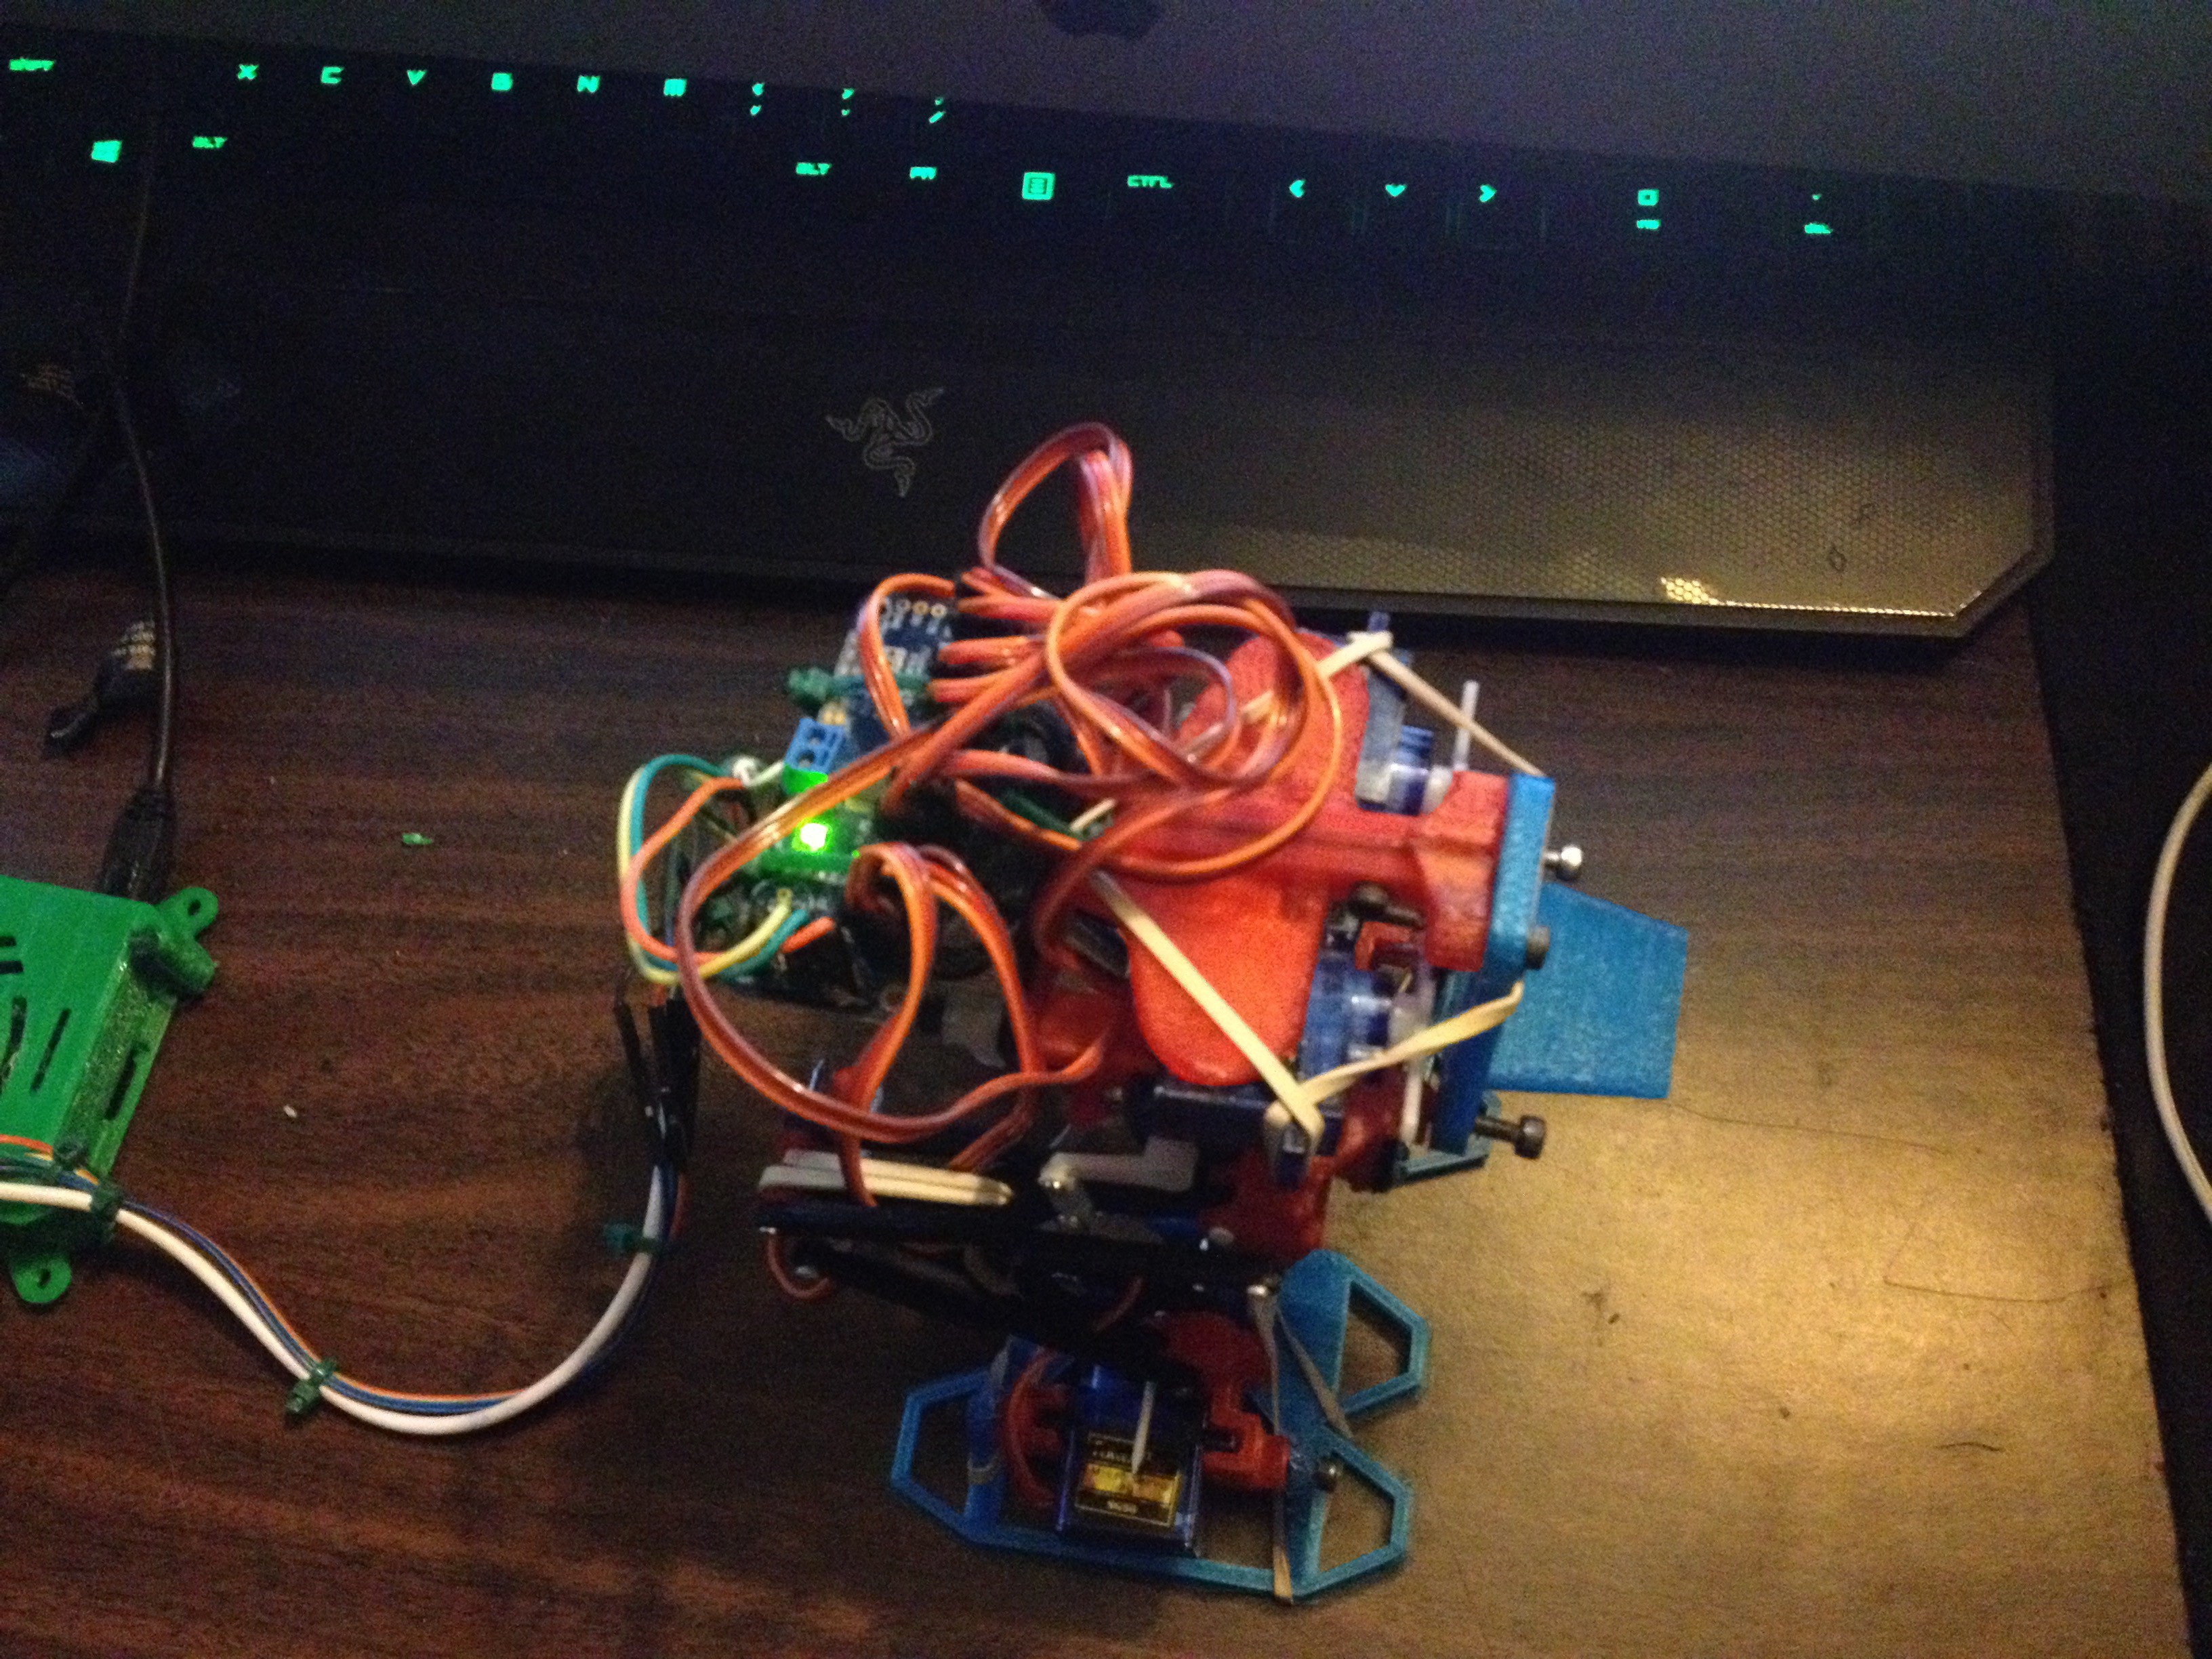
10/30/2015 at 19:20 • 0 commentsGot Great work progress on the Electronics this week!
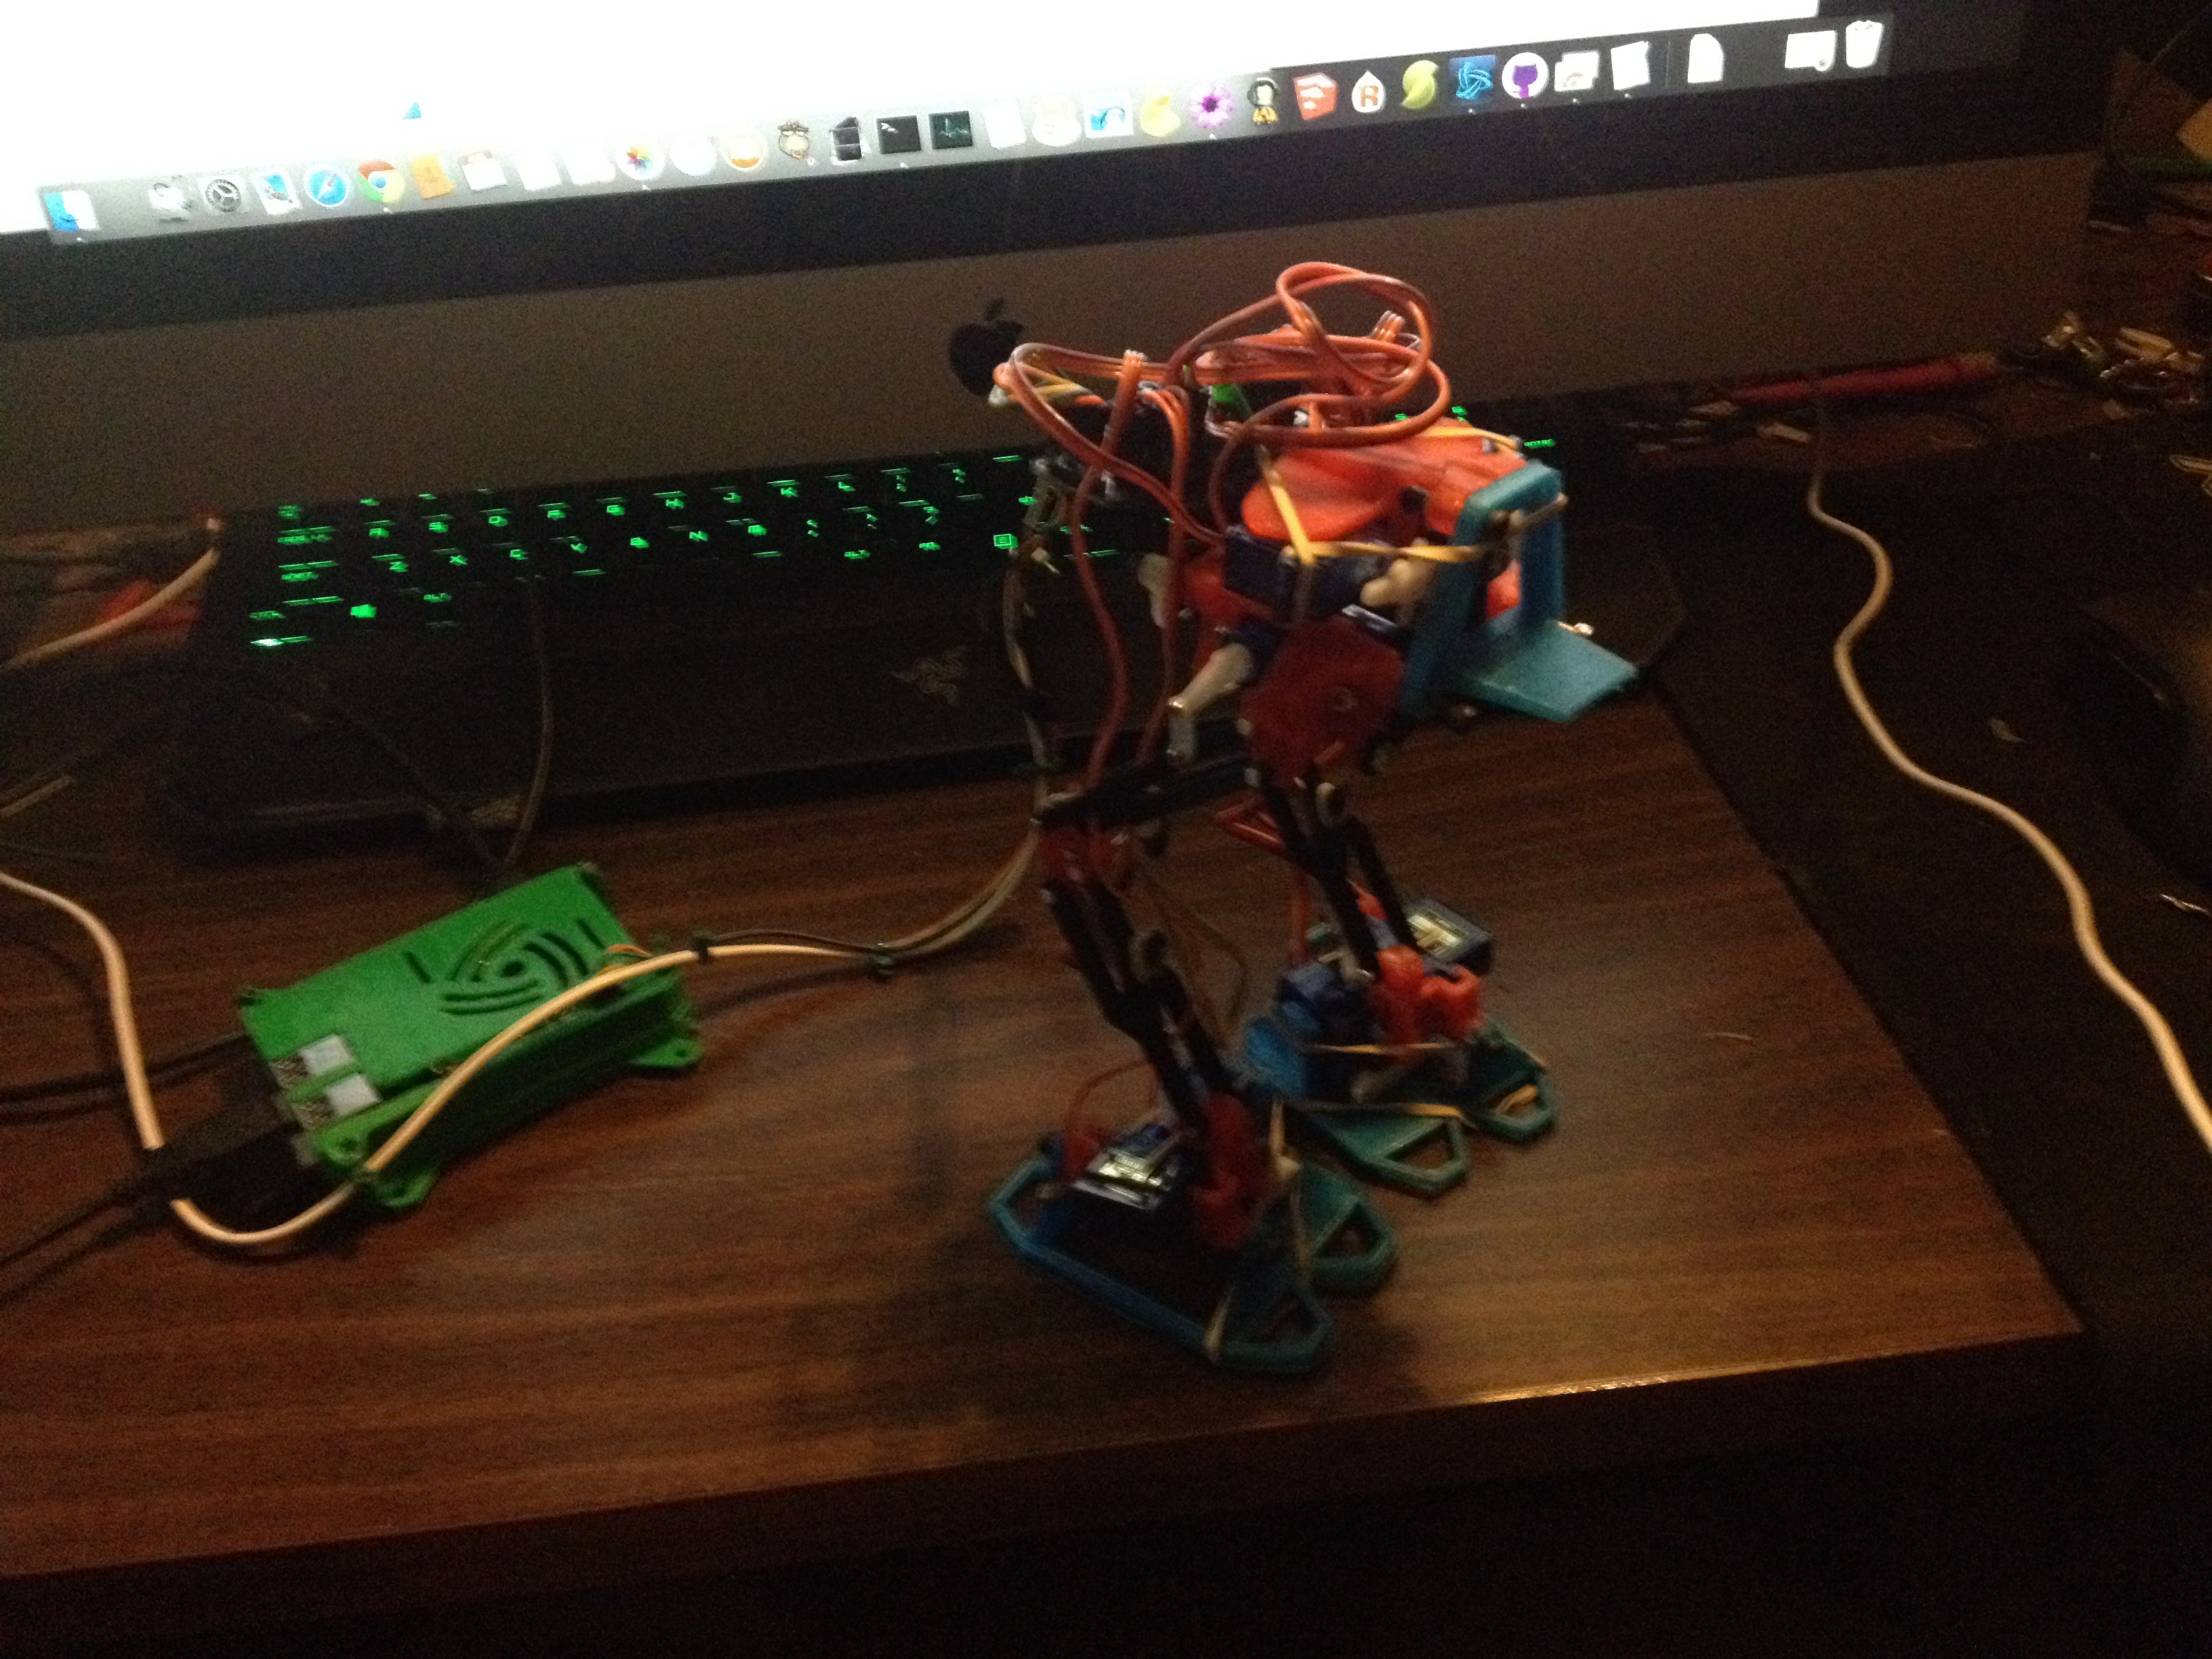
Basic "Control Station" and 'Bot Controllers are up and running on Arduino-![]()
"Control Station" Electronics
- Arduino Mega 2650
- NRF24L01 2.4ghz transceiver.
- Sticks and buttons!
- USB Powered+debug
- printed control housing? - long term
Bot side electronics
- Arduino Nano 328 5v/16
- NRF24L01 2.4ghz transciever
- custom Power Harness
- 6v battery powered (4x AA or AAA)
- 8 Servos
I have Radio Link working well, and servo direct control functional, time for some wiring and Animation work!
- More updates inbound! (i took a whole mess of pics) -
Ive been away ! Updates Inbound!
10/23/2015 at 22:19 • 3 commentsSorry all, There's been some progress, but ive been totally wiped out by Real life -
spent 2 weeks sick with a throat infection, no progress-
torn rotator cuff - yeah, a 5'10 150lb guy probably shouldnt move a full sized file cabinet alone without a dolly, my dad thanked me for getting it out of his house, but recovering from a throat infection , then tearing my rotator cuff, ive seriously hurt my ability to Day-to-day anything, so, very little progress for almost a month
that all said - the last week or so has been a whirlwind of progress -New Control systems Have arrived! - Arduino based Brains and controller, we'll be seeing a Nano328 taking the place of the Raspi+I2c Board, and a Mega 2560 on the base station end, NRF24L01 Wireless 2.4 radio link .
i DID get extras of EVERYTHING this time, ive got an Extra Nano, and a couple of spare 2.4 transceivers,Ive already got basic "stick to servo" controls functional, Sidenote* Arduino is SUPER easy to get started with..
I also ordered a Bucket of Extra Servos to replace the ones ive damaged already (both waist servos, and one ankle servo have developed dead spots and/or grindy gears) , with enough leftover for a second bot.
that said, A Second Bot is under construction - calling him "One", started calling the original bot "Zero".
plans are to test against each other for part and software revisions, a walking "spare parts supply" and possibly to have an extra robot for demos or purchase possibilities.Ive Also got Mk3 UNTETHERED - with the new Arduino + 2.4ghz link system, it was as simple as slapping on some AAs in a battery pack and Off to the races!
I'll get some more in-depth updates and pics later! -
Foot/Ankle Mechanical redesign pass 1 - Done!
09/25/2015 at 05:31 • 0 commentsFinally got some time to work on the ankle/foot attach design -
I made a stop at Harbor Freight this week, purchased a "Small metric hardware" variety pack - and have been installing M3 & M4 hardware throughout.
No more random wood screws- That said - A few less limitations on the Design process.
Left New - Right Old
![]()
its 5 parts, up from 1.
![]()
Its a Bit more complicated, But much easer to print, although 5 parts instead of one, they all fit just fine on a single plate (minus the footpad) though.
After battling my Q3D for a few hours today -
![]()
It fits together Great - 0.25mm gaps in the design, snug fit after printing.
![]()
The leg bones fit quite a bit easier, but , I cracked the servo mounts on the new footpad, probably will need a "strengthening" pass and a definitely a new print.
![]()
Its held together by M3 hardware now, 3x 5mm, 1x 10mm. The heel side of the foot pivot is now an M4 x5mm
More printing to do, been outlining some software ideas, More updates as they come!
-
Success and De Feet!
09/04/2015 at 22:06 • 0 commentsUpdate on the foot re-design process - New "foot pad" is designed, now working on modifying the ankle parts to accommodate them -
![]()
layed-out some quickie adaptor plates to mount them in the mean-time.1 Foot printed, looks 100%!, printing "left" now, and the ankle-adaptors next -
Also - Have spent the last few nights (several till 3a+) trying to wrap my head around using python to control it- Updates on that later.
I'll be out of town for a few days so no updates, but im taking the 'bot with for some show&tell, who knows maybe i'll be struck by some inspiration on how to get past my python woes.
-
Servo Brace Progress
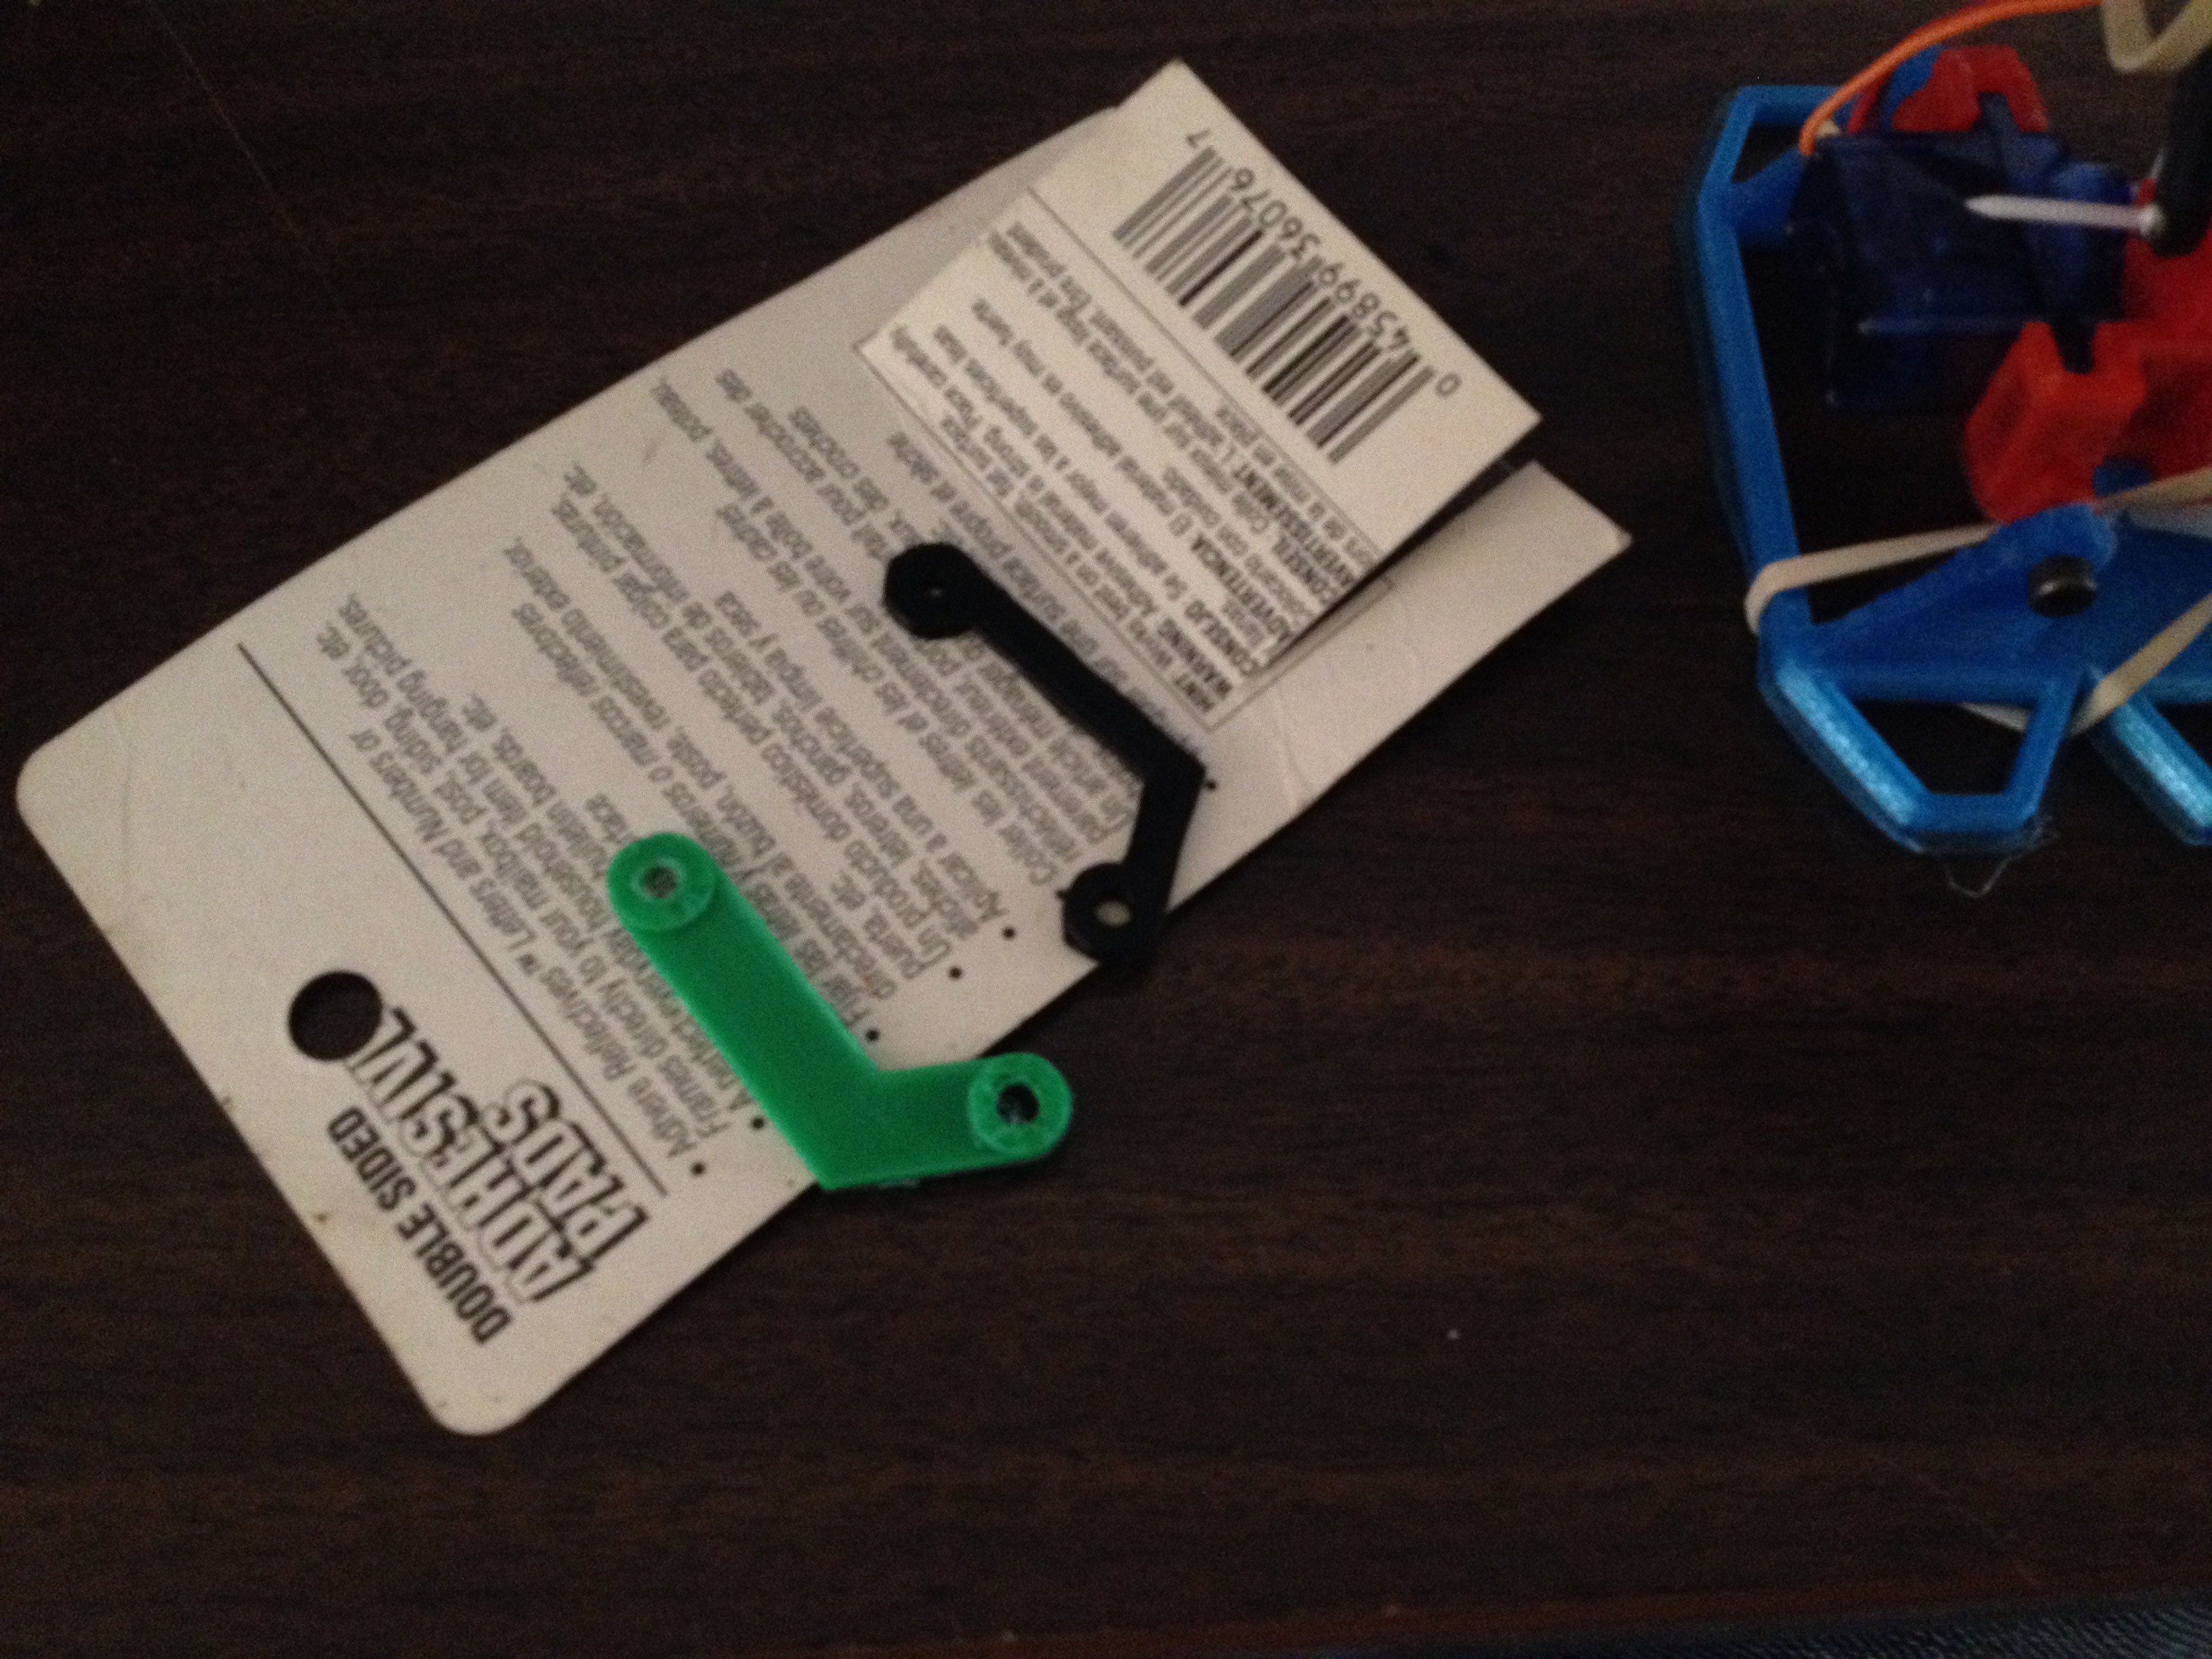
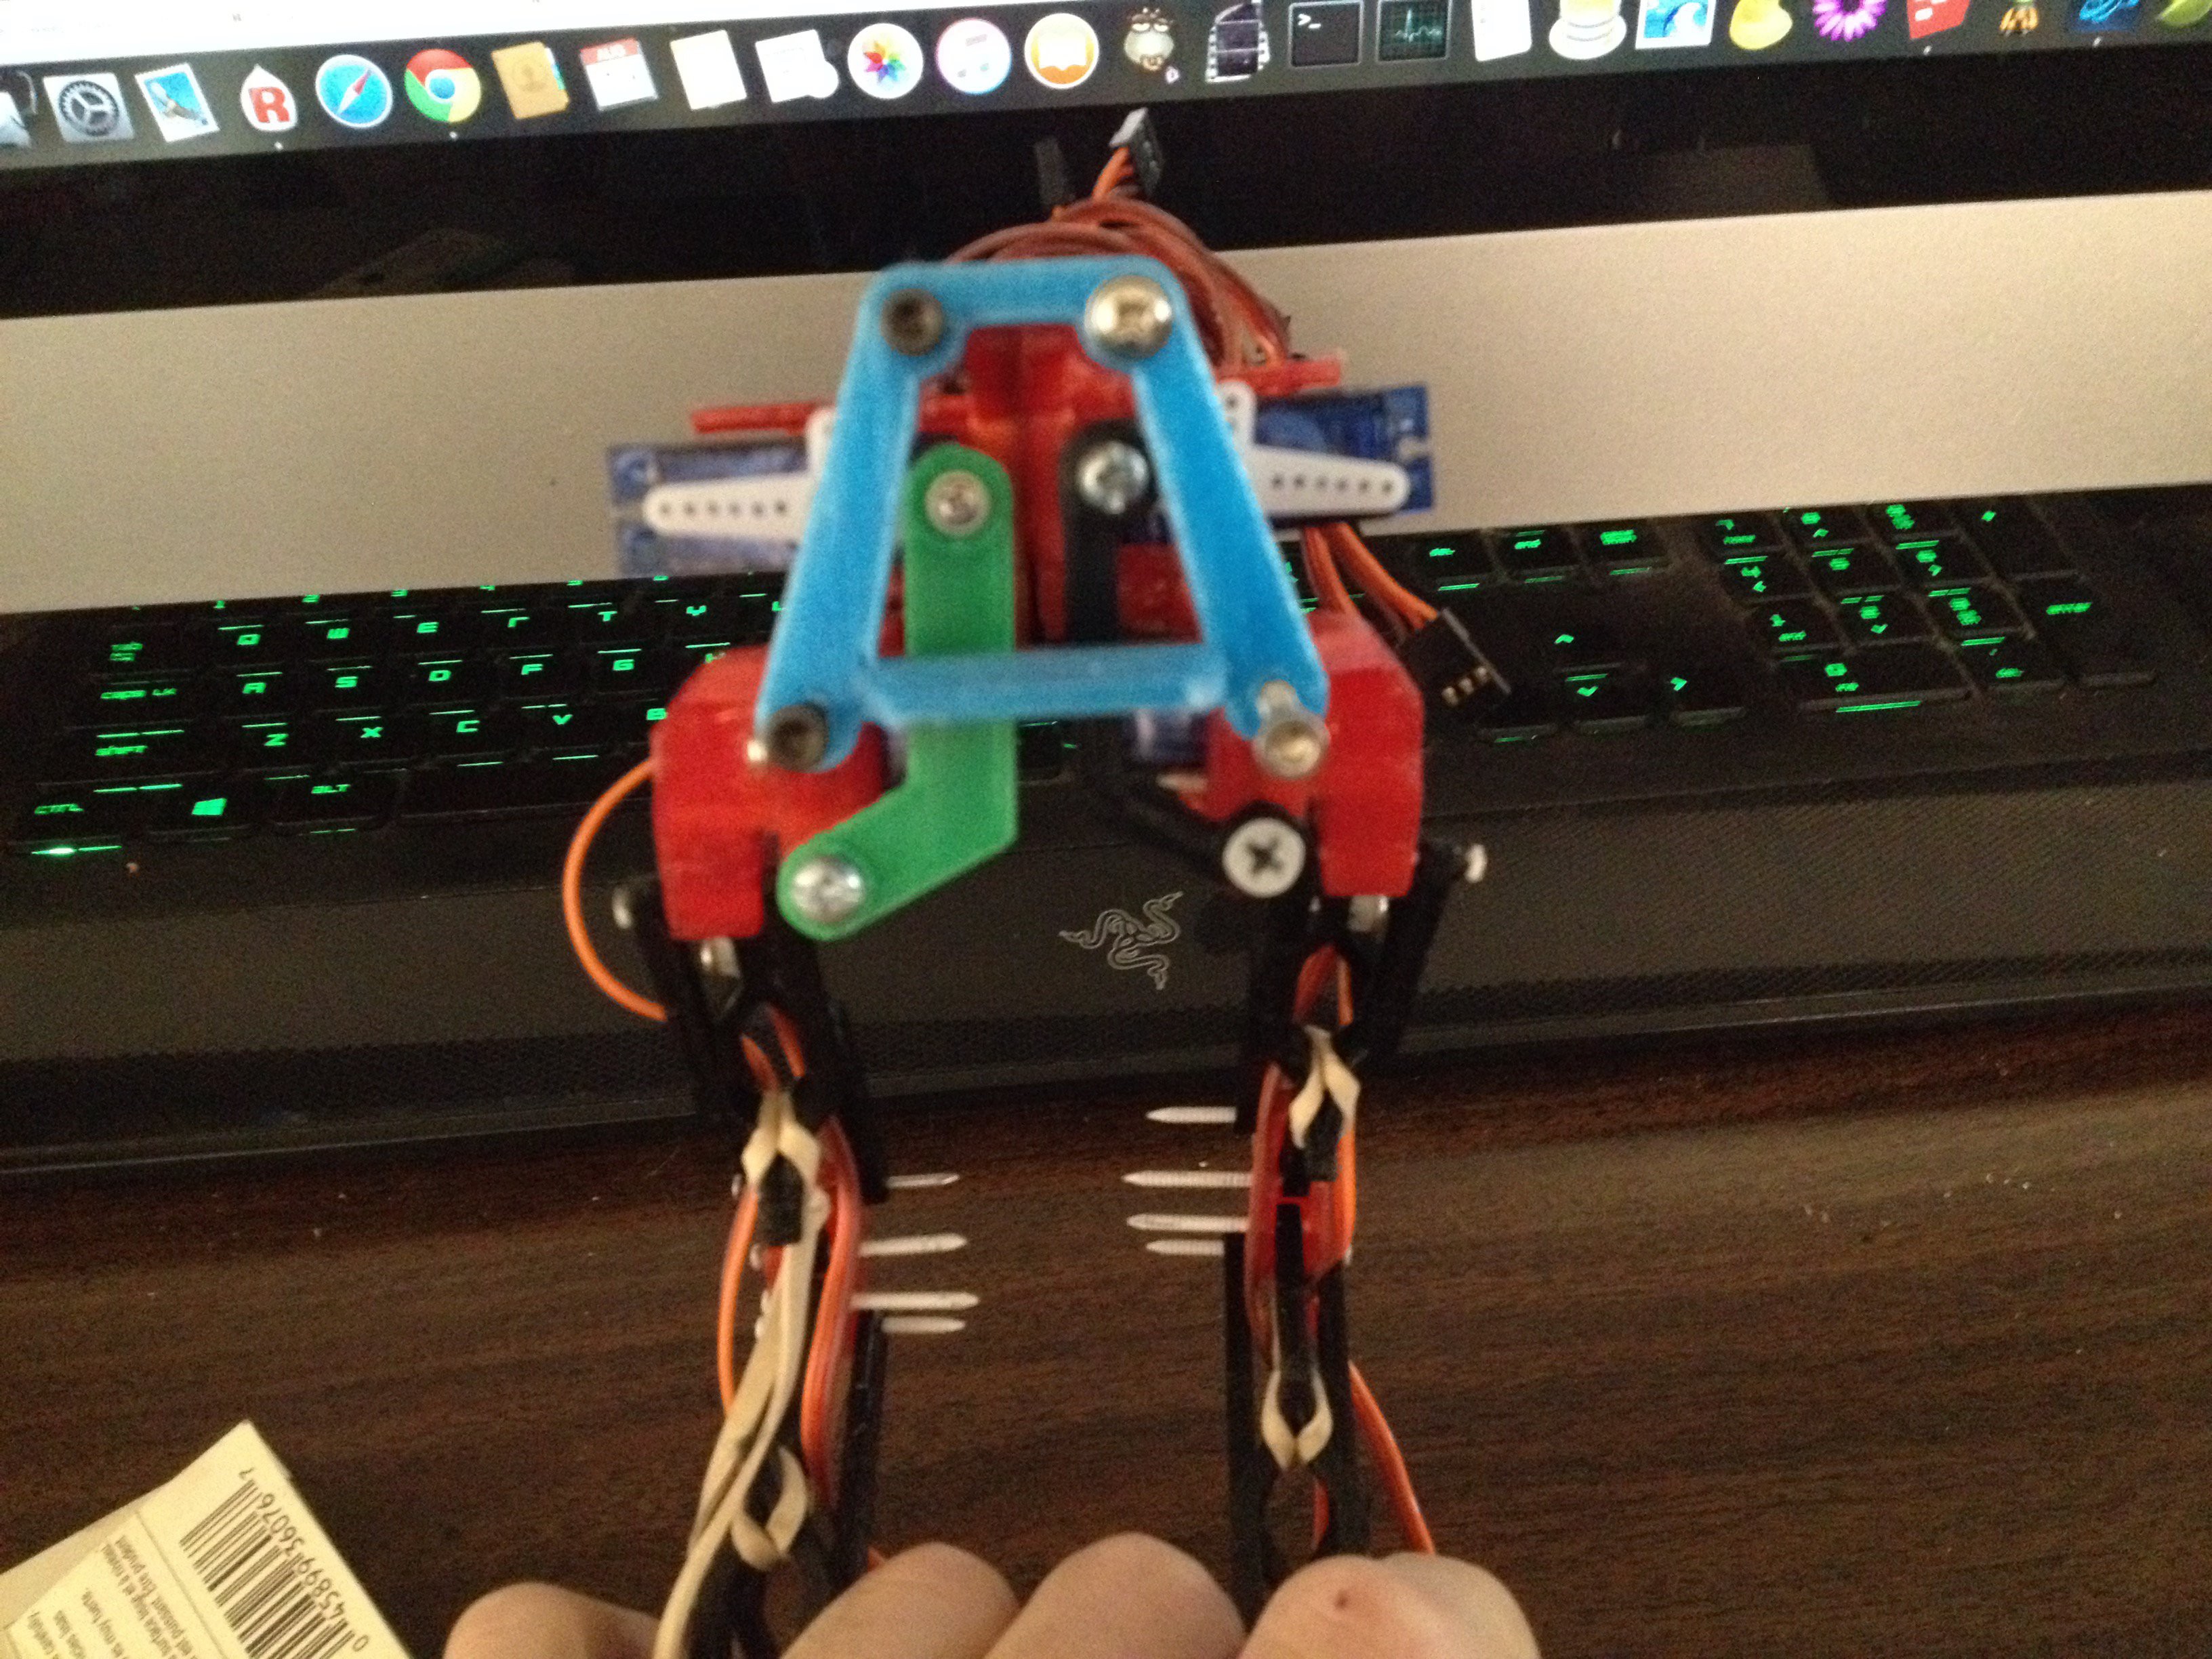
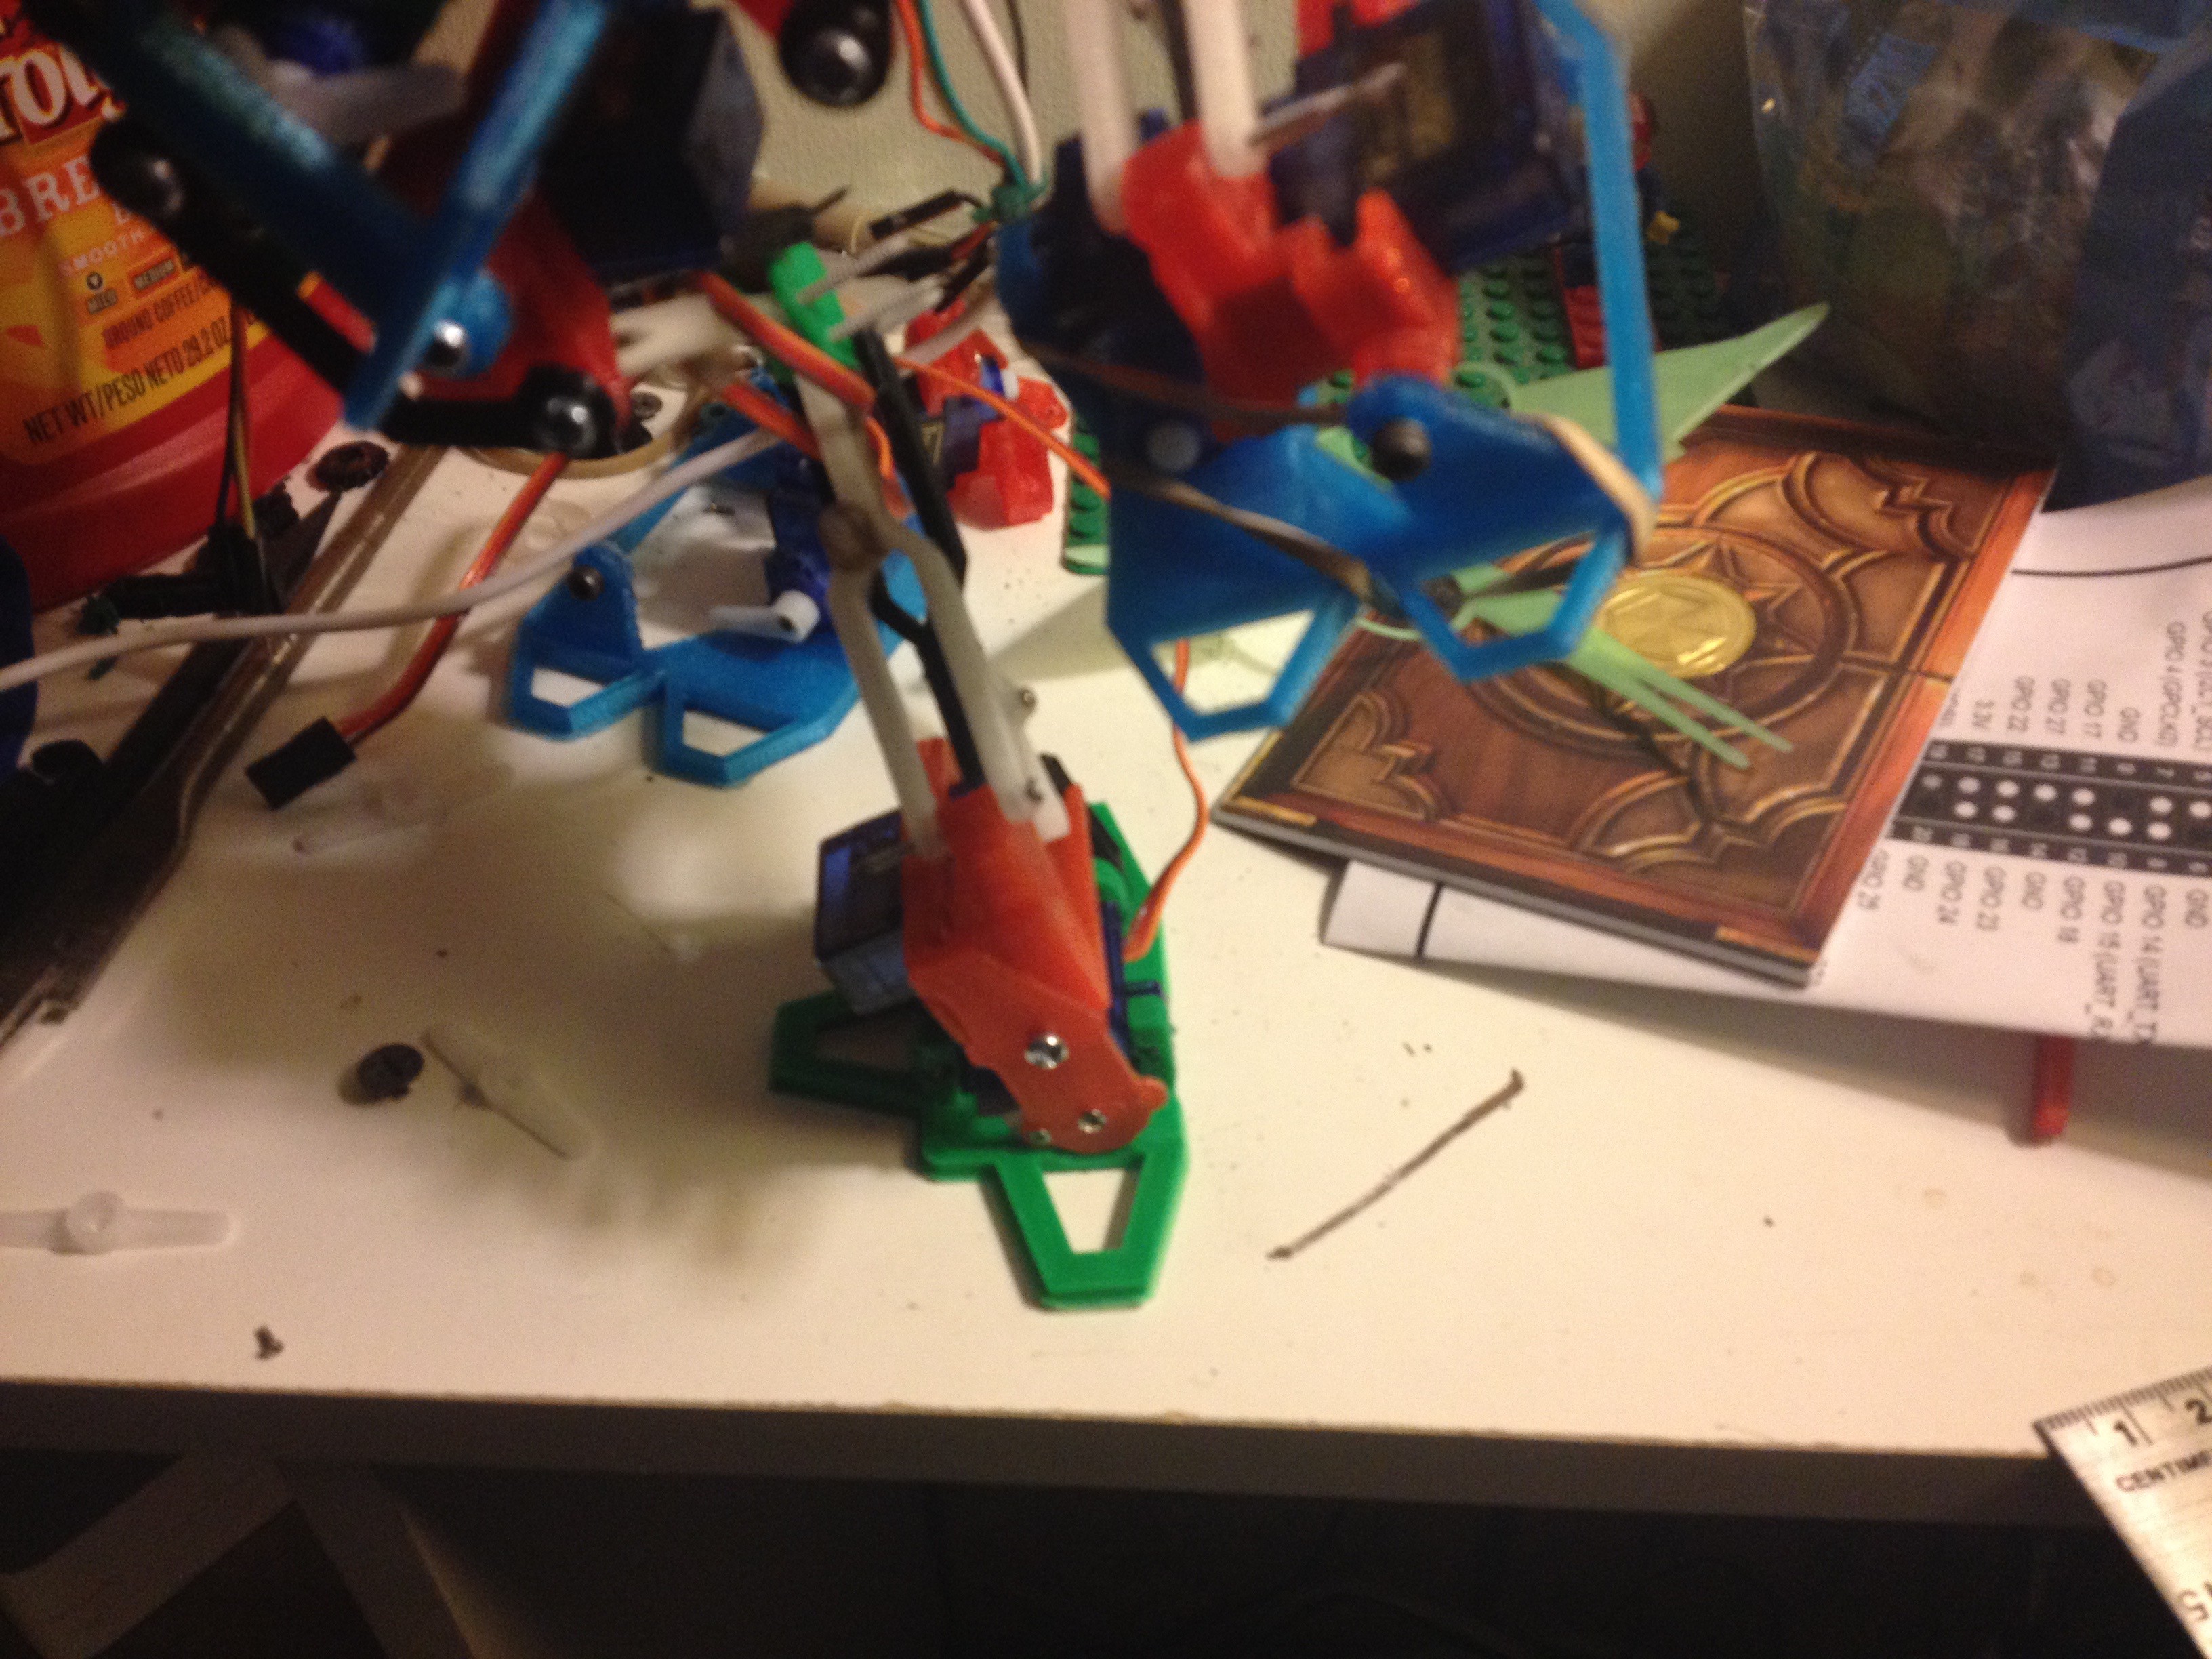
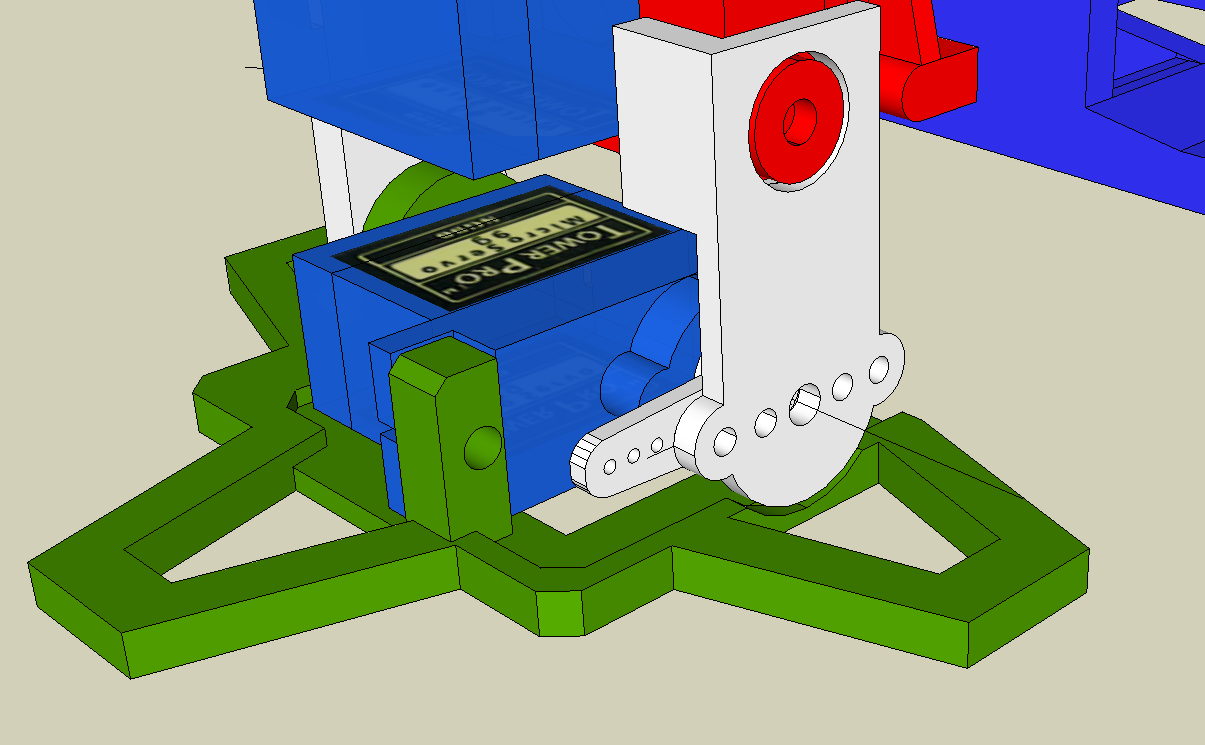
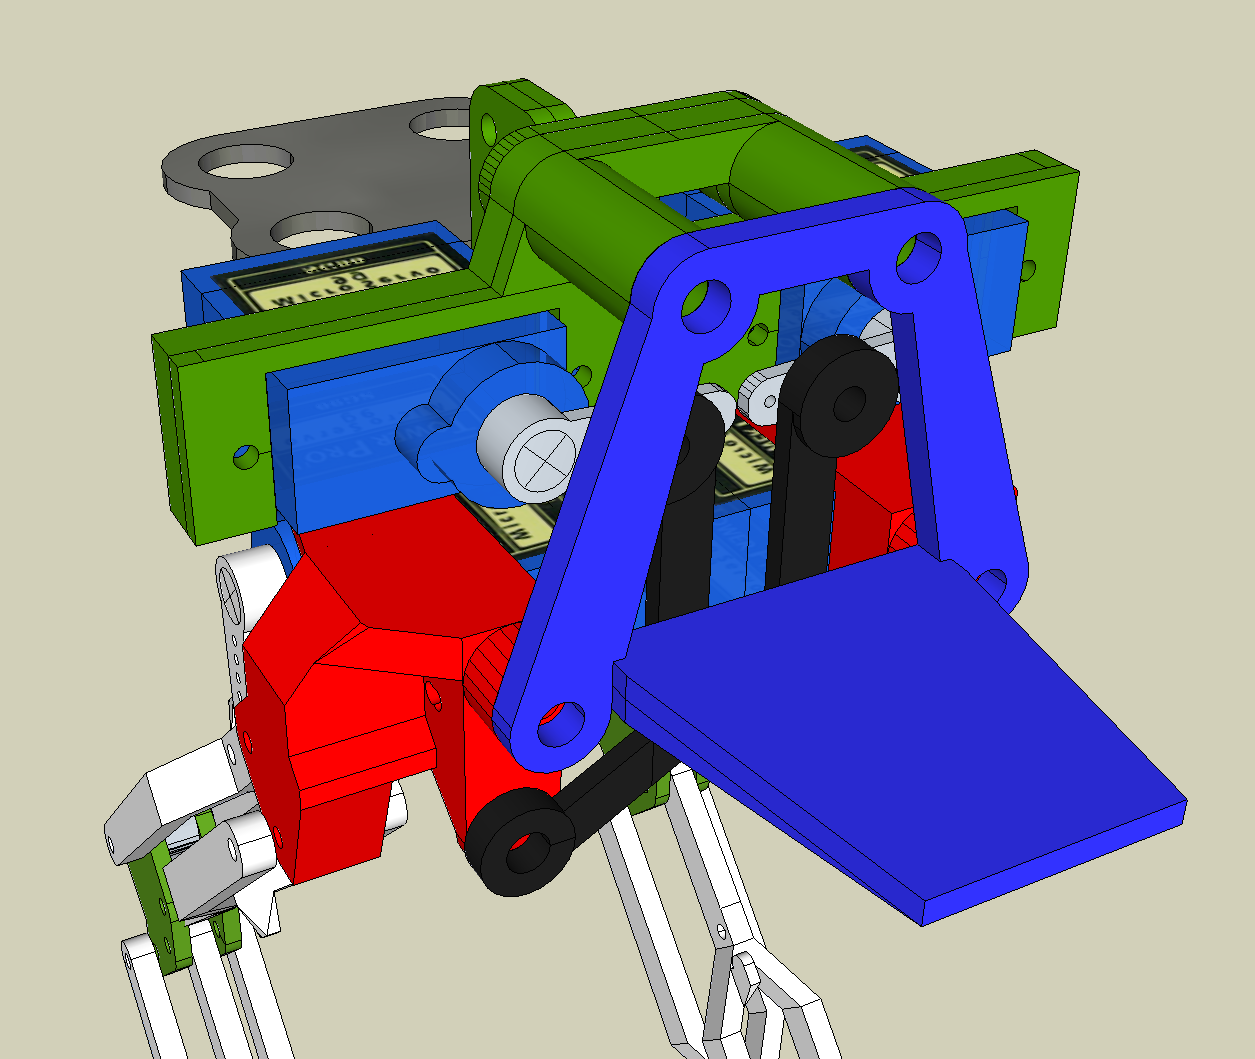
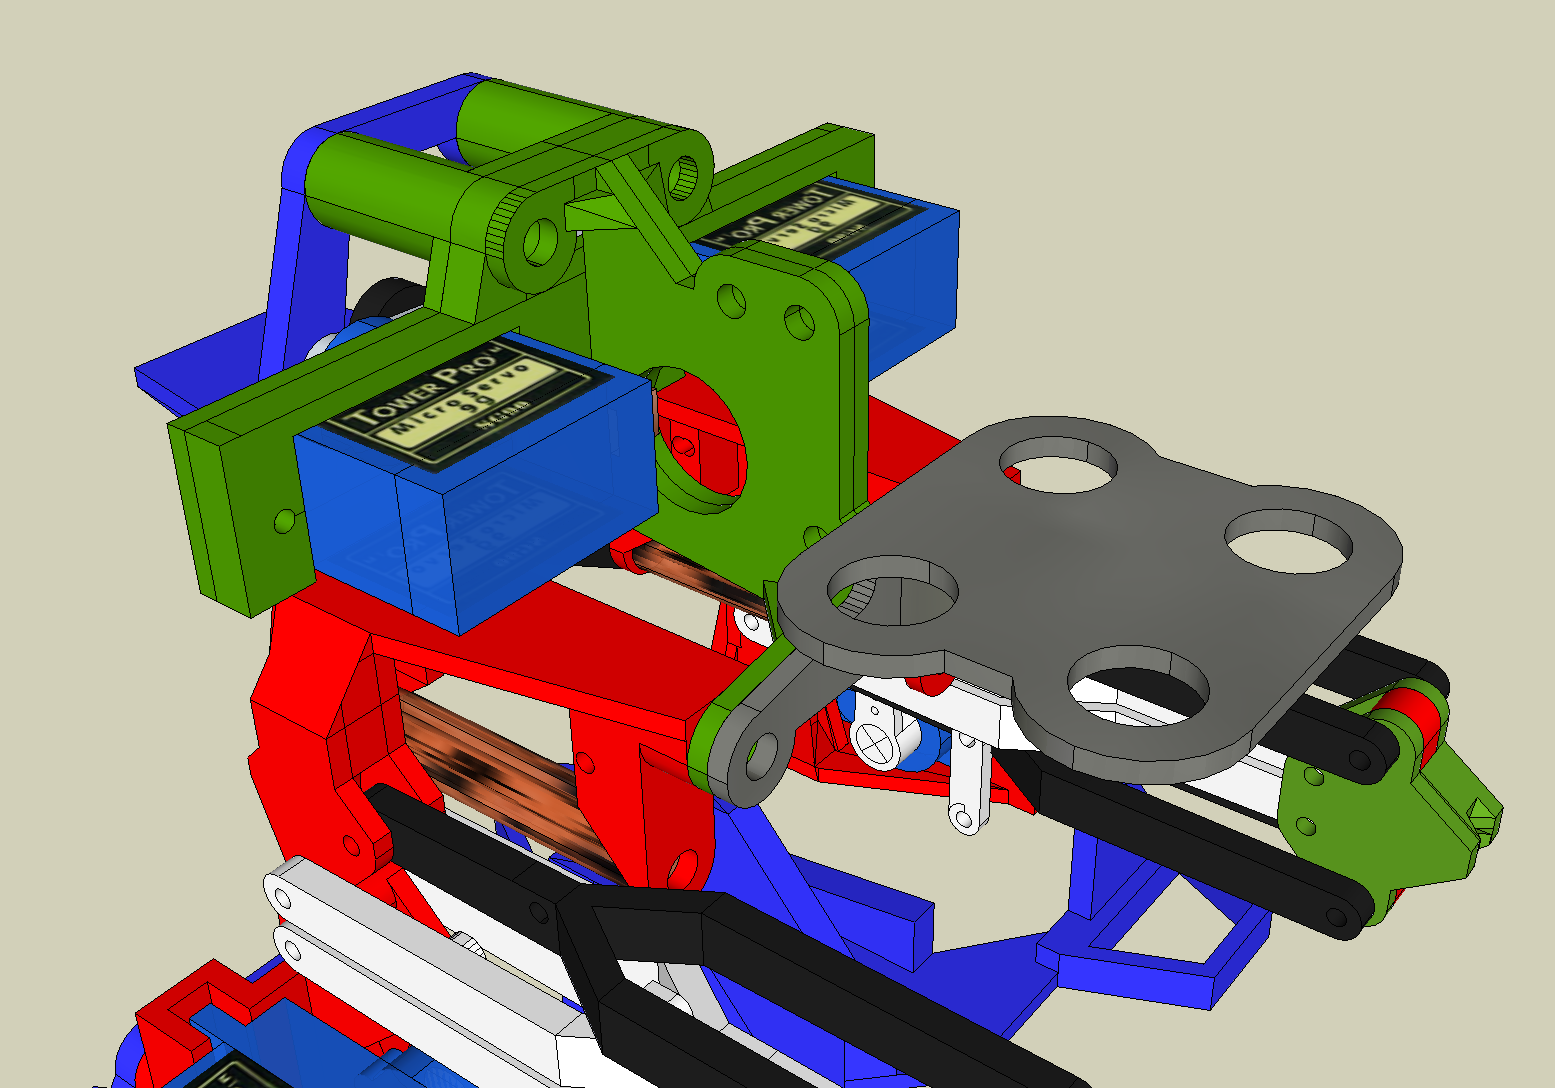
09/02/2015 at 06:14 • 0 commentsAs Promised - Update on the "waist" servo braces.
basic design done and printed - I'll definitely be making a cosmetic pass later, im not a fan of the looks of these, but it works substantially better than the previous "fancy" ribcage.
![]()
![]() And the part count grows by 2. - from a 2 piece "ribs" to 2 parts for the servo mount, and 2 for the "center" - again , no joke, Anyone who wants to help name the parts are welcome to comment - ive taken to calling this the green section the "ribs"
And the part count grows by 2. - from a 2 piece "ribs" to 2 parts for the servo mount, and 2 for the "center" - again , no joke, Anyone who wants to help name the parts are welcome to comment - ive taken to calling this the green section the "ribs" And - In the flesh
![]()
-
Legbones connected to the ... El-bone?
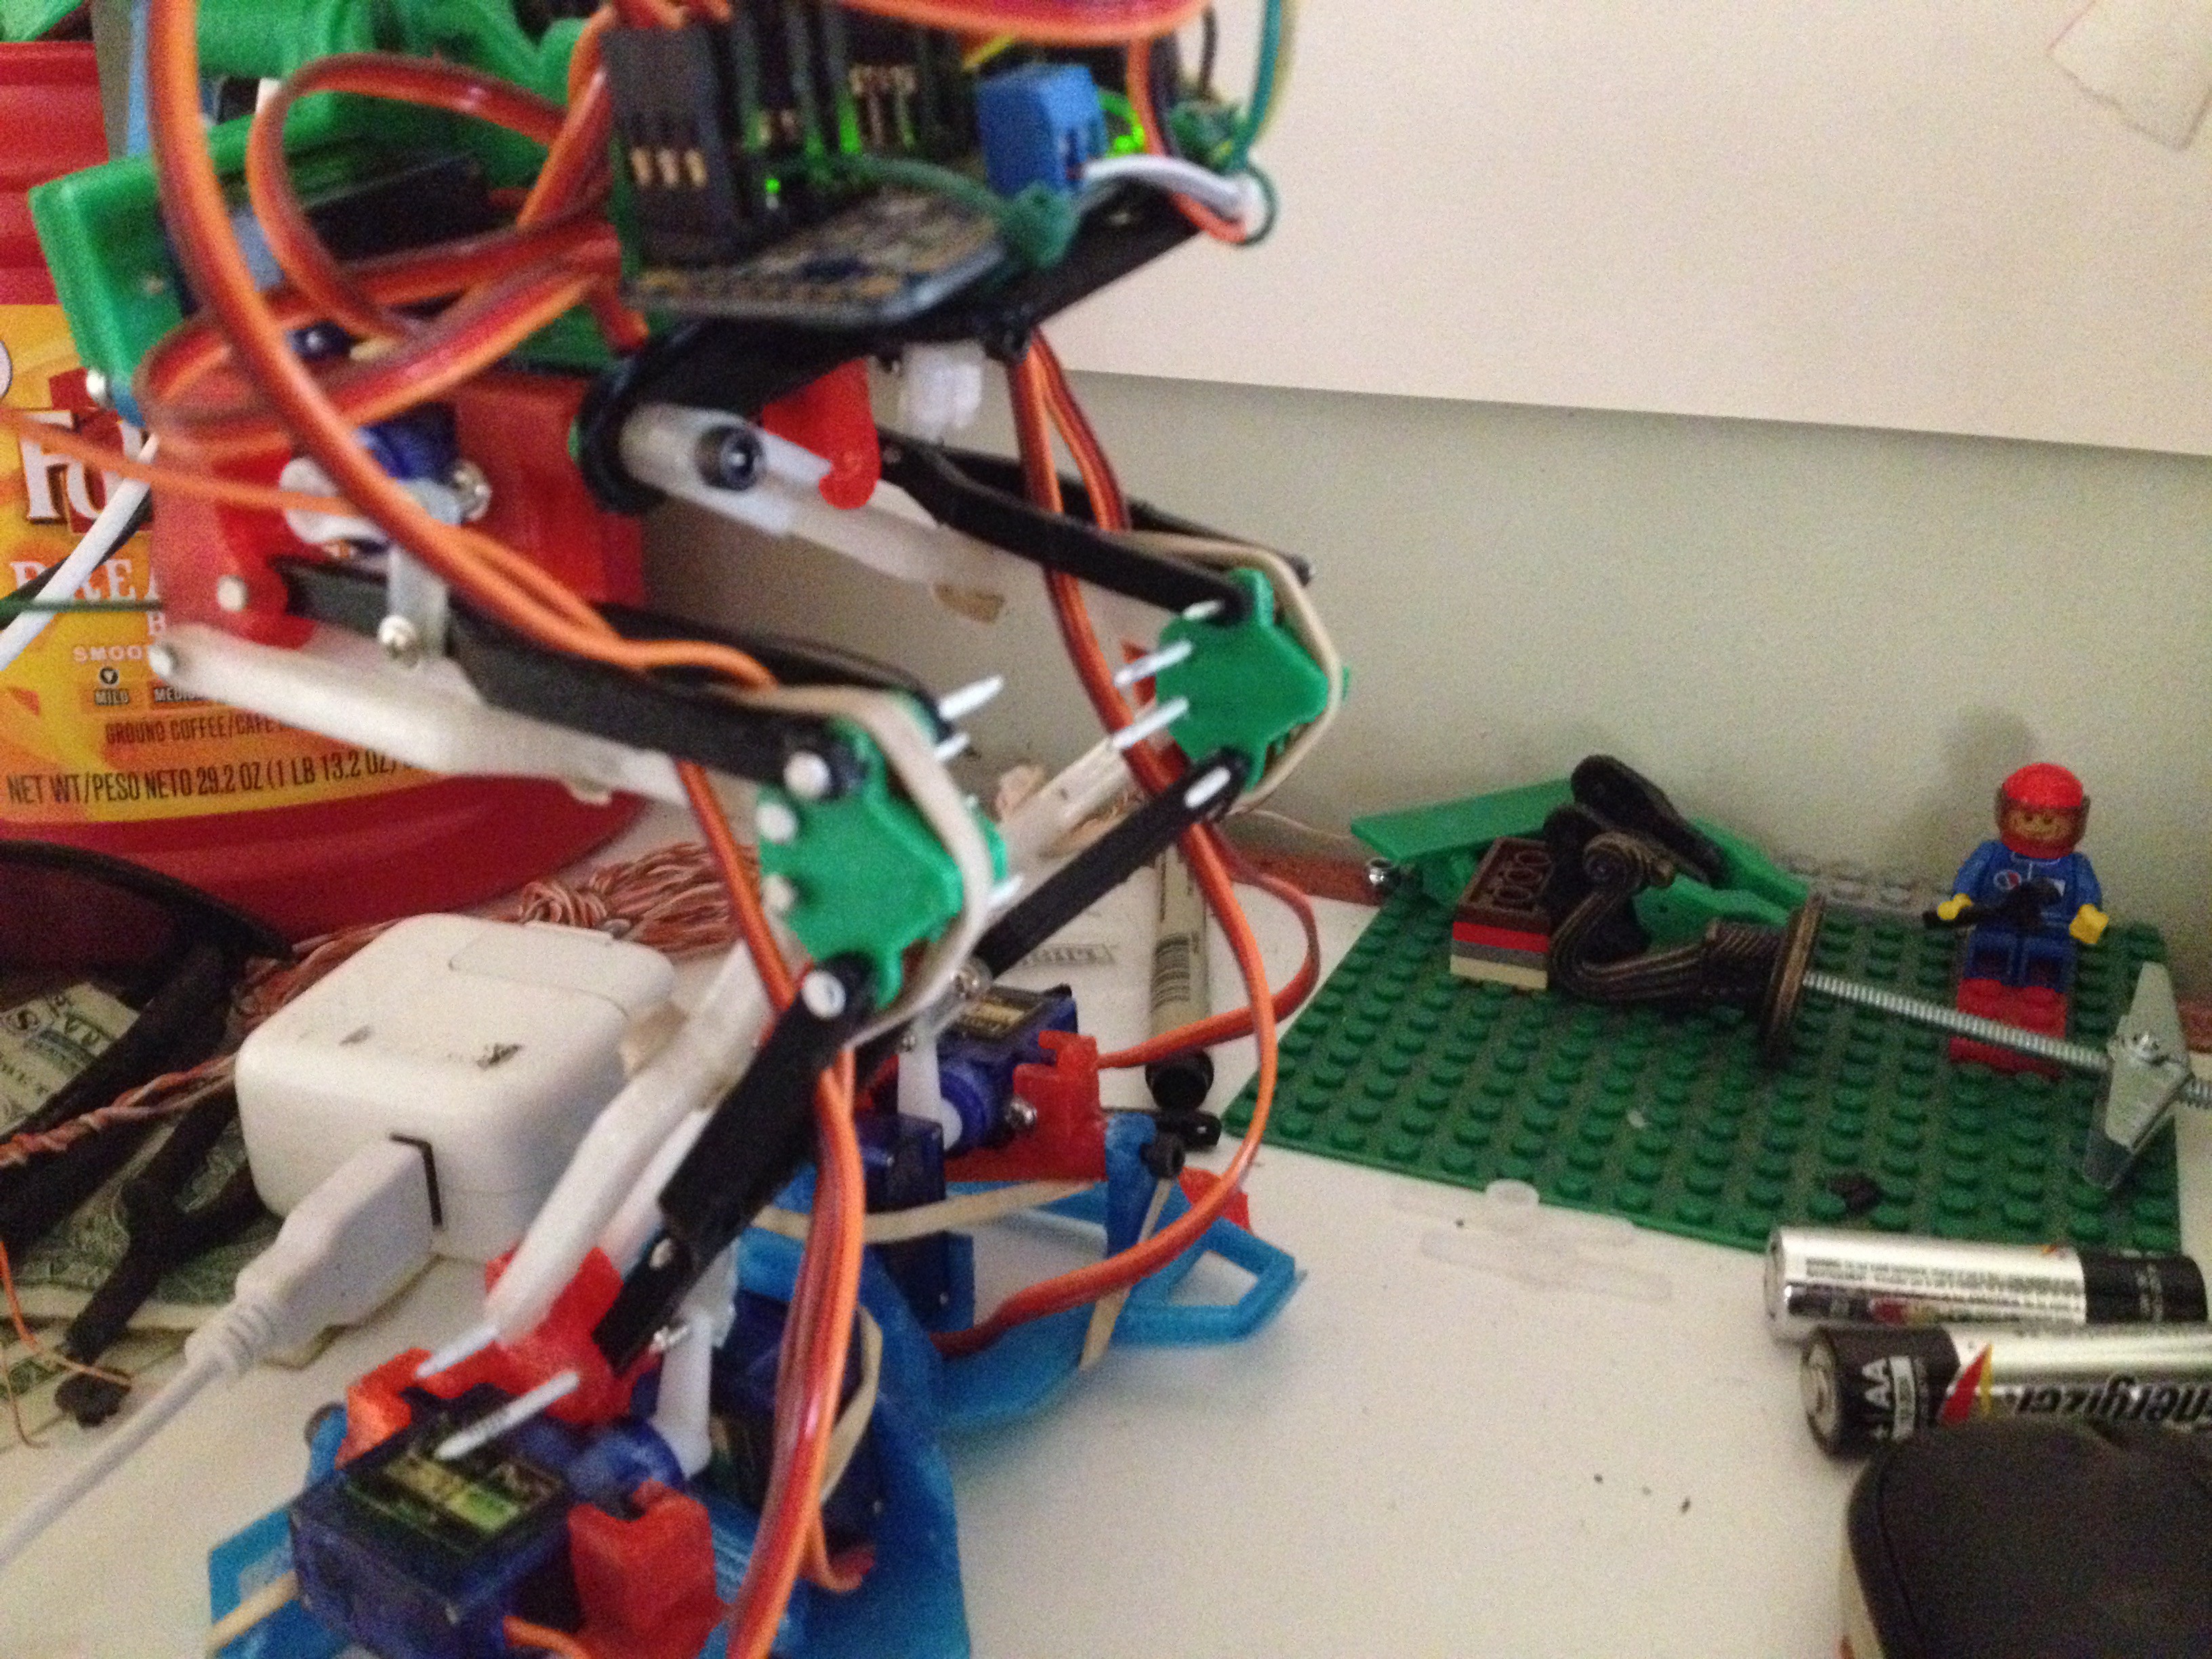
09/01/2015 at 18:44 • 0 commentsafter breaking a "Tibi-fibula" (i dunno what to call the legbones, any zoological anatomy folks wanna help?) - anyway - after breaking a leg bone during R-O-M checks , i decided to do a minor re-work on the tendon hooks. - New legbones in White/translucent
![]()
while i was at it , i modified the El-bones?Kneebones? whatever - to include a tensioner on the rubber band tendon. (new legbones in white, new "elbones" in green)
![]()
the Elbow/Knee now includes ramps that pull the joint parts together when the tendon is stressed, instead of the tendon slipping down between the parts, its increased the lateral stability of the legs noticeably.
I also Got most of the design on the upper servo brace/bracket done and printed- i'll add another log with the specific there later today. -
Wired and Hot
08/30/2015 at 09:00 • 0 commentsSpent some time today working on the wiring and software side of the bot.
![]()
I've hooked up my Raspberry pi along with an Adafruit I2C Servo controller to get some basic range of motion and movement checks.
![]()
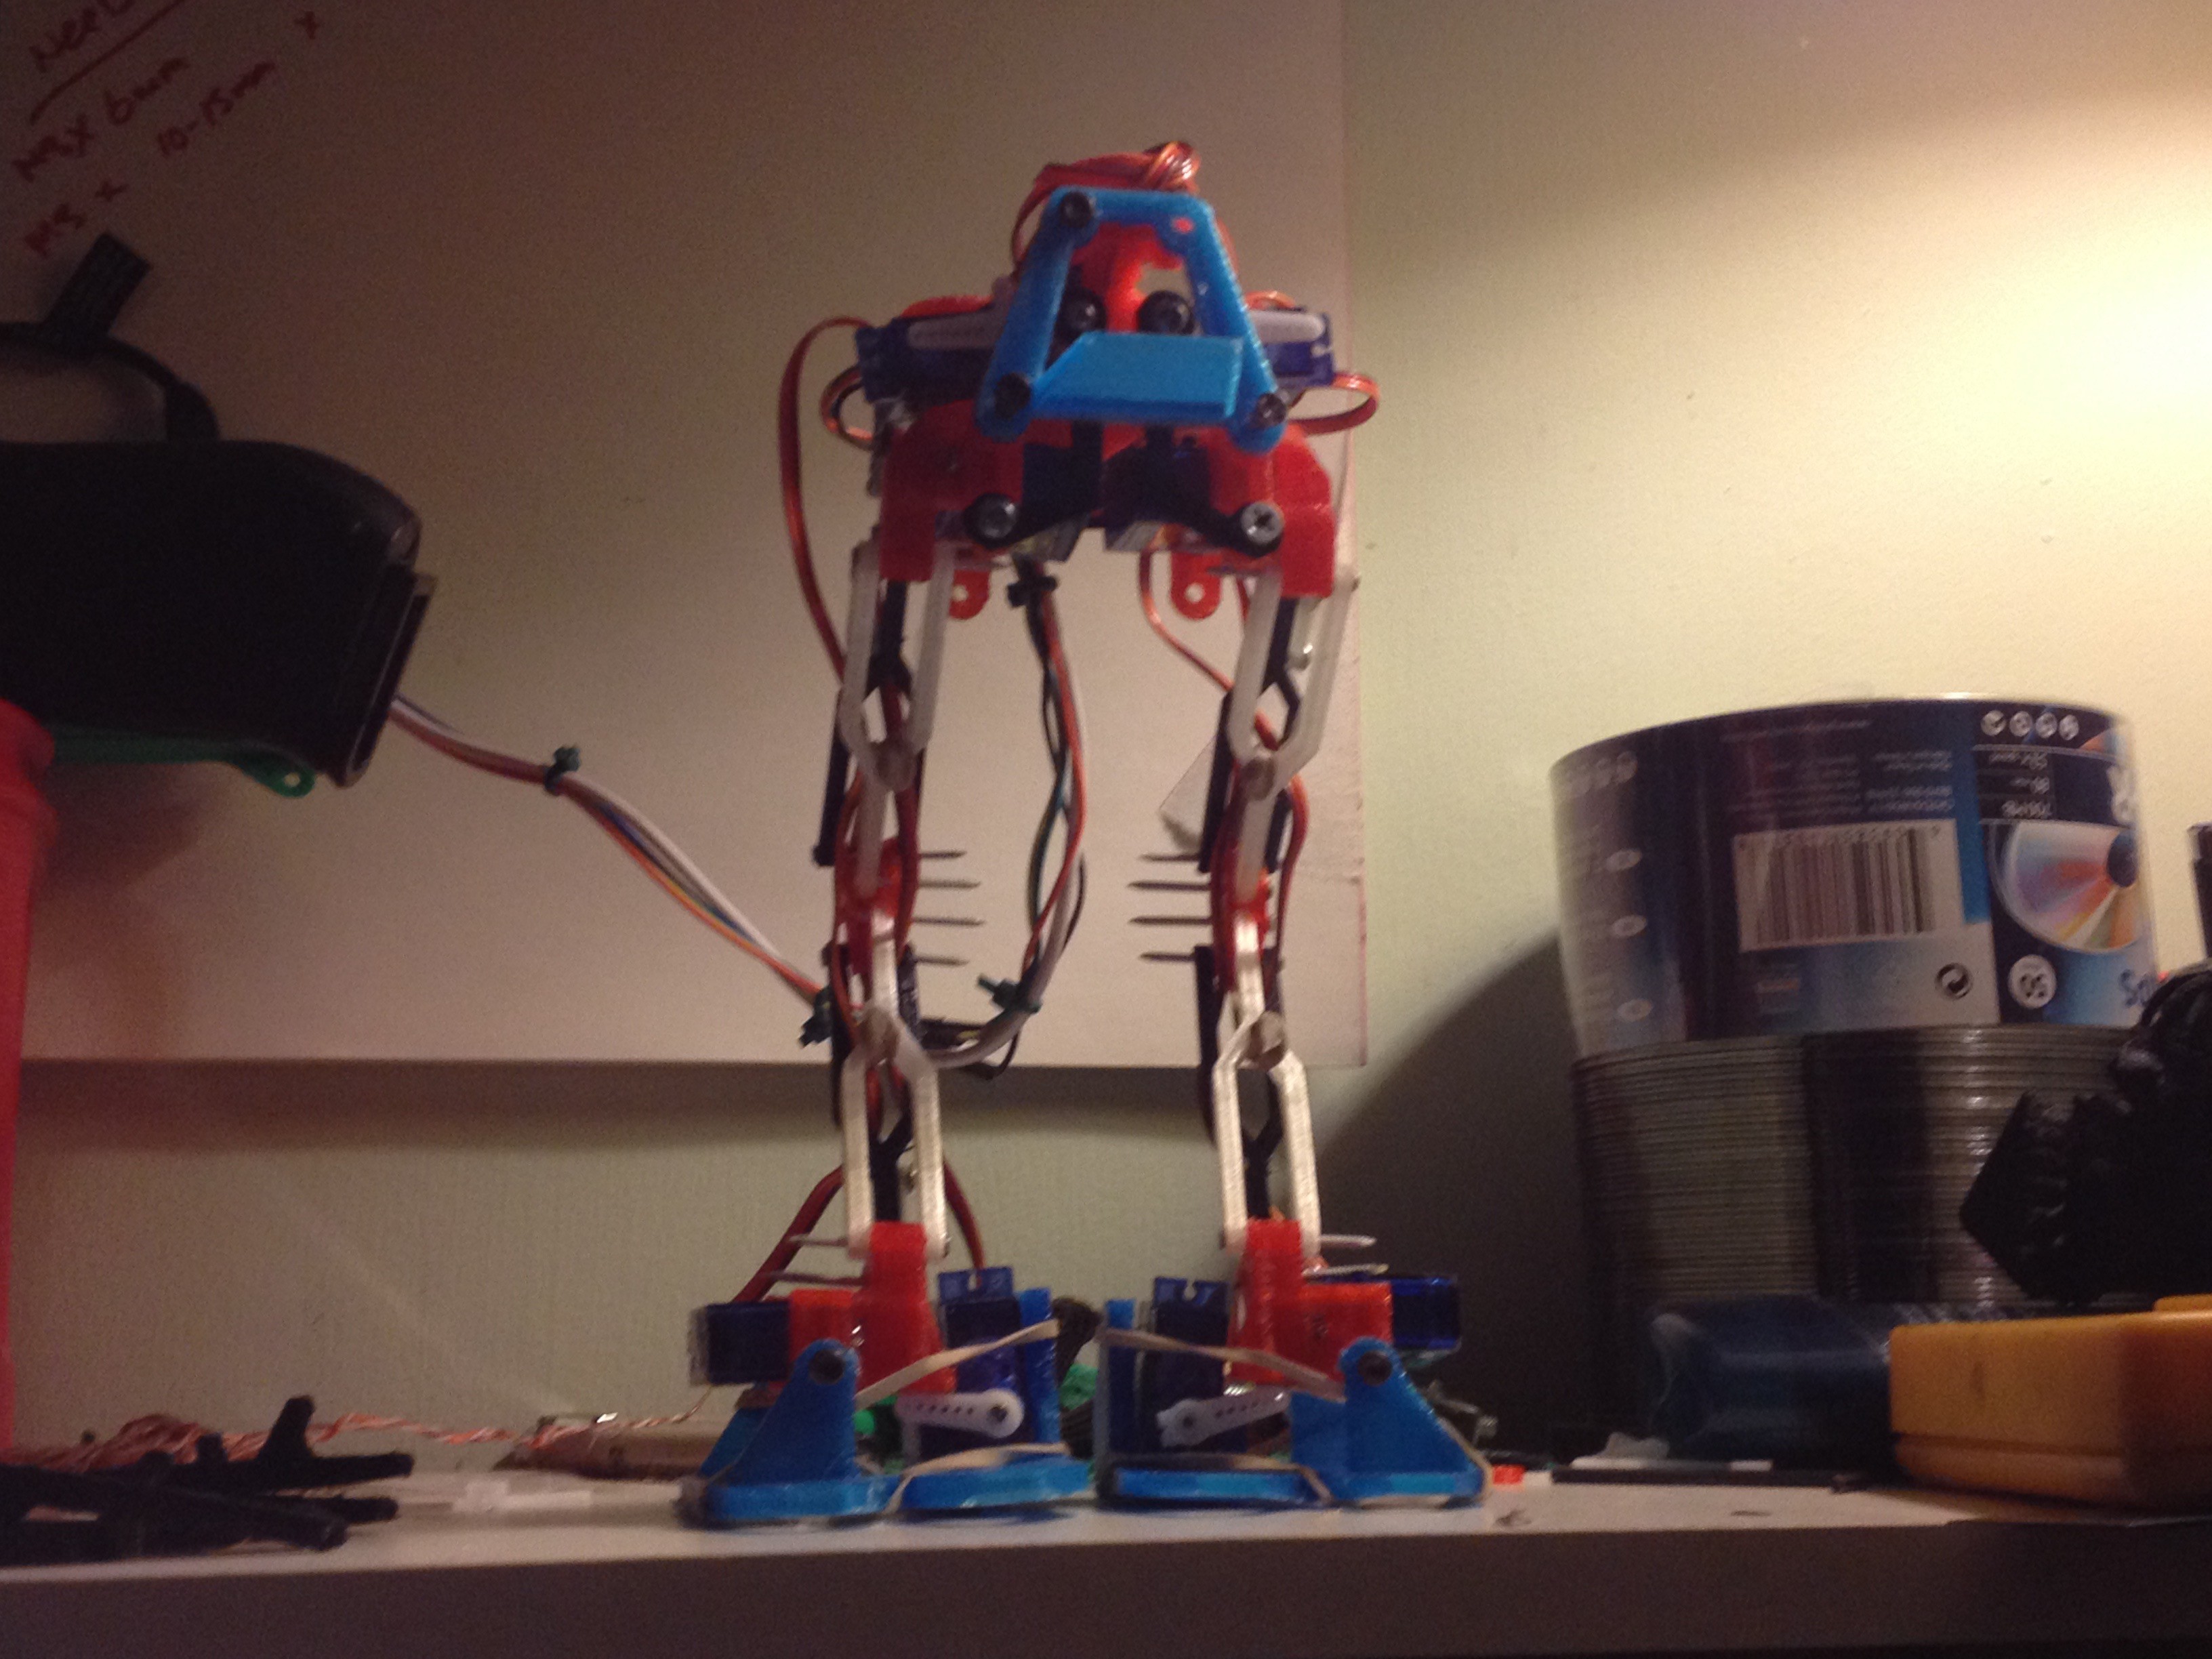
Everything looks Pretty good, Standing on its own power, and able to crouch lean, etc -BUT.
Chassis side I need some minor revisions:
- on the feet, there's an issue when all the weight is on one foot, it flexes the servo horns just enough to snap out of place from the bottom of the ankle, and it falls back onto both feet 1/2 the time, it can only stand on one foot when this works... - pondering the right "fix" for this- may need a bigger revision of the foot and ankle attach.
-On the "waist" servos - They definitely need a brace, as the servos promptly stripped out their mounting screws and started getting floppy- a rubber band was enough tension to keep it all functioning, but a small brace/battery rack is likely coming soon.
- on the legbones, there's some range of motion issues when it comes to fully "tucking" the legs, ended up breaking a "femur" side inner legbone from it. Easy fix though, just need to angle the "tendon hooks" 45 or so.
![]() Also, i didnt print any spare leg bones last revision, so this ends Range of motion testing for the day.
Also, i didnt print any spare leg bones last revision, so this ends Range of motion testing for the day.On the Software side - i got a BUNCH done-
Test app for the walker in python, uses a USB gamepad for input, basic UP/Down , Lean Left/Right, No animations , but got a stable workable input for testing.
I'm currently limiting the speed on the servos- 3deg/sec slow - i took a video but it was godawful boring to watch, movie magic later....
walking will be static animations to start, then down from a few steps to procedural half steps eventually.For now, part redesigns and printing replacements should keep me busy for a few days at least.
-
Updated Hip Linkages
08/19/2015 at 18:09 • 2 commentsContinuing basic range-of-motion checks, i noticed that the linkages for the hips would hang up on the hip mounts, did a minor redesign- it got rainy and humid here yesterday, so my 3D printer got really finicky- it only took 3-4 tries to get the linkages printed, but finally, success.
New Hip Linkage - Slimmed for clearance.
![]()
And installed on Mk3.
![]()
-
Updated Pics - as of 8/18
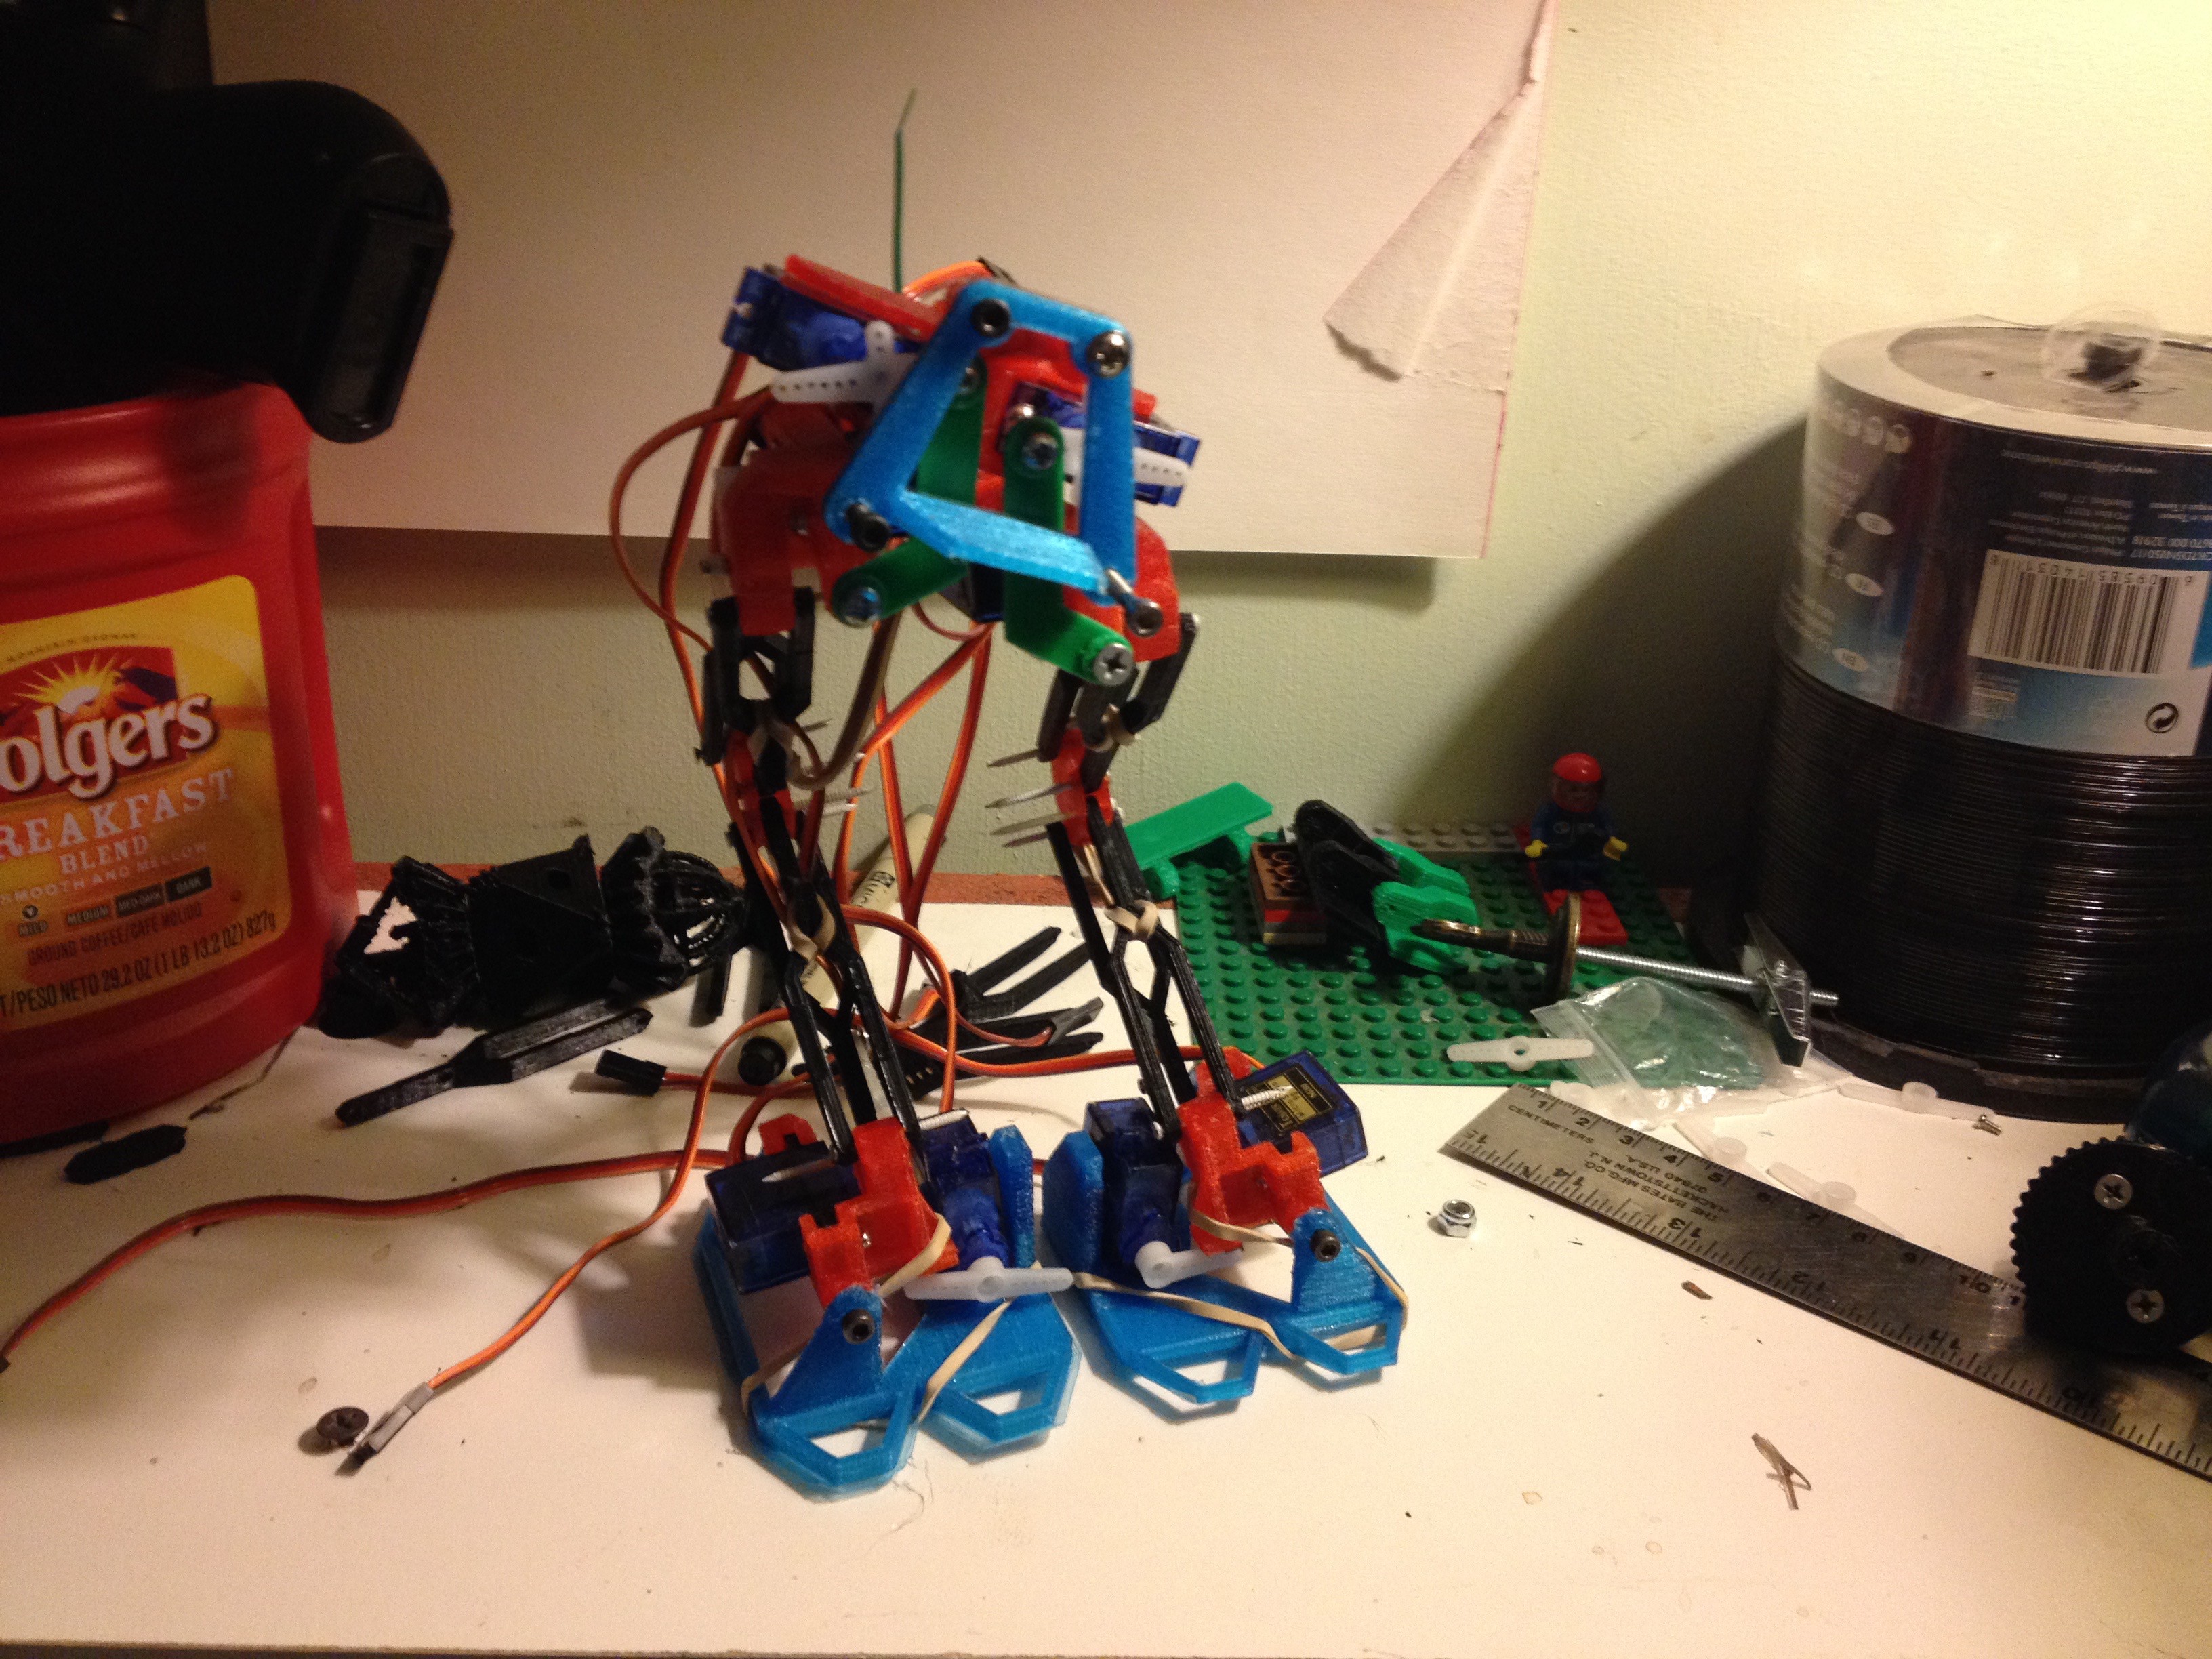
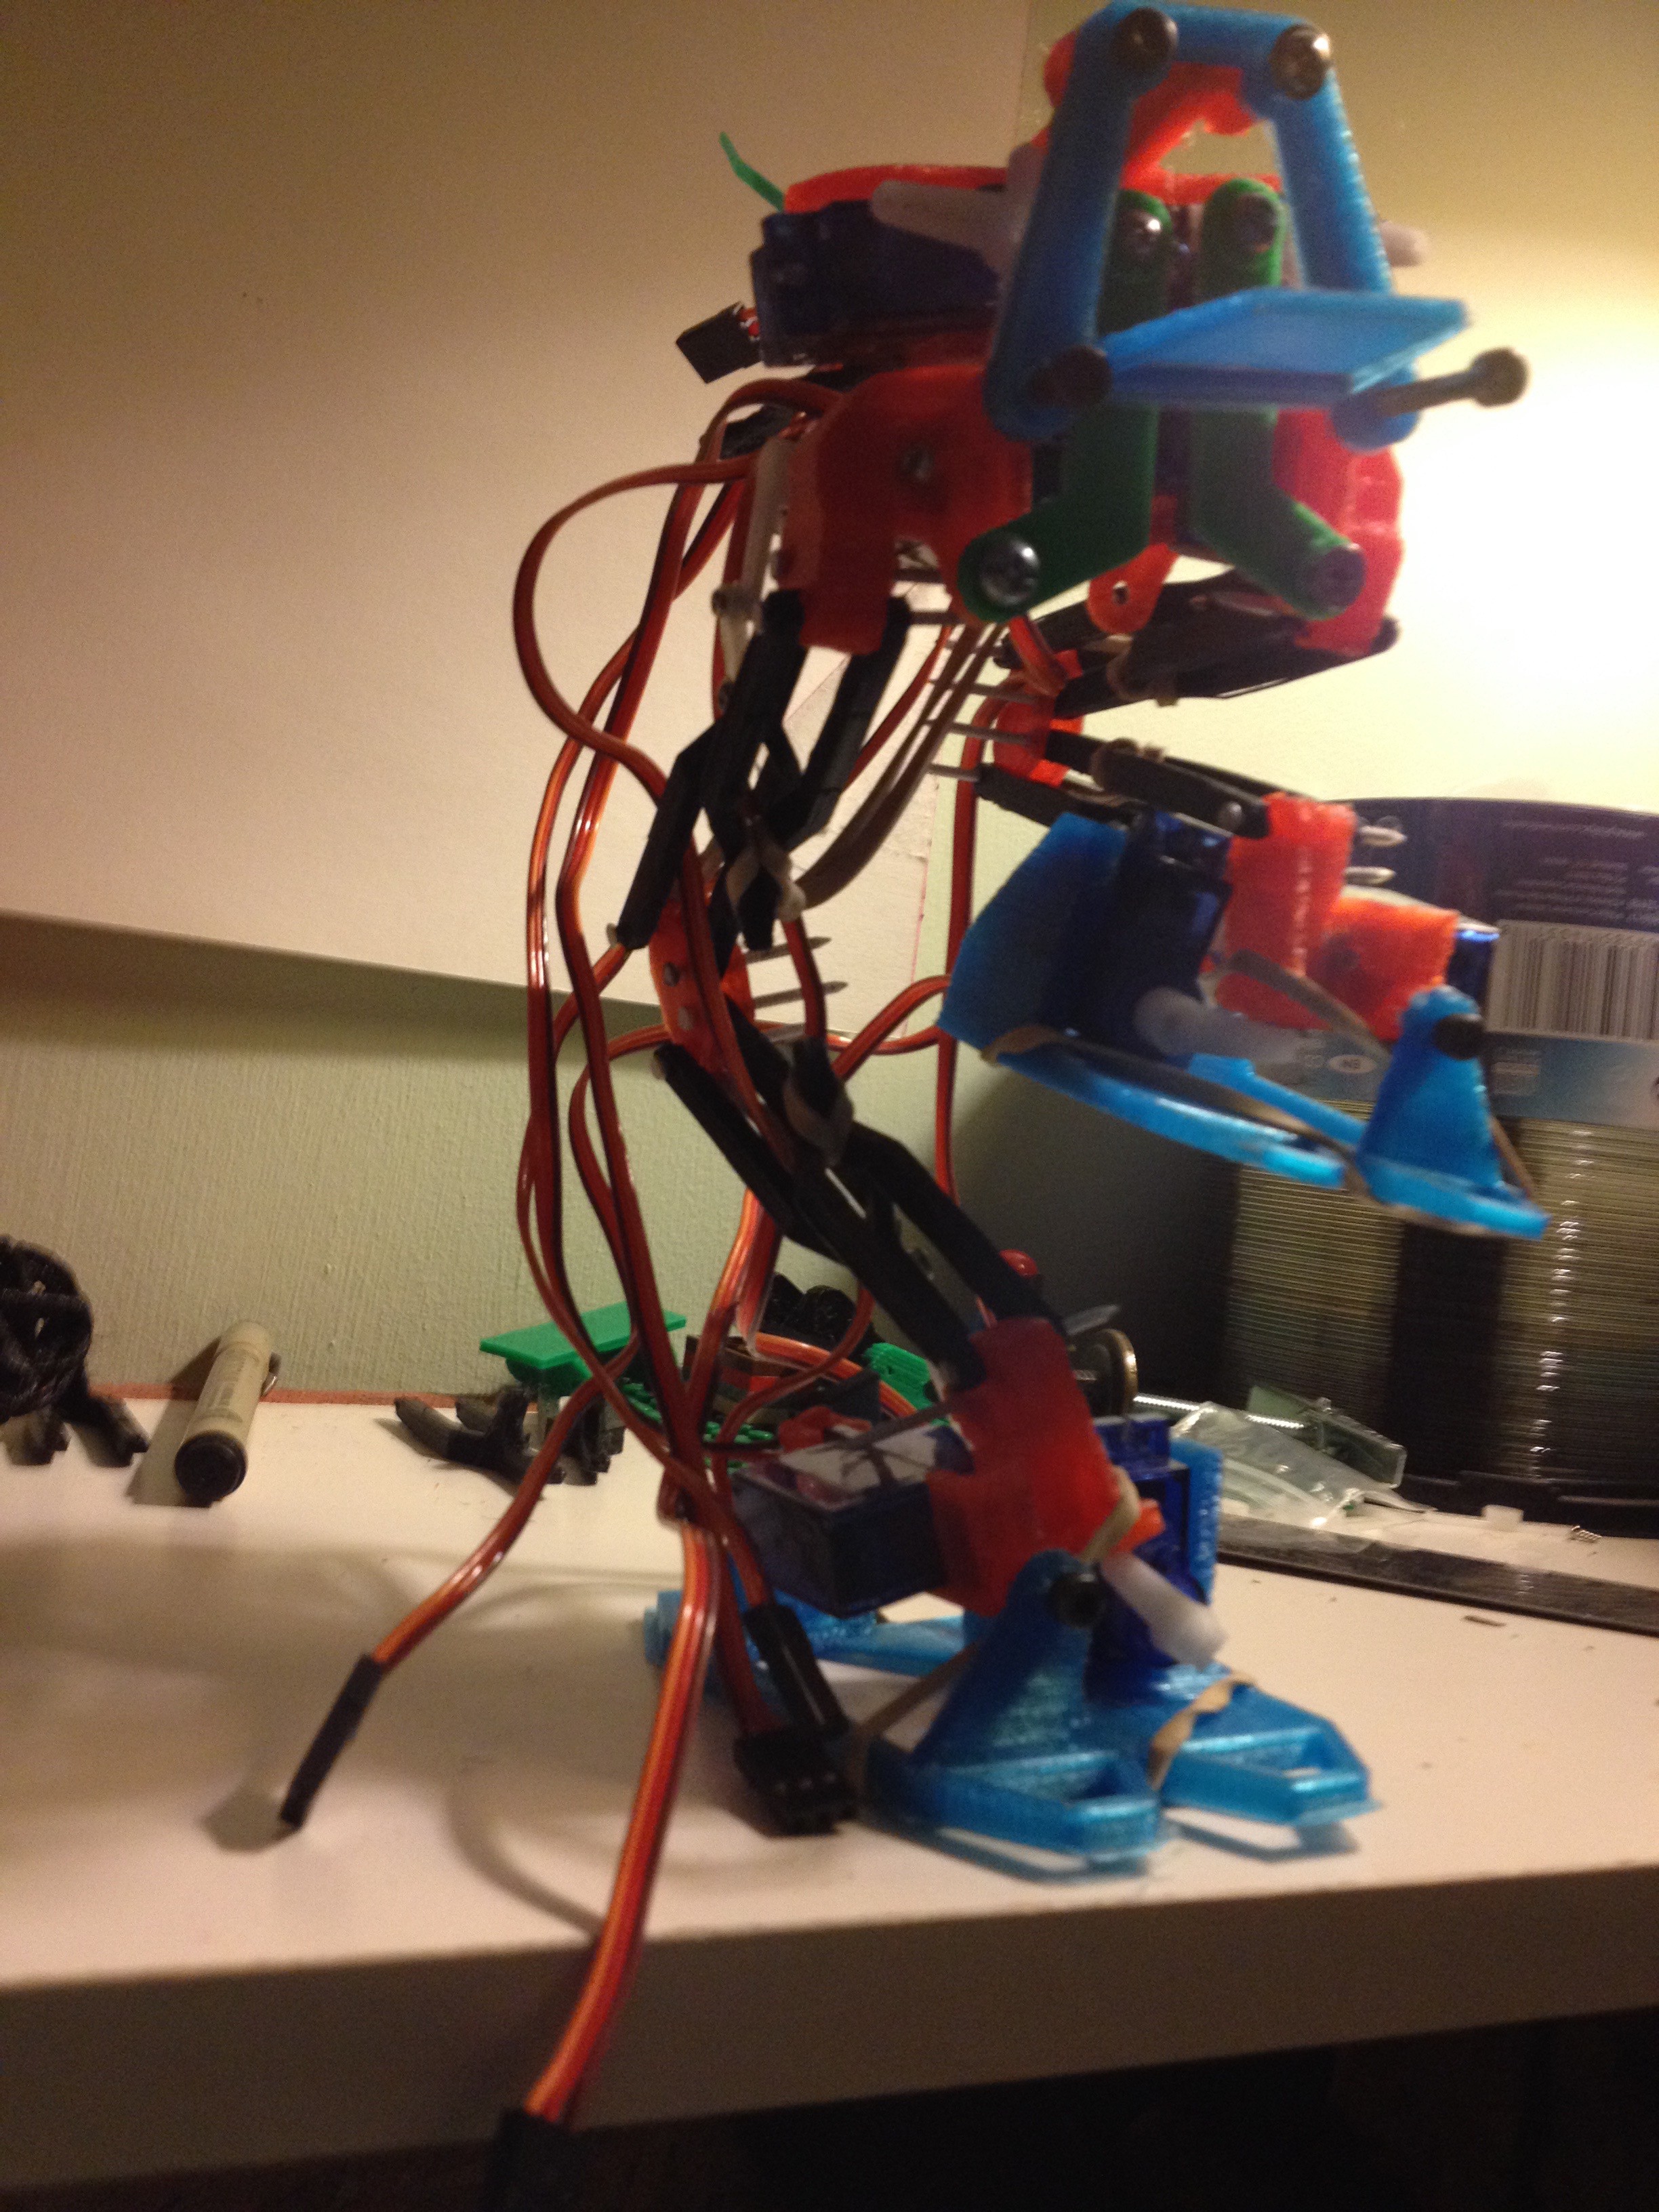
08/19/2015 at 03:19 • 0 commentsSome Updated Pics!
Had a minor redesign of the Leg bones today and the updated Hip design was done printing this morning, - Pictures are up.
![]()
![]()
Tension Biped - A new take on a 9g Servo Walker
- A new take on a 9g Servo Biped Walker


 And the part count grows by 2. - from a 2 piece "ribs" to 2 parts for the servo mount, and 2 for the "center" - again , no joke, Anyone who wants to help name the parts are welcome to comment - ive taken to calling this the green section the "ribs"
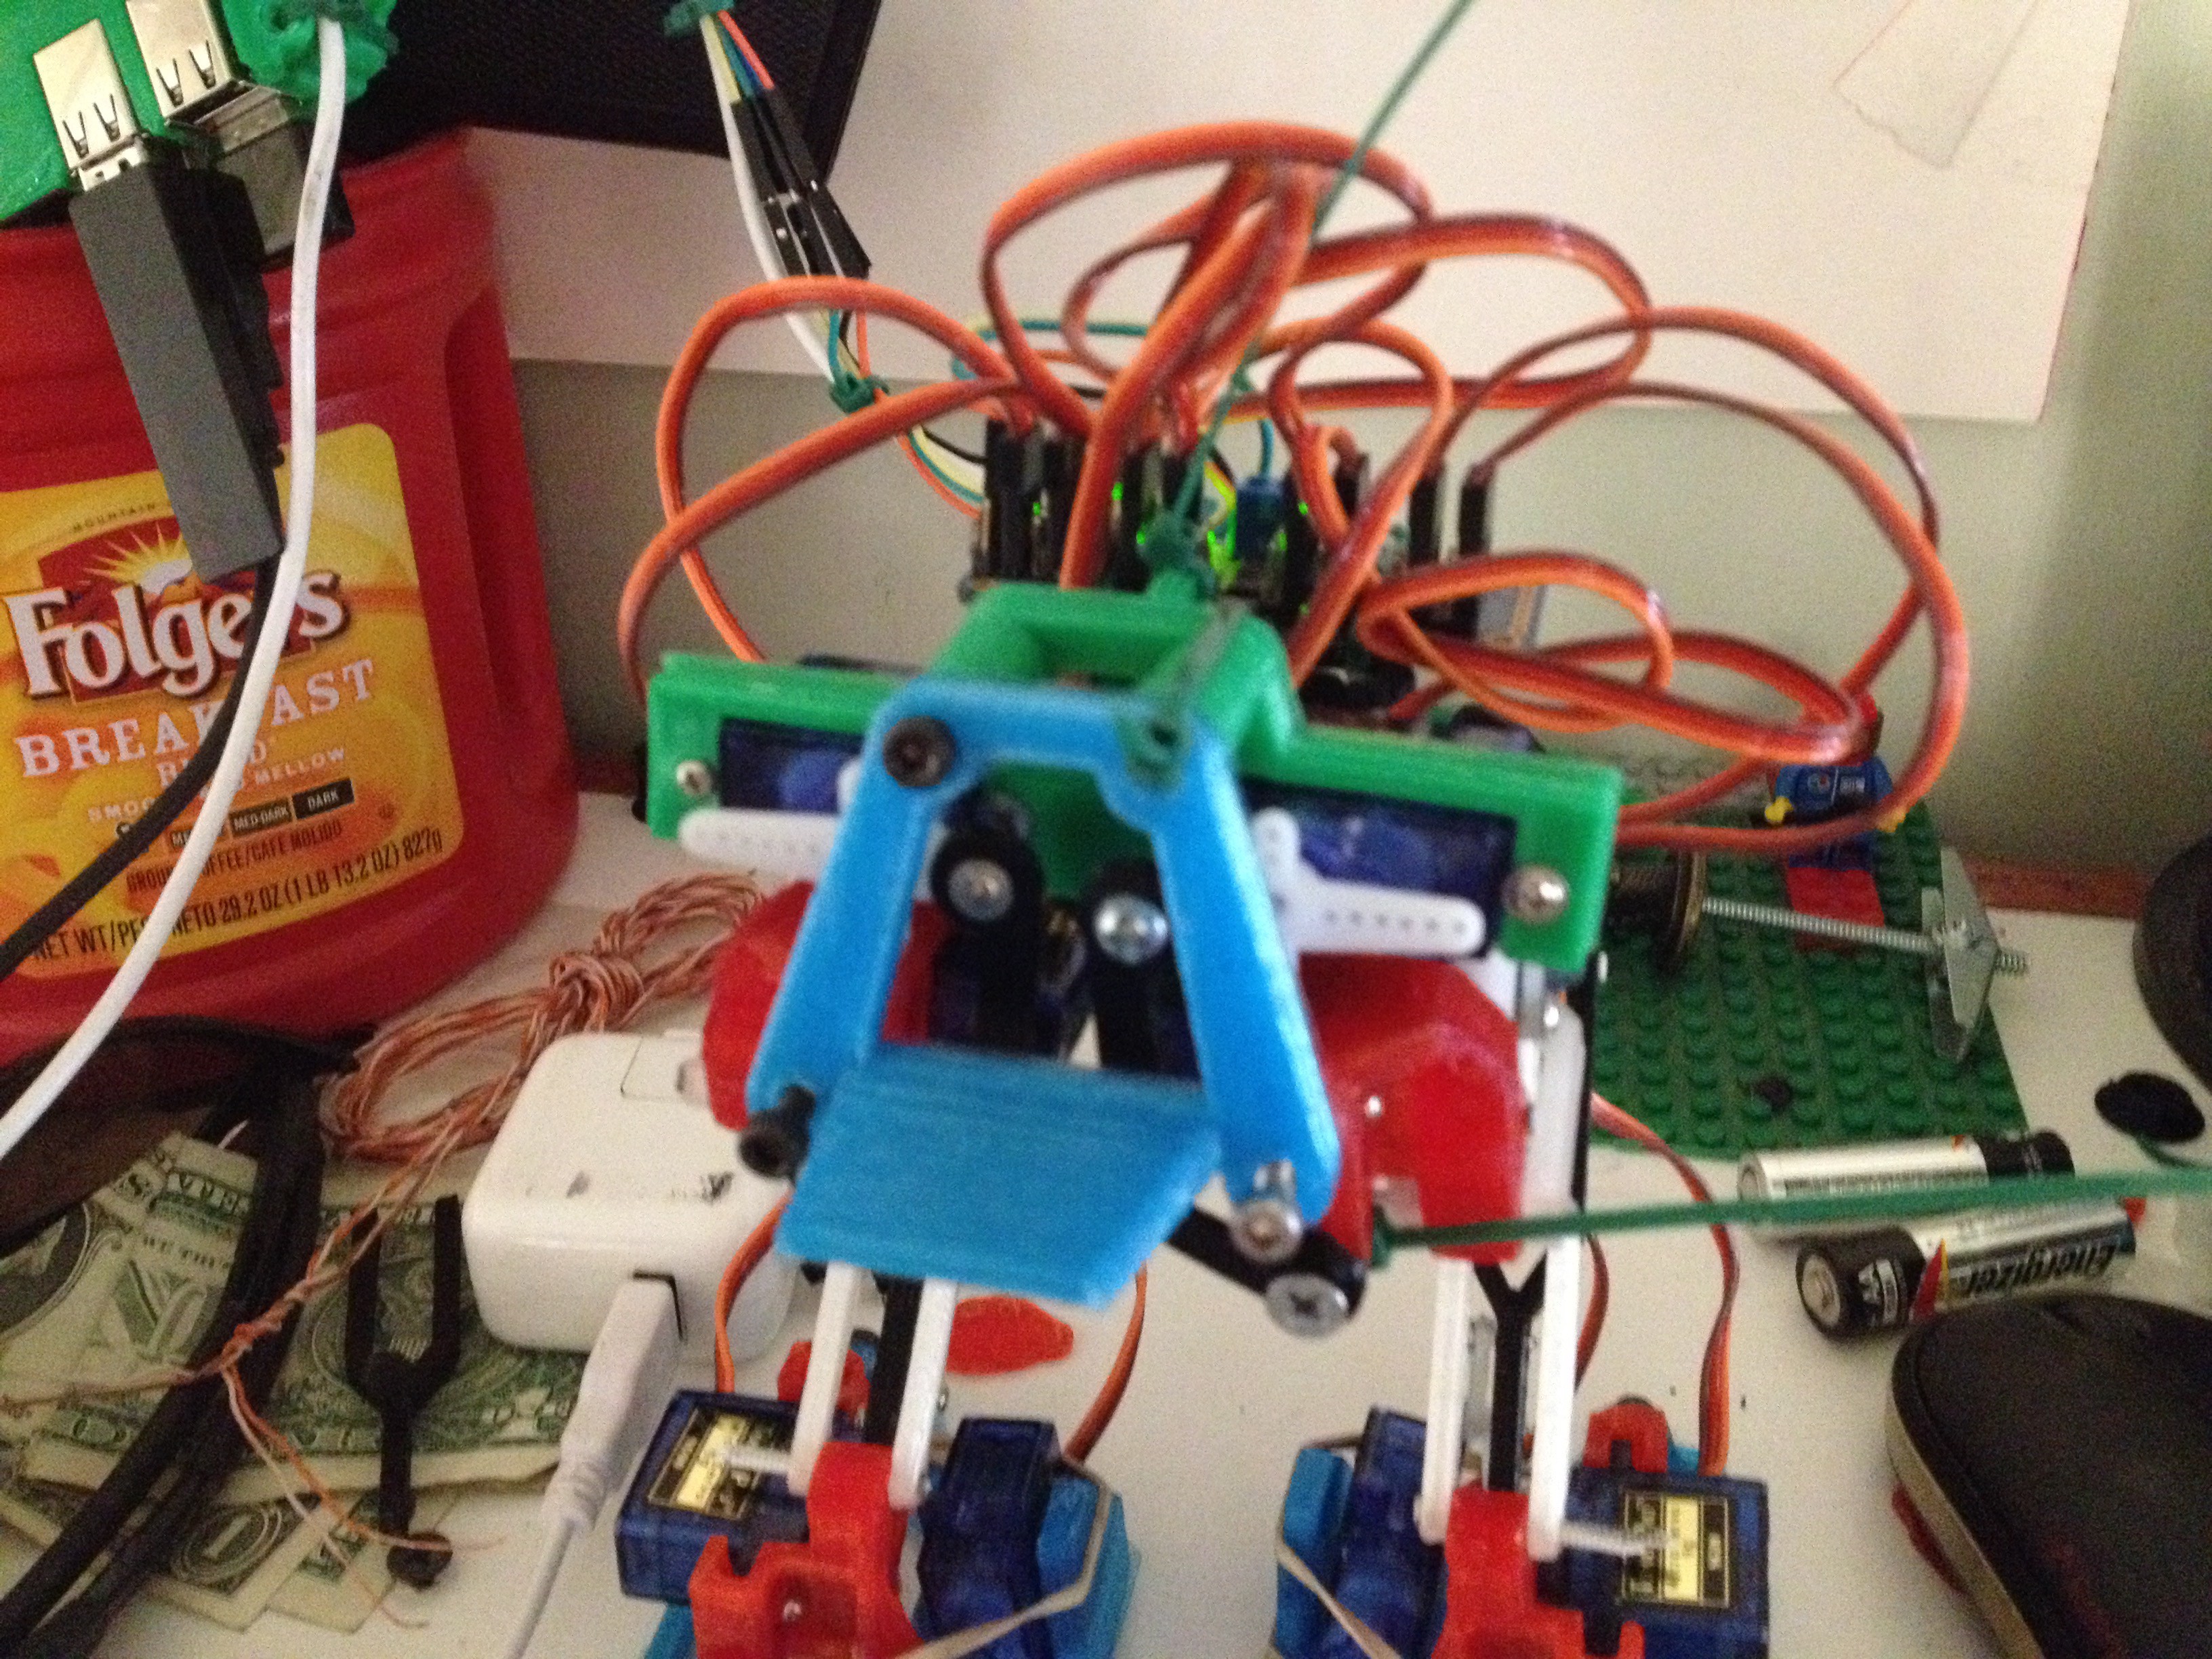
 Also, i didnt print any spare leg bones last revision, so this ends Range of motion testing for the day.