Kaeipnos
-
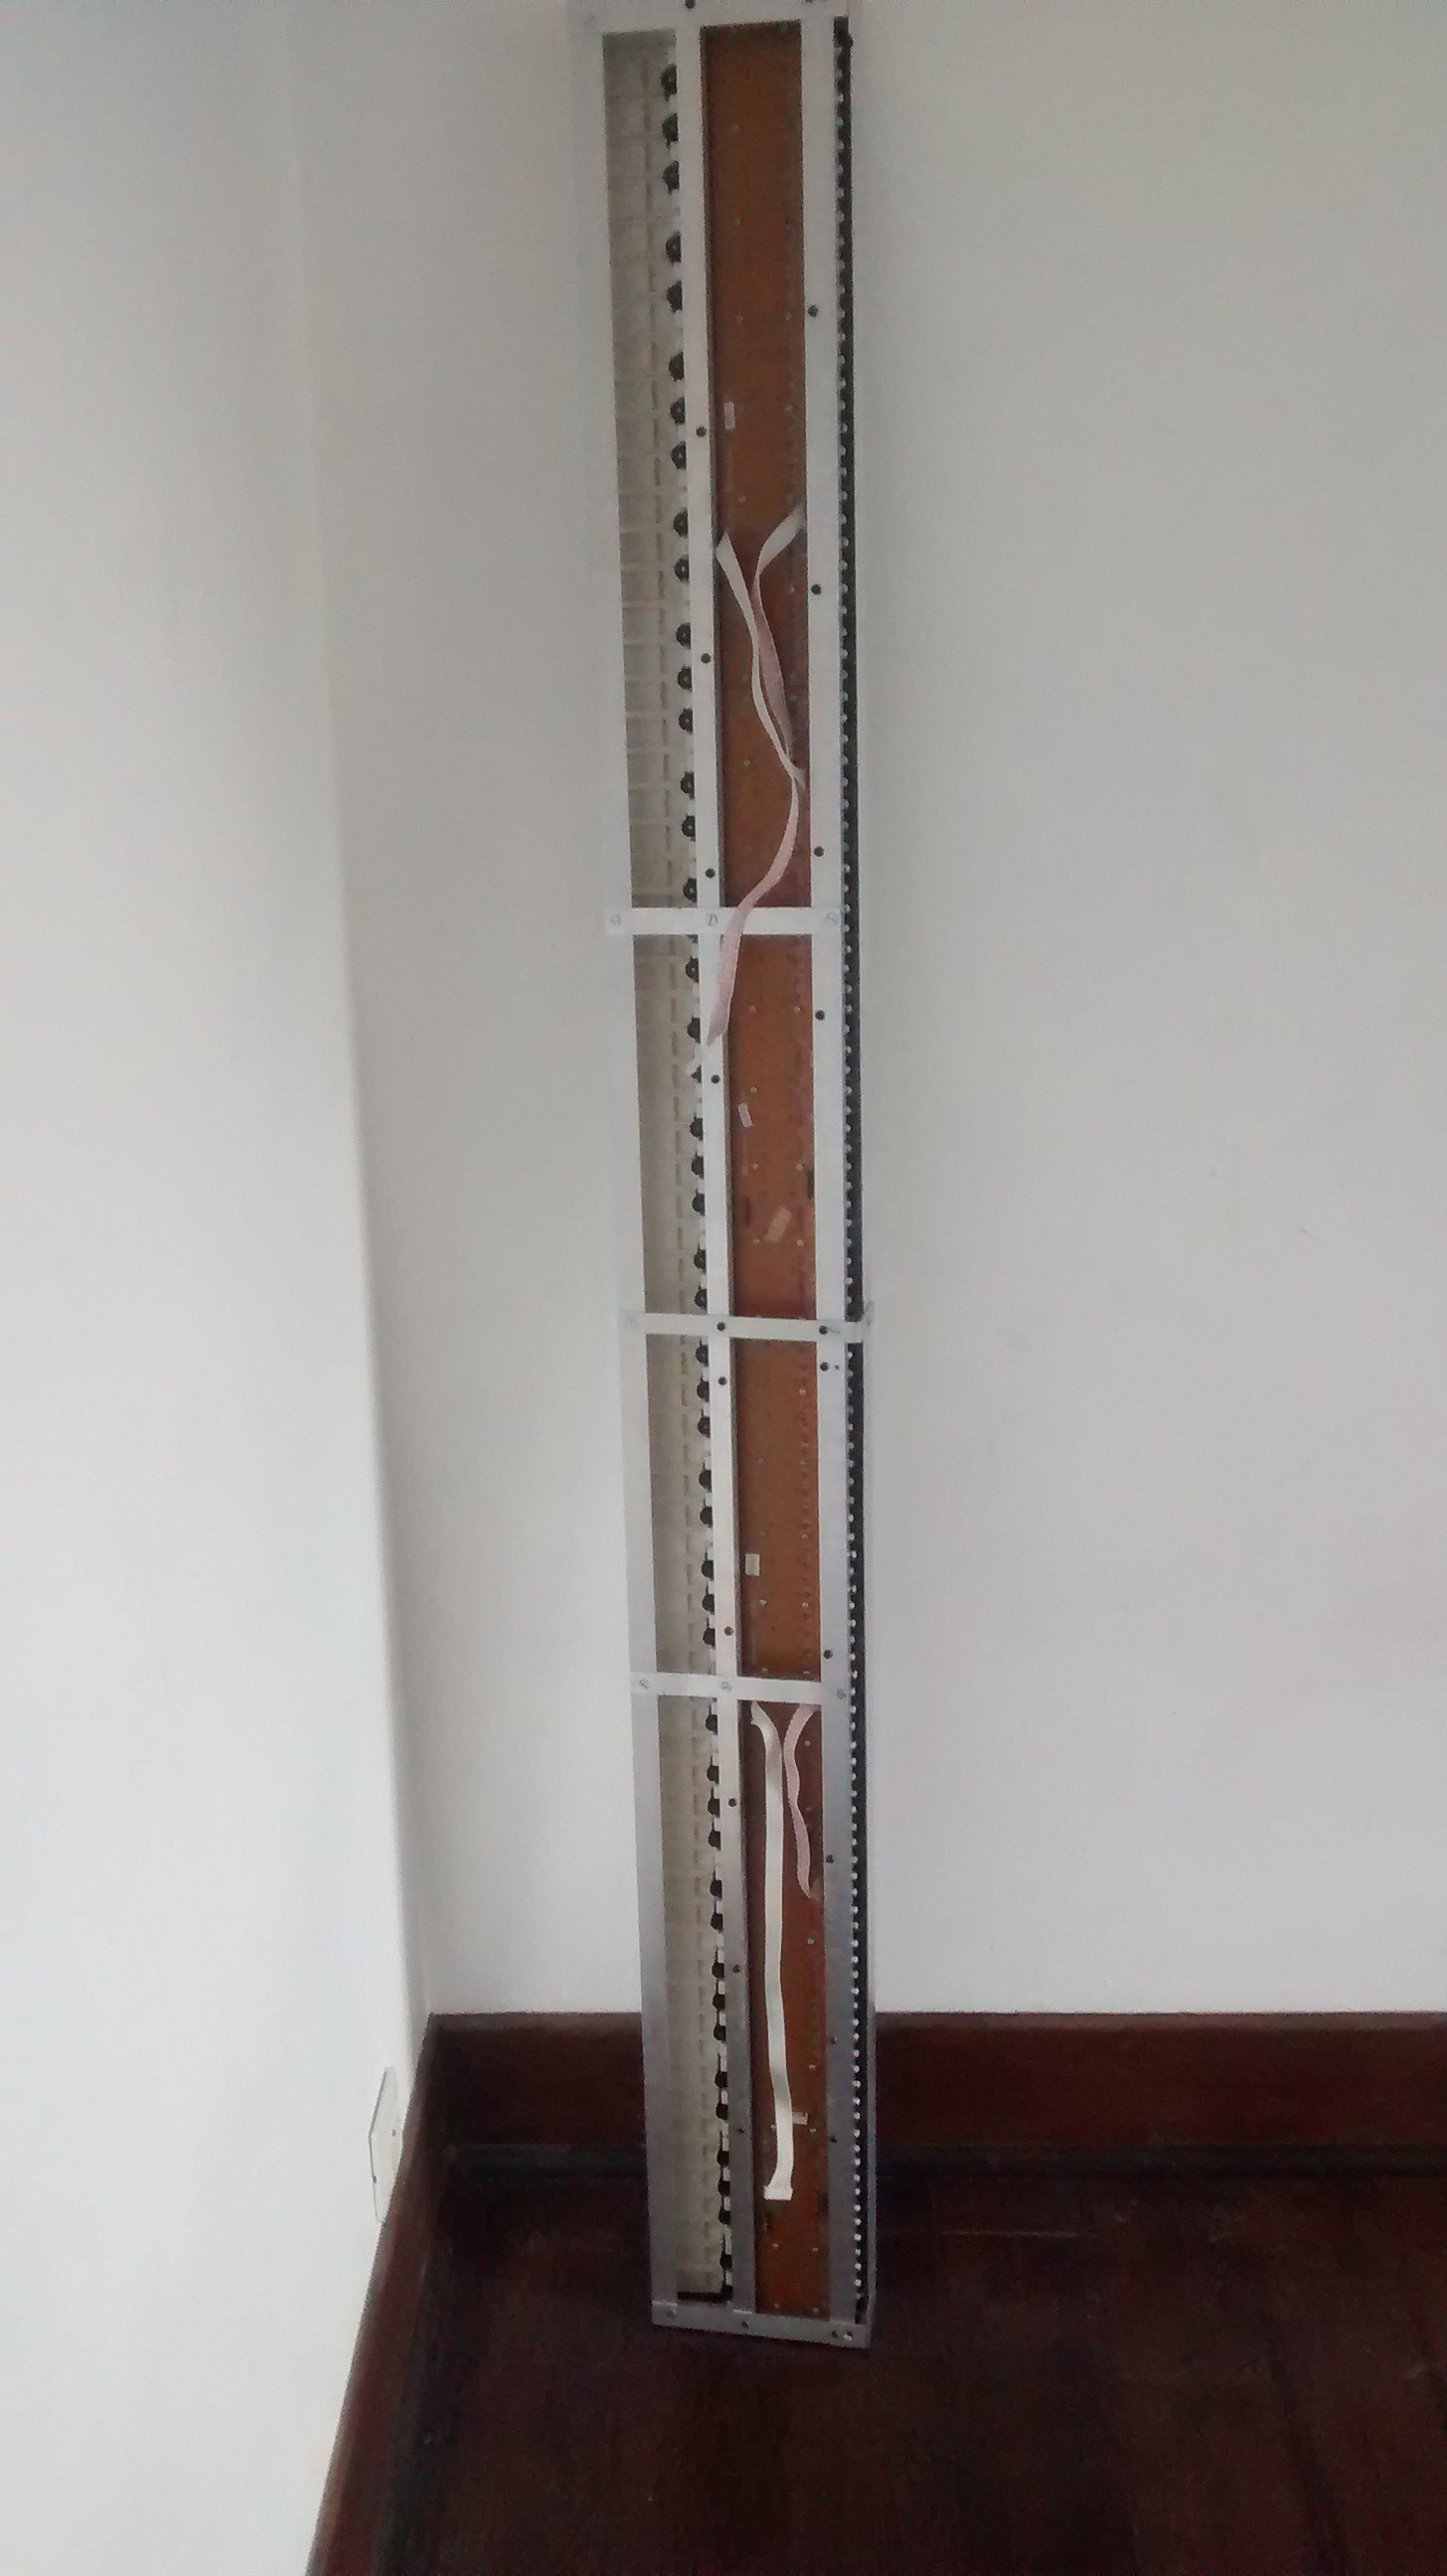
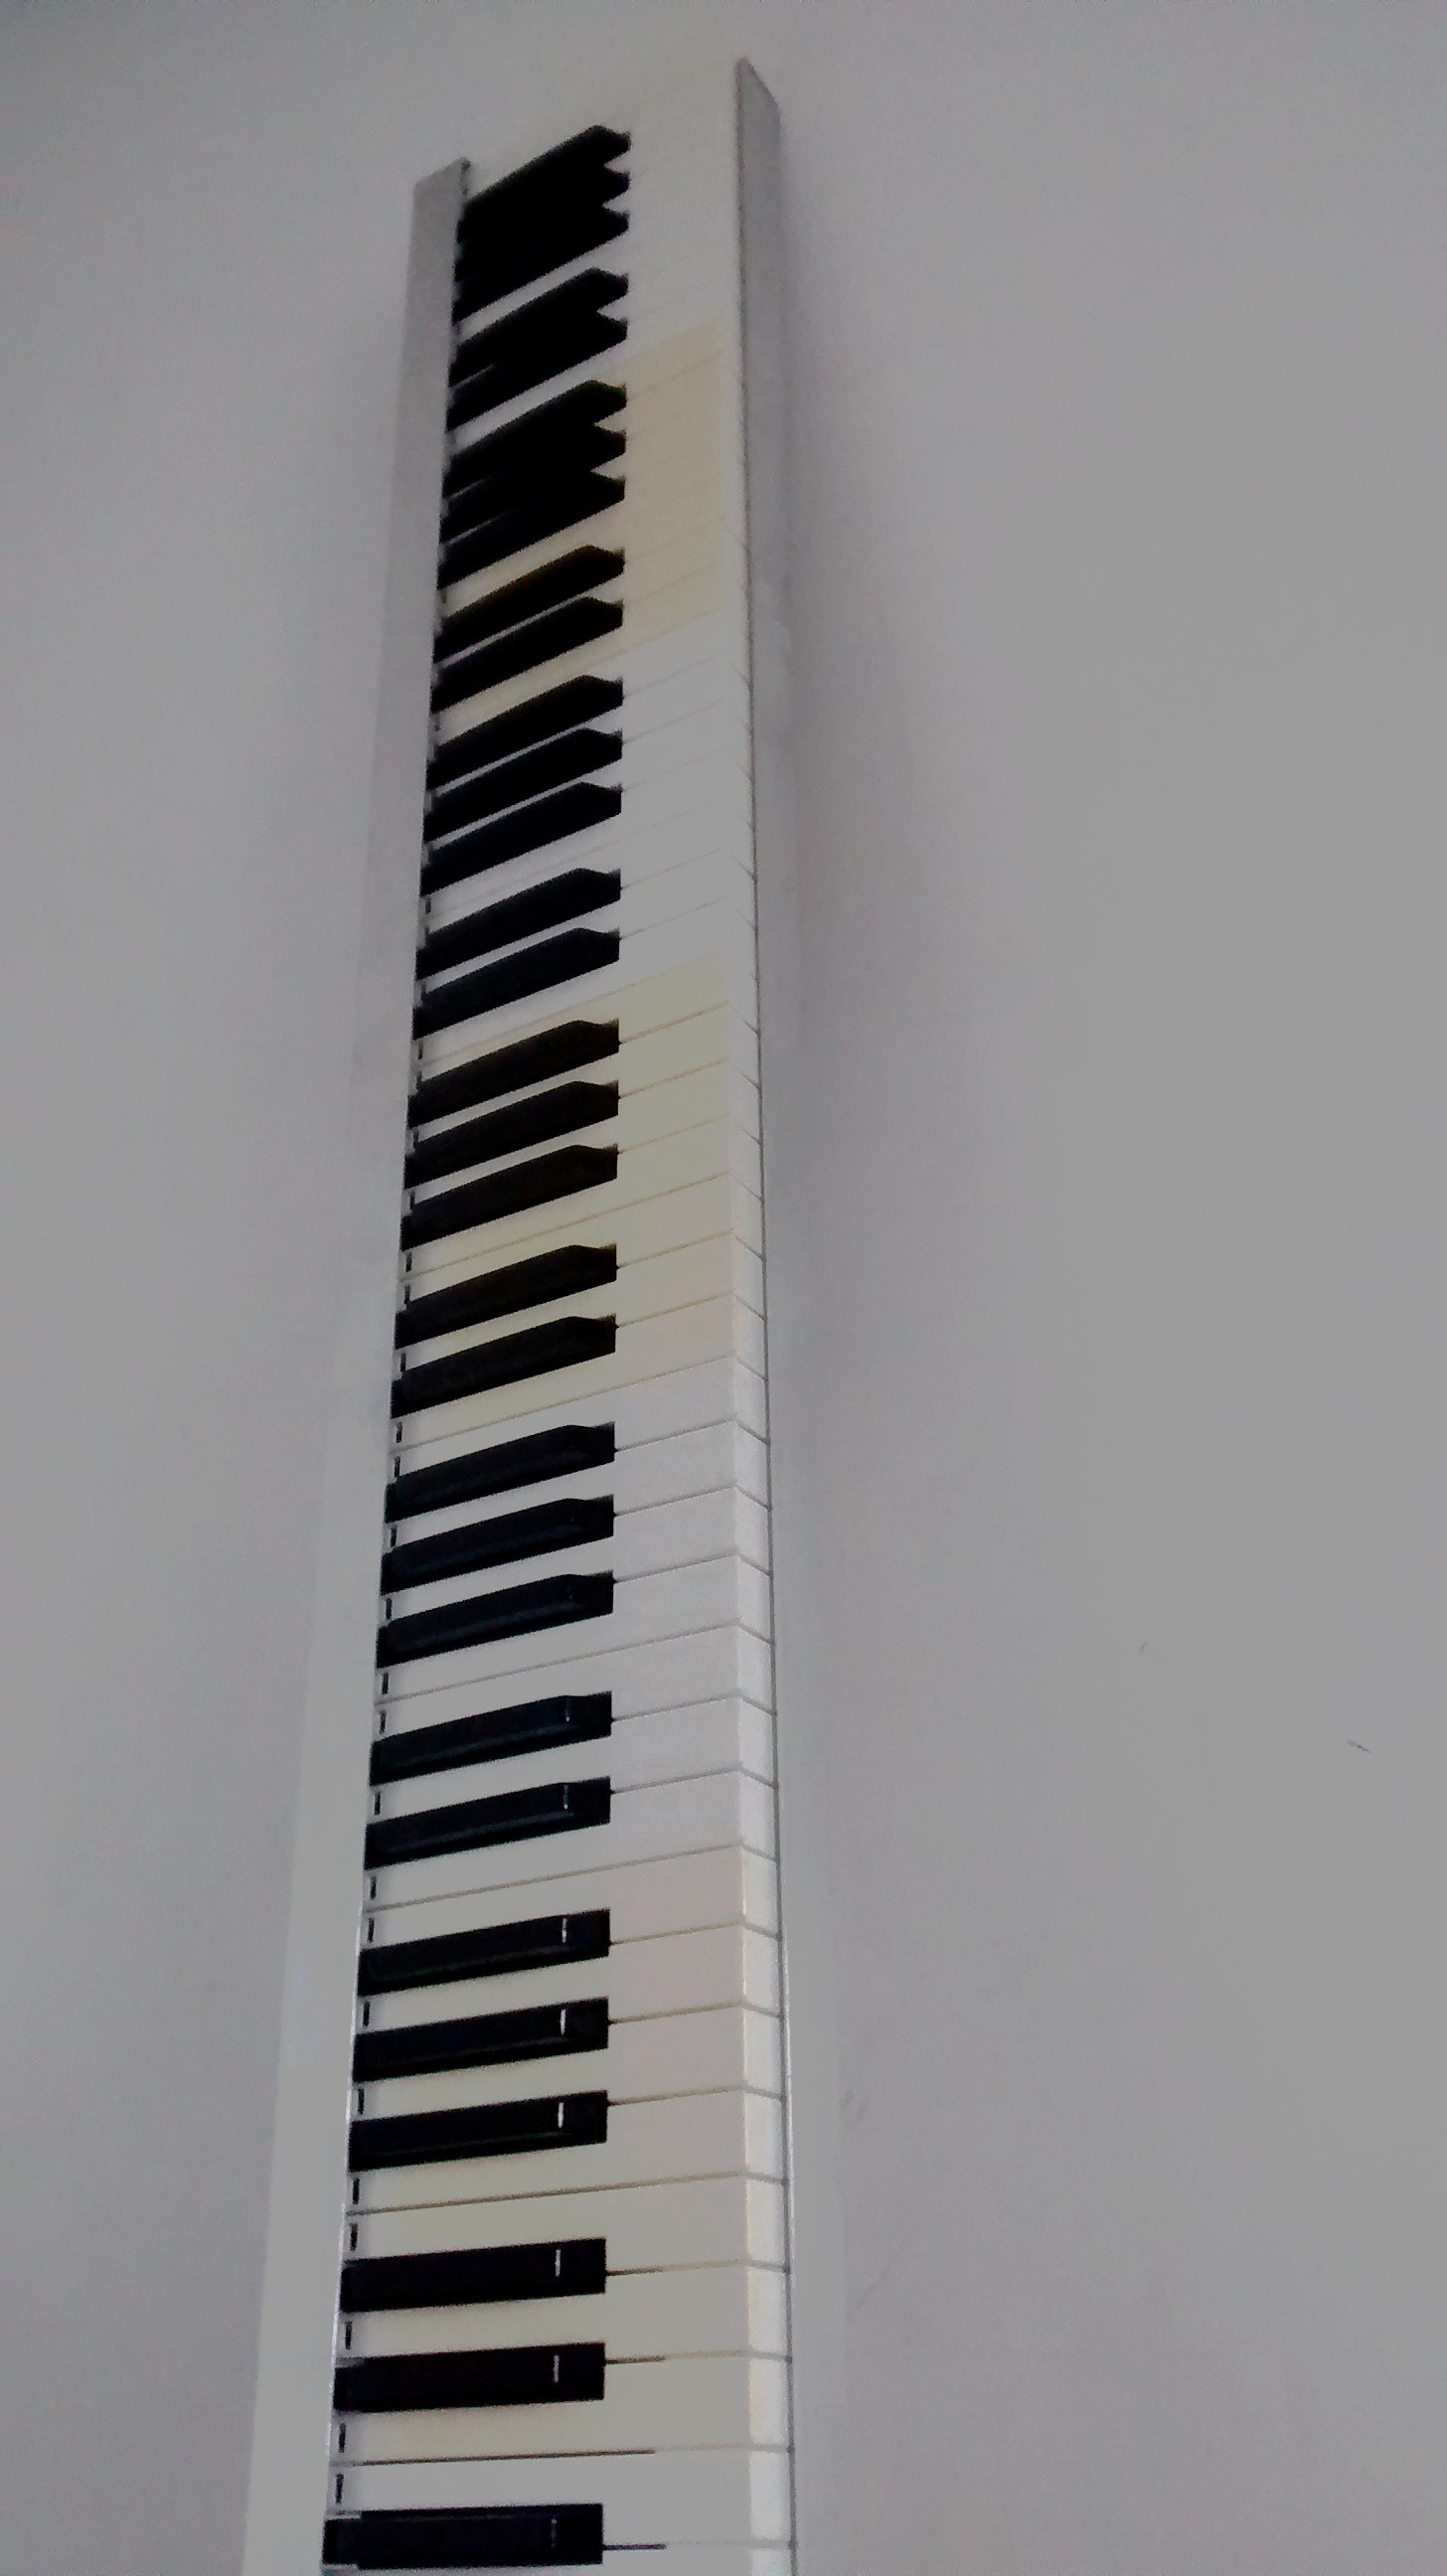
The Aluminum frame is finished !
08/25/2015 at 18:24 • 0 commentsAfter three days of hard work, it's done.
![]()
Sure it's a tad heavy, but I find it marvelous.
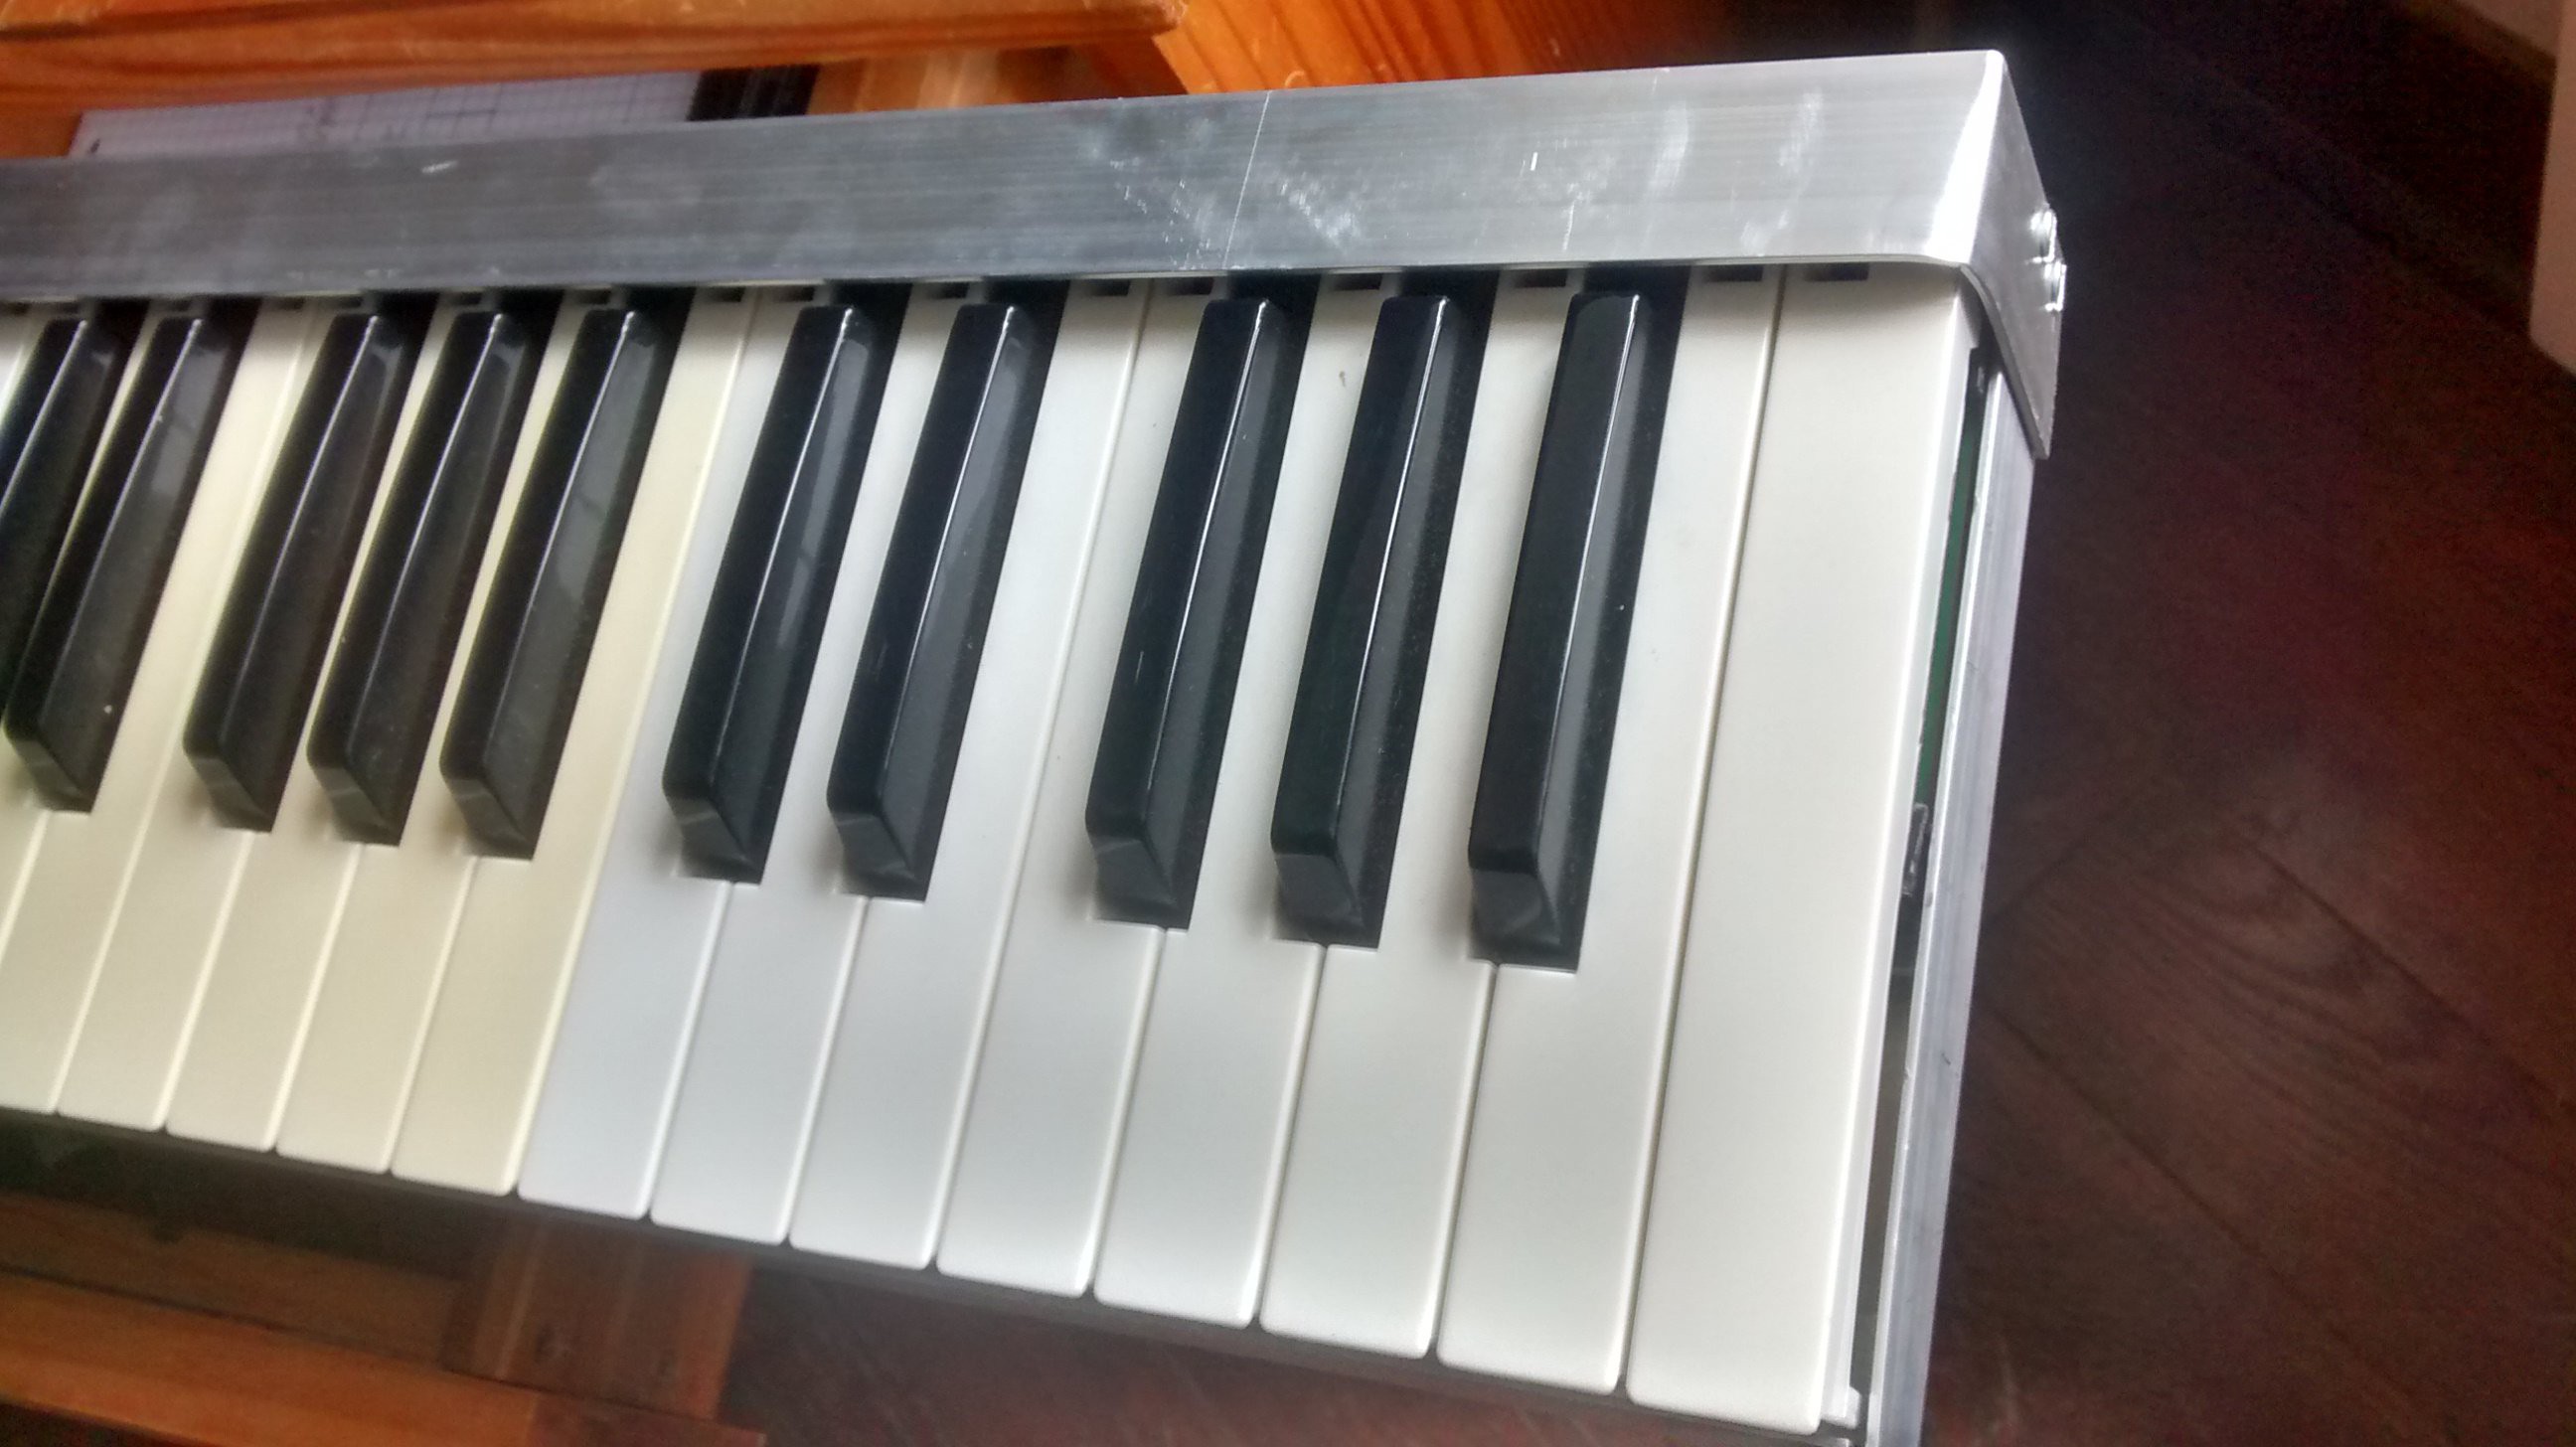
![]() Rounded corners ! Too bad I fixed the upper bar too high : the tips of the keys are partially visible :(
Rounded corners ! Too bad I fixed the upper bar too high : the tips of the keys are partially visible :(![]()
![]()
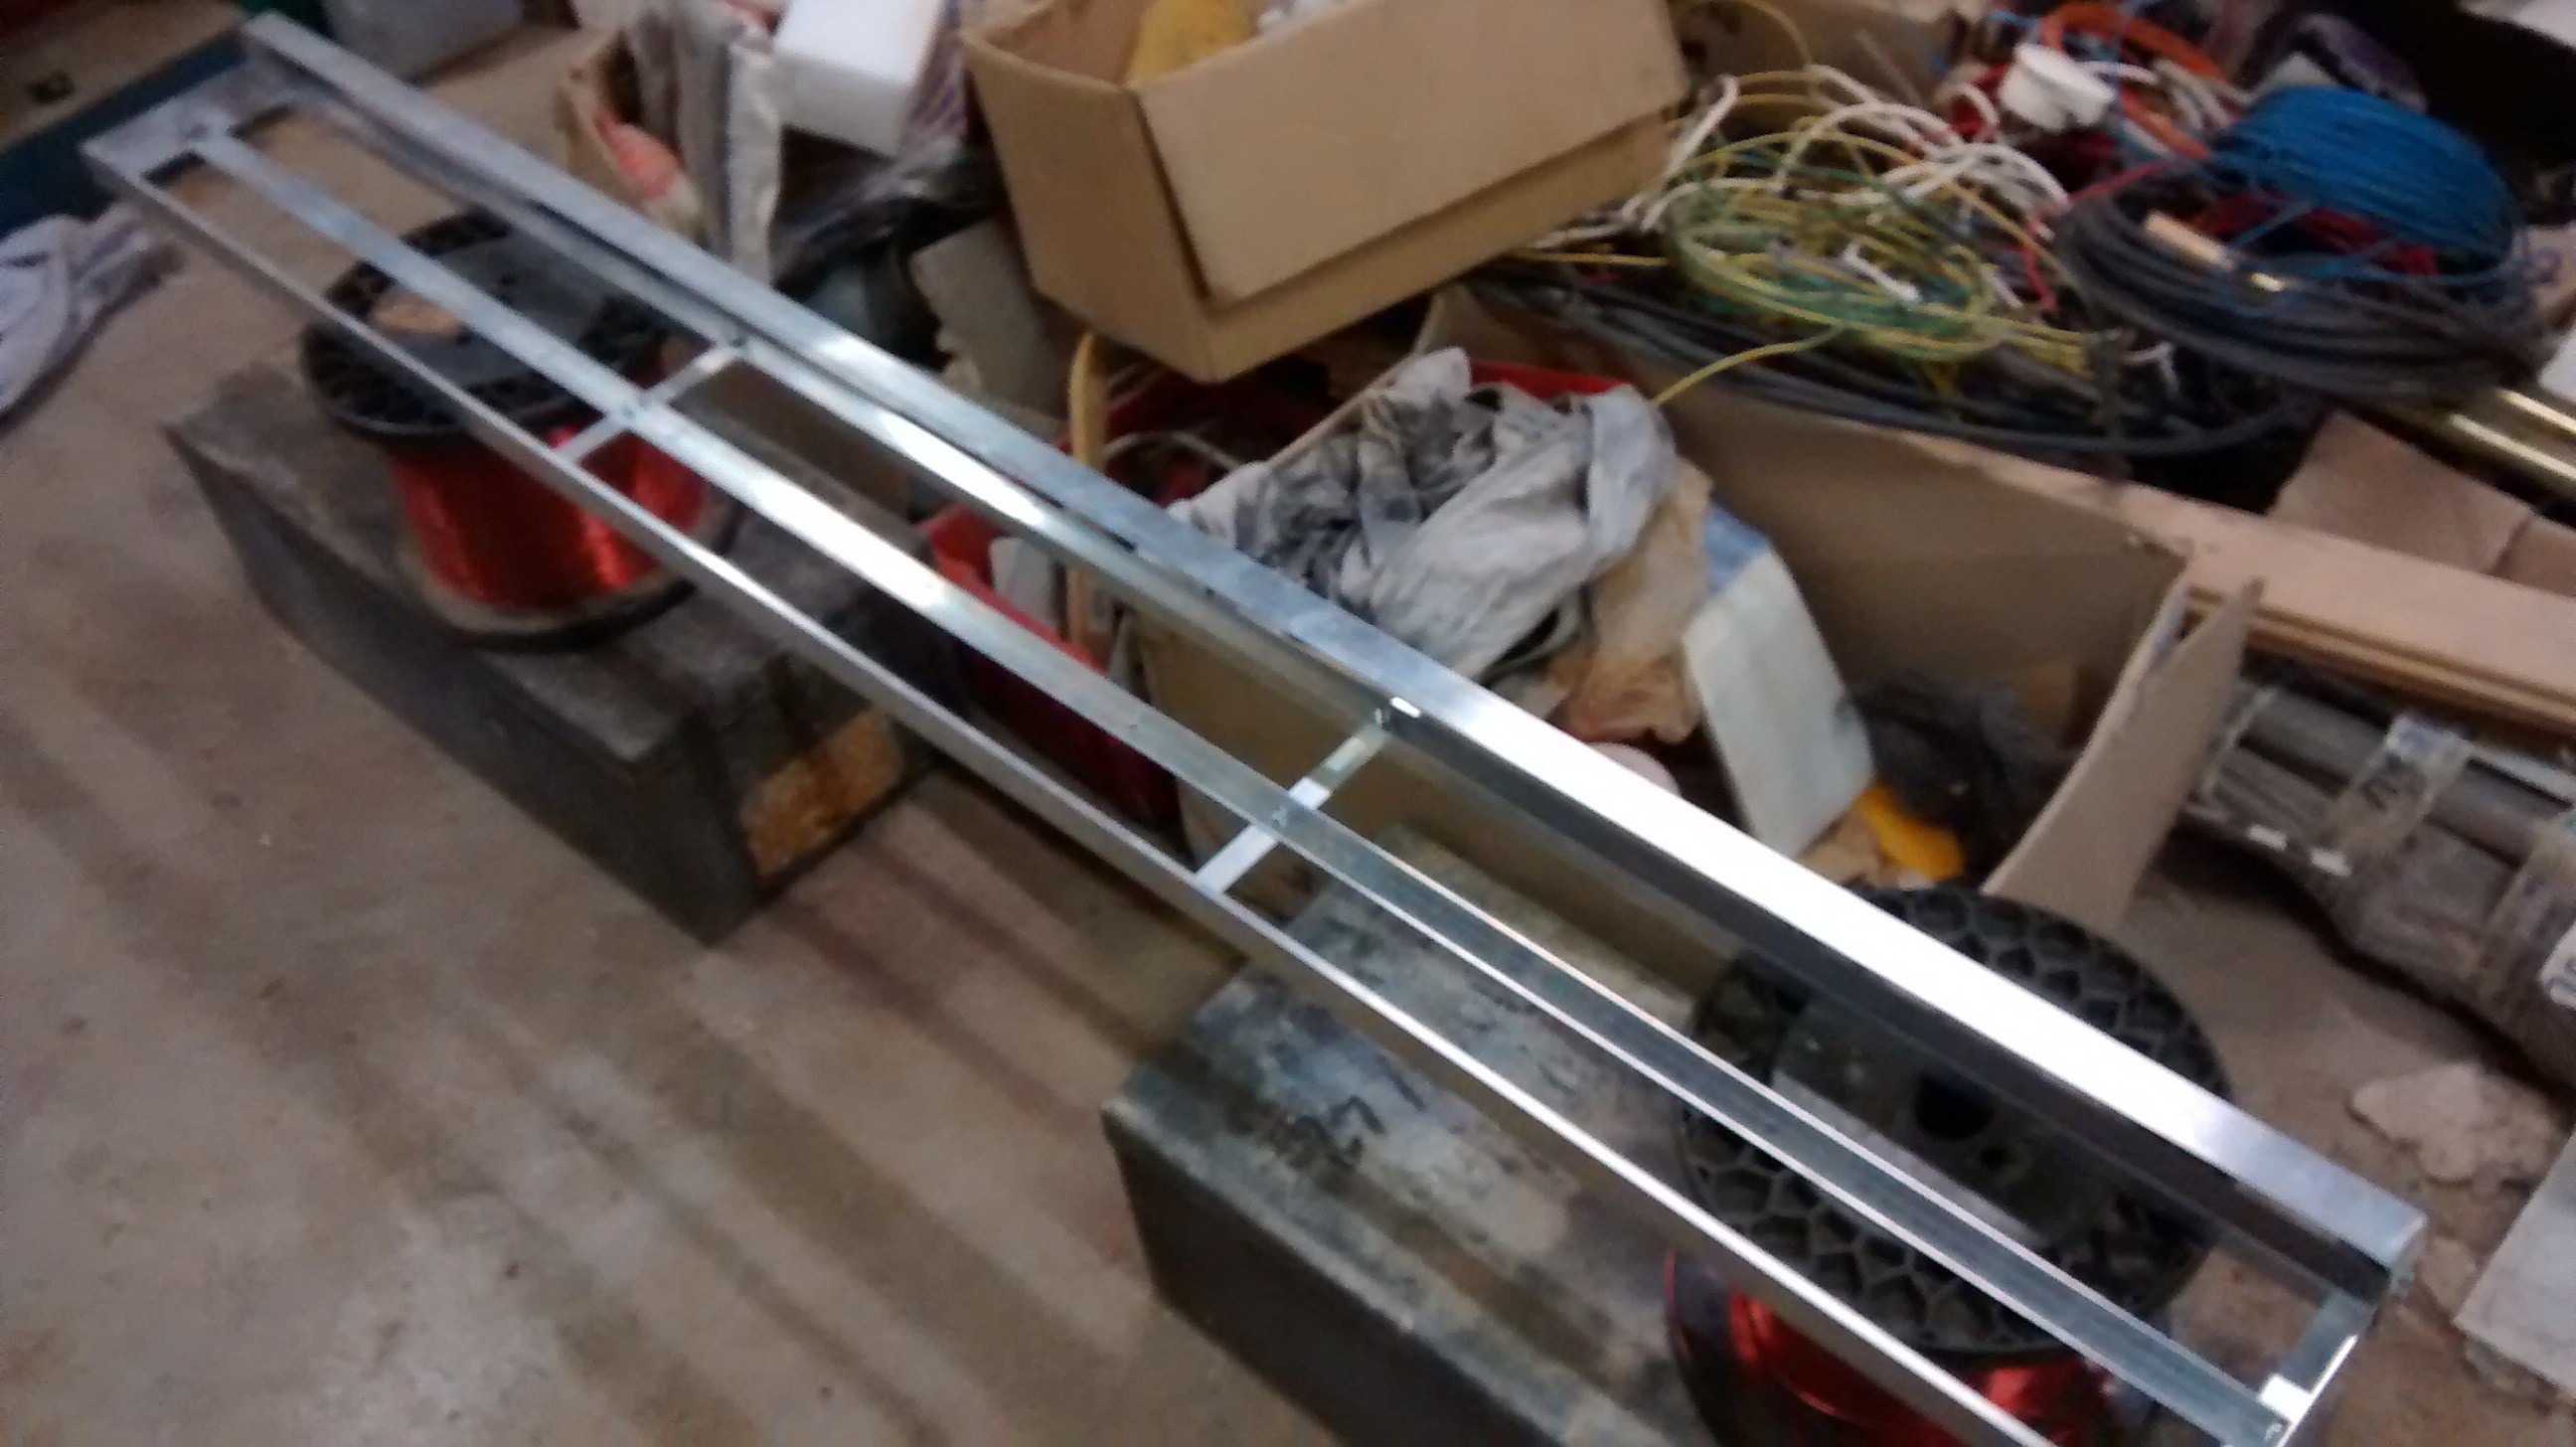
Behind !
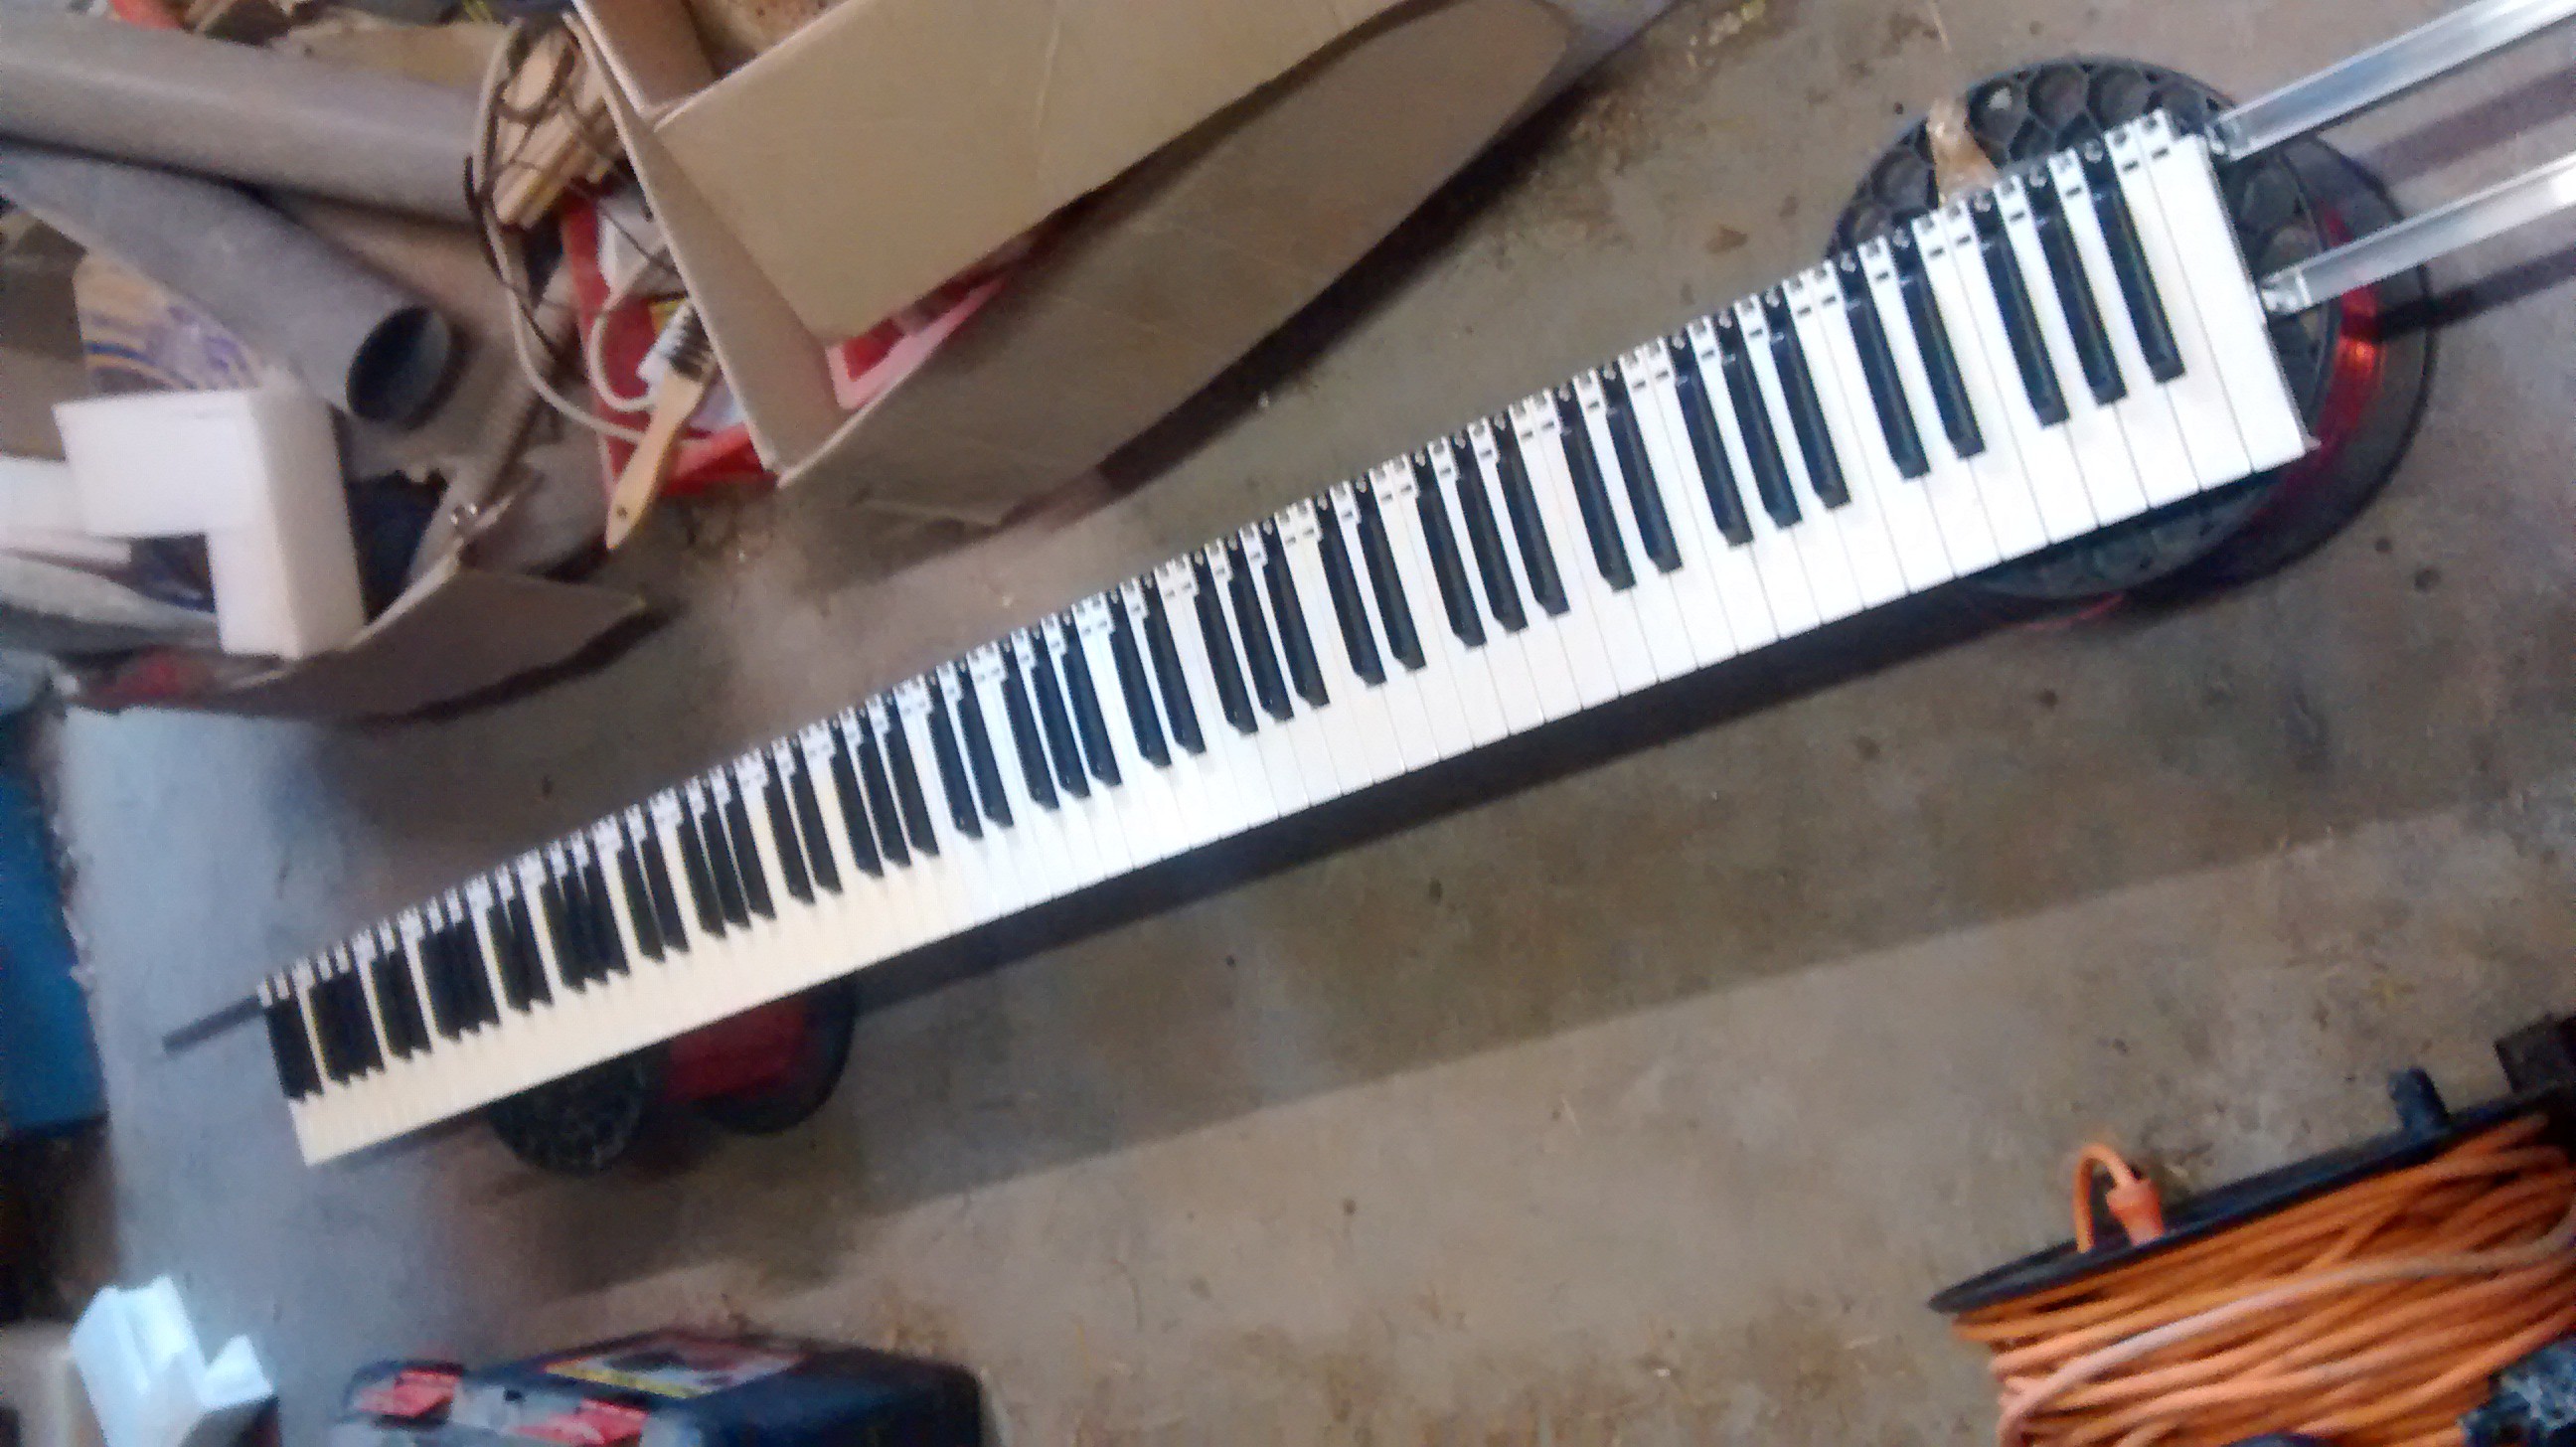
A blurry picture of the frame.![]()
The hard part is over, and I don't want to mess with it again. Now it's time for some electronics and software !
-
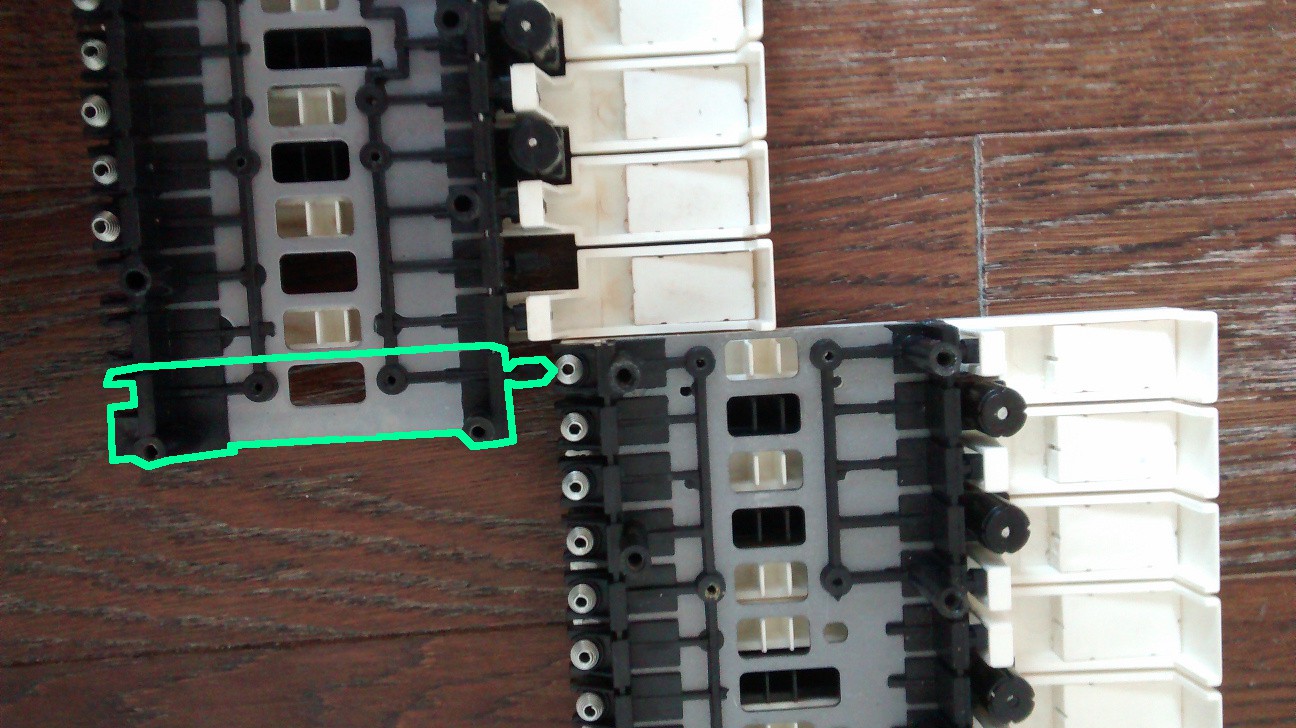
Merge both keyboards
08/21/2015 at 16:31 • 0 commentsFirst the redundant C6 key had to be sawed off.
![]()
![]()
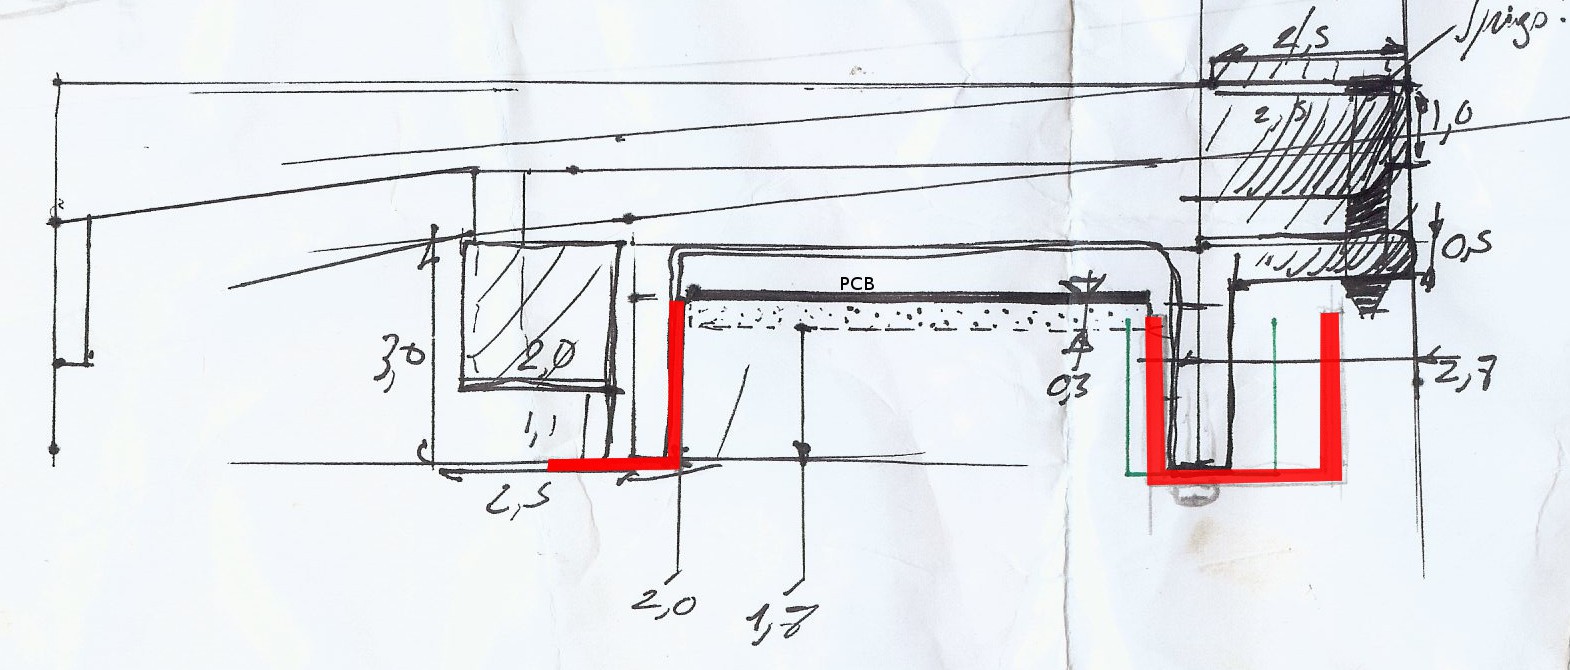
Ok. Let's build the main frame that will hold the two keyboards together. After much hesitation in the hardware store I picked two L and U shaped aluminum bars, 1.5mm thickness.
![]()
![]()
It seems rigid enough. The U bar could be overkill.
After drilling some holes and reusing the screws, here is the result ! The traces of the C6 key had not yet been removed on the PCB.![]()
![]()
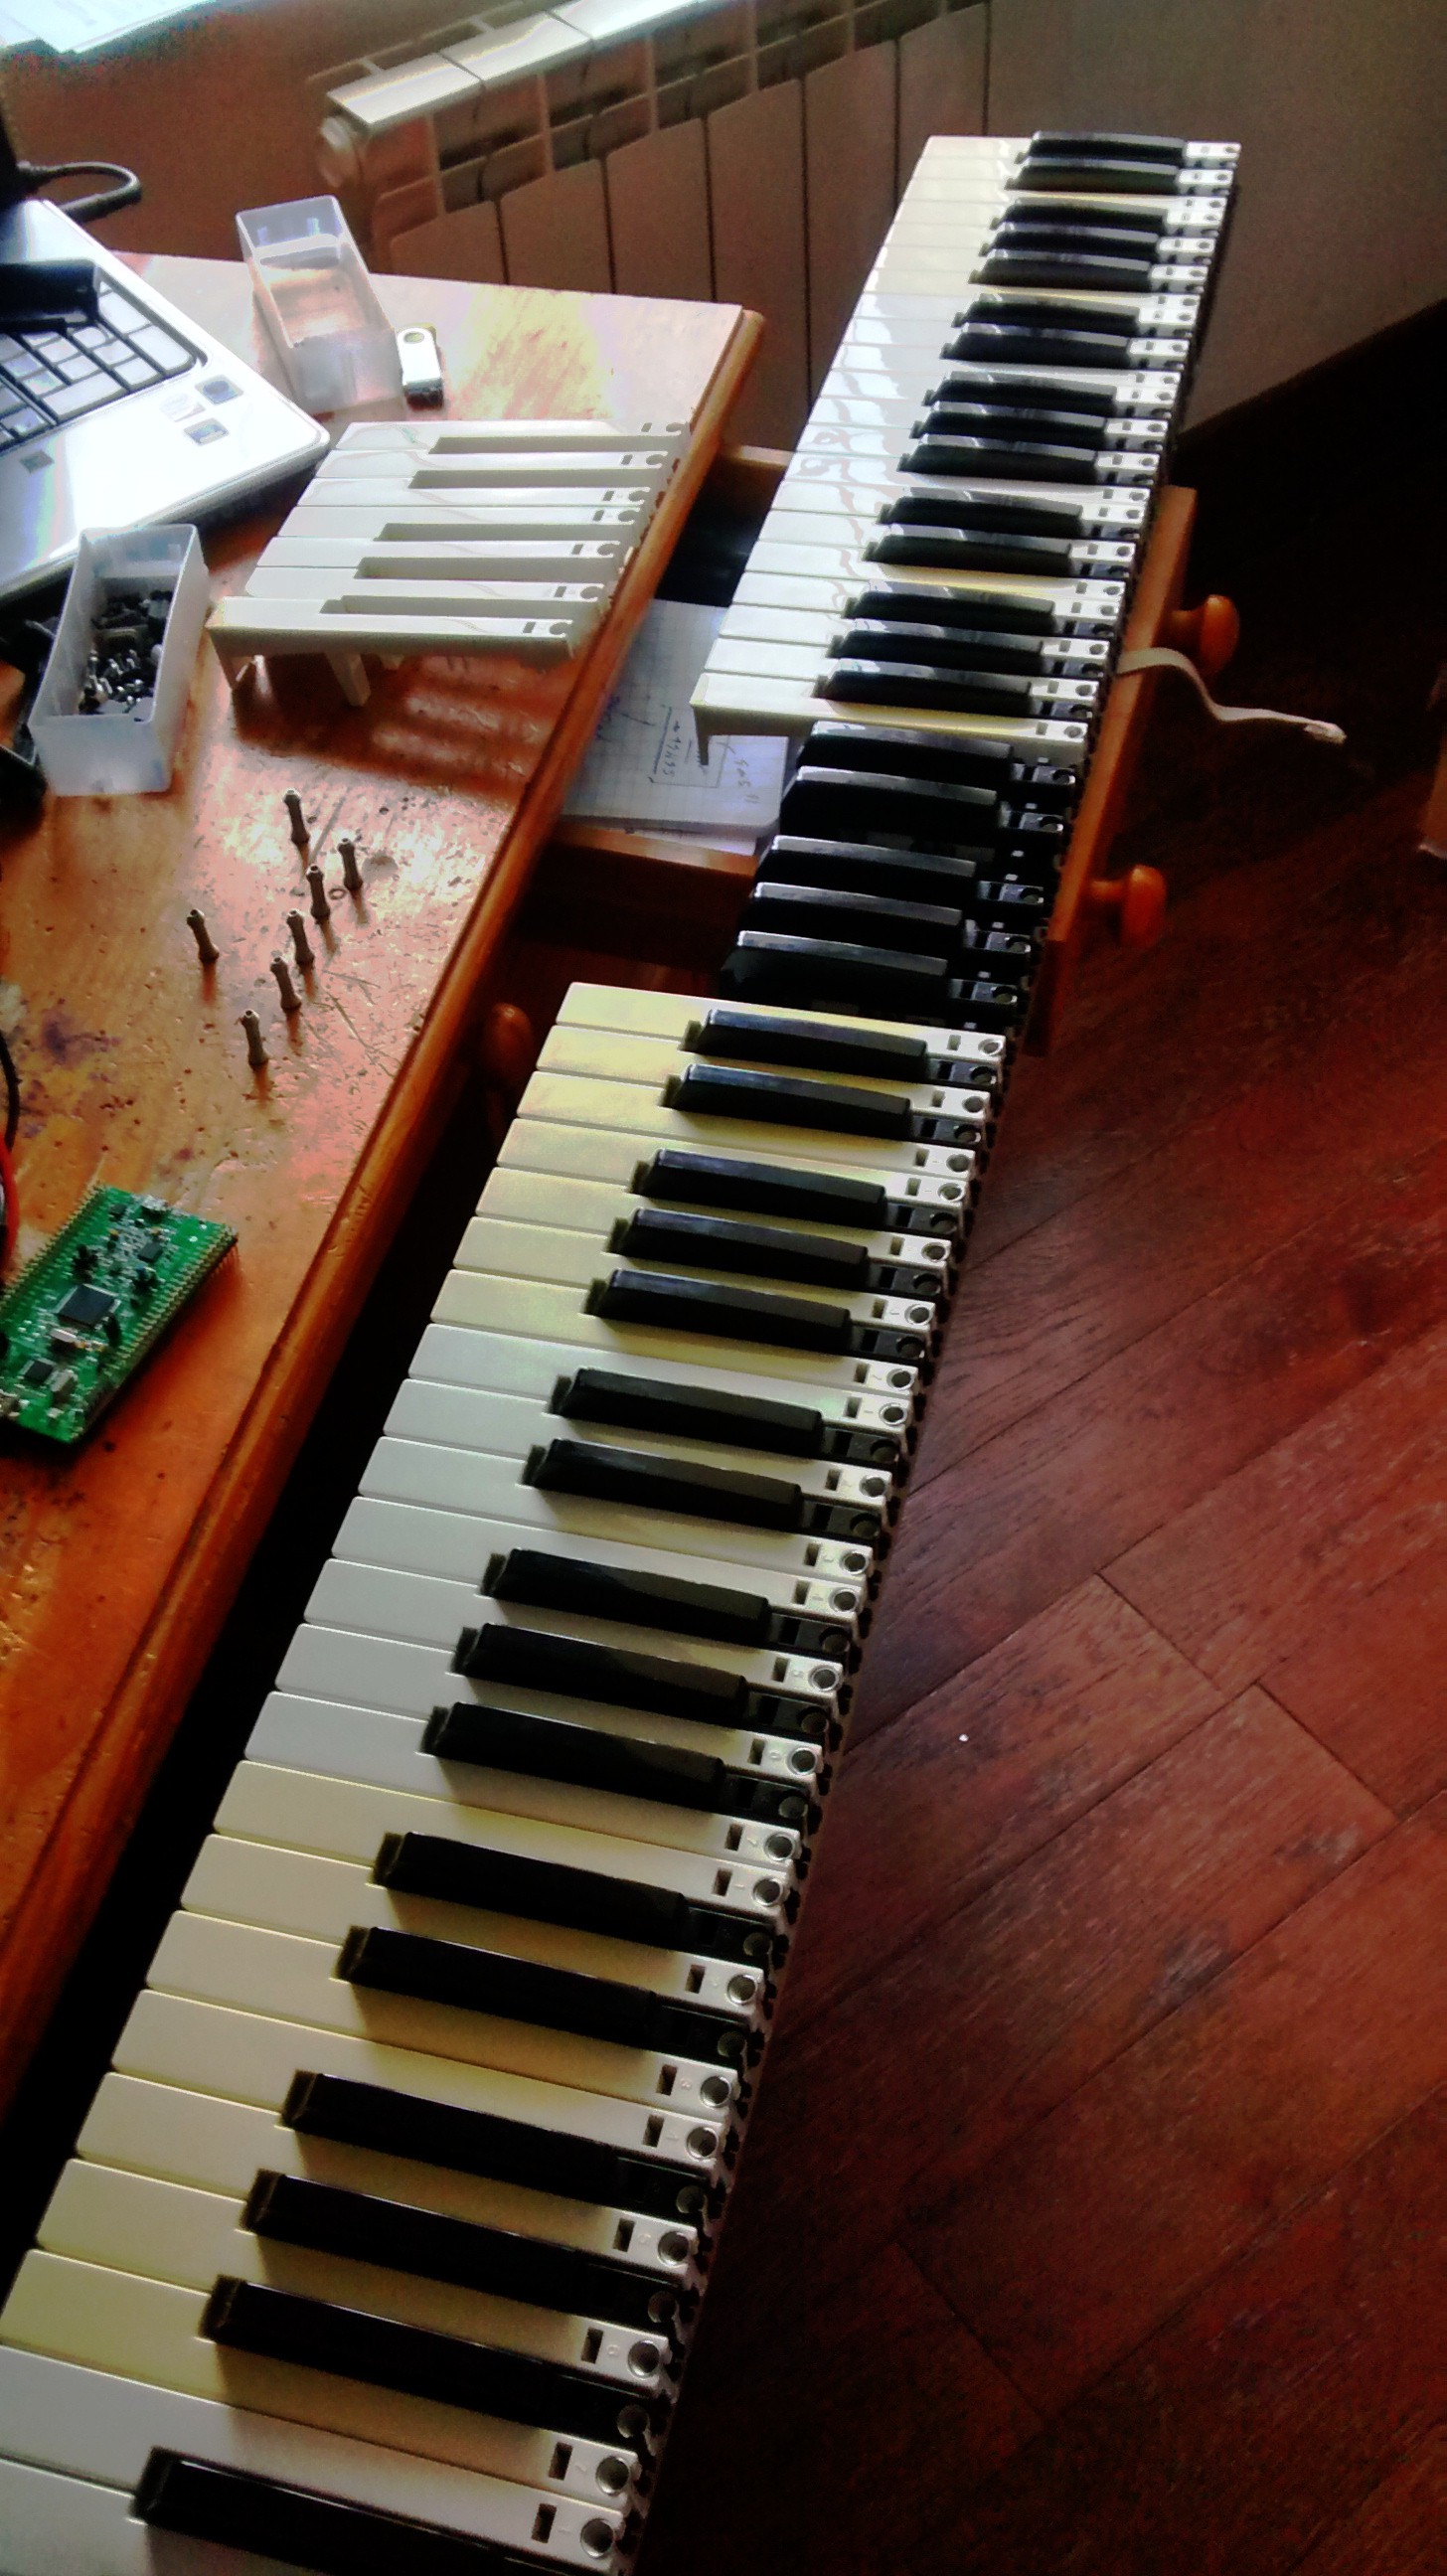
The first keyboard I bough had yellow keys, probably because of the sun. It seems possible to revert them to white by polishing them (hard way) or diving them in Retr0bright (not sure it would work). Now I have an extra key to experiment on so I one day could try retrobright on it.
Having one half yellow and the other white is a bit weird so I decided to alternate both colors from one octave to another.
I have to say that unlike my lousy PSR-210, those keyboards are quite easy to modify : keys can be removed and replaced without difficulty, and without breaking something in the process.
![]()
I'm quite happy with the result : there is no visible gap between keyboards and the structure is super rigid. Granted, it's not really portable, but surprisingly it's not that heavy (I should weigh it one day). Too bad the embedded frame is in steel :(
Next step : make a basic support beneath the keyboard, as well as something to hide the top of the keys(springs) and their end.
-
Tear everything apart !
08/20/2015 at 19:08 • 0 commentsThat delicious moment when you cleared all this occluding plastic and you start to grasp how everything works/worked ... especially when you have removed a hundred of screws .Too bad I didn't took many relevant photos.
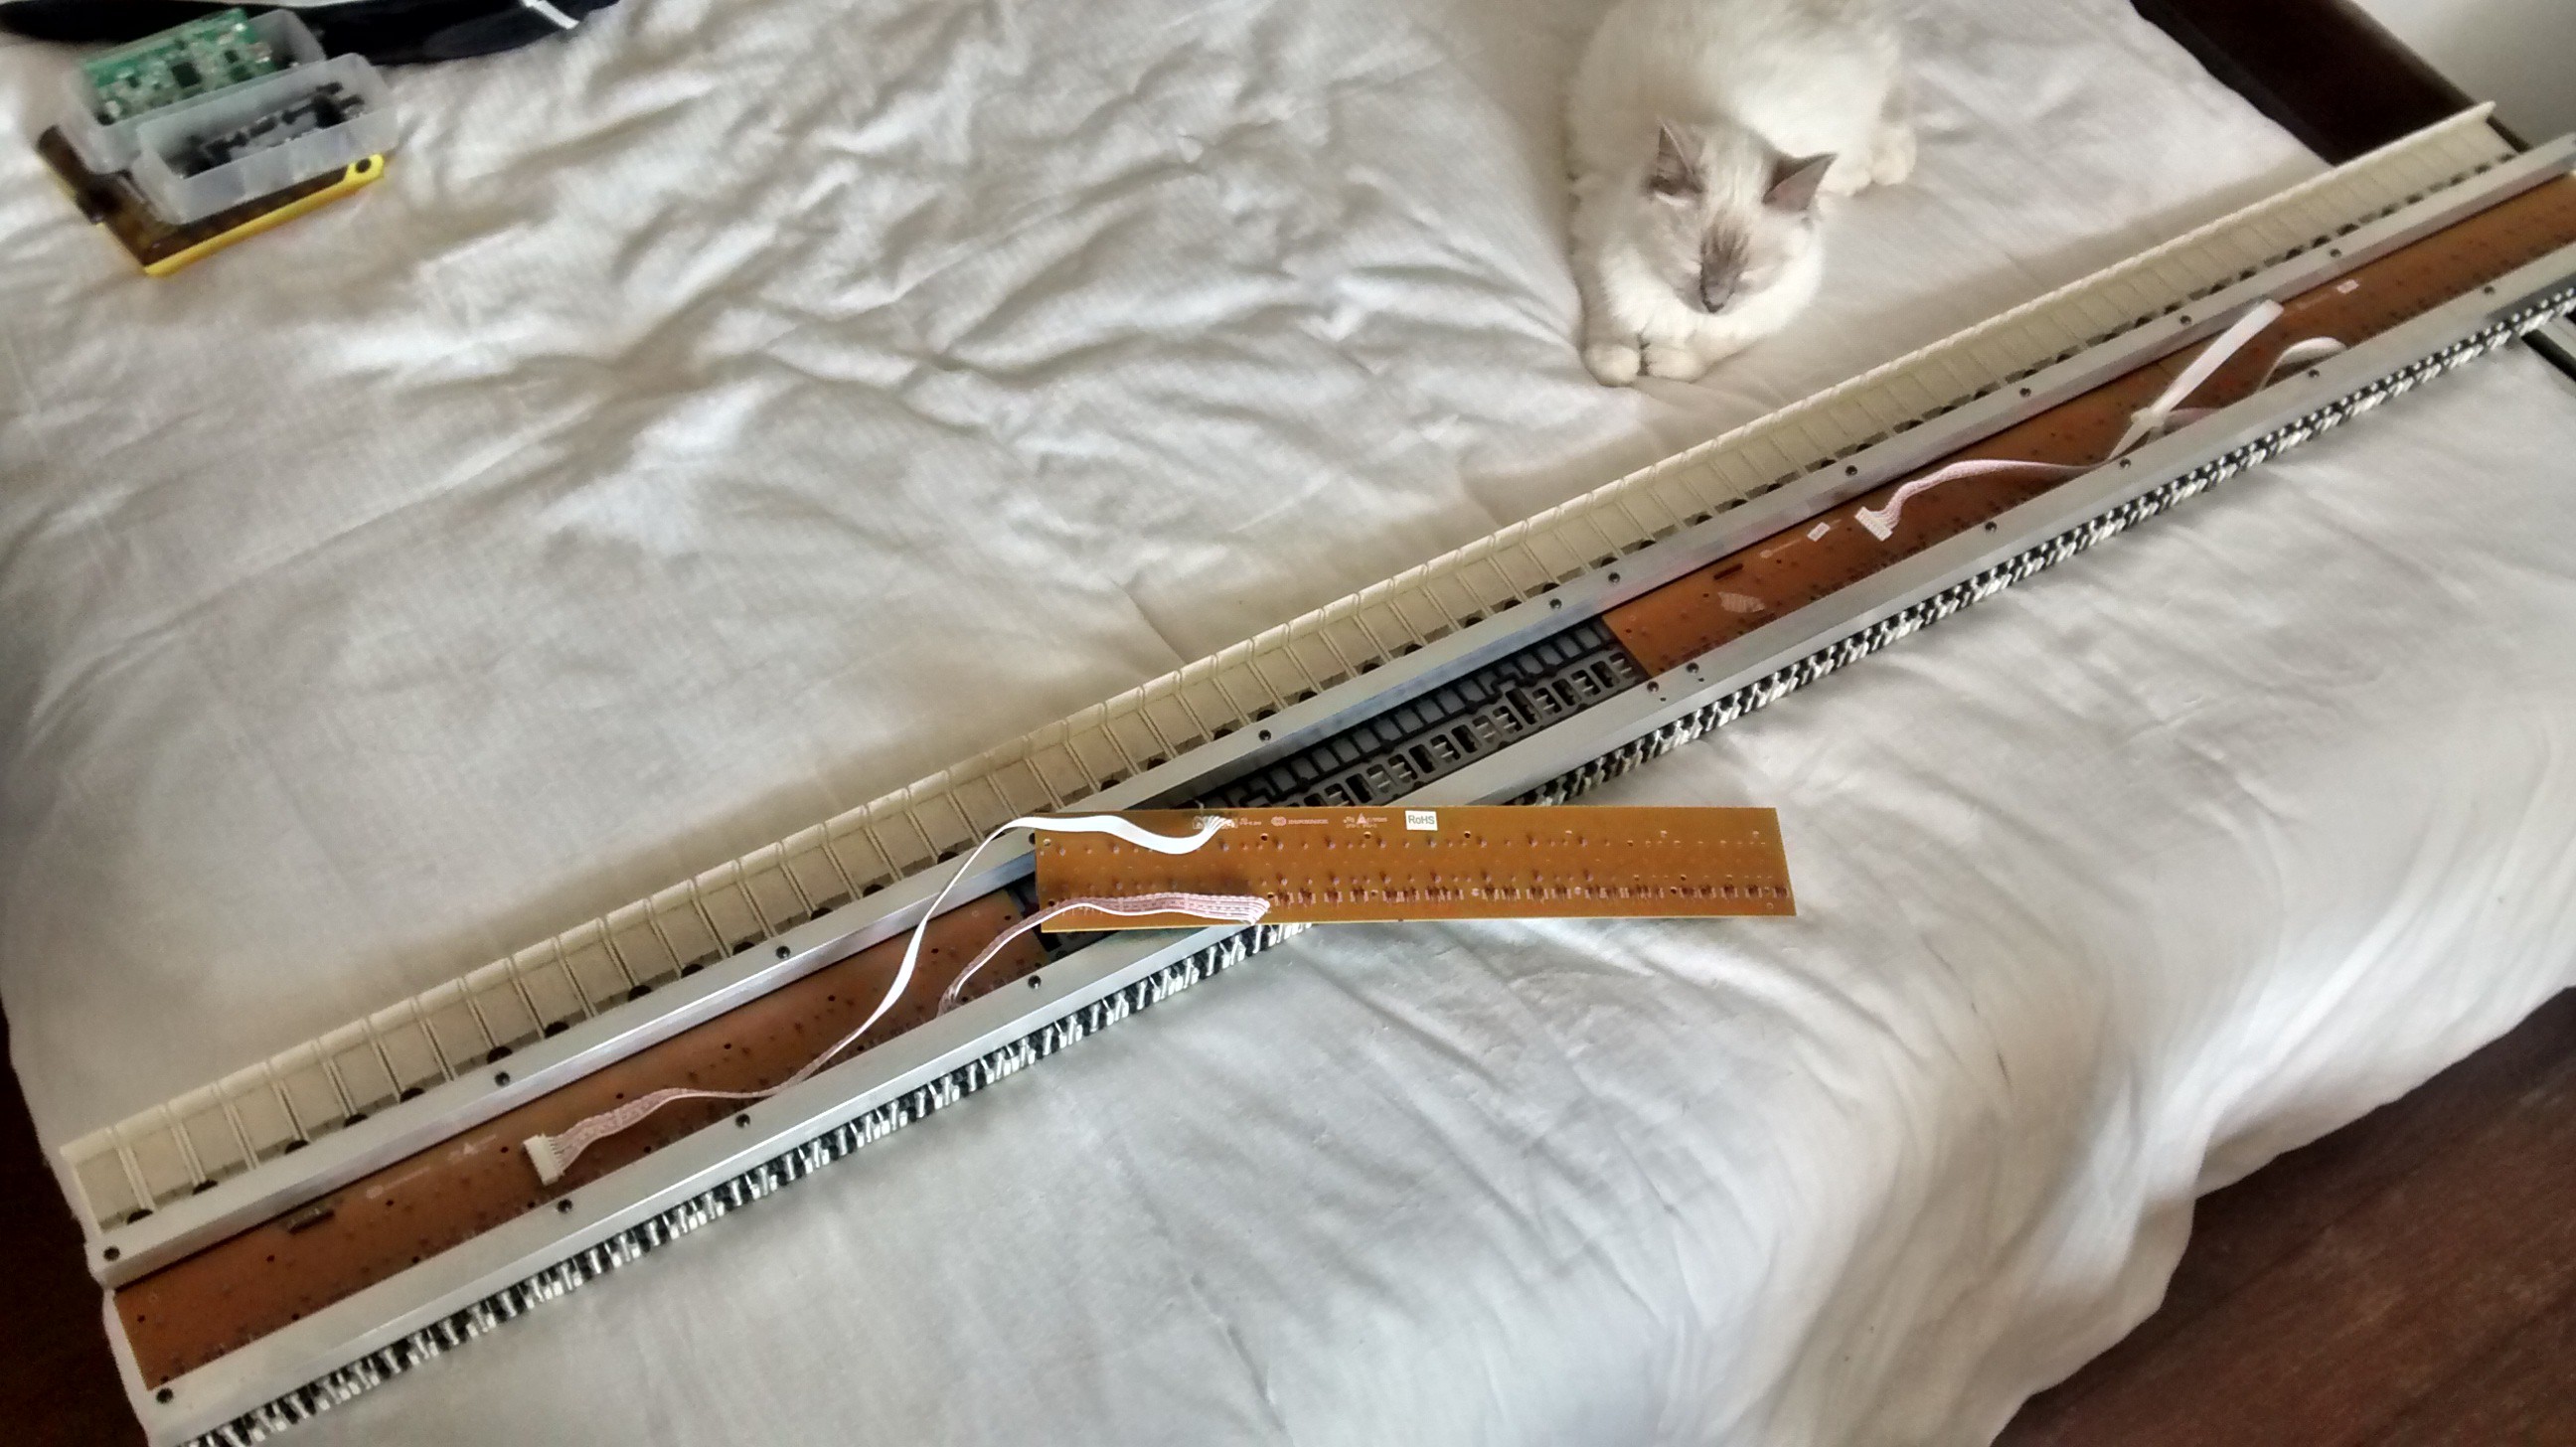
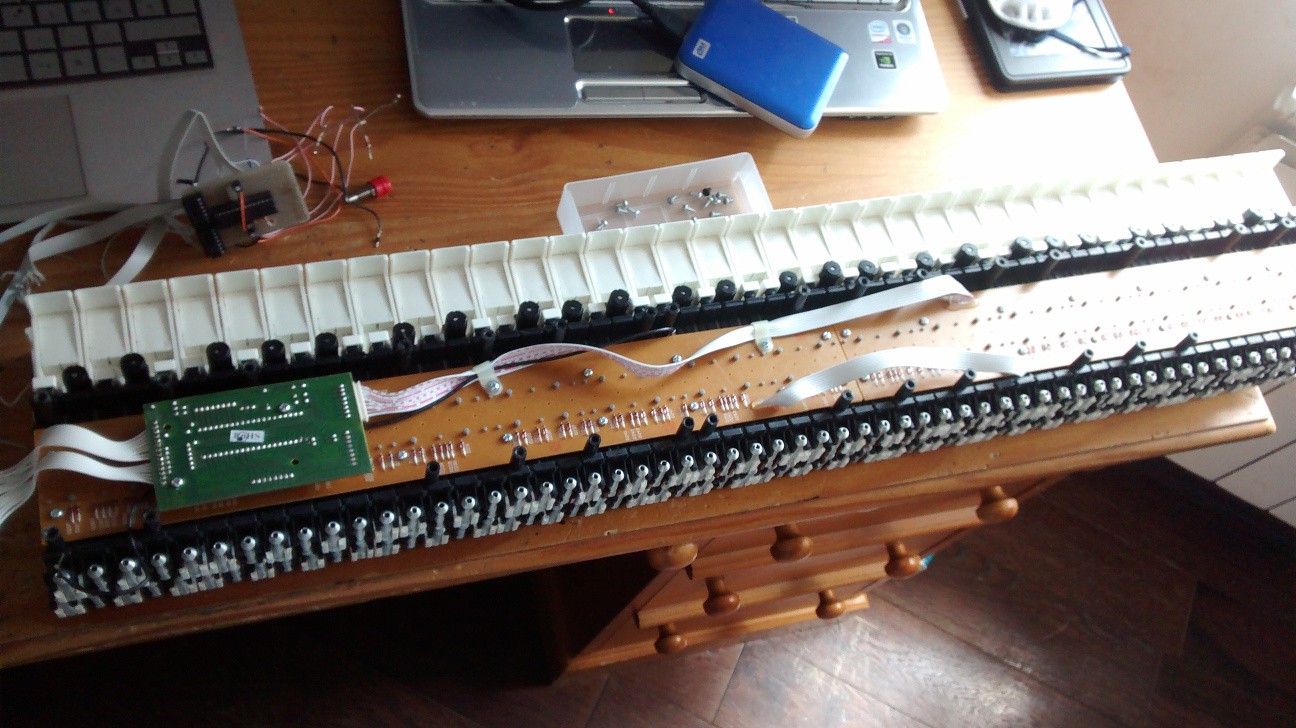
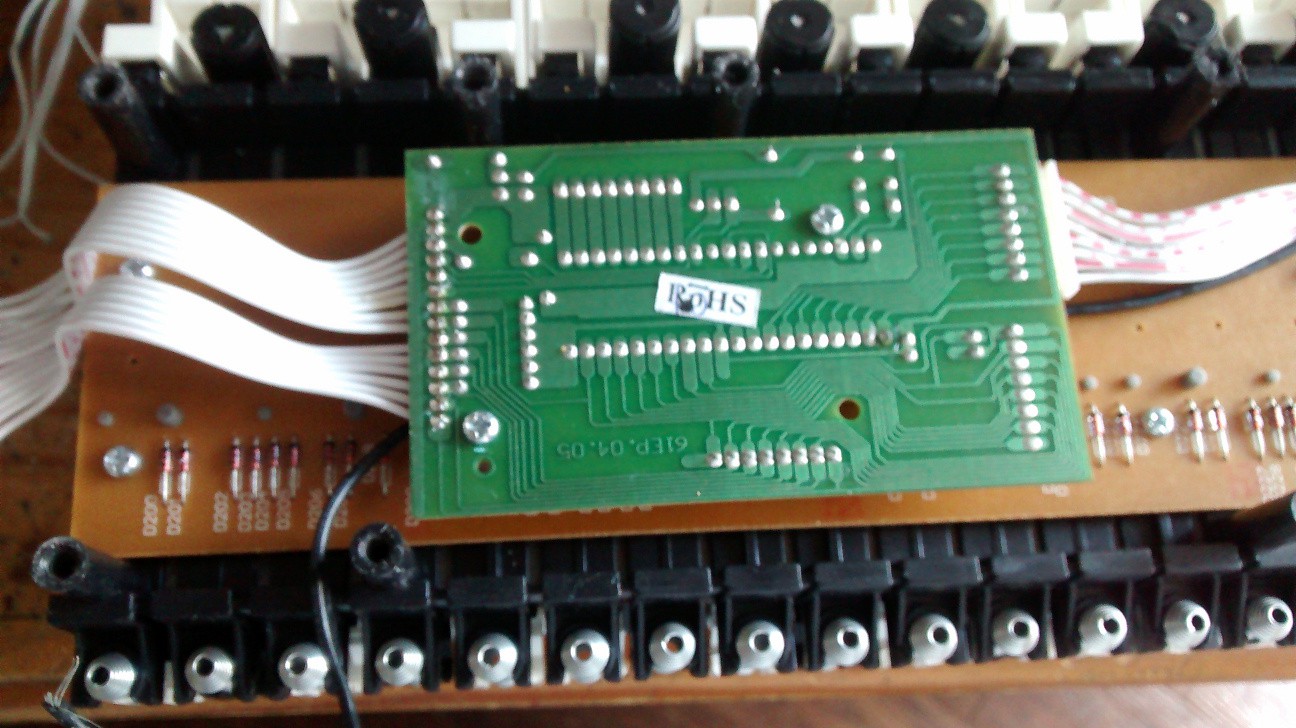
Keyboard 2 - Vanilla
![]()
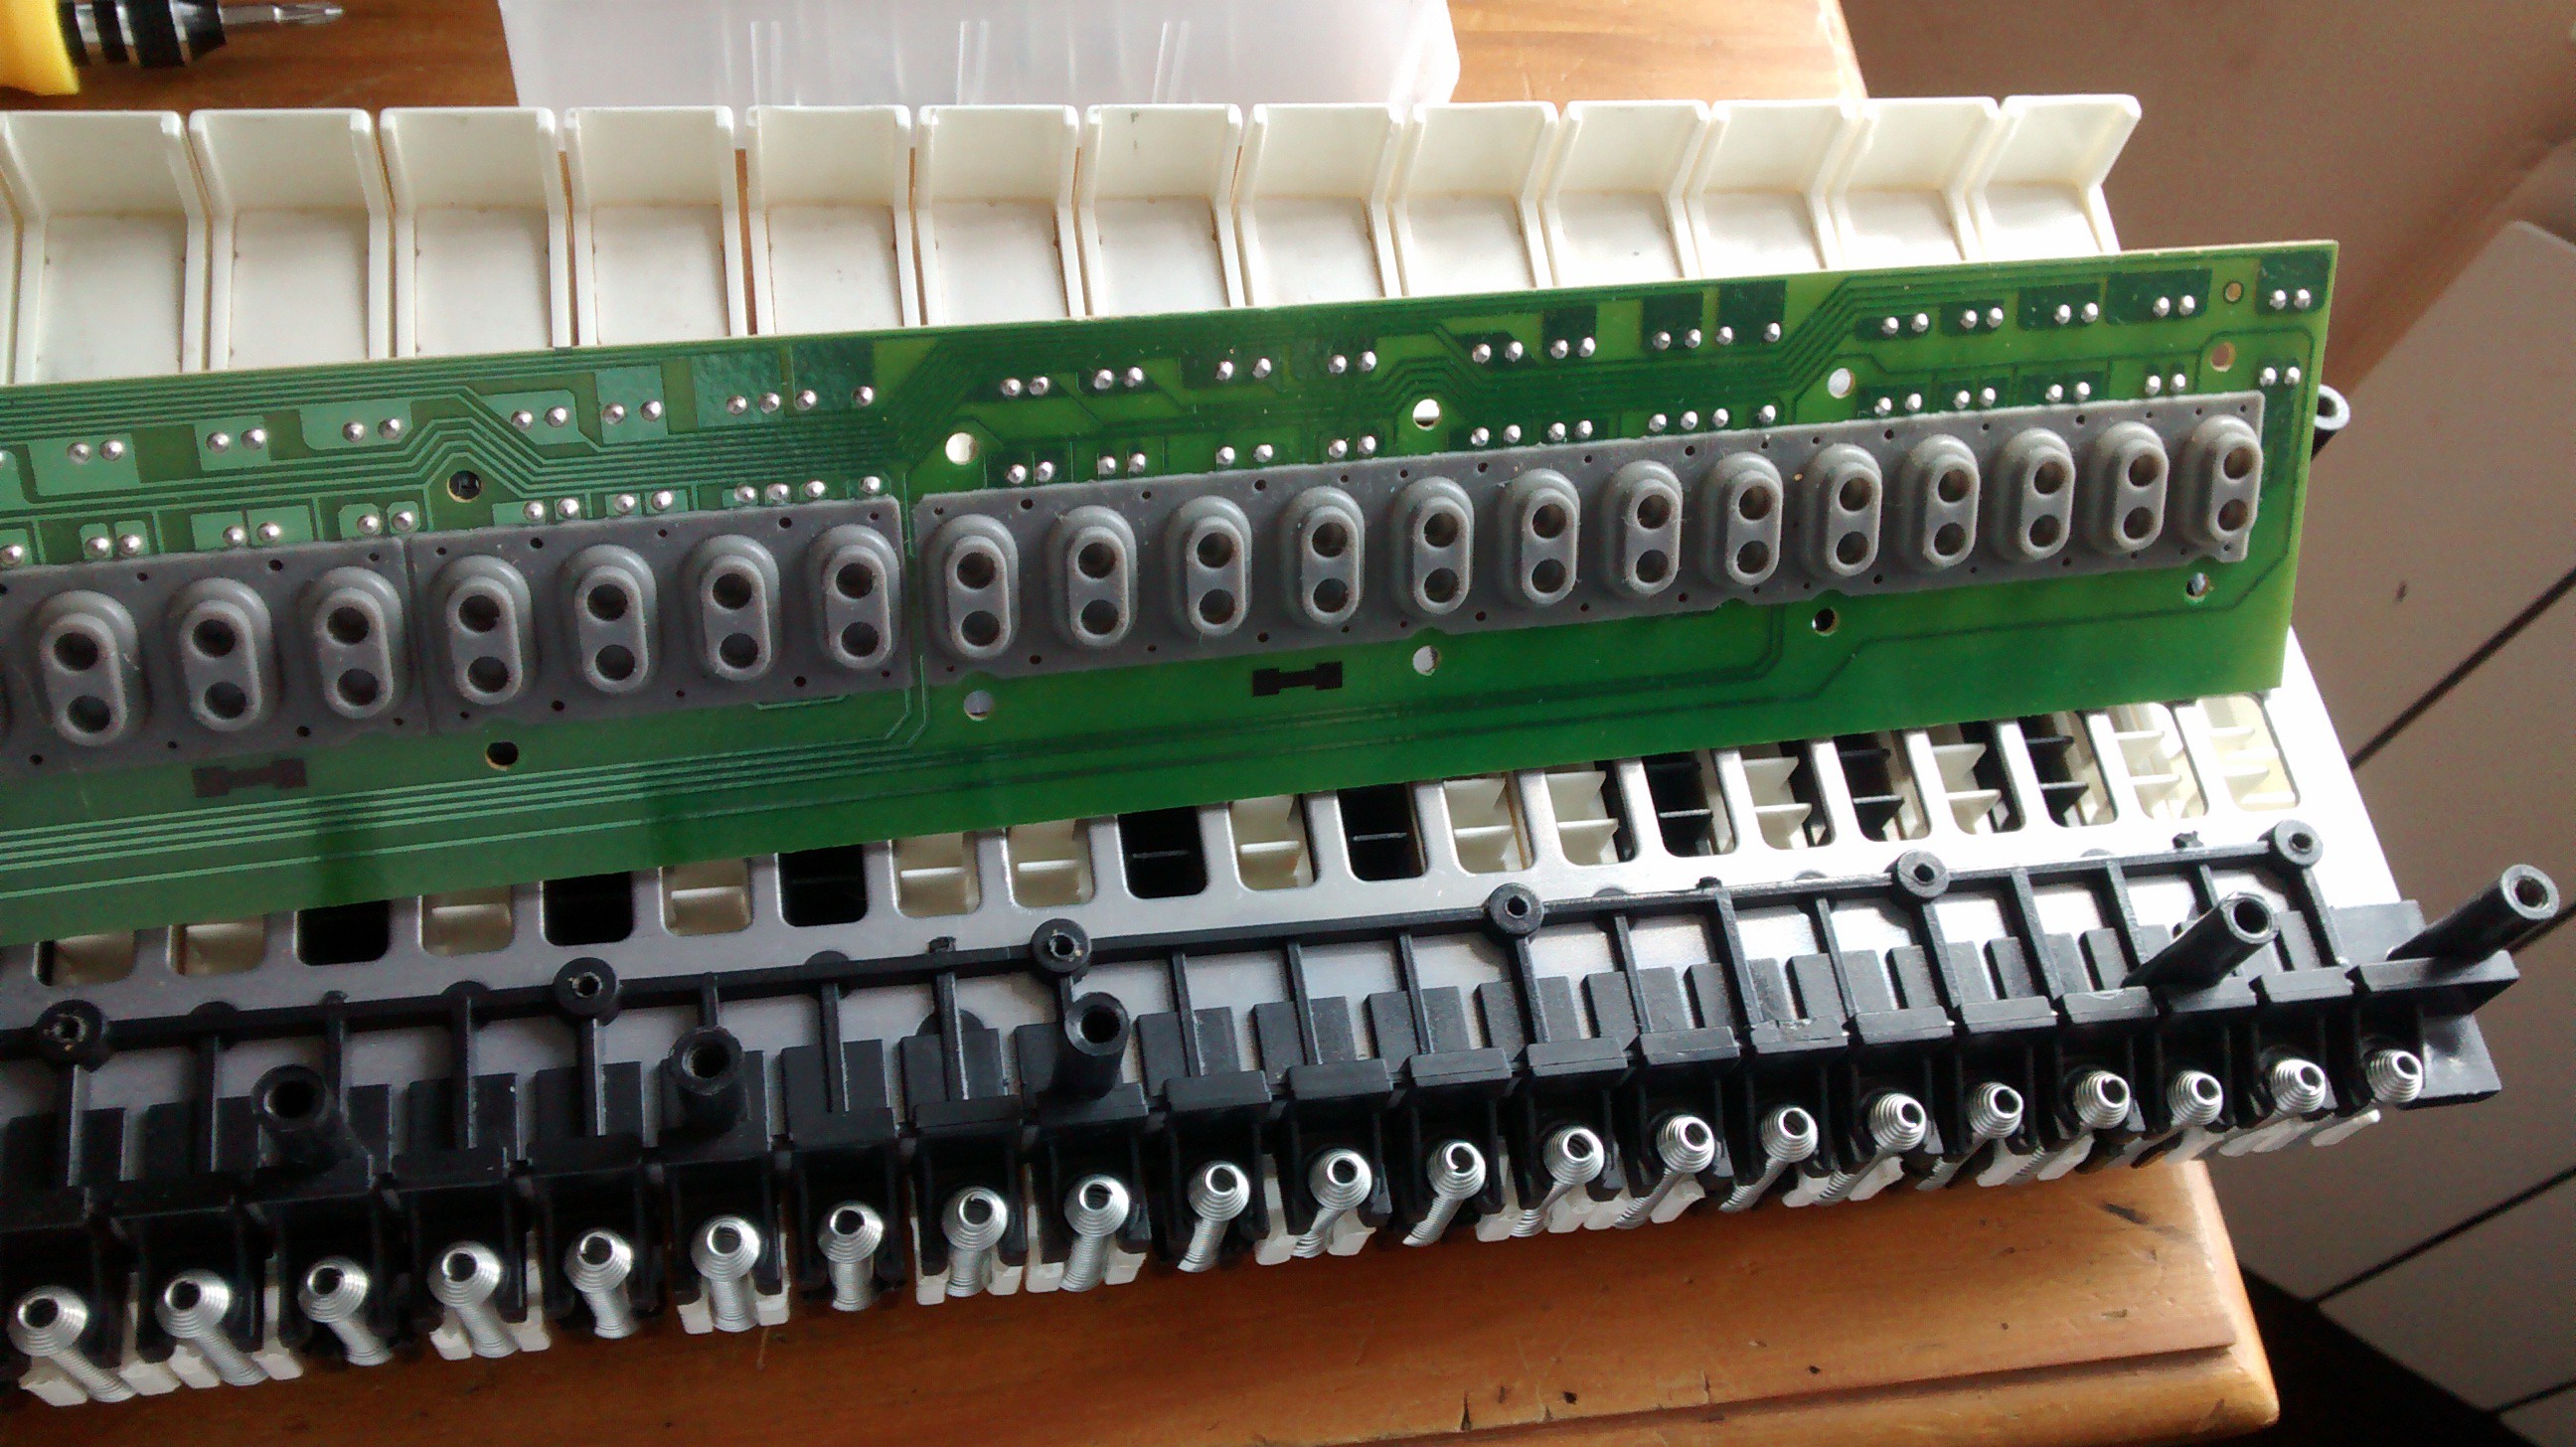
Observe the spring mechanism, the 121 diodes and the green pcb of the µC that we will happily remove.
![]()
![]()
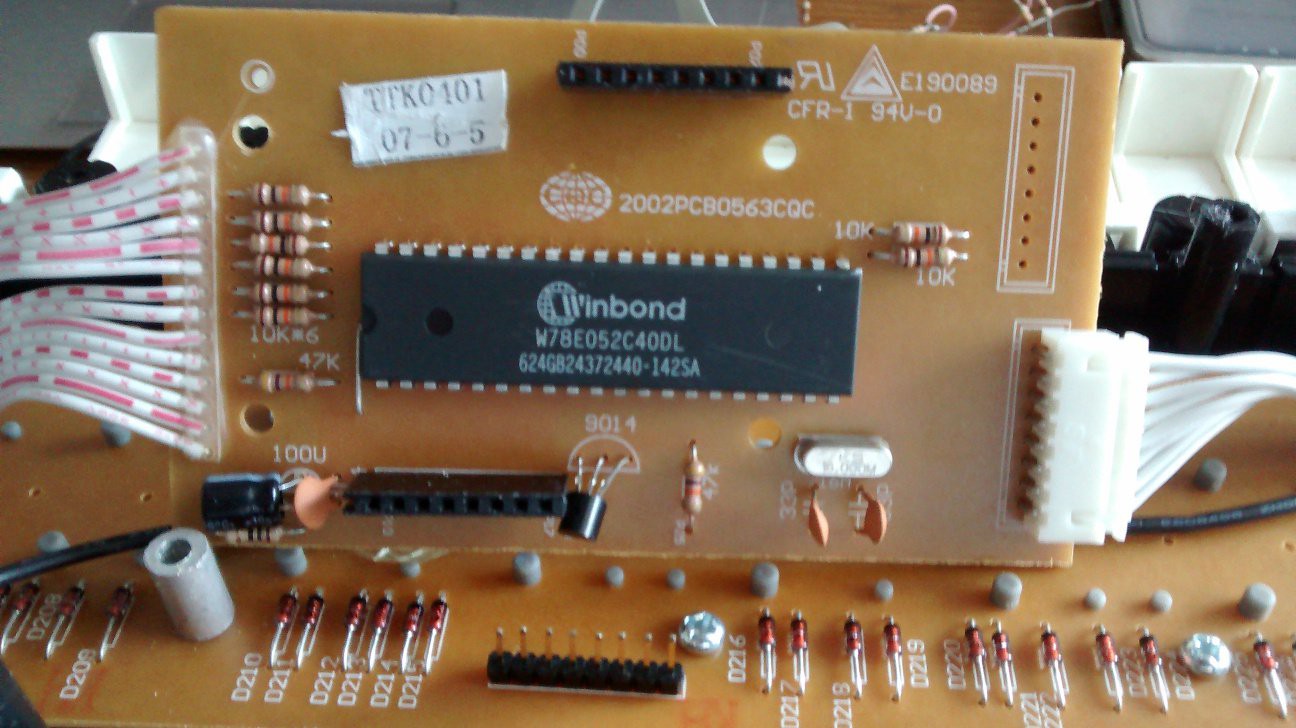
A 8052 variant. Notice that the decoupling capacitors are faaar away from its Vcc pin : Lack of knowledge , space constraints or evil built-in obsolescence ? Even weirder, power is fed trough a 10ohms resistor to make a strange RC filter ... am I missing something of this is a broken design ?!
Yellowish Keyboard 1 - Modded
![]()
![]()
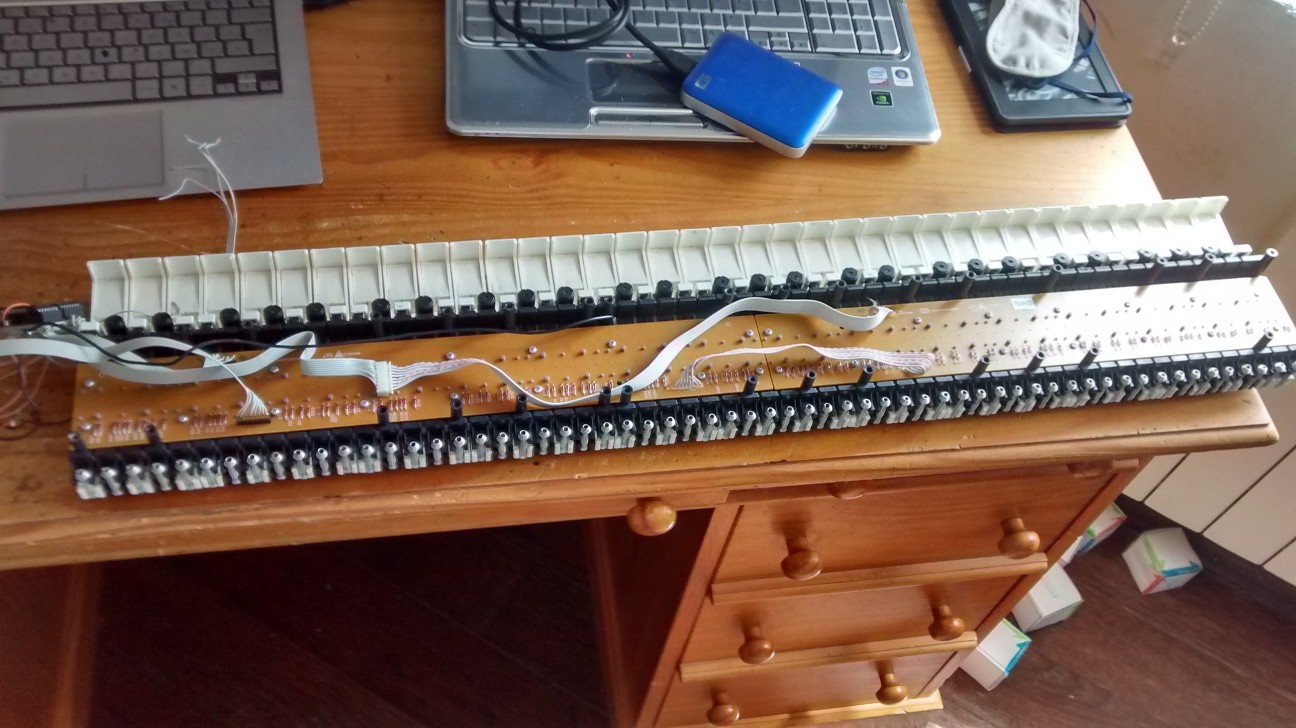
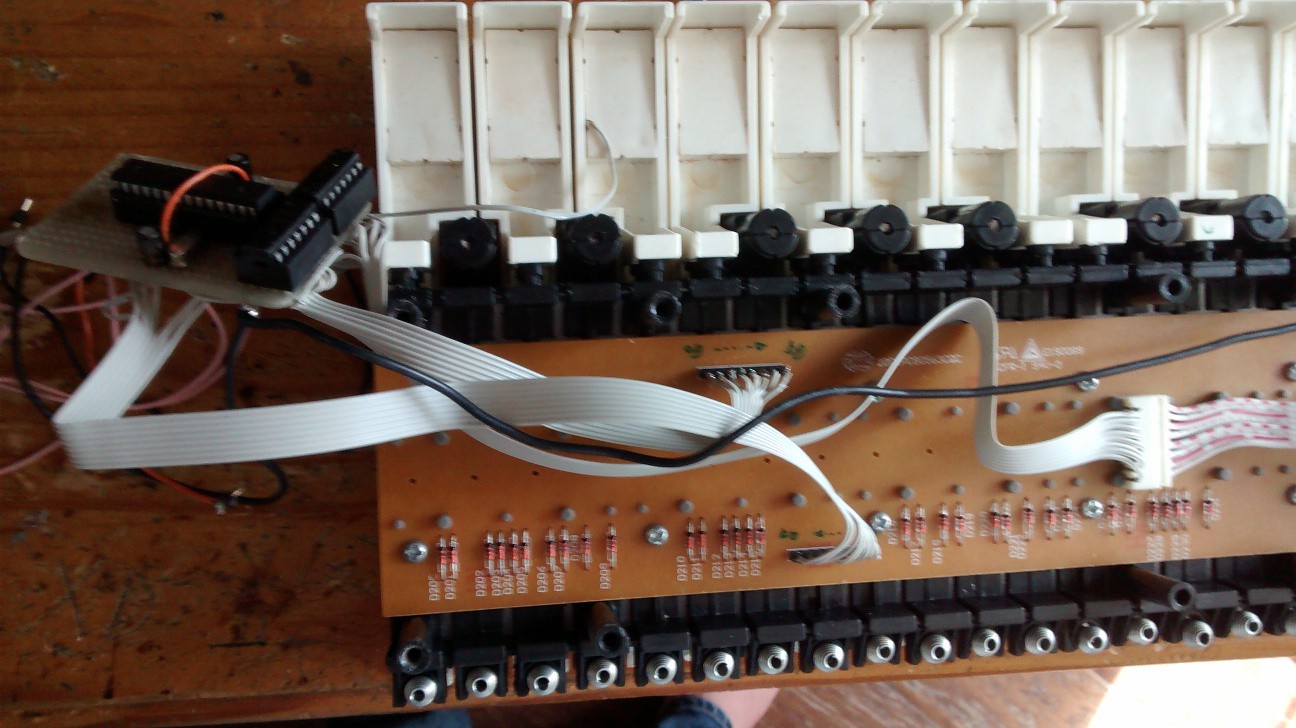
The previous DIY alternative that uses an Atmega8 and two shift registers to scan the keys. Every generated event is sent to a serial port, acquired by the pc through a serial<>usb converter and whatever serial<>midi software.
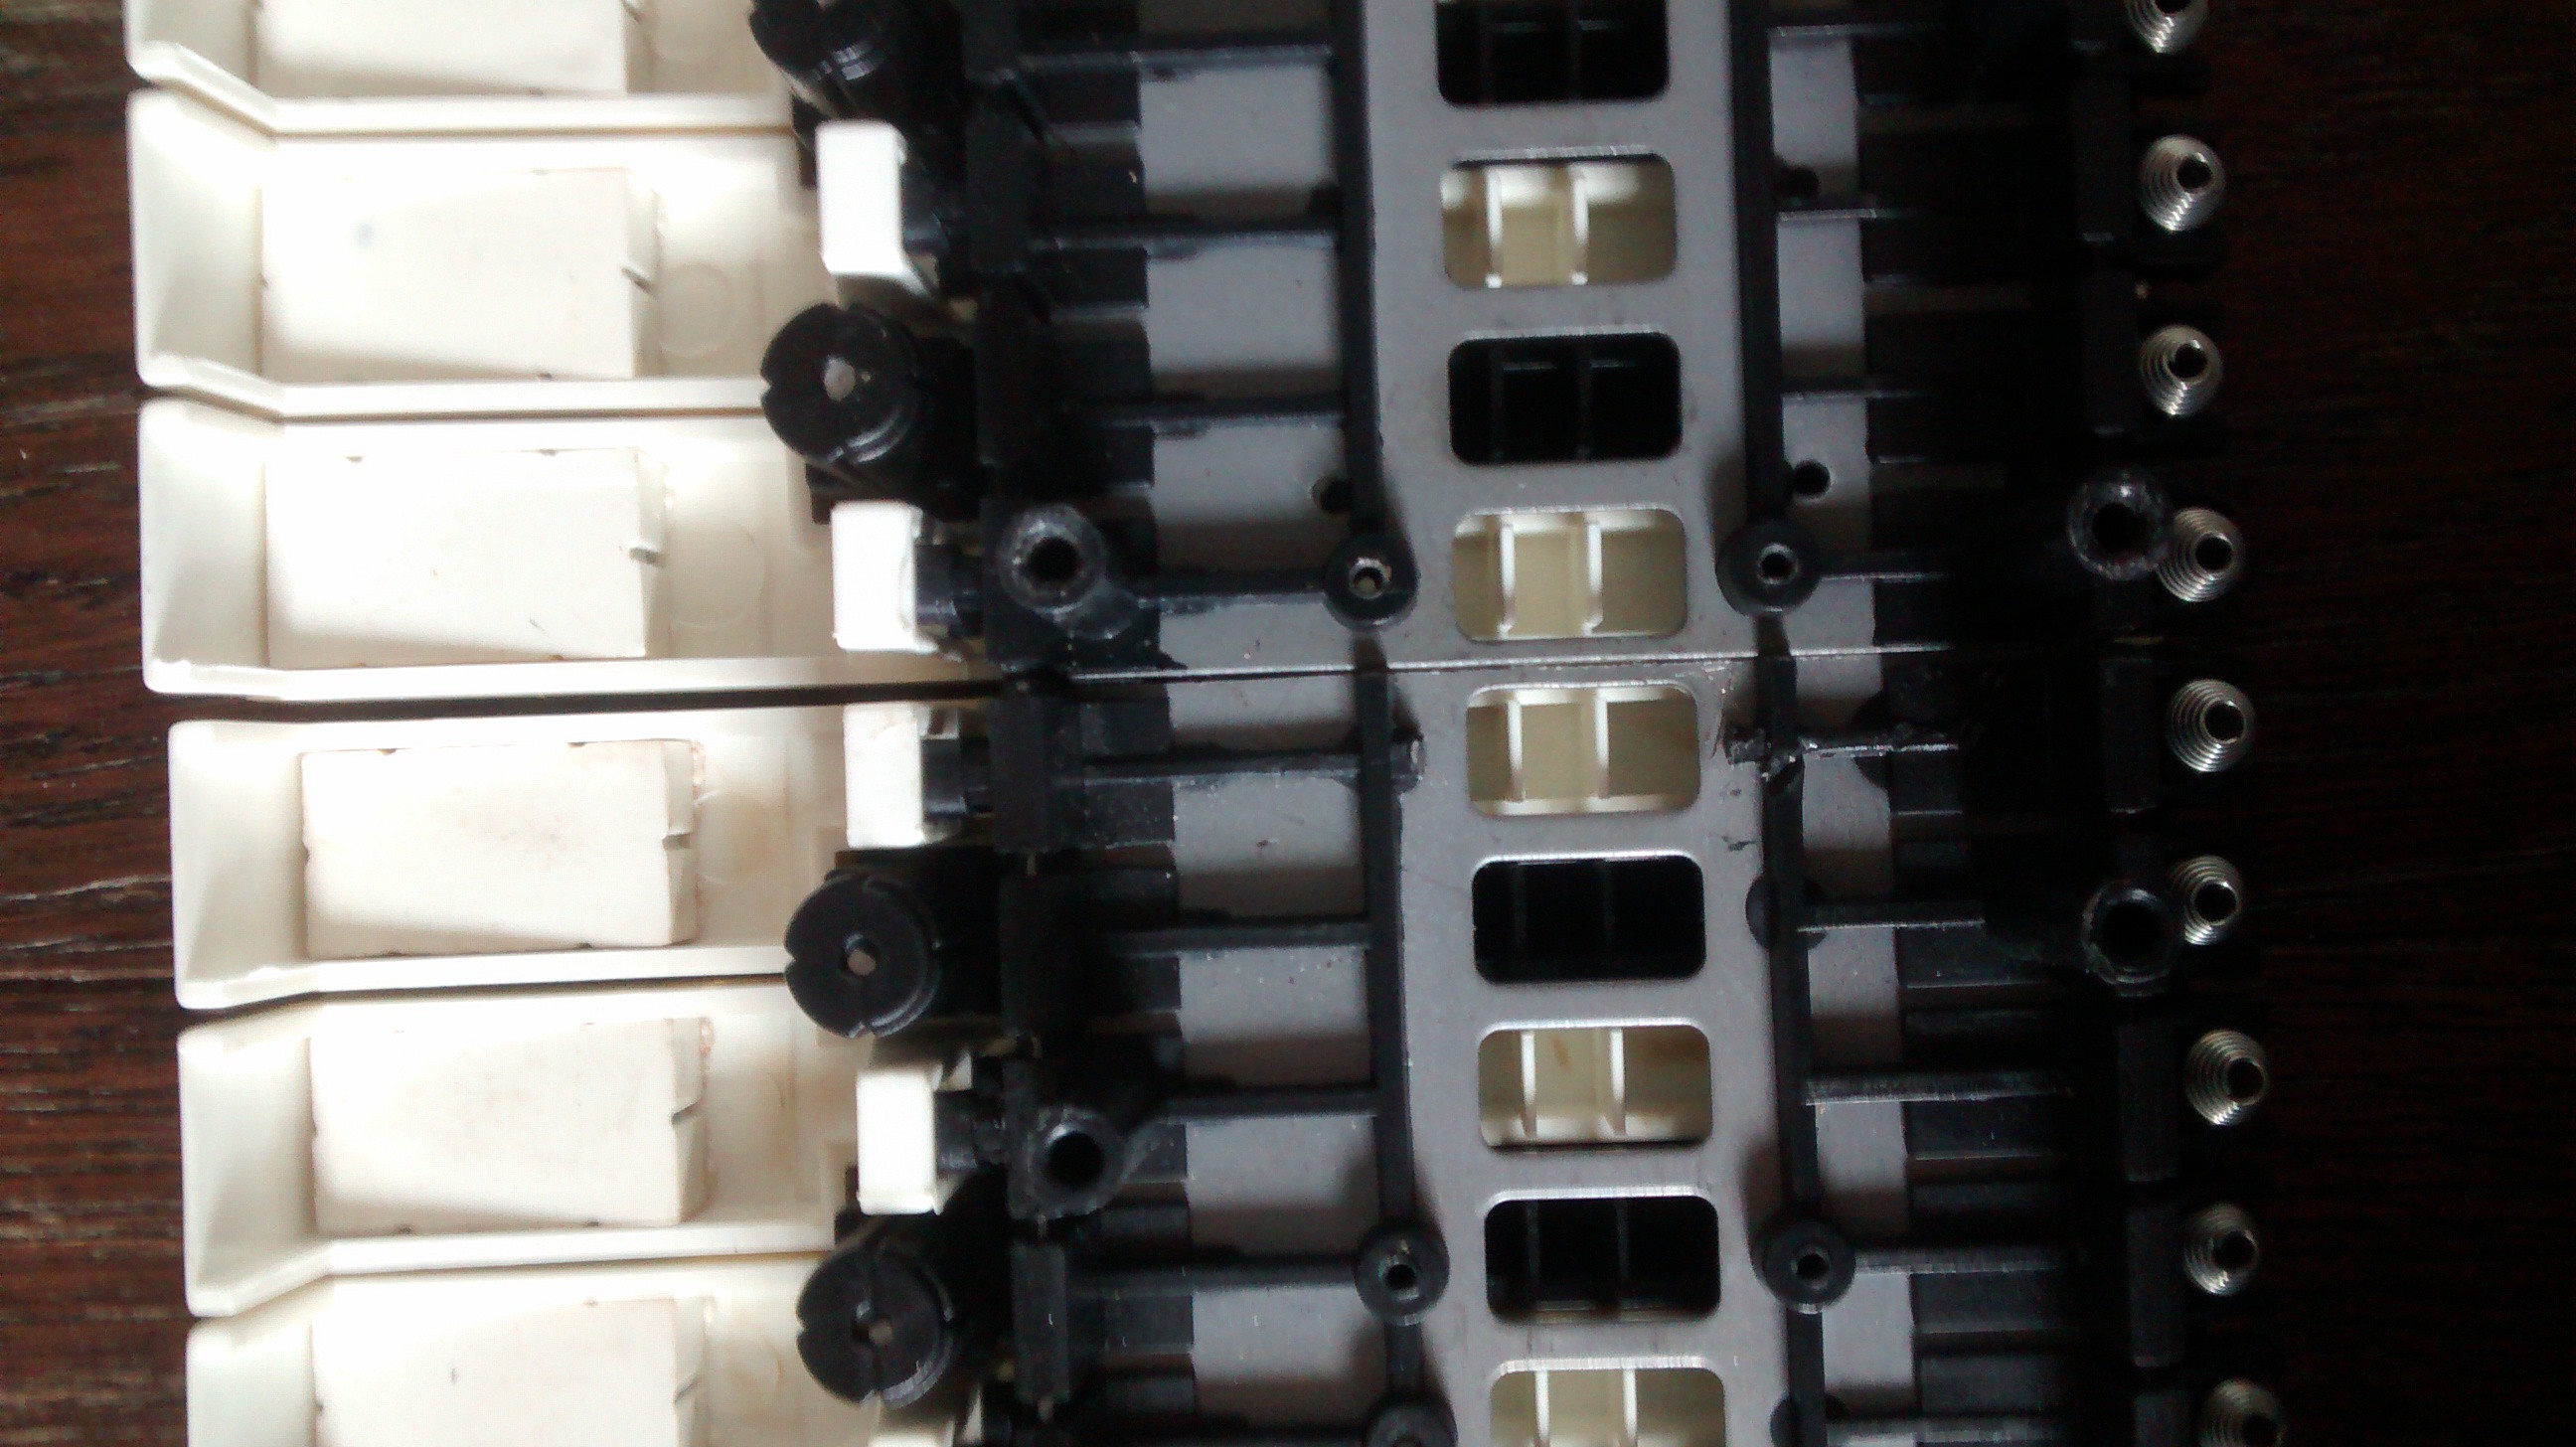
![]()
The 2 switches per key. The last C key (right) will be removed.
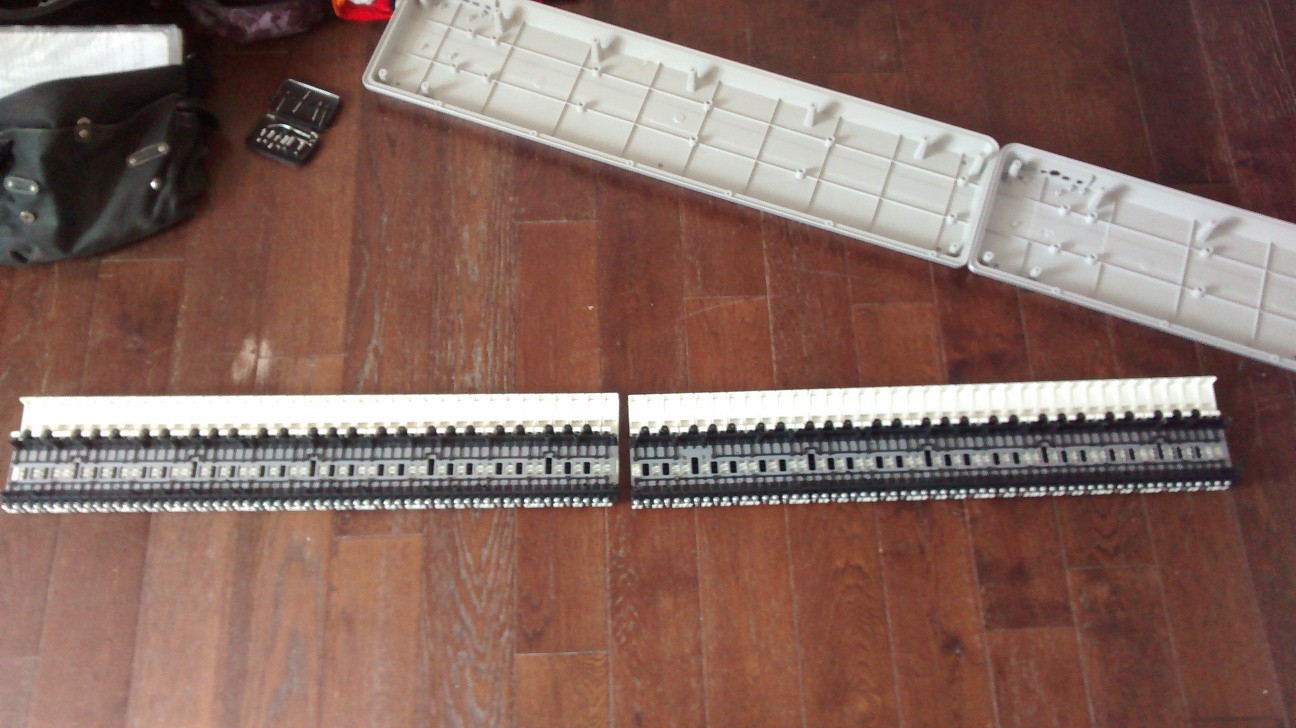
![]()
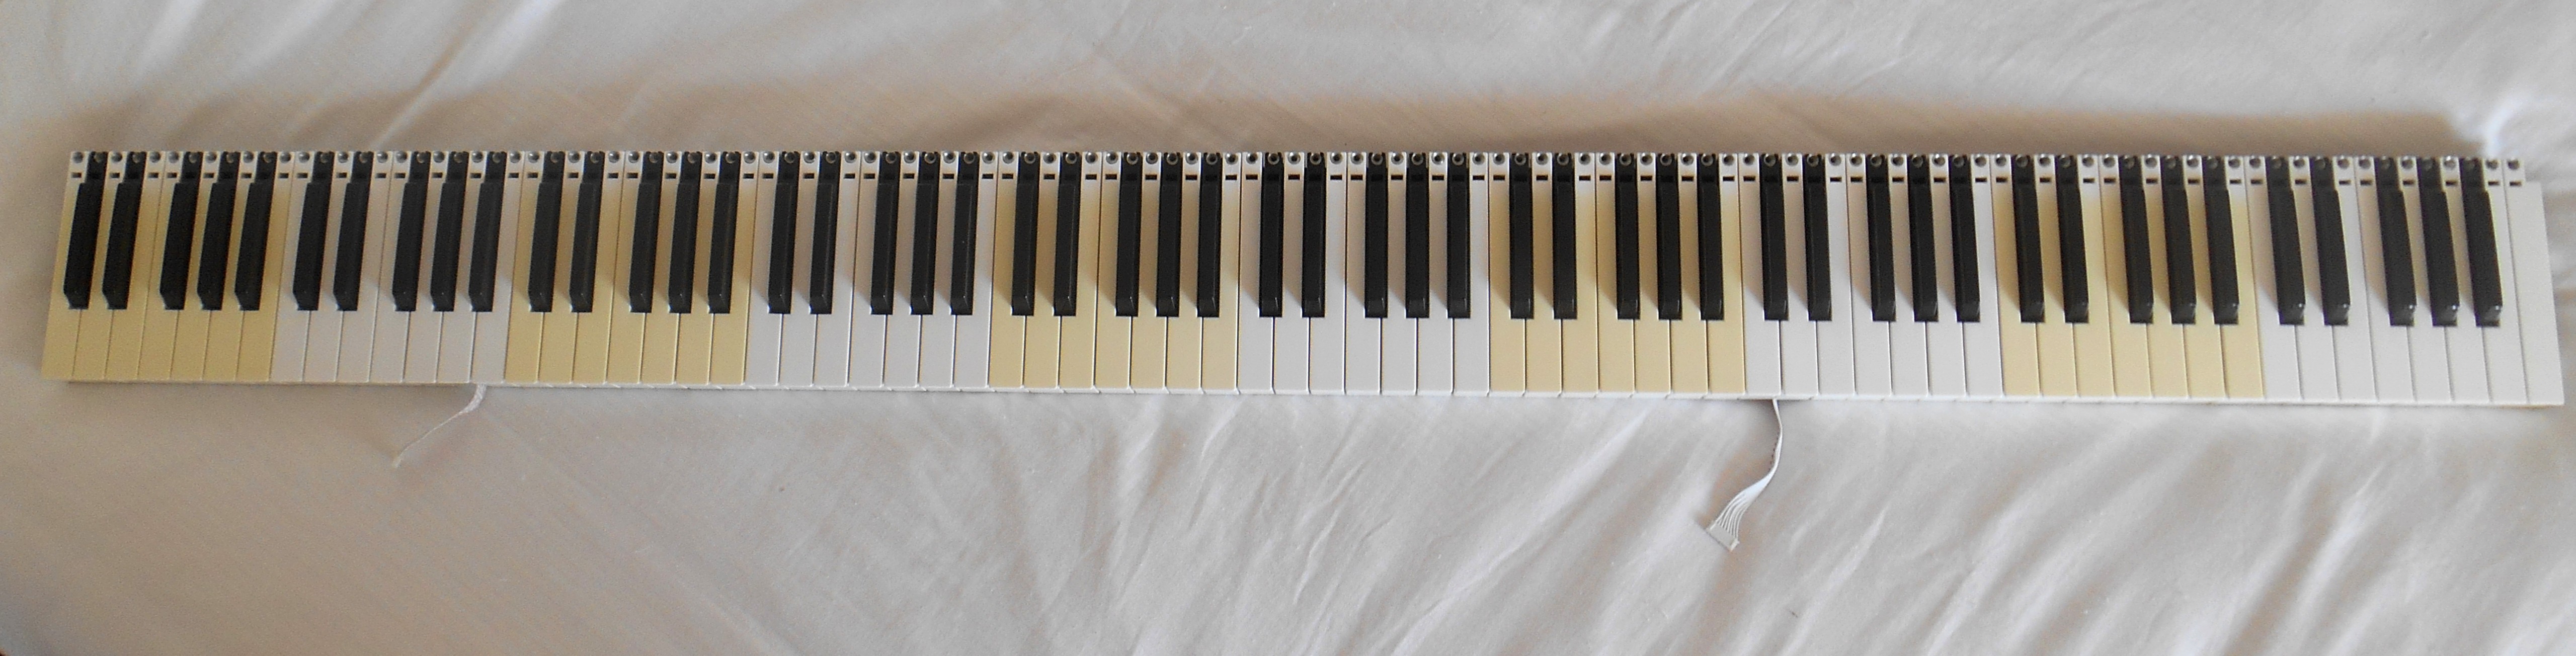
So absurdly long.
A ridiculously big MIDI keyboard (121 keys)
2 x dirt-cheap Keystation 61ES = a ridiculously big MIDI keyboard !
 Rounded corners ! Too bad I fixed the upper bar too high : the tips of the keys are partially visible :(