Close
0%
0%

Thiiiiiiiing

What if you could slip a dremel into your pocket?

Similar projects worth following
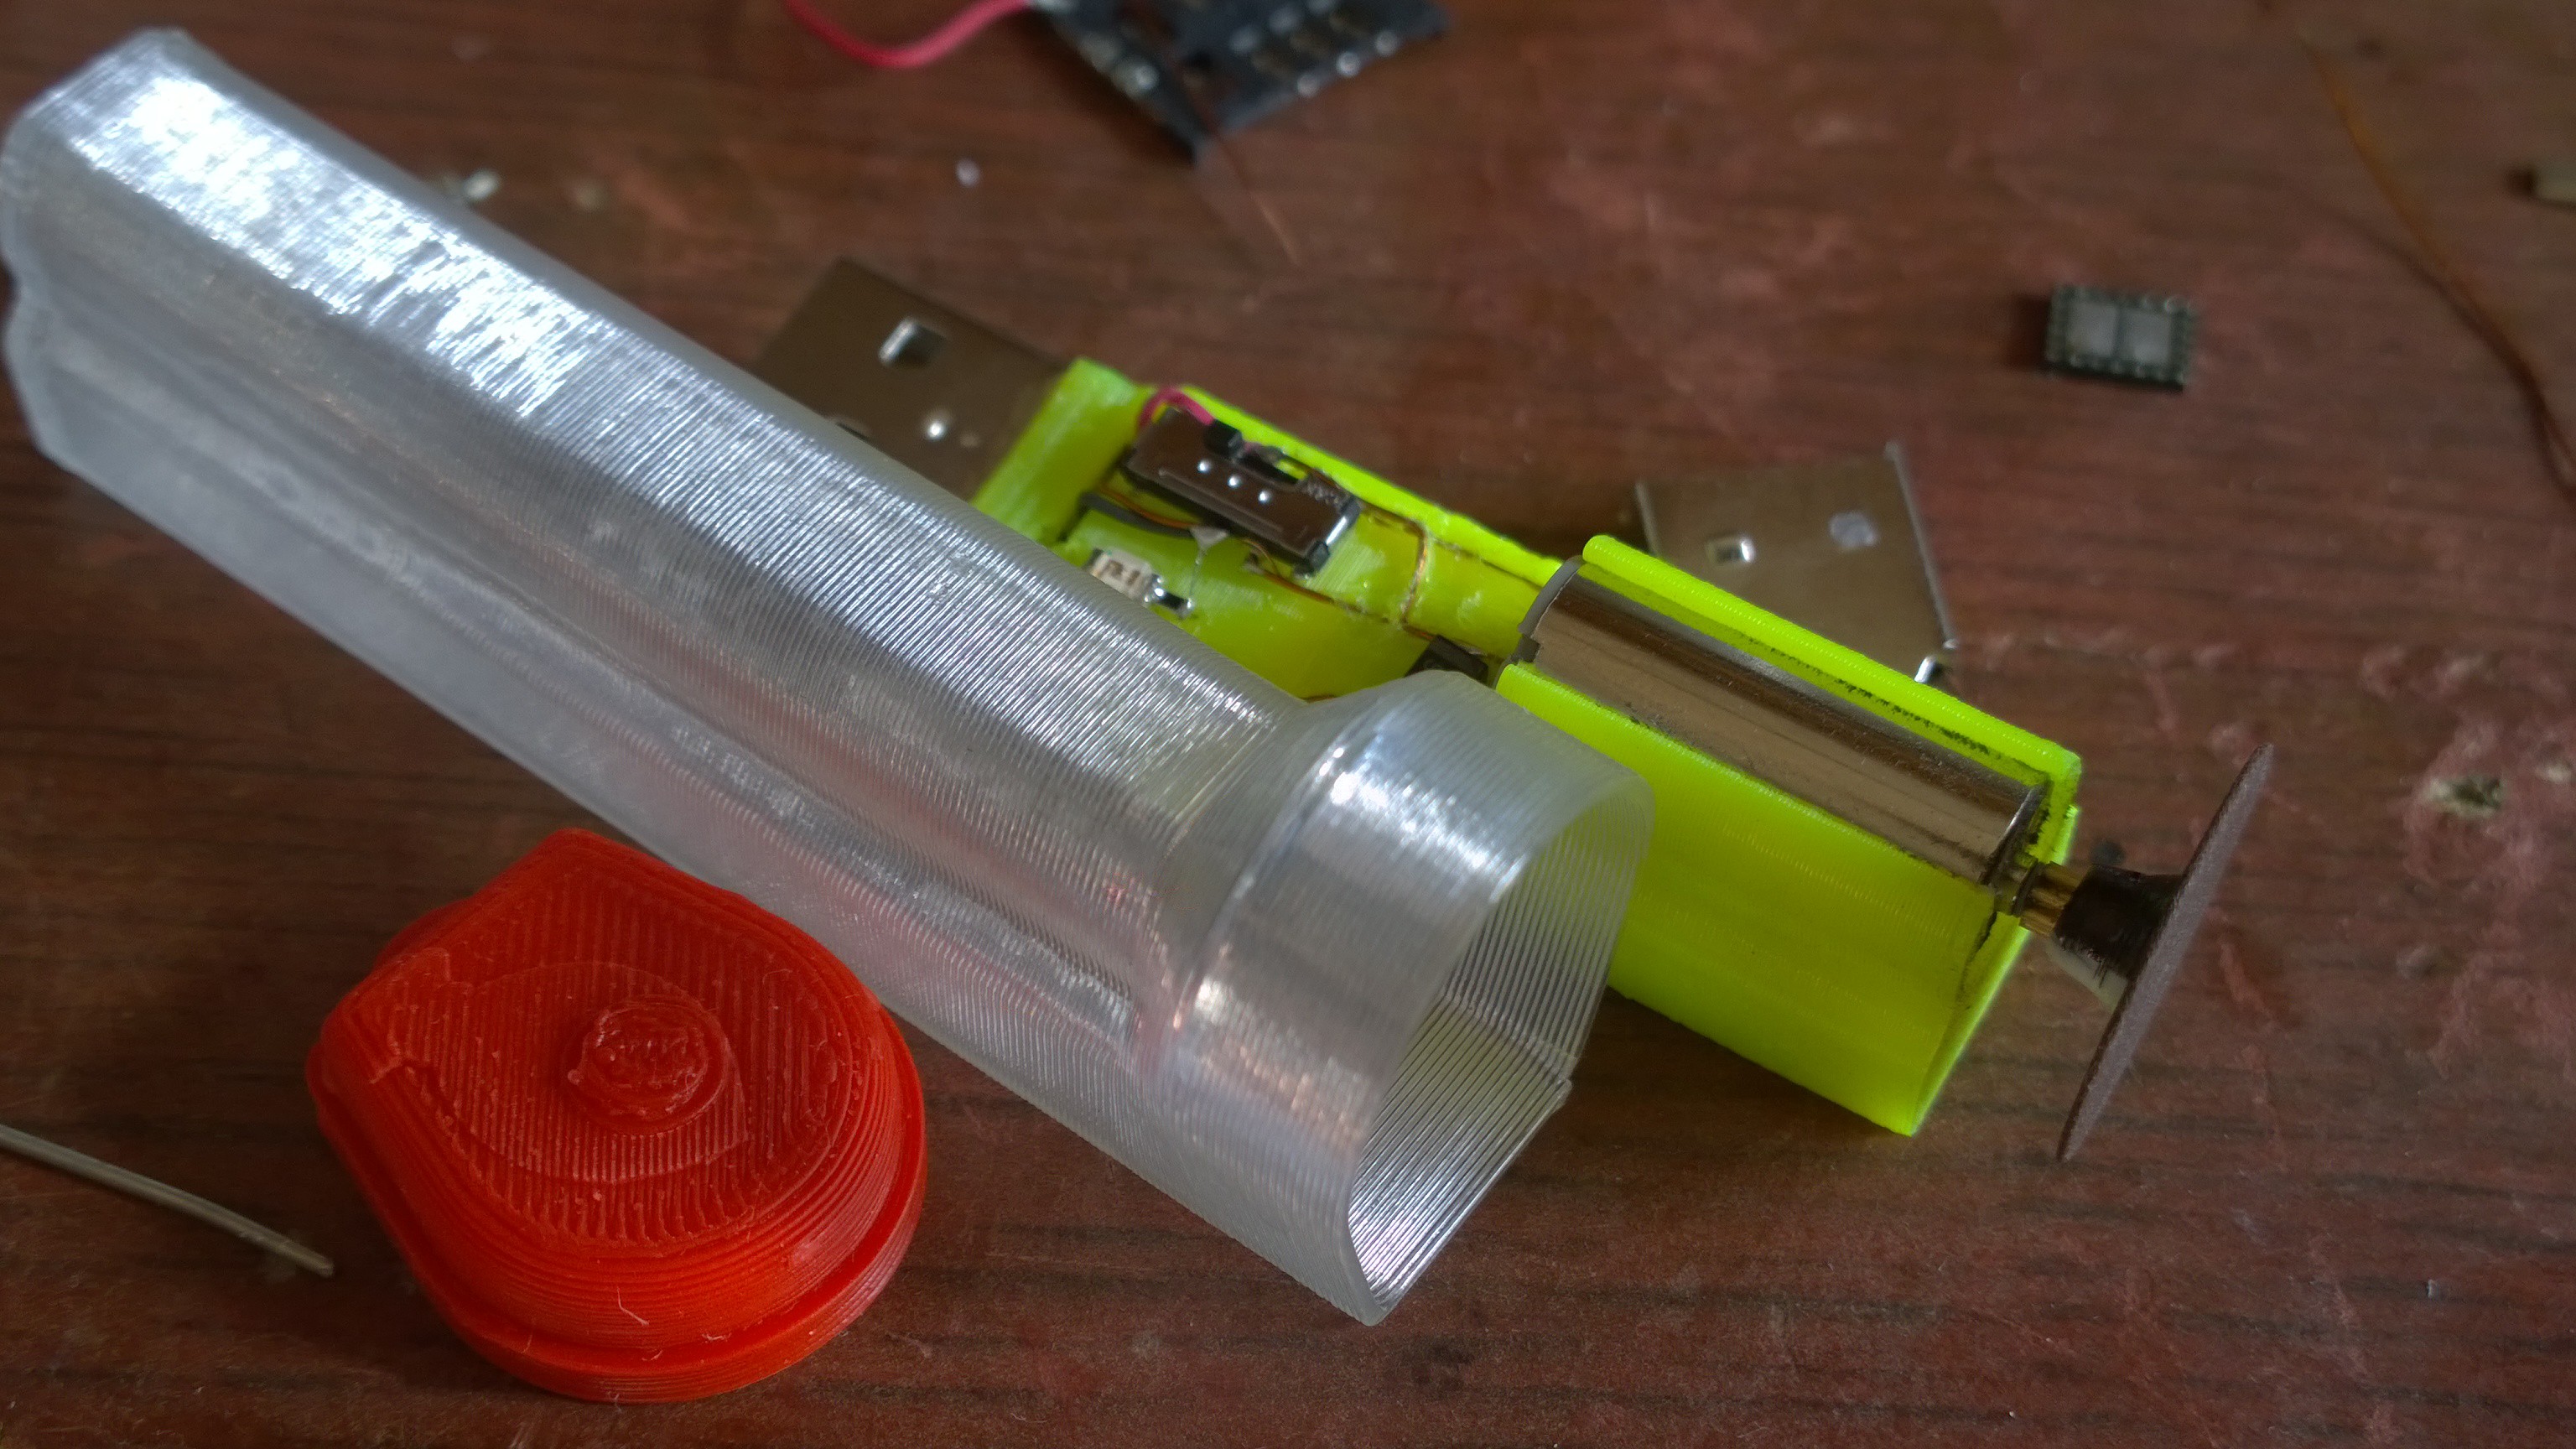
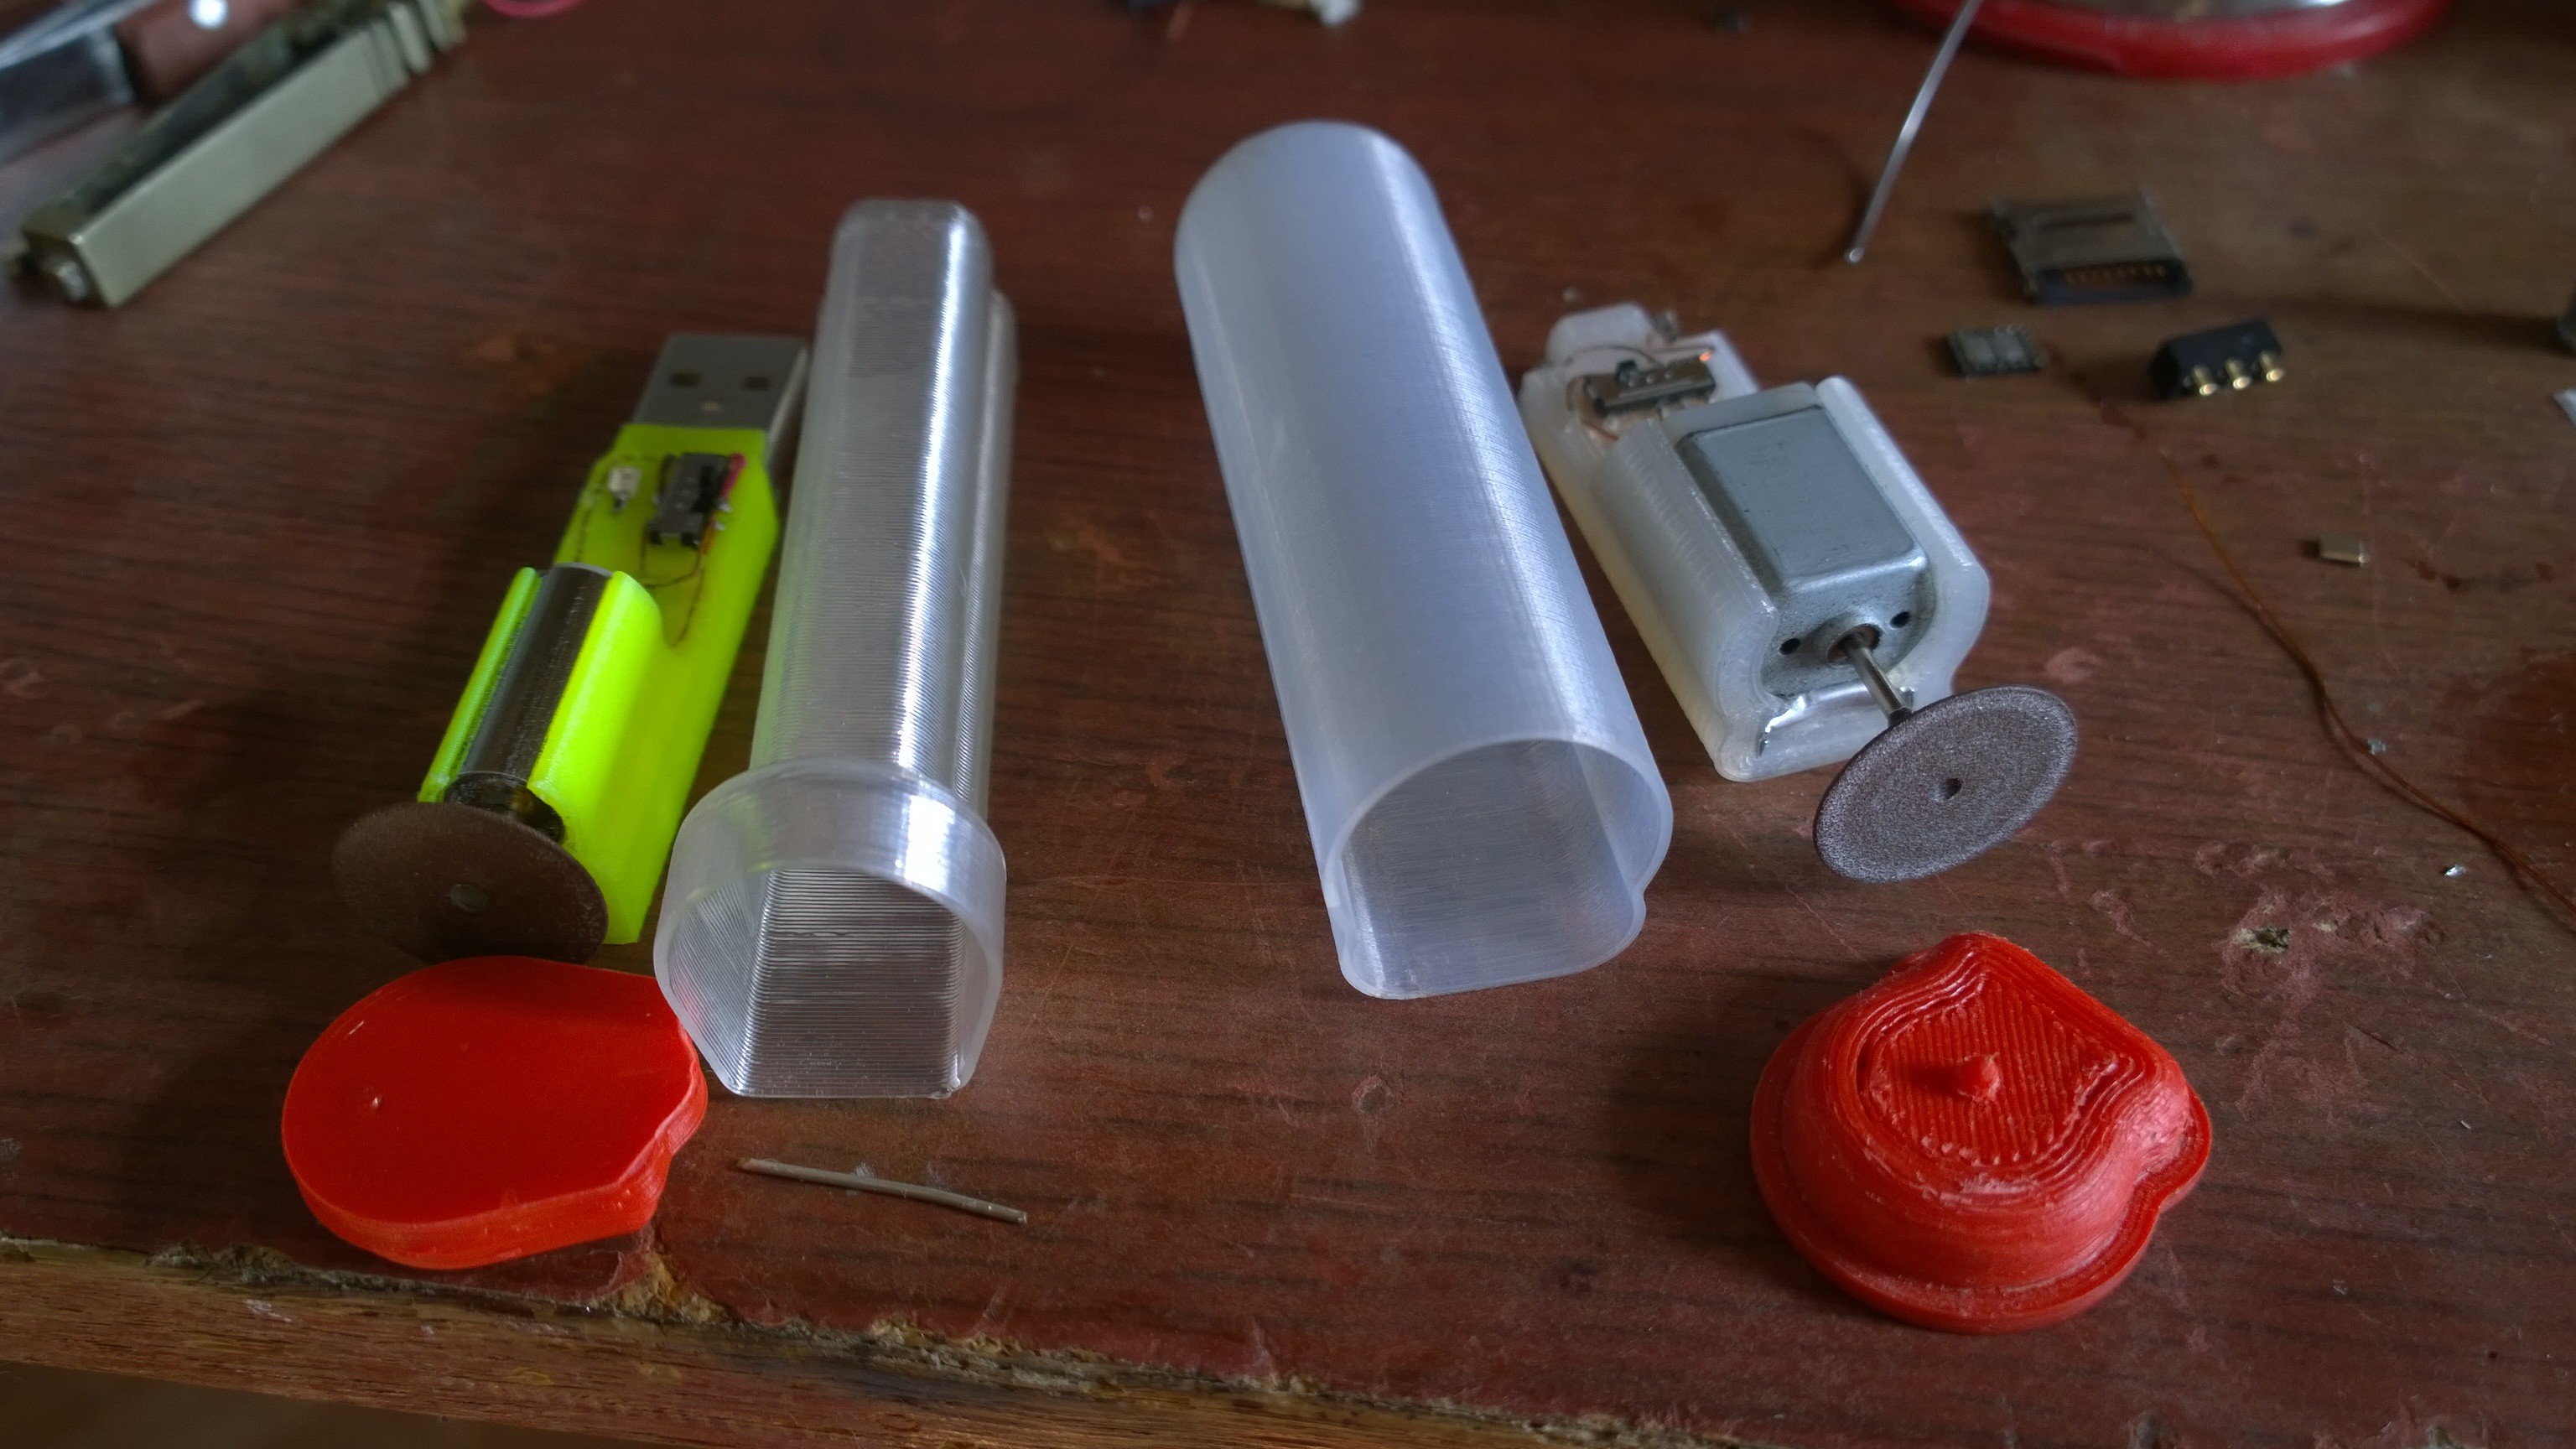
Took apart an alarm clock (that nasty two-wheeled robot that will always ride into an unreachable place and scream there trying to wake you up). Bought a new tiny Li-polymer battery. Designed some pieces for 3d printing, and...

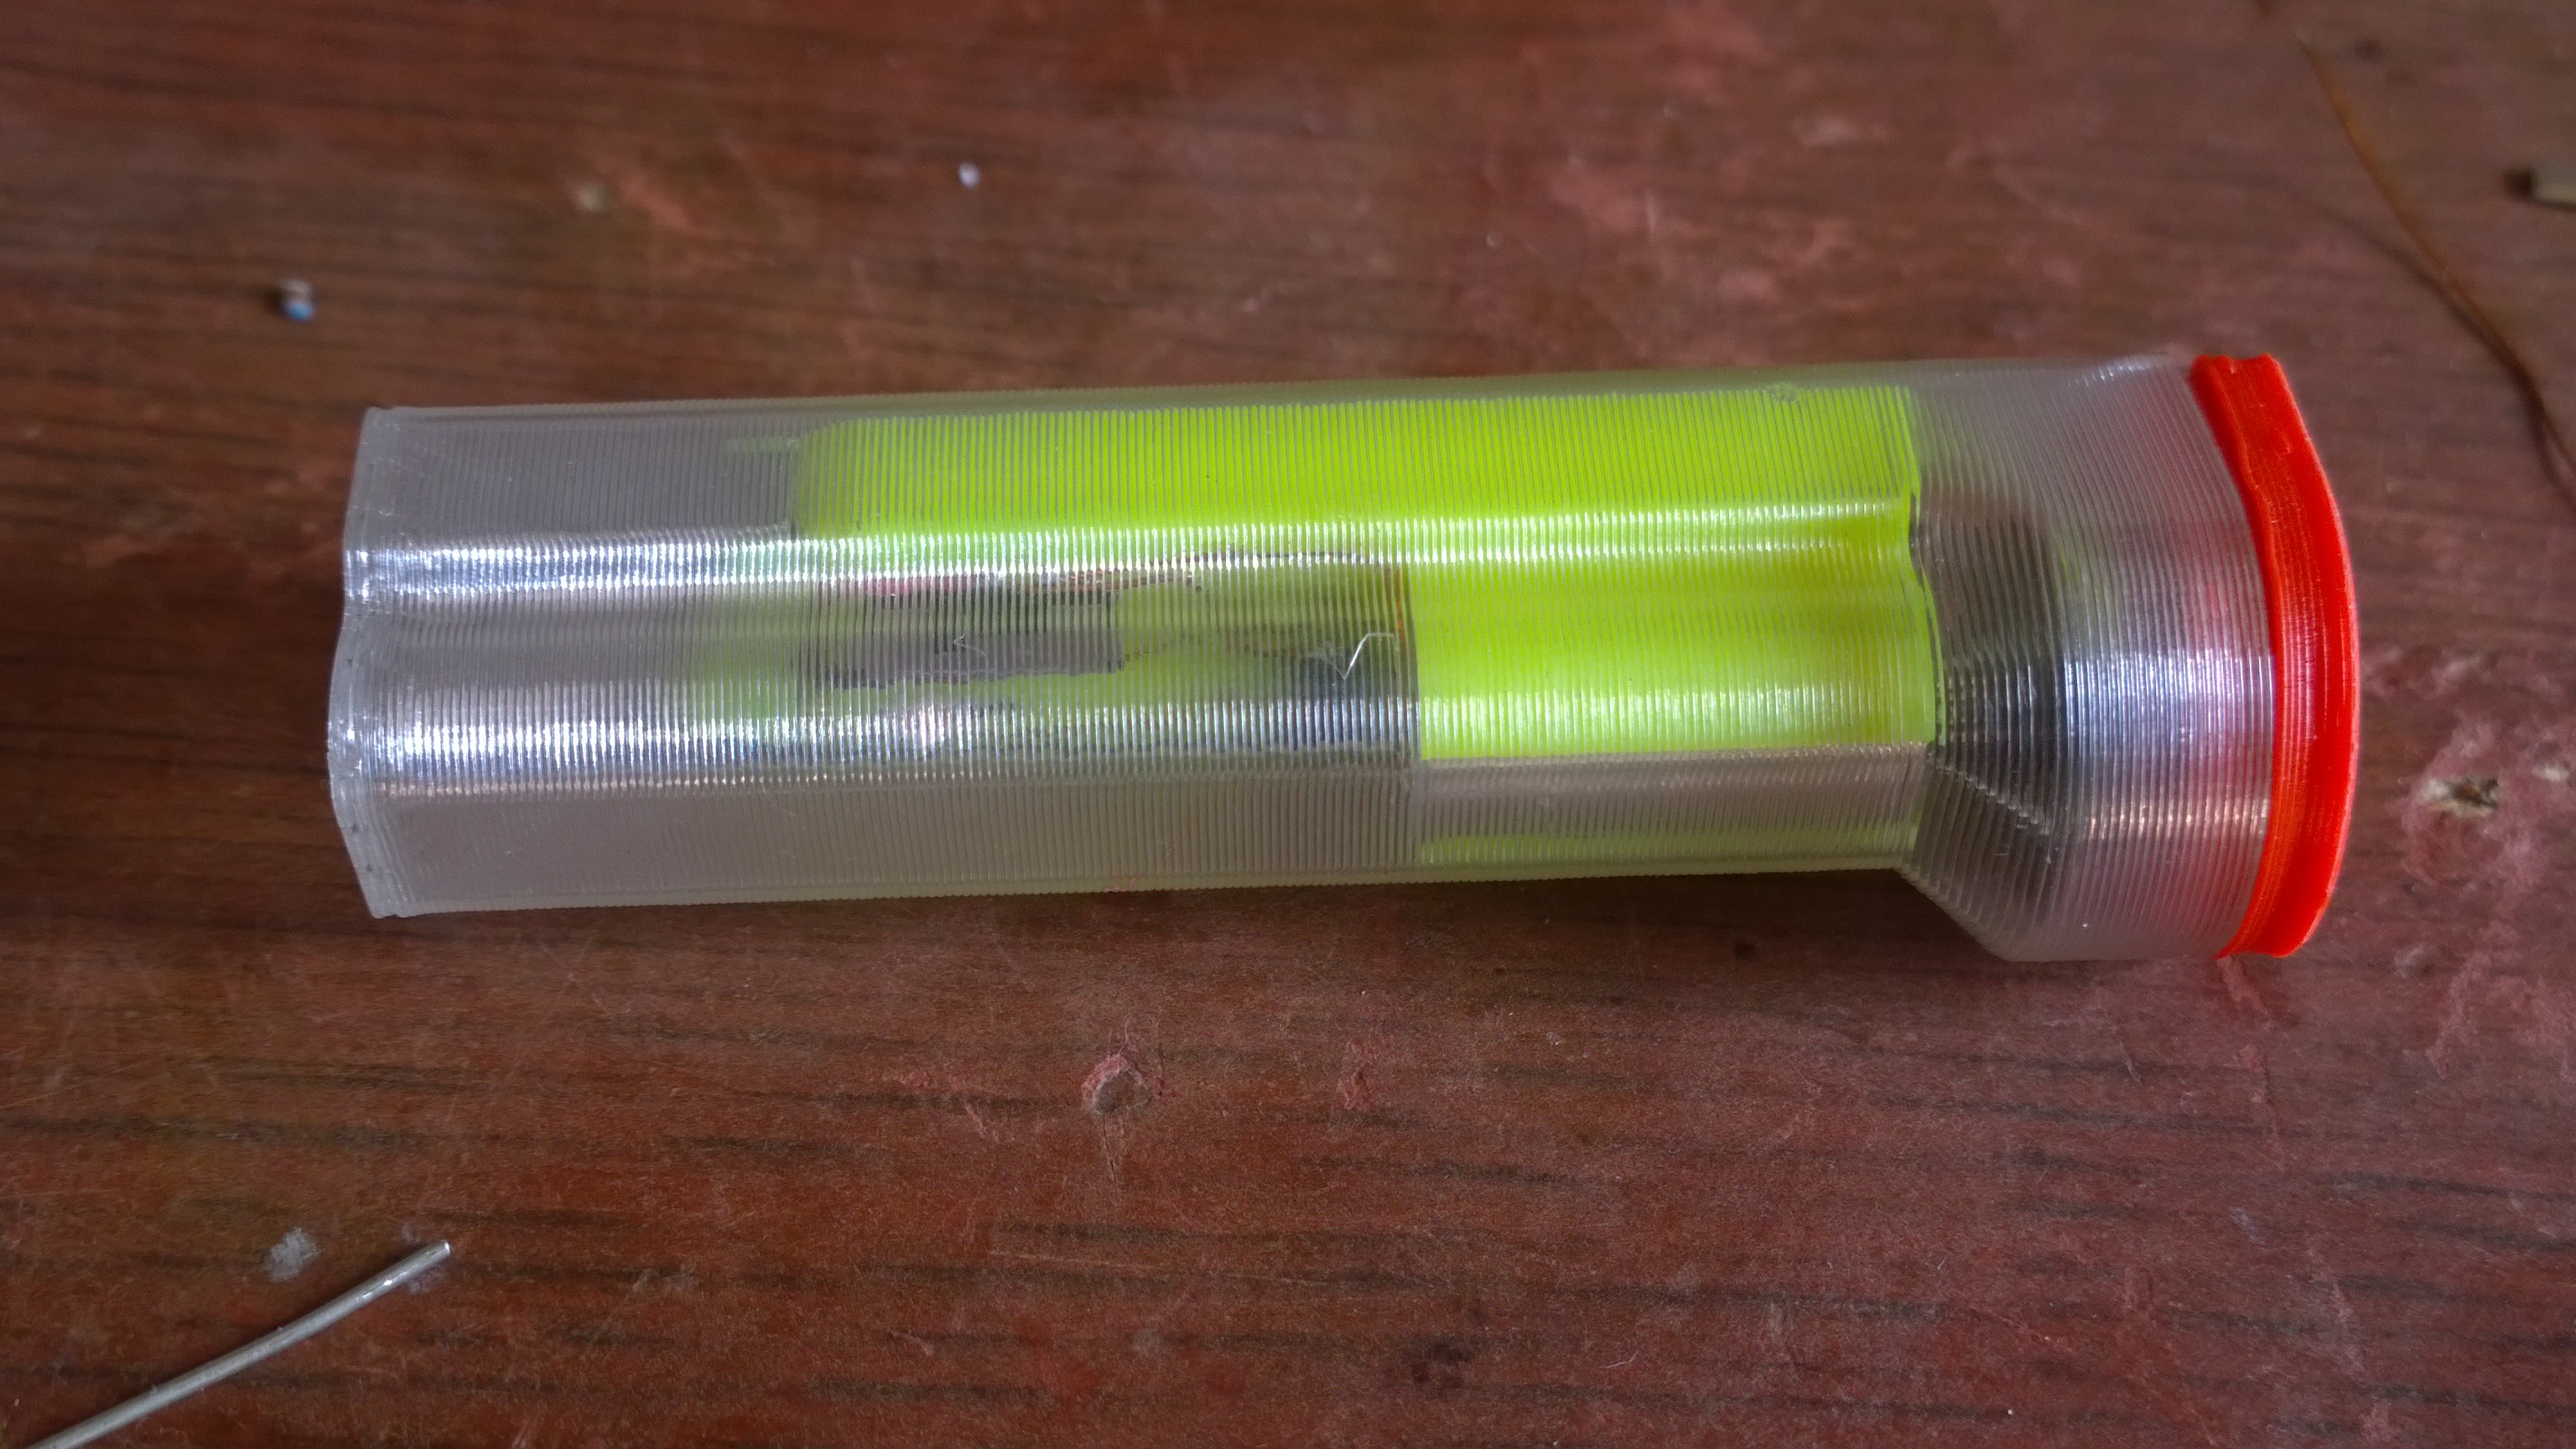
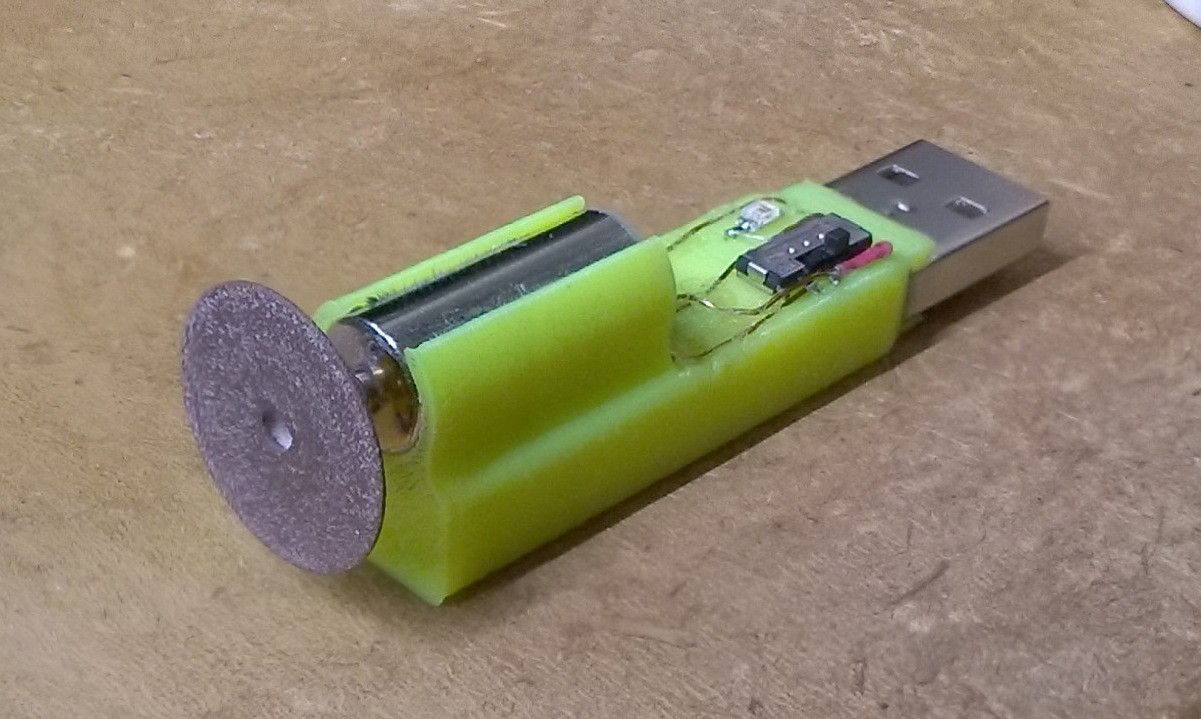
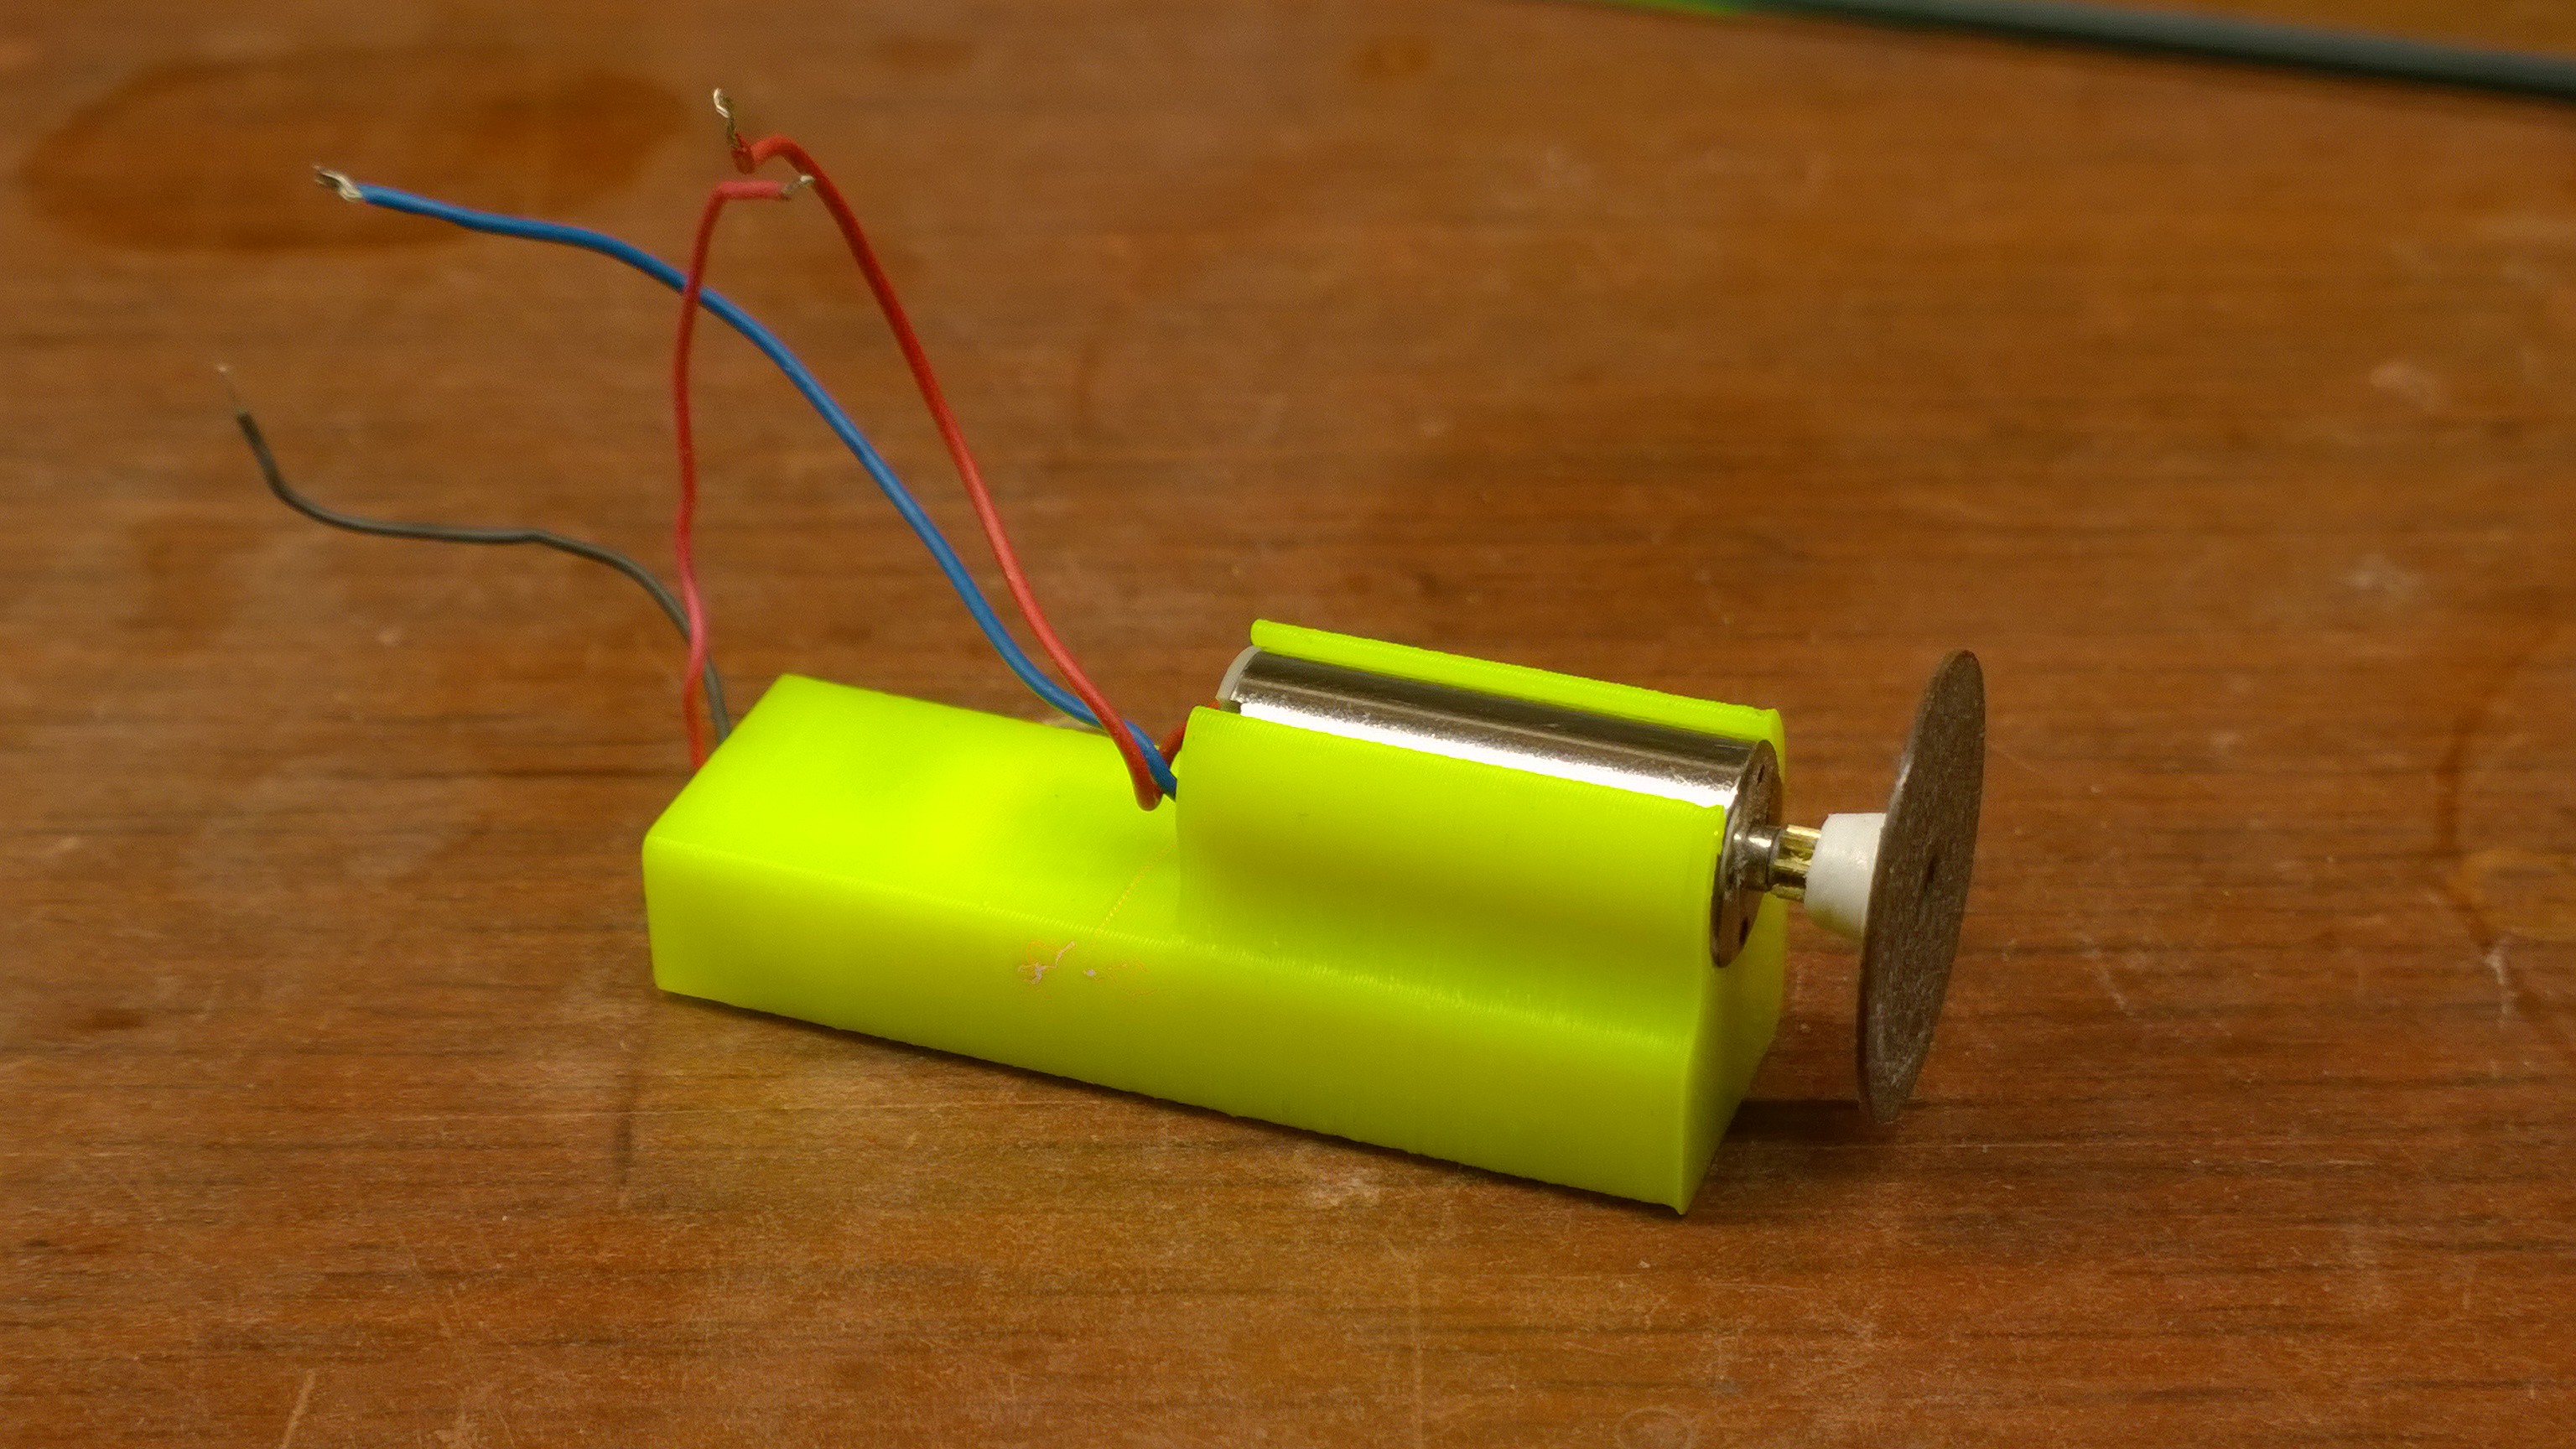
This is a tiny dremel with a permanently attached cut-off disc, in a small case that can easily fit into a pocket. It has little power, but it is useful for some precision grinding:
* cut a pcb trace, or cut off a component;
* sharpen a knife (yes it can, if the knife isn't completely blunt);
* sharpen a small drill bit, fix a small screwdriver;
* fix large threads damaged by incareful use of pliers;
* fix a broken fingernail (this is what I use it most often for, actually =P );
* etc, it's hard to list the occasional uses for it

CAD files are on my Google Drive. These are some FreeCAD project files, and STL files for printing. I don't think these are very usable for everyone, because I don't know the part number of the motor and the battery, while the models are all build around them. The files might be useful to inspect shapes of the plastic parts.

thiiing2 STL files.zip

models of plastic parts for 3d-printing, in STL format. Box is to be printed in Spiral Vase mode, with wall thickness (extrusion width) equal to 1.0 mm. Bottom thickness should also be made to about 1 mm.

x-zip-compressed - 124.14 kB - 03/23/2016 at 13:38

Download

thiiing2 STEP files.zip

models of plastic parts for 3d-printing, in STEP format. Box is to be printed in Spiral Vase mode, with wall thickness (extrusion width) equal to 1.0 mm. Bottom thickness should also be made to about 1 mm.

x-zip-compressed - 195.11 kB - 03/23/2016 at 13:37

Download

thiiing2 case v07.FCStd

FreeCAD project. Note: made in my own FreeCAD branch, where all links are allowed in Sketcher. Also requires Lattice2 plug-in workbench.

fcstd - 411.41 kB - 03/23/2016 at 13:34

Download

View all 6 components

  • In action

    DeepSOIC03/23/2016 at 11:42 0 comments

  • Complete! The new Thiiiiiiiing!

    DeepSOIC03/23/2016 at 10:43 0 comments

  • usb charging done

    DeepSOIC03/21/2016 at 23:00 0 comments

    The charging is very minimalistic. A shottky diode and a 2-ohm resistor, that's it. Overcharging is prevented by protection chip, which I transplanted from another Li-ion cell. It switches off charging, as the voltage reaches 4.27 V, which is just a little bit too much. But as soon as it kills charging, cell voltage drops to about 4.17 V. So not actually overcharged.

    Charging is quick! Charge current ranges from 0.5 A in depleted state to 0.25 A at the end. Cell capacity is 0.15 A*h, and full charging takes about 25 minutes.

    A problem I had to solve was heat. The two 0805 resistors would heat up to self-desoldering temperature in free air. Would have melted PLA. So I managed to cram a tiny PCB into the USB connector. The heat is transferred to the metal shield of the connector, and some of it is conducted into the charger. The connector heats up to 48 deg.C, which is something PLA can withstand.

  • [under construction]

    DeepSOIC03/19/2016 at 23:31 0 comments

    A new Thiiiiiiiing is being made. Stay tuned...

    This Thiiiiiiiing is based on a motor and a Li-ion cell I bought in RC hobby store. The motor spins at 39kRPM (650 Hz), which is faster than regular Dremel's max of 30kRPM. It also has quite a bit of power. Not nearly as much as regular Dremel, but much more than the old Thiiiiiiiing.

  • Thiiiiiiiings to improve

    DeepSOIC08/28/2015 at 16:41 2 comments

    A few thoughts.

    1. Charger. It begs to have a full-sized USB connector at the back. Not that I was to lazy to put it there - I didn't think about it back then. Right now, battery terminals are exposed at the back as the wires, and I hook up my universal charget to charge it.

    2. Motor is definitely weak. I am considering visiting an RC store to find a new one (will need a new battery, then). Nevertheless, a weak motor means that the cut-off wheel is going to last forever (until I break it; I've broken one already).

View all 5 project logs

  • 1
    Step 1

    Most of the assembly process is quite straightforward. The tricky part is to attach the cut-off disk to the motor. Here's how I did it.

  • 2
    Step 2

    Take some ABS filament for 3d printers.

  • 3
    Step 3

    With a butane torch, heat up the tip of motor's shaft, and put some ABS blob (the shaft must be hot enough to melt ABS, otherwise it won't stick).

View all 9 instructions

Enjoy this project?

Share

Discussions

zakqwy wrote 08/28/2015 at 14:28 point

Looks pretty handy. How did you affix on the cut-off disk?

  Are you sure? yes | no

zakqwy wrote 08/28/2015 at 14:45 point

Ah! I see the updated instructions now. Very cool. 

  Are you sure? yes | no

DeepSOIC wrote 08/28/2015 at 14:45 point

See instructions.

I think I should make a video on that.

  Are you sure? yes | no

DeepSOIC wrote 08/28/2015 at 14:49 point

BTW, thanks for skulling the Thiiiiiiiing =)

  Are you sure? yes | no

zakqwy wrote 08/28/2015 at 14:54 point

for sure. Fiber reinforced cutoff wheels are super handy but getting the Dremel out is not. #Thiiiiiiiing is definitely on my list of stuff to build!

  Are you sure? yes | no

Similar Projects

Does this project spark your interest?

Become a member to follow this project and never miss any updates