Close
0%
0%

scrap part mini lathe

my goal is to build a cheap, simple lathe in order to make bushings etc. for other ongoing projects
Similar projects worth following
the mini lathe I am building is for making parts for my cnc router. I could not find the right parts I needed. so im building the tool to make what I need haha. everything is recycled, save somw hardware. I might go cnc.

main frame of the lathe is a old construction level. I bit banged up but it was originally machined on all faces. a bit of hand scraping and polishing with a diamond stone of the faces has left a baby smooth surface. the headstock is built out of a harbor freight 18v cordless drill. I chose this particular model because it has quite precise bearings/ keyed chuck. most of the machine if built from hardened maple. I was against using wood, but all the tests I have done show it to suite my needs rather well

  • 1 × 5/16 coupling nut
  • 1 × 5/16 all thread
  • 1 × 2 foot aluminum construction level
  • 1 × skateboard wheel
  • 1 × 18v cordless drill

View all 13 components

  • stepper motor spindle

    farnzworth709/23/2015 at 16:39 0 comments

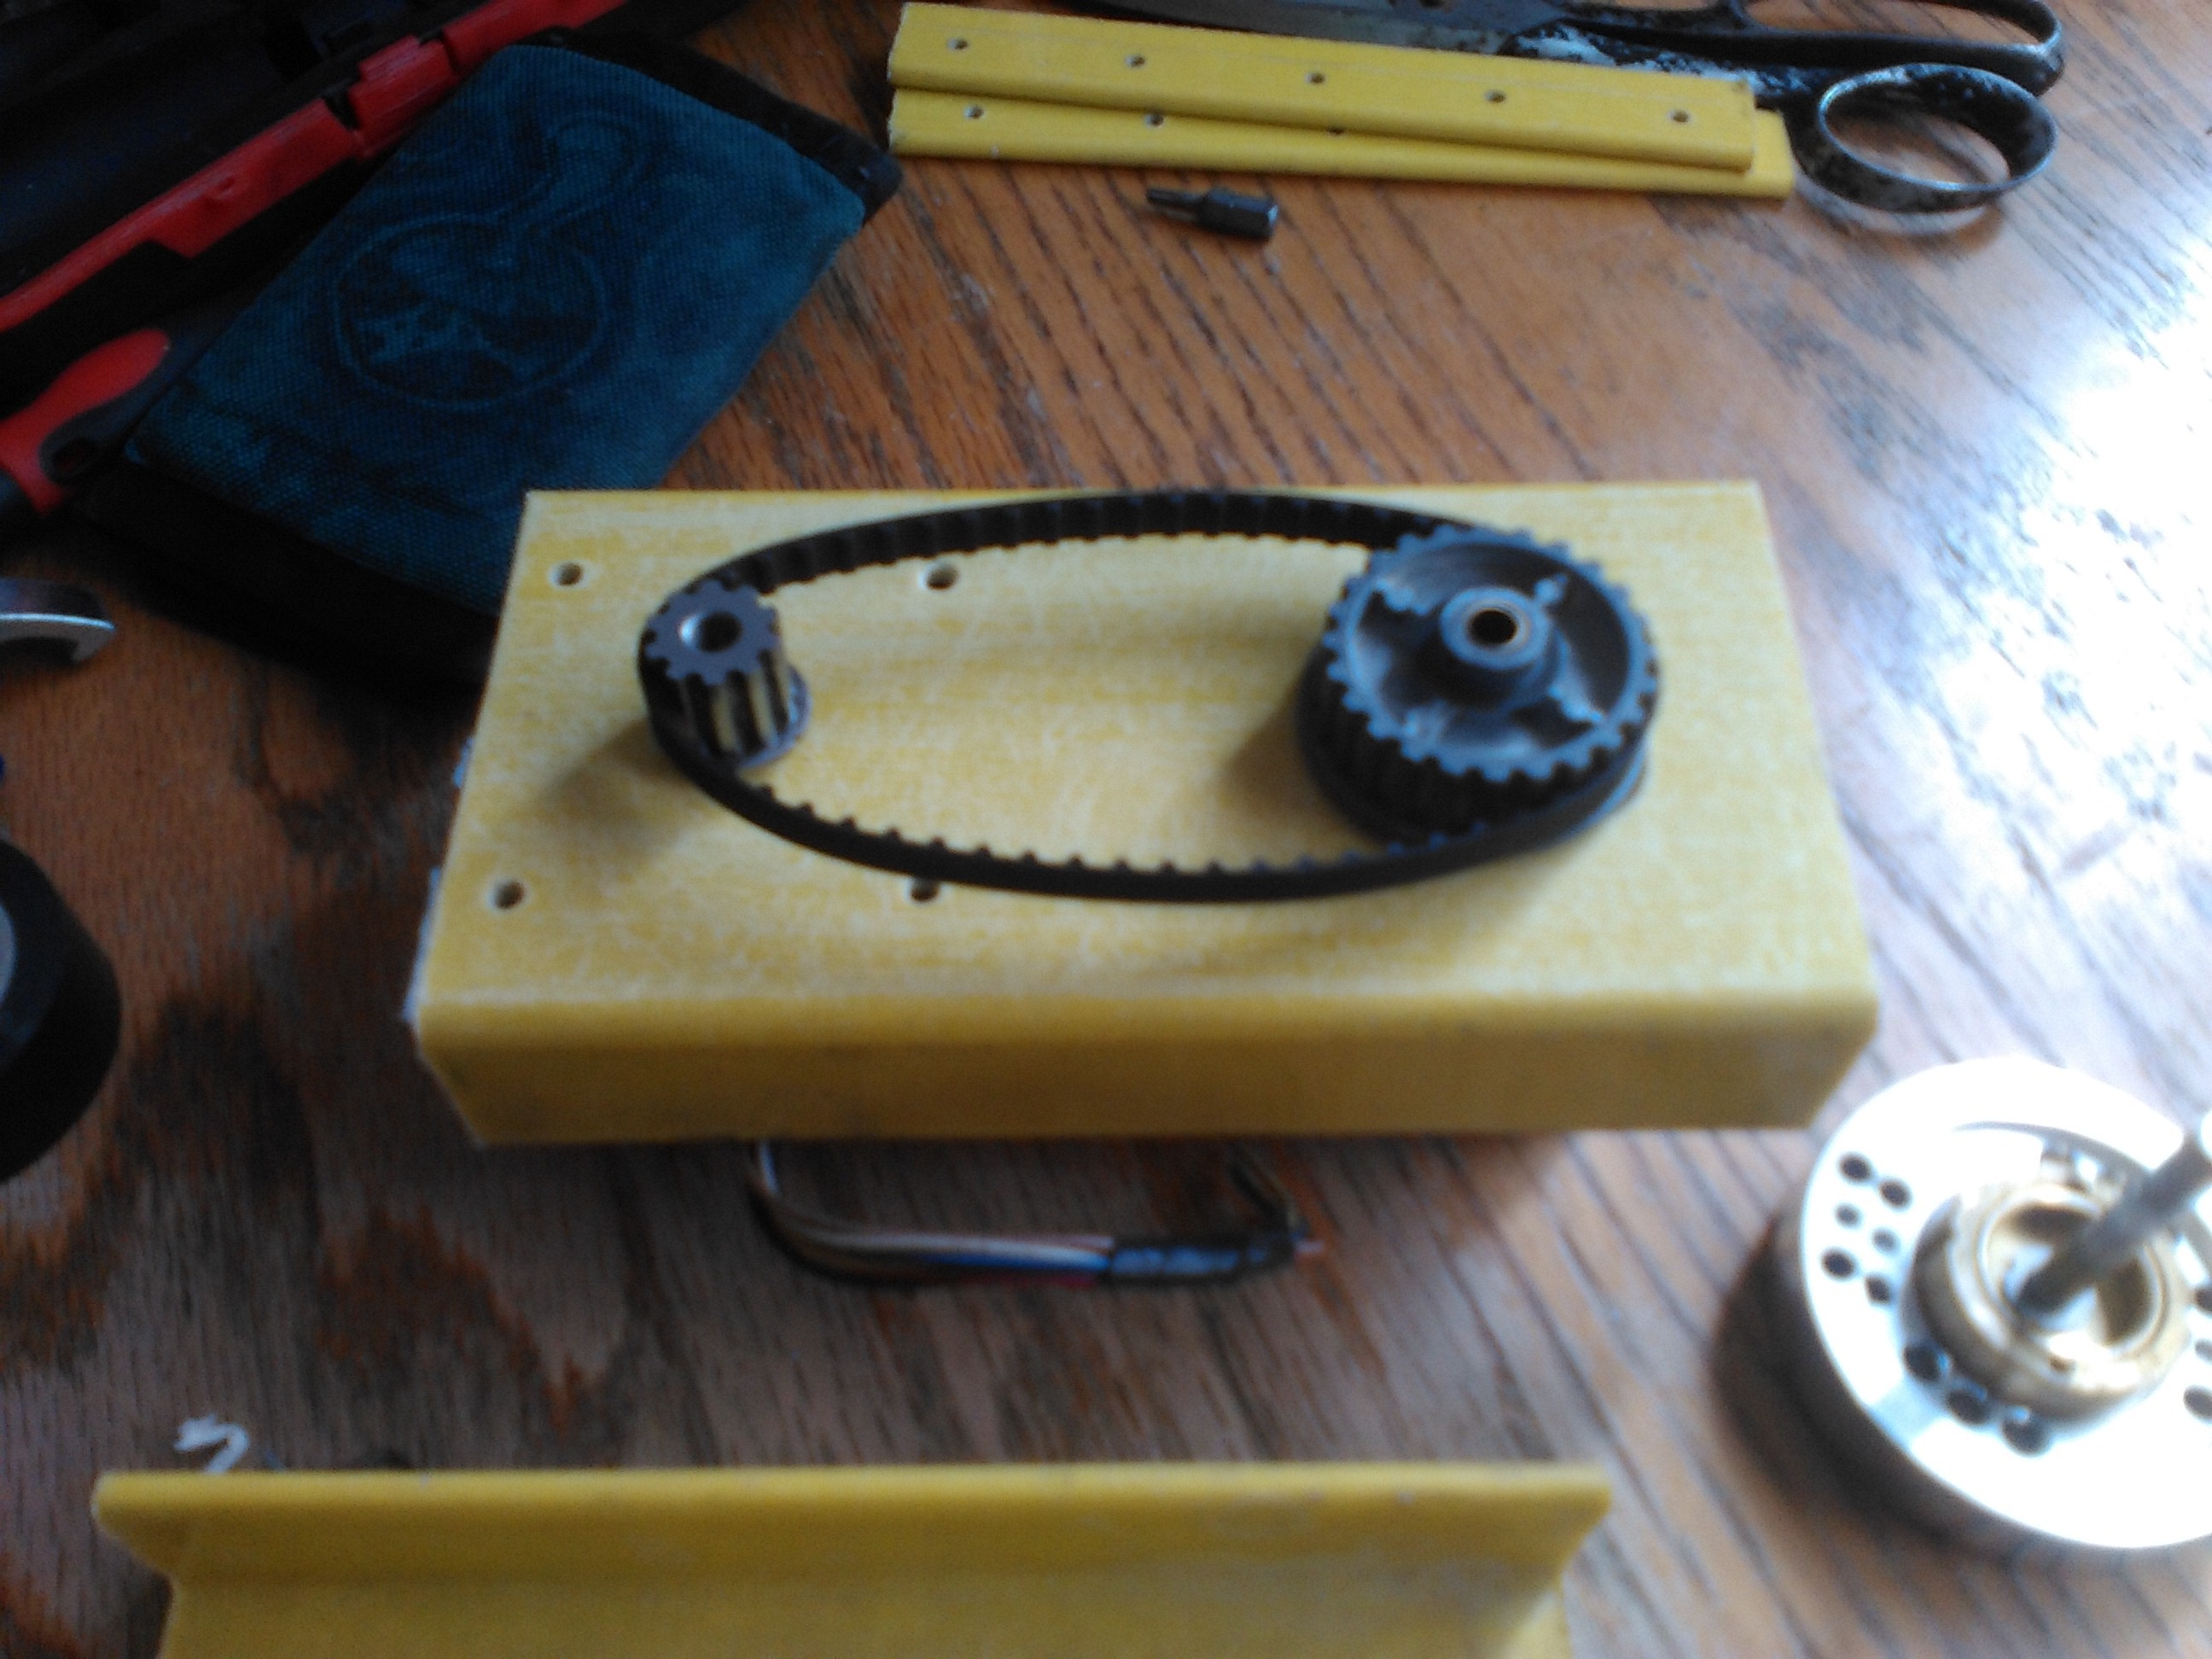
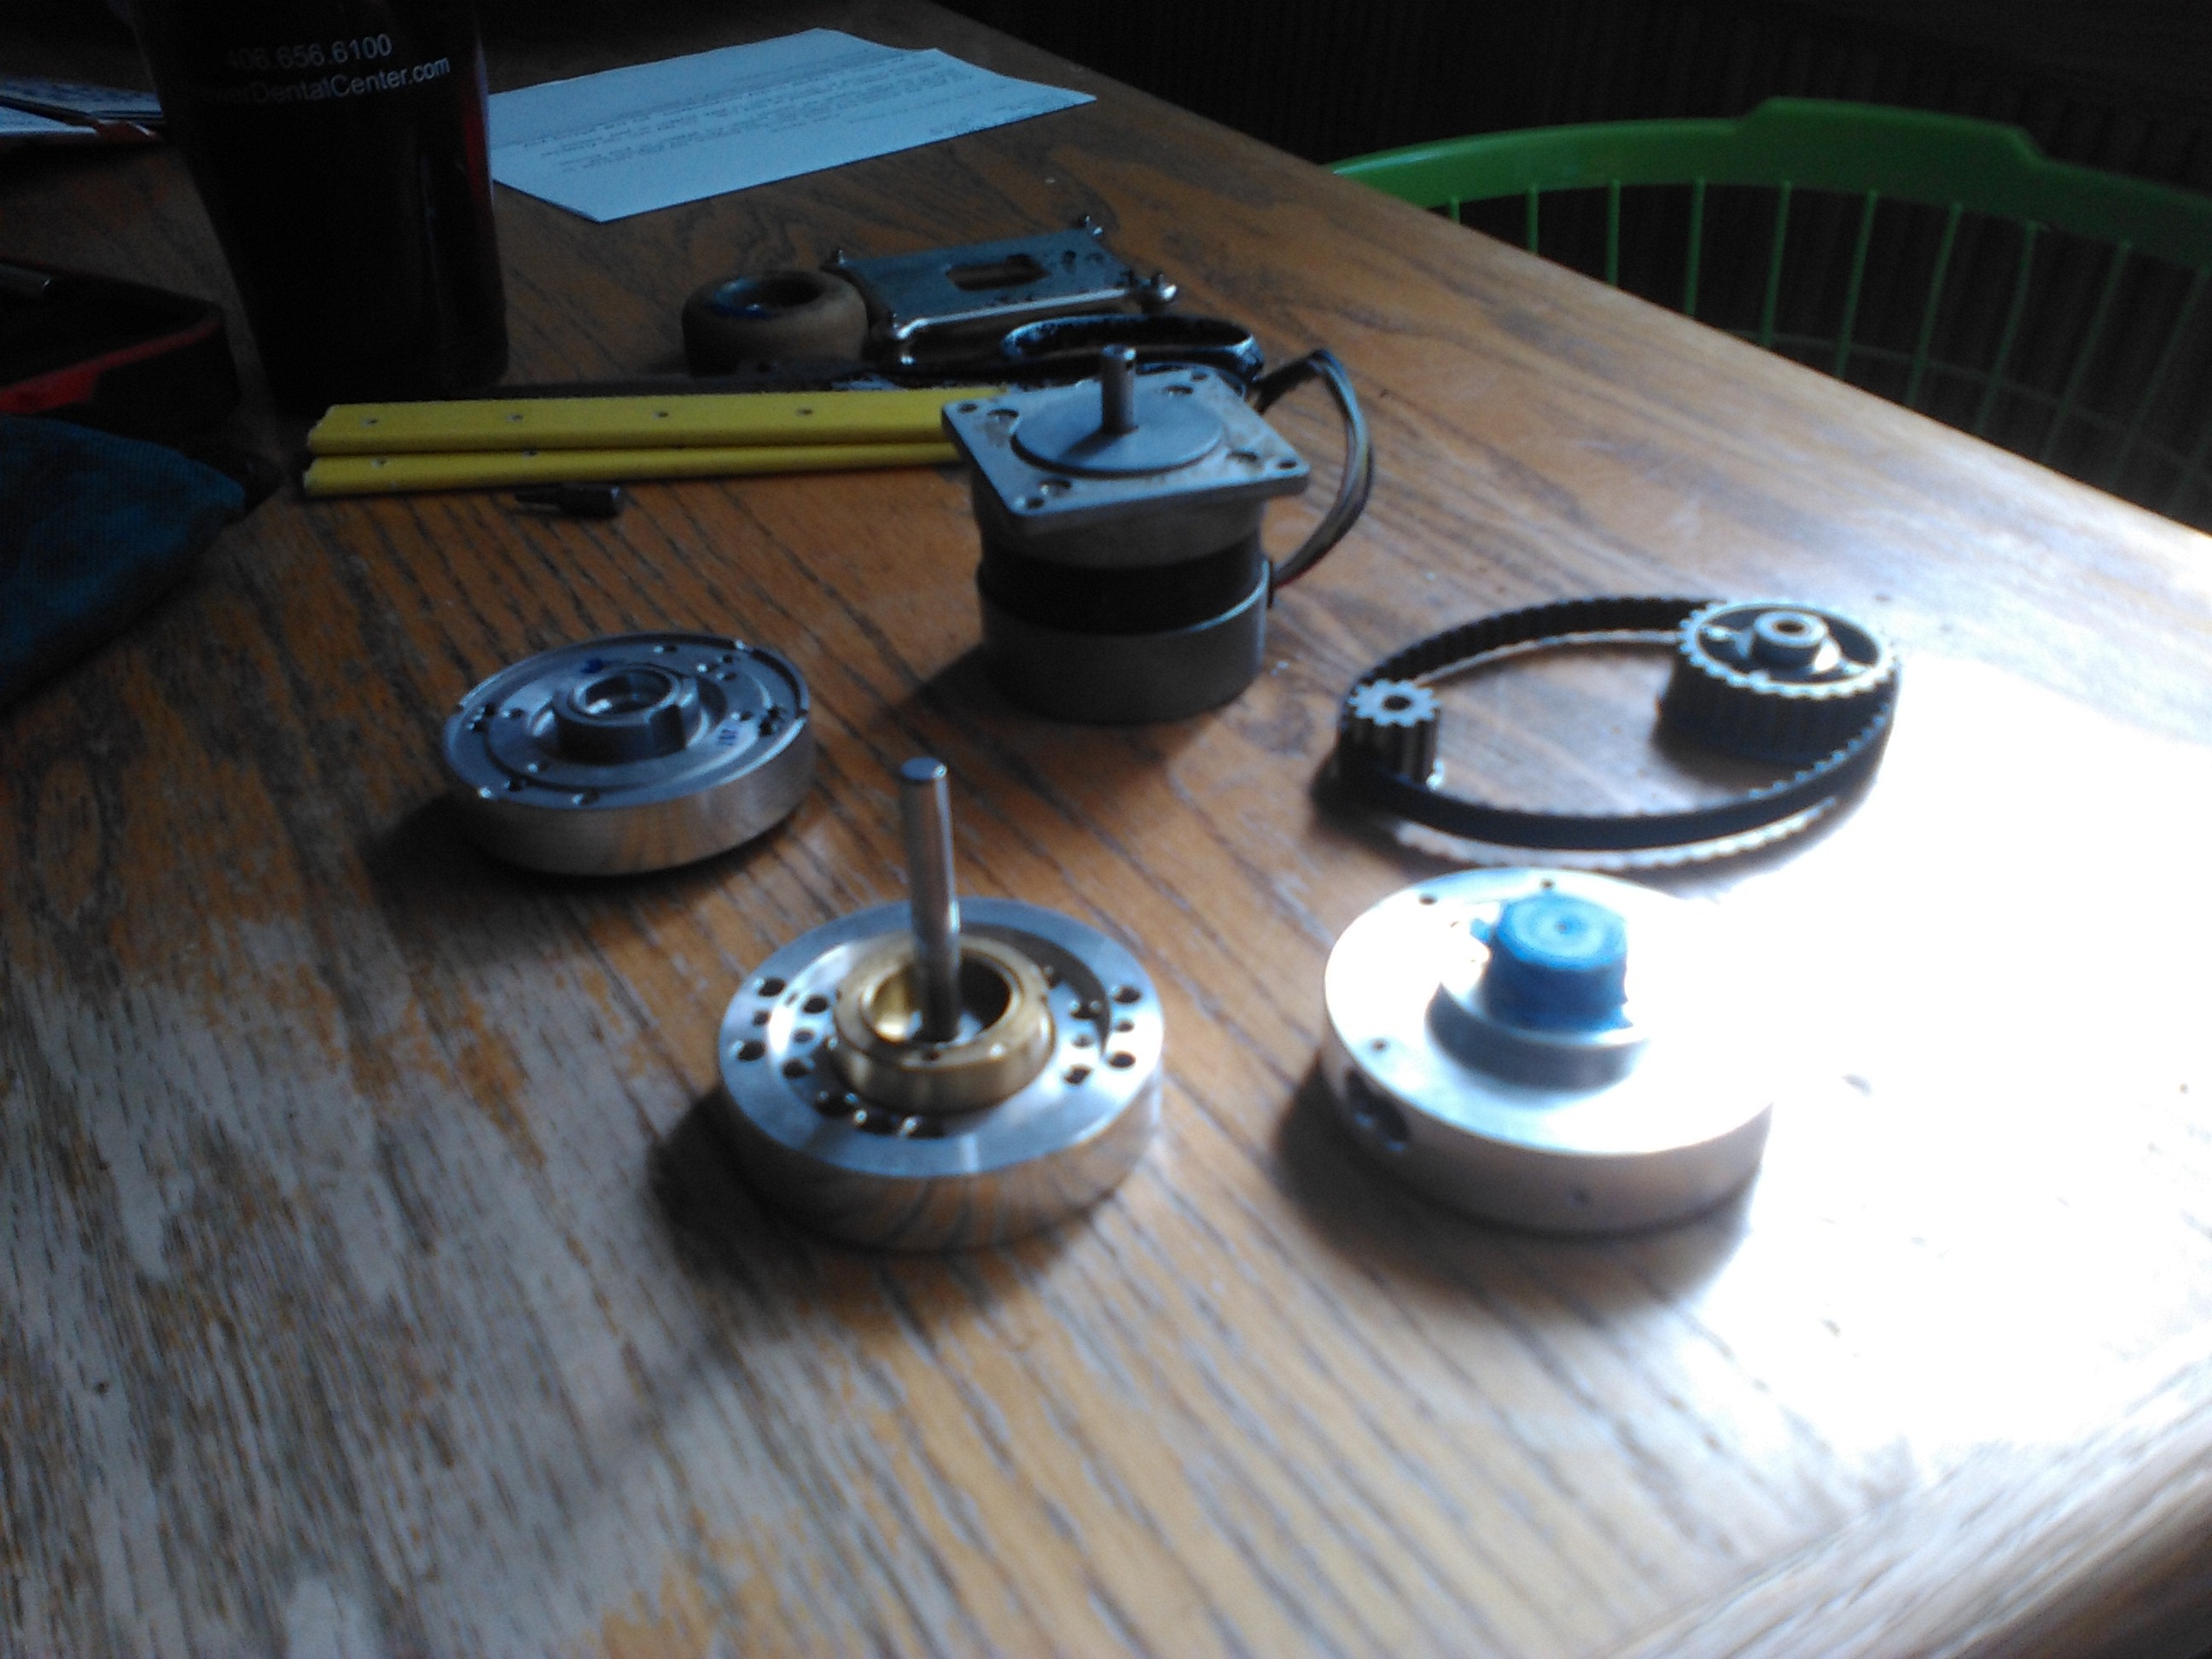
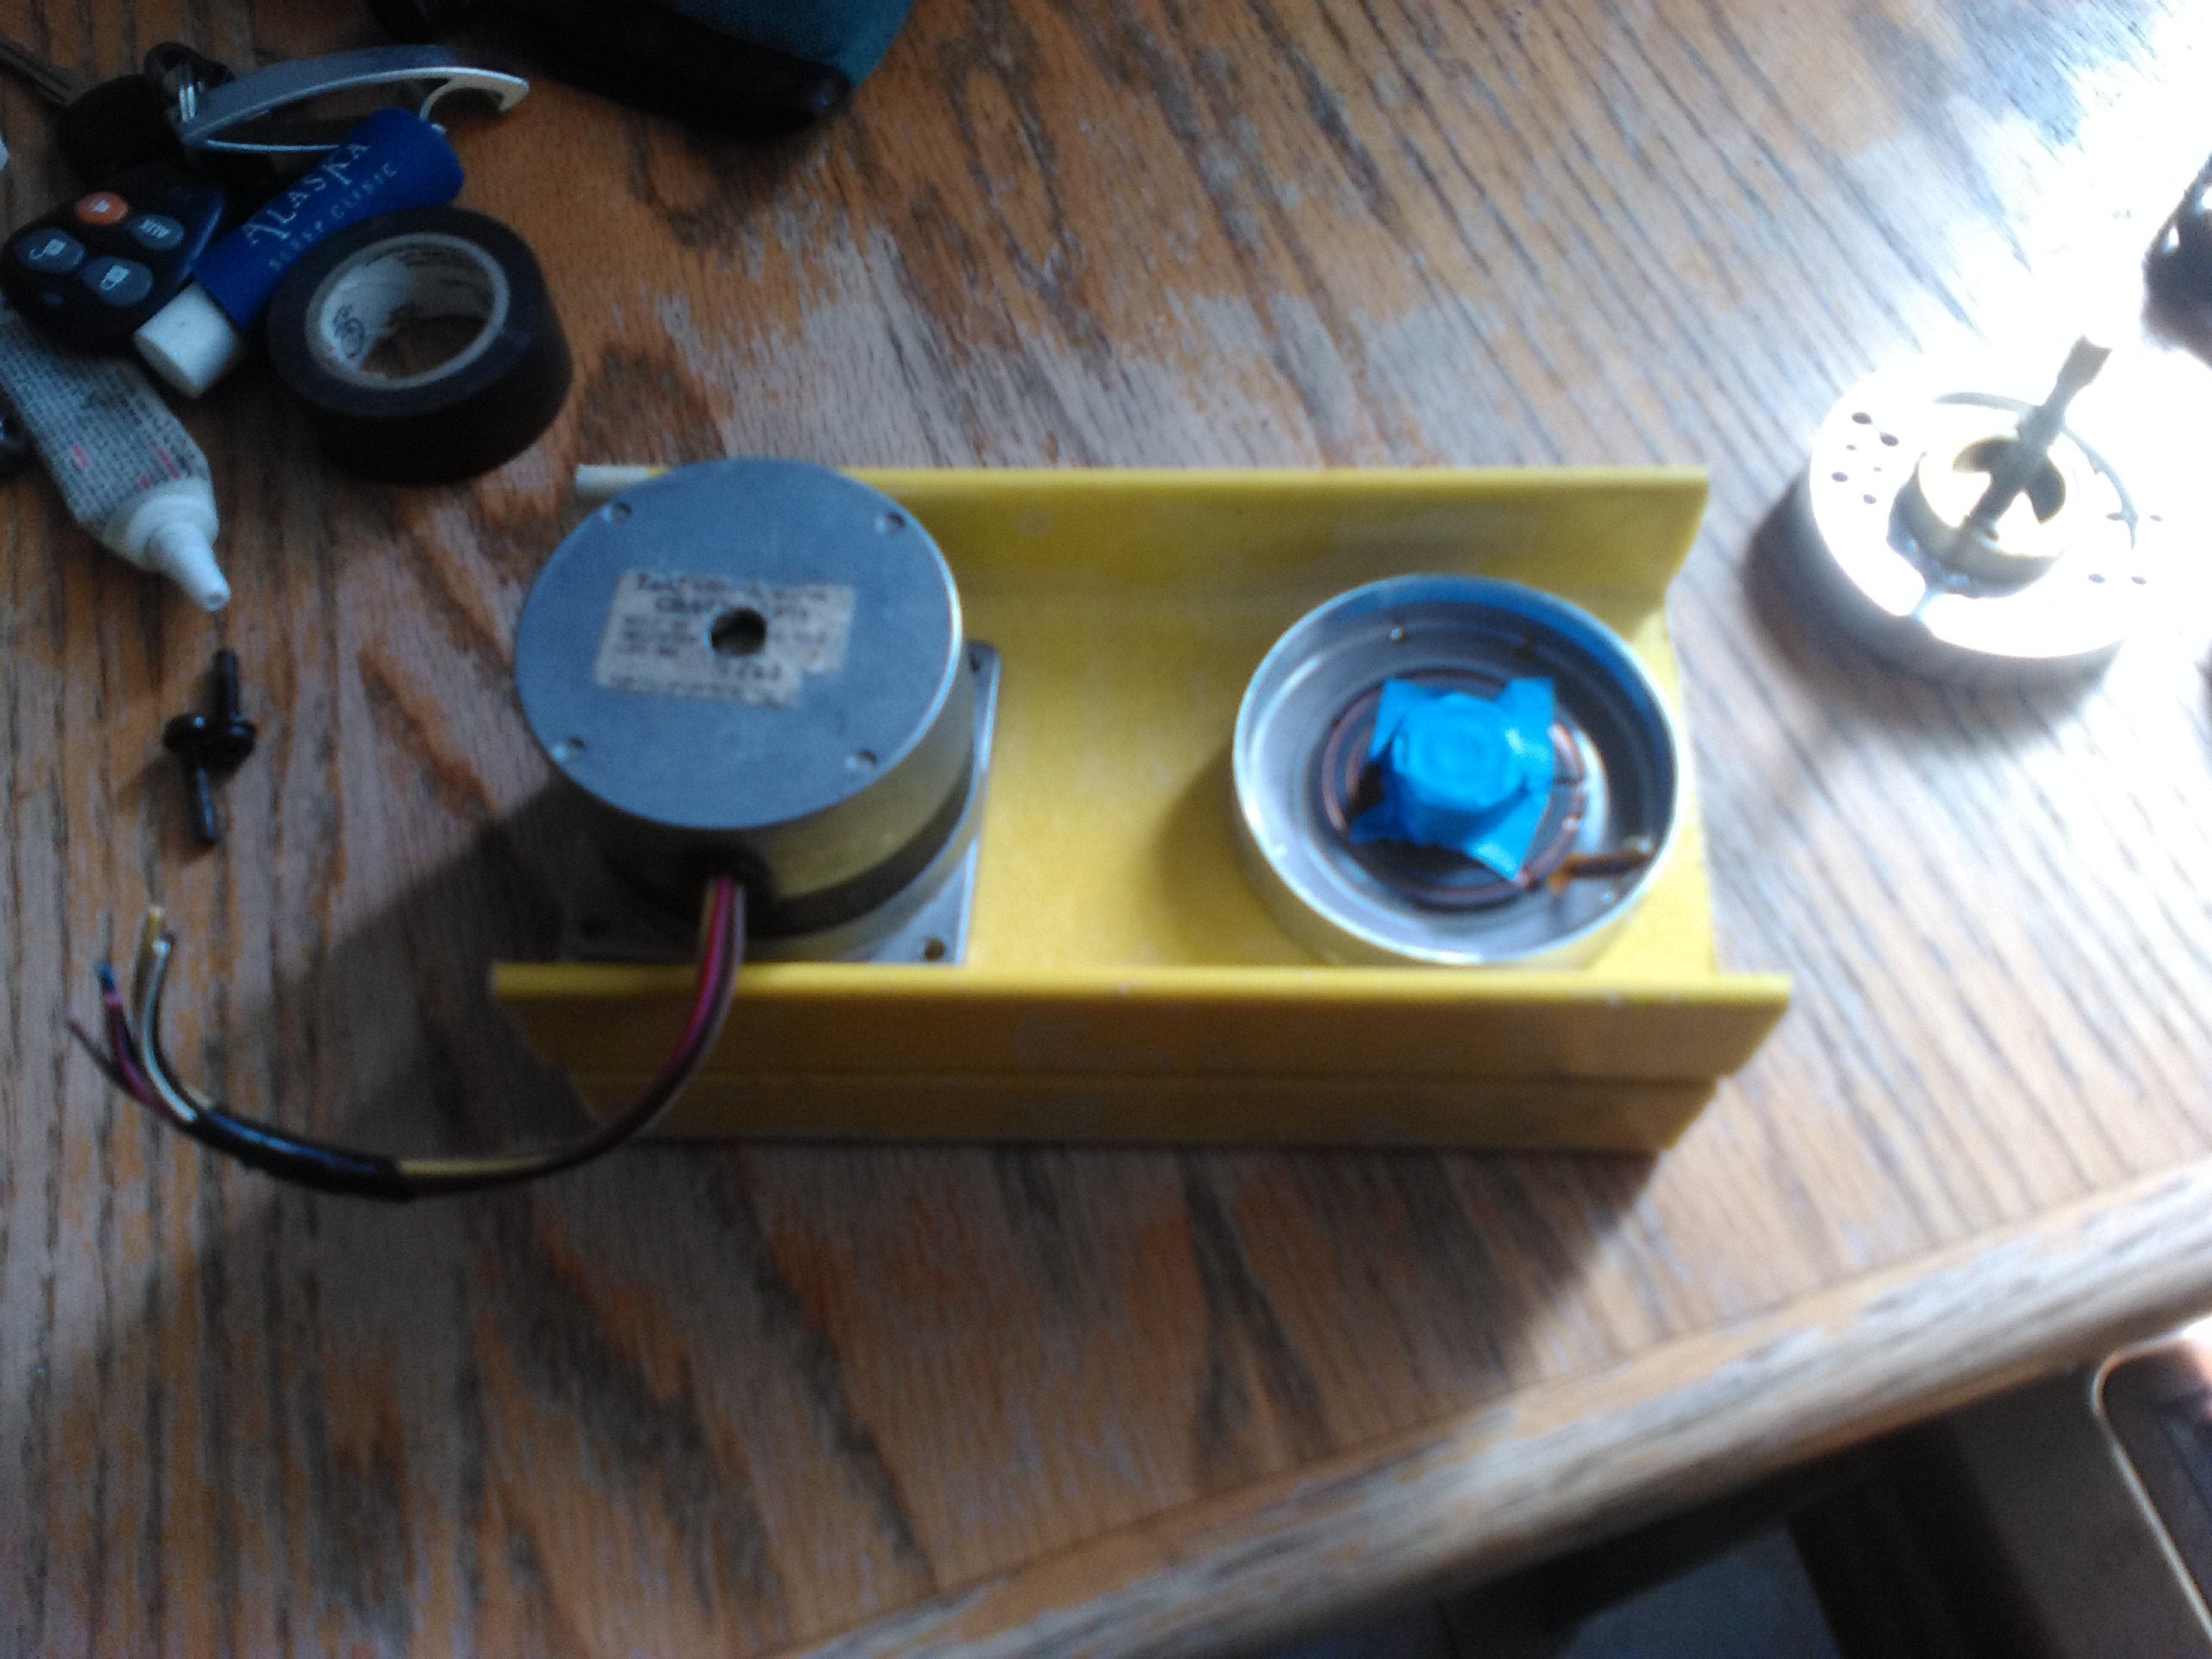
    so I went browsing the web looking for a good solution for powering my spindle. found a few interesting things, but the stepper motor controlled spindle is what caught my eye. I gathered up supplies. here is a list: nema 23 unipolar stepper, 2 vcr drive heads and the timing belt pulley assembly from a old belt sander. and various misc. bits as well.

    for the frame of the spindle I am using some fiberglass c channel, pretty sturdy material. I plan on laminating two pieces with jb weld & rivets, forming a I beam shape. should work pretty well I think. now the timing belt drive was I pretty good snag. popped open a old belt sander and it was right there in the outside of the body, had to press in brass tubing to shim the I.D of the pulleys to match the O.D of the motor & spindle shafts. the motor was easy, spindle tho, not so much. came up with a really neat trick tho that worked awesome. more to come

  • mounting studs & leadscrew bearings

    farnzworth709/16/2015 at 18:09 0 comments

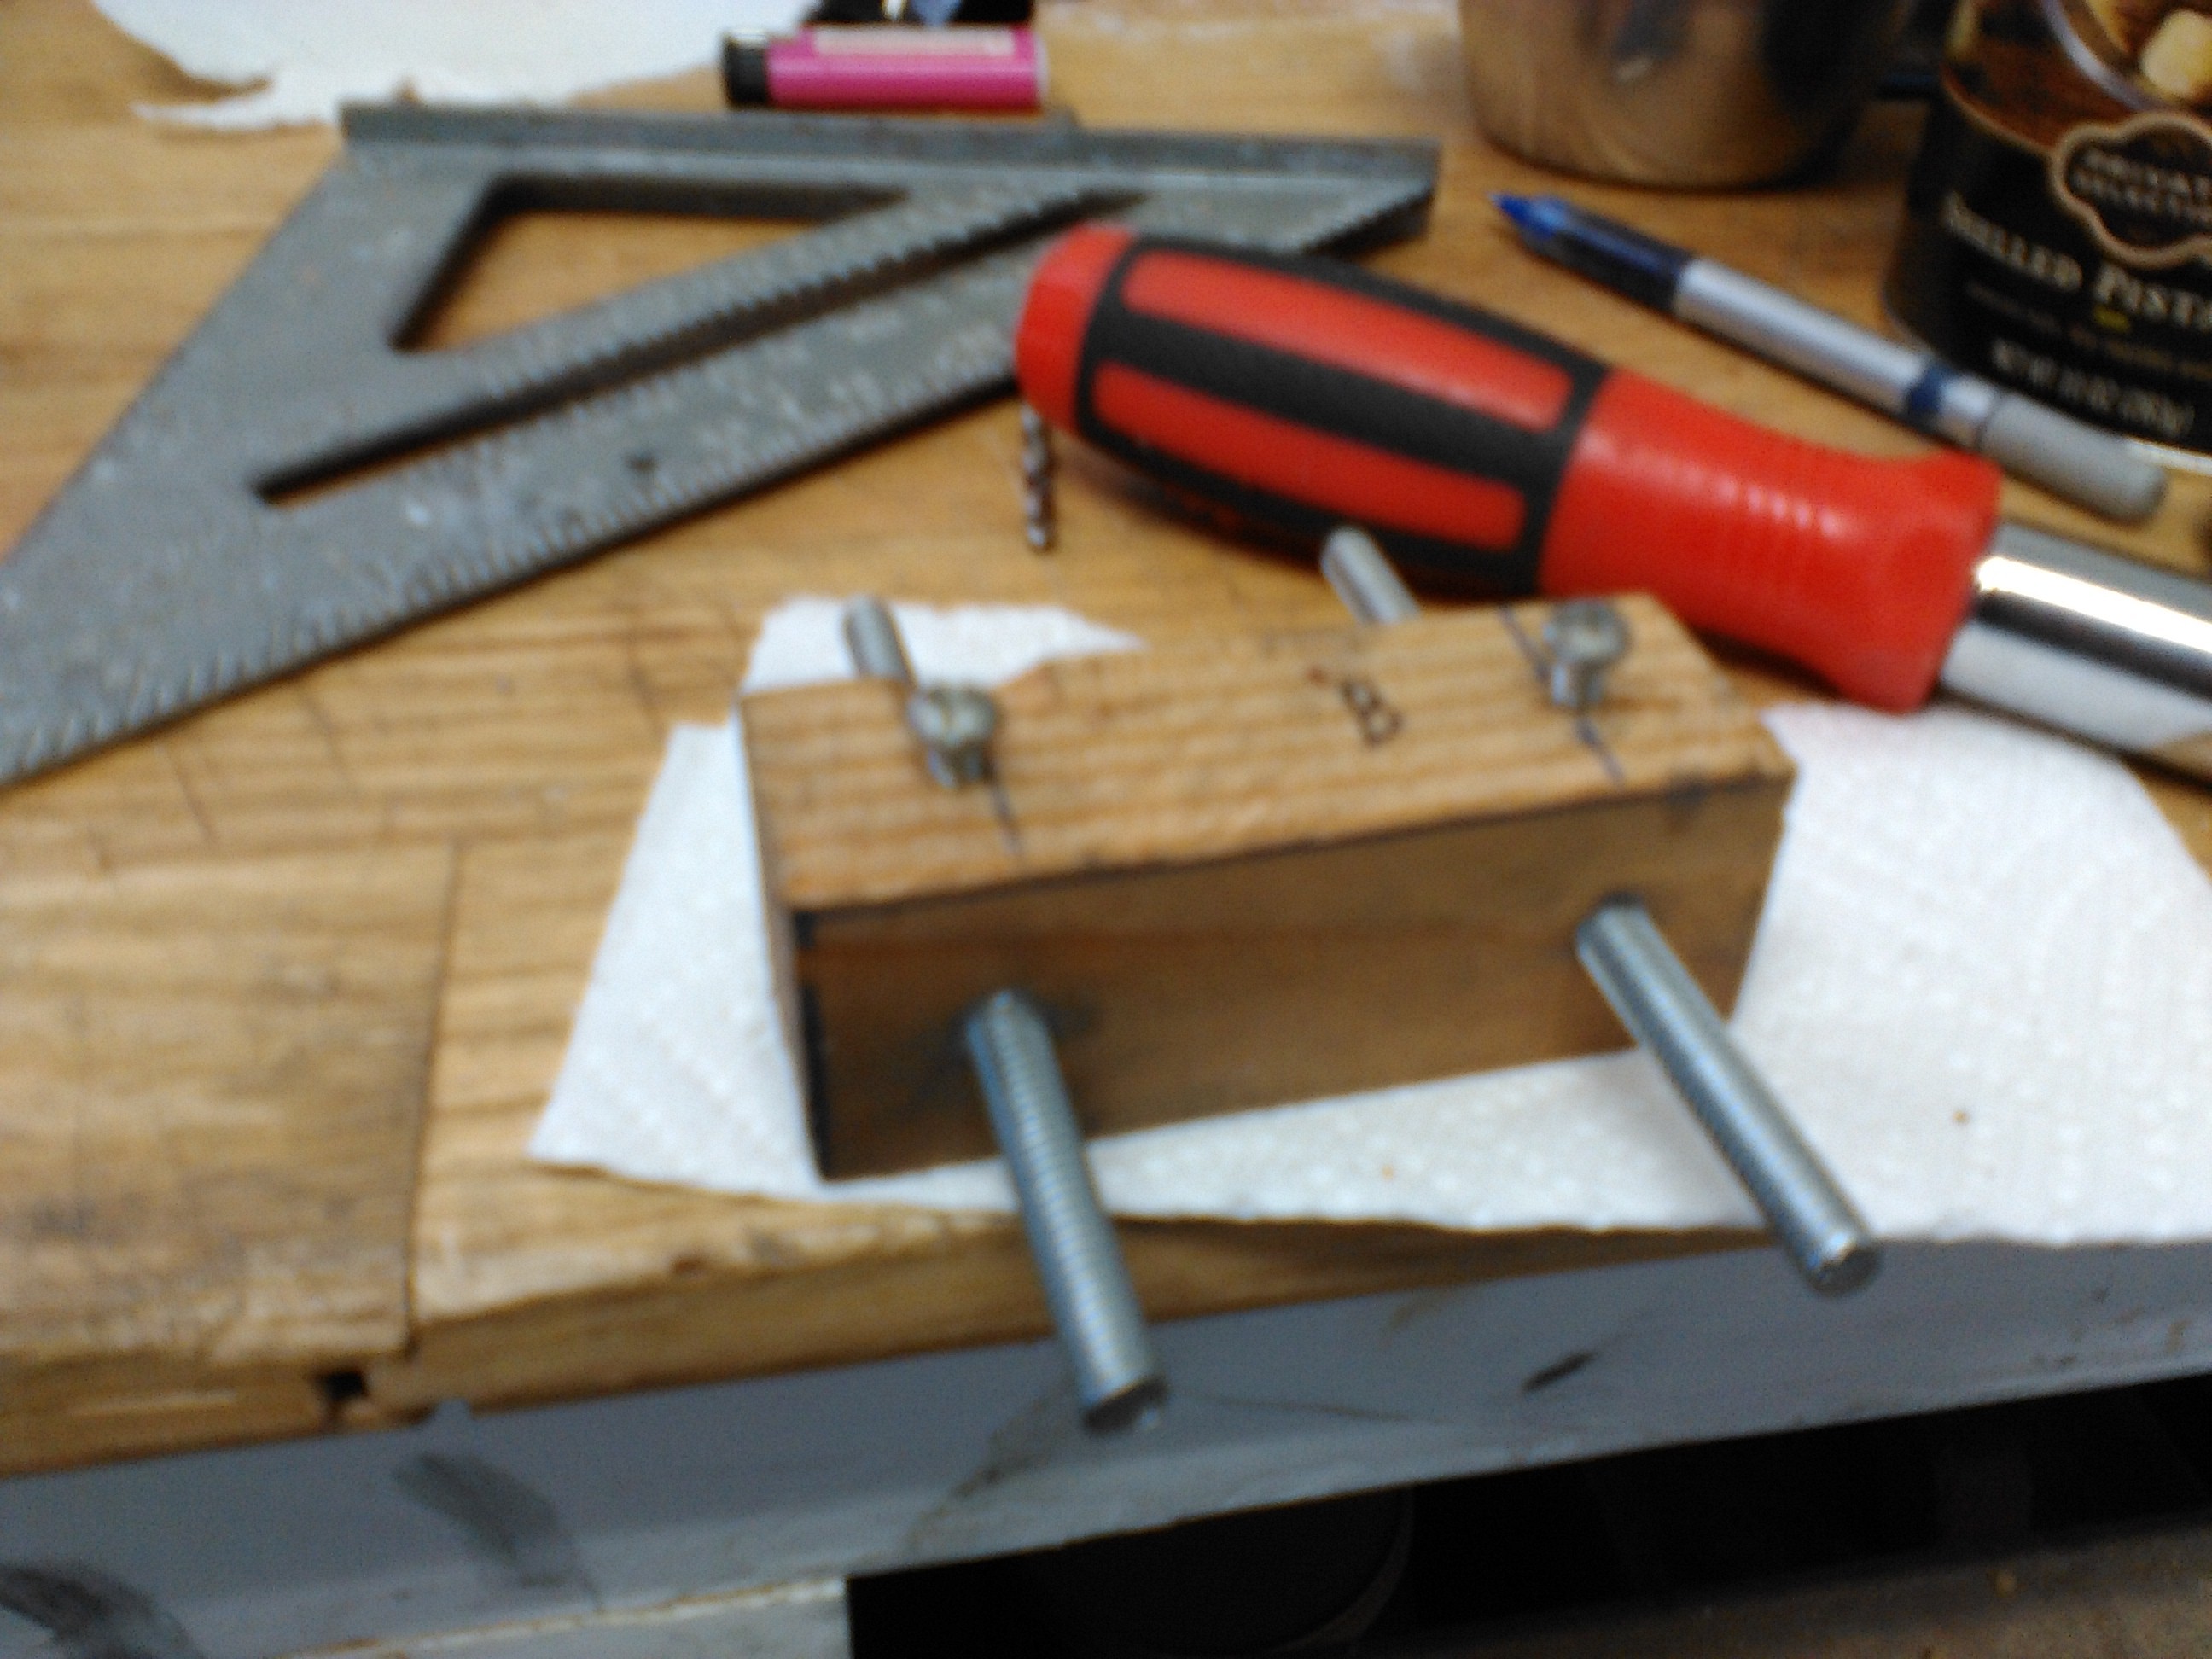
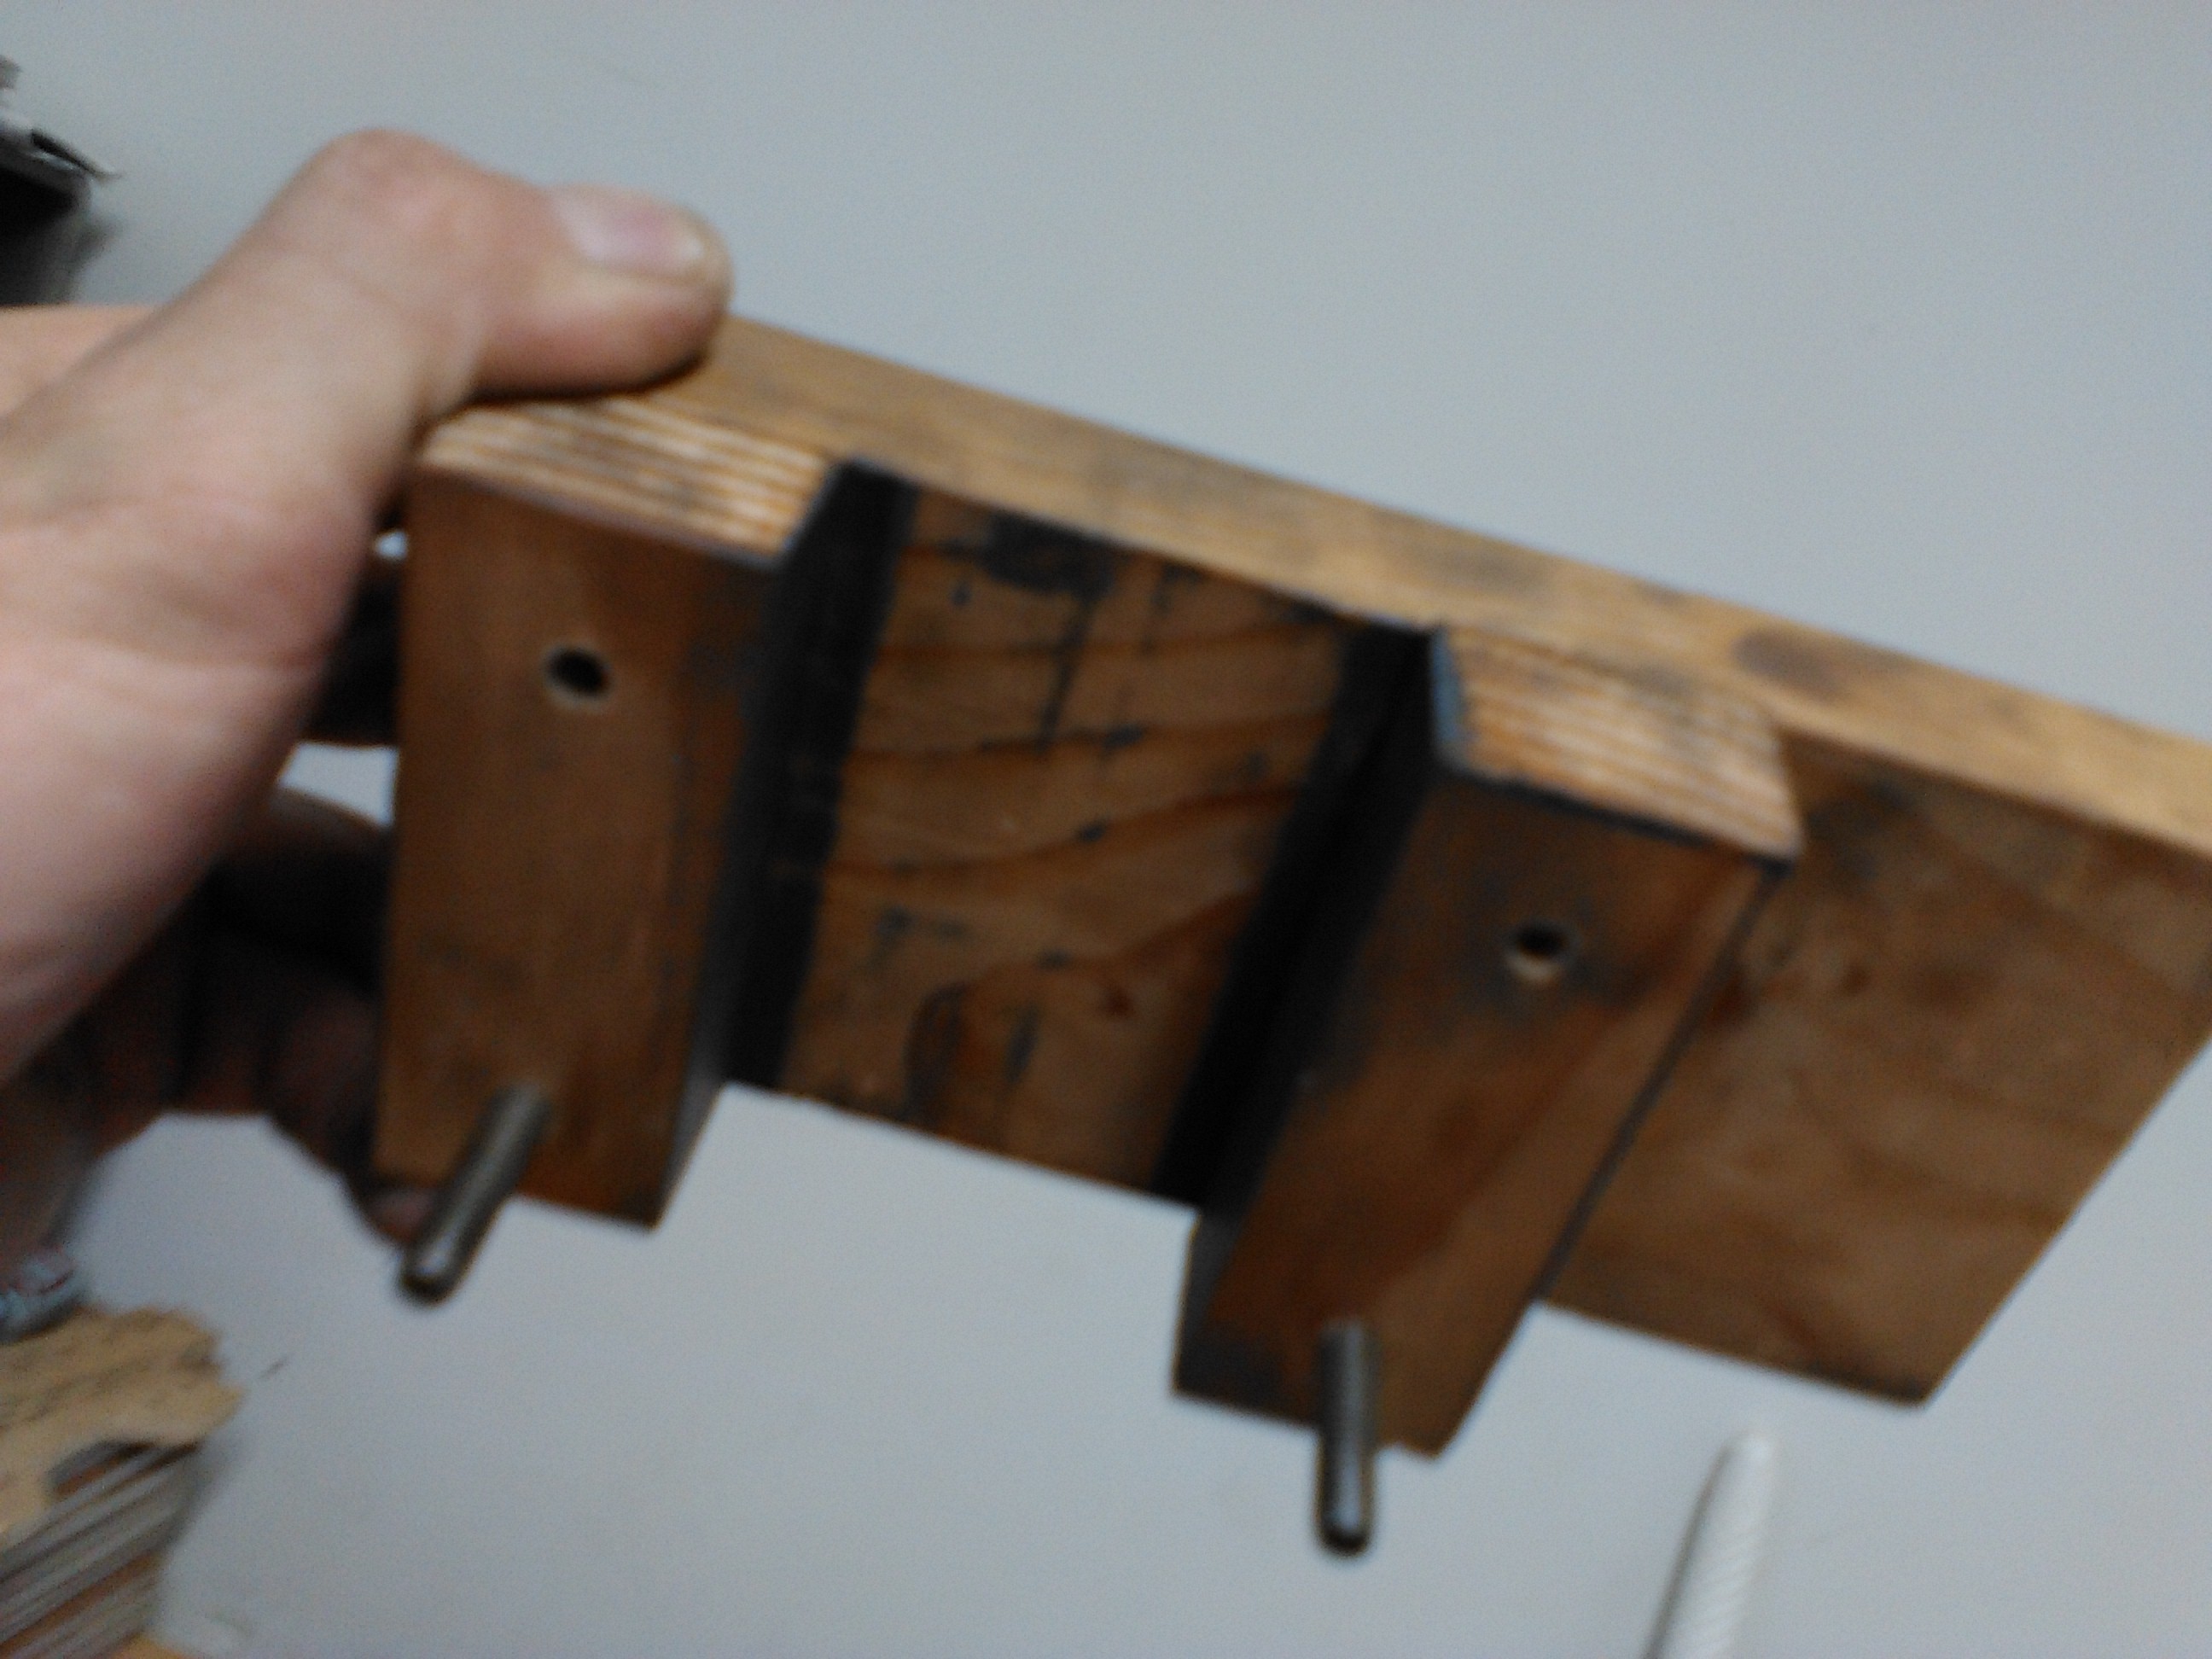
    I decided to use studs and nylon lock nuts on the vertical slides, dur to the fact it makes assembly/adjustment much more simple. the holes are already tapped for 1/4 20 bolts, so I purchaced 4 4" bolts and applied jb weld before screwing them in place. after the jb weld was done I drilled set screw holes and, set the screws lol. cut the bolt heads off and I am good to go.

    the bearings and mounts are from a old skateboard wheel. this was a really simple task. I mounted the wheel in my drill and proceeded to cur right down the center with my hacksaw. more progress to follow----------

  • pictures

    farnzworth709/14/2015 at 17:58 0 comments

  • headstock & traveling bed

    farnzworth709/14/2015 at 17:54 0 comments

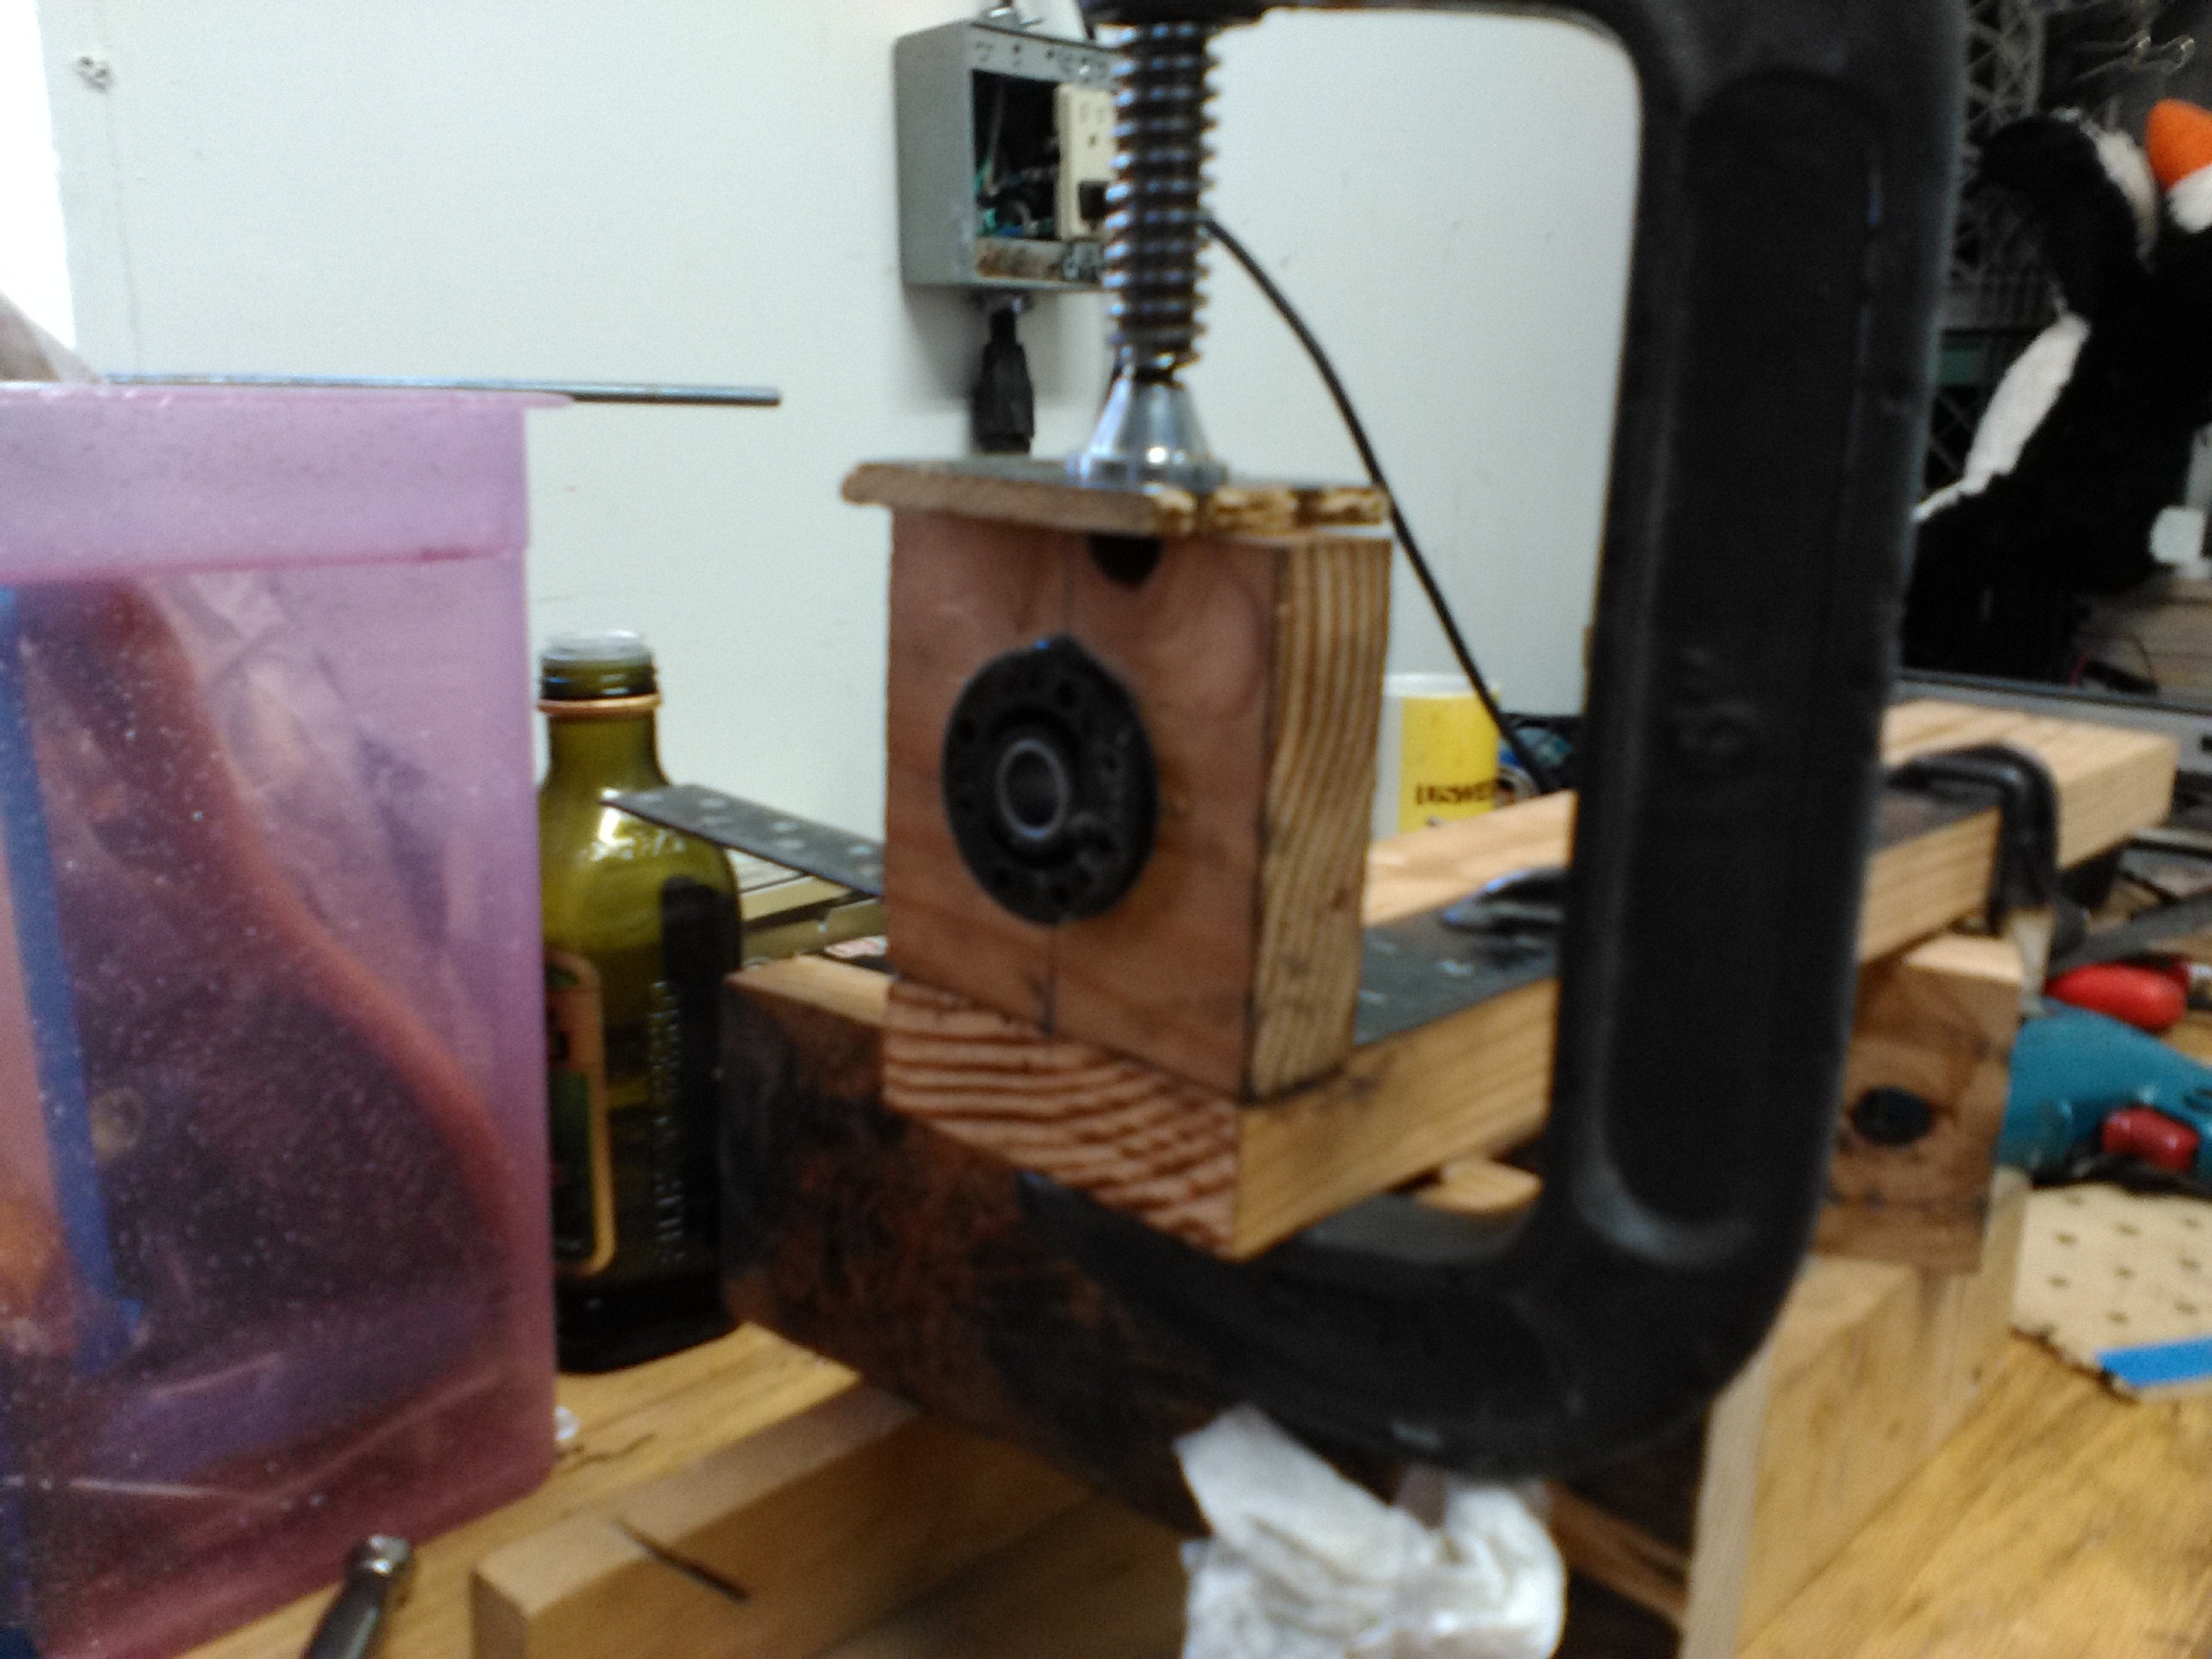
    just finished jb welding the bearing assembly to the base, all clamped solid and waiting to dry. the traveling bed(idk the technical term) is almost complete. all holes drilled and tapped where need be. for being all wood it is pretty sweet. almost no friction. made sure to make the vertical slides ajdustable. getting ready to mock up the leadscrew

View all 4 project logs

Enjoy this project?

Share

Discussions

Similar Projects

Does this project spark your interest?

Become a member to follow this project and never miss any updates