The following is a list of the thing I would like to correct:
- Power
My long and arduous battle with the power circuitry are well documented; my adafruit powerboosts ALL frying, HDMI leads causing issues, dodgy USB hubs... Everything that could go wrong pretty much did go wrong!
- Battery recharging
The batteries used (4 x 3.7v Li-ions, 5000mAh a pop) lasted for a fair while, but took an eternity to recharge via the powerboosts.
- GUI
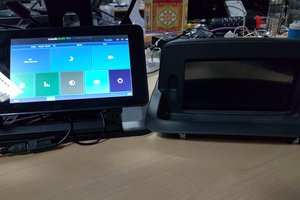
Midway through the first build I won a 7" Touch screen to put in my project to replace the 5" non-touch screen. In the original build there were 9 arcade buttons for control as the sole control of the playback and playlist selection. A rebuild would take advantage of the touchscreen in the GUI and reduce the need for so many buttons!
- HDMI Output
While the HDMI out works great with the boy's projector and TVs etc, I somehow wanted to be able to split the output so when the output was connected the touchscreen could just operate as a GUI, and not just play what is on the output.
Bearing these in mind I have come up with a redesign that fixes the above problems and adds a million more possibilities for expansion, making it more suited for a bedroom-based installation:
- Enclosure
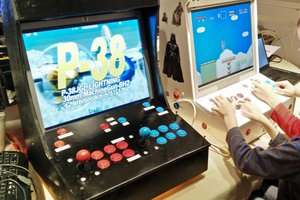
Redesigned to be more in keeping with a desktop installation; think of an old-school TV or retro PC/monitor all-in-one, just really small :-)
Some rubber feet, IO panel at the back, screen on the front and a few buttons (possibly arcade, possibly small ones depending on build size/space). Internally some shelves to impose some semblance of order and tidiness for the innards.
The prototype will be 6mm MDF (w/ potentially a thinner front so the screen isnt sunk so deeply) and then will be cut in acrylic once tested.
- Mains Powered
Two birds assassinated with one almighty stone here - cant have complex wiring difficulties and slow charging batteries if you completely remove them, can you? :)
Seeing this build will remain in place there is no need to add batteries and charging circuits. It will be powered from a 12v mains adaptor or an old laptop PSU. Inside regulators to step down to 12v and 5v will be required for the components.
- Split screens - DUAL PI!
In order to create semi-independent outputs for the Touch screen and HDMI out two Pis will be used - this is still a brainhurt but I have a rough Idea on how it will be done!
- Much more touch-friendly GUI
With the screen flexibility It will be possible to write a completely touch-based GUI. I am aiming to make it html-based and user the Tornado Python library to serve it up.
- Automation
I want to add some room automation possibilities with the project; some LED strips and general light control, automated fish feeding, etc. In order to do so I will add i2c/USB breakouts to the enclosure
I will add some logs below for each of the sections to provide progress updates and further information!
 Craig Hissett


 Smalls
 Guy Dupont
 Grégory Paul
Picked up a kit the other day on Ebay for about 3 quid, comes with a remote (meant for an in-car MP3, a little circuit board (not needed), and the 3-pin IC I mention. There's already Arduino libraries to read it.
The same thing was used a few years ago by people with PCs, pretty sure they just connected the IC up to a serial or parallel port (either), and polled with software. By using the CTS line on the serial port, they had a single bit that could switch arbitrarily. Project was called LIRC / WinLIRC I think. Available for Linux, so maybe the Pi would be amenable to that.
Was UK based, postage I think free, and took a couple of days to get here. Saves a USB port and the software's already there! The Arduino version returns a several-digit hex number, I bet the Linux version has options for the same.
There's tons of stuff on the web about using them. The IC is an 1838, available with all sorts of different 3-letter prefixes. It's the standard chip for these sorts of shenanigans.
For the transmitter end, just an IR led modulated appropriately, there's lots of "PC universal remote" stuff available for that too.