-
1Step 1
Start with the base plate. At the bottom left side mark the holes to be drilled. Use the 20cm x 20cm parts and mark the holes at the positions 2cm, 10cm, 18cm. Do the same at the bottom right side.
Choose any width you like for the middle parts. I used the width of the music stand plate.
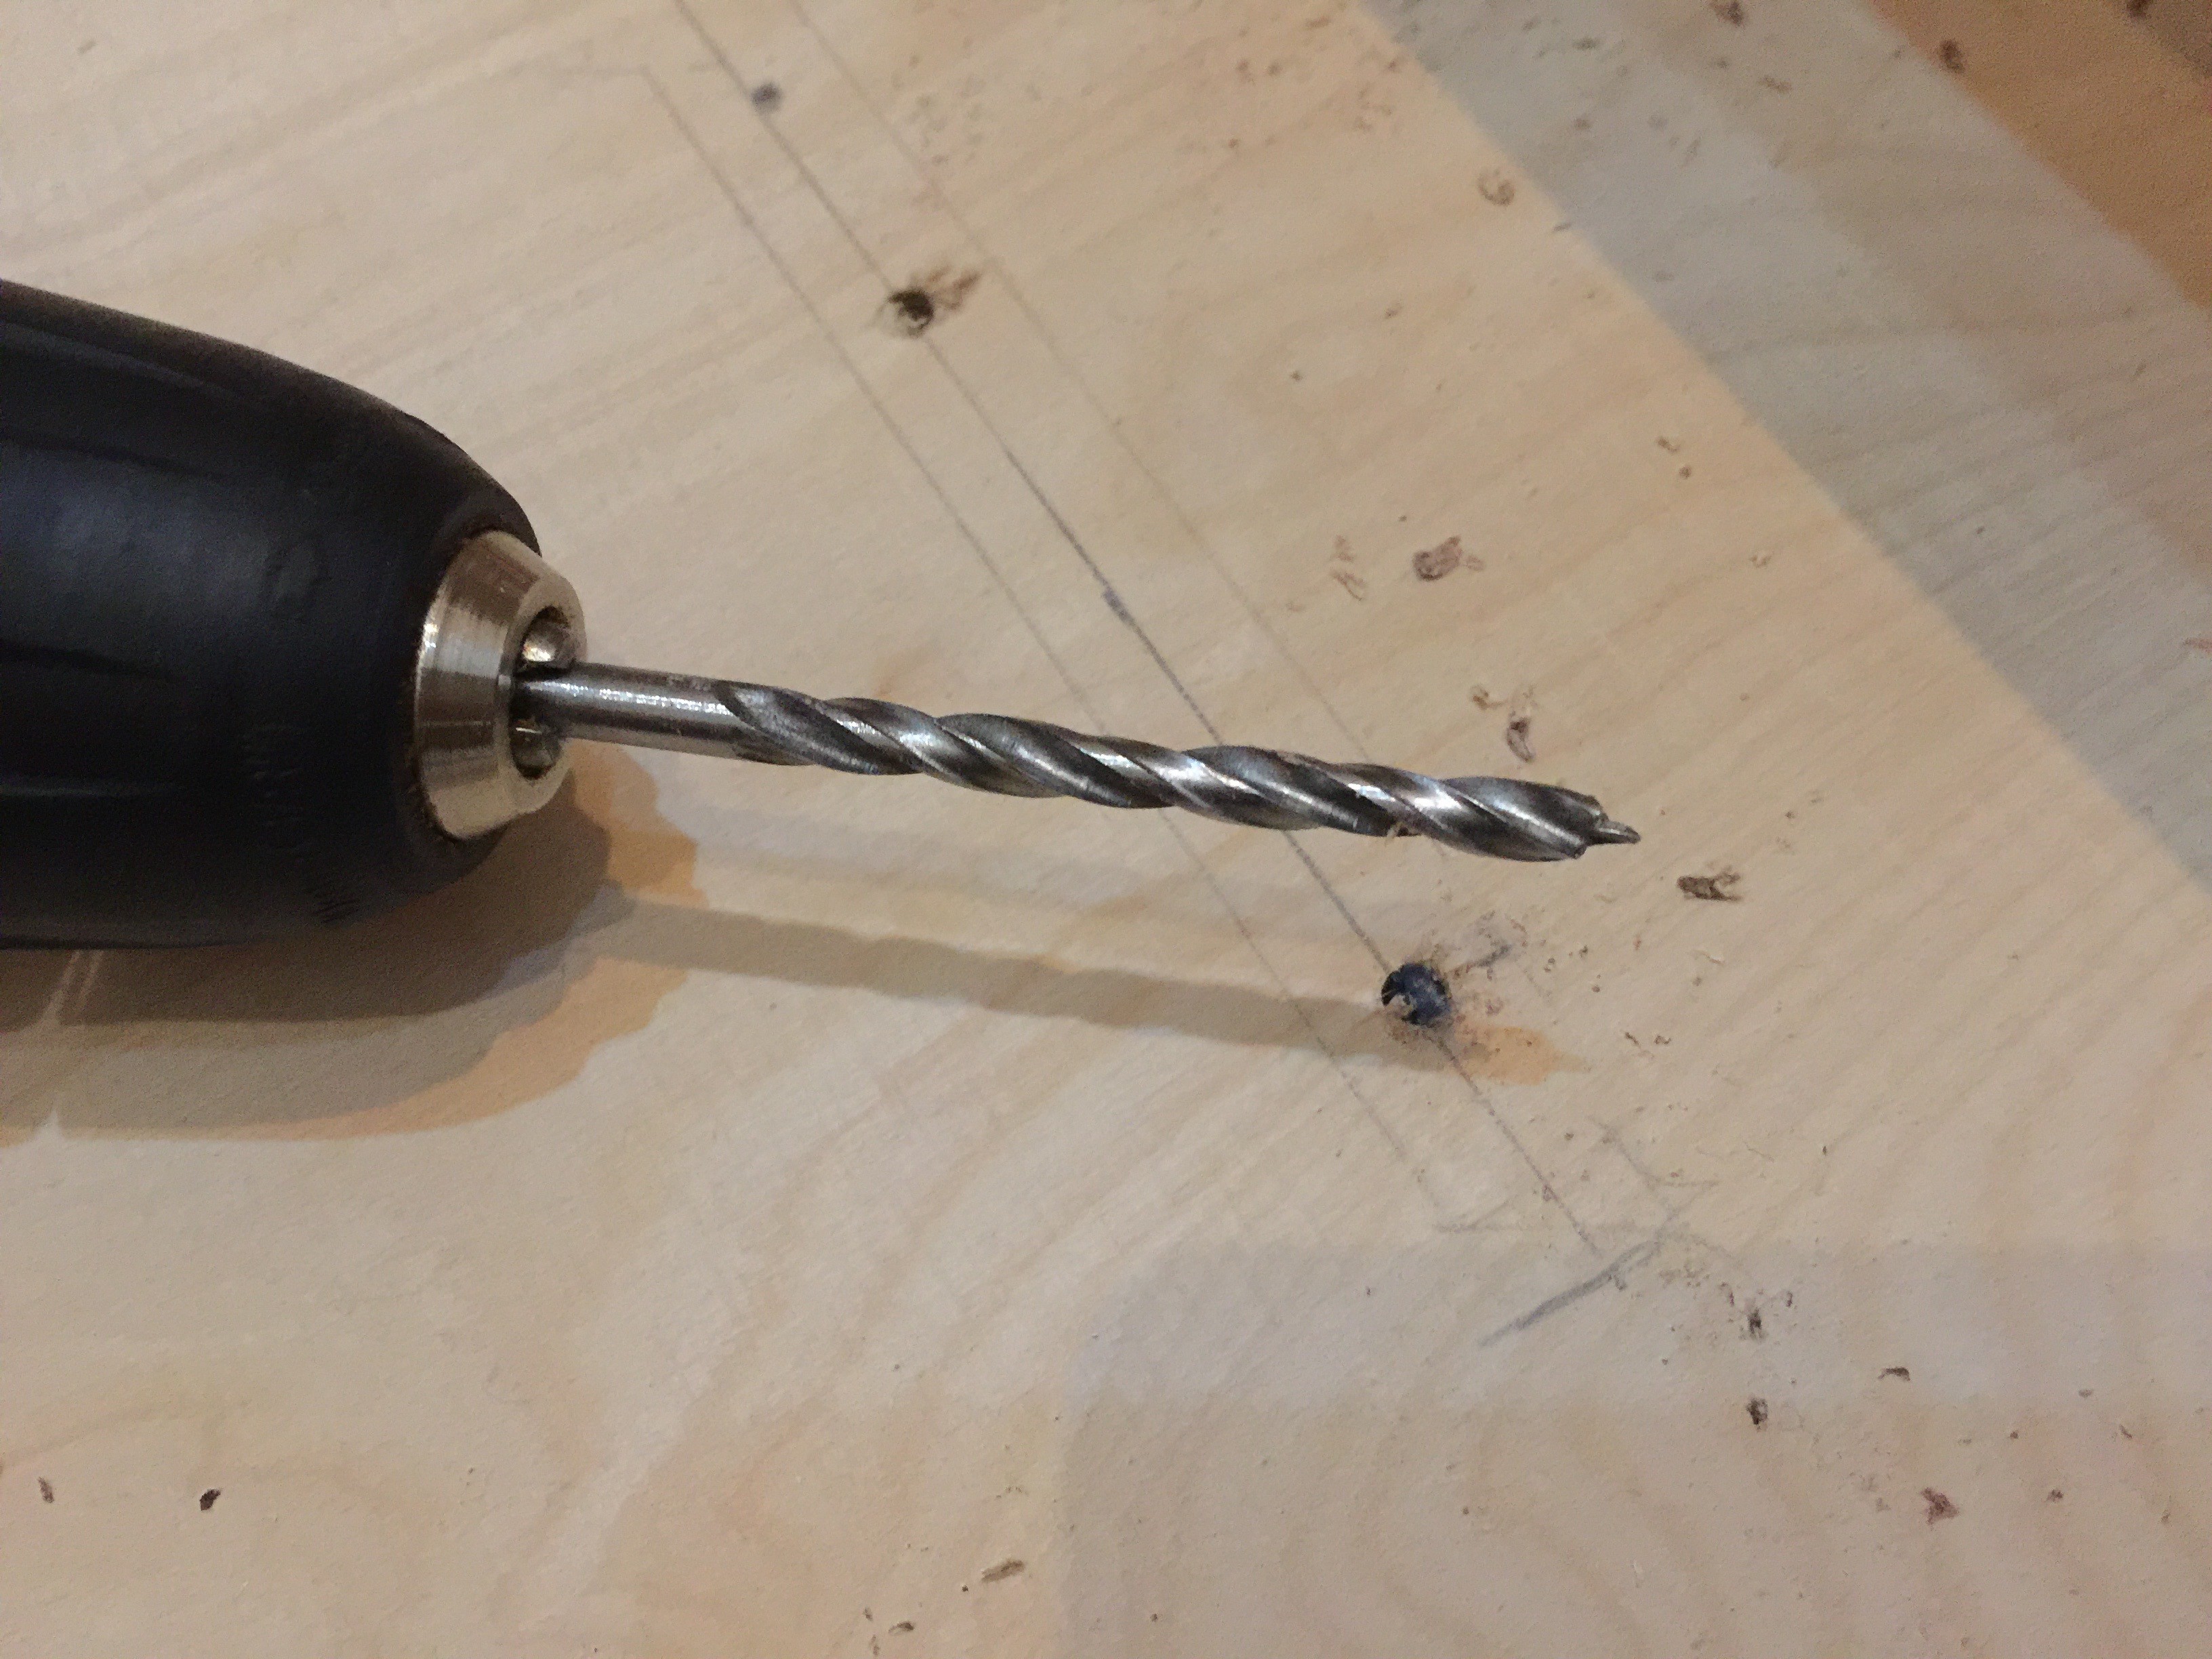
After marking the holes, drill it using the 5mm drill
Now turn the baseplate around. Align the 20cmx20cm parts with the baseplate. Drill 4mm holes through the baseplate into the 20x20 plates.
![]()
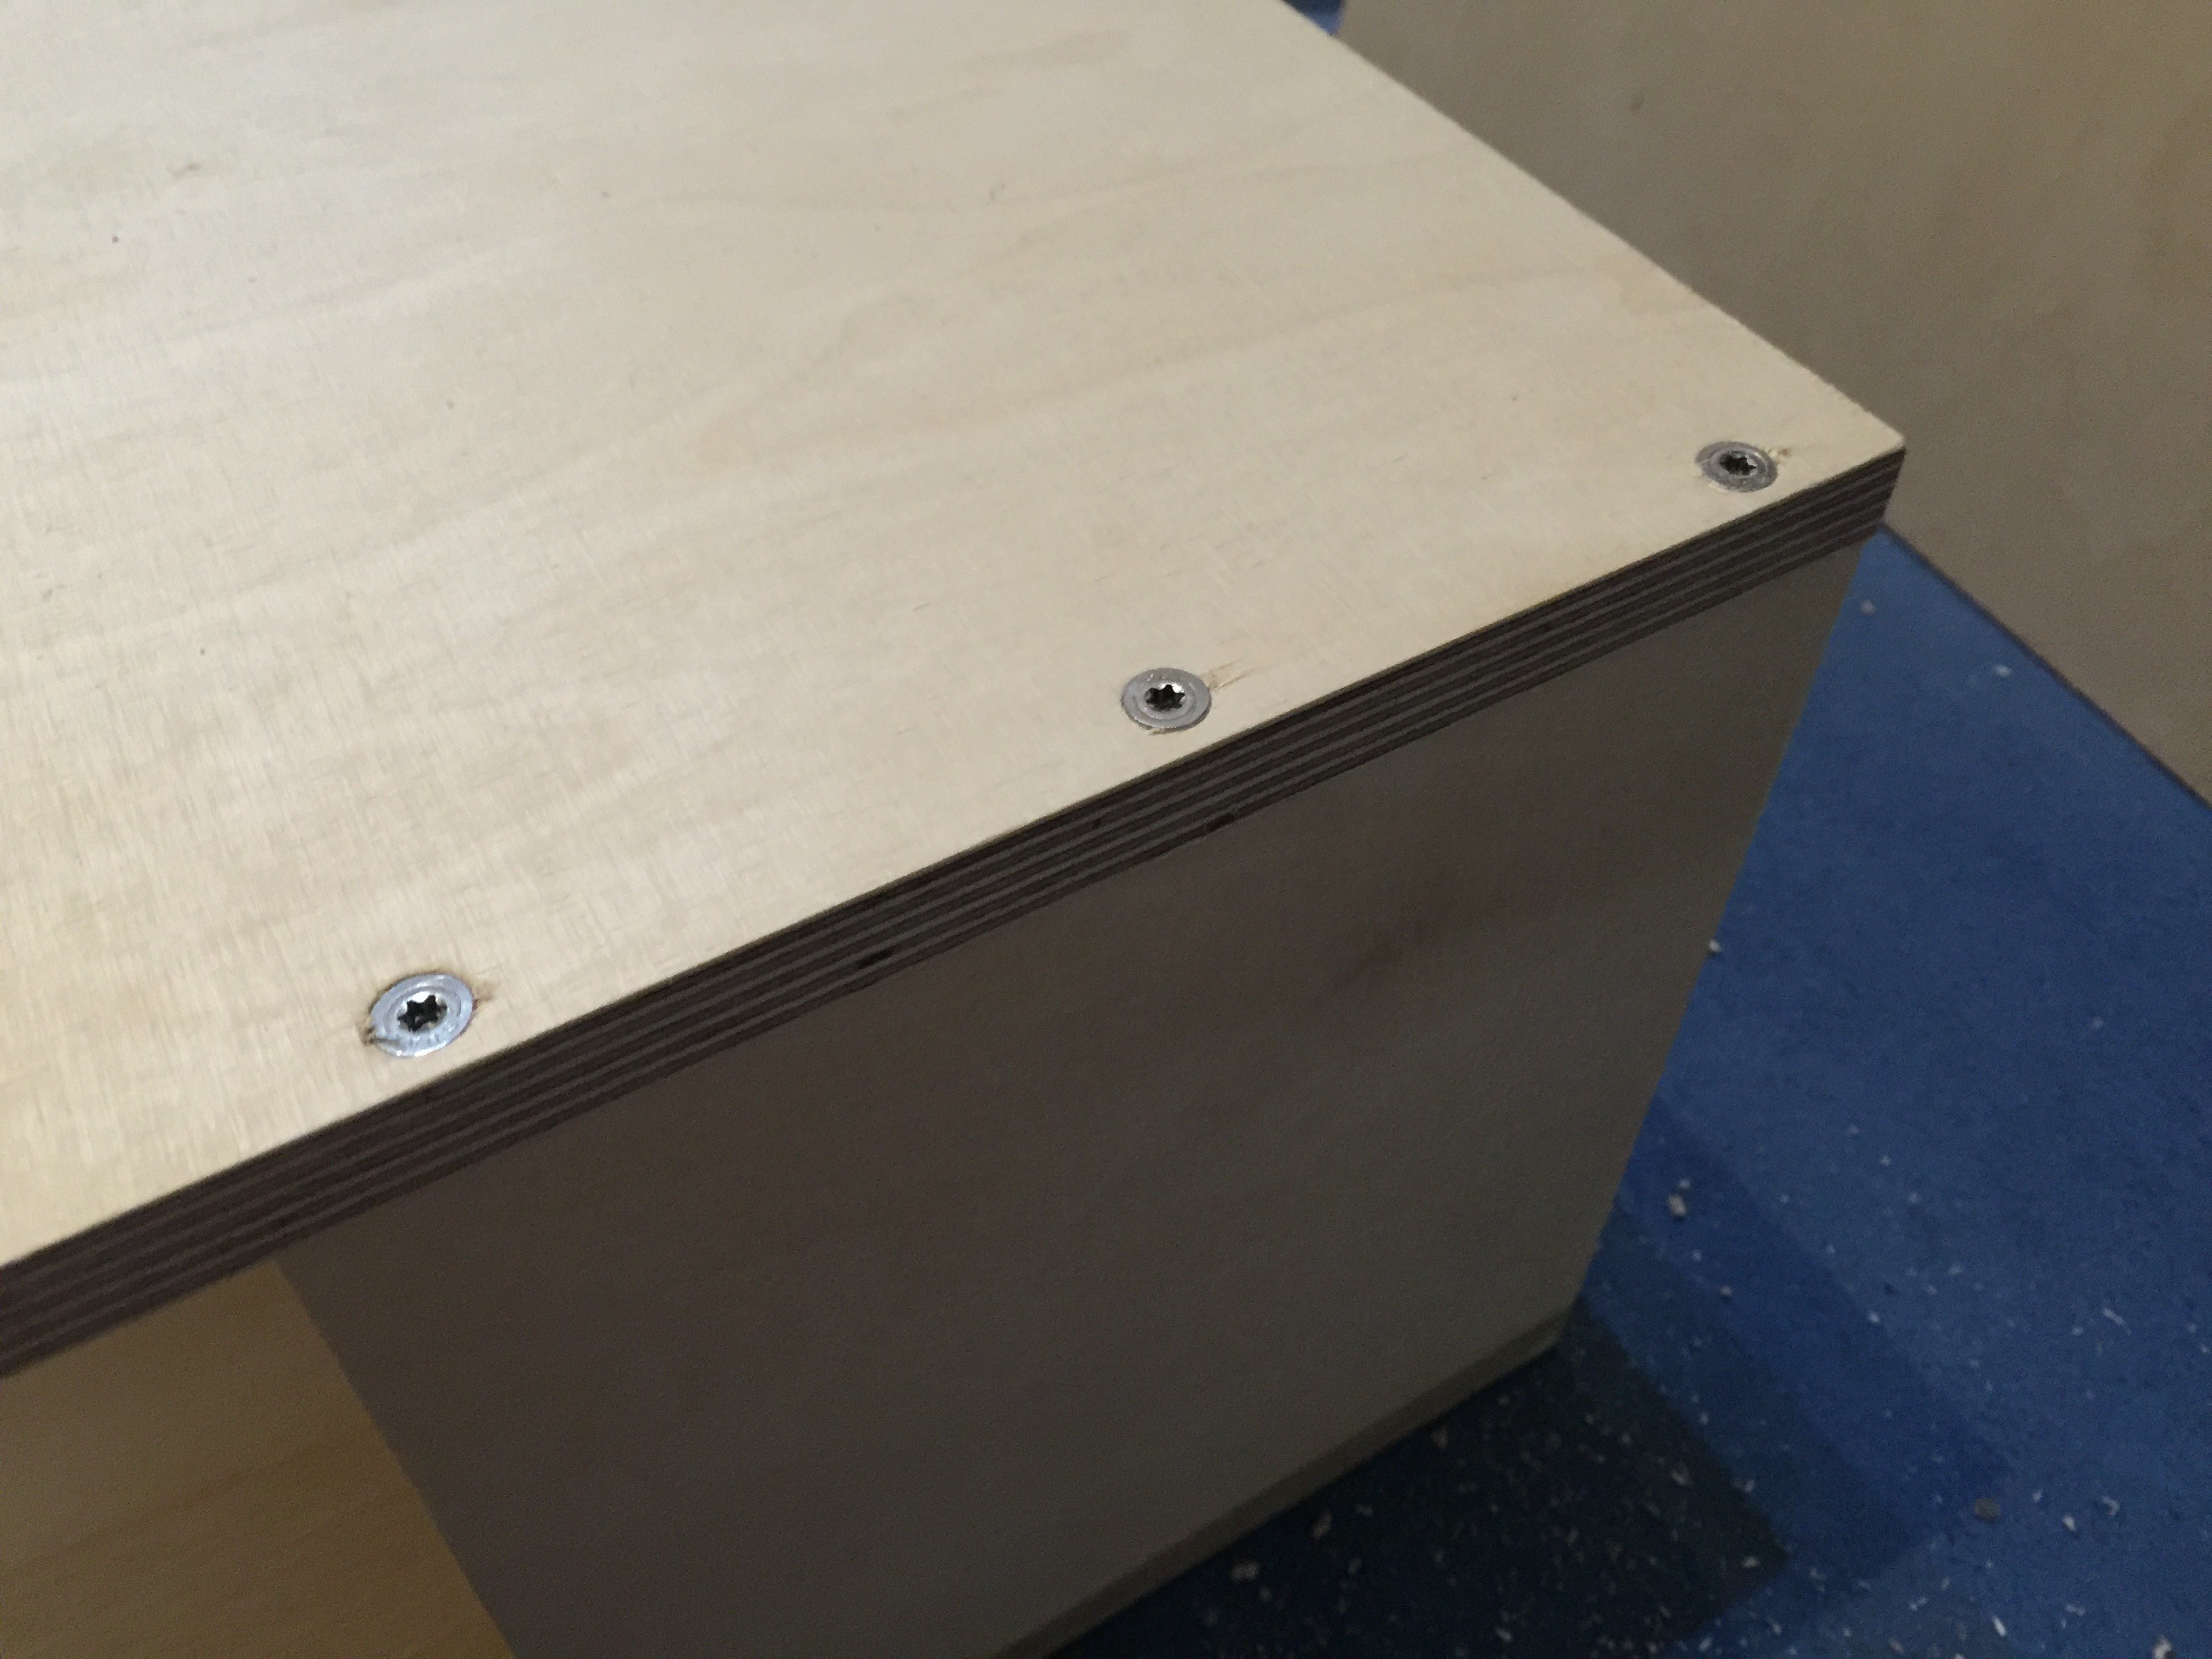
Do this with the top plate, too. Now align baseplate, 20x20 plates an the top plates and use the screws to tighten them at the top and at the bottom.
![]()
If you finished this task, you have done 1/3 of the new table
-
2Step 2
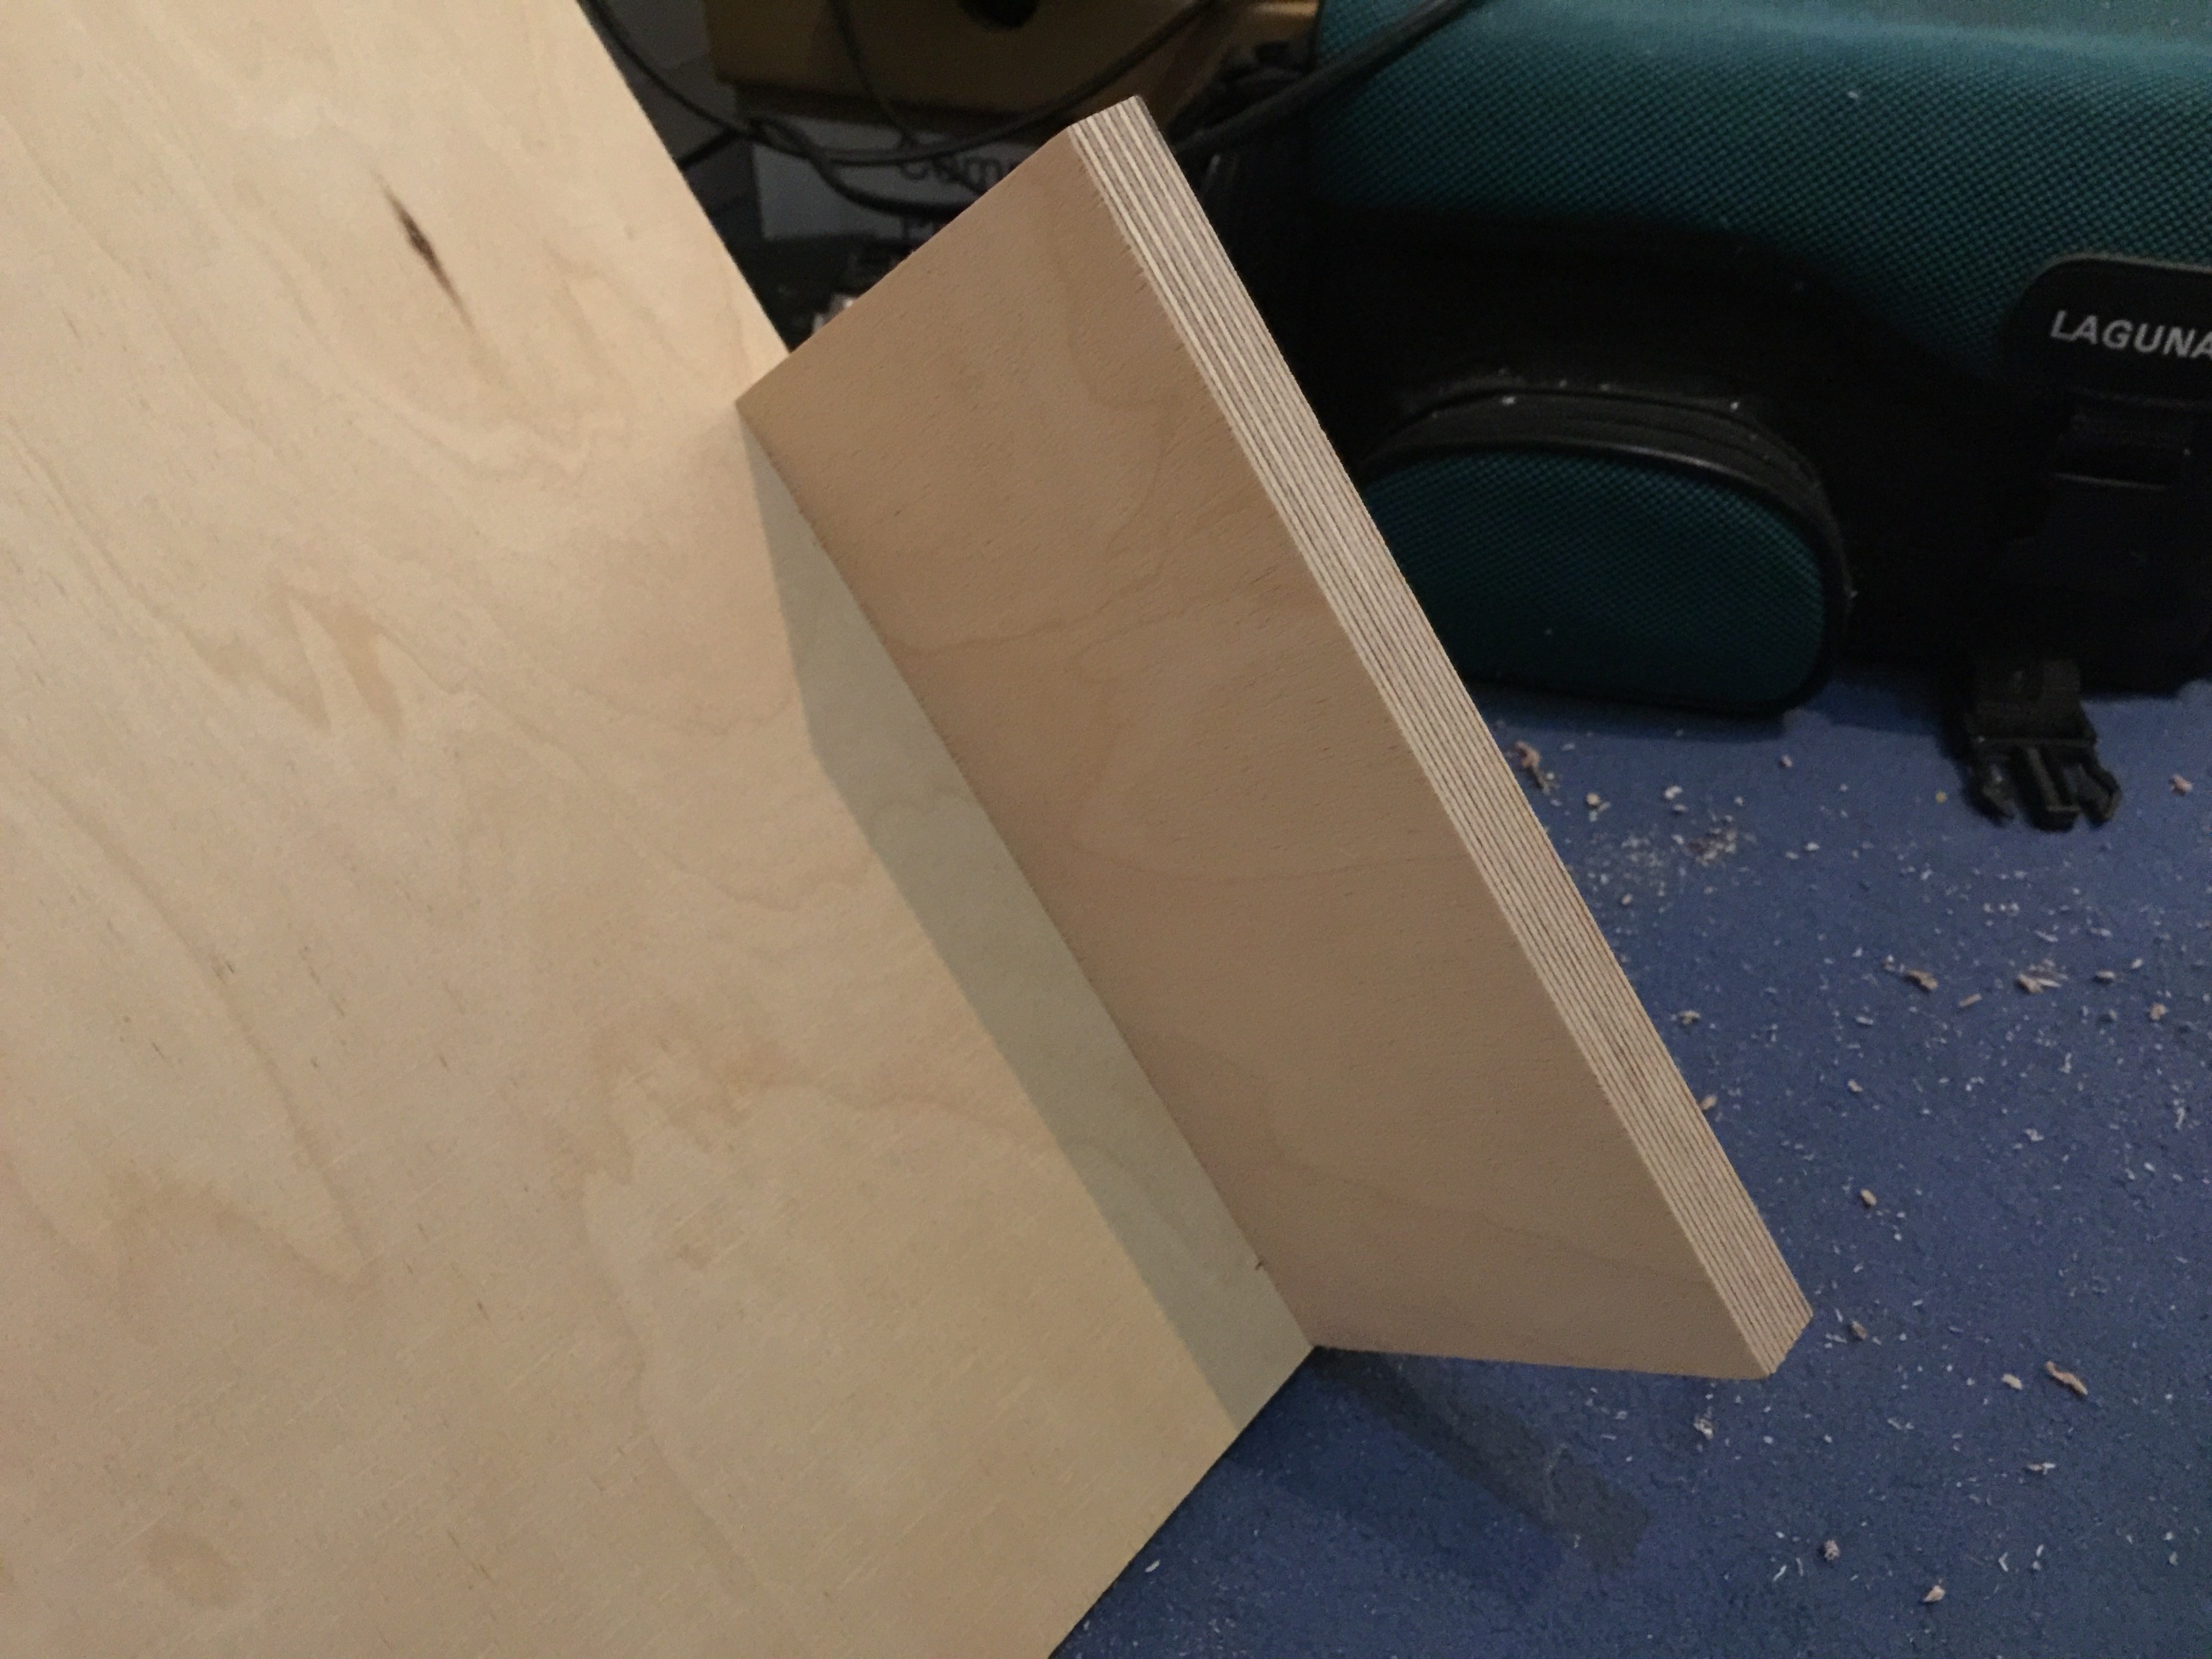
Now prepare the keyboard part. Do the same with the 10cmx20cm parts and attach them to the back side of the keyboard plate:
The side should look like this:
![]()
-
3Step 3
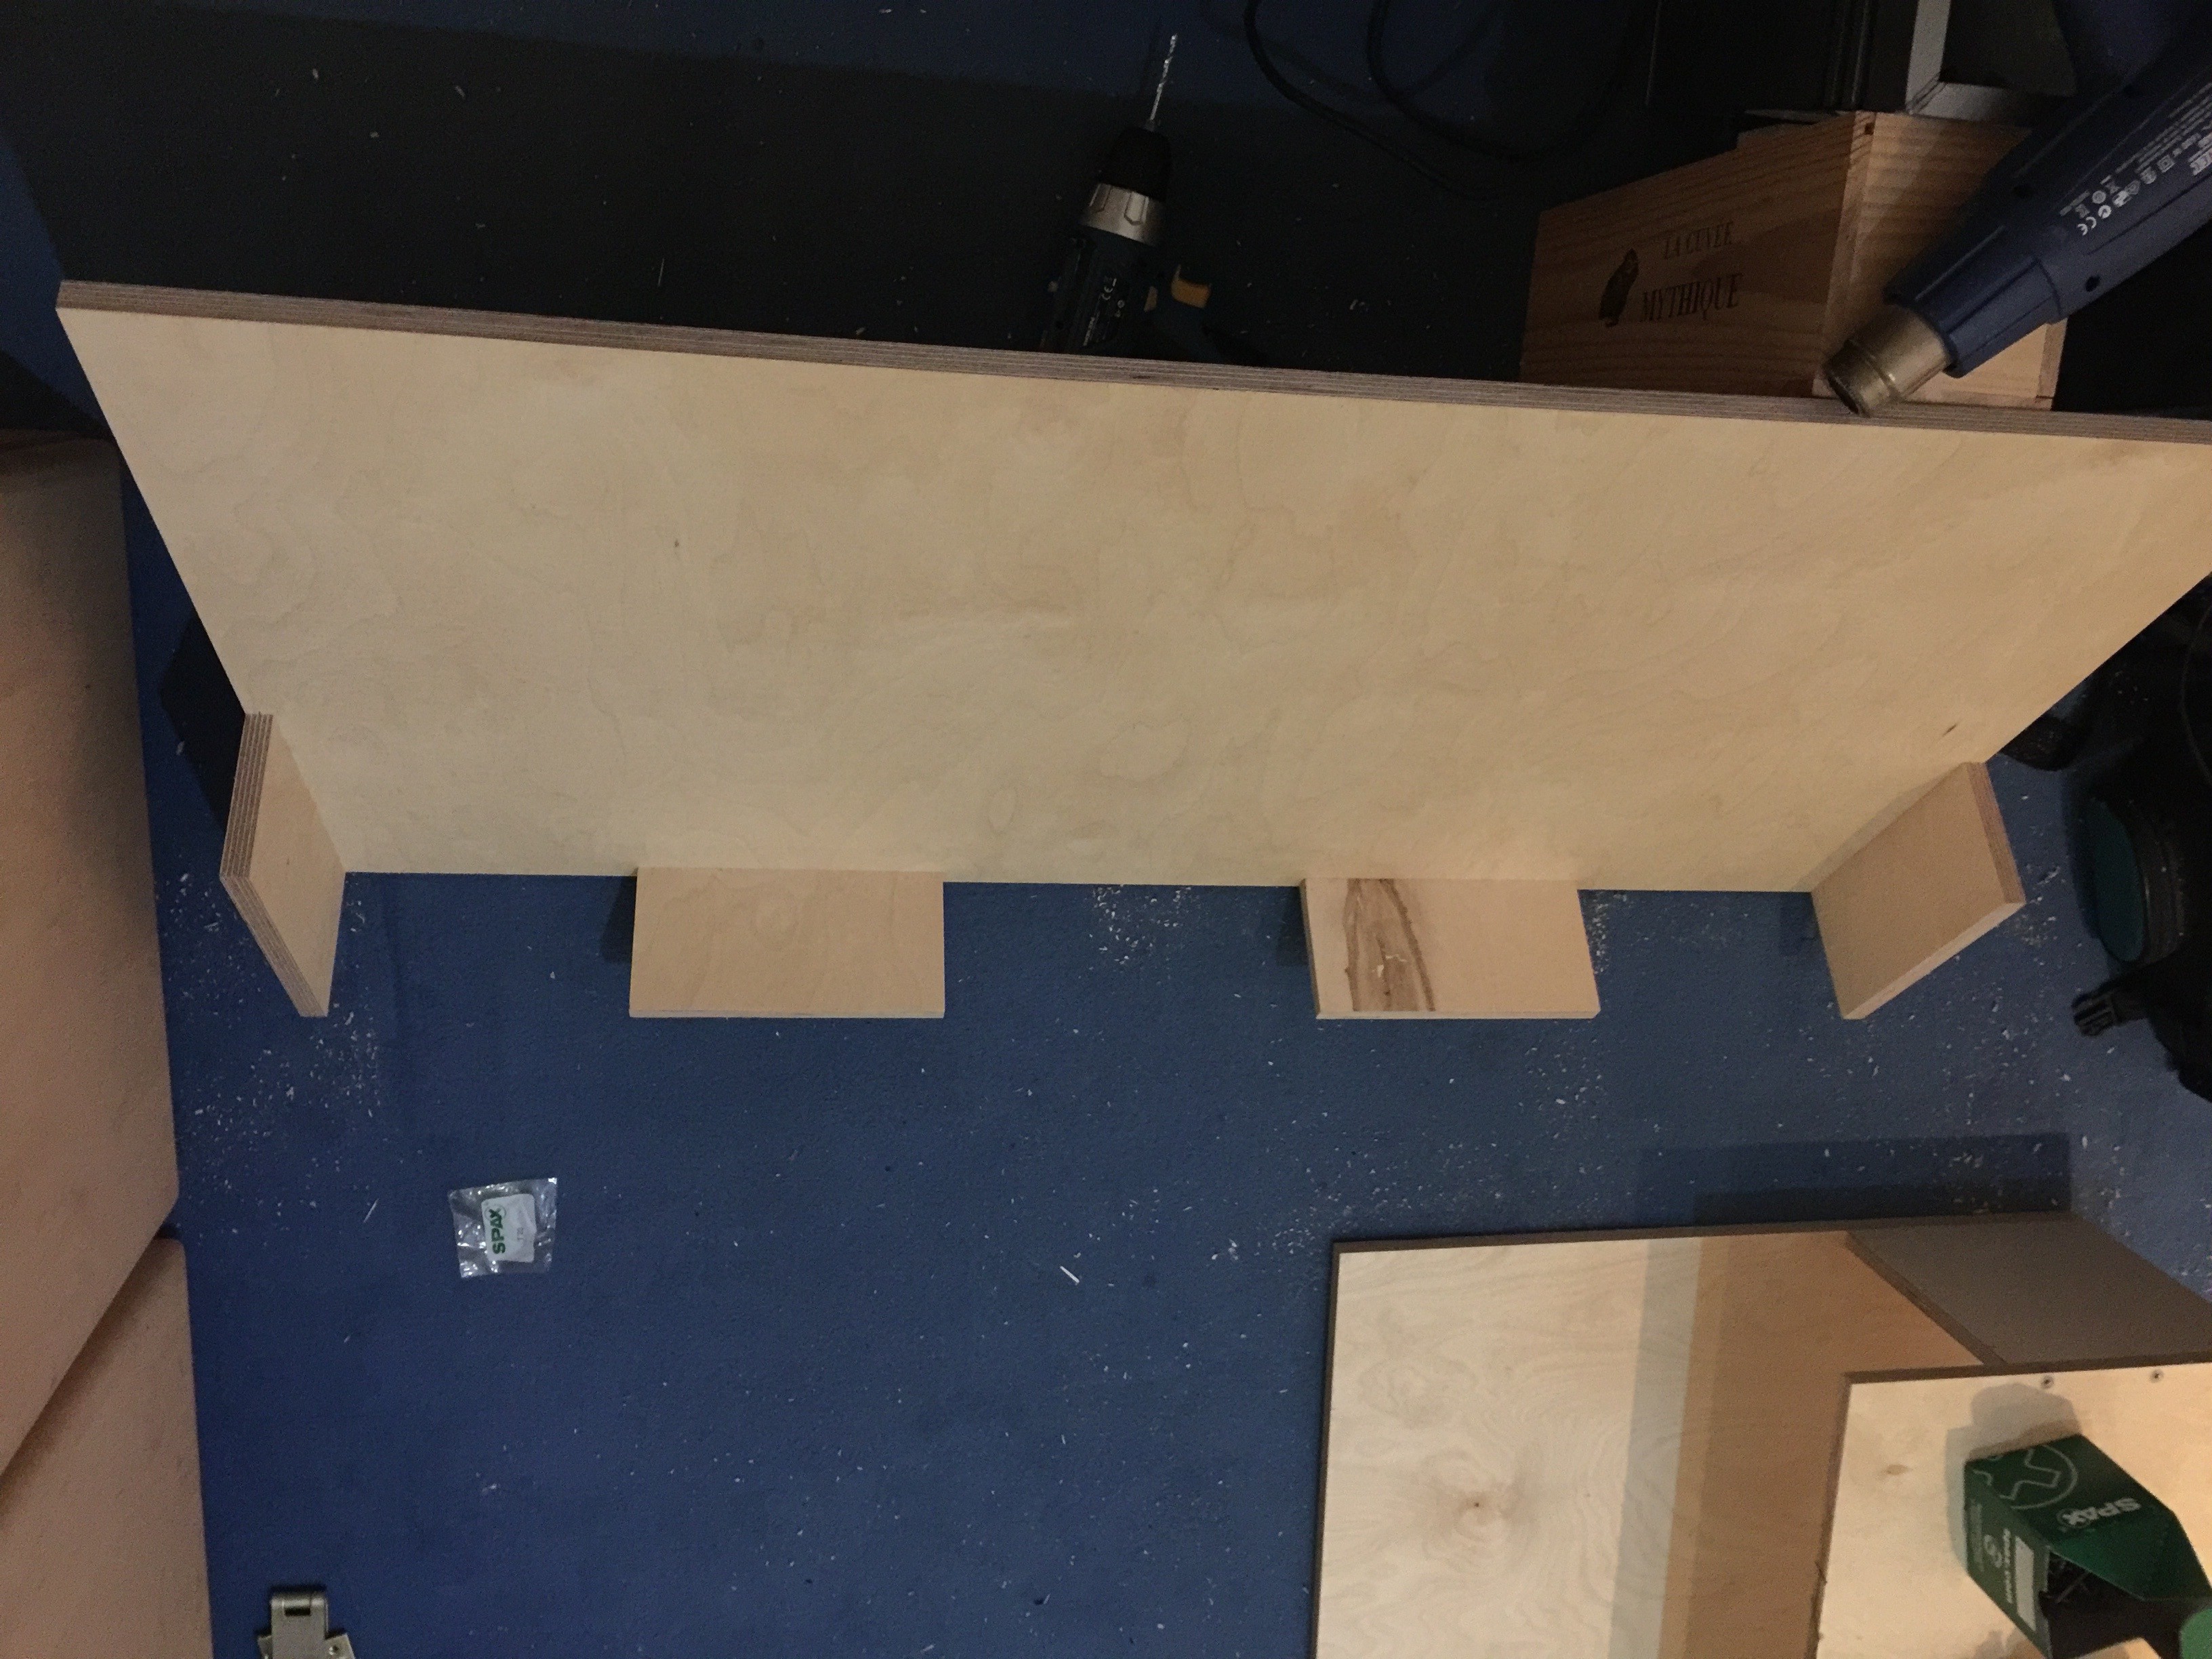
Now we need some stability at the back side. Align both 10cm x 20cm parts with equal distance in the middle of the backside. Please measure with high precision. You'll see the distances of these parts later at the top of the base plate.
![]()
If you attached all parts it should look like this:
![]()
-
4Step 4
Now it must be mounted at the bottom side of the baseplate.
Align the 10cmx20cm parts at the side with the front of the baseplate:
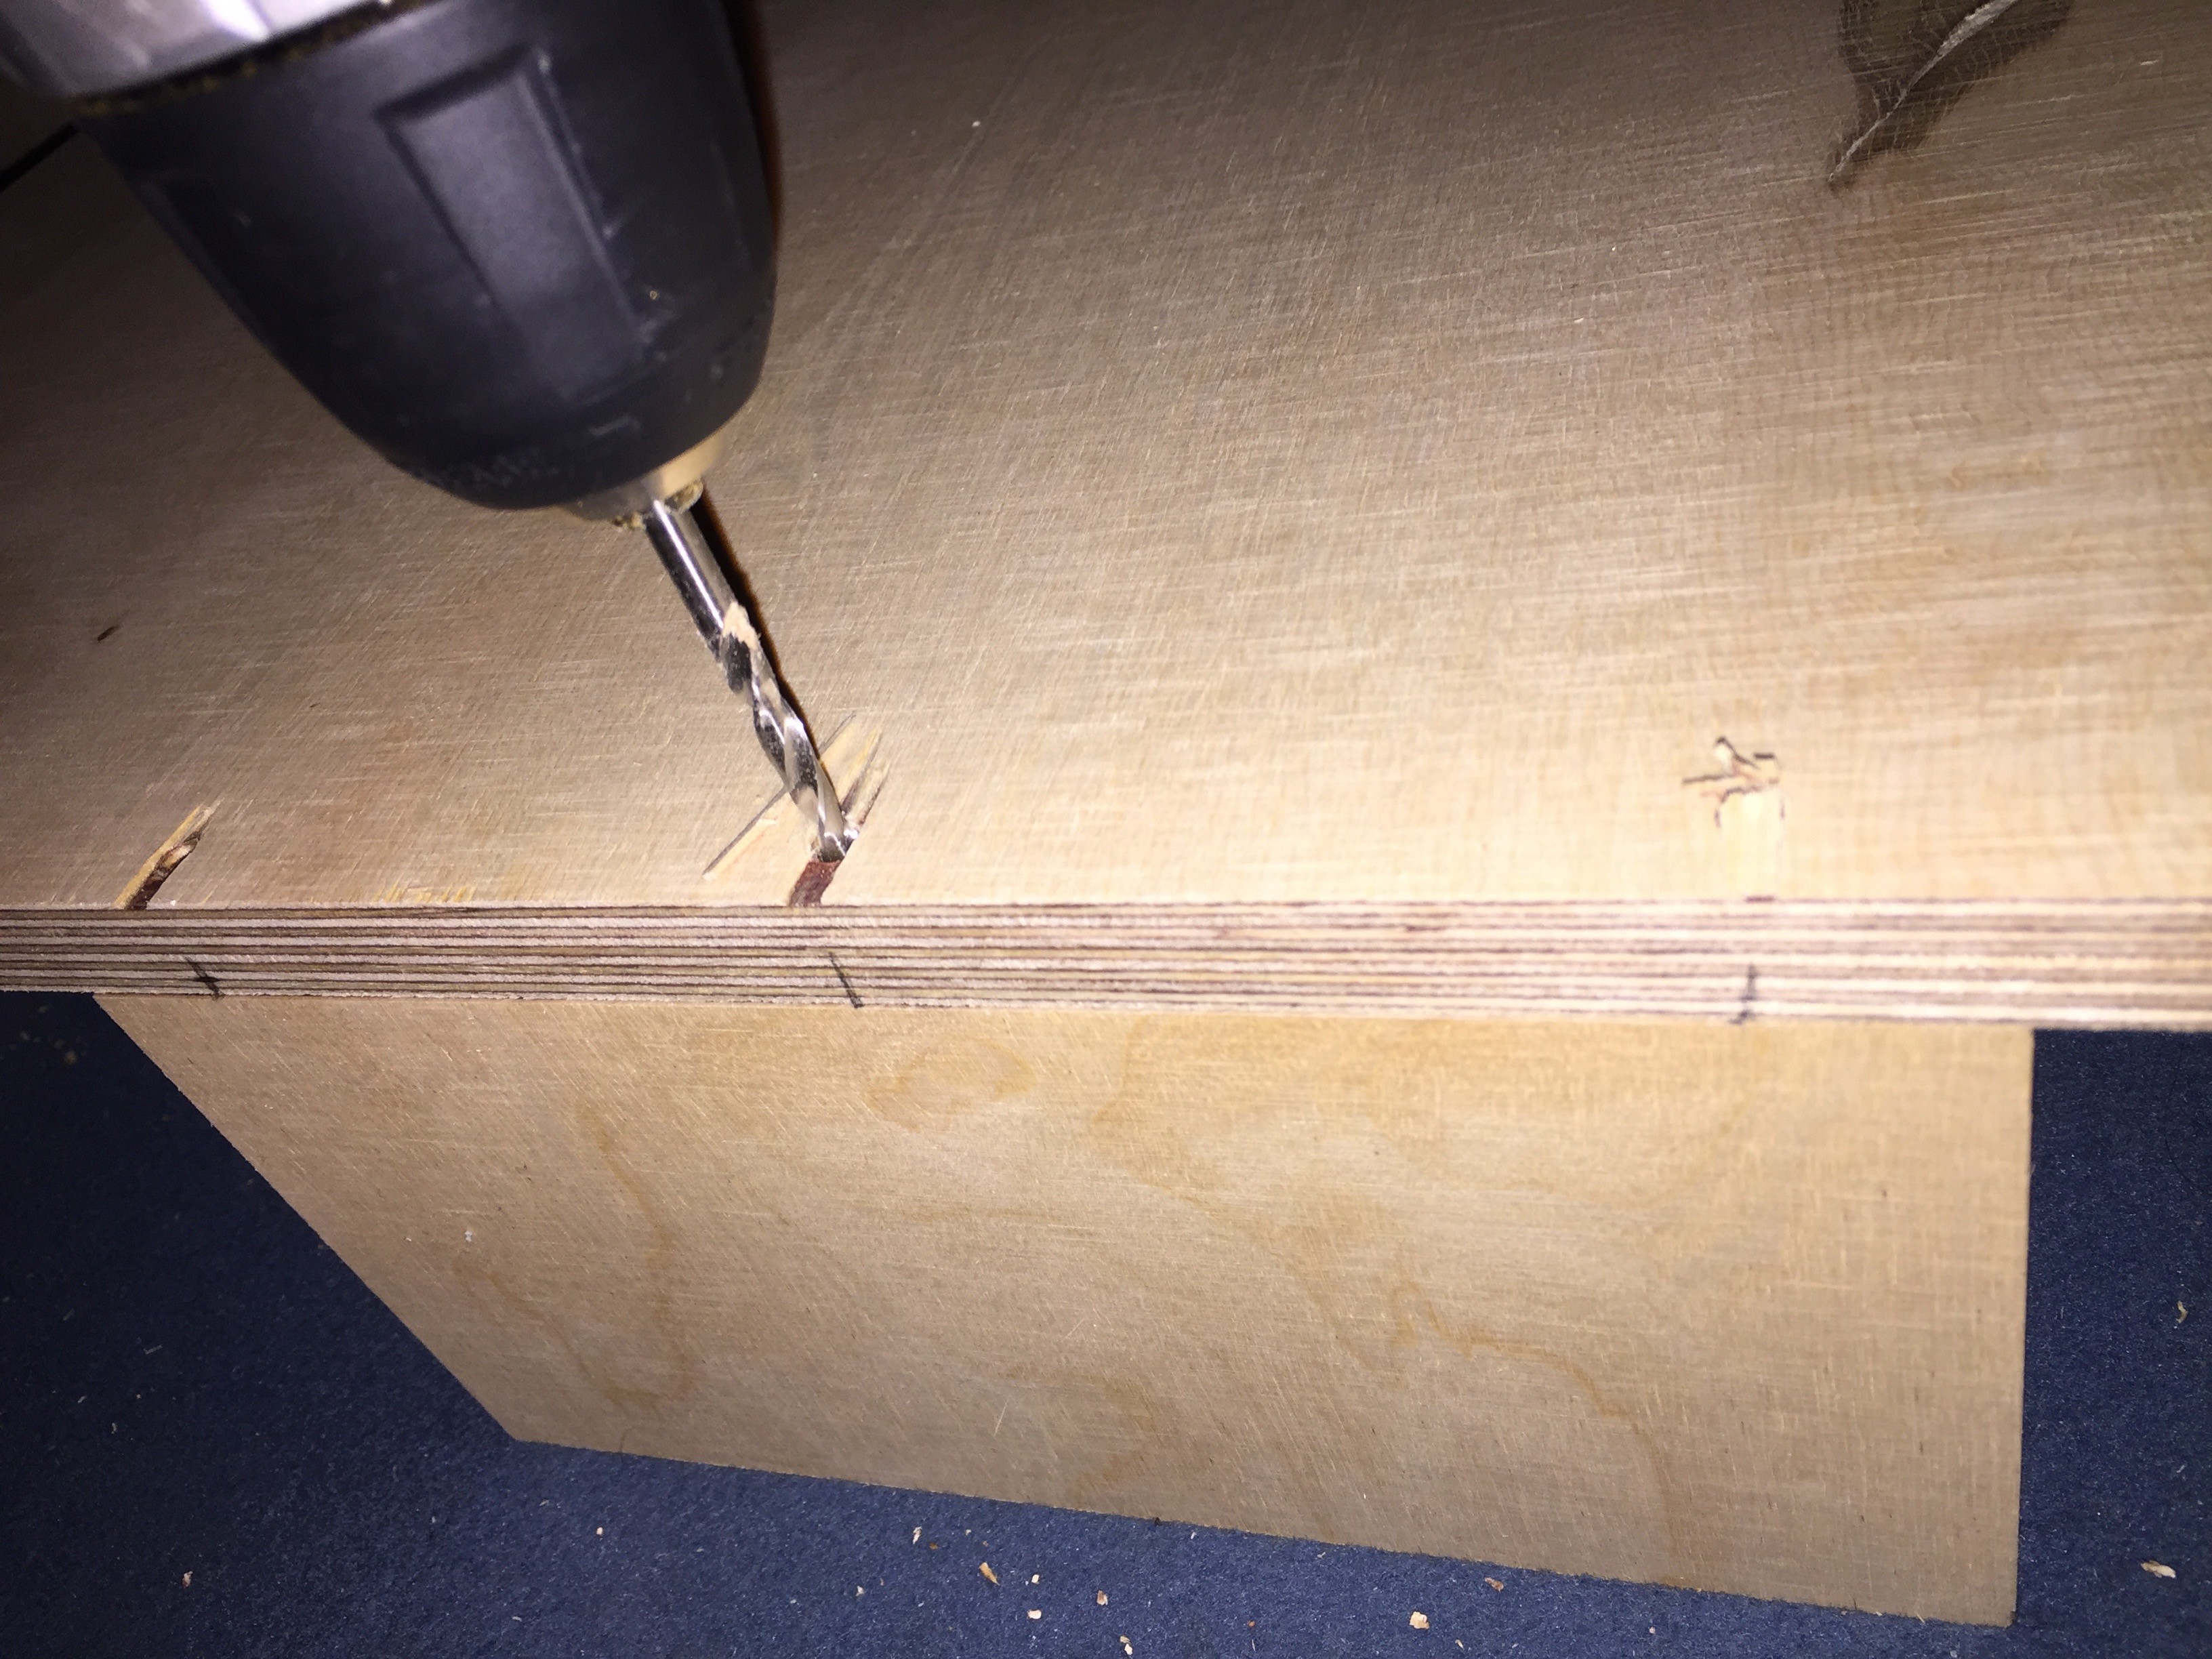
Use a pensil to mark the outer contour of the 10cm x 20cm parts to the top side of the base plate. Be sure you worked very precise in the step before, else the symmetry can lead to wrong markings. If you are not sure, mark it at the bottom side of the table. But if you drill the holes not perpendicular, then it might look not nice at the top side afterwards. So it's better to work more slowly with more precision here to get a better result later.
![]()
Now use the last screws to tighten the keyboard part to the base plate.
-
5Step 5
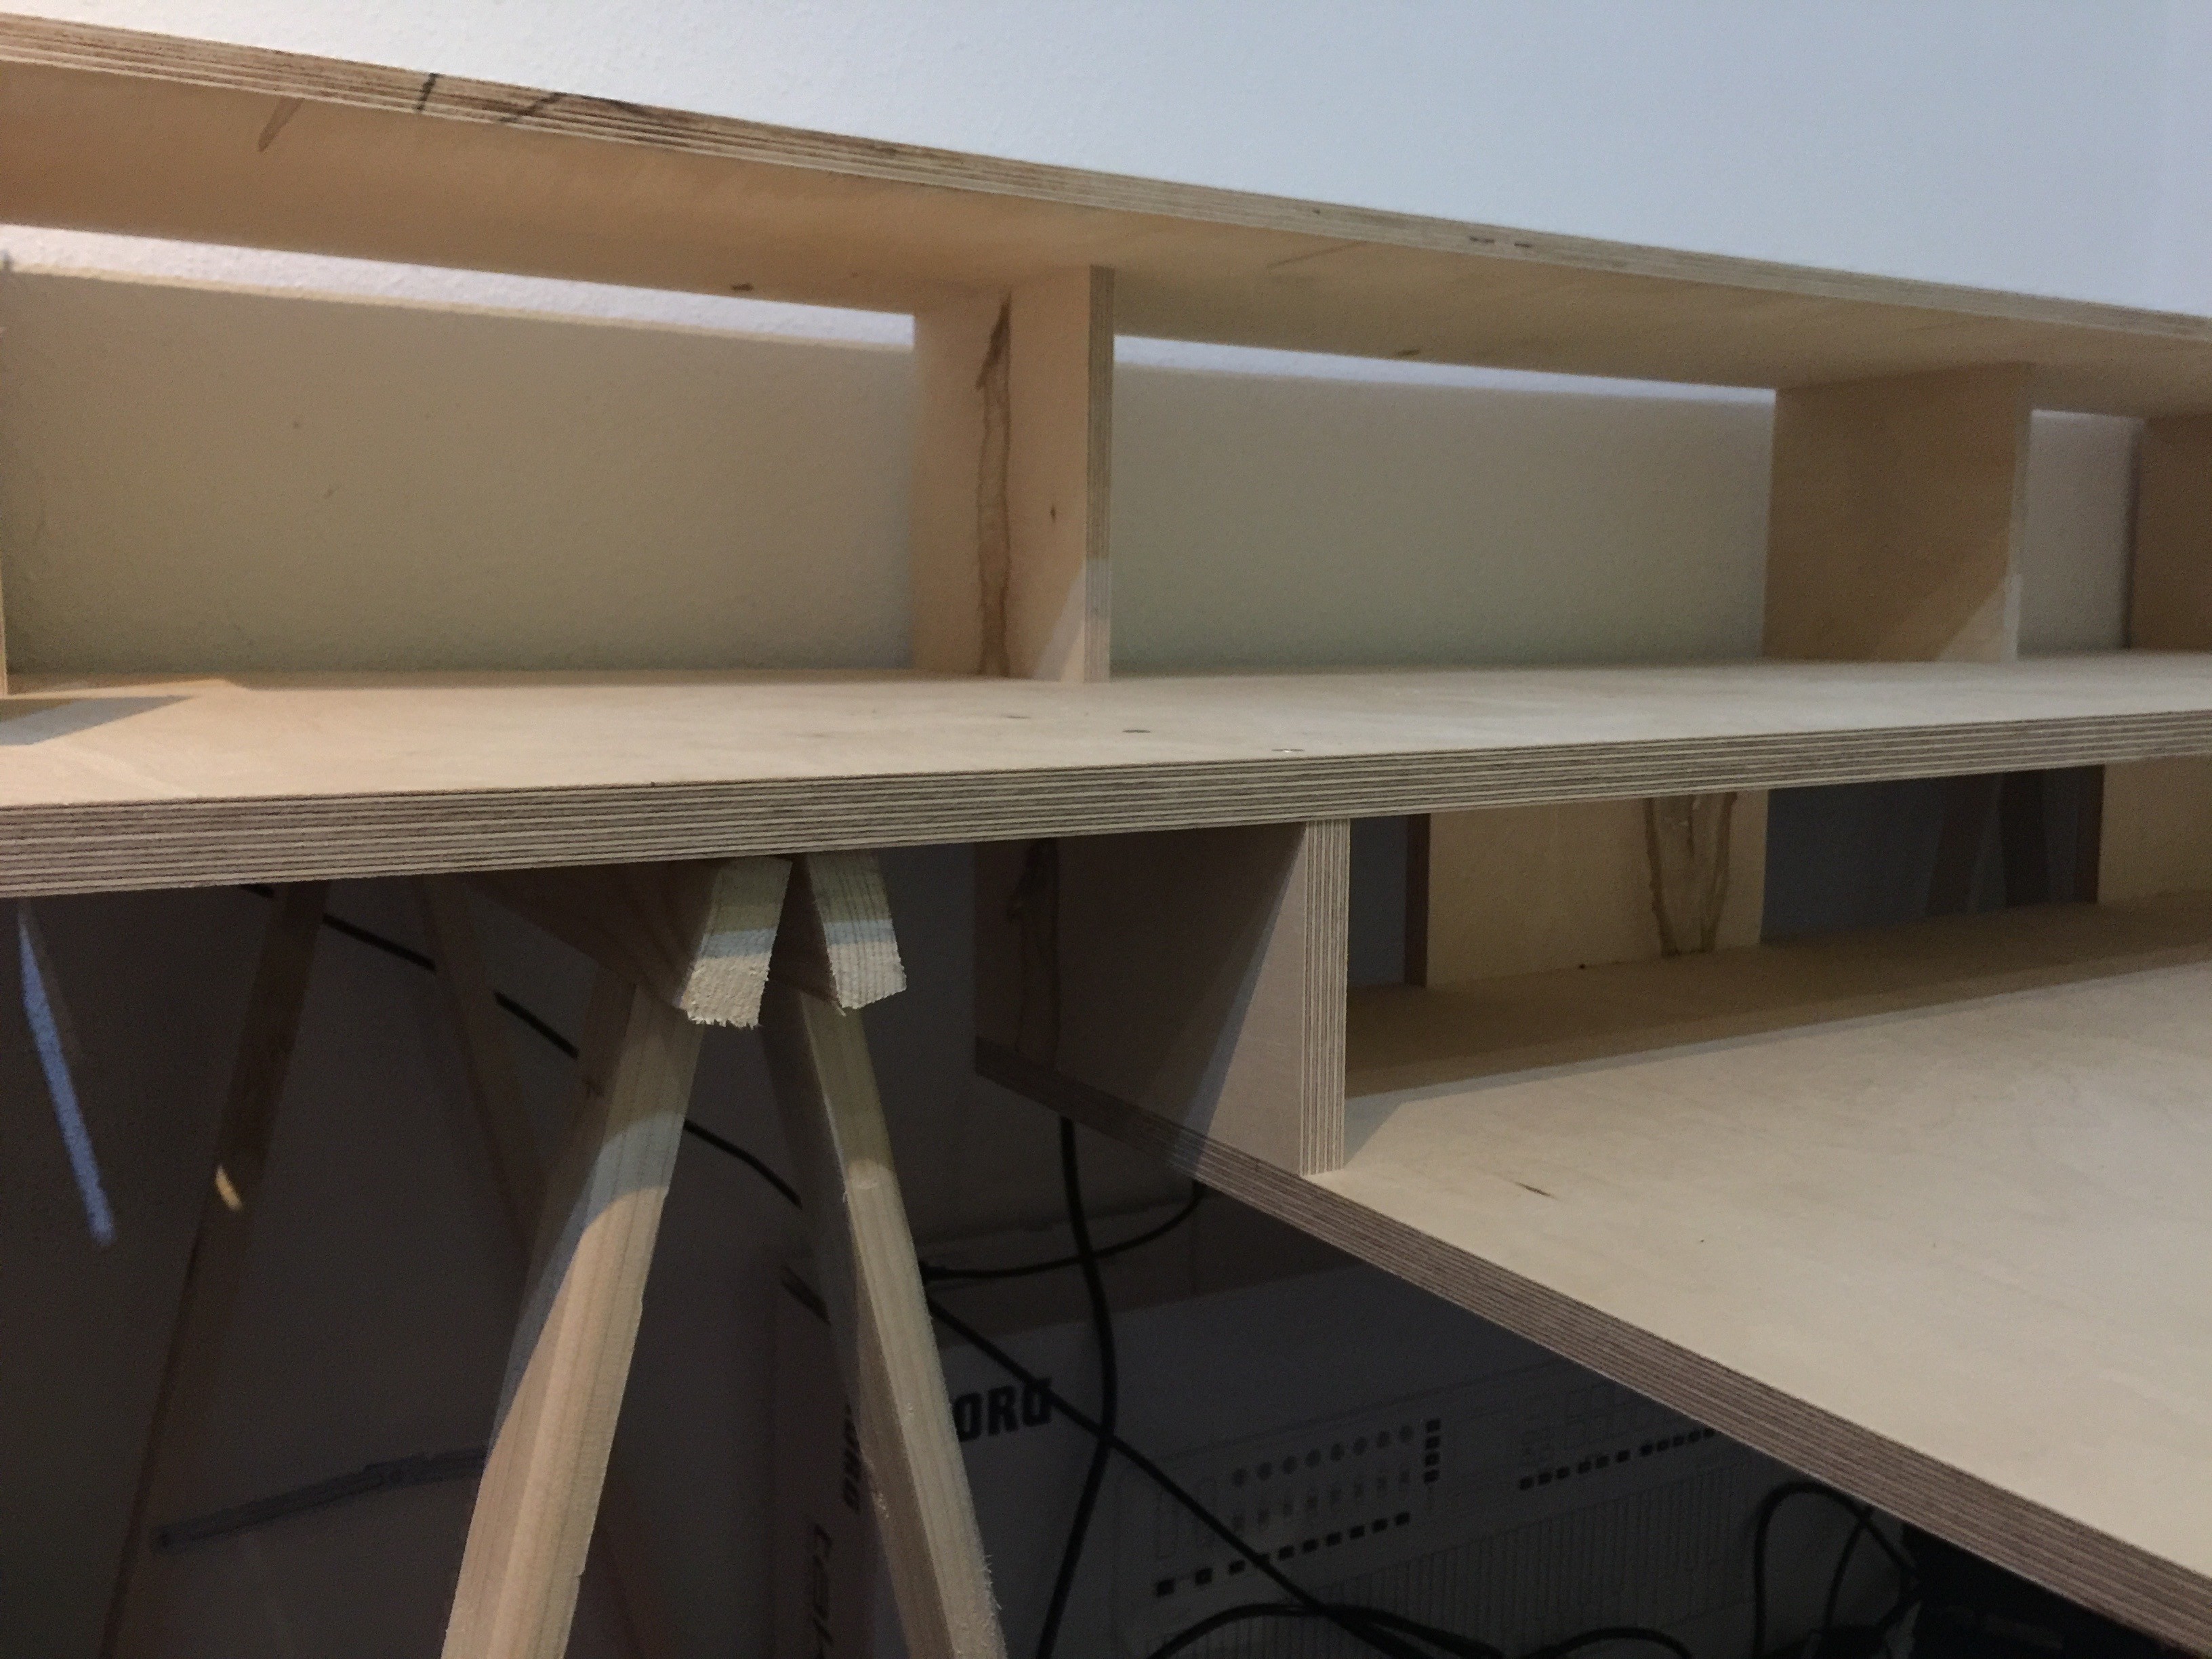
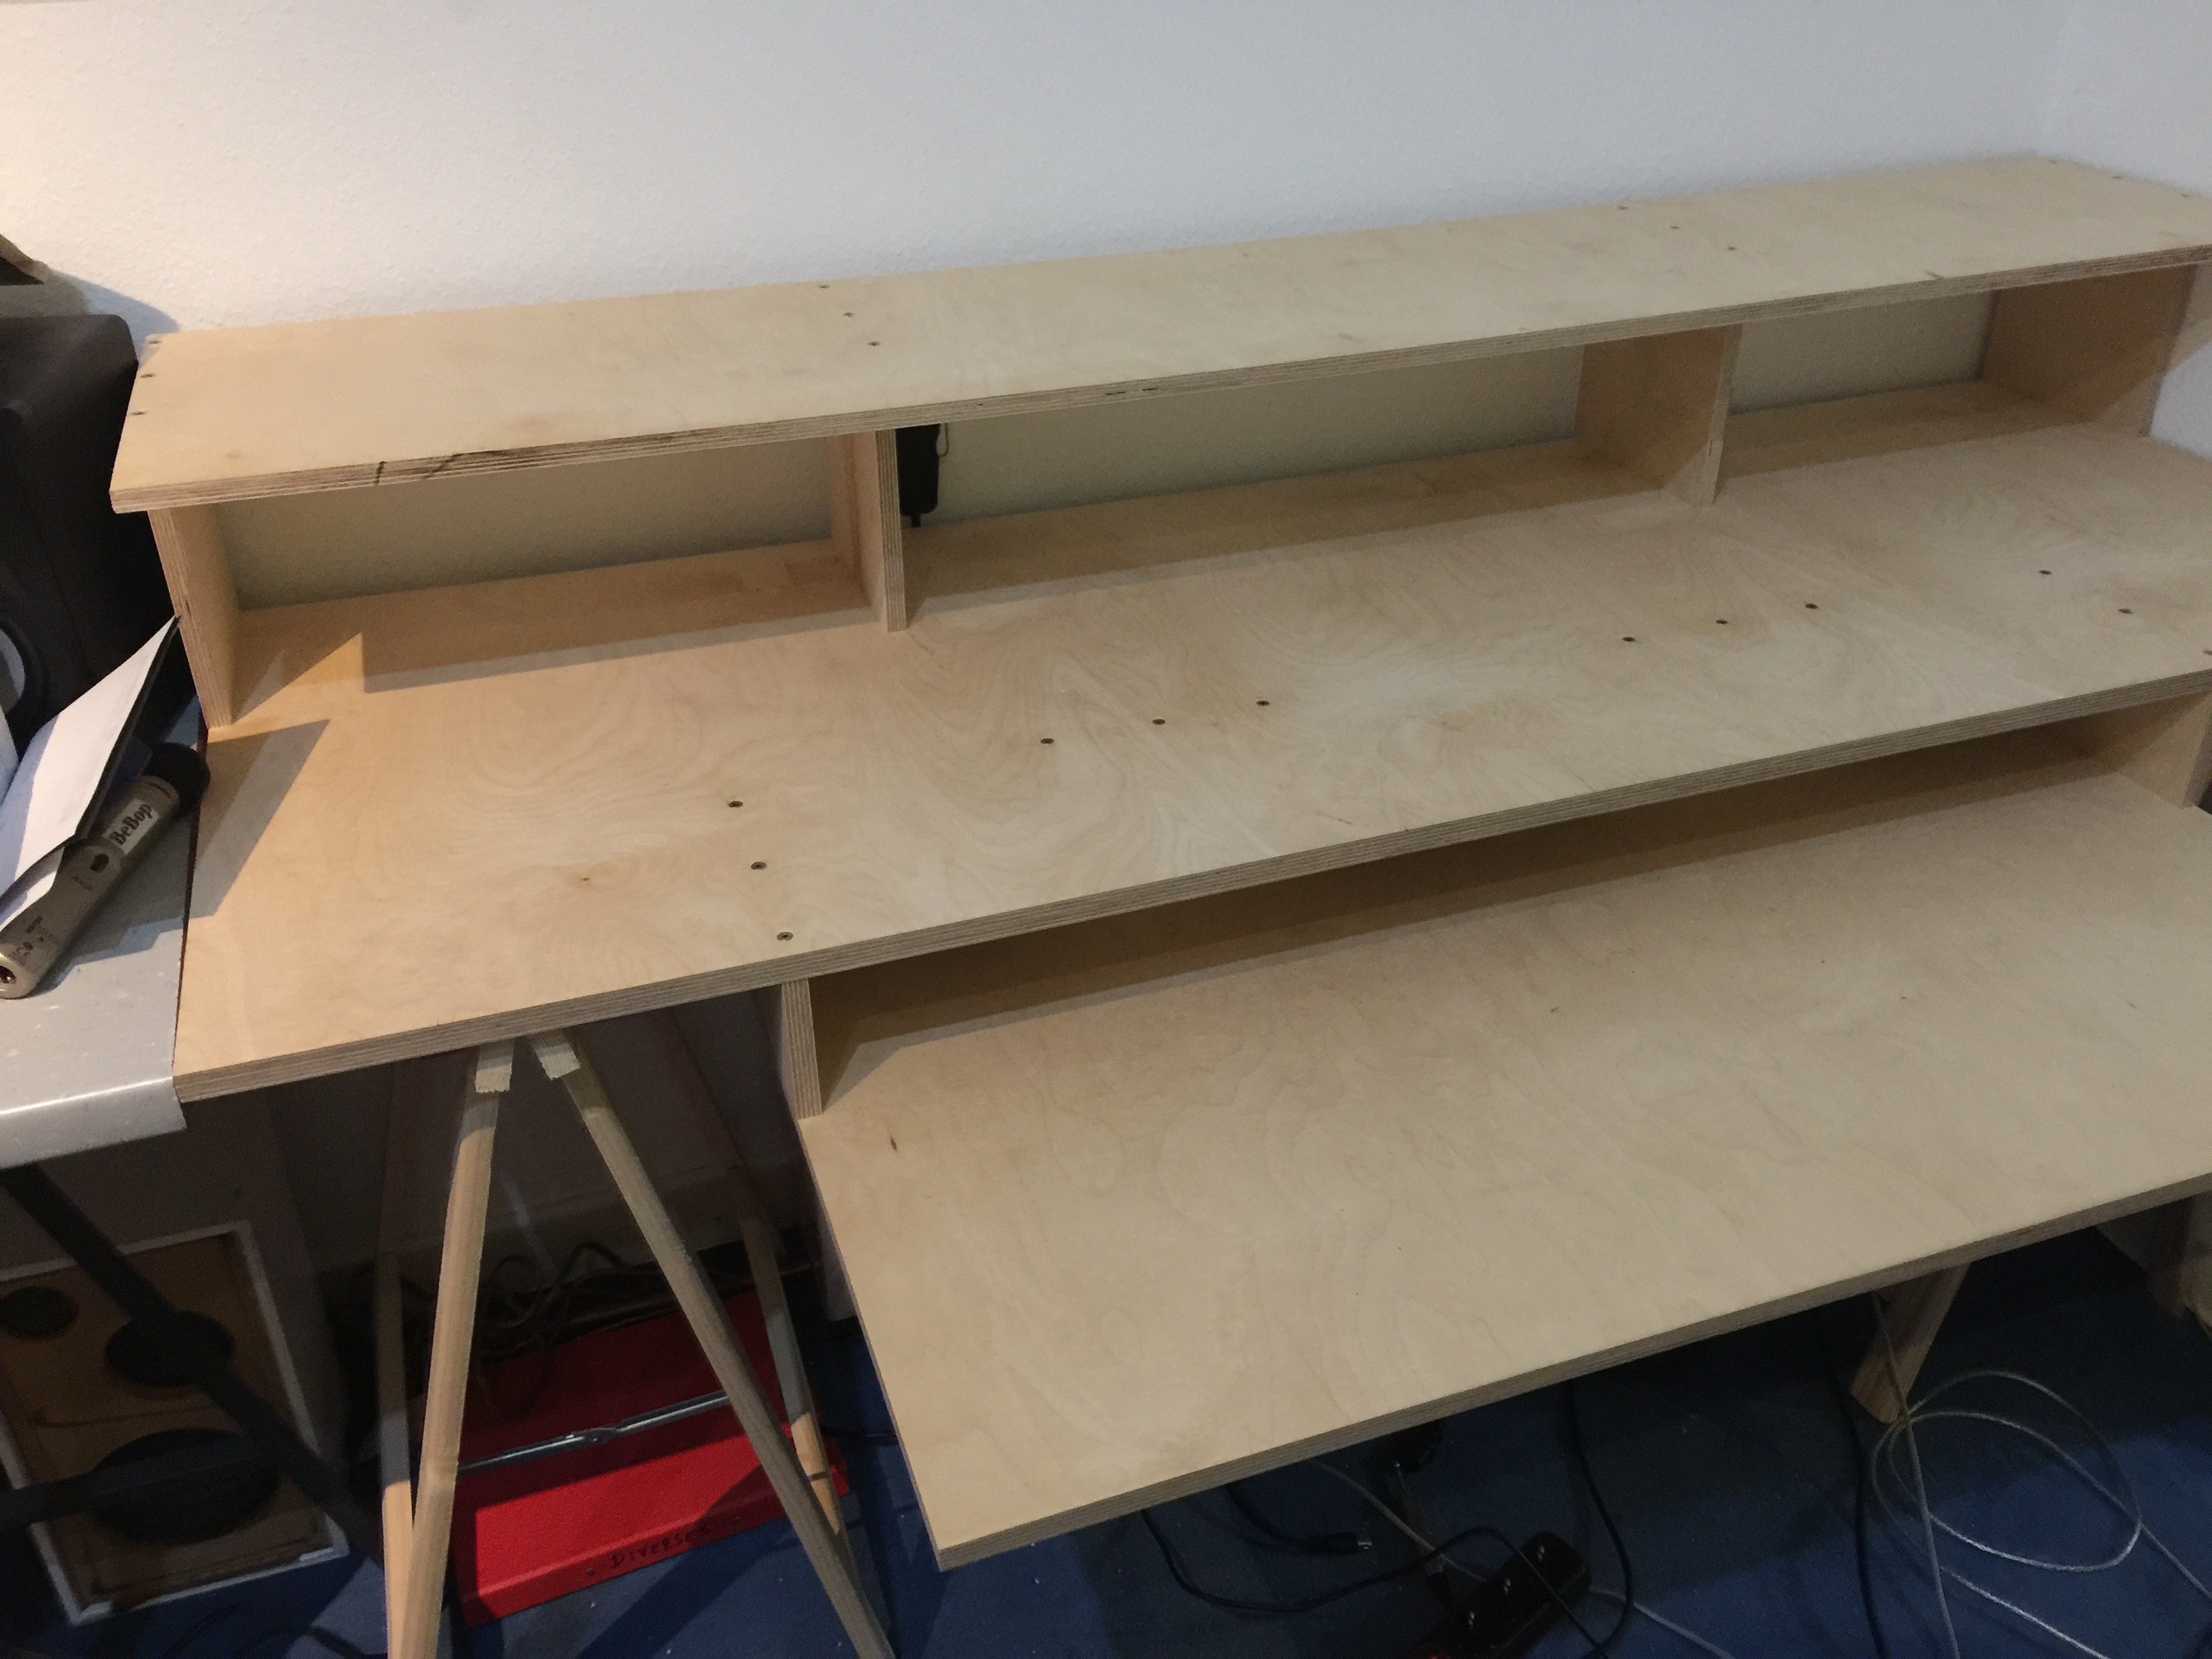
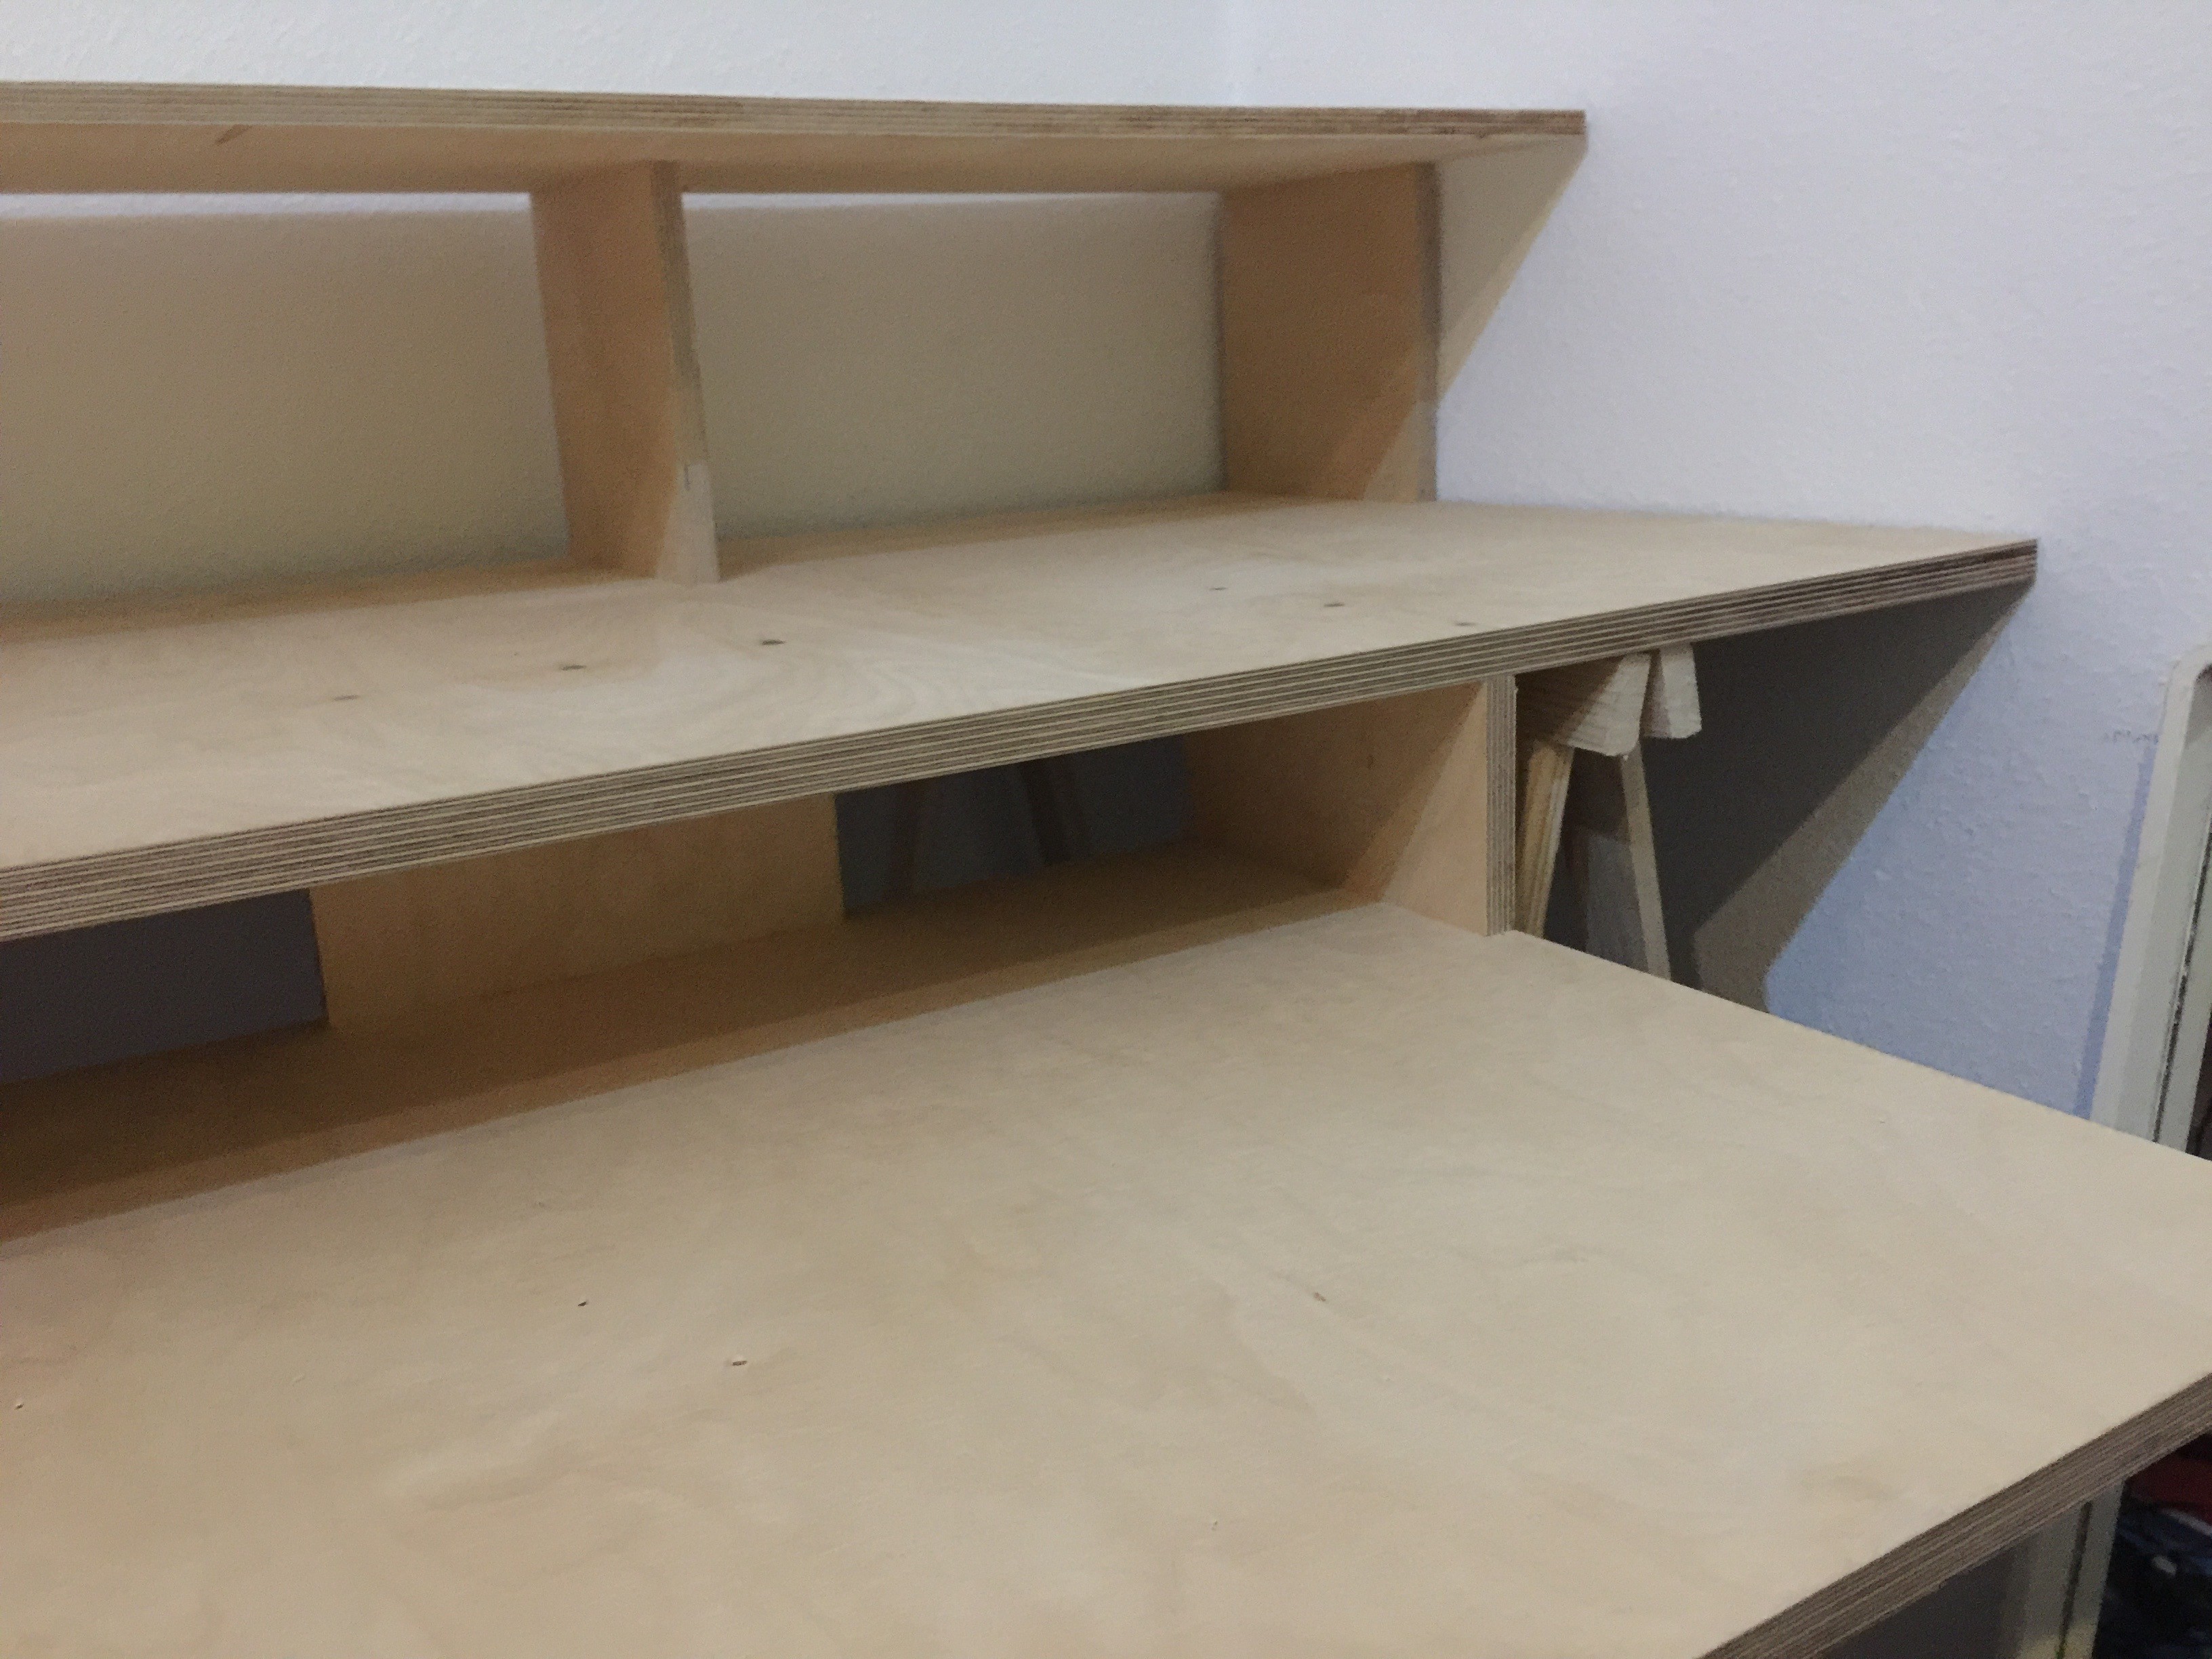
Align the wood-horses so that you can put the table on top of it. If the wood horses are too long then use a saw to cut the length so that the table is aligned with the wood horse.
![]()
![]()
![]()
-
6Step 6
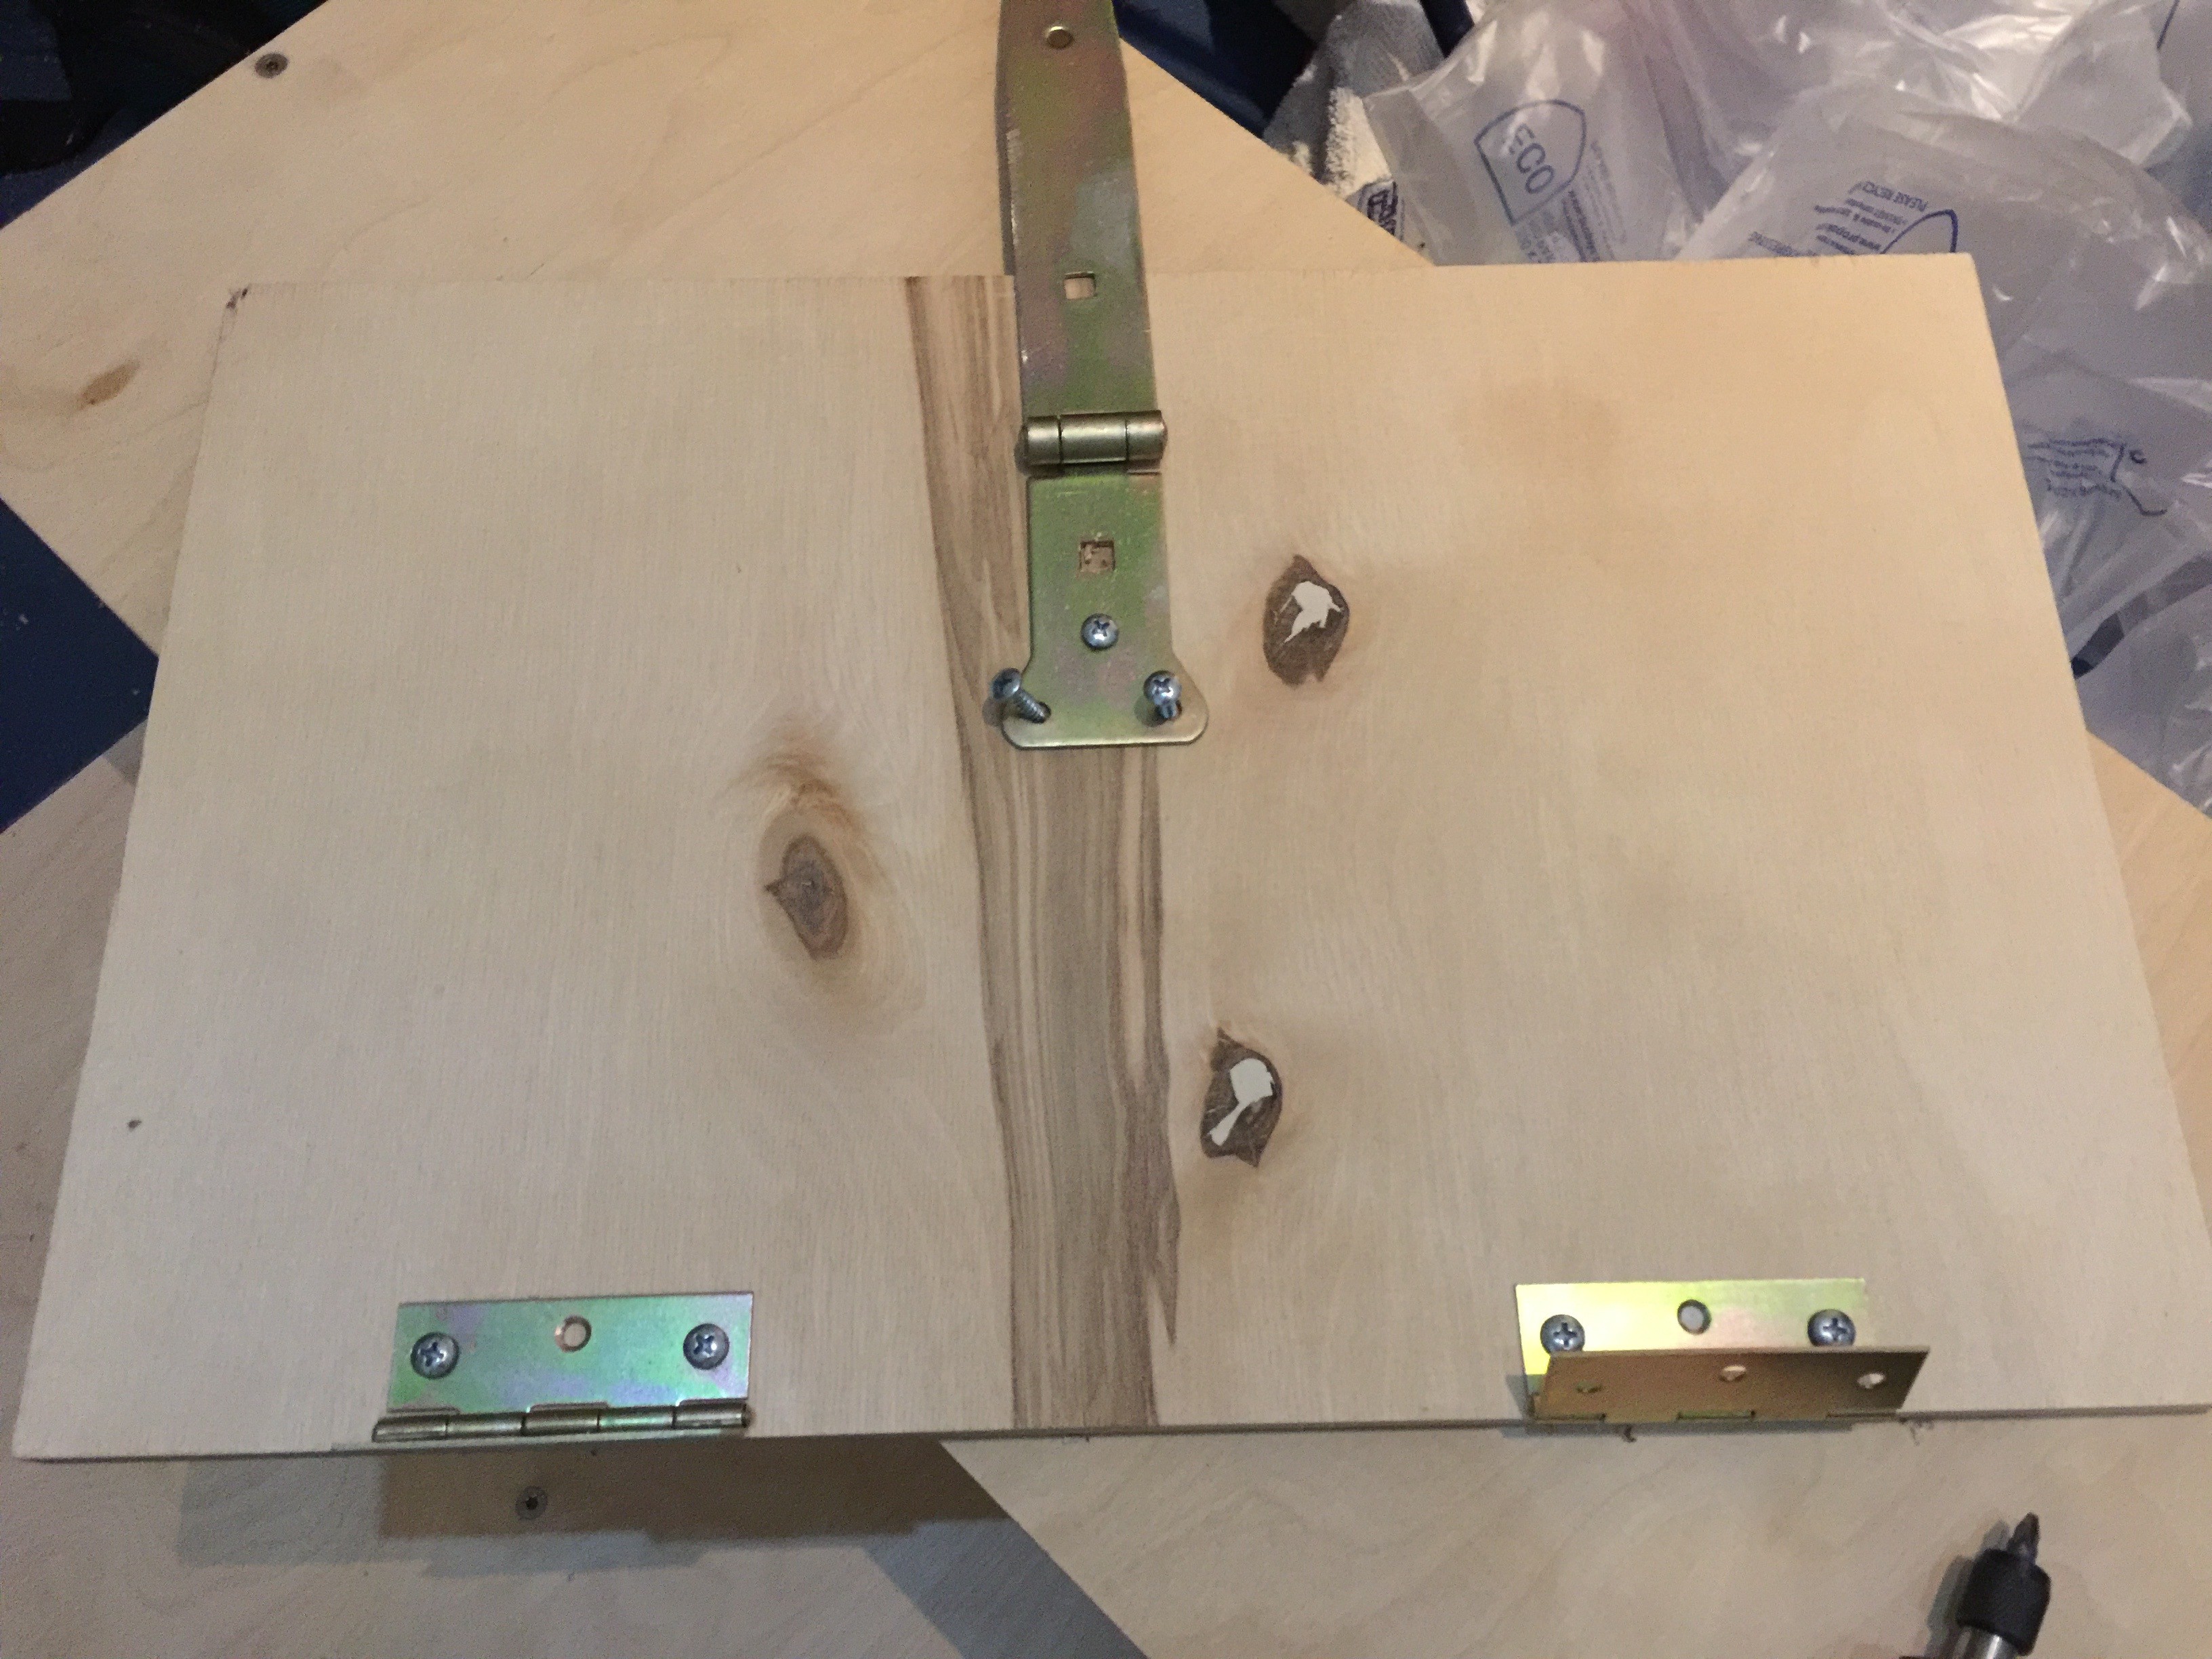
Finally assemble the note stand like this:
![]()
you can put it now wherever you like. The big hinge is used to adjust the tilt of the stand later.
That's ist! Now enjoy your new studio!
Studio Furniture
This is my 50€ DIY solution for creating a suitable furniture for monitor speakers, the screen, scores, computers and keyboards.
 Jack Pearse
Discussions
Become a Hackaday.io Member
Create an account to leave a comment. Already have an account? Log In.