 deʃhipu
After watching Unexpected Maker's stream on which he builds his Play Shield for Tinypico, I decided to try and see if the Stage library would run on it.
I asked him about which display he uses and how it is connected, and made this "driver" for it:
import ustruct
import utime


class Display(object):  # ST7739
    _BUF = bytearray(4)

    width = 240
    height = 240

    def __init__(self, spi, dc, cs=None, rst=None):
        self.spi = spi
        self.dc = dc
        self.cs = cs or (lambda x: x)
        self.rst = rst or (lambda x: x)
        self.reset()

    def reset(self):
        self.rst(0)
        utime.sleep_ms(50)
        self.rst(1)
        utime.sleep_ms(50)
        self.cs(0)
        for command, data in (
#            (b'\x01', None), # reset
            (b'\x11', None), # wake
            (b'\x3a', b'\x55'),  # format
            (b'\x36', b'\xc8'),  # mad
            (b'\x21', None), # invert
            (b'\x13', None), # no partial
            (b'\x29', None), # on
        ):
            self.write(command, data)
            utime.sleep_ms(150)
        self.cs(1)
        utime.sleep_ms(50)

    def write(self, command=None, data=None):
        if command is not None:
            self.dc(0)
            self.spi.write(command)
        if data:
            self.dc(1)
            self.spi.write(data)

    def block(self, x0, y0, x1, y1):
        y0 += 80
        y1 += 80
        ustruct.pack_into('>HH', self._BUF, 0, x0, x1)
        self.write(b'\x2a', self._BUF)
        ustruct.pack_into('>HH', self._BUF, 0, y0, y1)
        self.write(b'\x2b', self._BUF)
        self.write(b'\x2c')
        self.dc(1)

    def clear(self, color=0x00):
        self.cs(0)
        self.block(0, 0, self.width, self.height)
        chunks, rest = divmod(self.width * self.height, 512)
        pixel = ustruct.pack('>H', color)
        if chunks:
            data = pixel * 512
            for count in range(chunks):
                self.spi.write(data)
        if rest:
            self.spi.write(pixel * rest)
        self.cs(1)

    def __enter__(self):
        self.cs(0)
        return self

    def __exit__(self, exc_type, exc_val, exc_tb):
        self.cs(1)
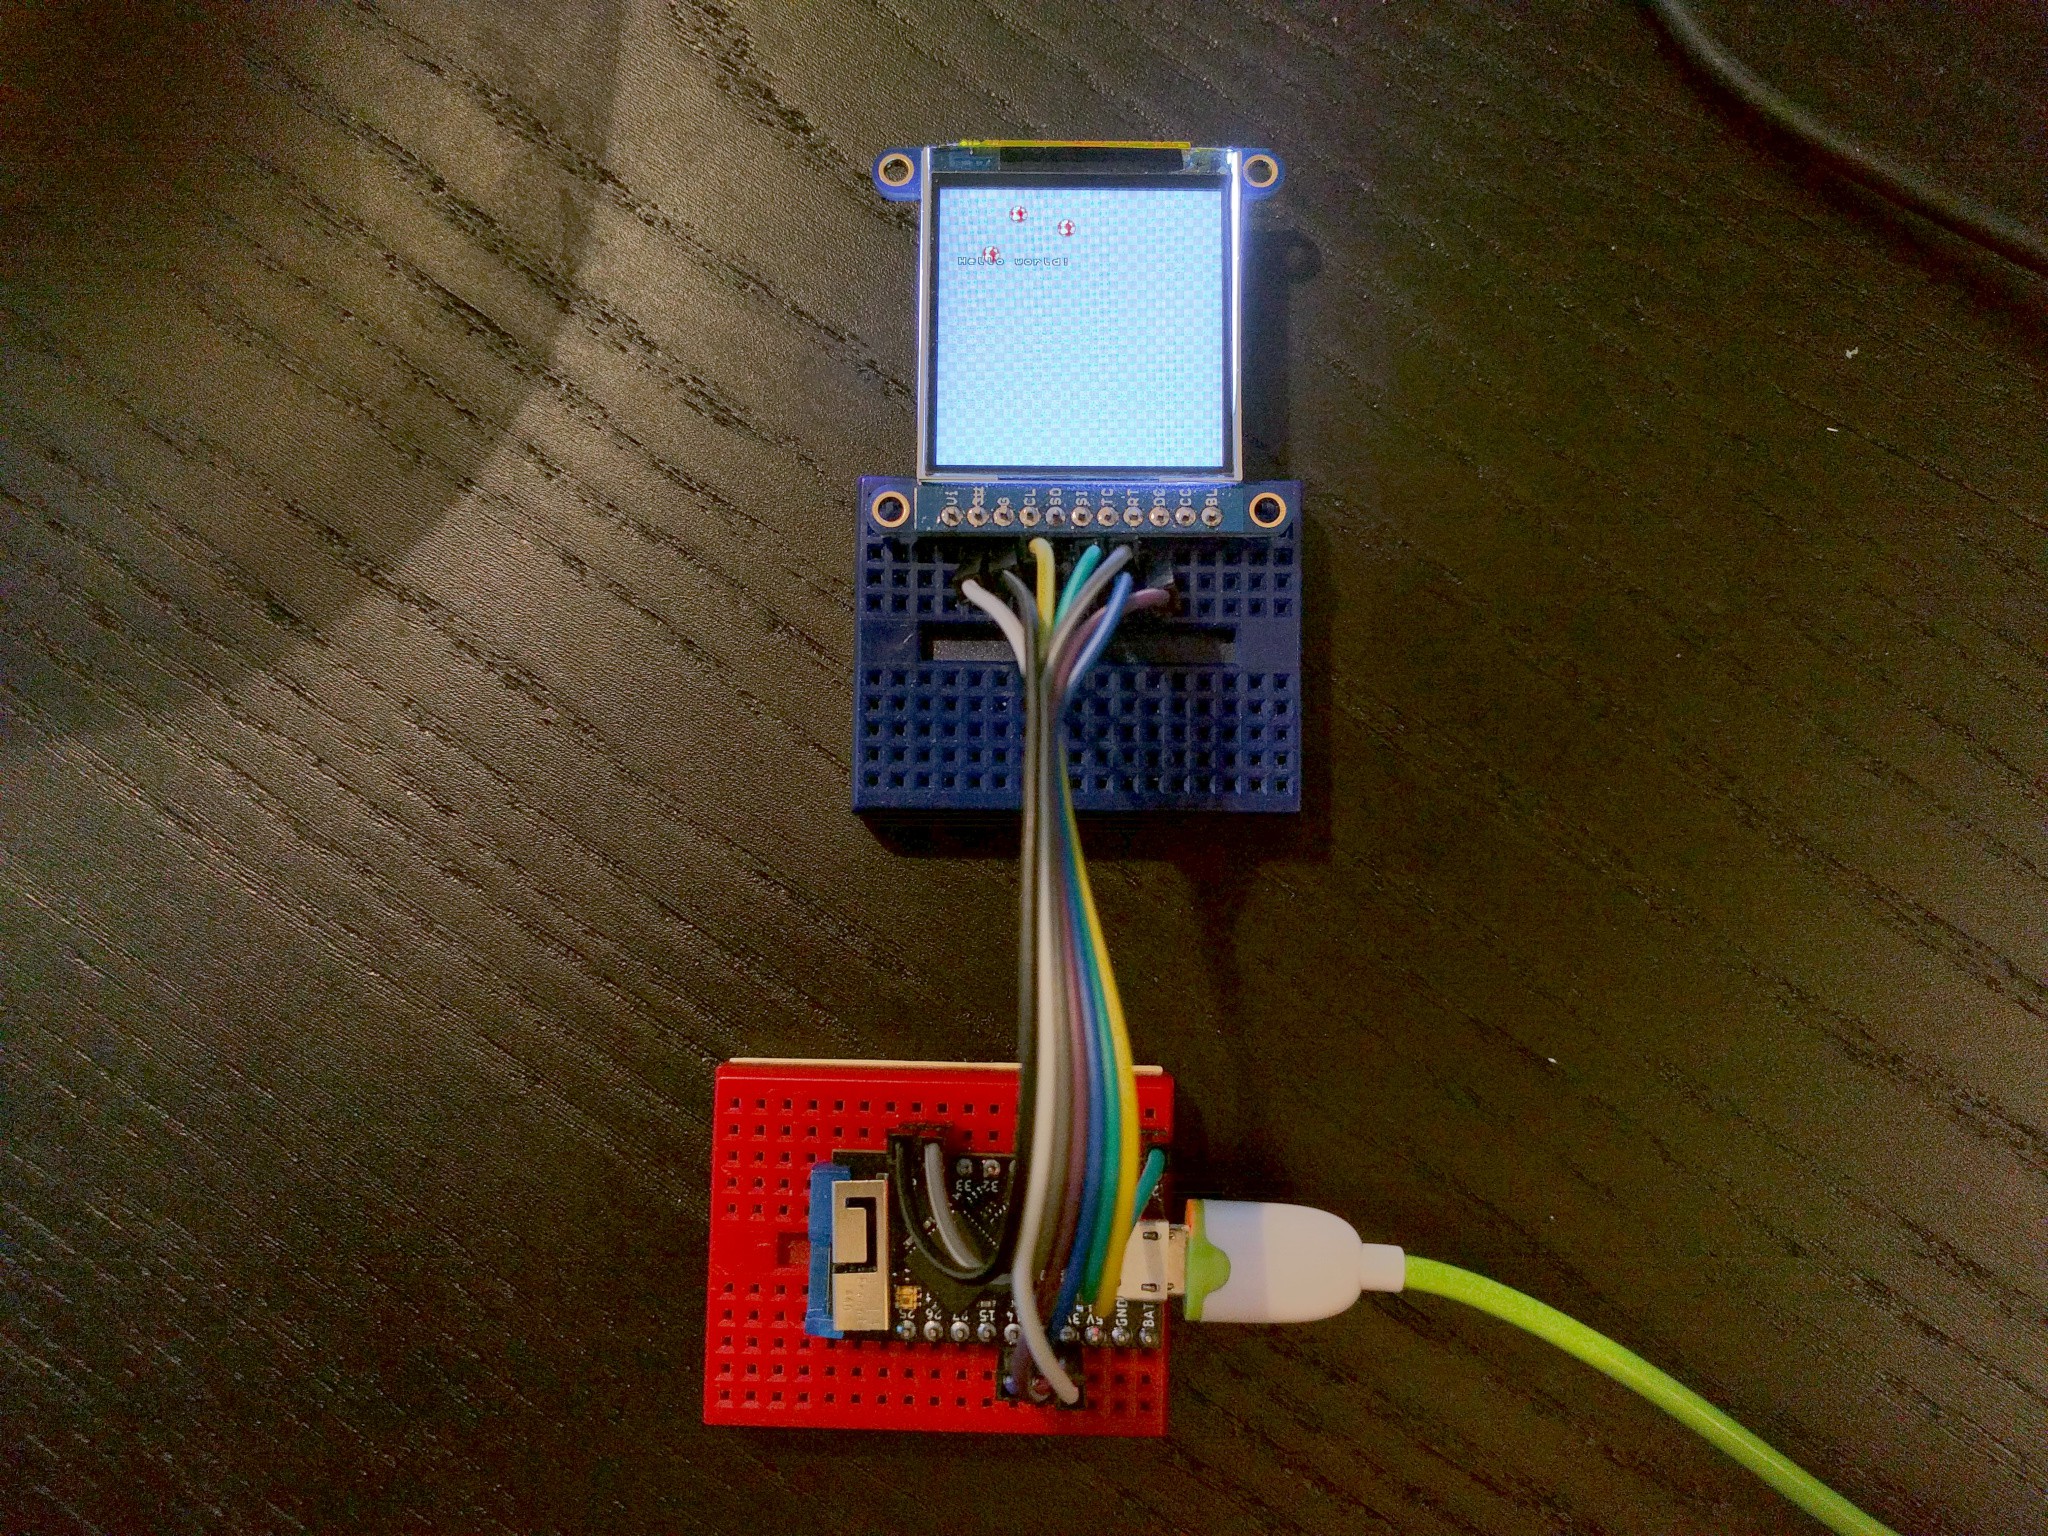
One surprising thing that took me a while to figure out is that to get correct colors, you have to put the display in inverted color mode — a bit weird, but I guess it's a question of how the actual LCD is connected to the chip inside. A quick test confirms that it works:
Next I needed to handle the buttons. The Play Shield uses MPR121 chip to handle them, so I just added this button-handling class:
class Buttons: # mpr121
    def __init__(self, i2c, address=0x5a):
        self._i2c = i2c
        self._address = address
        for register, value in (
            (0x80, b'\x63'), # reset
            (0x53, b'\x00'), # stop mode, reset config
            (0x2b, b'\x01\x01\x0e\x00\x01\x05\x01\x00\x00\x00\x00'),
            (0x5b, b'\x00\x10\x20'), # debounce, config1, config2
            (0x53, b'\x8f'), # exit stop mode
        ):
            self._i2c.writeto_mem(self._address, register, value)

    def _get_pressed(self):
        return int.from_bytes(
            self._i2c.readfrom_mem(self._address, 0x00, 2), 'big')
Not having an MPR121 chip at hand, I couldn't test it, but once I sent the compiled binaries and some example code to Unexpected Maker to test on the actual shield, it ran correctly, as he shows on Twitter: https://twitter.com/unexpectedmaker/status/1339756136224890880
Well, OK, that demo doesn't actually use the buttons, but it initializes the chip, and that seems to have worked.
I can do further refining once I get my hands on the actual shield.
The full code and compiling instructions are at https://github.com/python-ugame/micropython-stage/tree/master/tinypicost7789
Discussions
Become a Hackaday.io Member
Create an account to leave a comment. Already have an account? Log In.
great ) maybe there is a chance to get STAGE for ESPboy someday )
Are you sure? yes | no
The esp8266st7735 example should just work
Are you sure? yes | no
there are also buttons using mcp23017, sound and rgb led
Are you sure? yes | no
oh, right, you would need to write the code for the buttons, I don't support sound on MicroPython at the moment
Are you sure? yes | no
I added the code at https://github.com/python-ugame/micropython-stage/tree/master/espboy but I didn't test it. It should work, not sure if the screen rotation is correct.
Are you sure? yes | no
thanks! i'll check it
Are you sure? yes | no