Skuzee
-
Enclosures, Conductors, and (almost) Completion
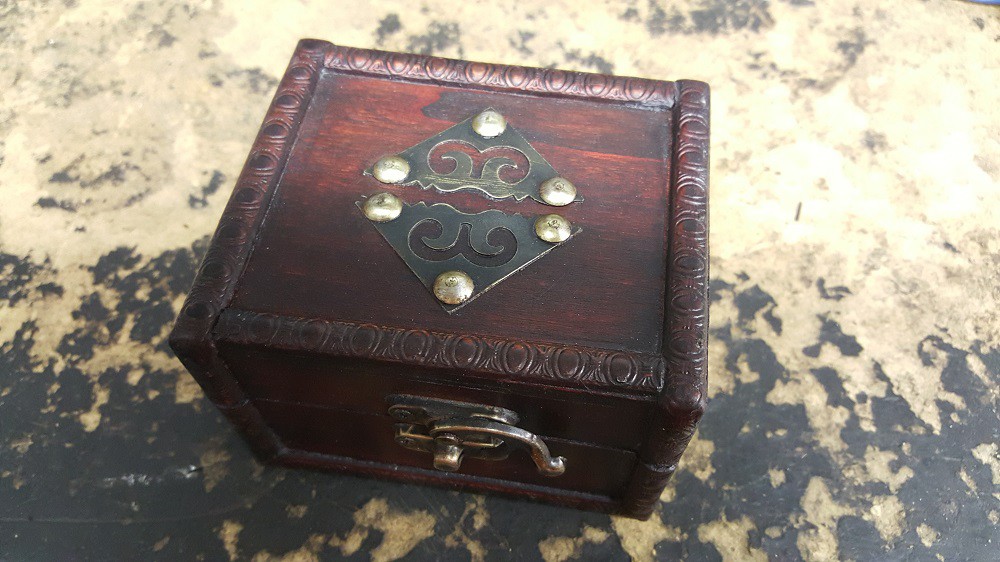
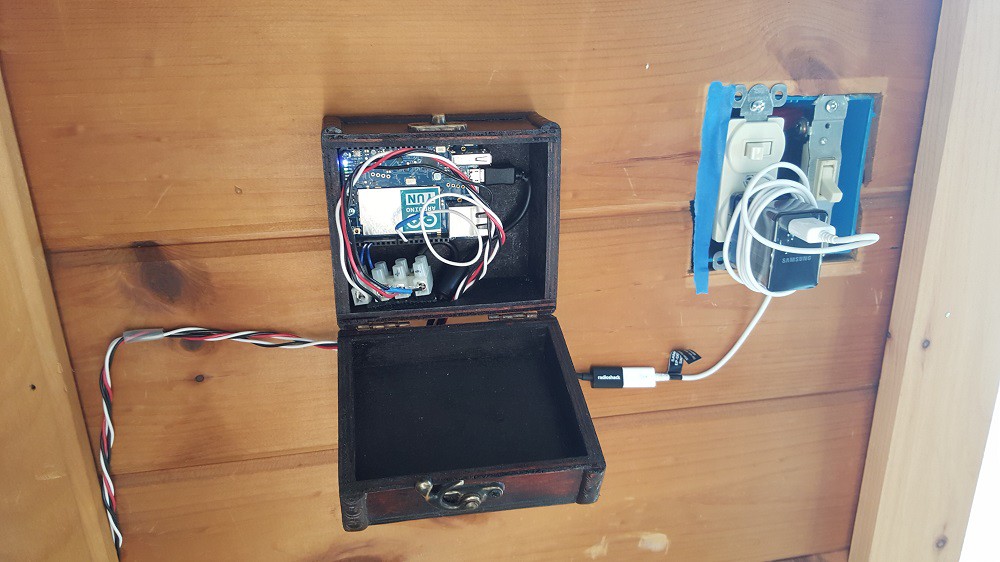
10/22/2015 at 04:54 • 0 comments![]() Picked up a fancy box from the Lobby of a Brand Name Hobby Store.
Picked up a fancy box from the Lobby of a Brand Name Hobby Store. ![]()
Mounted the Arduino with just enough room for cables.
![]()
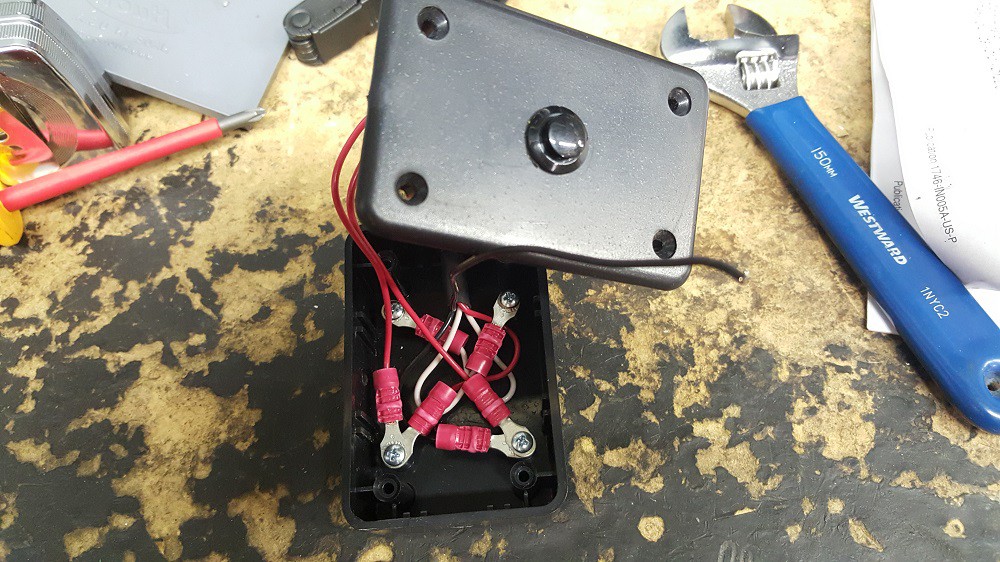
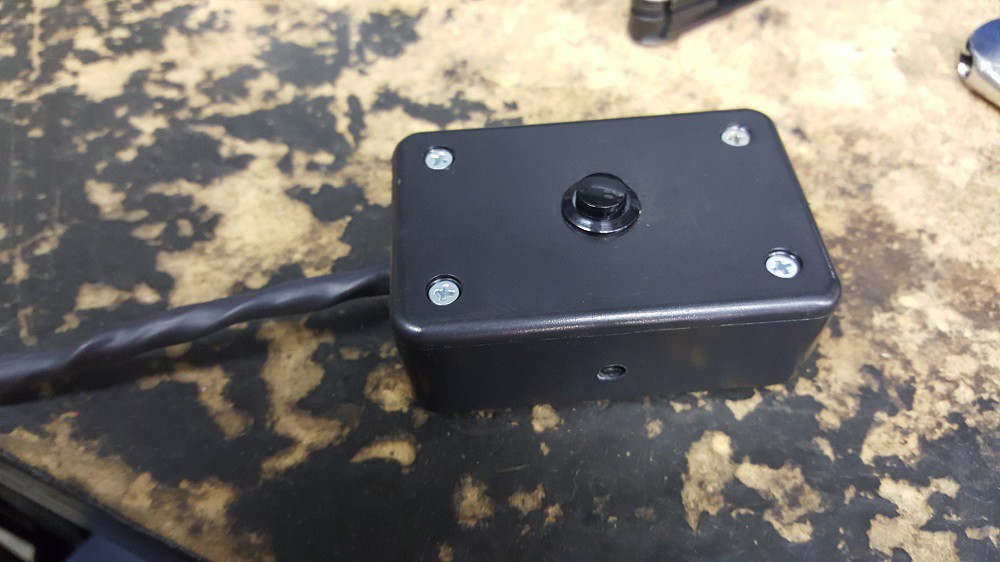
Picked up a breakout box and drilled it for my wires and button. It has PCB stand offs that make great terminal studs.
![]()
I'm very happy with how this came out. Sleek and Discreet.
![]()
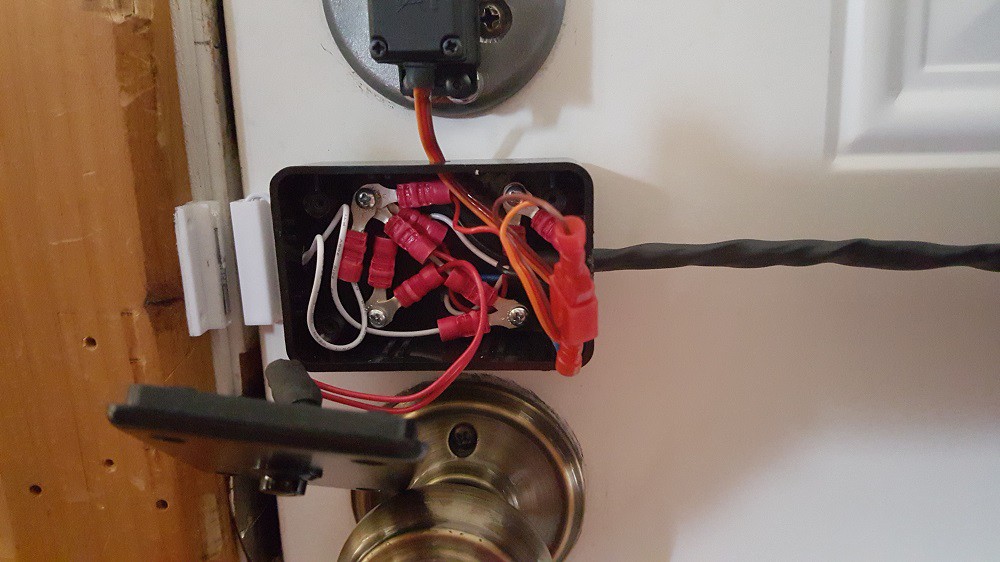
Installed to the door with non-damaging sticky tape. Wired the switches to the terminals. Messy, but Organized!
![]()
![]()
![]()
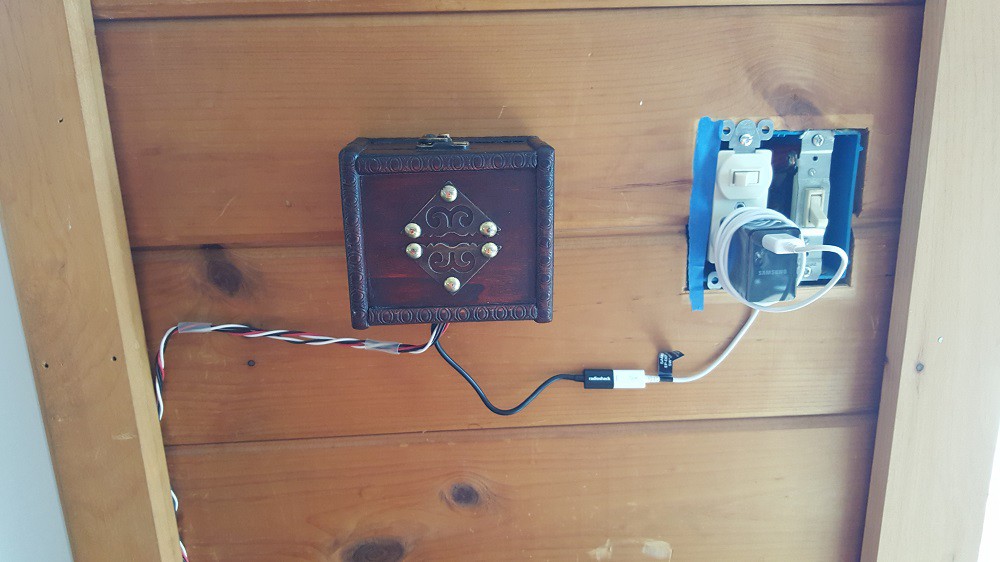
Please forgive the missing switch cover. I wired in an outlet for this project and forgot to buy one.
![]()
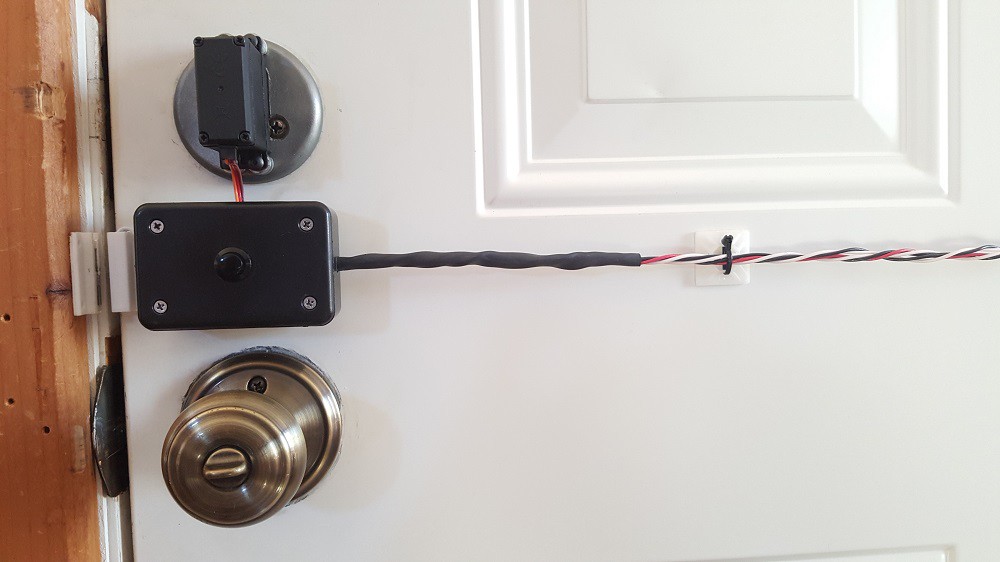
Everything is pretty accessible if I've got to make some adjustments. At this time the hardware of this project is 90% complete. The program works enough to open the door via button press and when my phone is detected on the network, but there are still plenty of reliability issues and extra features to work out. Stay tuned for more updates soon.
-
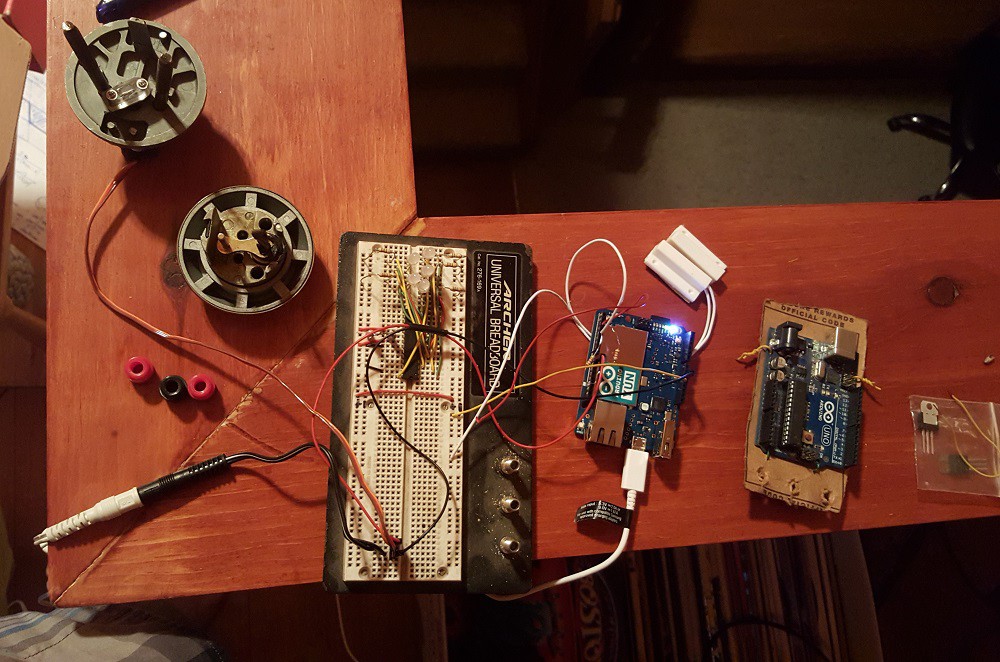
Rough breadboard circuit for program debugging.
10/20/2015 at 07:47 • 0 comments![]() I connected the servo and a few wires to the Arduino Yun to simulate the door button and door sensor. I'm happy to report that I've now got a simple program to open the door AND a small program that can ping my phone. Running shell commands, and capturing results was surprisingly easy and straight forward. I could share code if anyone is interested.
I connected the servo and a few wires to the Arduino Yun to simulate the door button and door sensor. I'm happy to report that I've now got a simple program to open the door AND a small program that can ping my phone. Running shell commands, and capturing results was surprisingly easy and straight forward. I could share code if anyone is interested. What's next is to put them together and make an enclosure to neatly house my (eventually) complete circuit.
-
Milling and assembling the dead bolt.
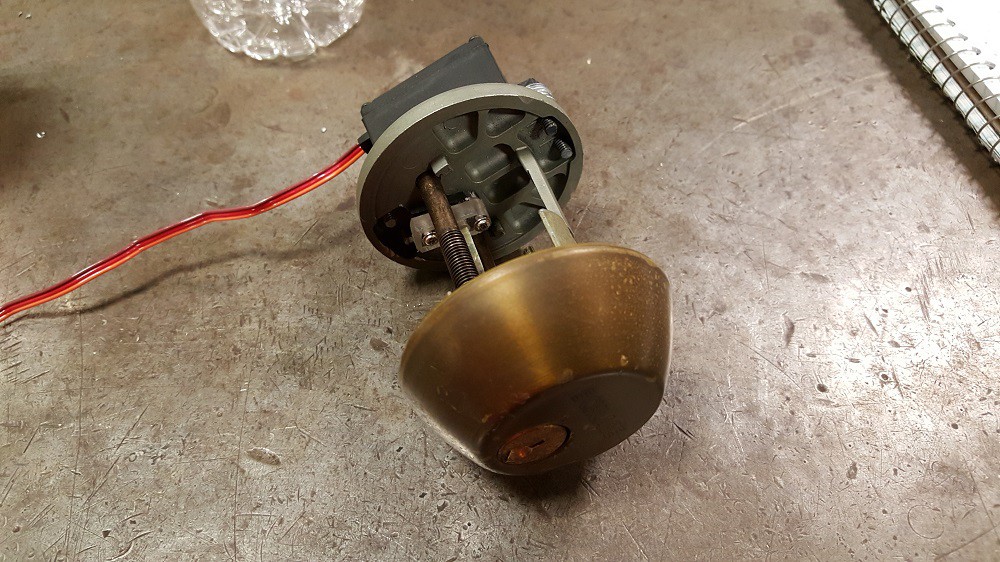
10/20/2015 at 07:19 • 0 comments![]() Here's the disassembled inner lock face.
Here's the disassembled inner lock face.![]() I removed the facade of the dead bolt and milled a relief to accept the servo neatly.
I removed the facade of the dead bolt and milled a relief to accept the servo neatly. ![]() I had to ream the screw holes a little deeper to clear the bottom of the servo. I drilled and tapped the bolt holes.
I had to ream the screw holes a little deeper to clear the bottom of the servo. I drilled and tapped the bolt holes.![]() I'm using a tiny piece of acrylic I slotted and screwed to a servo arm to twist the linkage.
I'm using a tiny piece of acrylic I slotted and screwed to a servo arm to twist the linkage.![]()
The lock is now ready to install back into the door. I'm not sure if I'll make a motor cover or leave the servo bare.
Network Enabled Servo Dead Bolt
Using an Arduino Yun to monitor WiFi for my cellphone and unlock my dead bolt with a servo.
 Picked up a fancy box from the Lobby of a Brand Name Hobby Store.
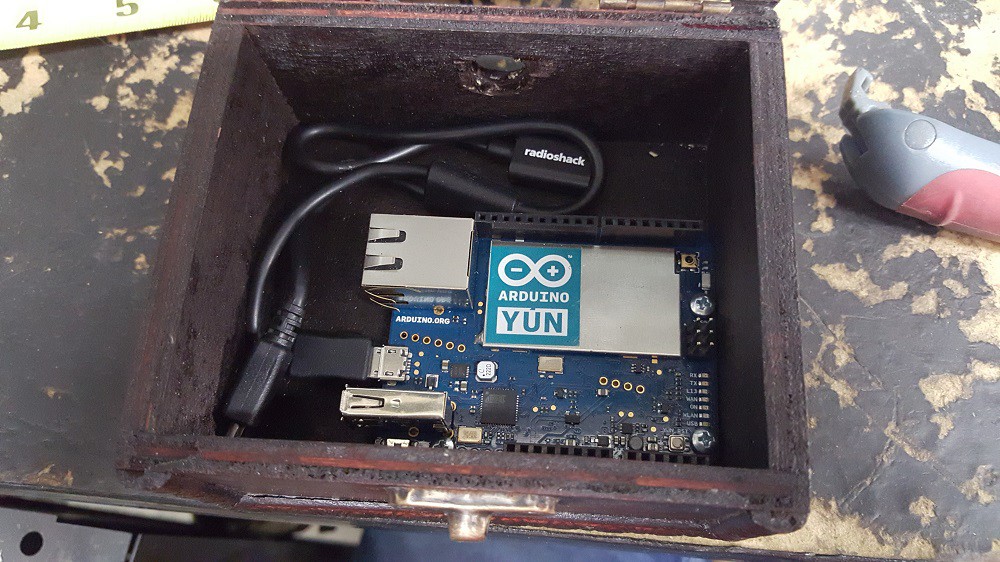

 I connected the servo and a few wires to the Arduino Yun to simulate the door button and door sensor. I'm happy to report that I've now got a simple program to open the door AND a small program that can ping my phone. Running shell commands, and capturing results was surprisingly easy and straight forward. I could share code if anyone is interested.
 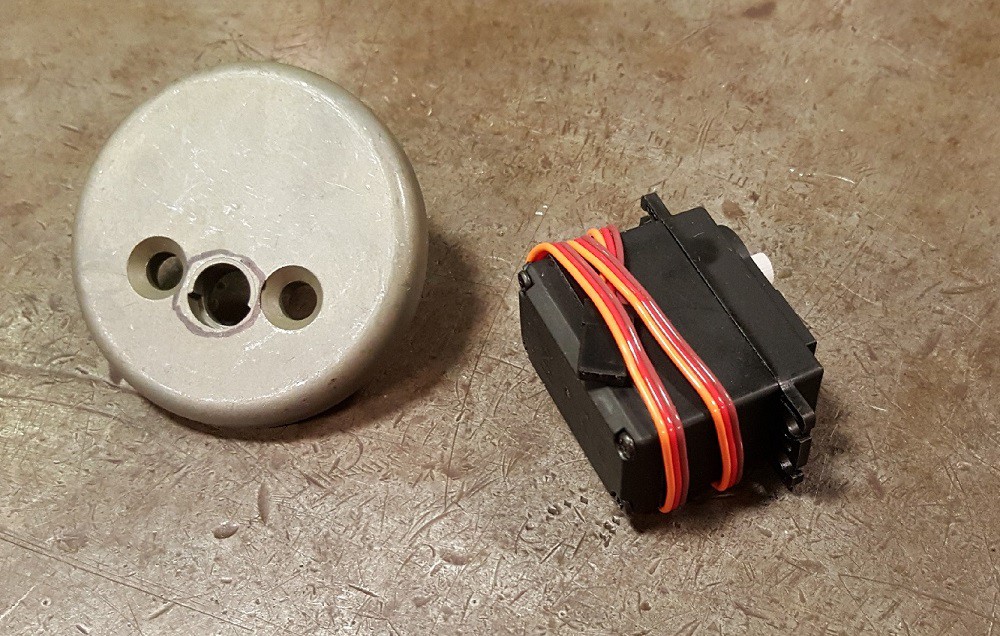 Here's the disassembled inner lock face.
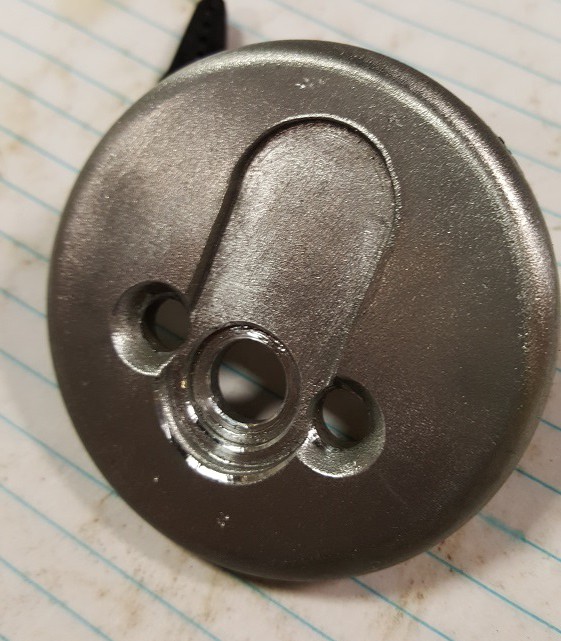 I removed the facade of the dead bolt and milled a relief to accept the servo neatly.
 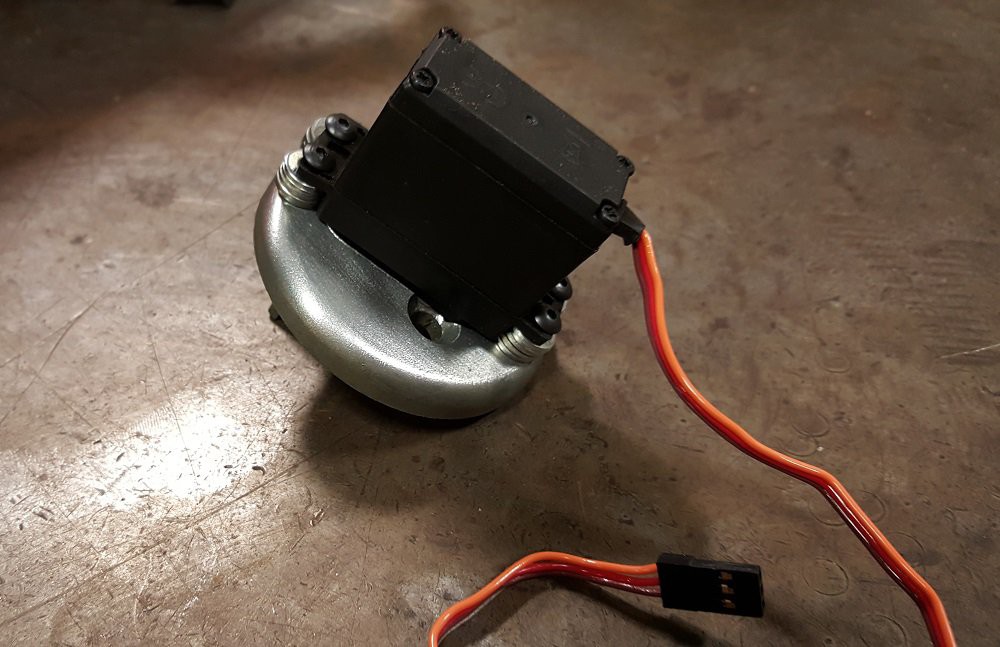 I had to ream the screw holes a little deeper to clear the bottom of the servo. I drilled and tapped the bolt holes.
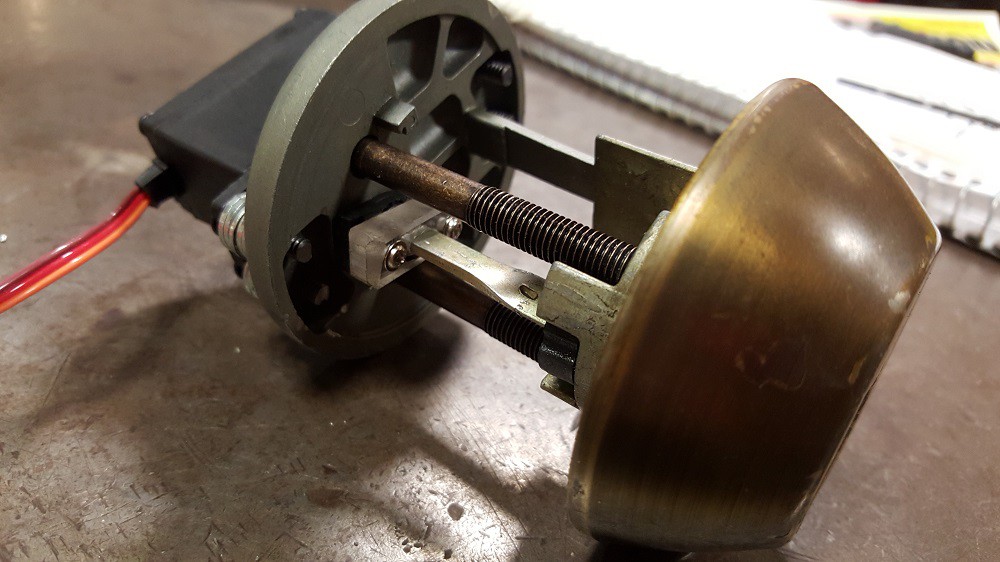 I'm using a tiny piece of acrylic I slotted and screwed to a servo arm to twist the linkage.