-
1Step 1
Button placement
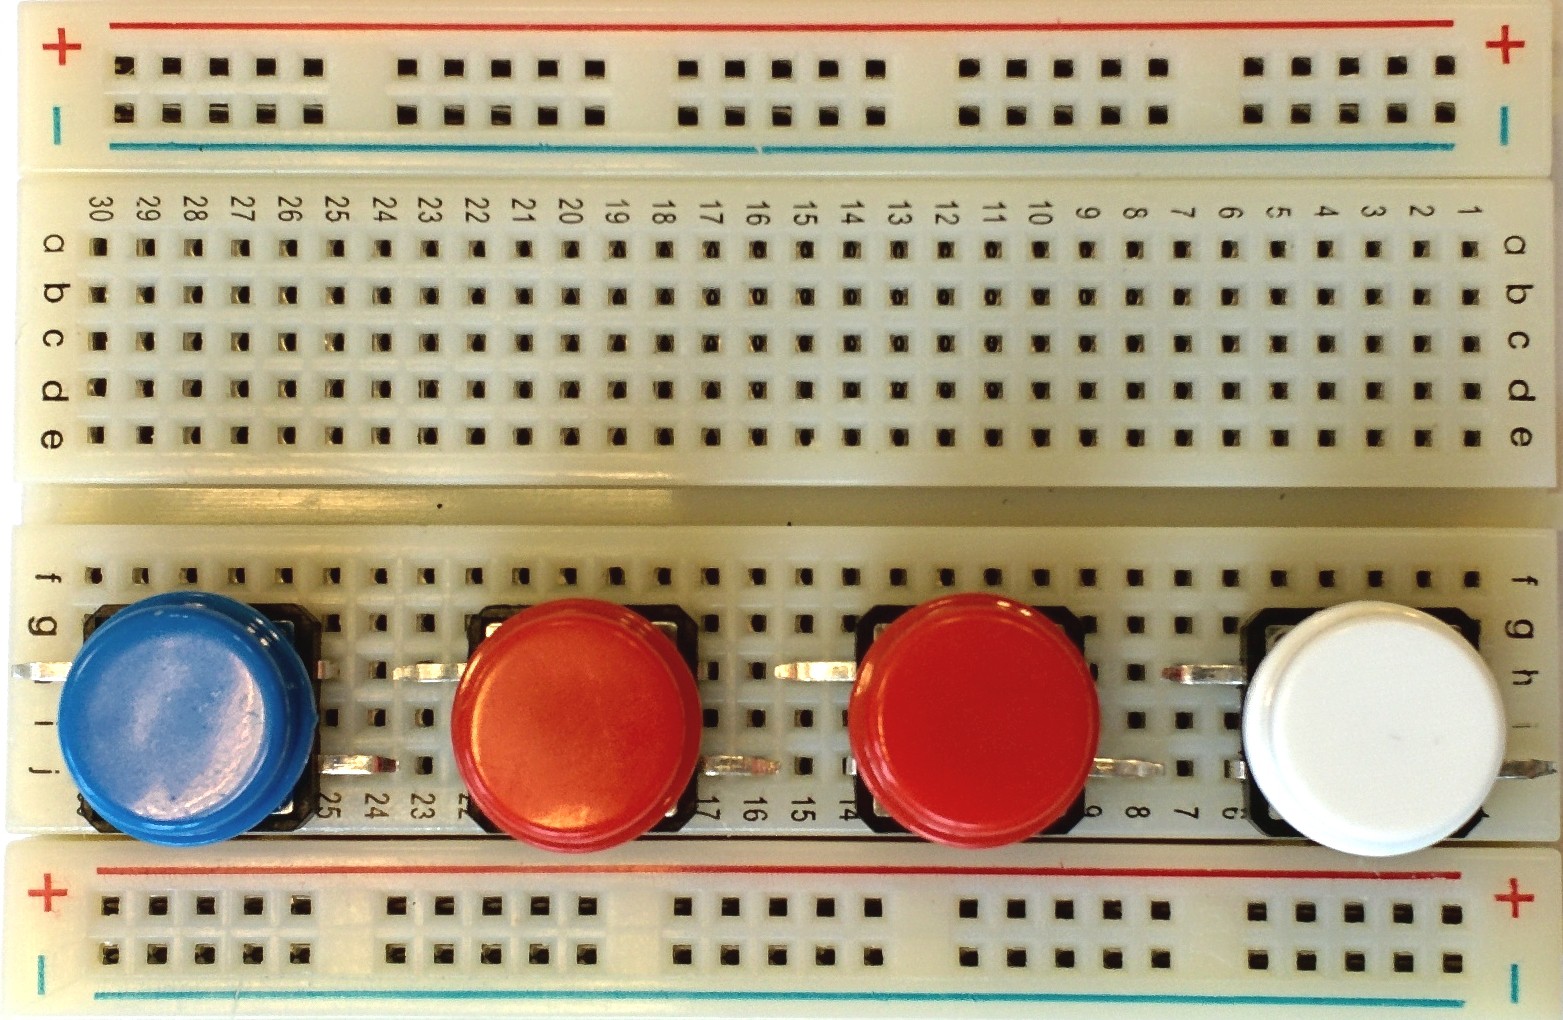
First we need to set up the hardware side of things. It's easiest to start with placing the buttons on the breadboard. Place them on the breadboard on the following location:
![]()
-
2Step 2
Connect up the buttons
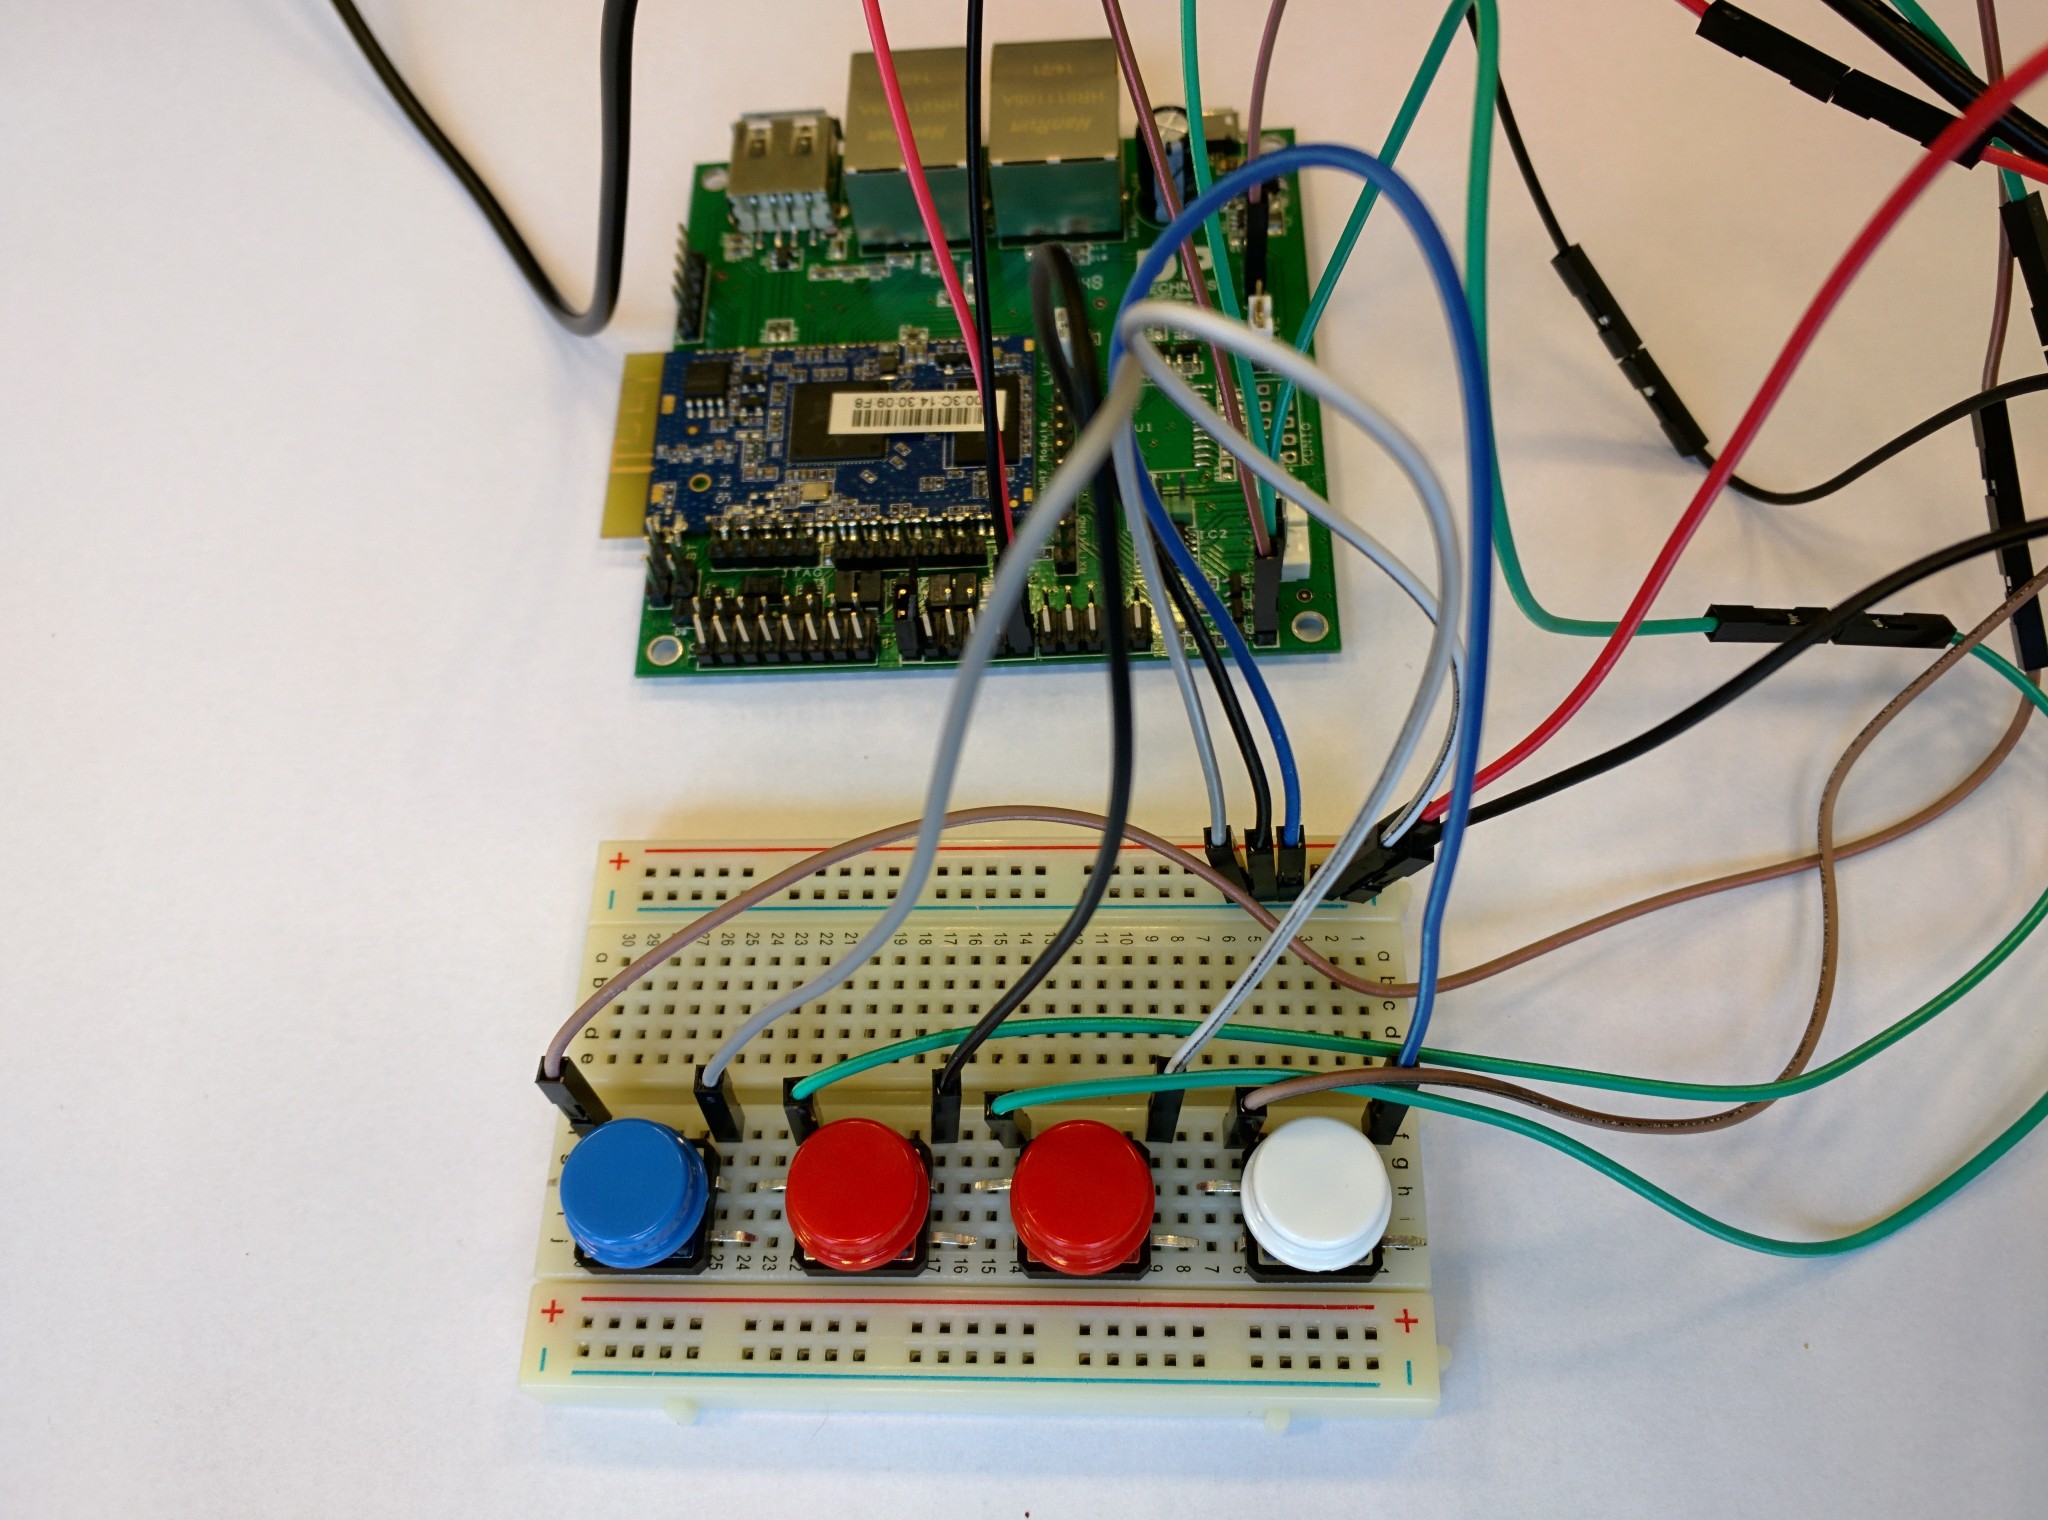
The DPT-Board has built-in pull-up resistors, so to read out a button press we need to pull the inputs low. Therefore we connect one side from the switches with ground and the other side with a DPT-Board input. At this point the breadboard setup should look like this:
![]()
-
3Step 3
Connect the LEDs
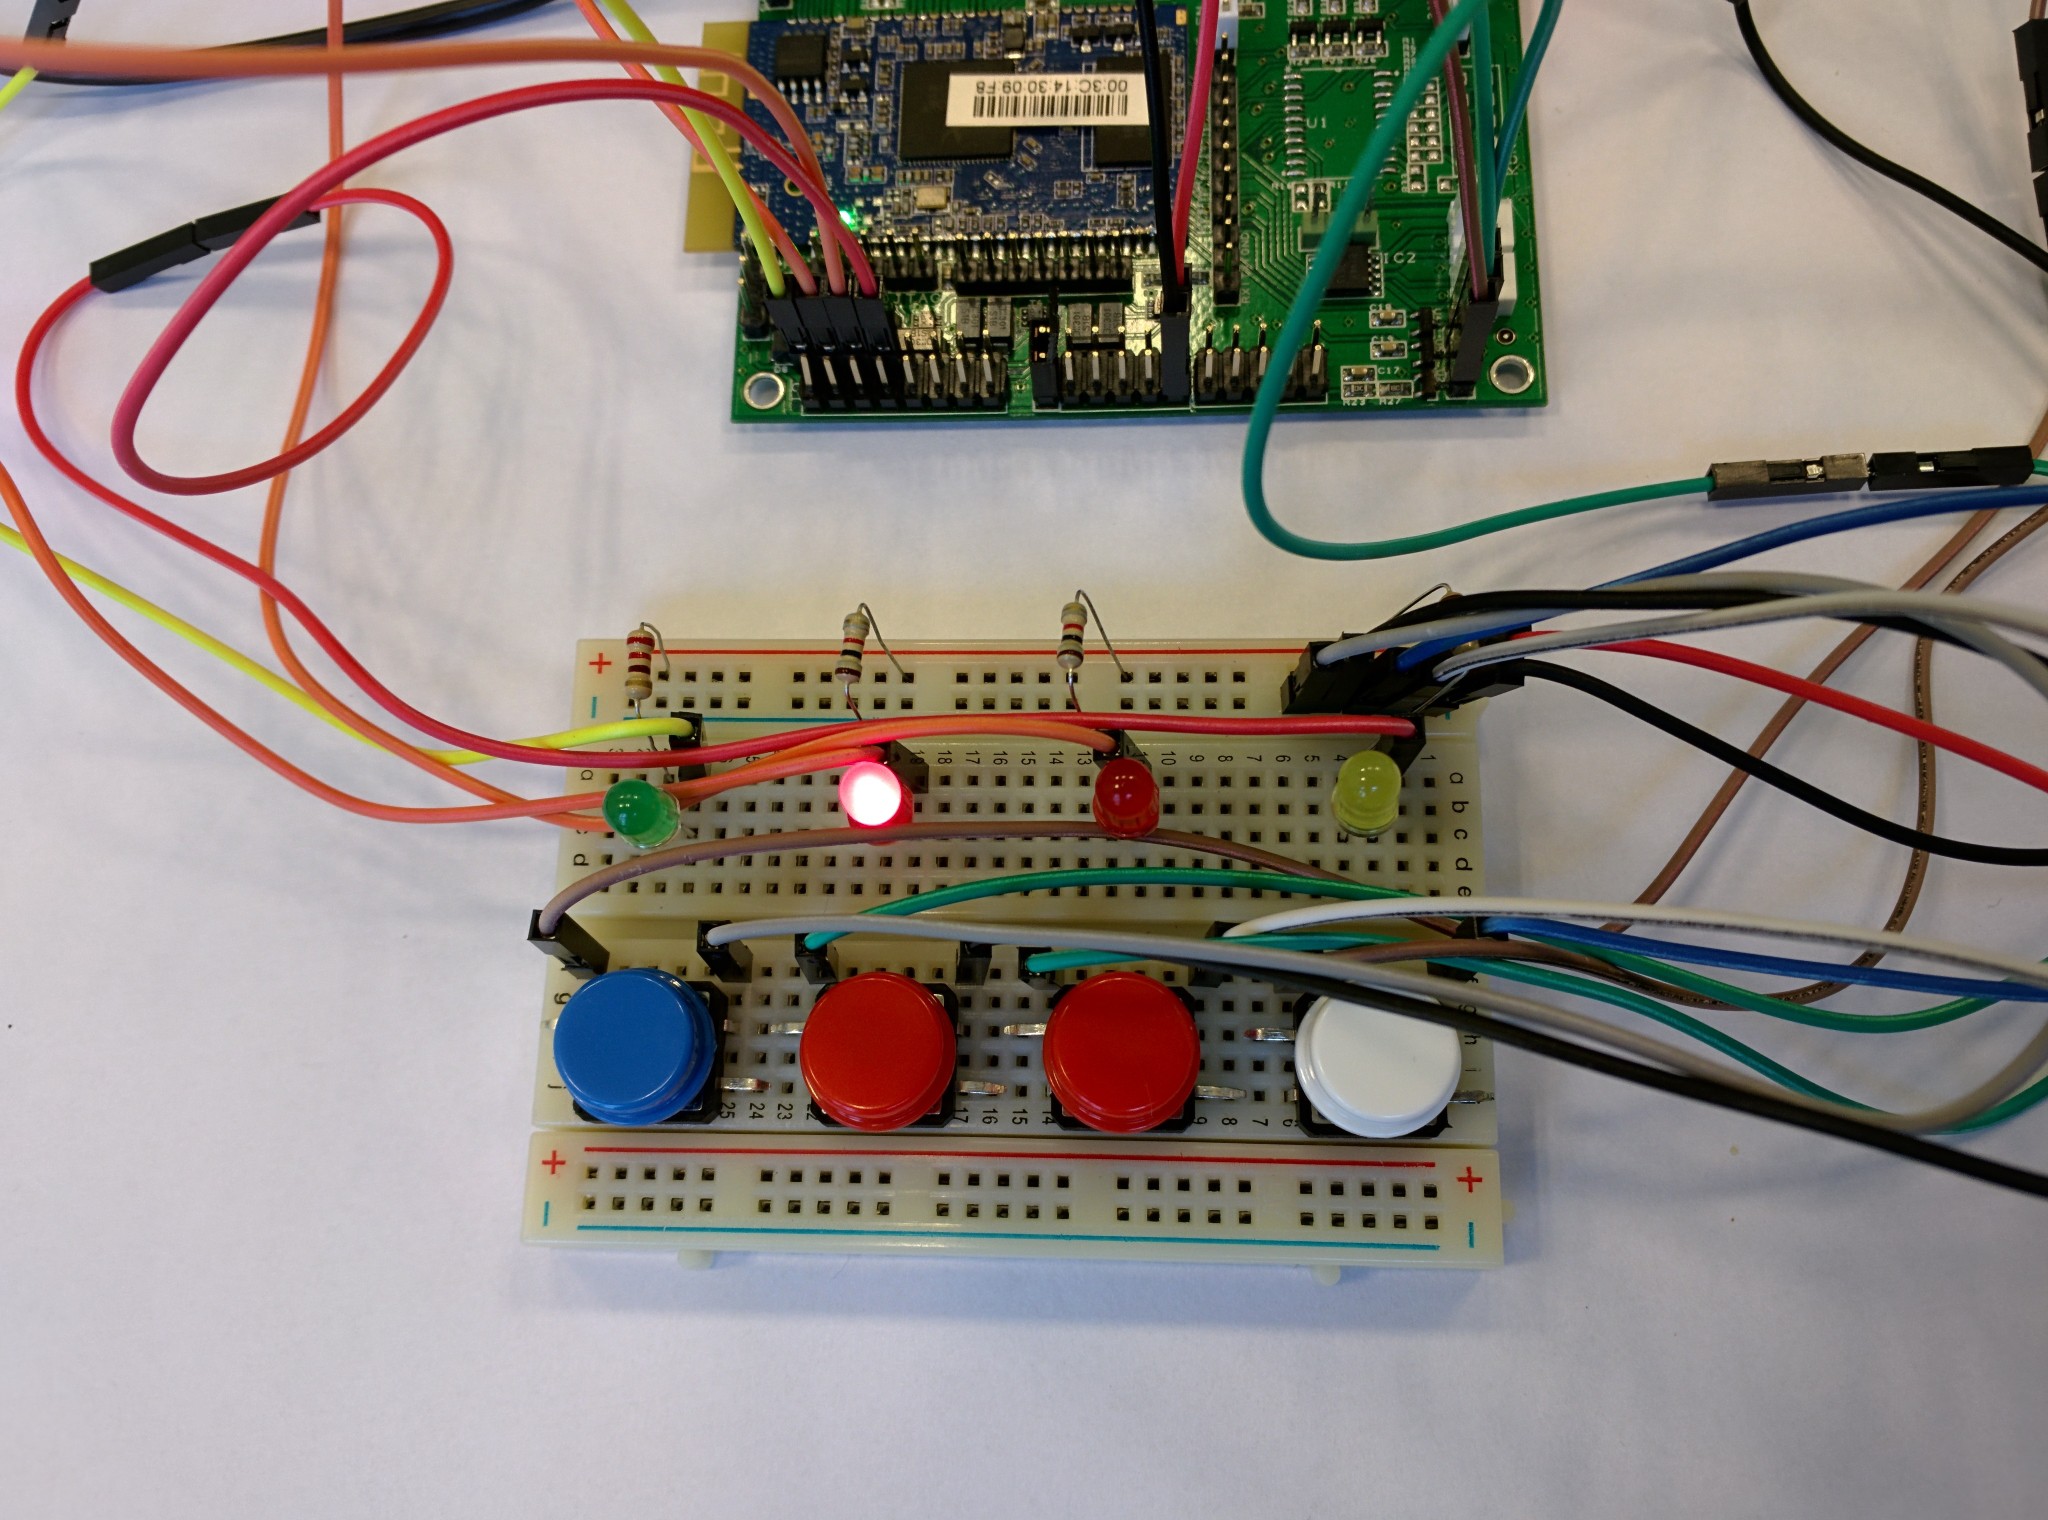
Now that we have connected the buttons, it's time to connect the LED's. The DPT-Board outputs are powered by on-board N-FETs, this means the 'switch' is on the ground side. Thus we connect a LED as follows:
![]()
After connecting the 4 LEDs the breadboard layout should look a bit like the following picture:
![]()
-
4Step 4
Create a new project in the DPTechnics WEB IDE
The hardware part is now completely done. It's time for some software. Power up the DPT-Board and connect to it's WiFi network. Than open up your browser and surf to 192.168.1.1
You now see the DPT-Board WEB interface. Navigate to 'develop > code editor' to open up the WEB-IDE. Create a new file by selecting the 'File > New File' menu and give it a name.
![]()
-
5Step 5
Time to write some code
/**
 * Simon Says for the DPT-Board
 * Date: 14 october 2015
 */

// translating to hardware pins. ex: [23, 22, 1, ...]
var output = [6, 7, 16, 8];
var input = [12, 13, 15, 19];

// length of current run
var currLength = 2;

// generated series
var serie = [];

// read series
var read = [];

function setLength(nr) {
	currLength = nr;
}

function isCorrect() {
	print("is " + serie + " === " + read);
	for (var i=0; i < serie.length; i++) {
		if (serie[i] !== read[i]) {
			return false;
		}
	}
	return true;
}

function doWon() {
	setLength(currLength+1);
	print("-- won -- next level " + currLength);
	digitalWrite(output[0], 1);
	digitalWrite(output[1], 1);
	digitalWrite(output[2], 1);
	digitalWrite(output[3], 1);
	setTimeout(restart, 2000);
}

function doLost() {
	setLength(2);
	print("-- lost -- going back to level " + currLength);
	digitalWrite(output[0], 1);
	digitalWrite(output[1], 0);
	digitalWrite(output[2], 0);
	digitalWrite(output[3], 1);
	setTimeout(restart, 1500);
}

function restart() {
	digitalWrite(output[0], 0);
	digitalWrite(output[1], 0);
	digitalWrite(output[2], 0);
	digitalWrite(output[3], 0);
	setTimeout(playRound, 1500);
}

function nextClick(nr) {
	print("button: " + nr);
	read.push(nr);
	if (serie.length === read.length) {
		print("finished run of " + read.length);

		if (isCorrect()) {
			doWon();
		} else {
			doLost();
		}
	}
}

function randPin() {
	var x = Math.random();
	if (x < 0.25) return 0;
	if (x < 0.50) return 1;
	if (x < 0.75) return 2;
	if (x < 1.00) return 3;
}

// call function "button" with button-nr and down/up only once.
// default state = 1
var states = [1,1,1,1];

setInterval(function buttonReader() {
	for(var i=0; i < input.length; i++) {
	var curr = digitalRead(input[i]);
		if (curr !== states[i]) {
			if ((curr === 0)) {
				nextClick(i);
			}
			states[i] = curr;
		}
	}
}, 20);

function playRound() {
	serie = [];
	var nr = 0;

	function doOn() {
		digitalWrite(output[serie[nr]], 1);
		setTimeout(doOff, 600);
	}

	function doOff() {
		digitalWrite(output[serie[nr]], 0);
		nr += 1;
		if (nr < currLength) {
			setTimeout(doOn, 333);
		} else {
			read = [];
		}
	}

	// make random serie
	for (var i=0; i<currLength; i++) {
		serie.push(randPin());
	}
	print("to guess: " + serie);
	doOn();
}

setLength(2);
playRound();
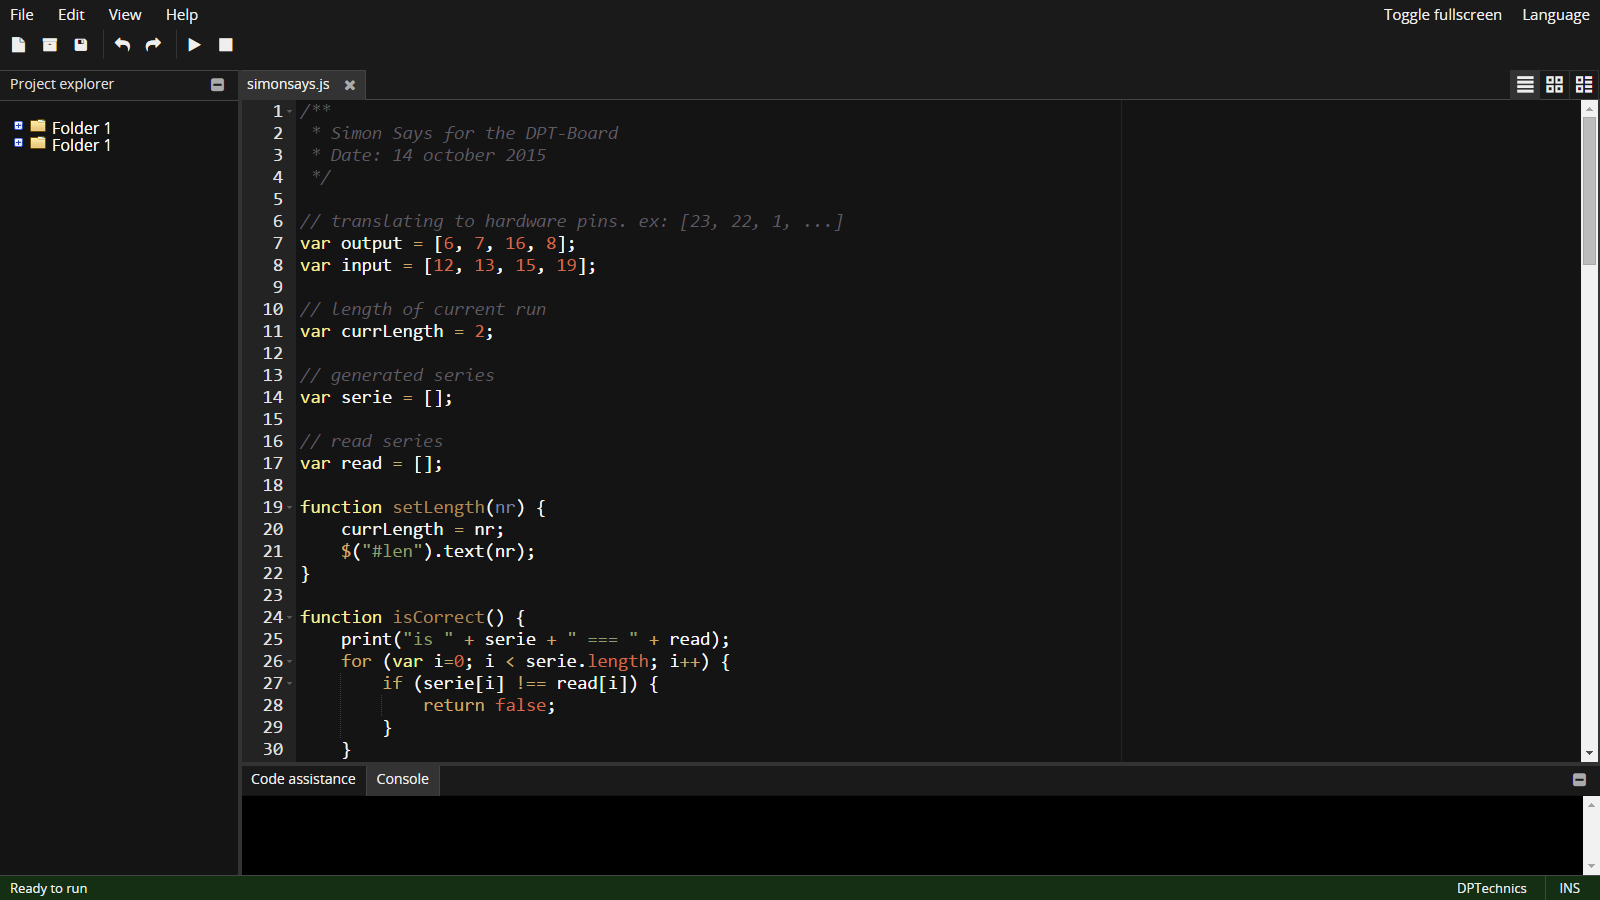
In the WEB IDE this looks as follows:![]()
-
6Step 6
Playtime
We will post a video of the end result soon :)
Simon Says with DPT-Board
A first project made for the IoT-course given at HoWEST Belgium. Simon Says implementation with the DPTechnics IoT-kit
 Daan Pape


Discussions
Become a Hackaday.io Member
Create an account to leave a comment. Already have an account? Log In.