Before I finally get to the log detailing the new board design, allow me to take you on the quick detour that is the build log of the initial protoype.
It was the middle of February 2016. I had been working on the project on and off up to that point, making plenty of conceptual prgress but only minor physical hacking. The advent of the Las Vegas Mini Maker Faire spurred me to get the project up and running. A co-worker suggested using the glove to fly a Parrot AR.Drone, and I set to work, re-purposing the existing boards using new electronics.
Unfortunately, I found that I had started too late: I was able to get the drone in the air, but only AFTER the Faire was over. Still, the prototype was a success, and I felt I finally had enough content to bring the project here. What follows is a description of the work that went into the prototype, starting with...
Testing the Components
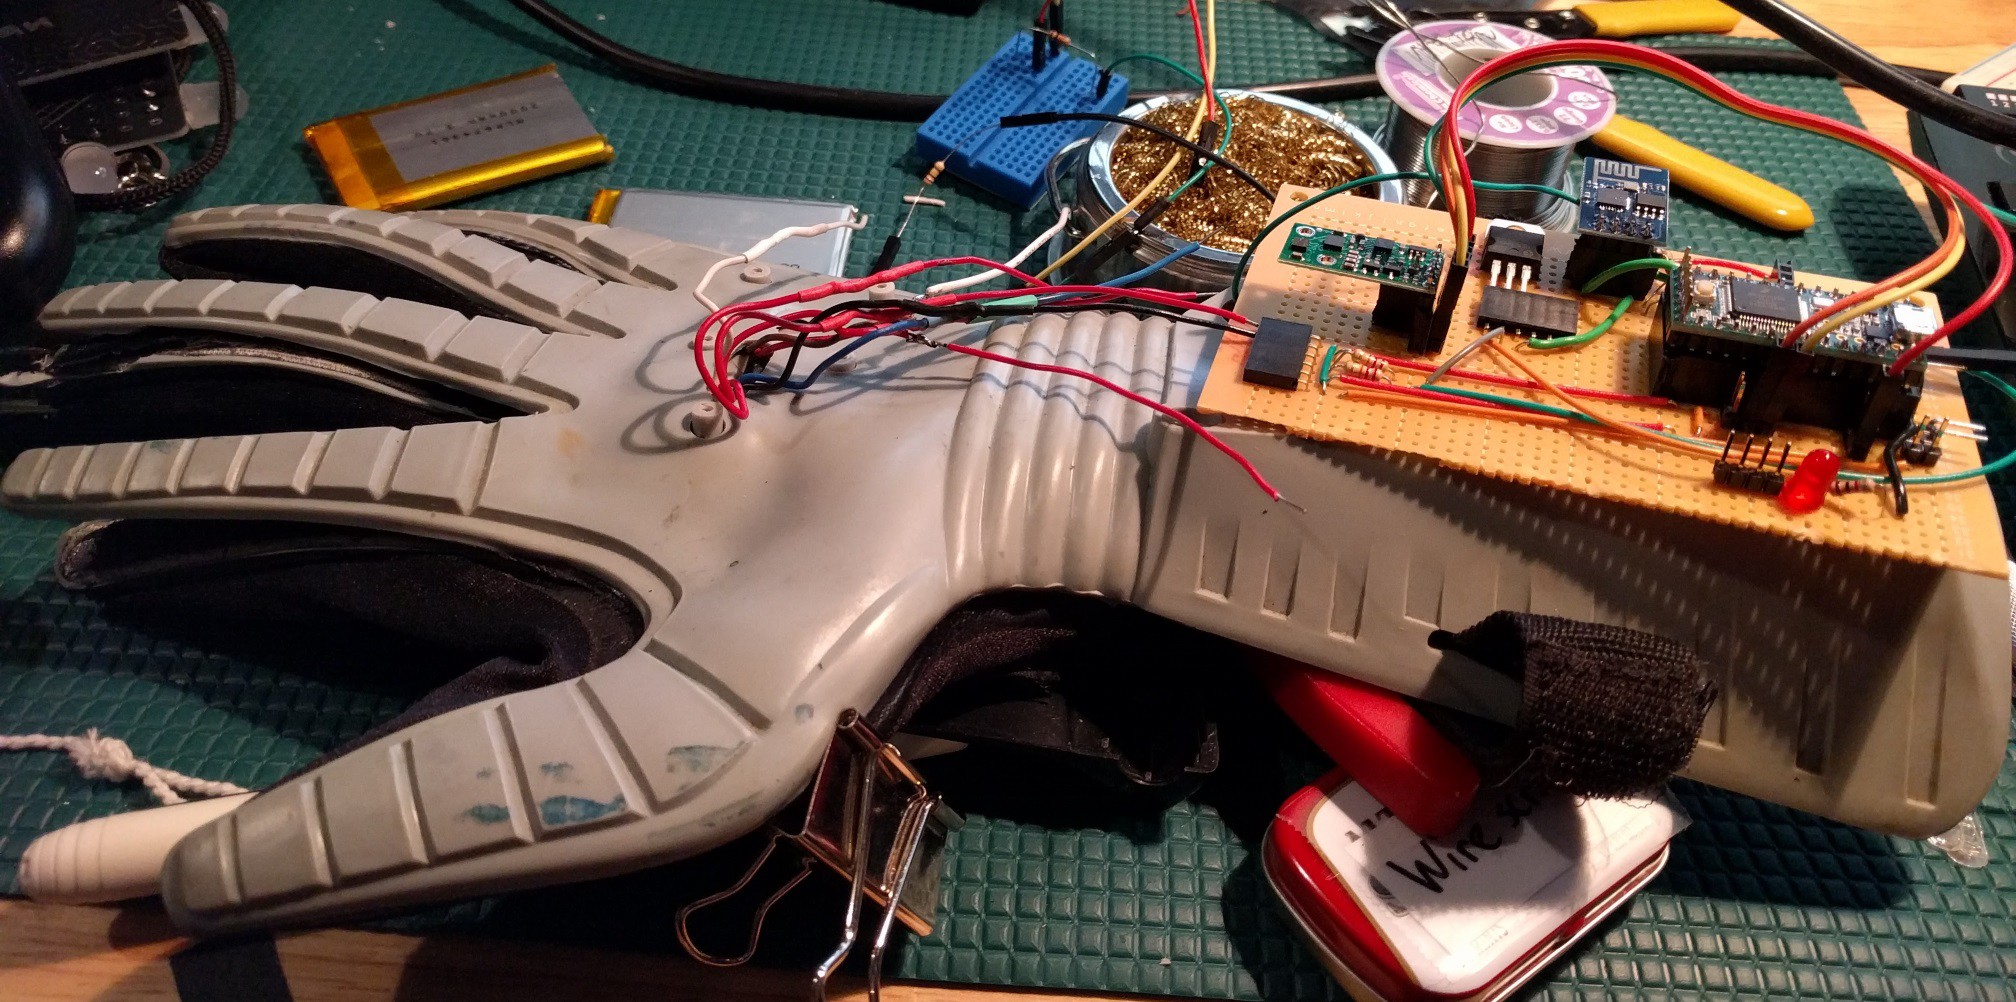
The Power Glove electronics were removed, and the flex sensor wires were desoldered and lengthened for testing. Having previously decided on the main components, a piece of protoboard was loaded up with headers for the microcontroller (a Teensy 3), a WiFi module (an ESP-01) and the IMU (an AltIMU-10 v4). A 3.3V LDO was added to supply the power-hungry ESP, and voltage dividers were setup for testing the flex sensors. A USB cable with its wires broken out supplied power from an available USB port.

Using a Pololu Arduino library for the IMU, motion data was easily captured by the Teensy, Gestures for the different finger positions had been designed previously, but for the time being, they would be eschewed in favor of simple open or closed states.
Much to my dissatisfaction, the original flex sensors proved to be useless as they gave inconsistent readings. In comparison, the new flex sensors were spot on. The glove's index and middle fingers were cut open in order to replace the sensors. This was rather distressing as the work really took away from the look of the glove and would be difficult to repair. The next attempt (if any) to replace the sensors would have to be thoroughly thought through to prevent such damage. Here, you can see just how much degradation the old sensors had suffered over time.

Interfacing the Main Board
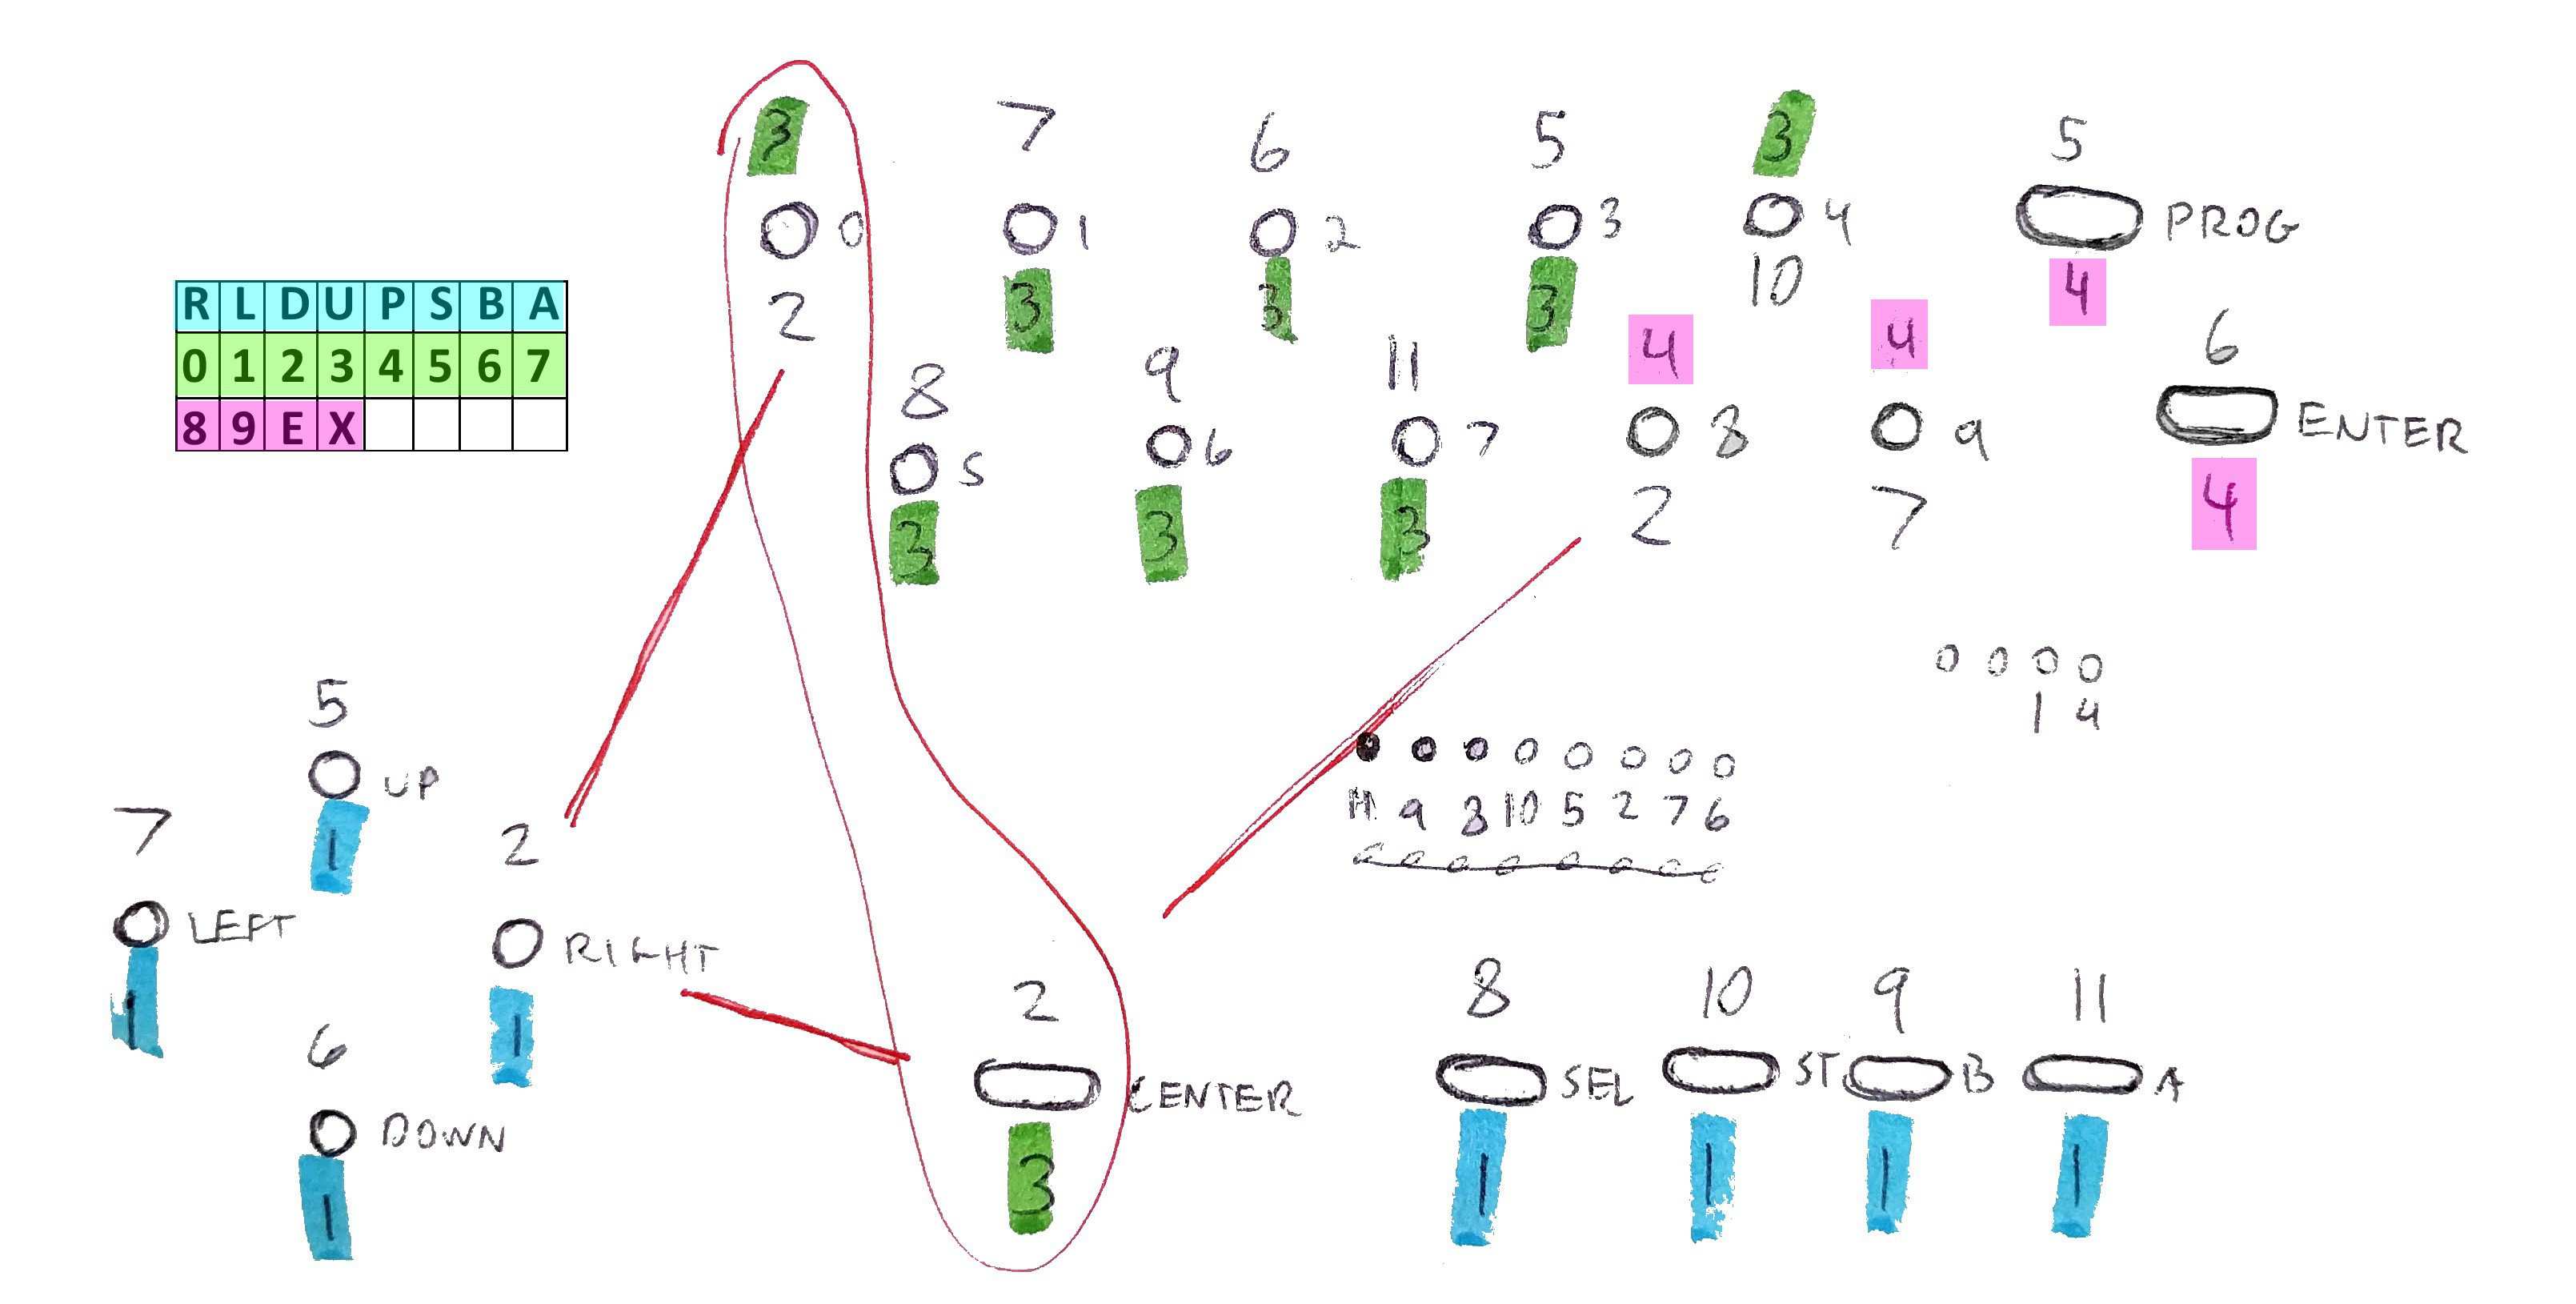
With the IMU and flex sensor situations under control, the next task was to interface the Power Glove's keypad to the Teensy. After probing around the board, I found that the buttons were arranged as a 3 x 8 keypad matrix. Oddly enough the 0 and Center buttons were wired in parallel, literally making them the same button!


With the board already depopulated (details in previous log), the through hole resistor footprints in the center of the board made for convenient wiring of the “columns,” and a few other points on the board were used for the “rows.” Using a popular Keypad Arduino library, I had the keypad working in no time at all.
An LED was placed in the original's location and attached to the Teensy to provide some visual feedback, something the glove was clearly lacking in.
The wires from the flex tube that originally connected the main board and the sensor board were stripped, extended and tinned for reuse.
Reusing the Sensor Board
Turning my attention to the sensor board, I disconnected the wires coming from the flex tube and cleaned off copious amounts of hot glue, taking stock of what could be reused. There traces connecting to the flex sensors would be useful, but as I would be using a brand new IMU board instead of the ultrasonic sensors, there wasn’t much else that would be of use. I got to work connecting the IMU's I2C and ground lines to 3 of the flex tube wires, and the 3.3V line was connected to a 3.3V rail on the board to be shared with the flex sensors.After reattaching the bottom half of the sensor board enclosure back on the glove, I routed the flex sensor wires up to the board and used the original pads to connect the new flex sensors. Thanks to the original design, the positive lines were already wired in parallel, and a wire from the tube was connected. The 4 sensor lines were each soldered to an external wire as well. The flex sensors were tied down to the glove's fingers in multiple locations with rubber bands, but we experienced intermittent problems afterwards when they bent due to finger movements.
All sensor connections made, the wires on the main board end were connected to the Teensy for a final test. Everything was found to work correctly, and the IMU was covered with Kapton tape before being taped to the board in an unsightly manner with scotch tape. The enclosure was fully reassembled and ready for action.
The ESP And the AR.Drone
I learned from a friend that the AR.Drone could be easily (far too easily) controlled through it’s WiFi access point and UDP packets and set off to use an ESP8266 for that very purpose. I started by grabbing the AR.Drone SDK documentation and checking out the Node.JS implementation my friend recommended. There was a lot of potential for dynamic communication between the drone and the glove system, but I chose to keep it simple and just get the drone off the ground.
I understood the basic principles of UDP from previous networking experience, but I had never actually used it to communicate on a custom application. I looked into the UDP examples in the standard Arduino Wifi library, and tested them on the ESP (I had ditched the ESP-01 in favor of the Adafruit Huzzah with its built-in bootloader and reset buttons) with its Wifi library.
In order to save time and not reinvent the wheel, I did some Googling and searched Github, and I found a sketch by jorisplusplus that performed the drone communications part of my goals. It was a sketch for the ESP8266 that was designed to receive RC signals from a Spektrum DSMX receiver and relay them to the AR.Drone. Borrowing from that sketch, I put together some code that would serially receive sensor and keypad data from the Teensy and send the drone commands based on the “gestures” received.
It took a bit of time to debug everything (reverse controls, serial communication issues, WiFi problems, broken optical flow sensors, etc.), but everything eventually seemed to be working properly. It was time to clean it all up and take it out for a proper test run.
Cobbling It All Together
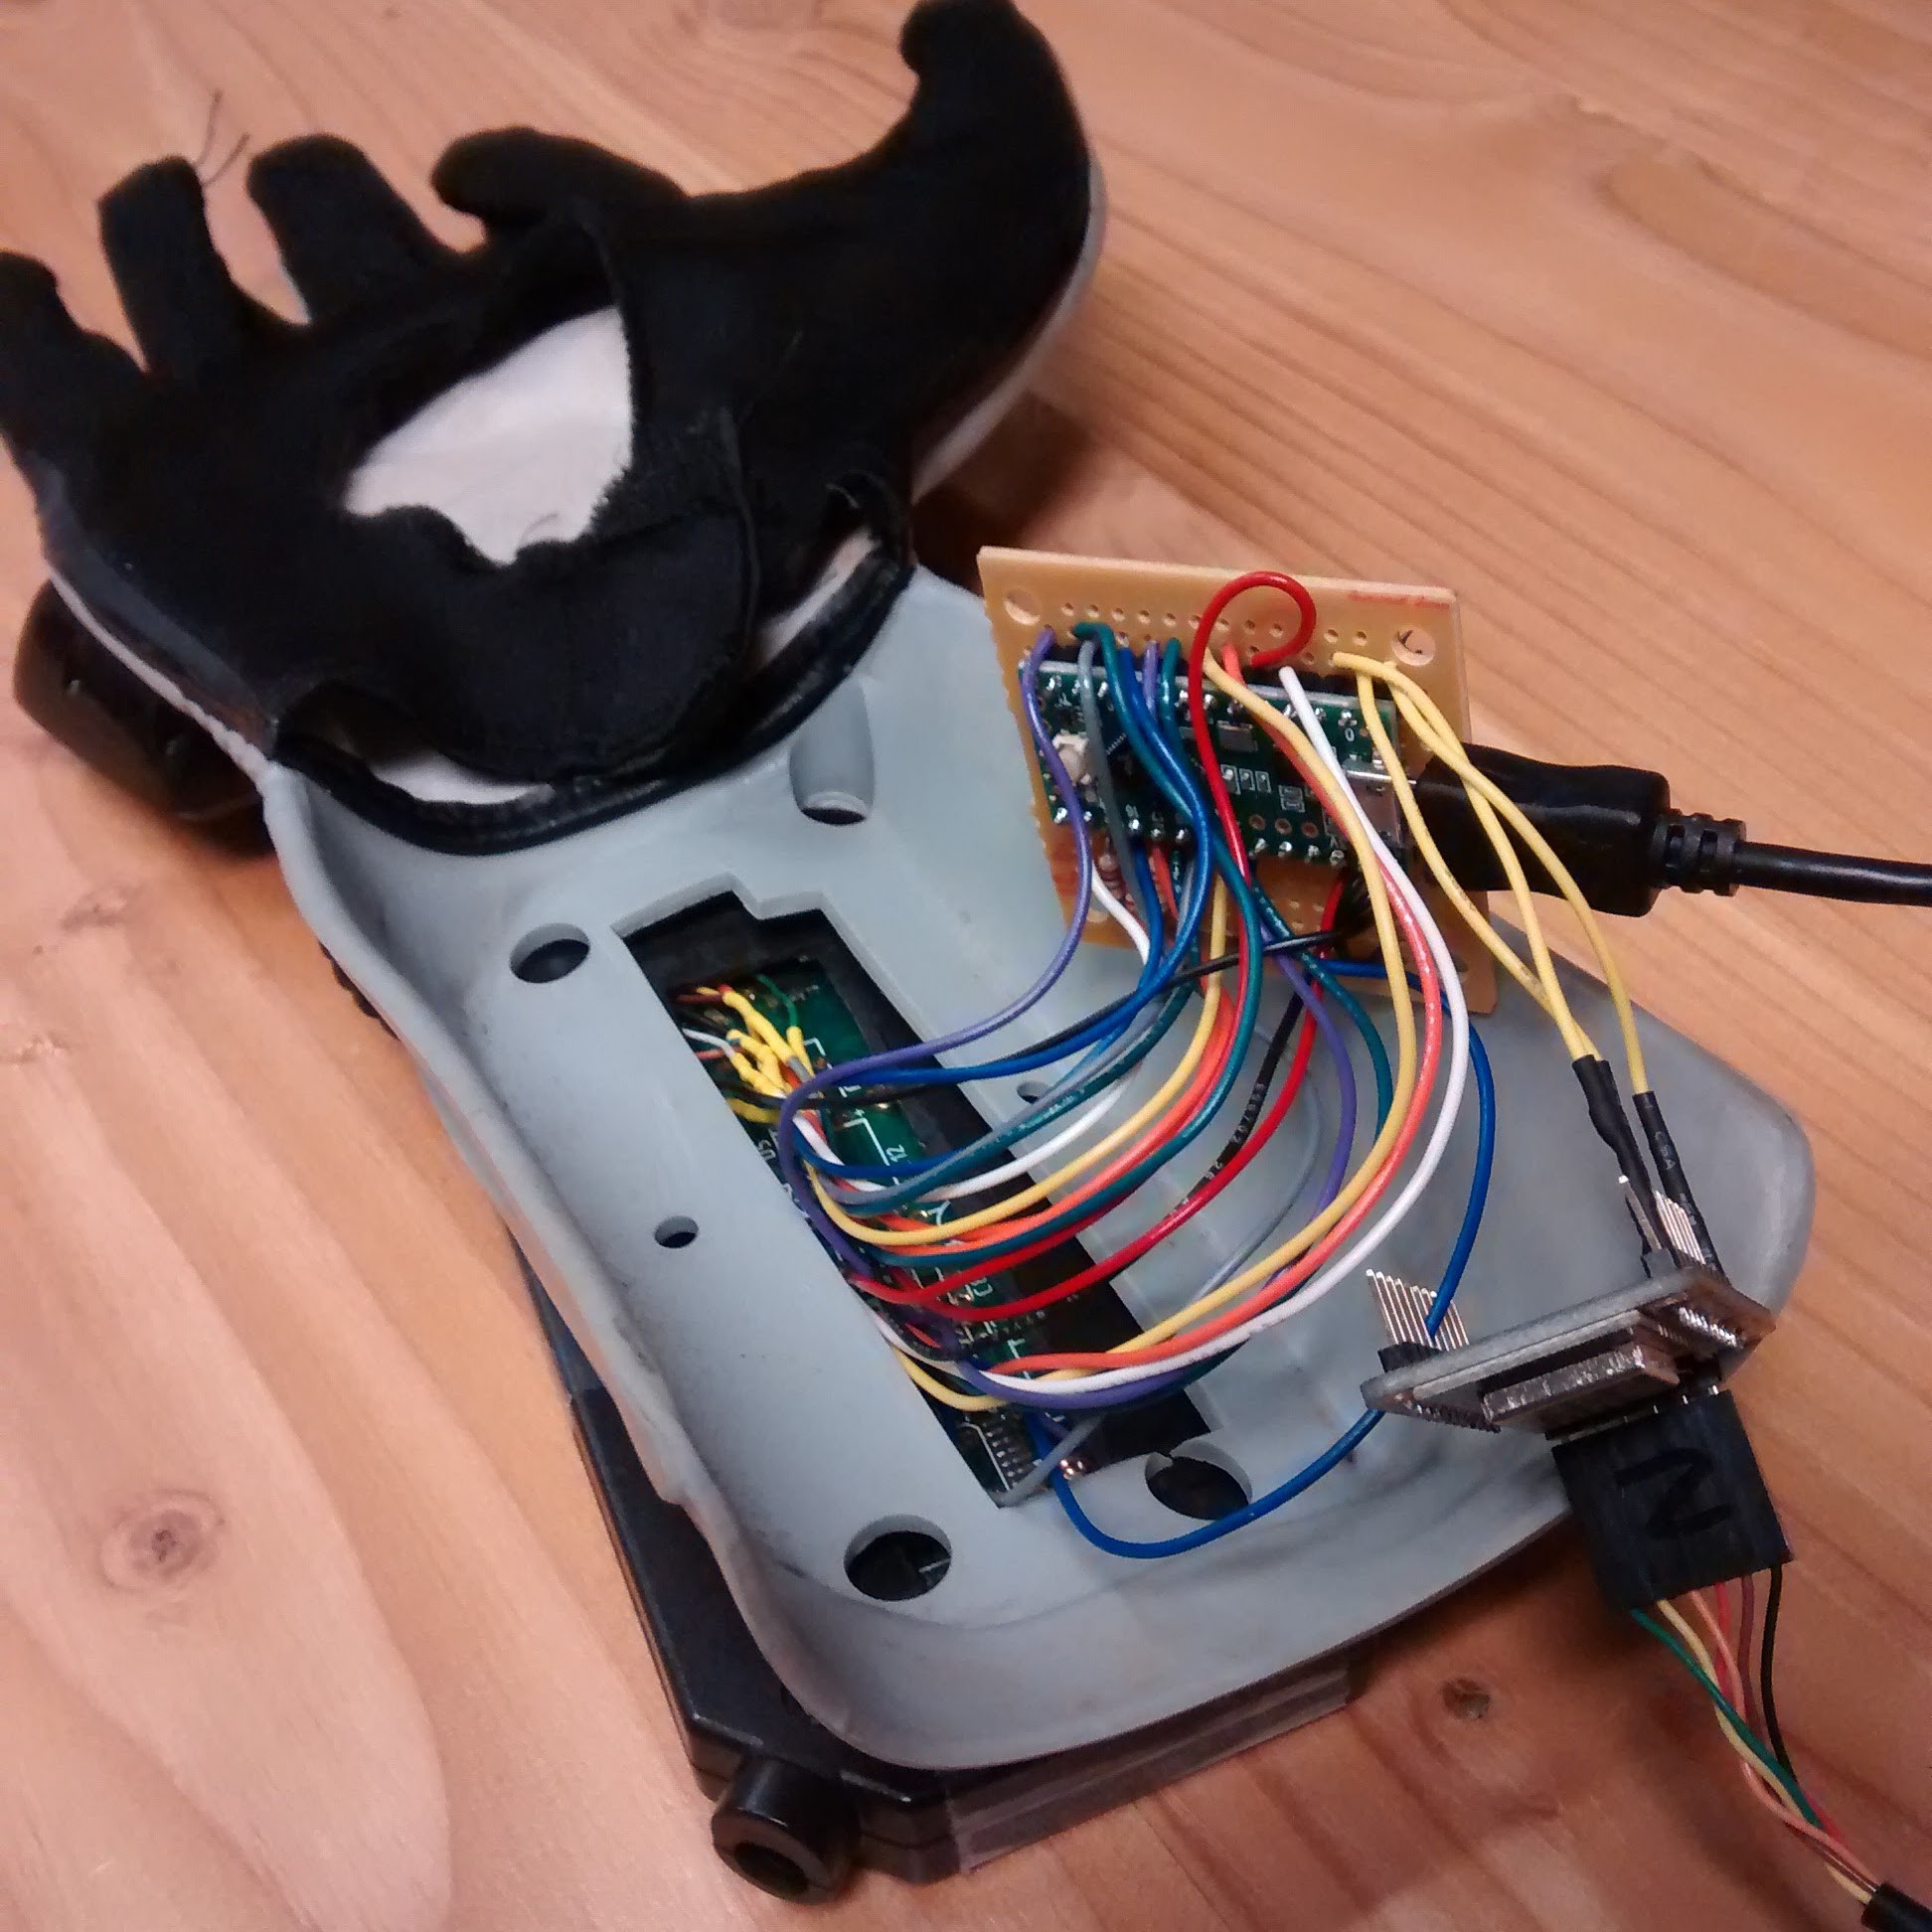
Knowing that I wouldn’t be able to house a Teensy and an ESP module inside the controls enclosure and considering the sacrilege I’d already performed by hacking the glove up to this point, I ended up using a Dremel rotary tool to cut a nice big hole in the back panel to route the keypad and sensor board wires to an external protoboard.

A Teensy LC was slapped on, and all wires were soldered to their appropriate pins. With no place left to go, the Huzzah dangled from the serial lines. A big USB battery pack was used to power the whole thing. Strapping the glove on, the It was time for the final test. The results?
As test pilot Rakitha demonstrates, it was quite successful. Some tuning was necessary to get the proper dance moves out of the drone, but overall the response time was very fast. The gestures would have to be reworked for a smoother experience, and much to the displeasure of the wearers' fingers, those dang flex sensors needed more rubber bands to stop them from retracting. Still, it was an awesome feeling, being able to fly a drone around with motion controls. With the next iteration hopefully losing all the wires, it was sure to become even more of an enjoyable experience.
 Nolan Moore
Discussions
Become a Hackaday.io Member
Create an account to leave a comment. Already have an account? Log In.