 Nolan Moore
Fantastic News!
After weeks of scouring eBay for the perfect deal, I managed to acquire a brand new Famicom Power Glove which I will be using for this project from now on! Marvel in the glory that is a recently opened 1989 video game accessory!

Having a brand new glove nets me these important features:
- Brand new, very clean unit: The original one I started with had been in use and storage for some 27 odd years before finally being used once again. With this new glove, I'll have a beautiful, new (it's matte so still no shiny) glove to show off. This also allows me to use the old glove as a testing platform which I won't be afraid to get dirty or further mutilate for the cause!
- Untouched flex sensors: I hope to find the new glove's flex sensors in pristine condition, allowing me to NOT completely decimate the aesthetic value of the glove by ripping its fingers open to install new sensors.
- A sub-par gaming experience: Should I ever acquire a Famicom and at least one Power Glove specific game, I can finally live the awesome, yet wholly disappointing experience that thousands of kids in the late 80's went through after unwrapping a Power Glove on their birthdays or Christmas. The reason I did not test the Glove on an NES sooner was because I never received the required sensor bar unit with my previous eBay find.
The Unboxing
There are some 20 odd photos in the unboxing, so I'll spare us both the trouble of posting all those here. Instead, here's a convenient Google Photos album:
https://goo.gl/photos/Tco4qDA3z9MXLcUo6
A couple neat details to note about the glove after the unboxing:
- Besides the branding, logos, language and connector on the sensor unit, the glove appears to be essentially the same as the American Mattel version. Not too surprising, but we'll see if there are any differences under the hood.
- As you can see in the last photo, the instruction manual/programming guide features some pretty cool cartoon illustrations of proper use of the glove. It would be nice to see more graphics like that now-a-days.
- It's just too freakin' cool.
Mini Teardown
From the teardown of the previous glove, I didn't expect to find anything really different about this glove, but regardless since it was going to be gutted soon anyway, I figured I might as well share the details with you lovely people right now. There are only a few pics, but if anyone would like any specific detailed shots, please feel free to leave a comment. As Dave Jones would say, "don't plug it in, take it apart!"
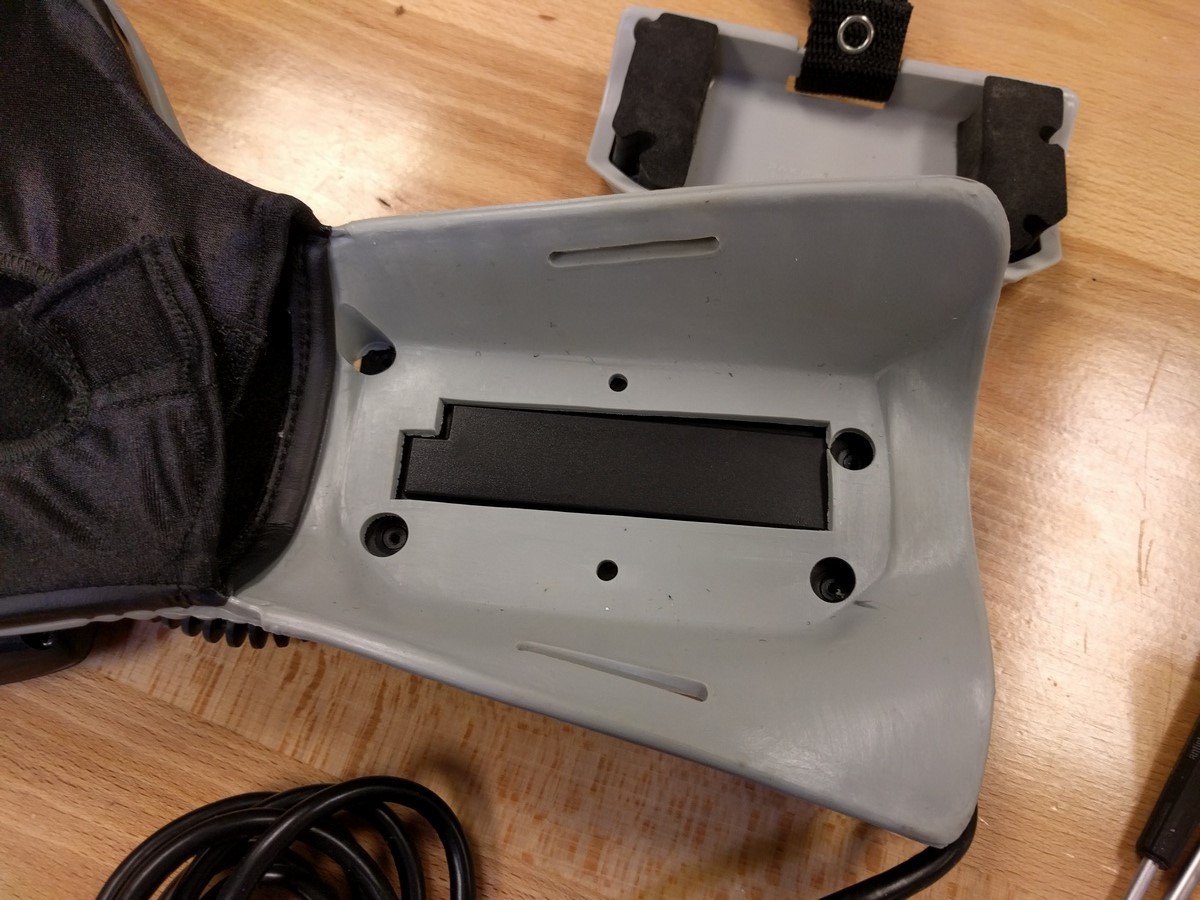
Four screws hold the foam arm guard plate, rubber, and control board enclosure together
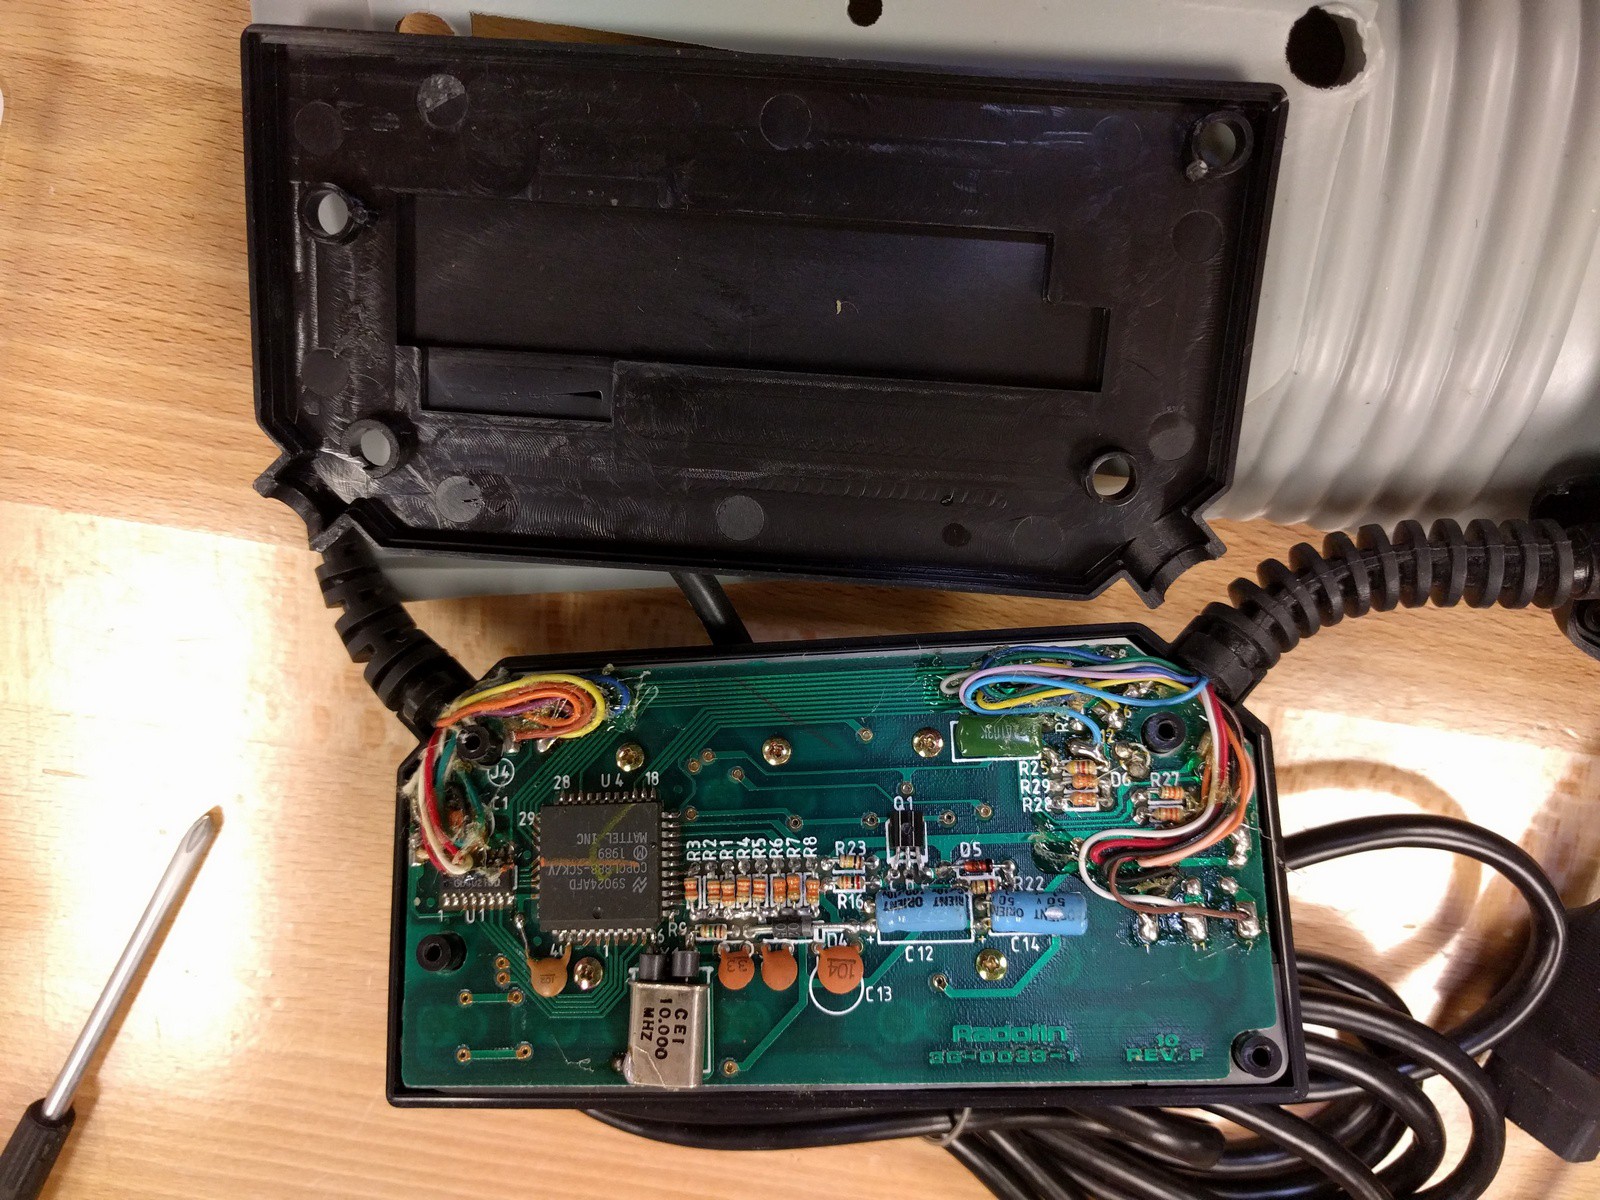
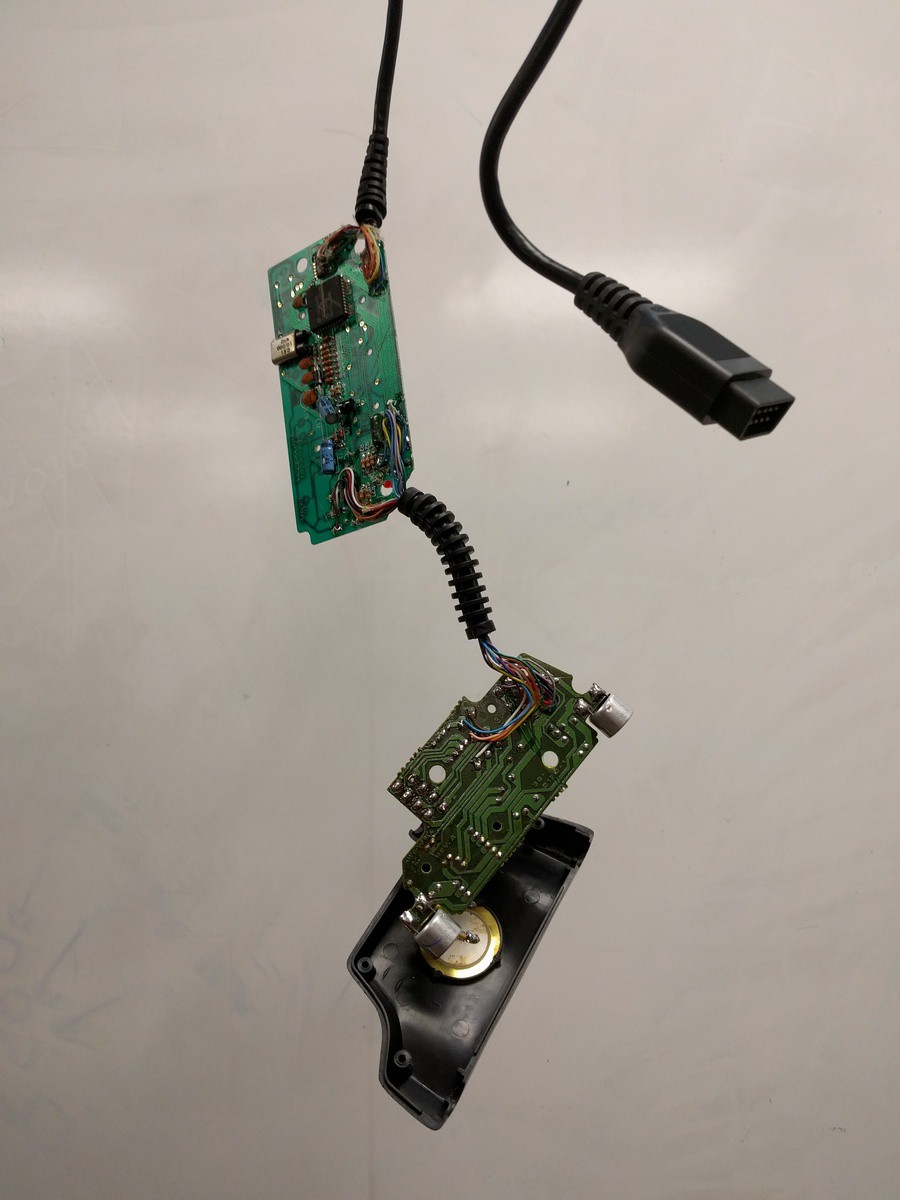
The control board. This one is rev F, whereas the Mattel glove has a rev E board.
Four screws later...
Other than the color of the ultrasonic sensor housings, pretty much identical to the Mattel version under the hood
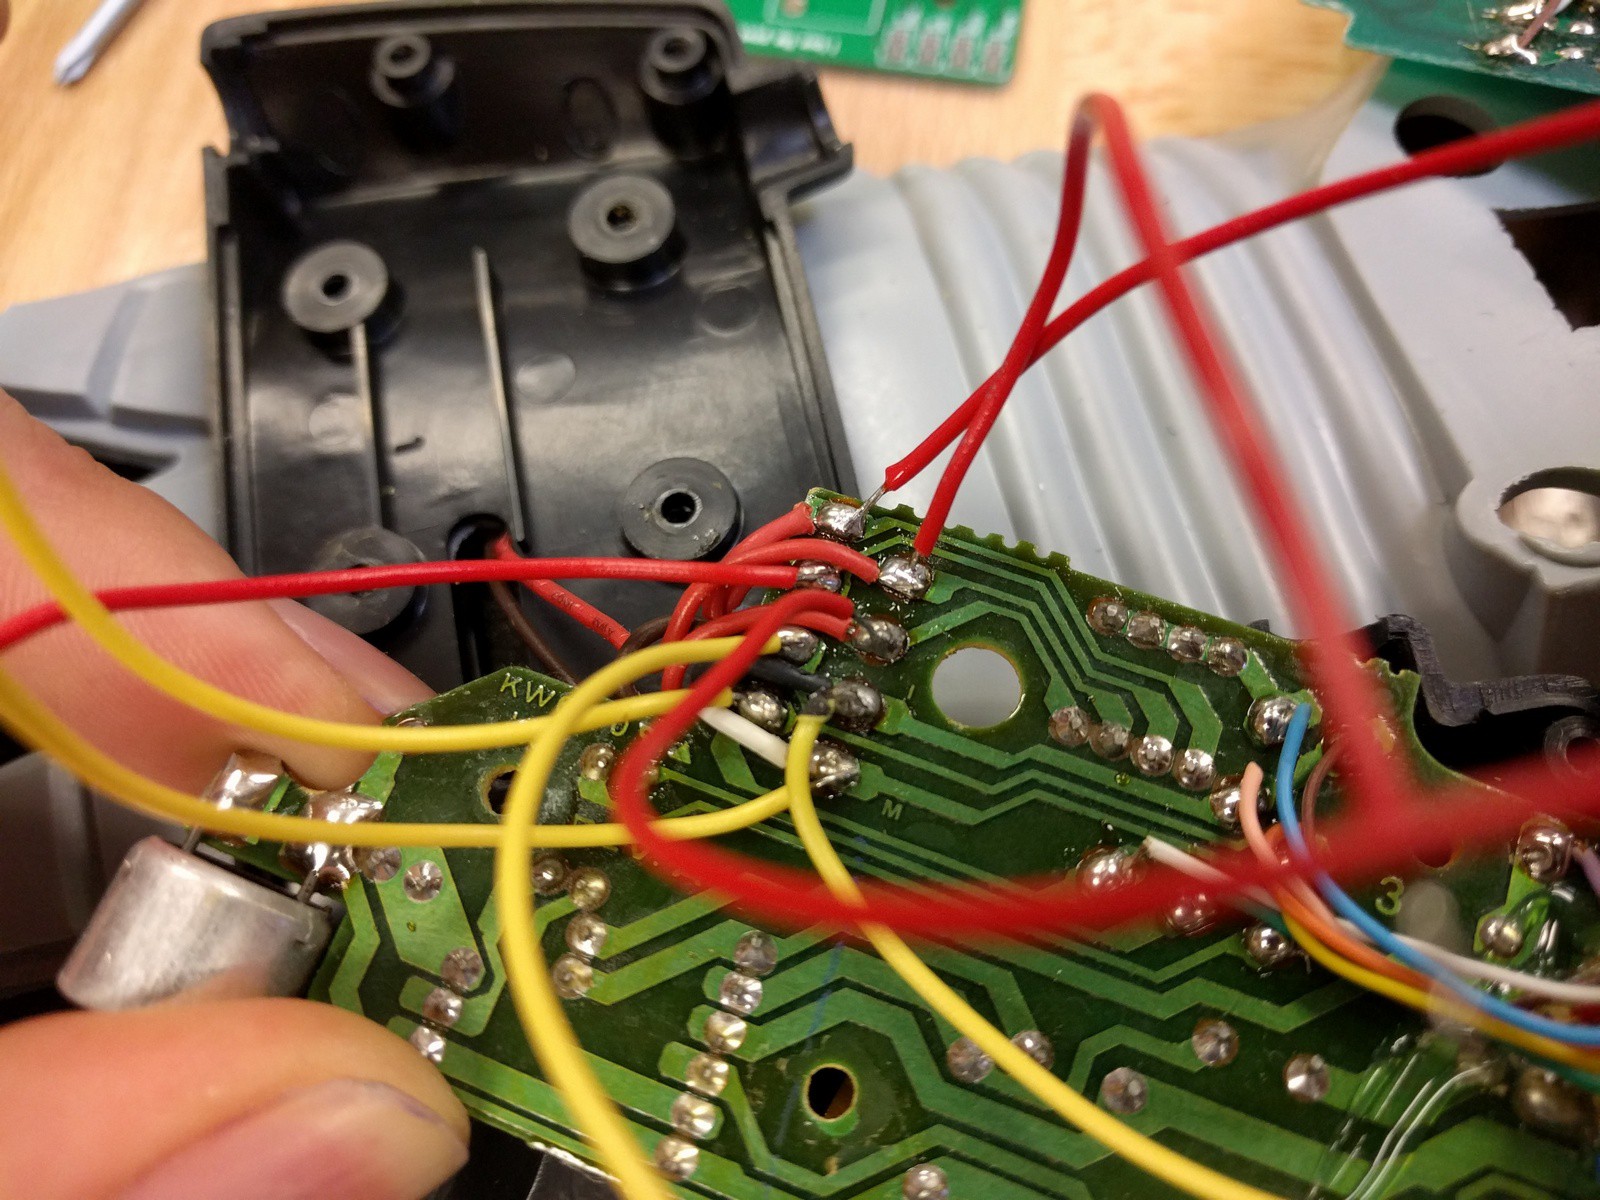
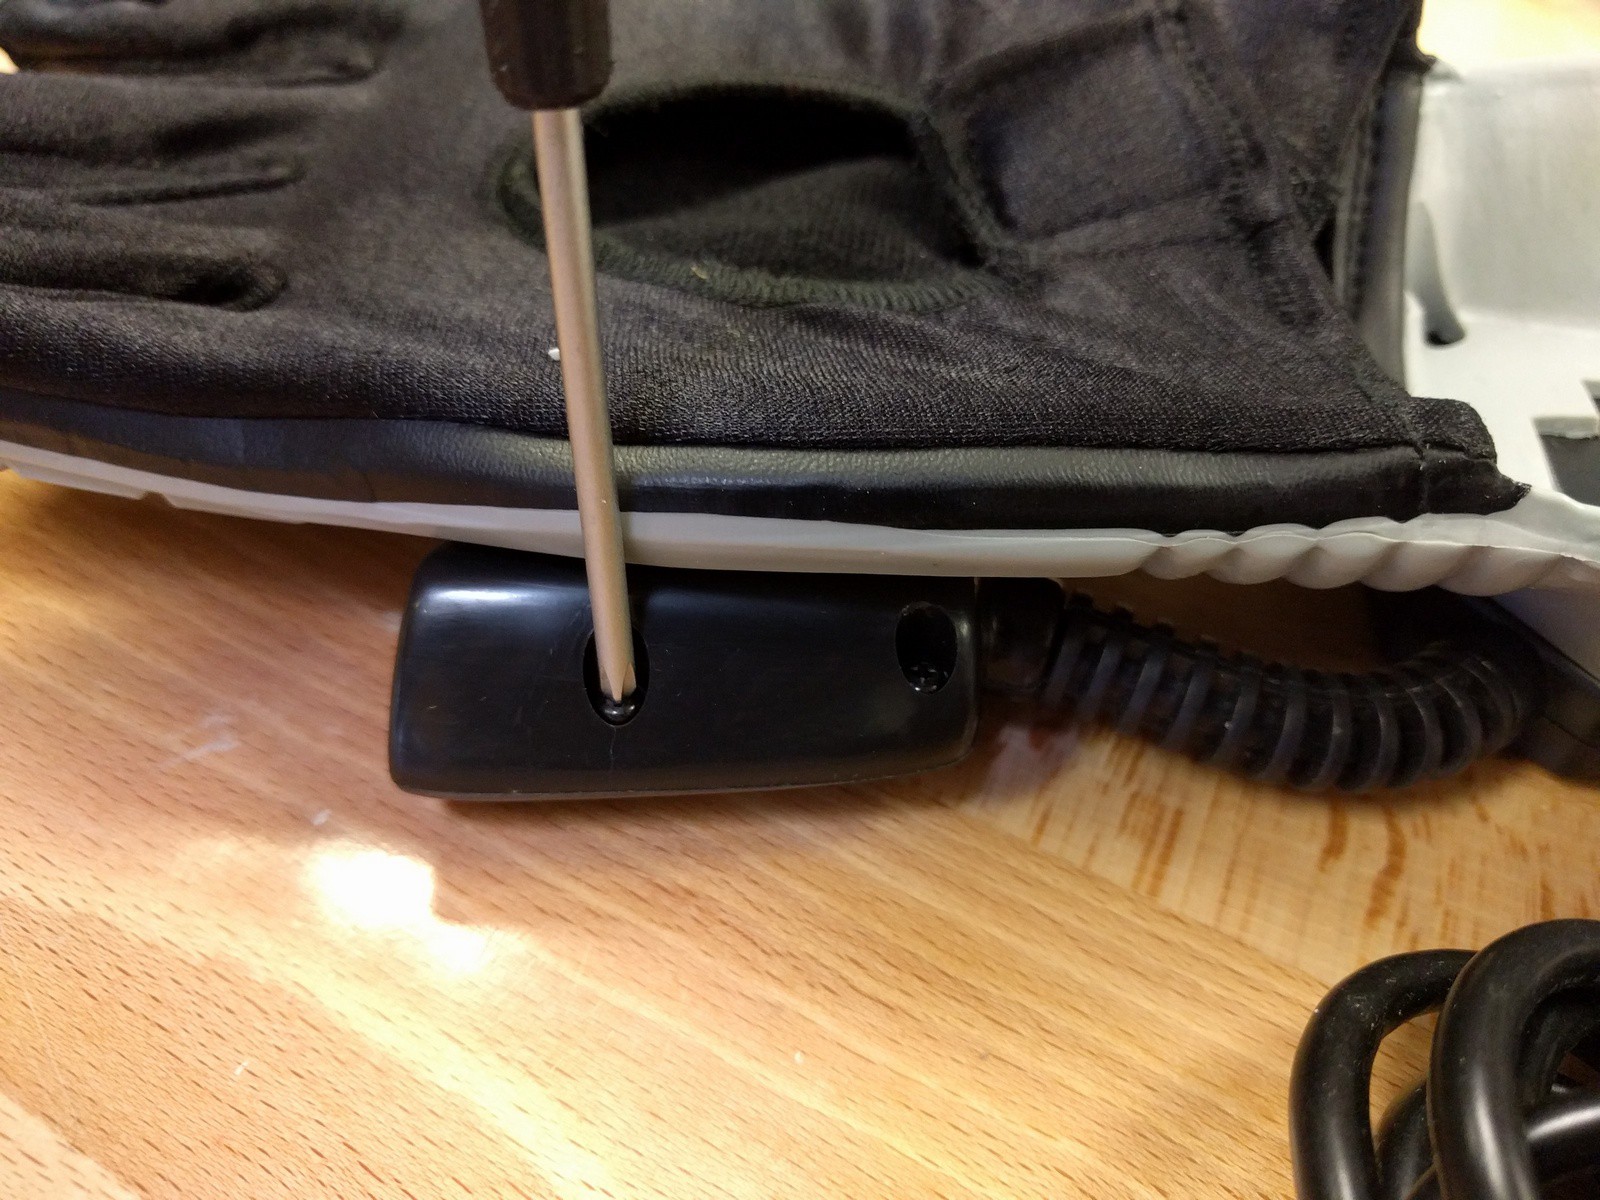
Wires to the flex sensor connections for testing
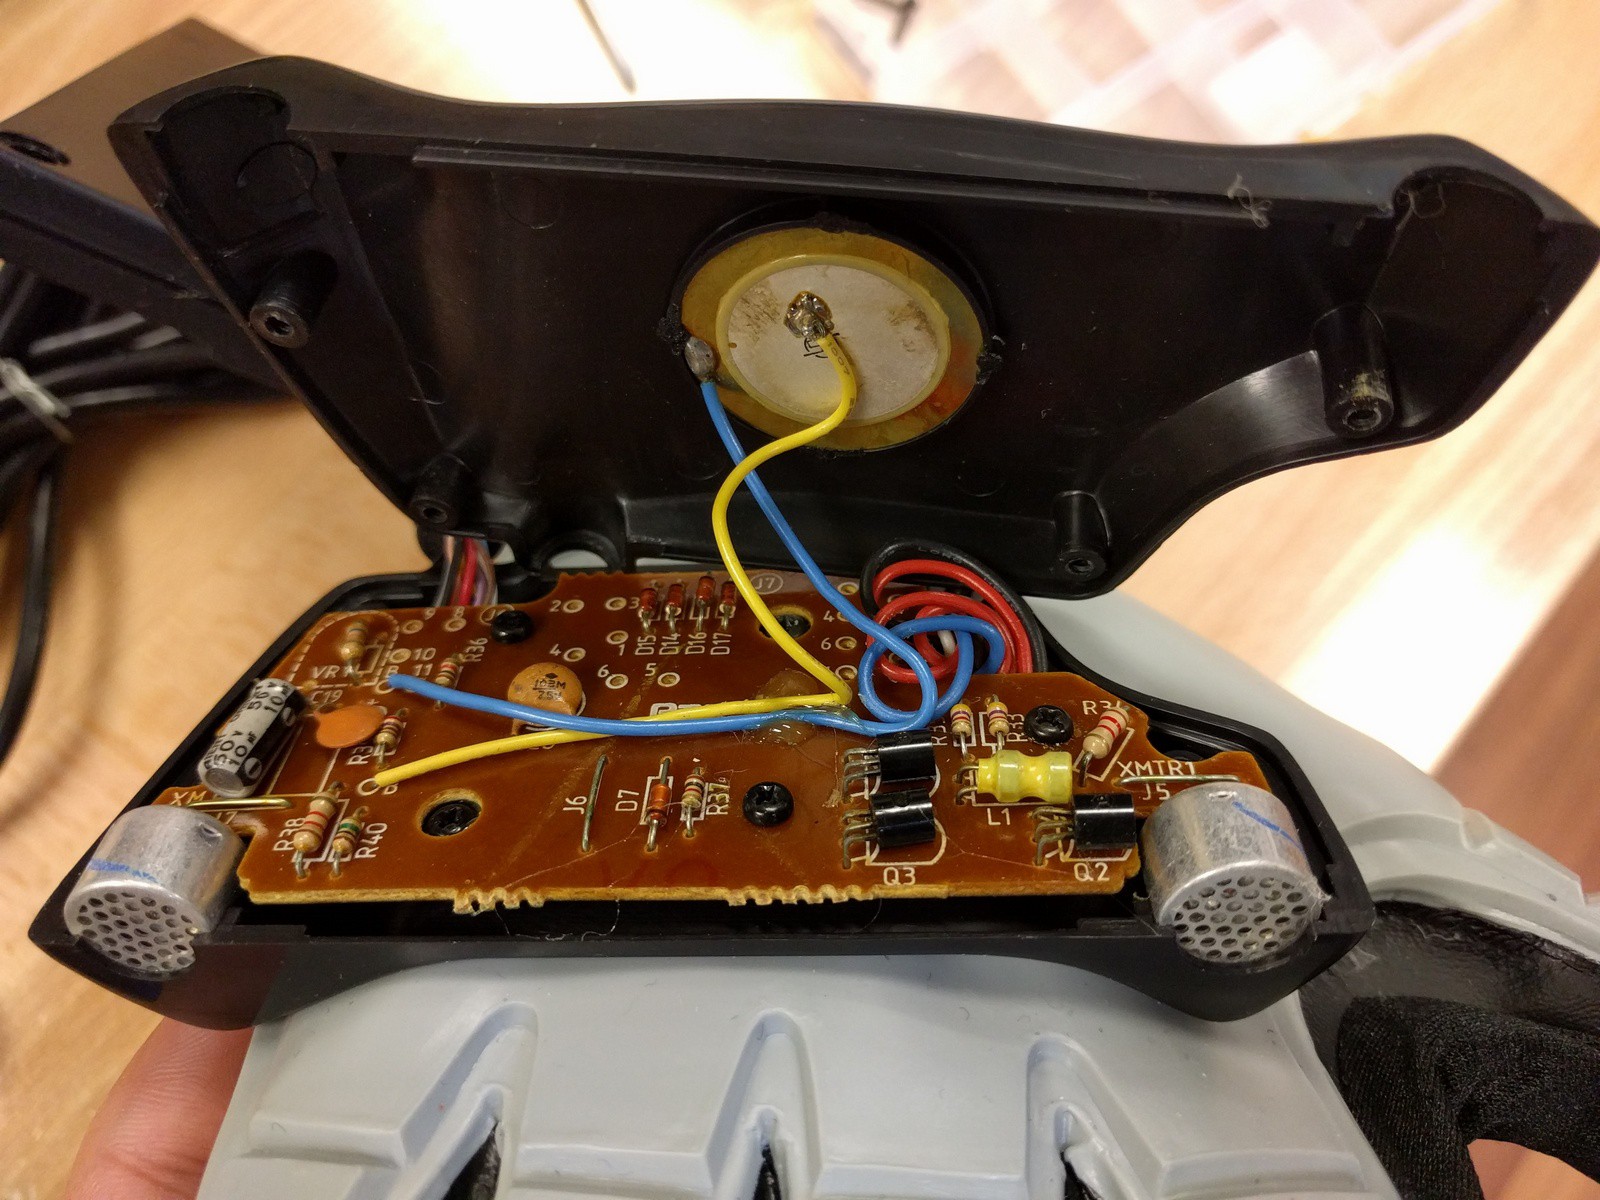
Freshly (but gently) ripped guts
The good news is, the flex sensors seem to work well. There are still some fluctuations in the values, but compared the previous glove's sensors, these are fairly solid and will be useful. Thank goodness, I was REALLY hoping I wouldn't have to cut the fingers open again (though now I can freely mess with the other glove to perhaps find a less intrusive means of replacing the sensors).
Other than that, not too much to note about the components. Next time, we'll hopefully get some boards installed so that some real testing can finally begin!
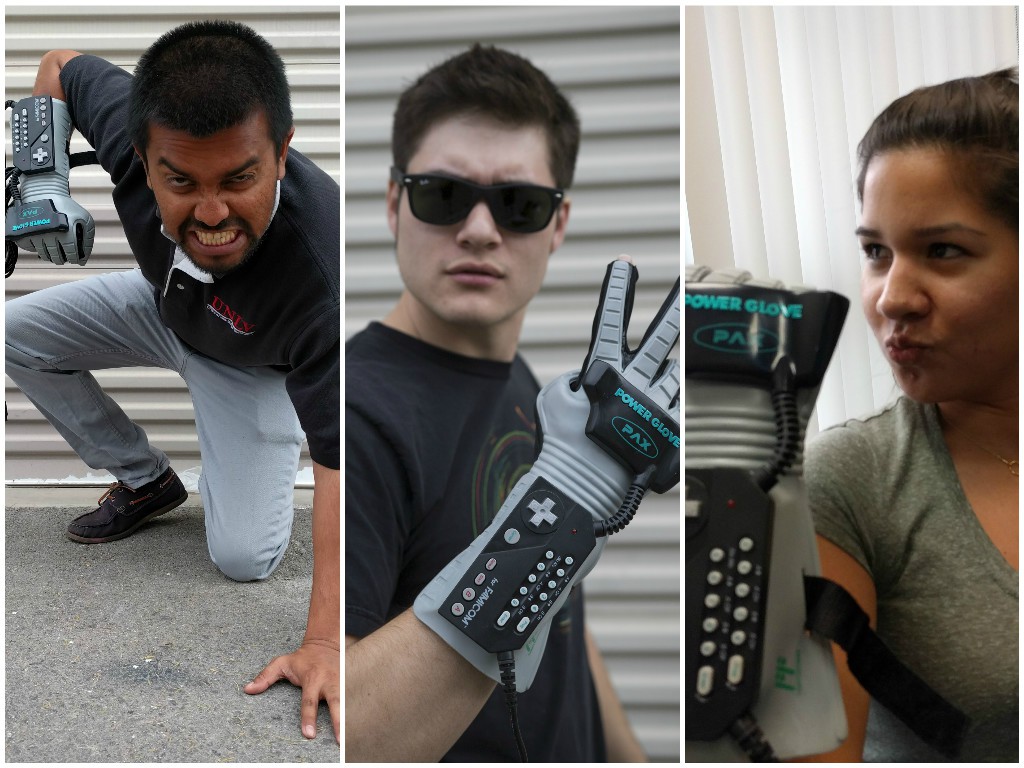
But, before I go... obligatory awesome shots:
Discussions
Become a Hackaday.io Member
Create an account to leave a comment. Already have an account? Log In.