 MECHANICUS
-
1Step 1
You will need an electric kiln or forge capable of 900 degrees celcius. For the cheapest option build a gas forge like the one described below. An electric kiln is preferable, but I could not afford one at this time, nor do I have time to build one for the citizen scientist portion of the HAD 2016 prize.
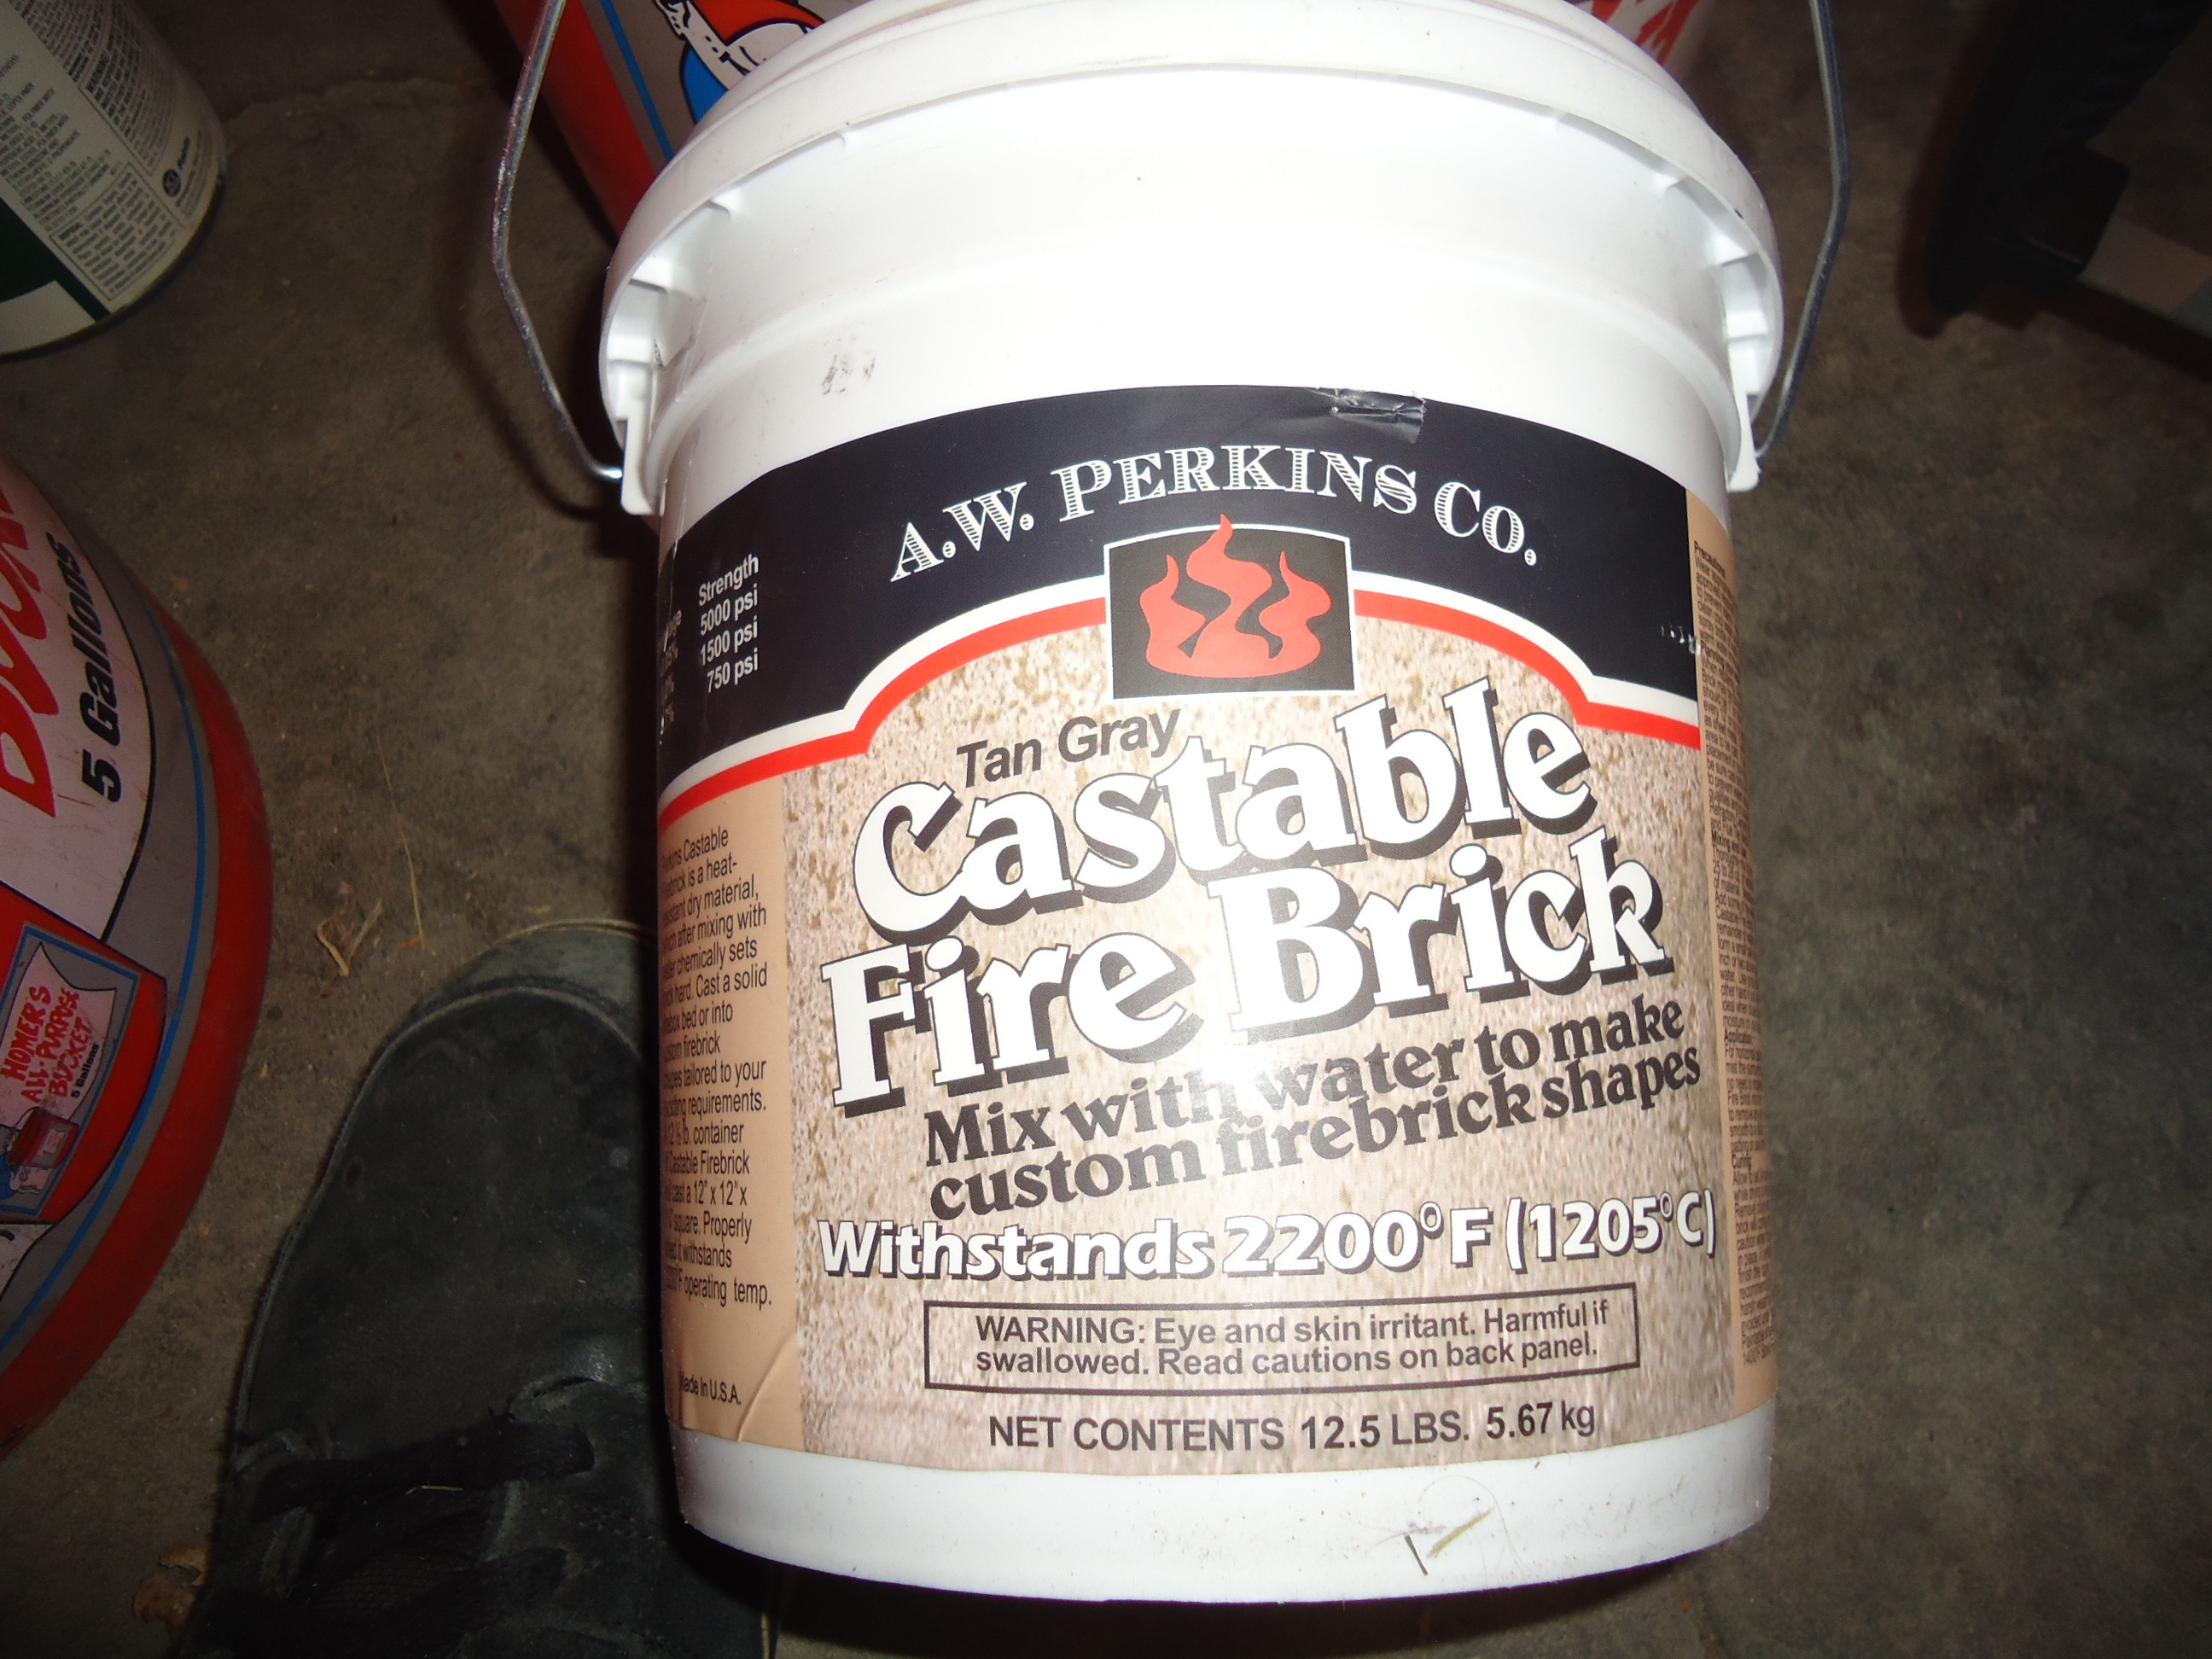
Acquire a barbecue charcoal chimney from the local hardware store, and some refractory cement. That or make some refractory cement there are countless tutorials on the net. You will also need some diatomaceous earth and sodium hydroxide to make a water glass/ sodium silicate refractory to glaze the forge with. A small peice of pipe will be needed for the gas torch inlet.
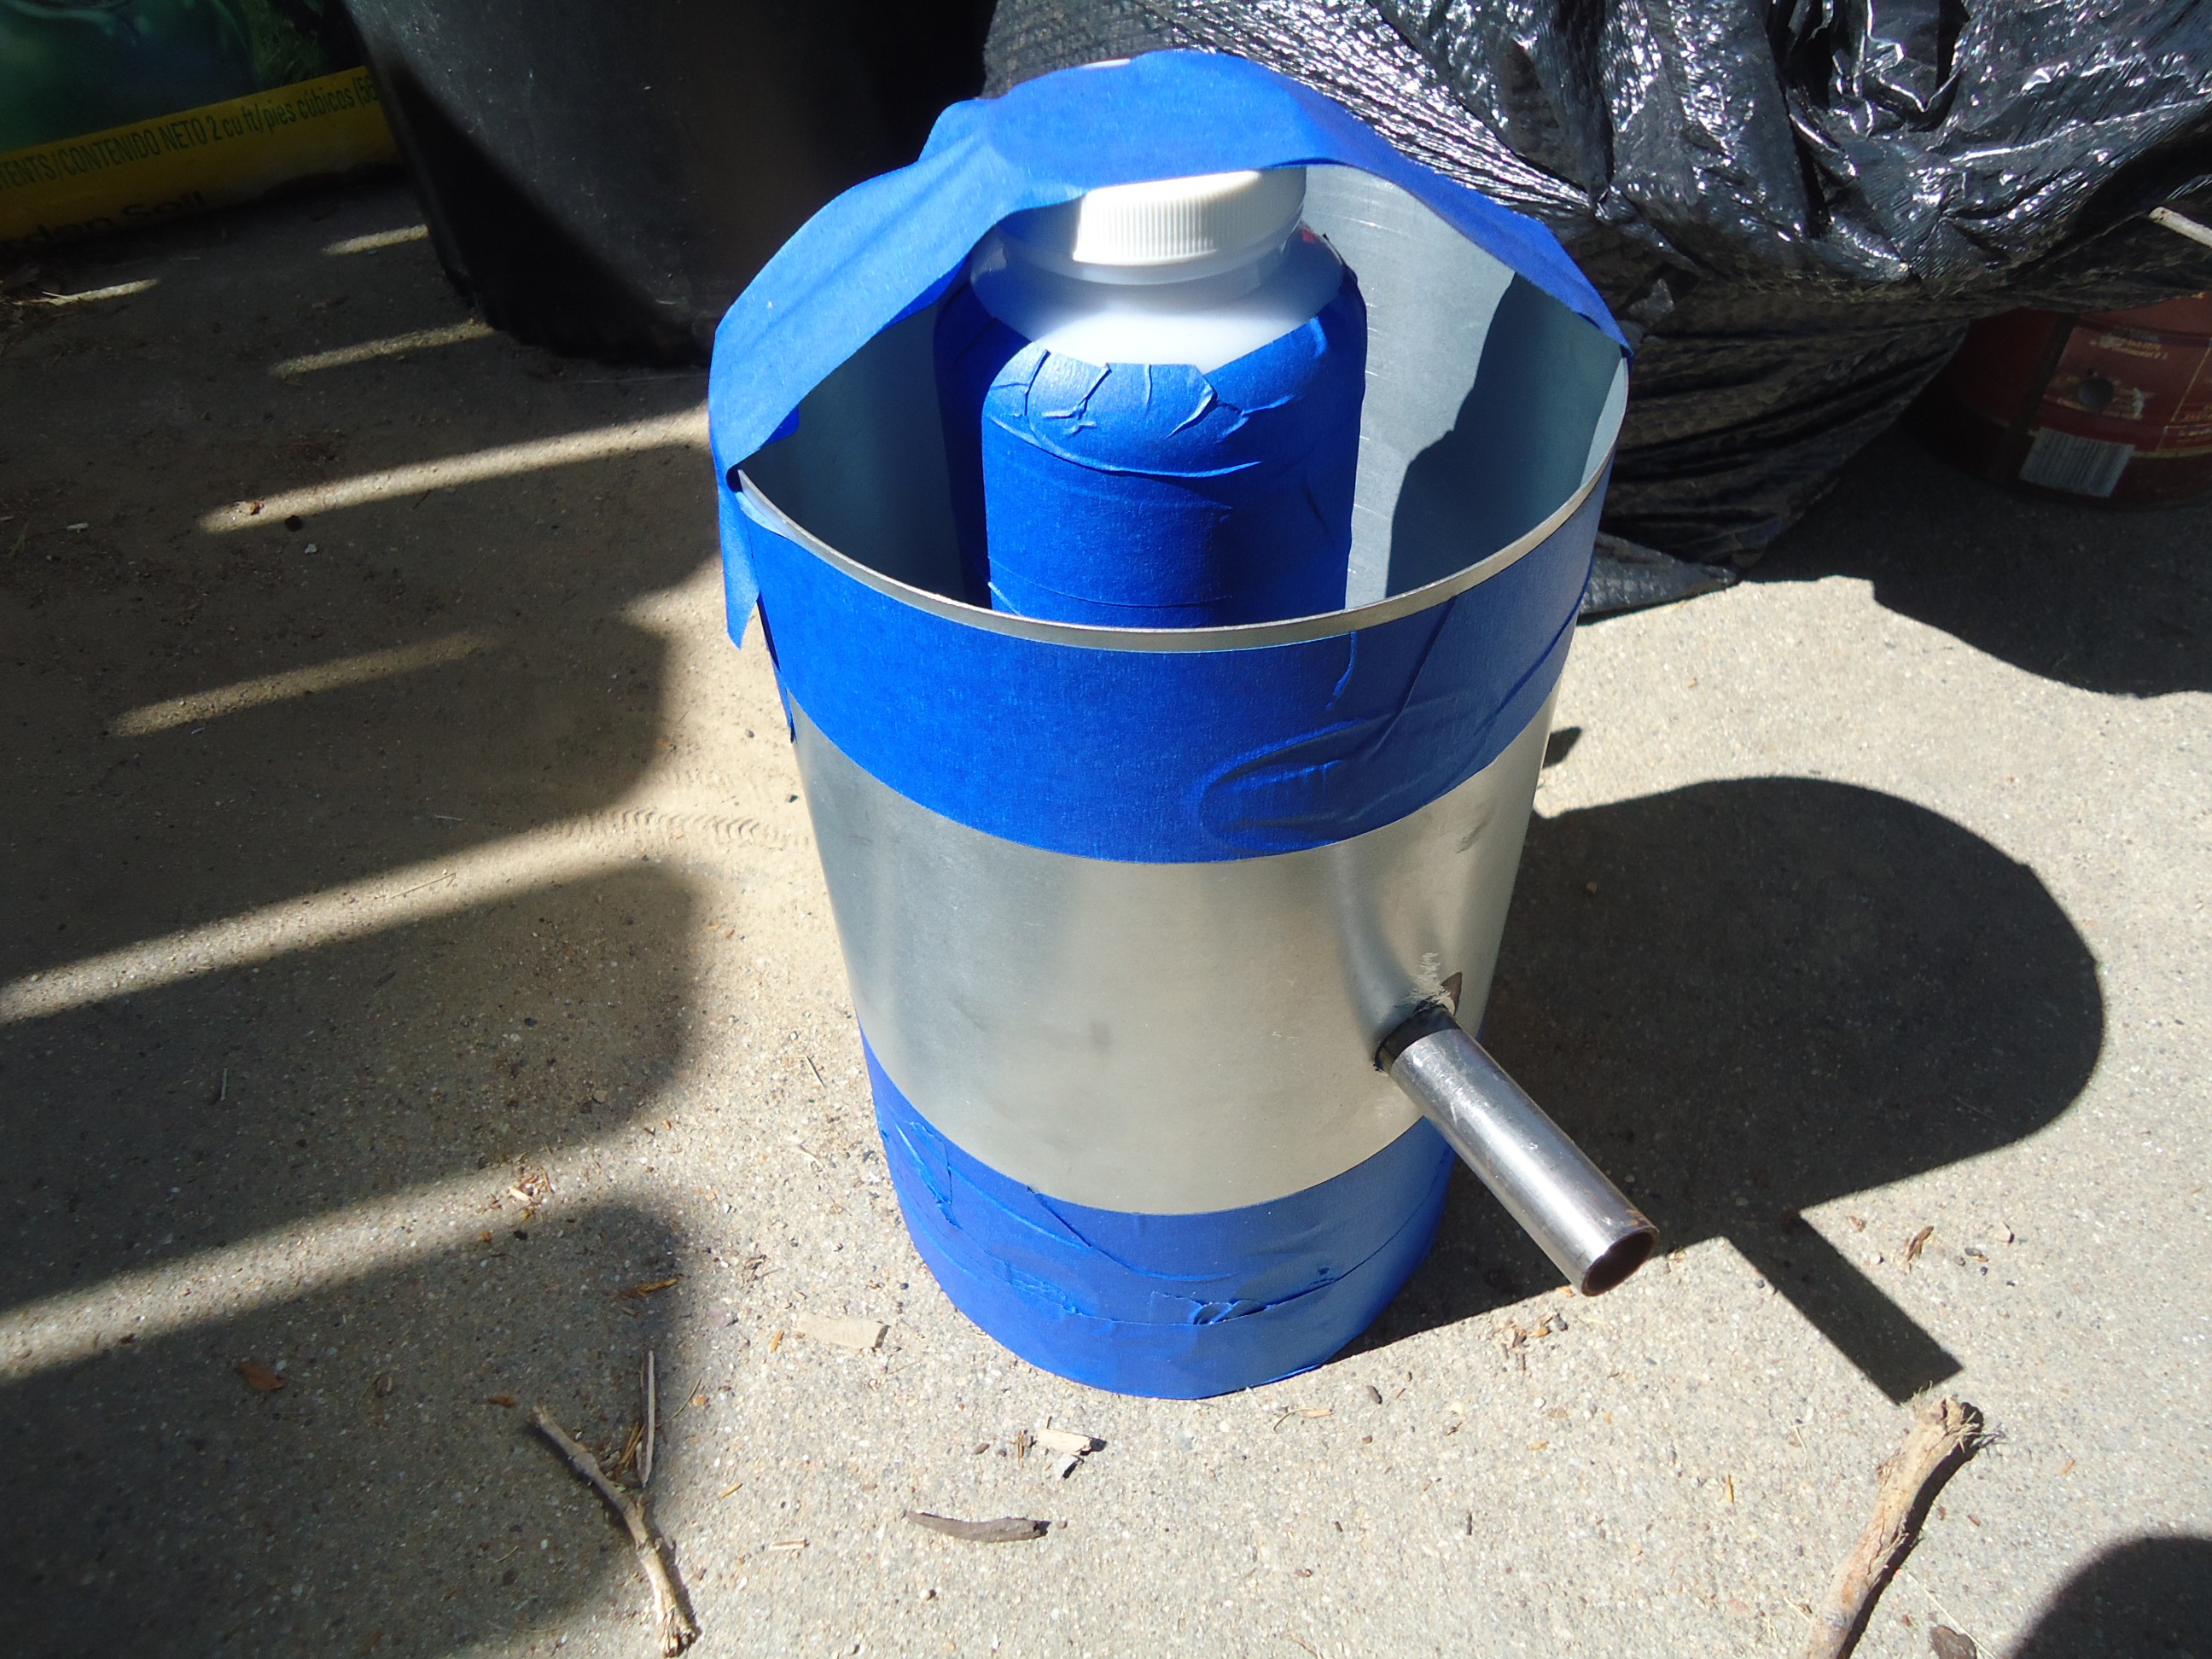
Prepare the mold so the refractory can be cast.
![]()
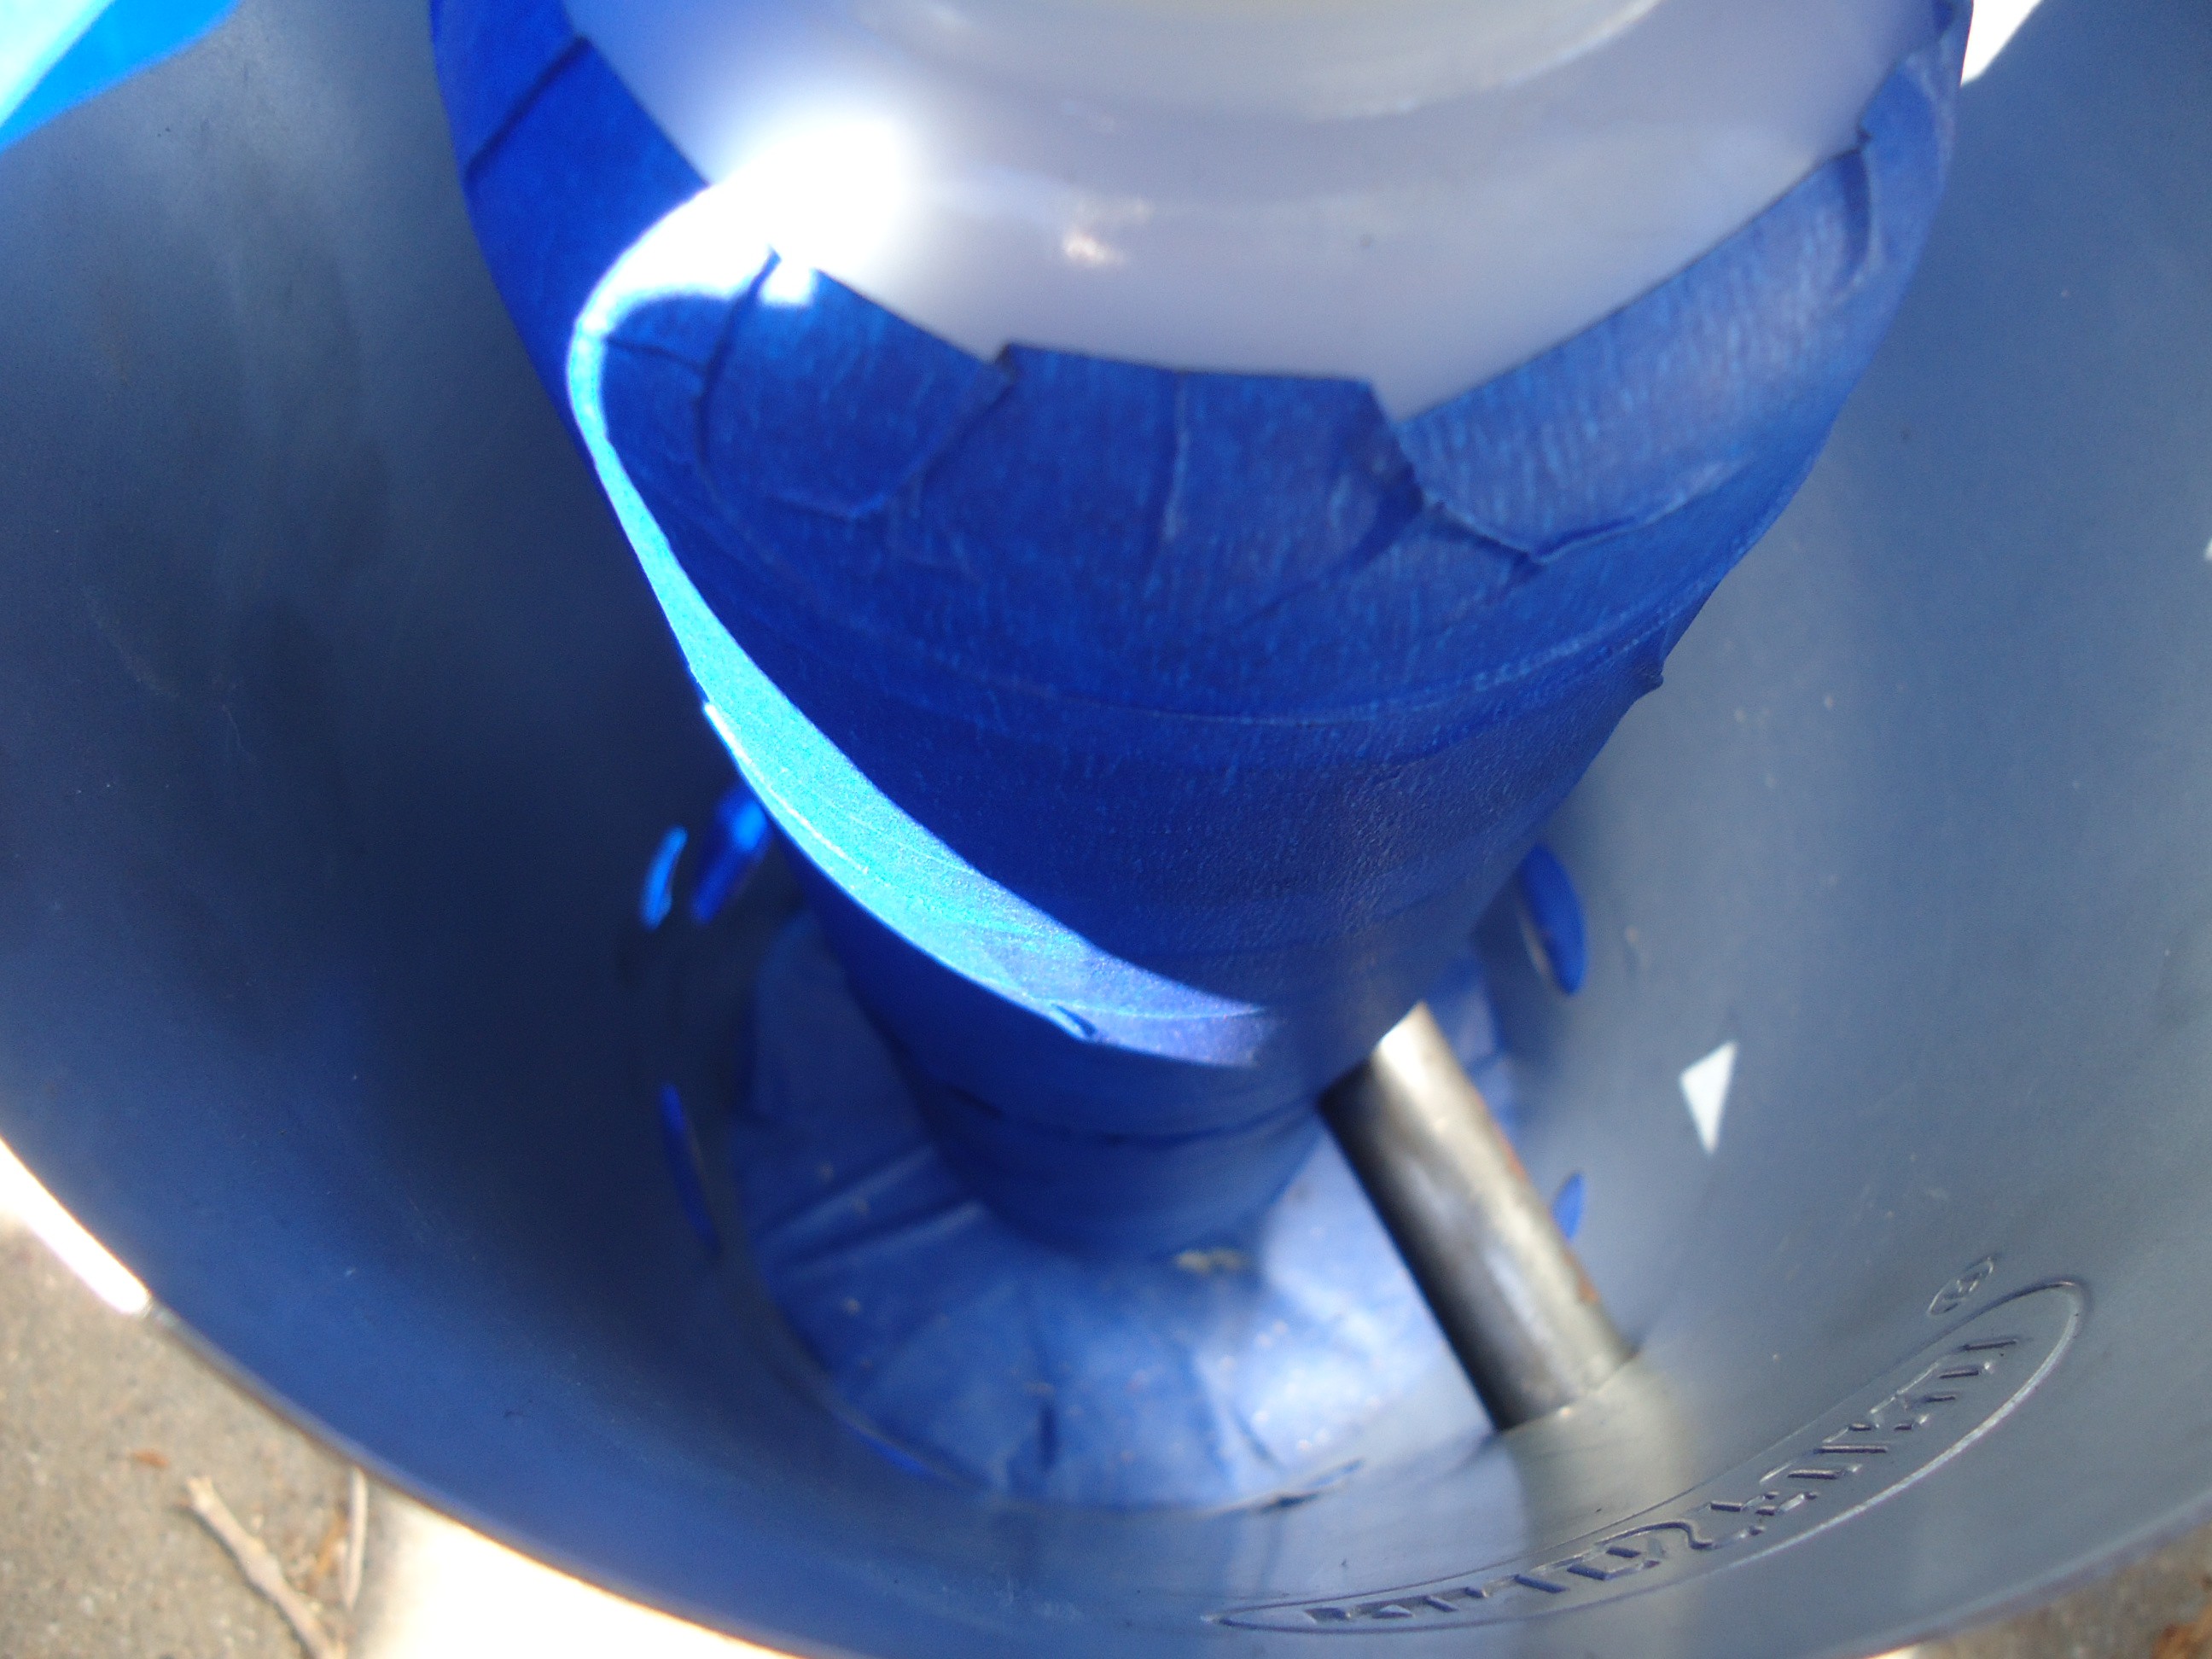
The inlet should be angled so the flames can swirl around the crucible, I placed my inlet in the middle so that I can get the most even heating on the crucible from the middle outwards.
![]()
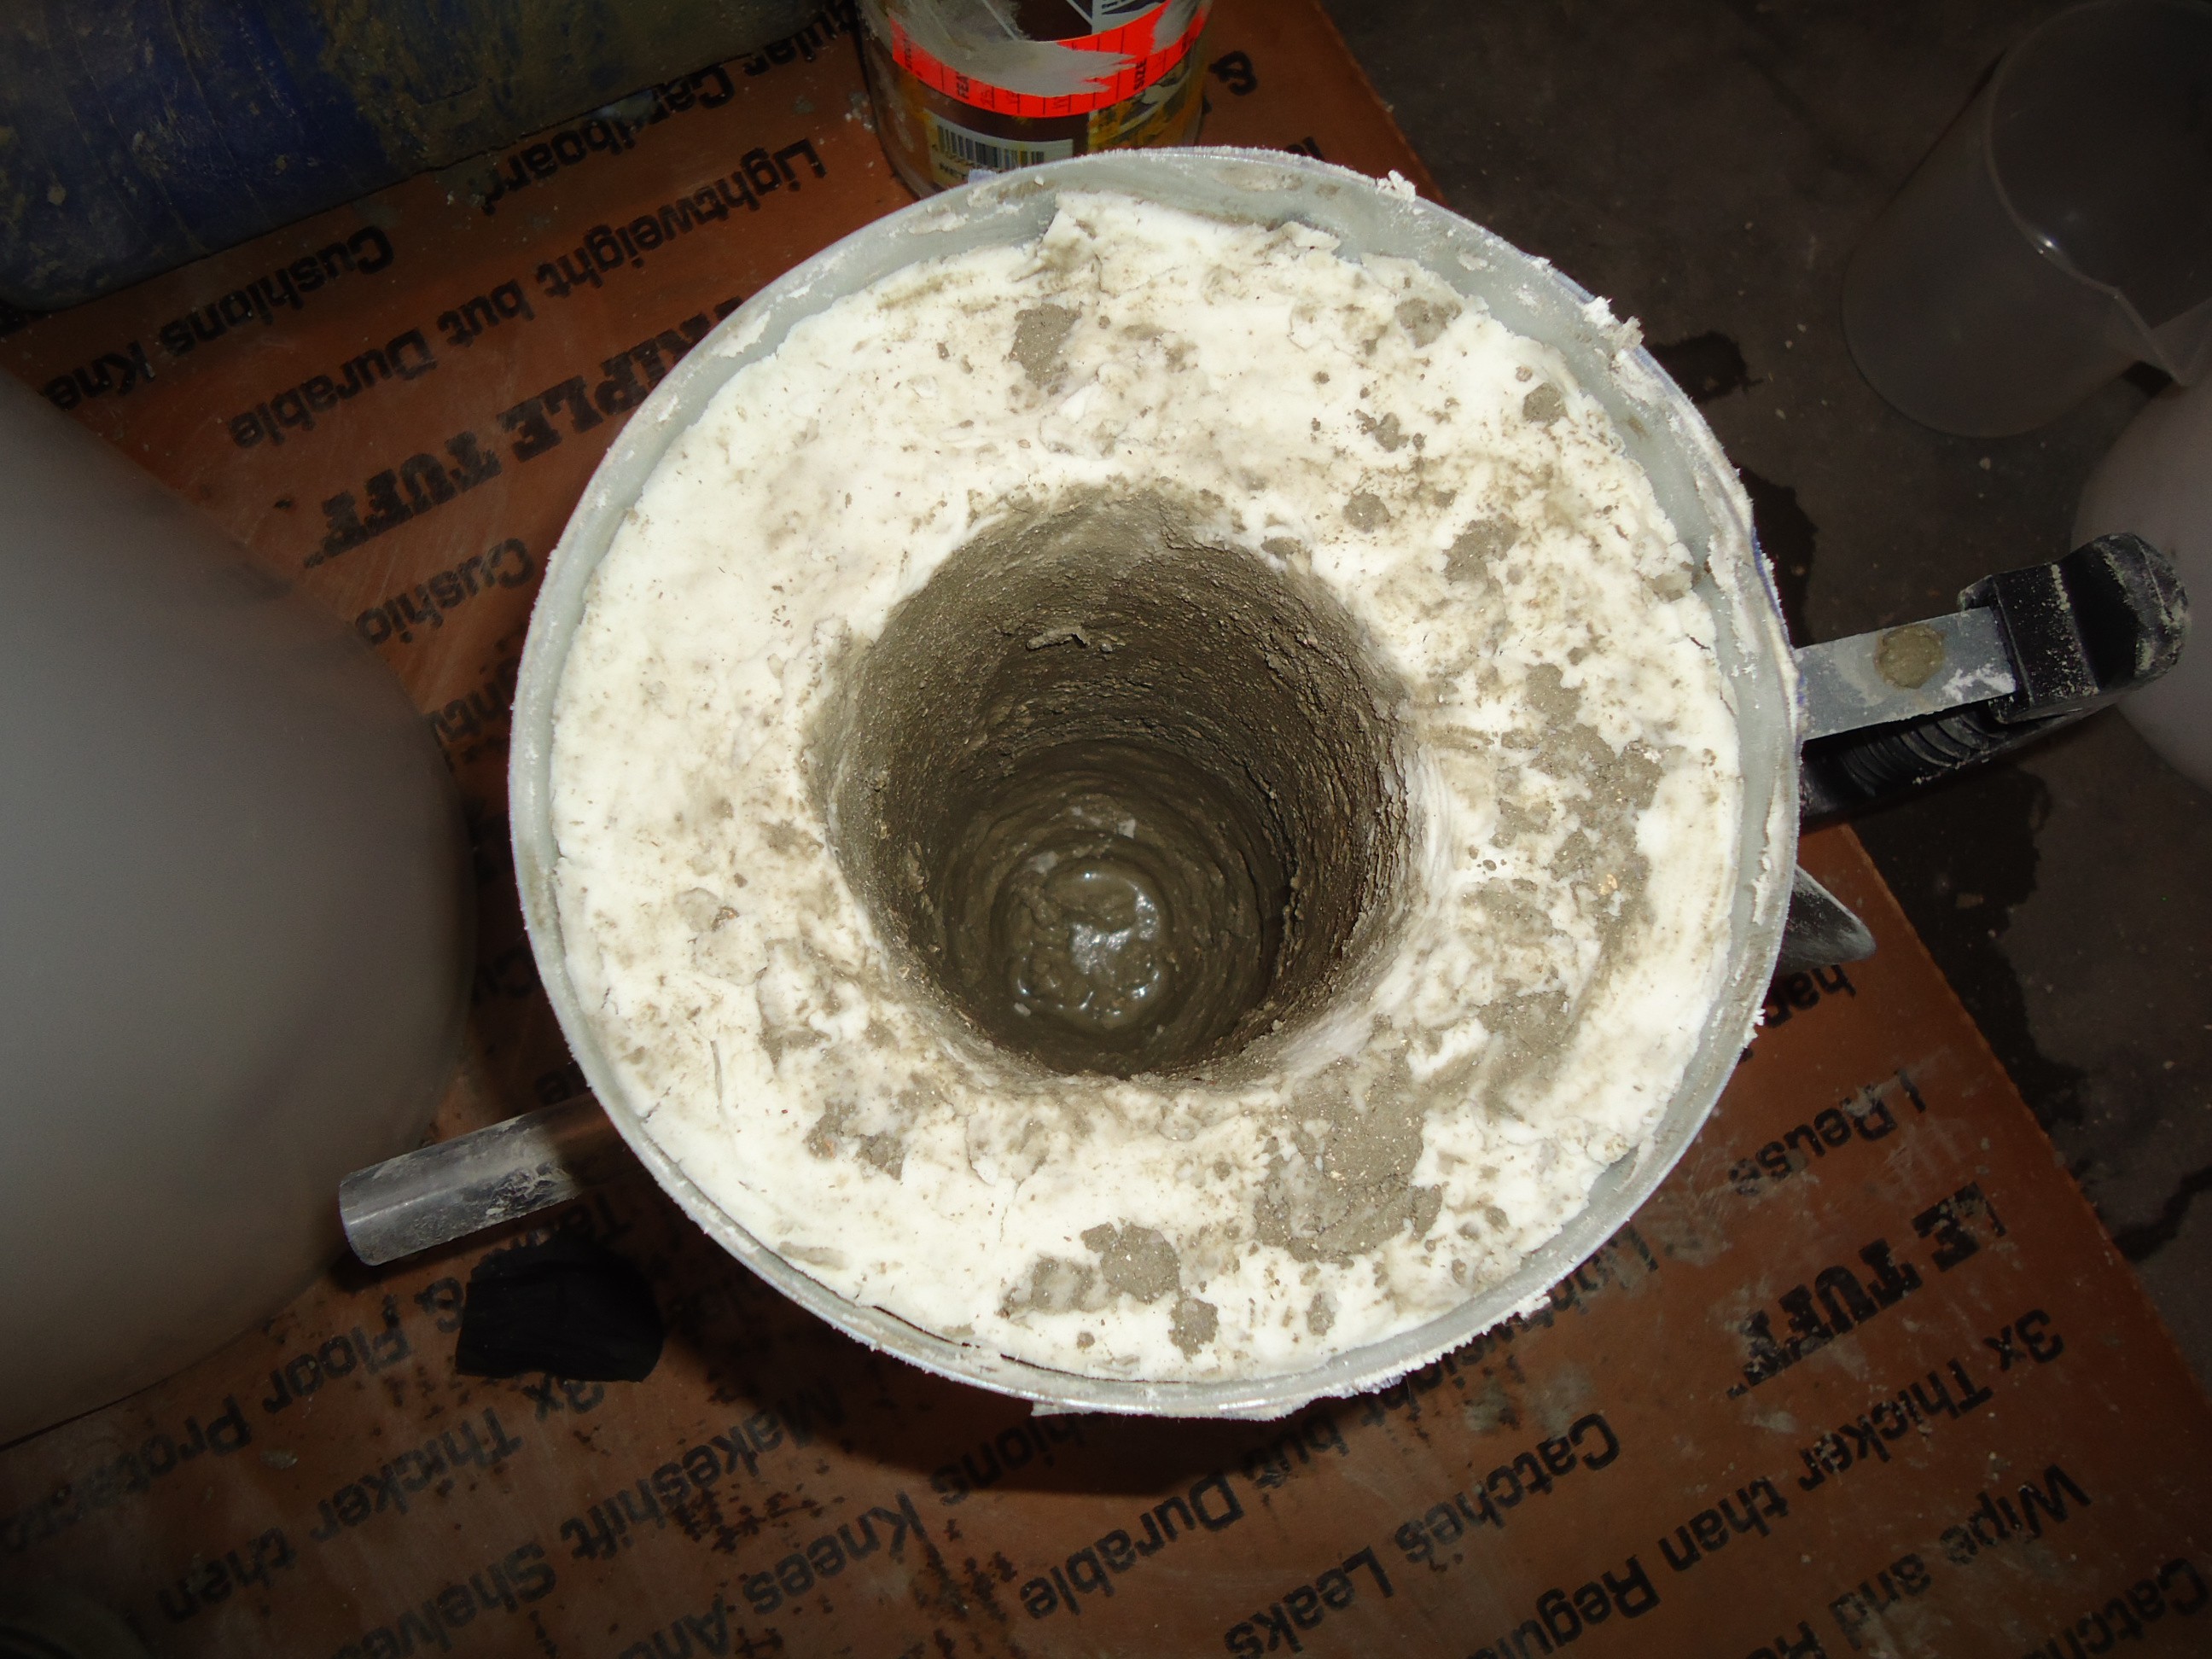
Mix up the refractory, you will need two 12.5 buckets for the size I made, or do like I did and mix in a second equal portion of pool filter diatomaceous earth which is SiO2 and is an excellent refractory material.
![]()
Cast in the mold, you may need something to hold the pipe, or whatever you used for the center portion down as the hydrostatic pressure will force it upwards and outwards. After 30 minutes (or the pot life/working time listed on the refractory) remove the center mold.
![]()
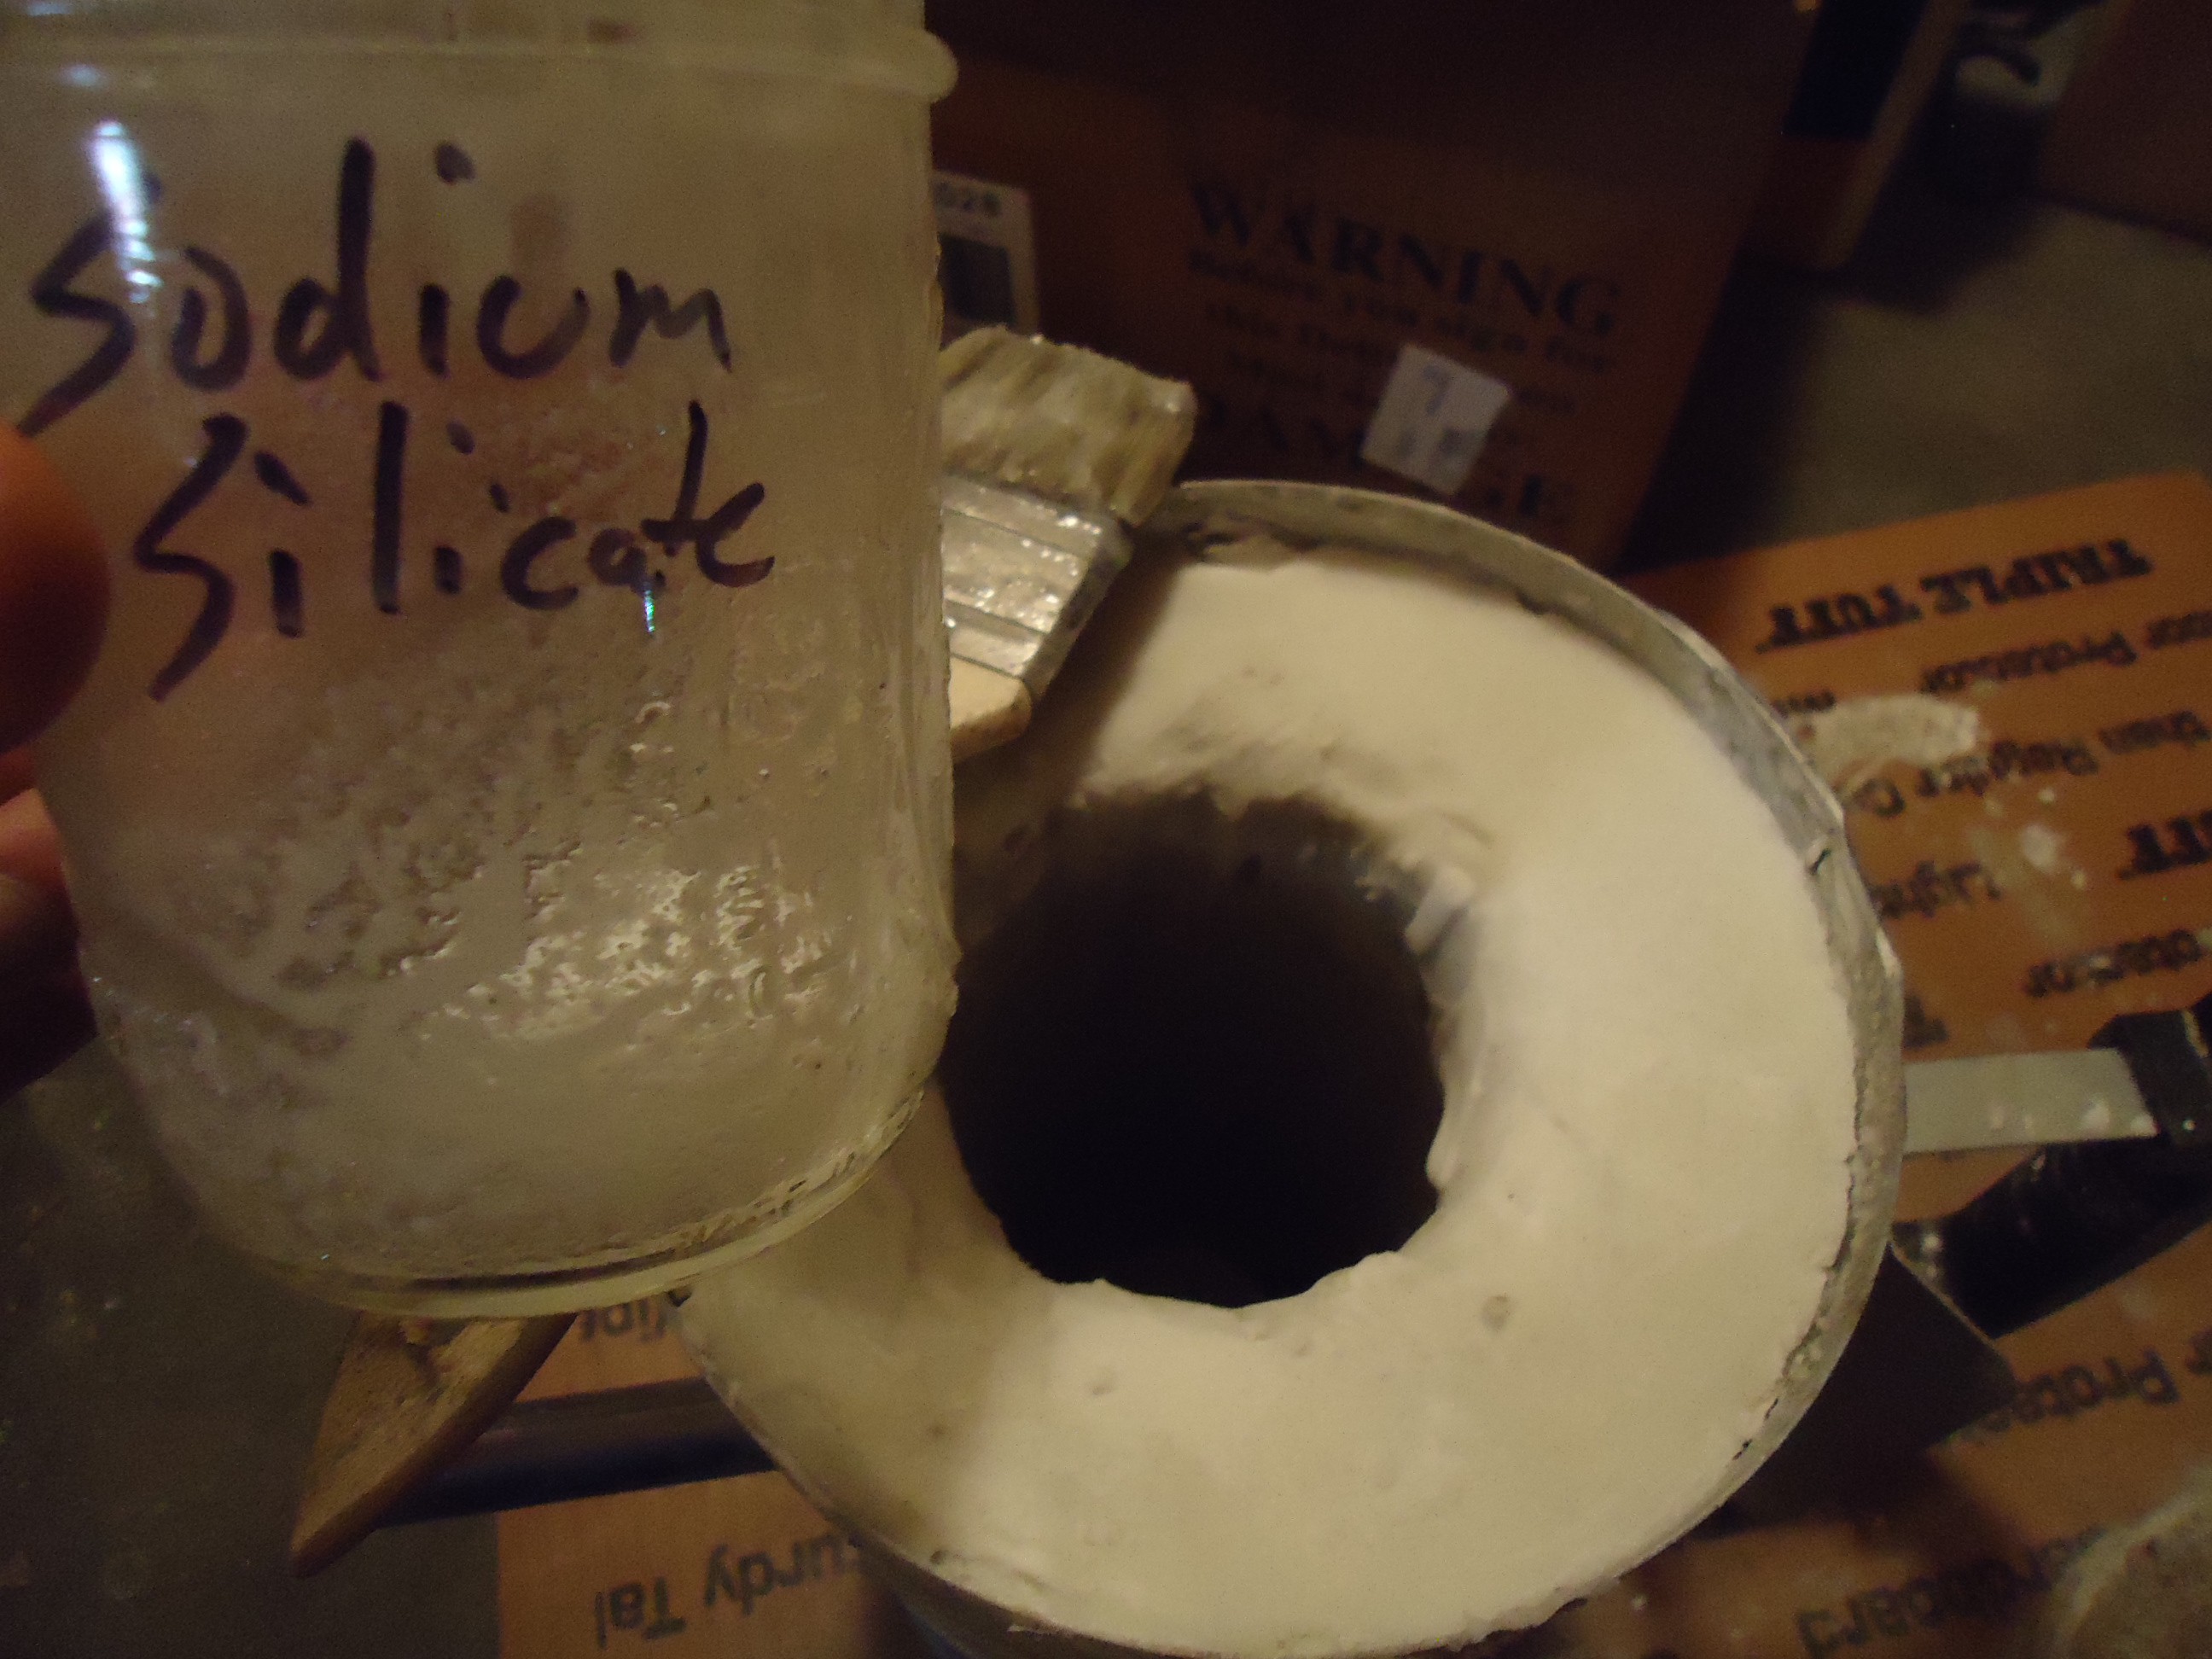
After the refractory has cured, mix up some diatomaceous earth and sodium hydroxide to make water glass/sodium silicate. There are numerous tutorials on youtube found here https://www.youtube.com/results?search_query=make+water+glass Paint the water glass on all surfaces of the forge, this will glaze the forge and make it much more efficient.
![]()
![]()
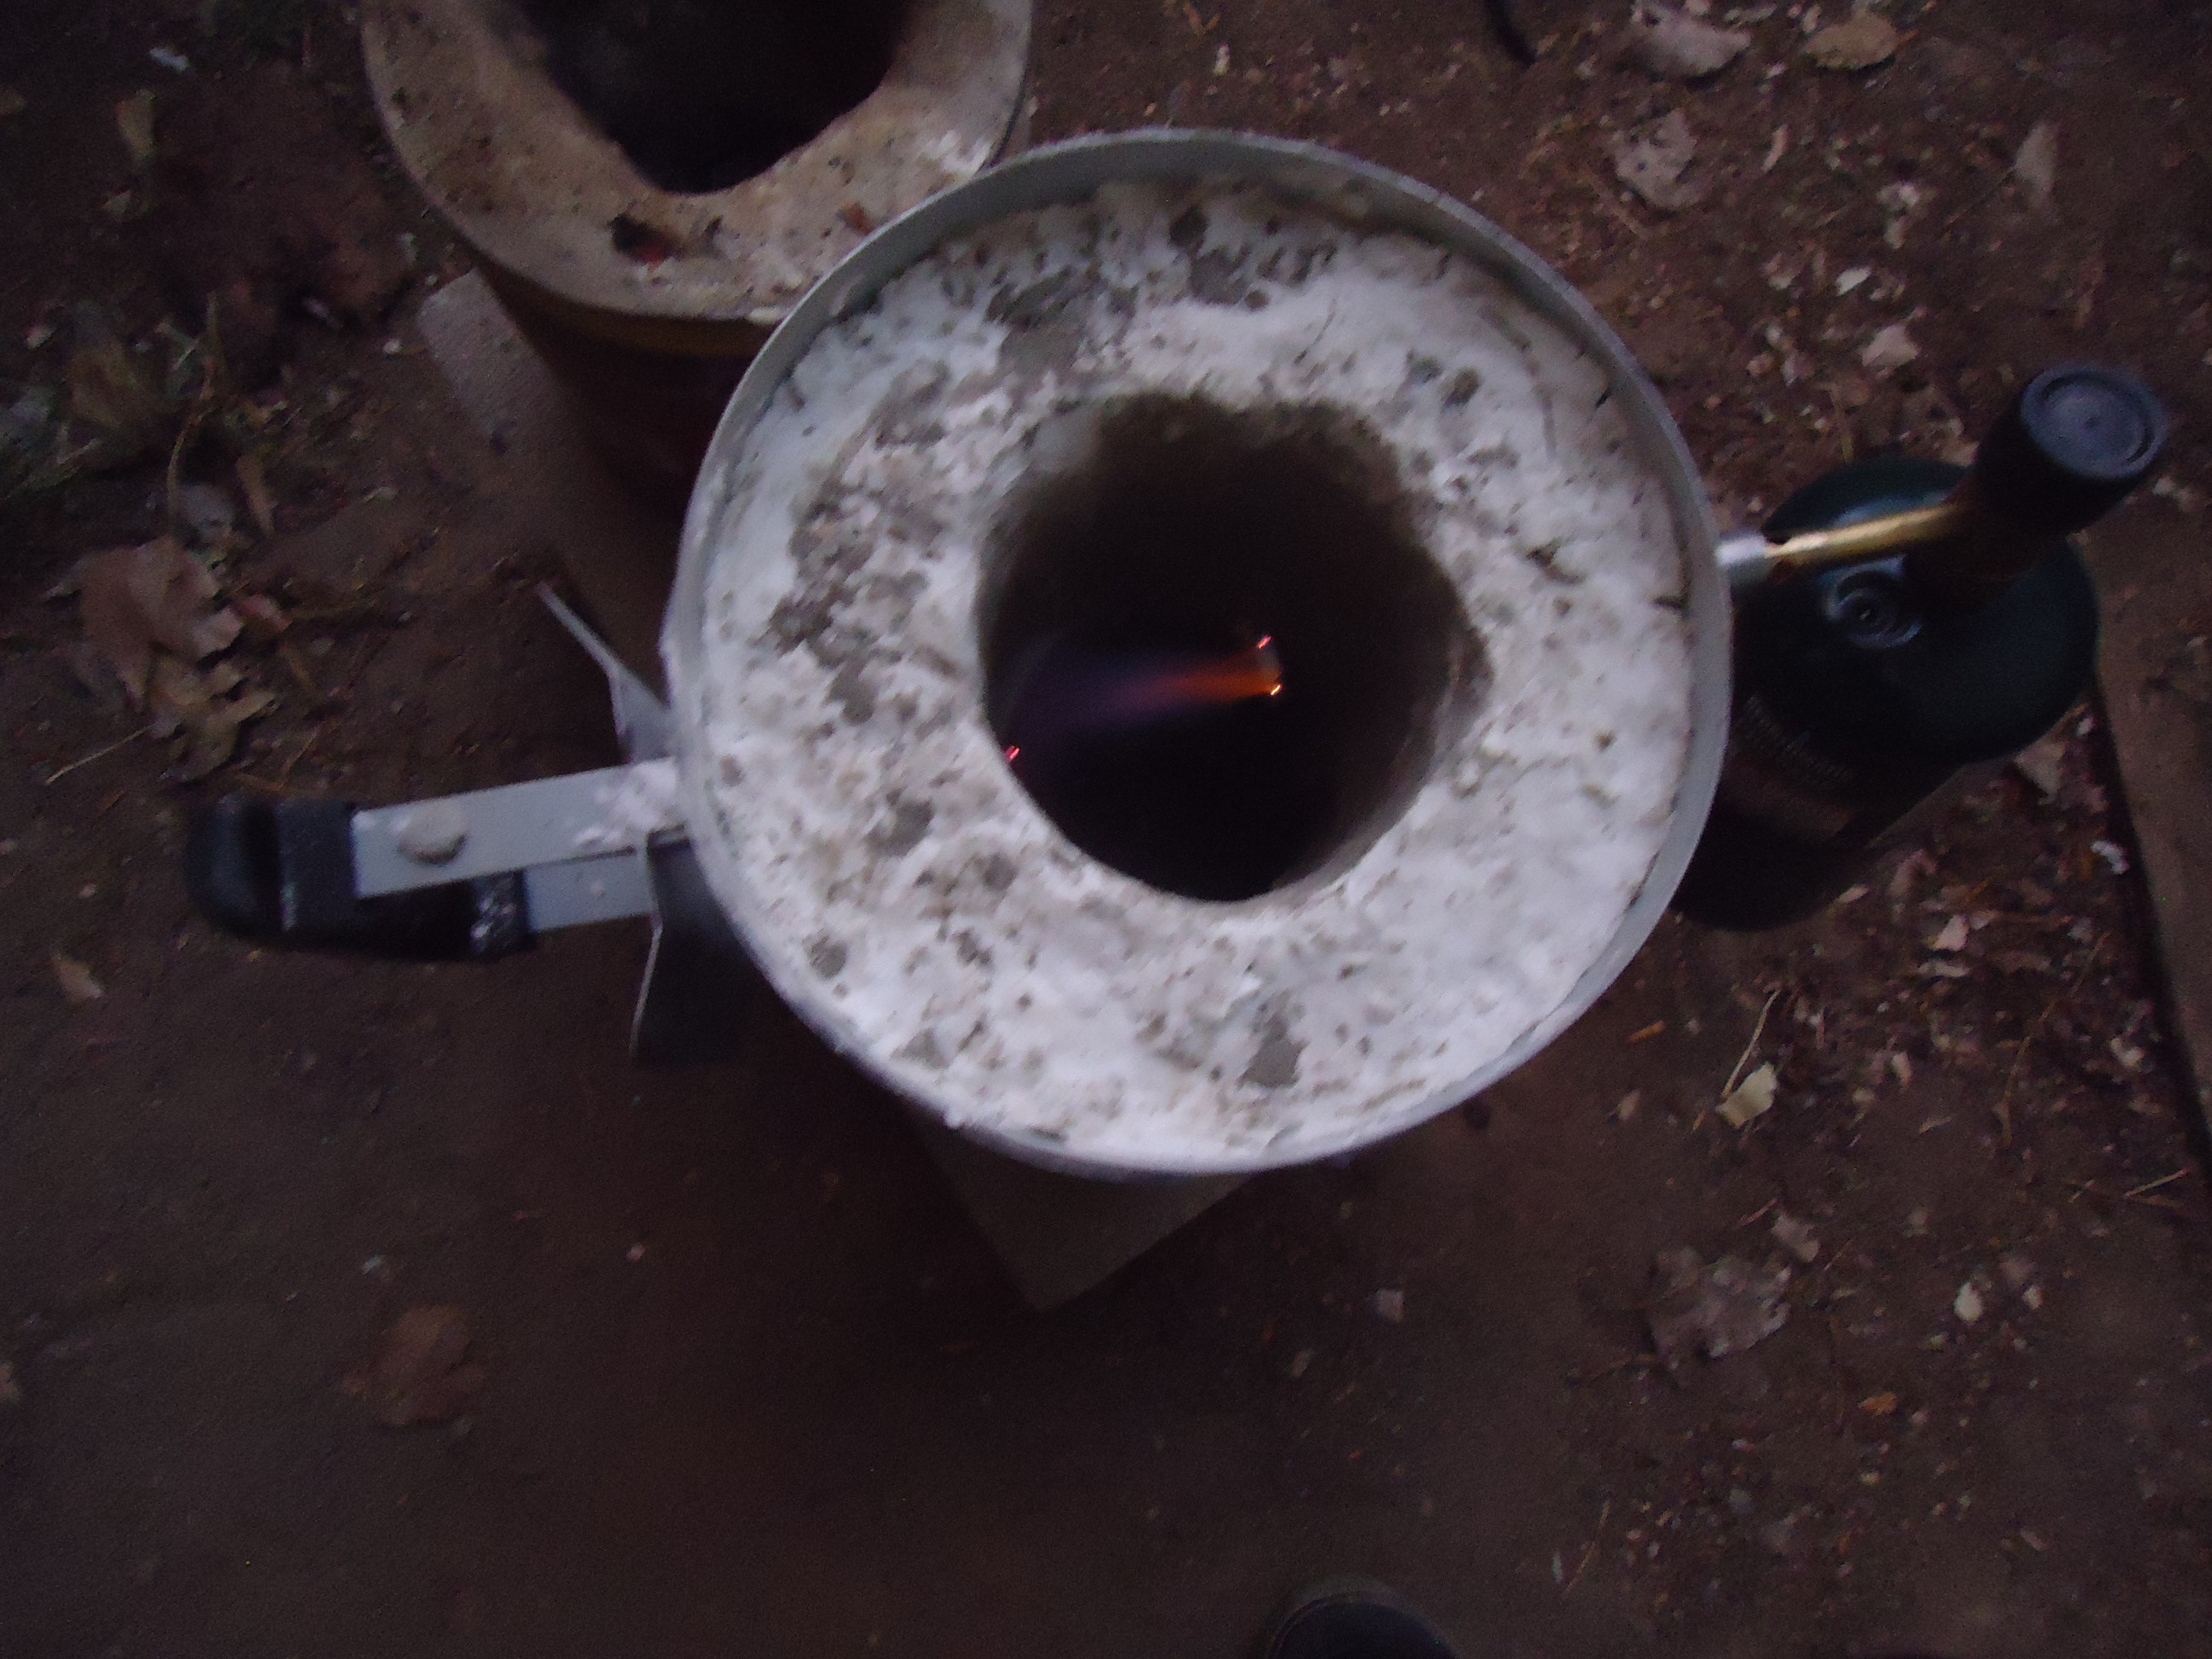
You will then need to flame cure the water glass and slowly bring the forge up to working temperature. Err on the side of caution and adhere to the full cure instructions for the mixed refractory, 24 hours is a good rule. To the top is my old forge is was pretty bad(would not cherry) I will be using it as a lid however. You will need a swirl flame torch that can be acquired on EBAY this will not work with a pencil tip torch see bill of materials.
WARNING: If the outside of the forge feels hot, STOP FIRING IMMEDIATELY it still has considerable water in the refractory and will eventually crack or explode. Let it sit while hot and when it cools down fire again and again until the water has evaporated.
![]()
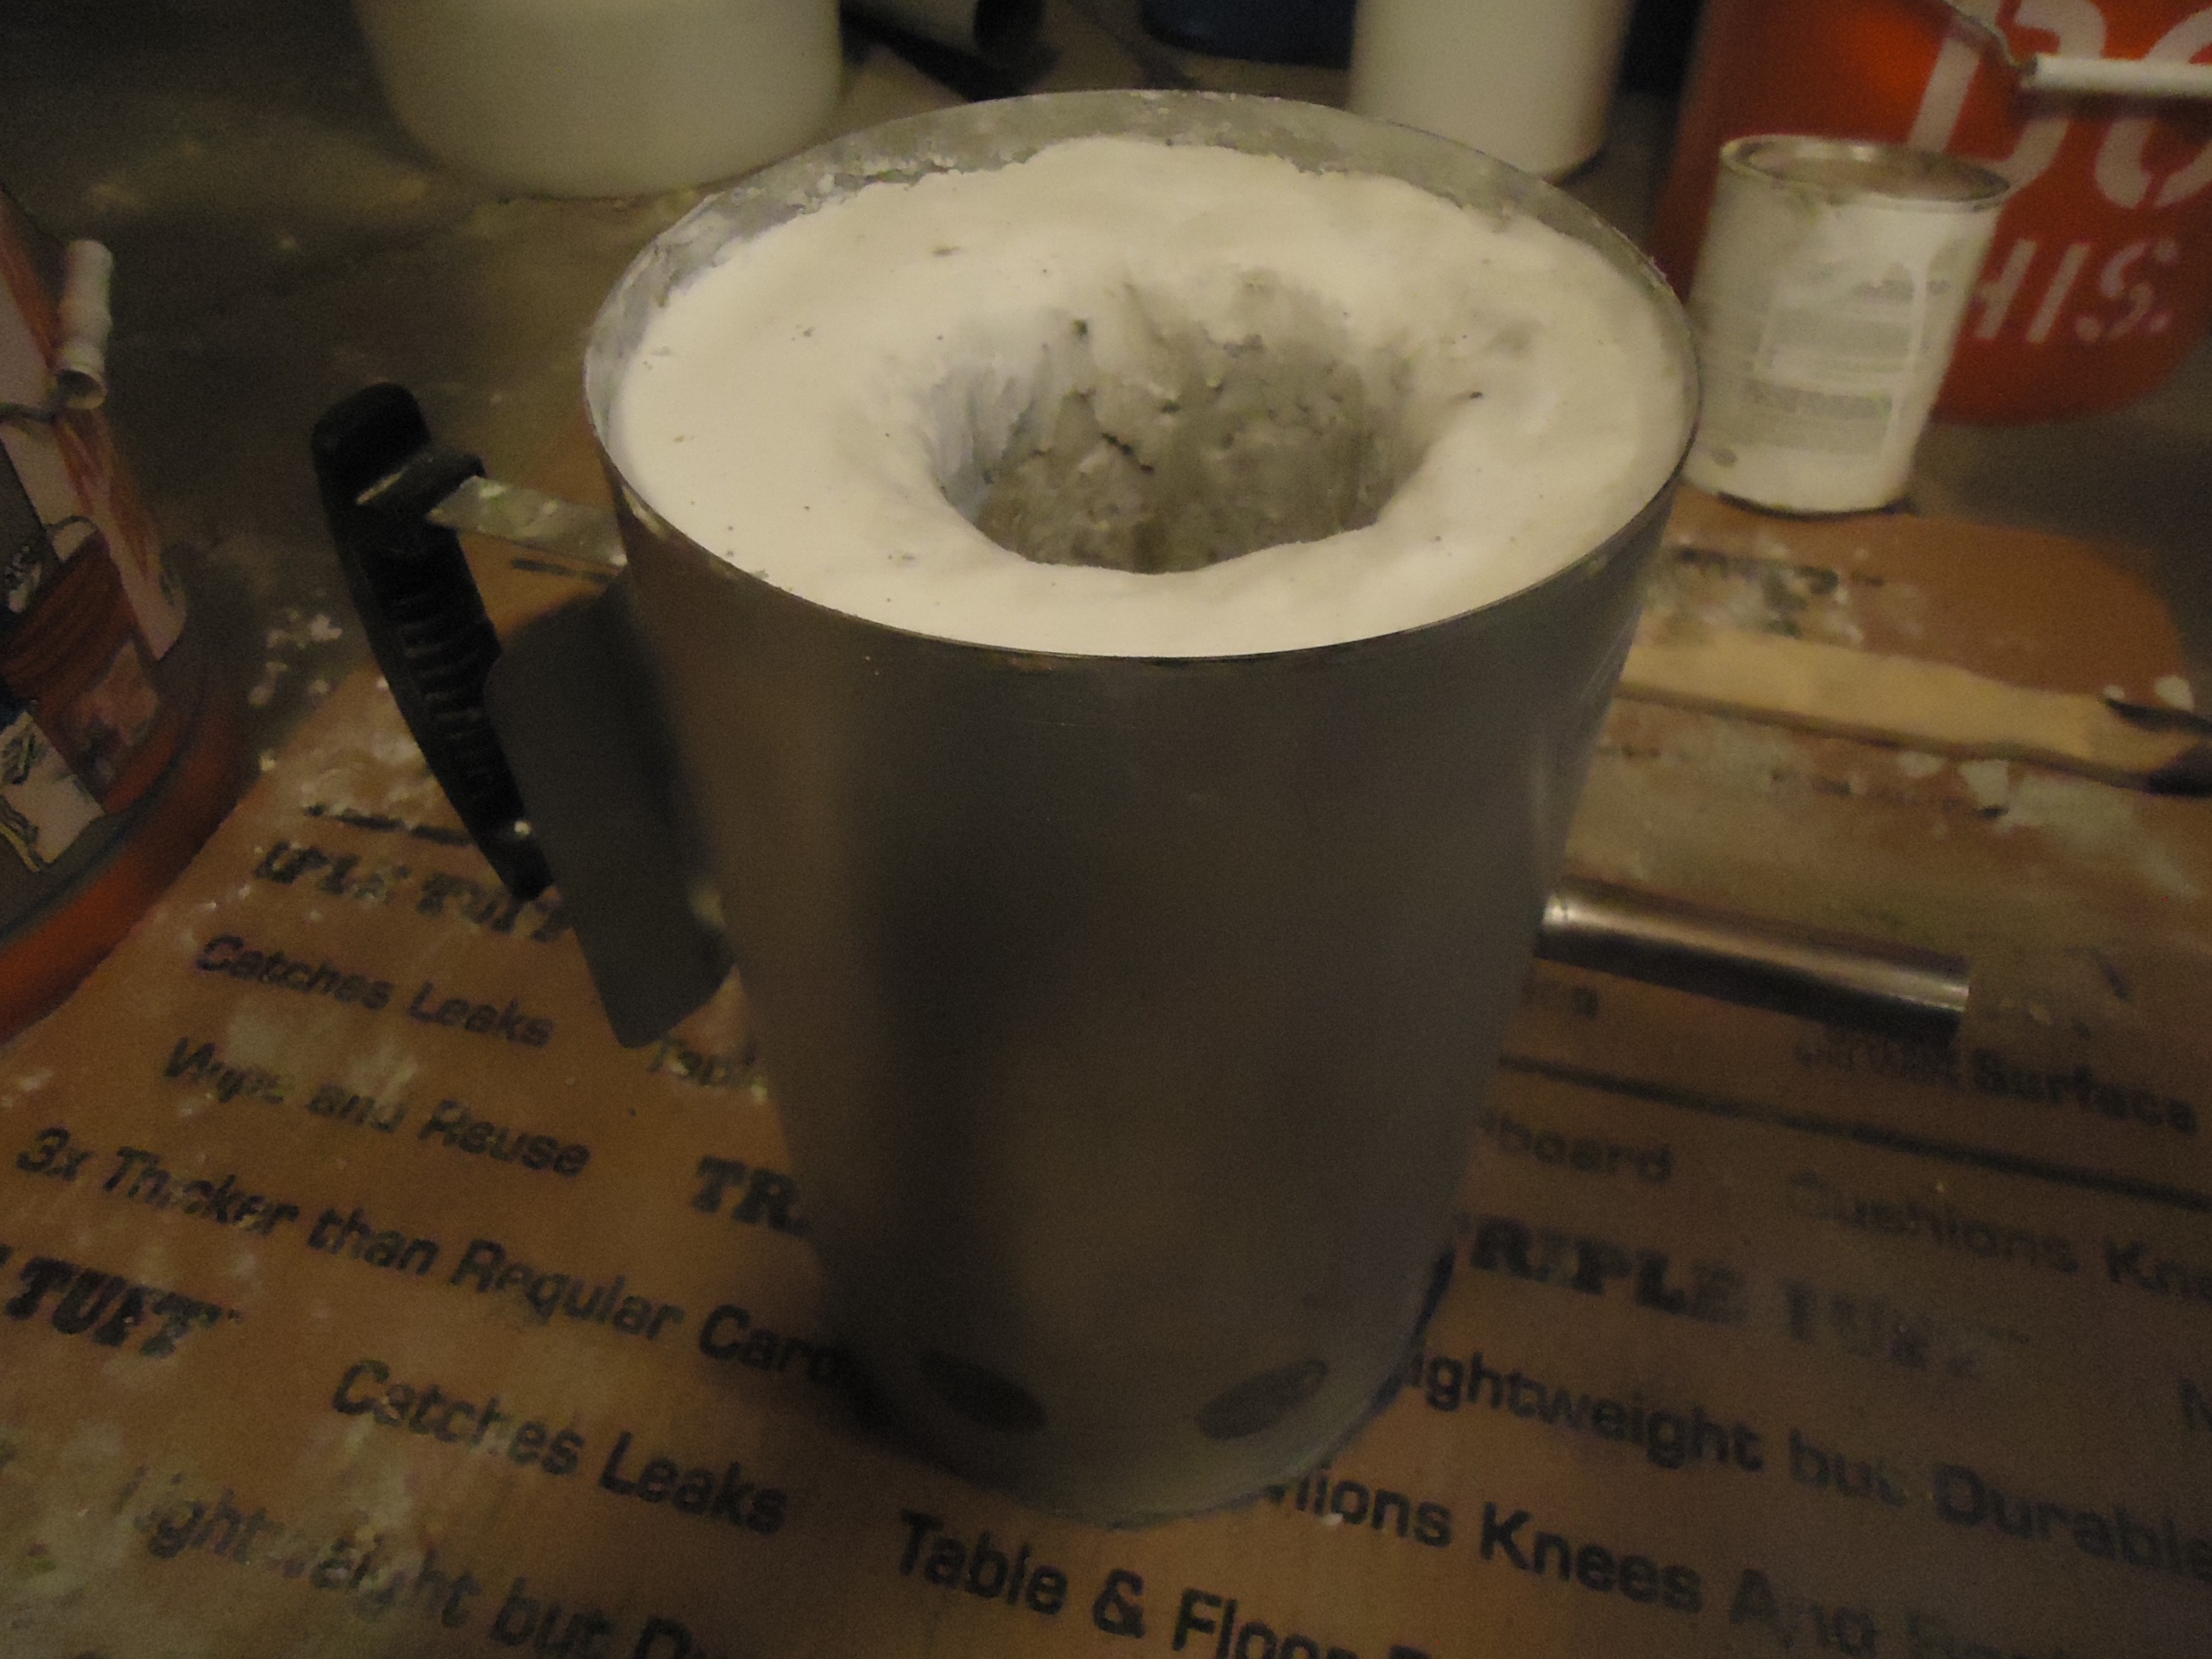
The final product should look something like this, and will be ready for pyrolizing your biomass to make a highly conductive binder free monolith.
![]()
-
2Step 2
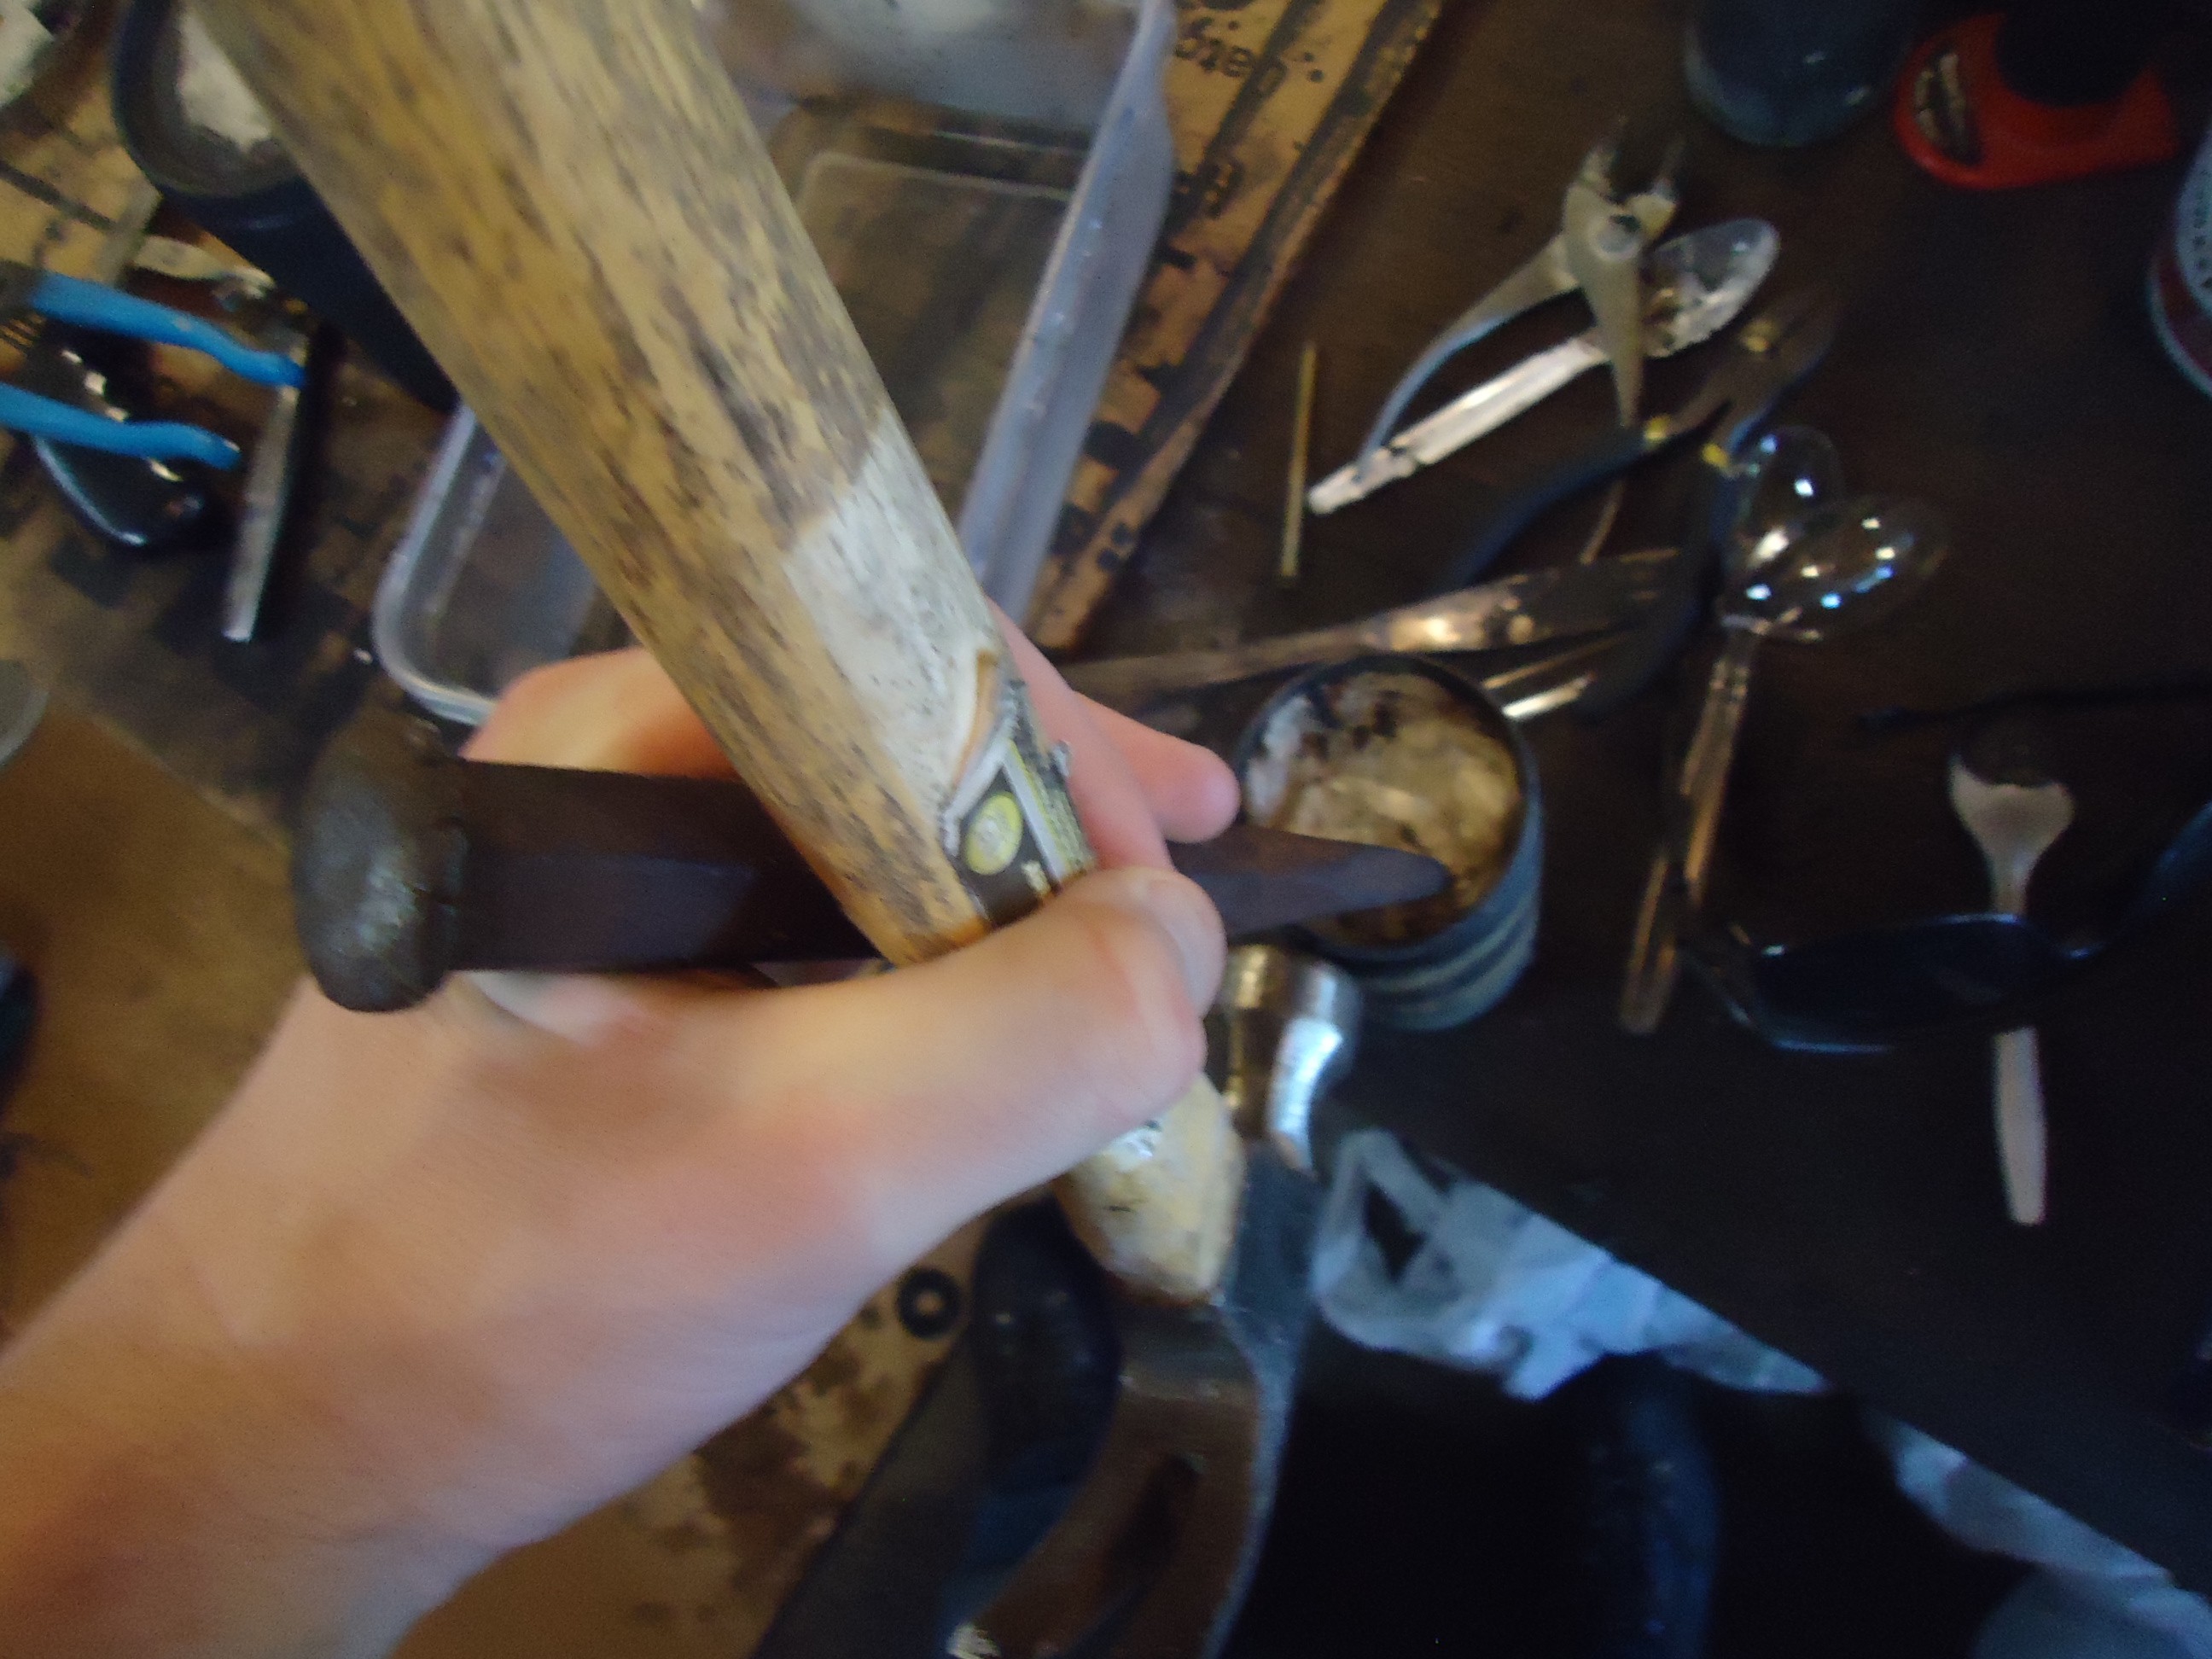
I put the ammonia soaked cotton in a pipe, and beat the heck out of it to fully compress it with a hammer and chisel. You can use any kind of plumbing pipe, just be sure to drill a hole in one end cap so the pressure can be released. I used 2 inch pipe and fittings.
![]()
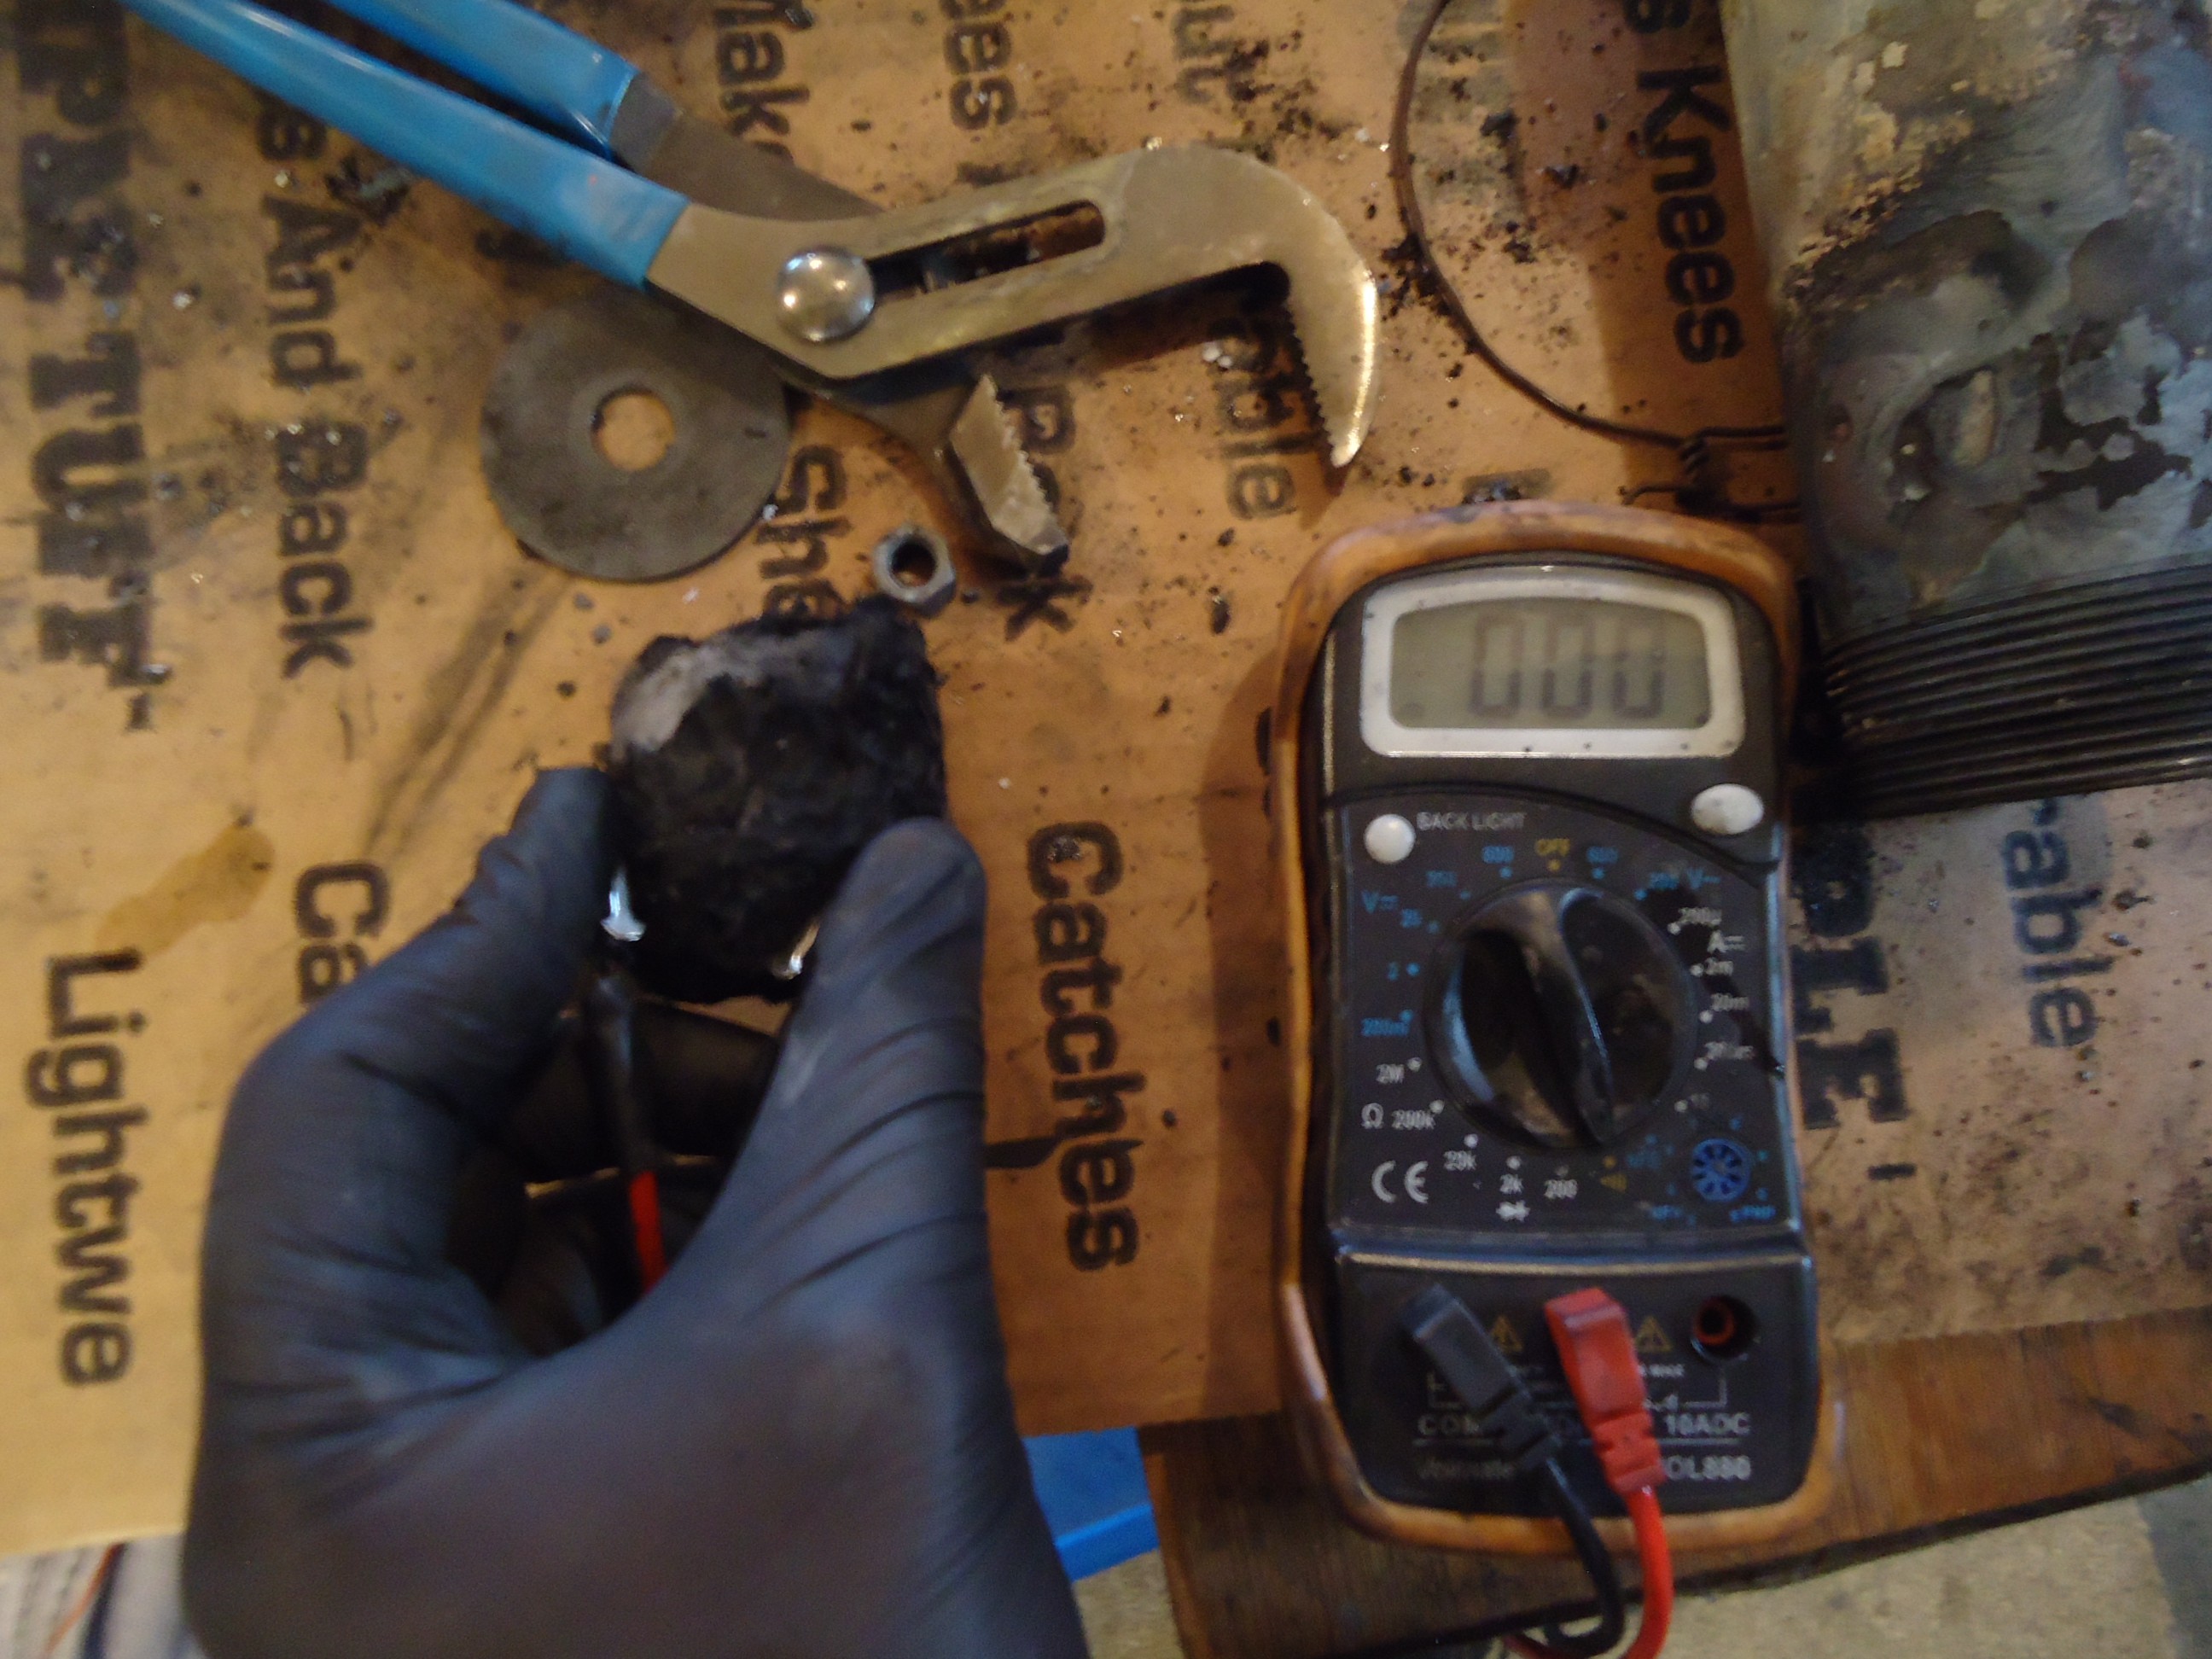
Then pyrolitically graphitized it at 900 degrees celcius in my forge for 80 minutes. That means get the pipe red/orange hot and watch for methane flames to rise out of the hole in your pipe as the cotton is pyrolized. As you can see the resistance reading is zero when pyrolysis has fully converted the cotton into crystalline graphite carbon fibers.
![]()
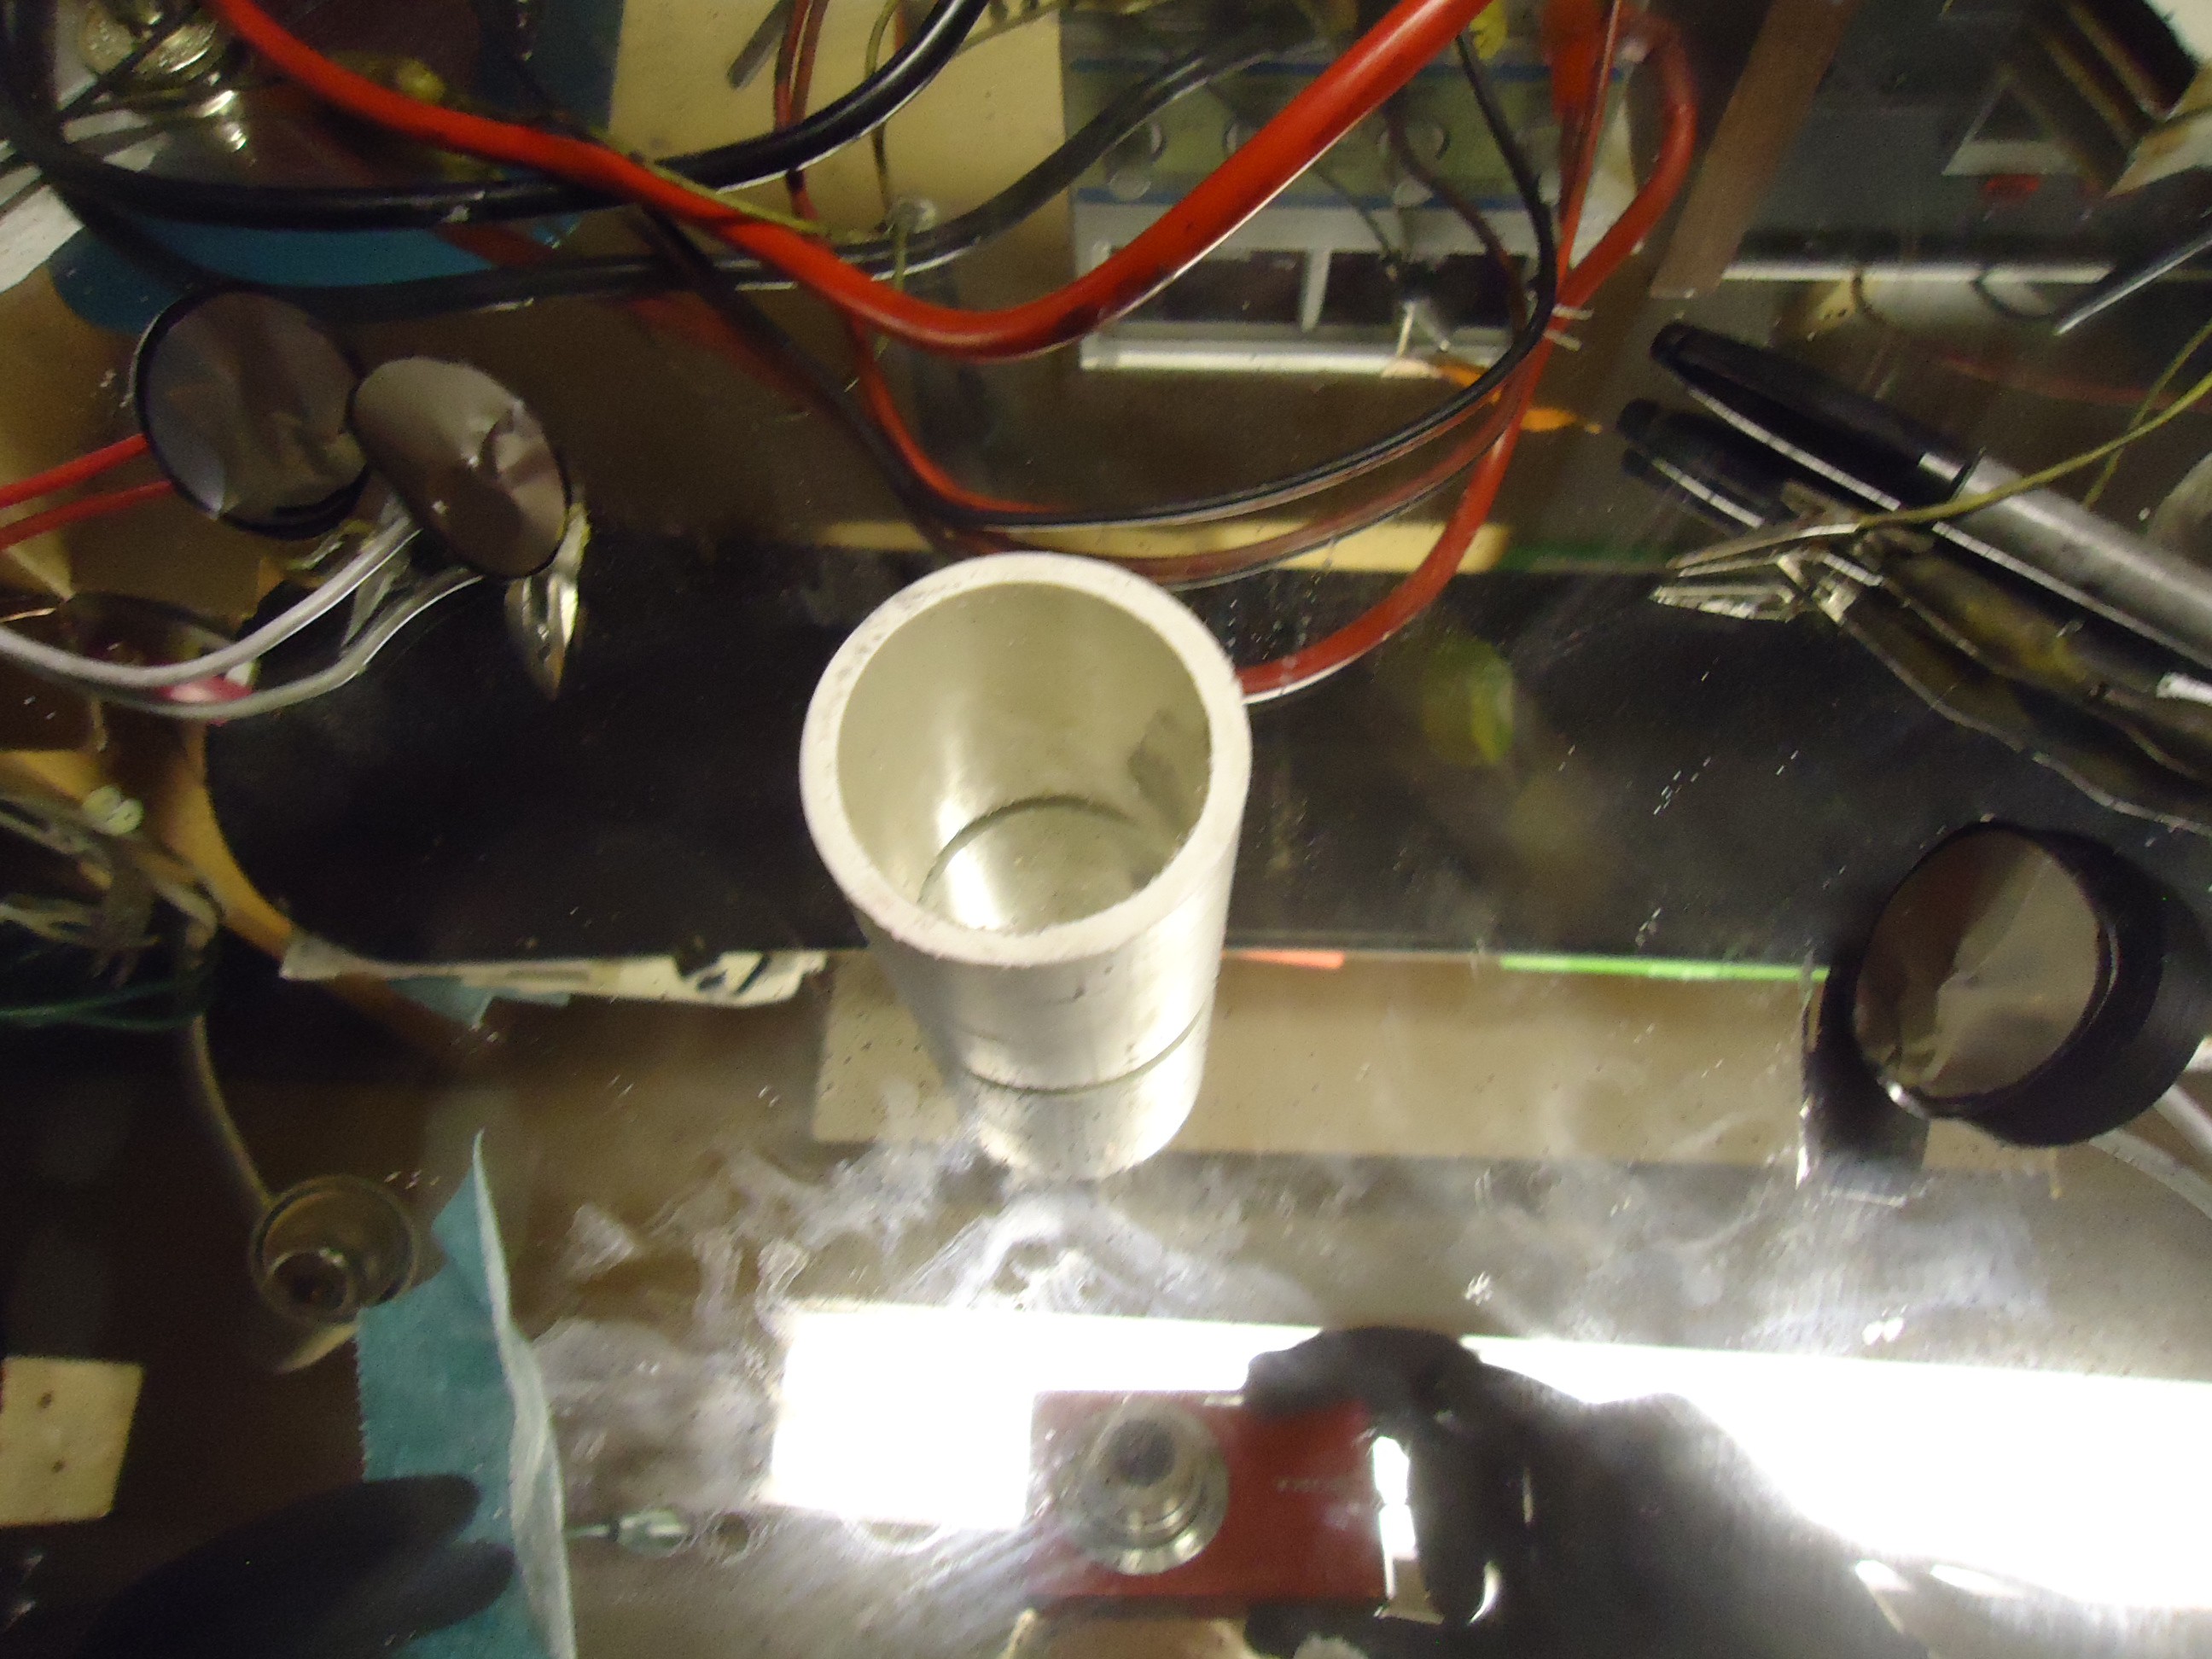
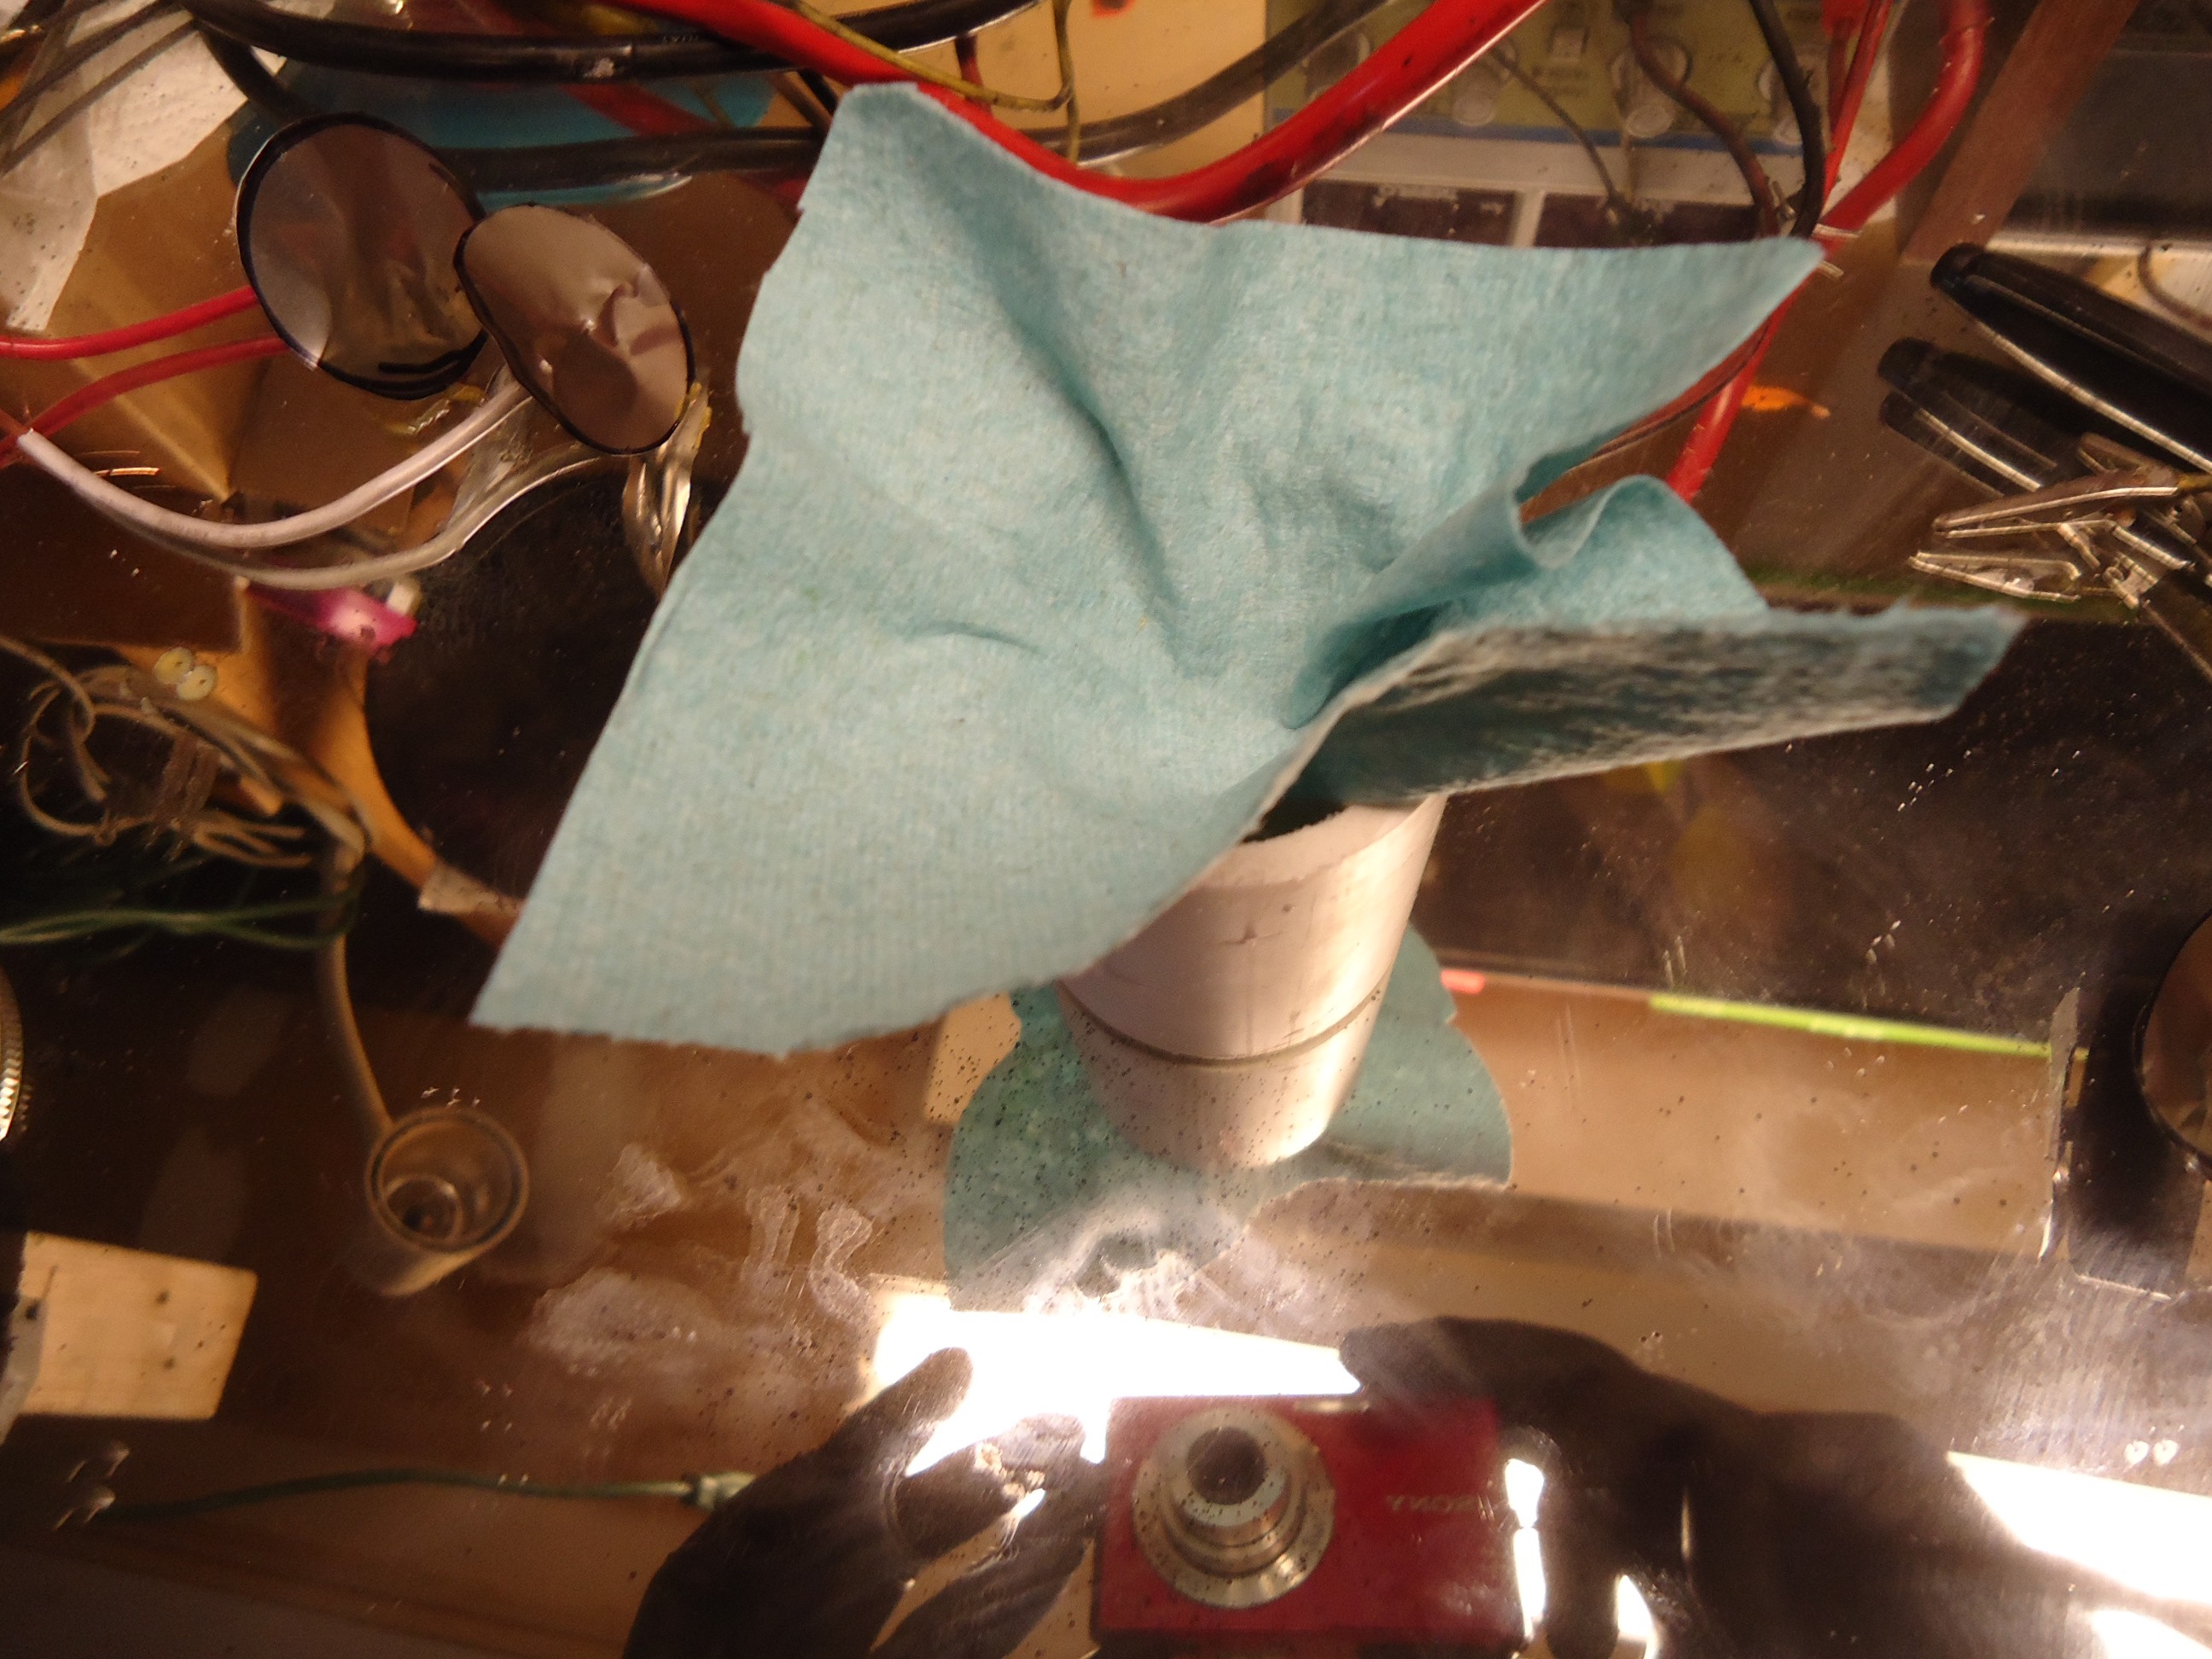
Next step is to activate it, so I dunked it in 6M KOH. and back in the forge for 60 minutes. After activating the KOH and any metallic KOH as well as iron impurities need to be removed with dilute HCl. This can be done with soaking, then constructing a pvc fitting for a filter flask to hold the monoliths while water is poured over them. (I am still cleaning these activated carbons at the time of writing so I just made a video with an unactivated piece)
-
3Step 3
Assemble with PVC and 3d printed plugs. Using 1.5 inch PVC
![]()
![]() Place a piece of shop towel, on the PVC. Wet your monolith half in electrolyte then push it into the PVC trim off any excess shop towel. I used 1 M Li2SO4 and .008 M KI in water for the electrolyte this electrolyte allows a much larger stable operating voltage due to the high solvation affinity of water for sulfate ions and lithium ions. Meaning a stronger dielectric and no breakdown of water into hydrogen and oxygen up to about 1.6-1.8 volts. You can use anything from table salt to potassium hydroxide and still get marginal results.
Place a piece of shop towel, on the PVC. Wet your monolith half in electrolyte then push it into the PVC trim off any excess shop towel. I used 1 M Li2SO4 and .008 M KI in water for the electrolyte this electrolyte allows a much larger stable operating voltage due to the high solvation affinity of water for sulfate ions and lithium ions. Meaning a stronger dielectric and no breakdown of water into hydrogen and oxygen up to about 1.6-1.8 volts. You can use anything from table salt to potassium hydroxide and still get marginal results. ![]()
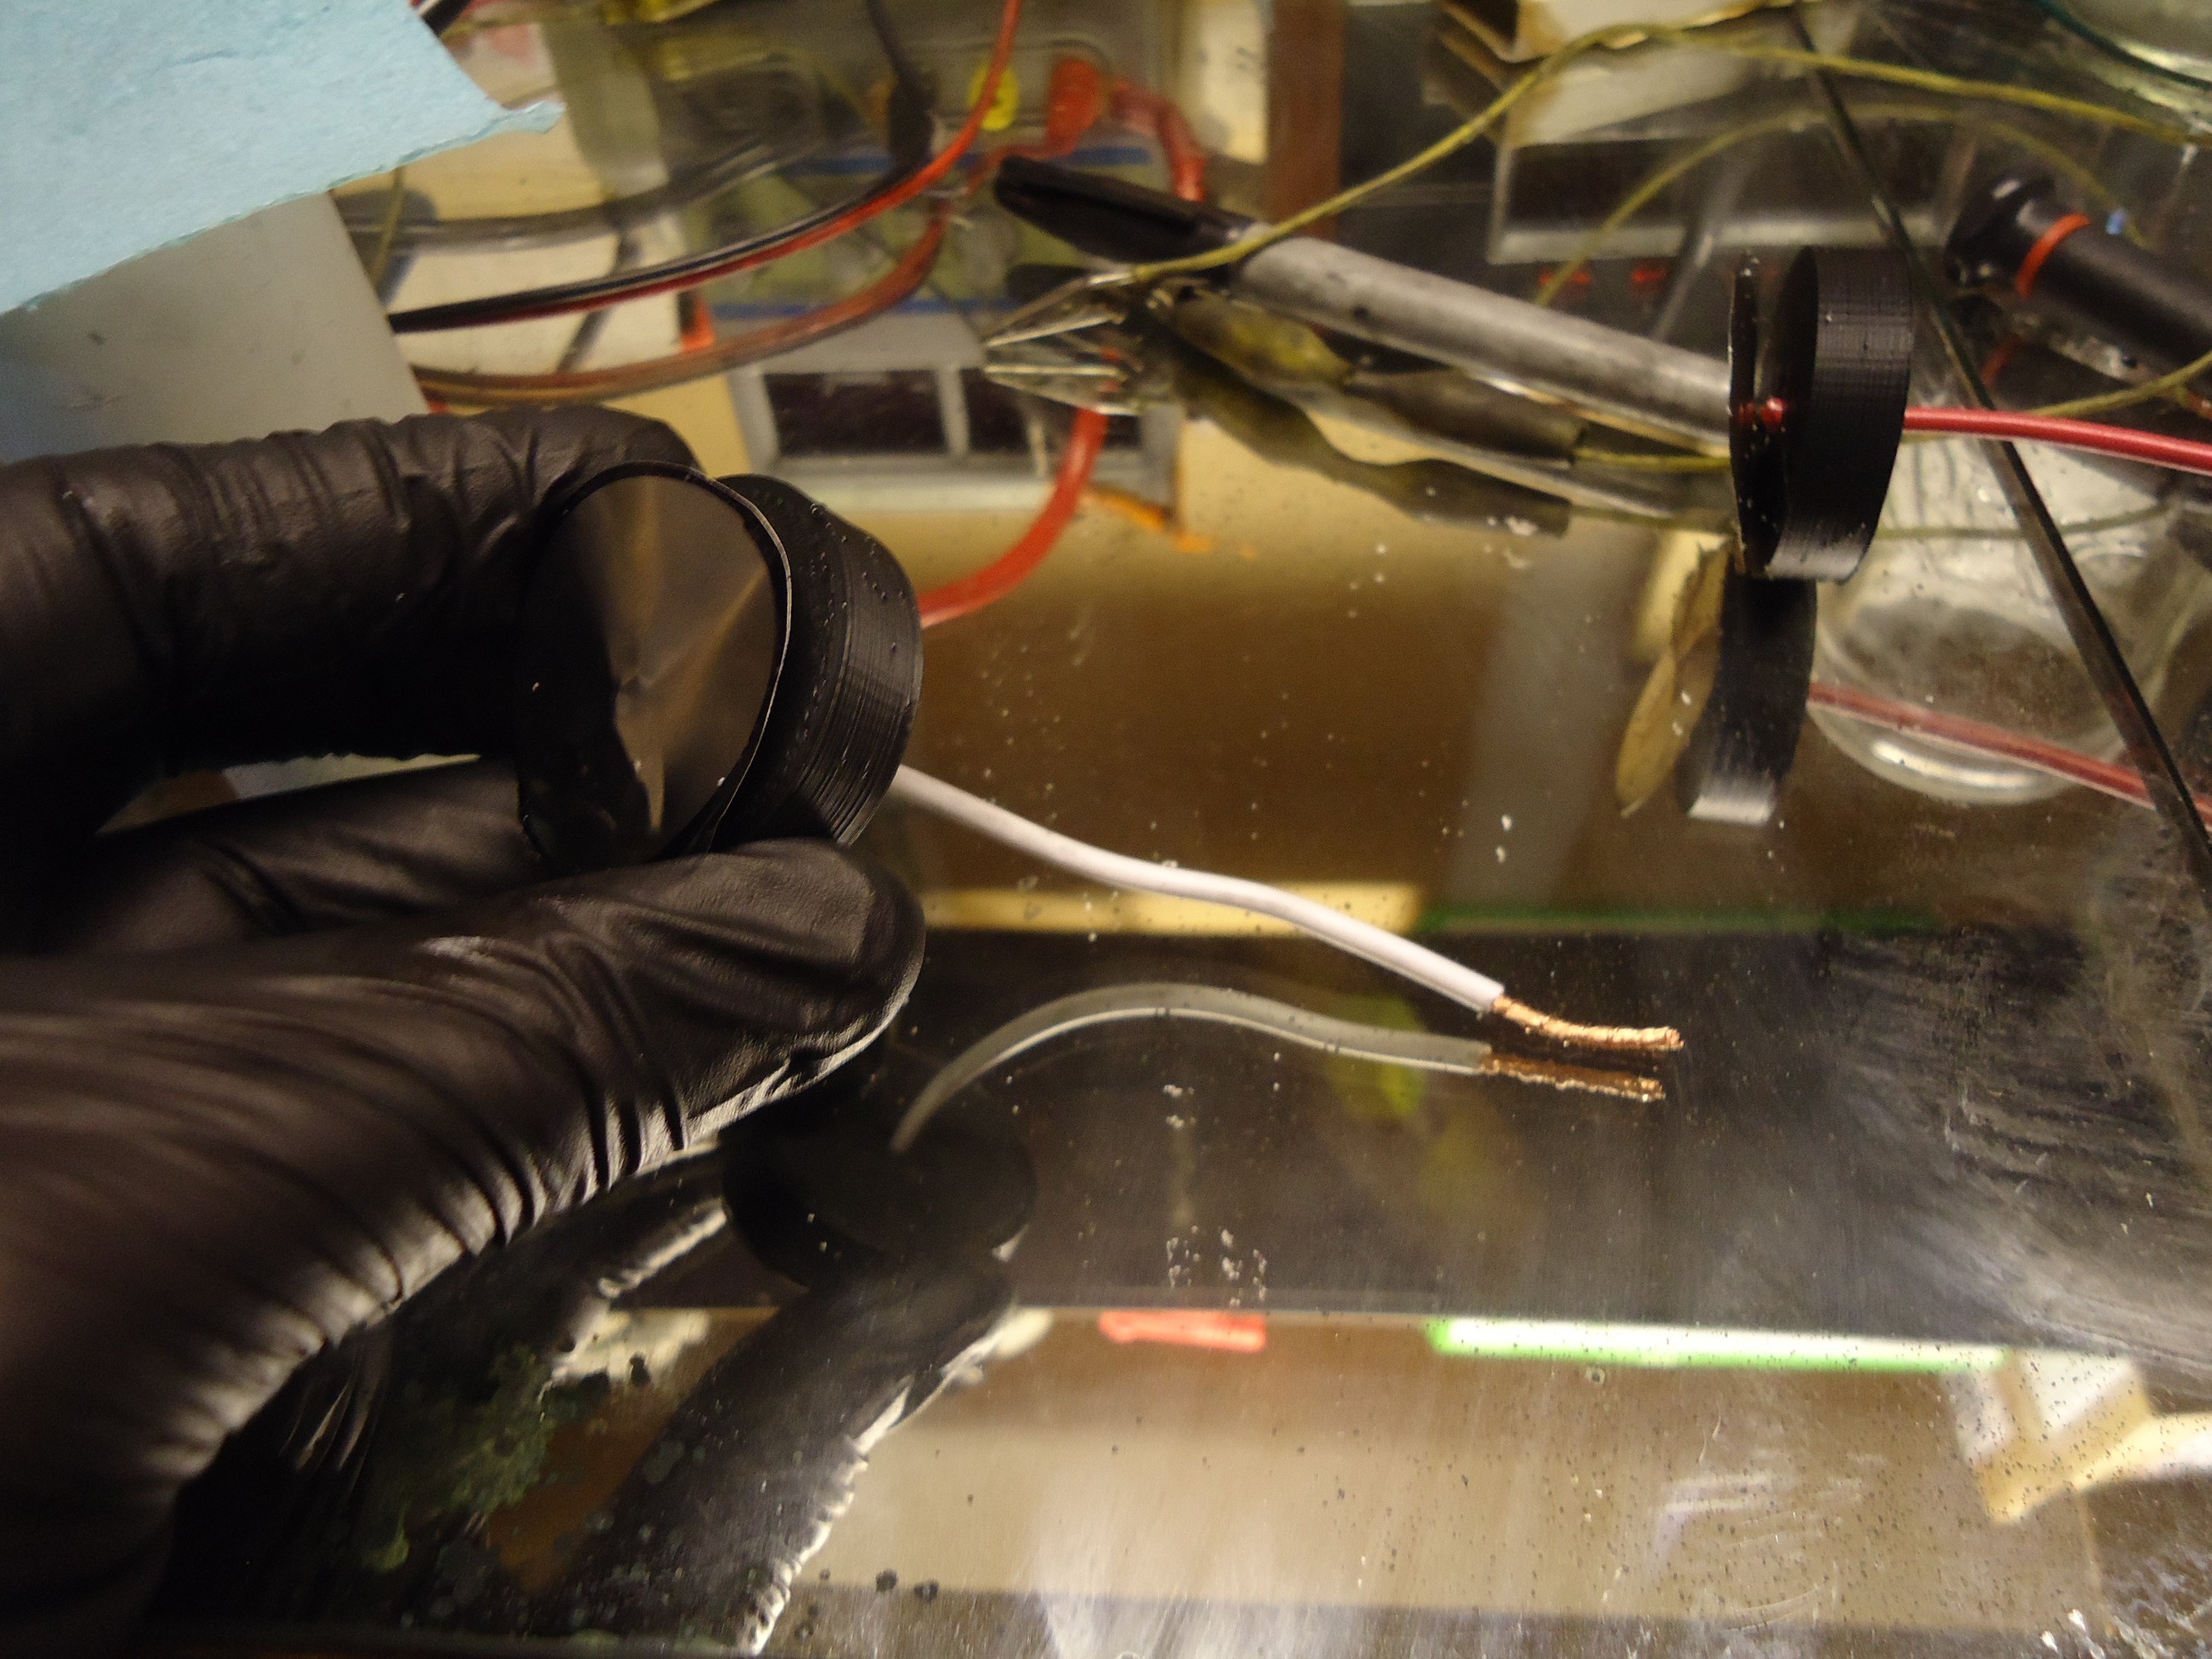
I soldered some wires, (white for negative red for positive) on some stainless foil. Then ran the wire through the end cap.
![]()
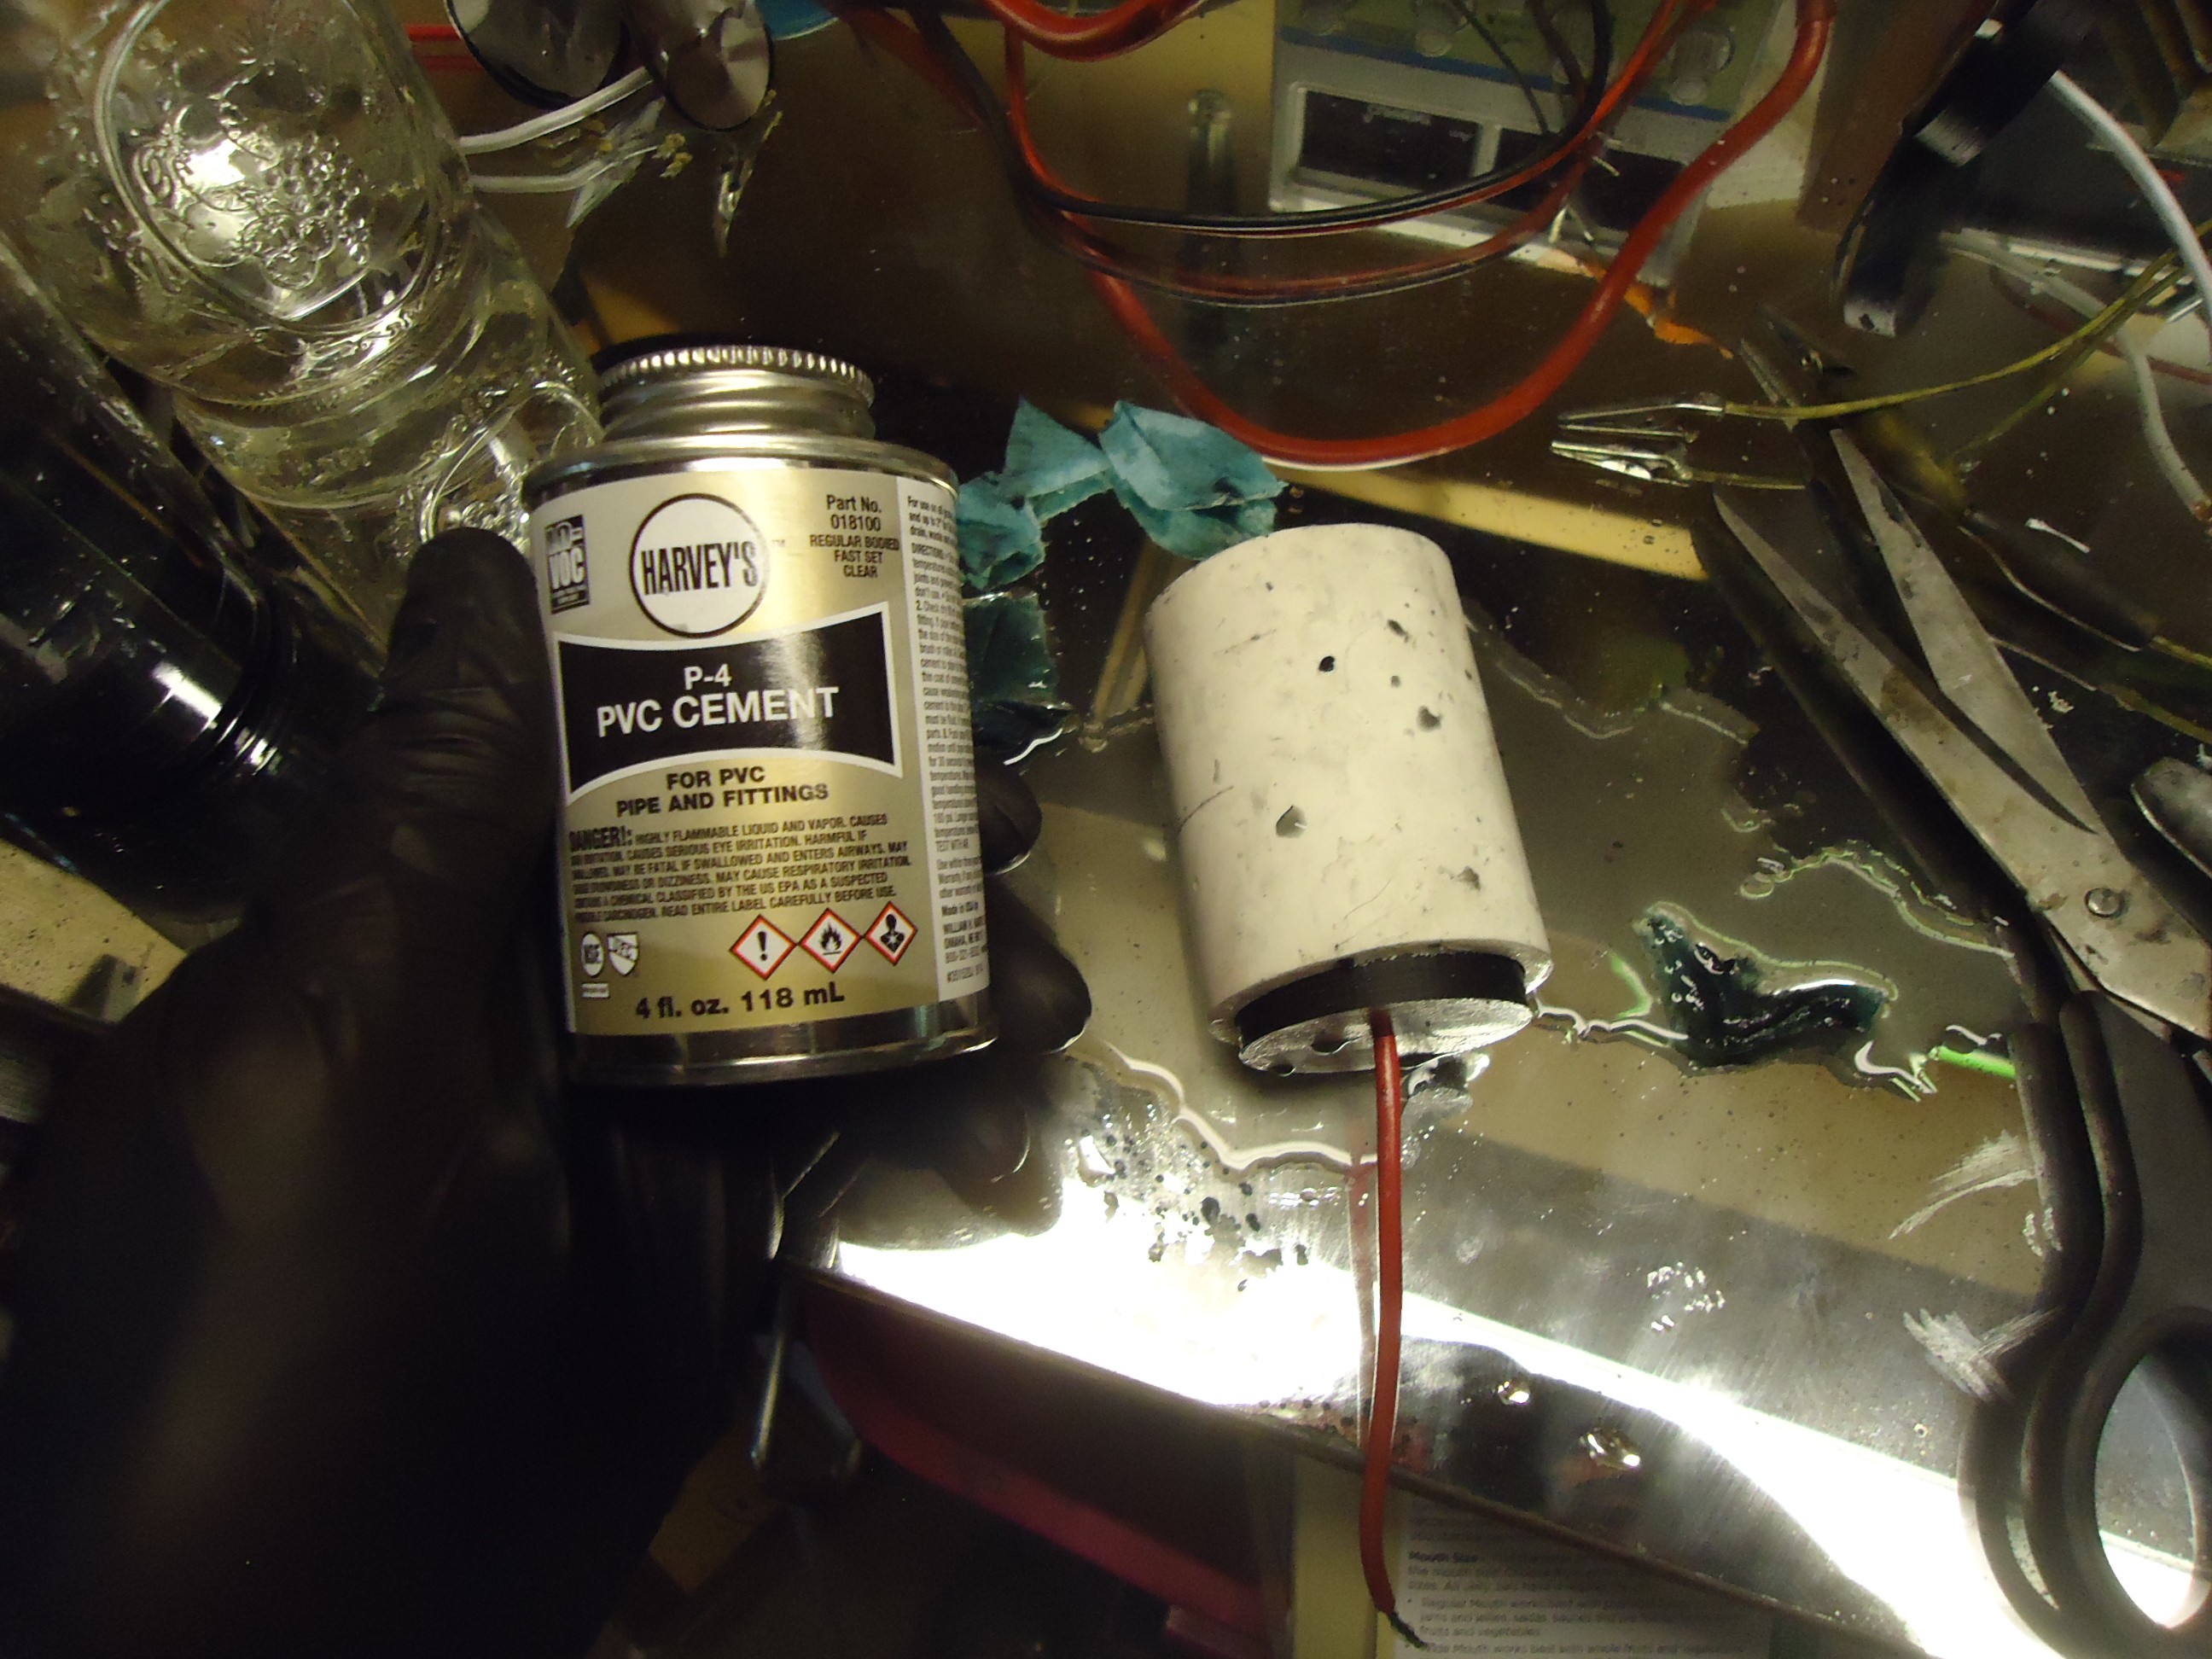
Then put PVC in solvent all over the plugs.
![]()
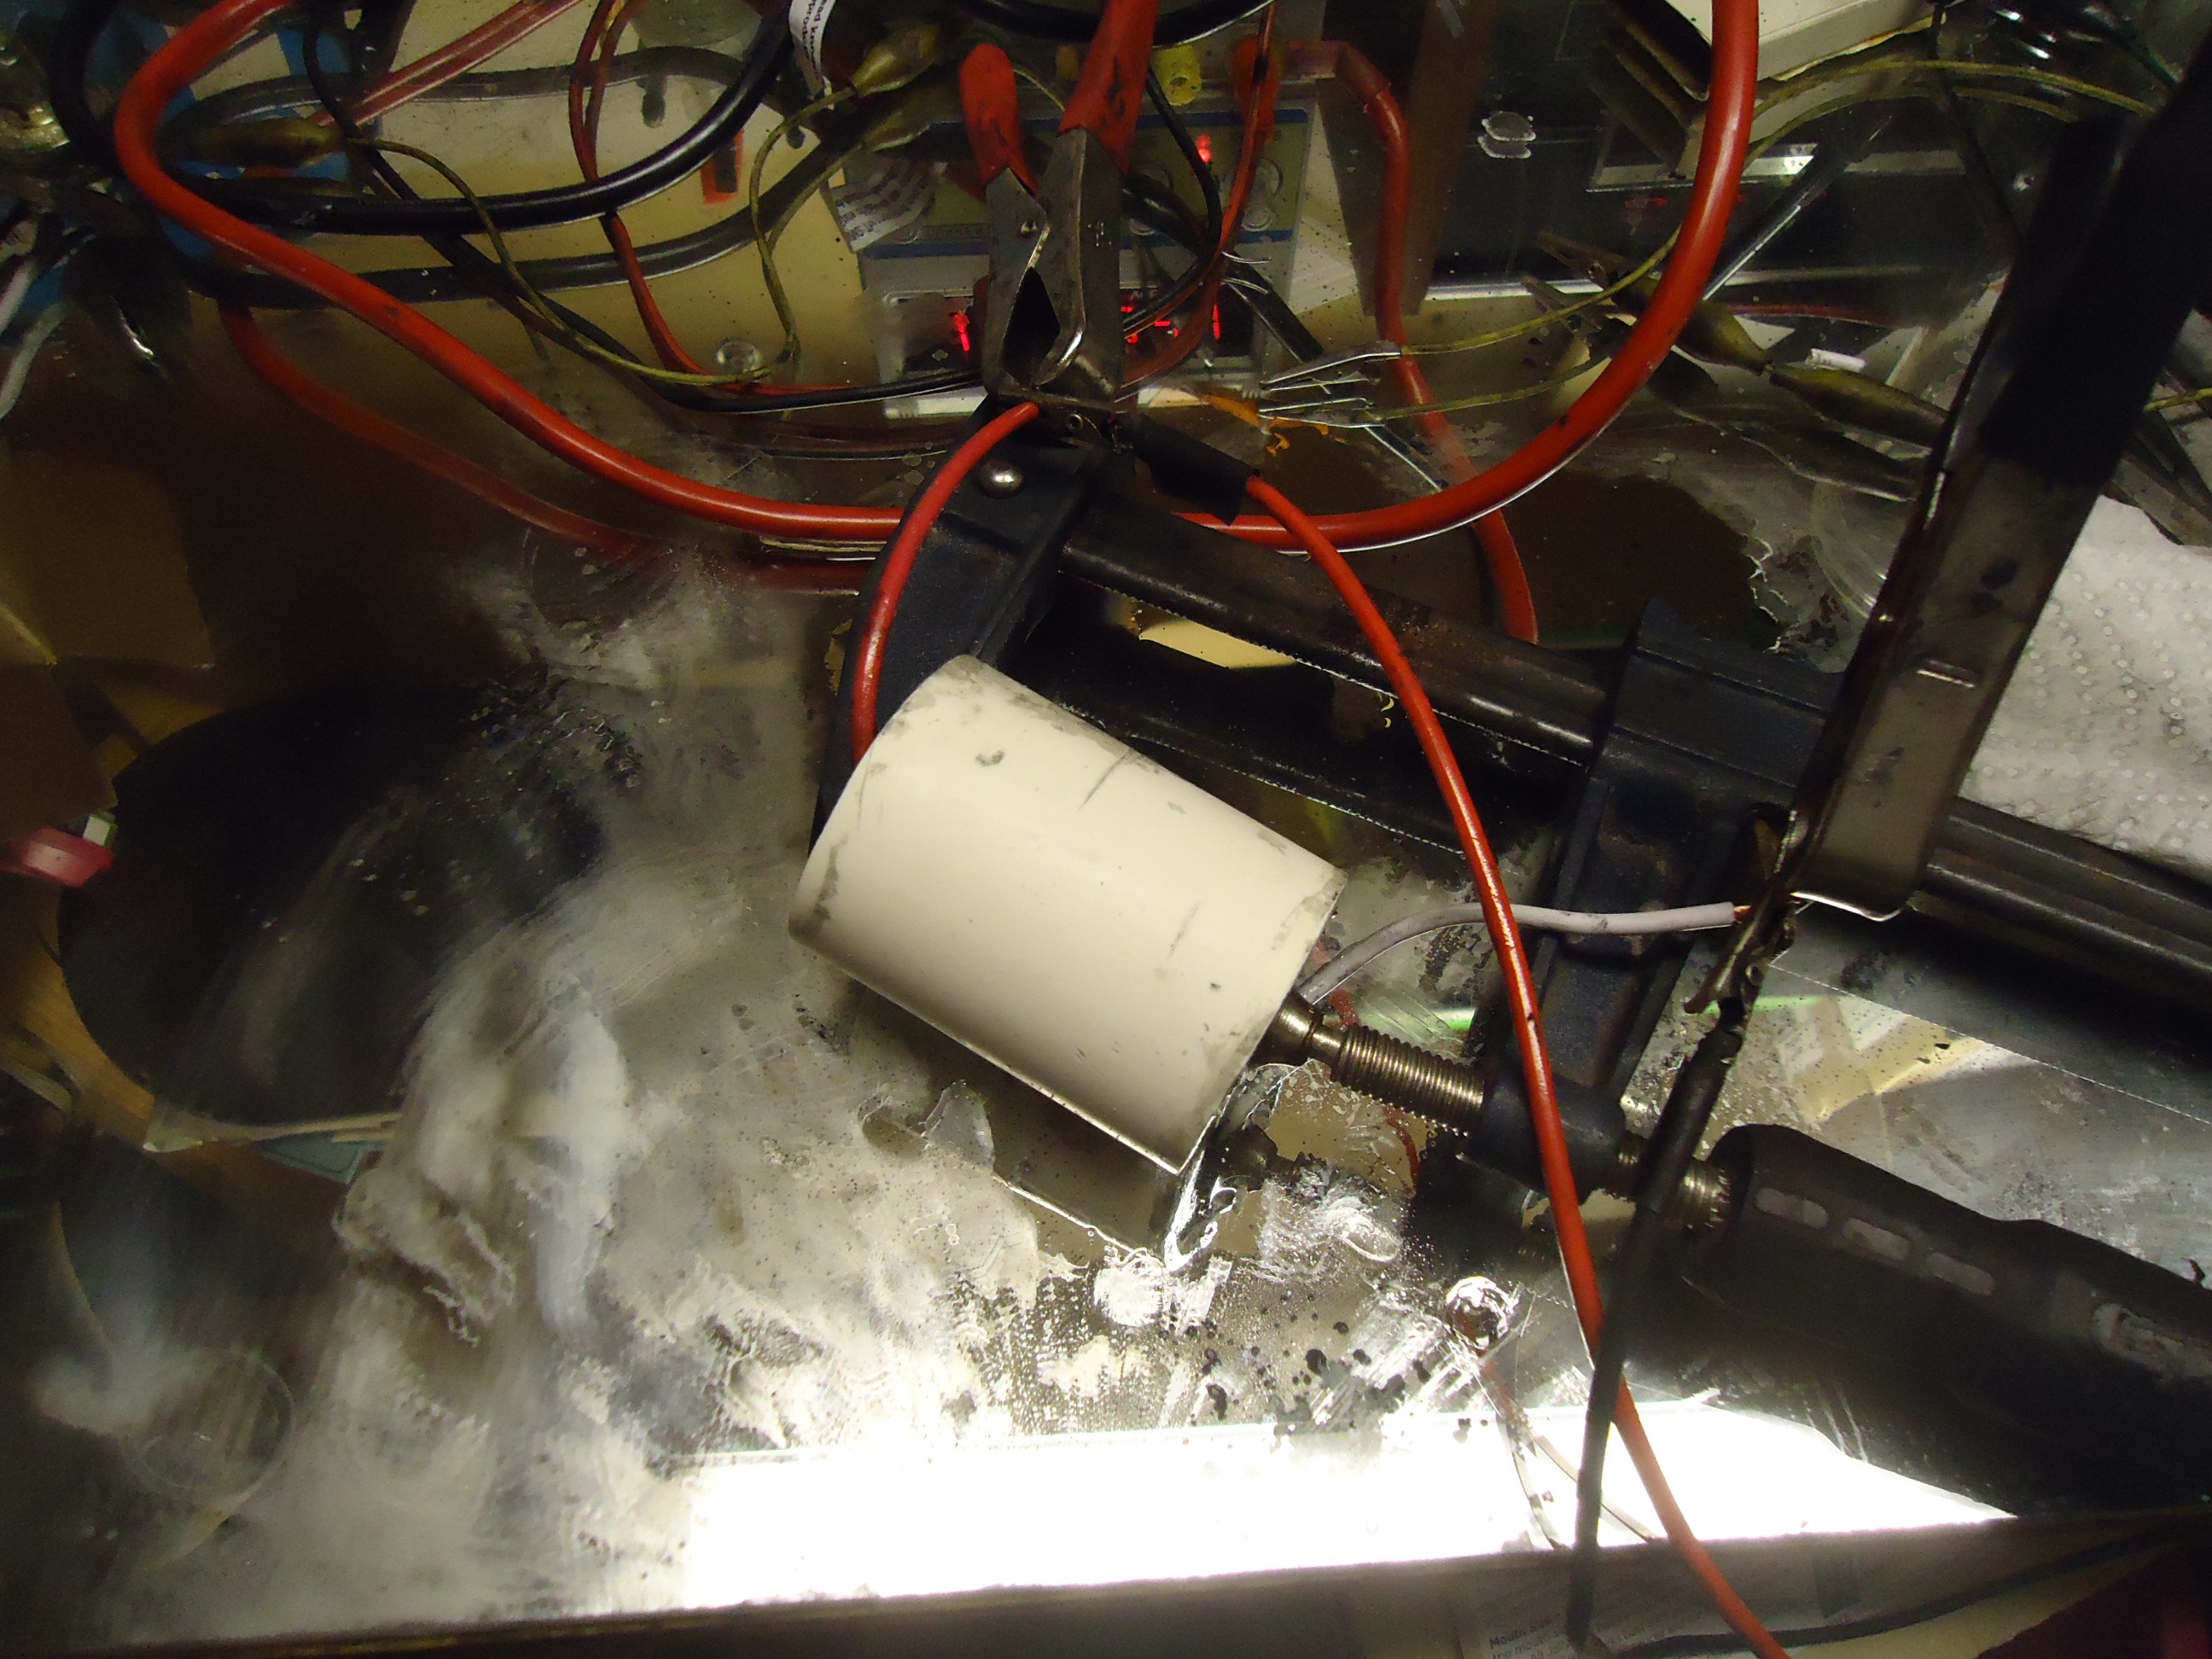
Then clamped together and squeezed like crazy, the more pressure you can put this under the better it will perform.
![]()
-
4Step 4
That is all for now, I just recieved some logging equipment so when I get the activated carbons put together I will definitely be showing them off. KOH activation should take the surface area from around 100 meters squared per gram to about 2000 to 2500 meters squared and have about a ten fold increase in capacity.
Monolithic Cotton Supercapacitors
HAL 9000: I am putting myself to the fullest possible use, which is all I think that any conscious entity can ever hope to do.

 Place a piece of shop towel, on the PVC. Wet your monolith half in electrolyte then push it into the PVC trim off any excess shop towel. I used 1 M Li2SO4 and .008 M KI in water for the electrolyte this electrolyte allows a much larger stable operating voltage due to the high solvation affinity of water for sulfate ions and lithium ions. Meaning a stronger dielectric and no breakdown of water into hydrogen and oxygen up to about 1.6-1.8 volts. You can use anything from table salt to potassium hydroxide and still get marginal results.
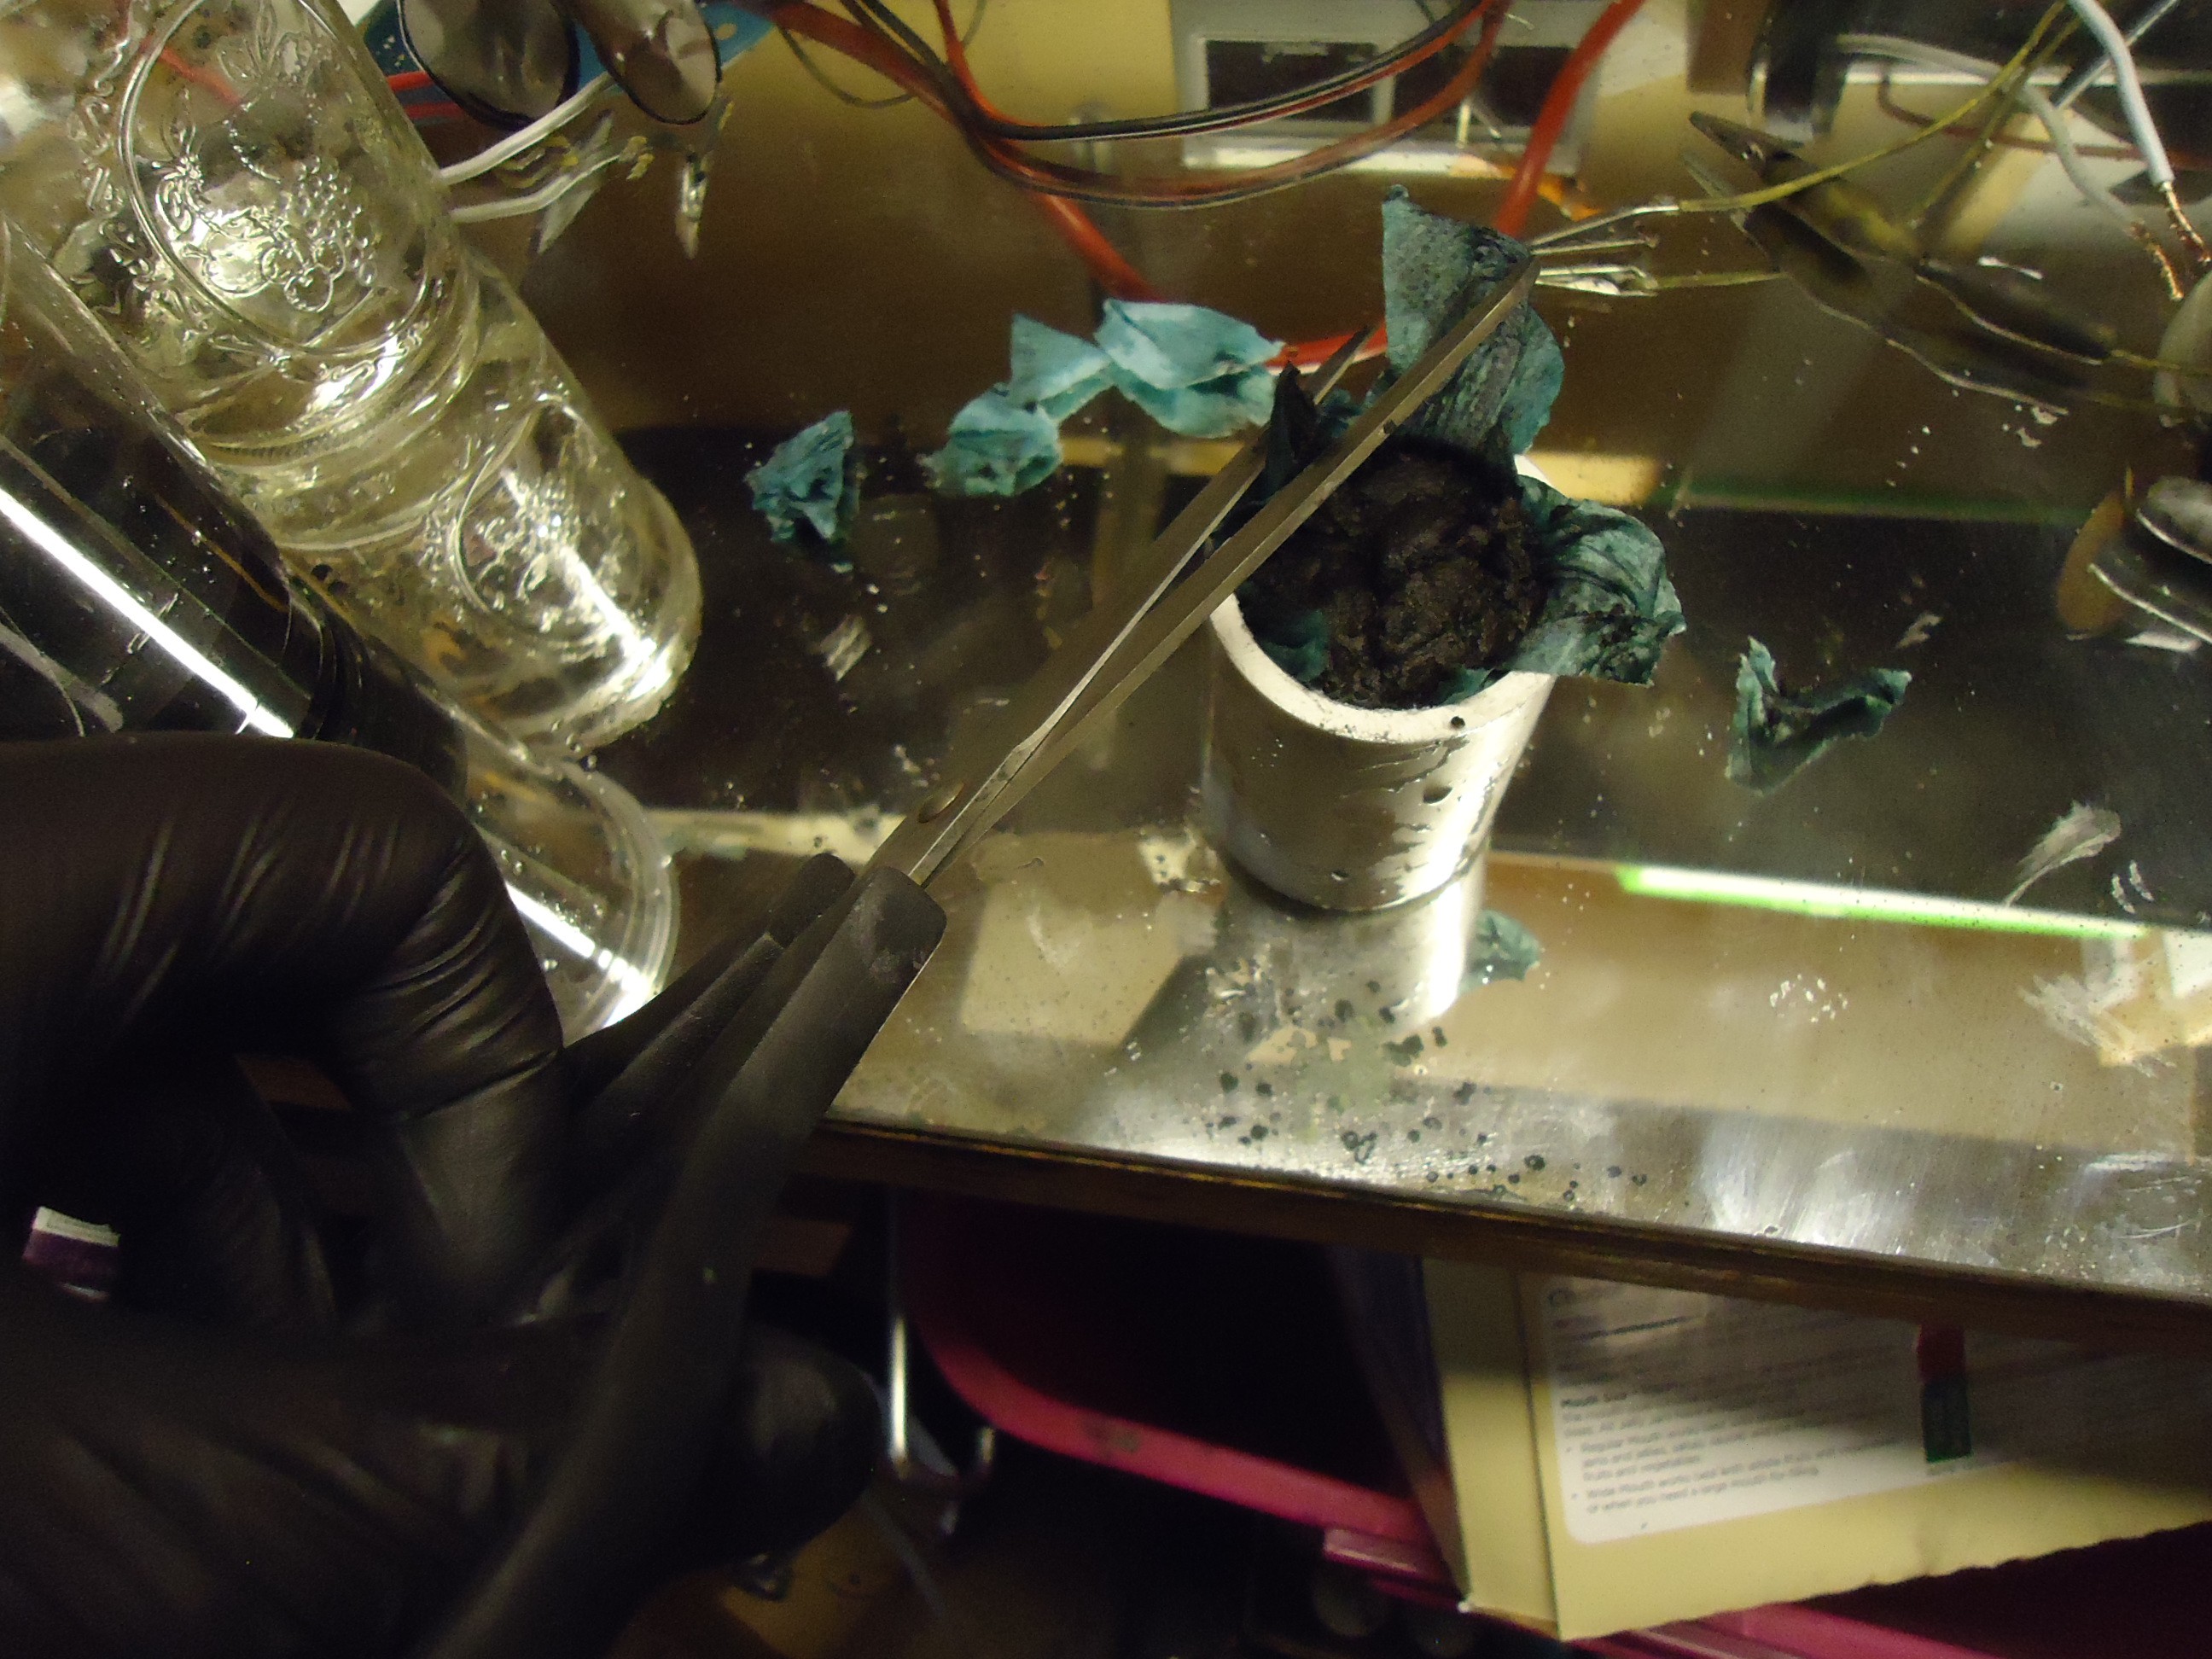
Discussions
Become a Hackaday.io Member
Create an account to leave a comment. Already have an account? Log In.