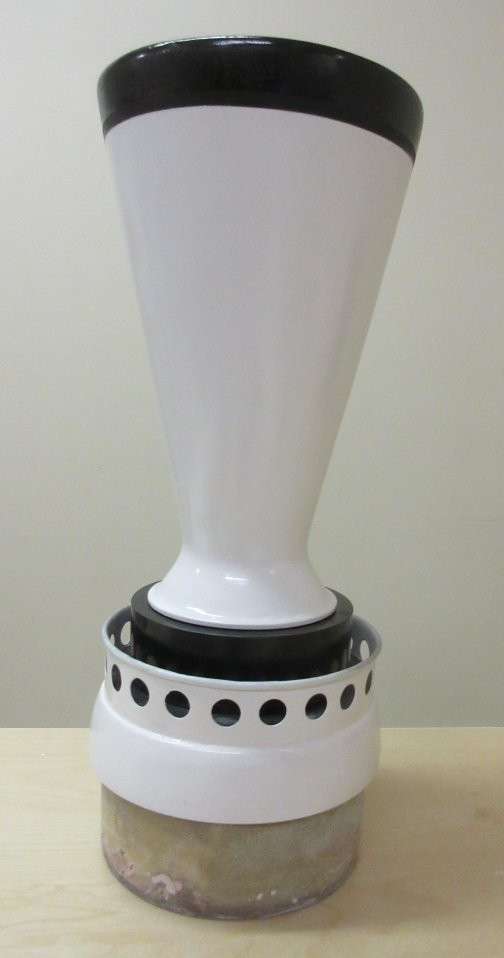
The tail cone of Explorer 1 was created with a similar plastic doll cone form as the nose. Similarly, the cone was forced into a circular projection and then fiberglassed for structural integrity. The top of the cone was inserted into an air duct adapter having approximately the right mating angle, prior to fiberglassing. The final cone was filled with automotive body filler, then sanded, primed, and painted.
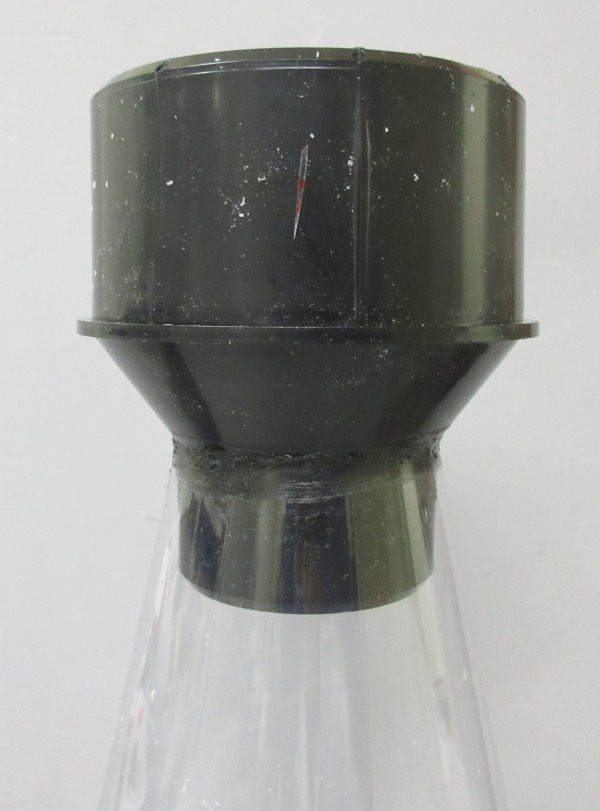
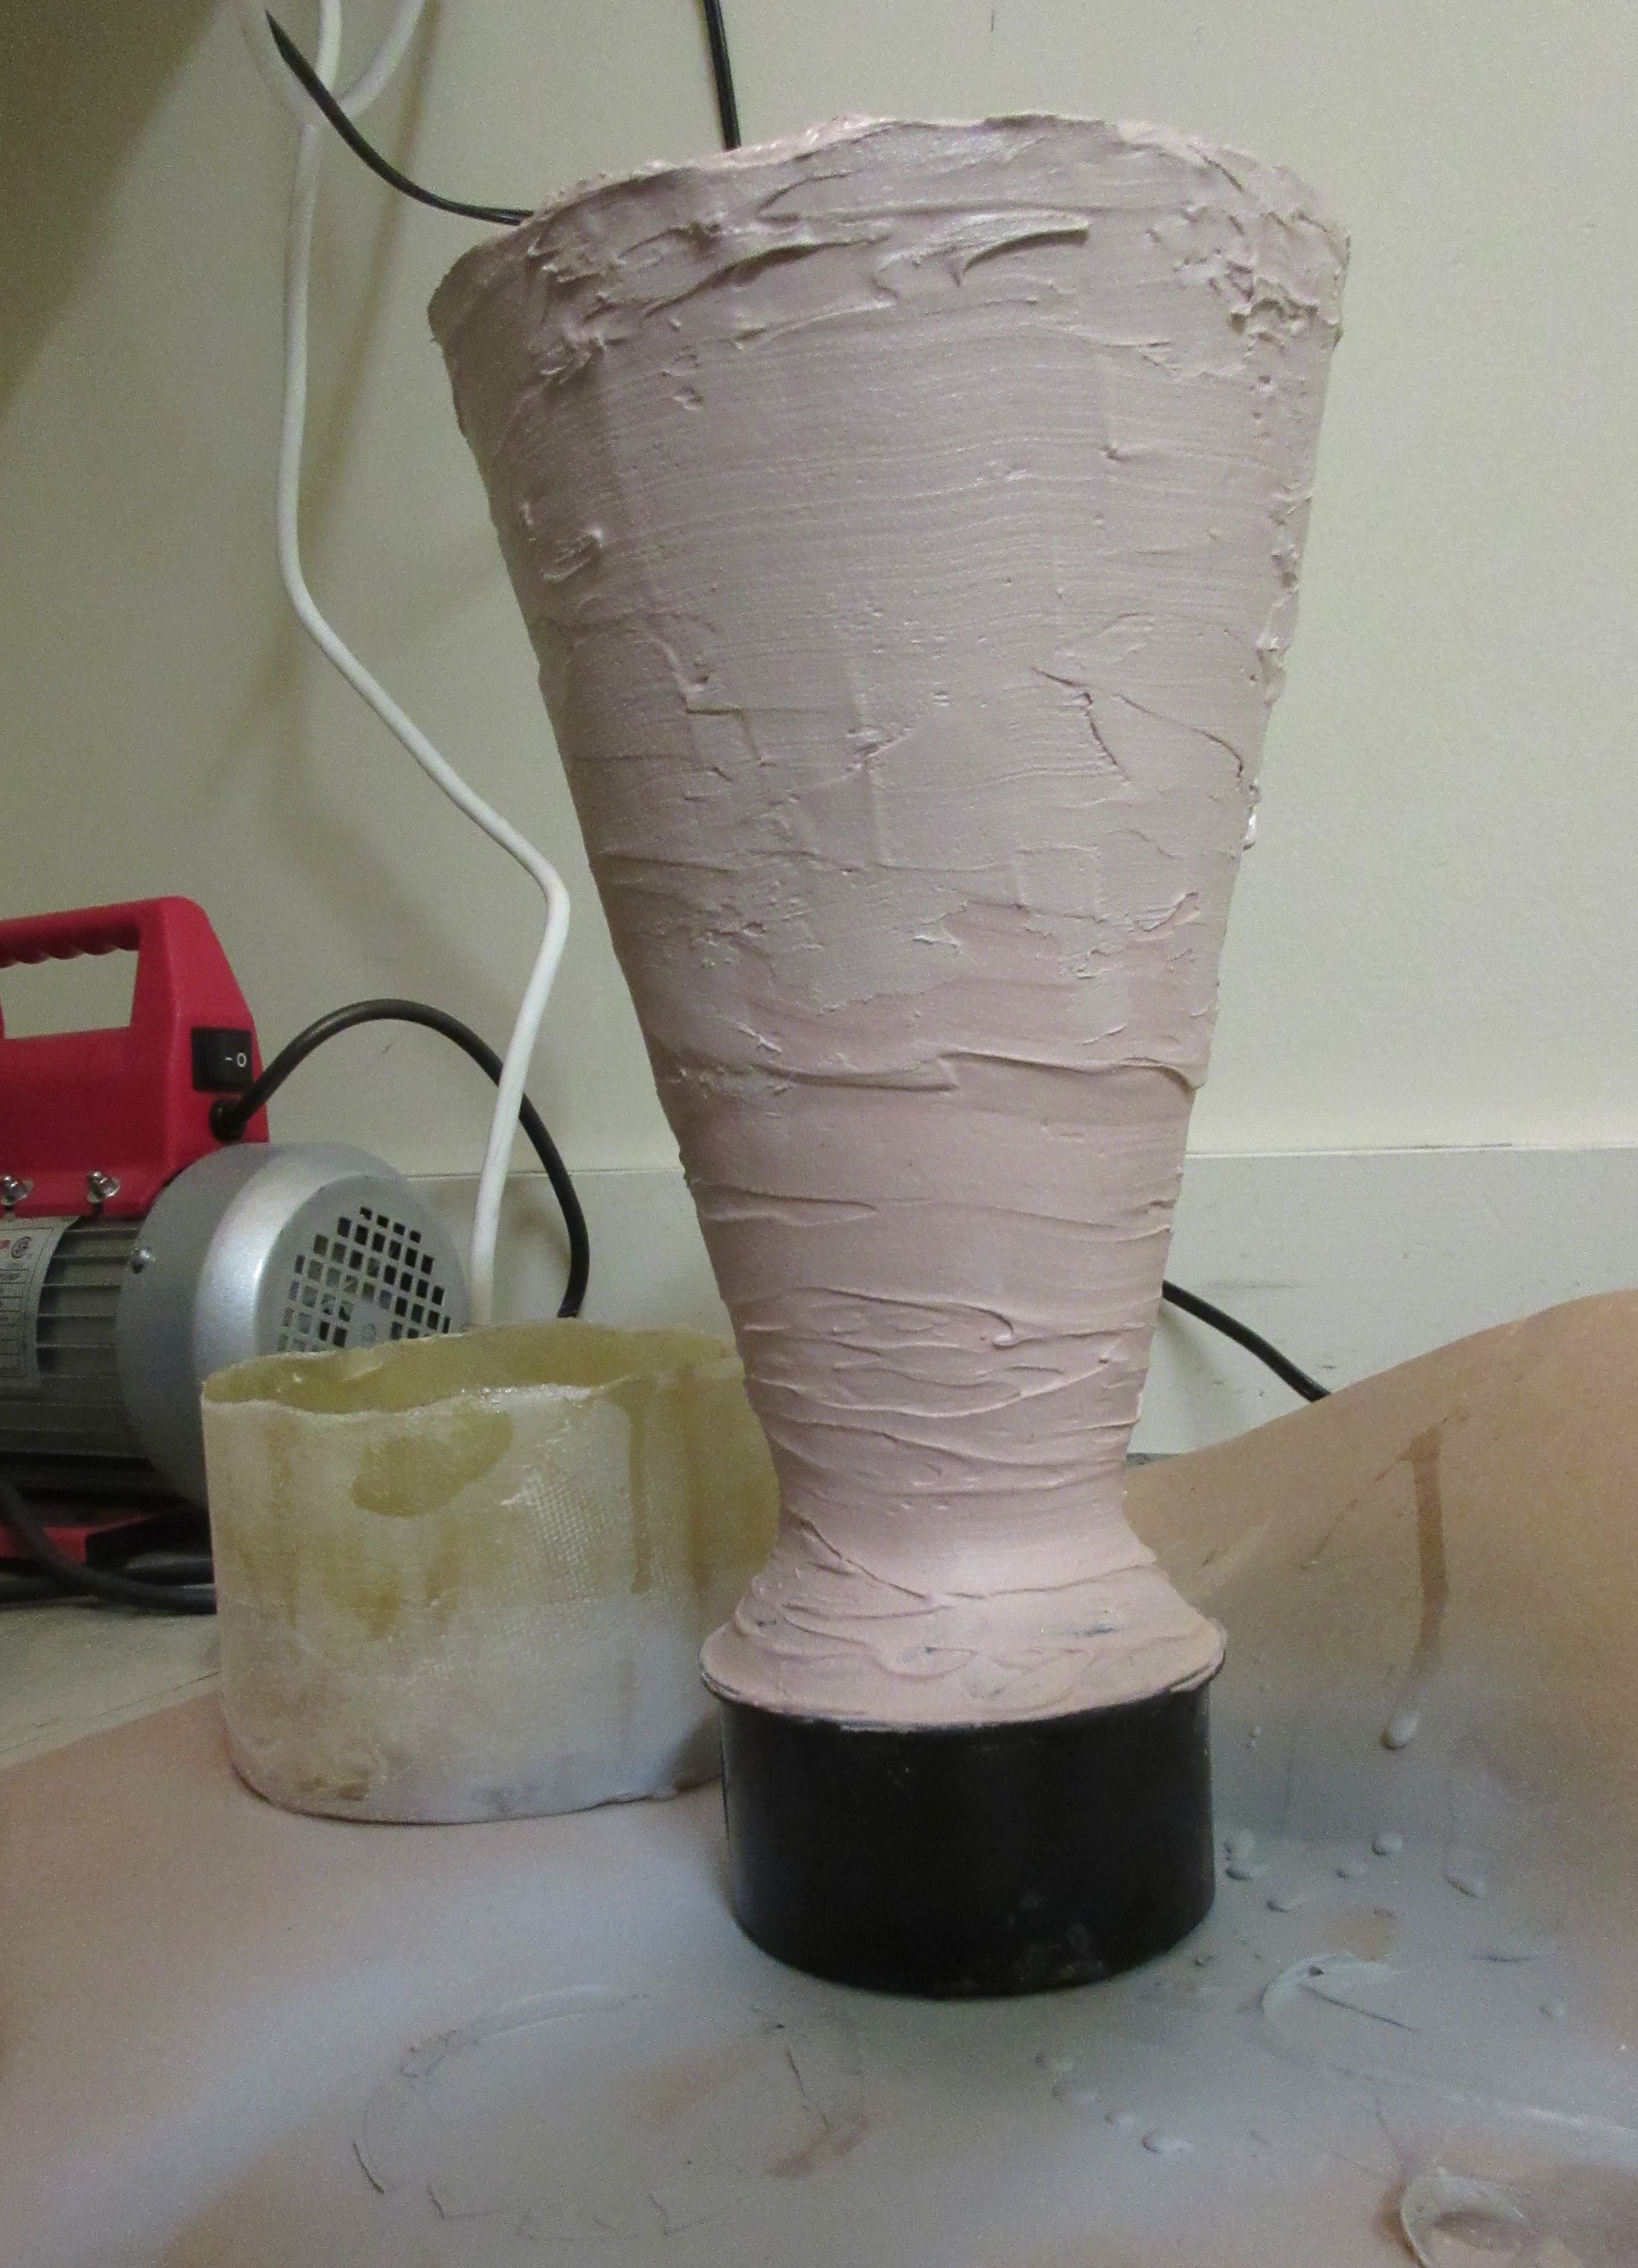
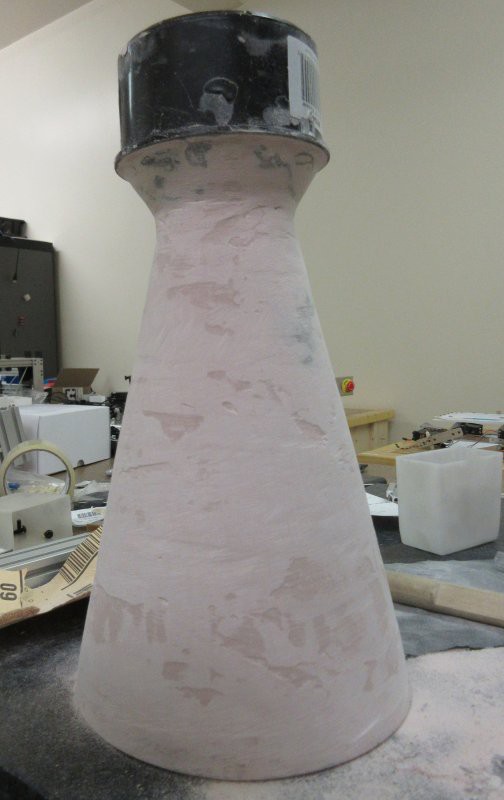
The tail cone mounting was created from a different air duct adapter, which was cut off and hollowed out to accept the composite tail cone. Outside of this was fitted a cake ring, which had been drilled to create the right number of holes as the feature on the real Explorer 1. The cake ring was epoxy coated to provide thickness and reduce sharp edges.
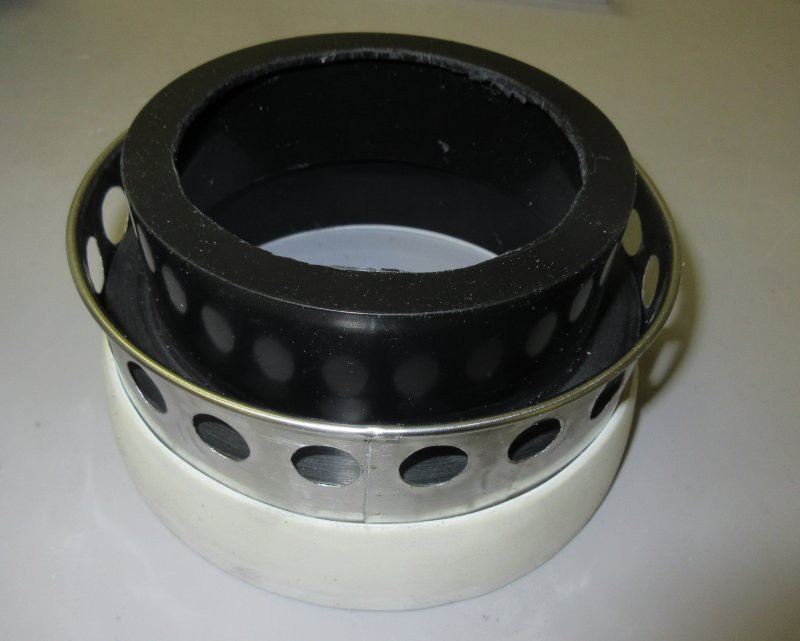
This was fit inside a section of PVC pipe that had been tapered to match the original profile.
The final assembly was able to be fit to the body via the same kind of fiberglass coupling made for the nose cone. However, the tail coupling does engage fully into the body, so therefore did not need to be painted.
 Kenji Larsen
Discussions
Become a Hackaday.io Member
Create an account to leave a comment. Already have an account? Log In.