 Christoph Gerneth
-
1Step 1
Check the software for bugs and improve it if you think it's necessary. Maybe you want to add new features. Anyway, it's a good idea to test it on a breadboard before you start soldering. You can find the software I used for this project here. I modified the lua scripts and pushed it to my developer board.
-
2Step 2
Now it's time to flash the ESP-01 and upload the software from step 1.
-
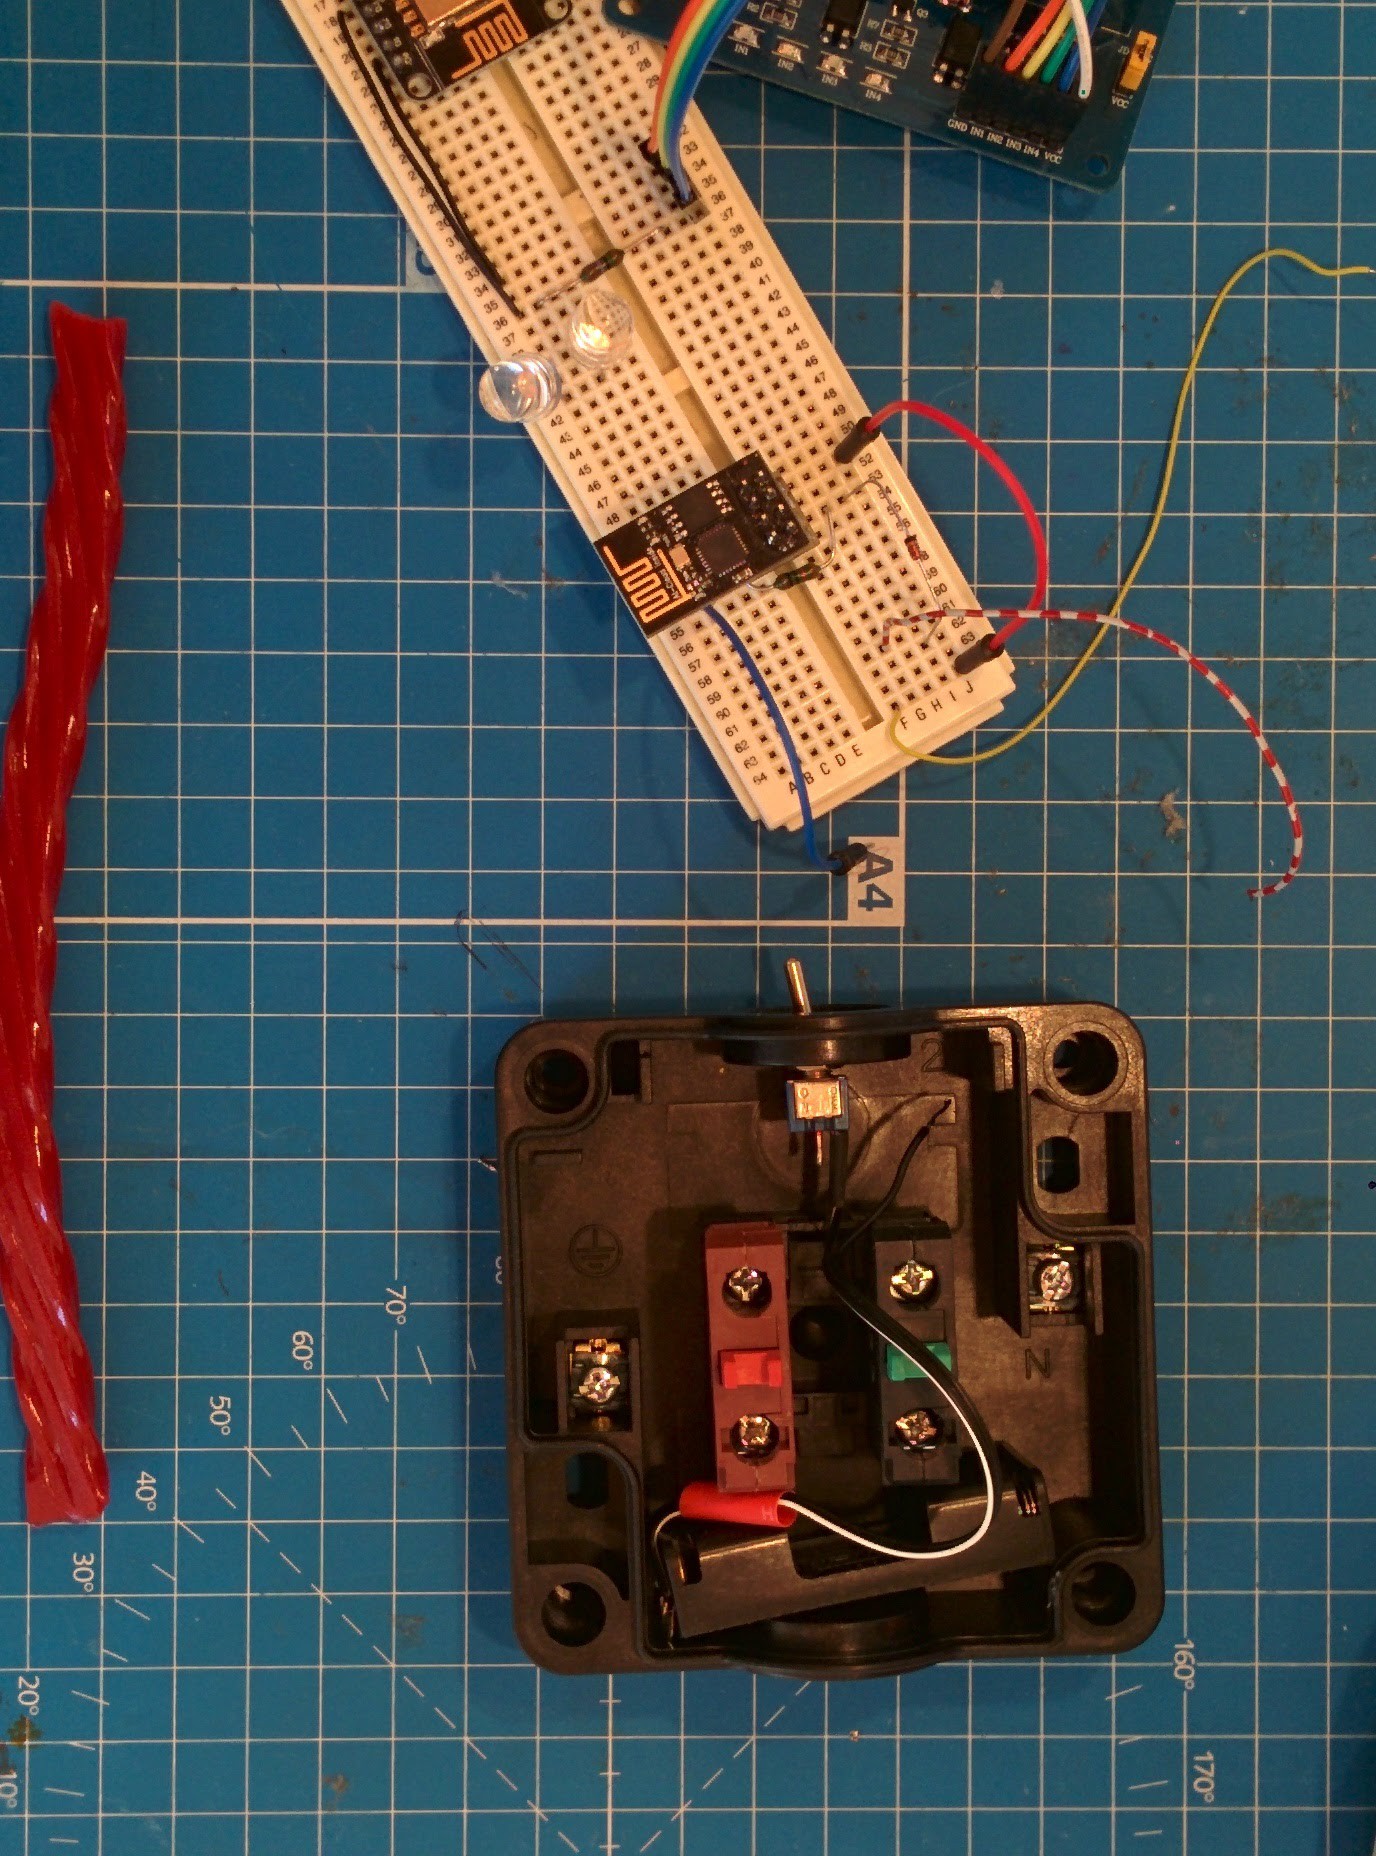
3Step 3
First, solder connectors to the battery holder and attach one end to the on/off switch.
![]()
-
4Step 4
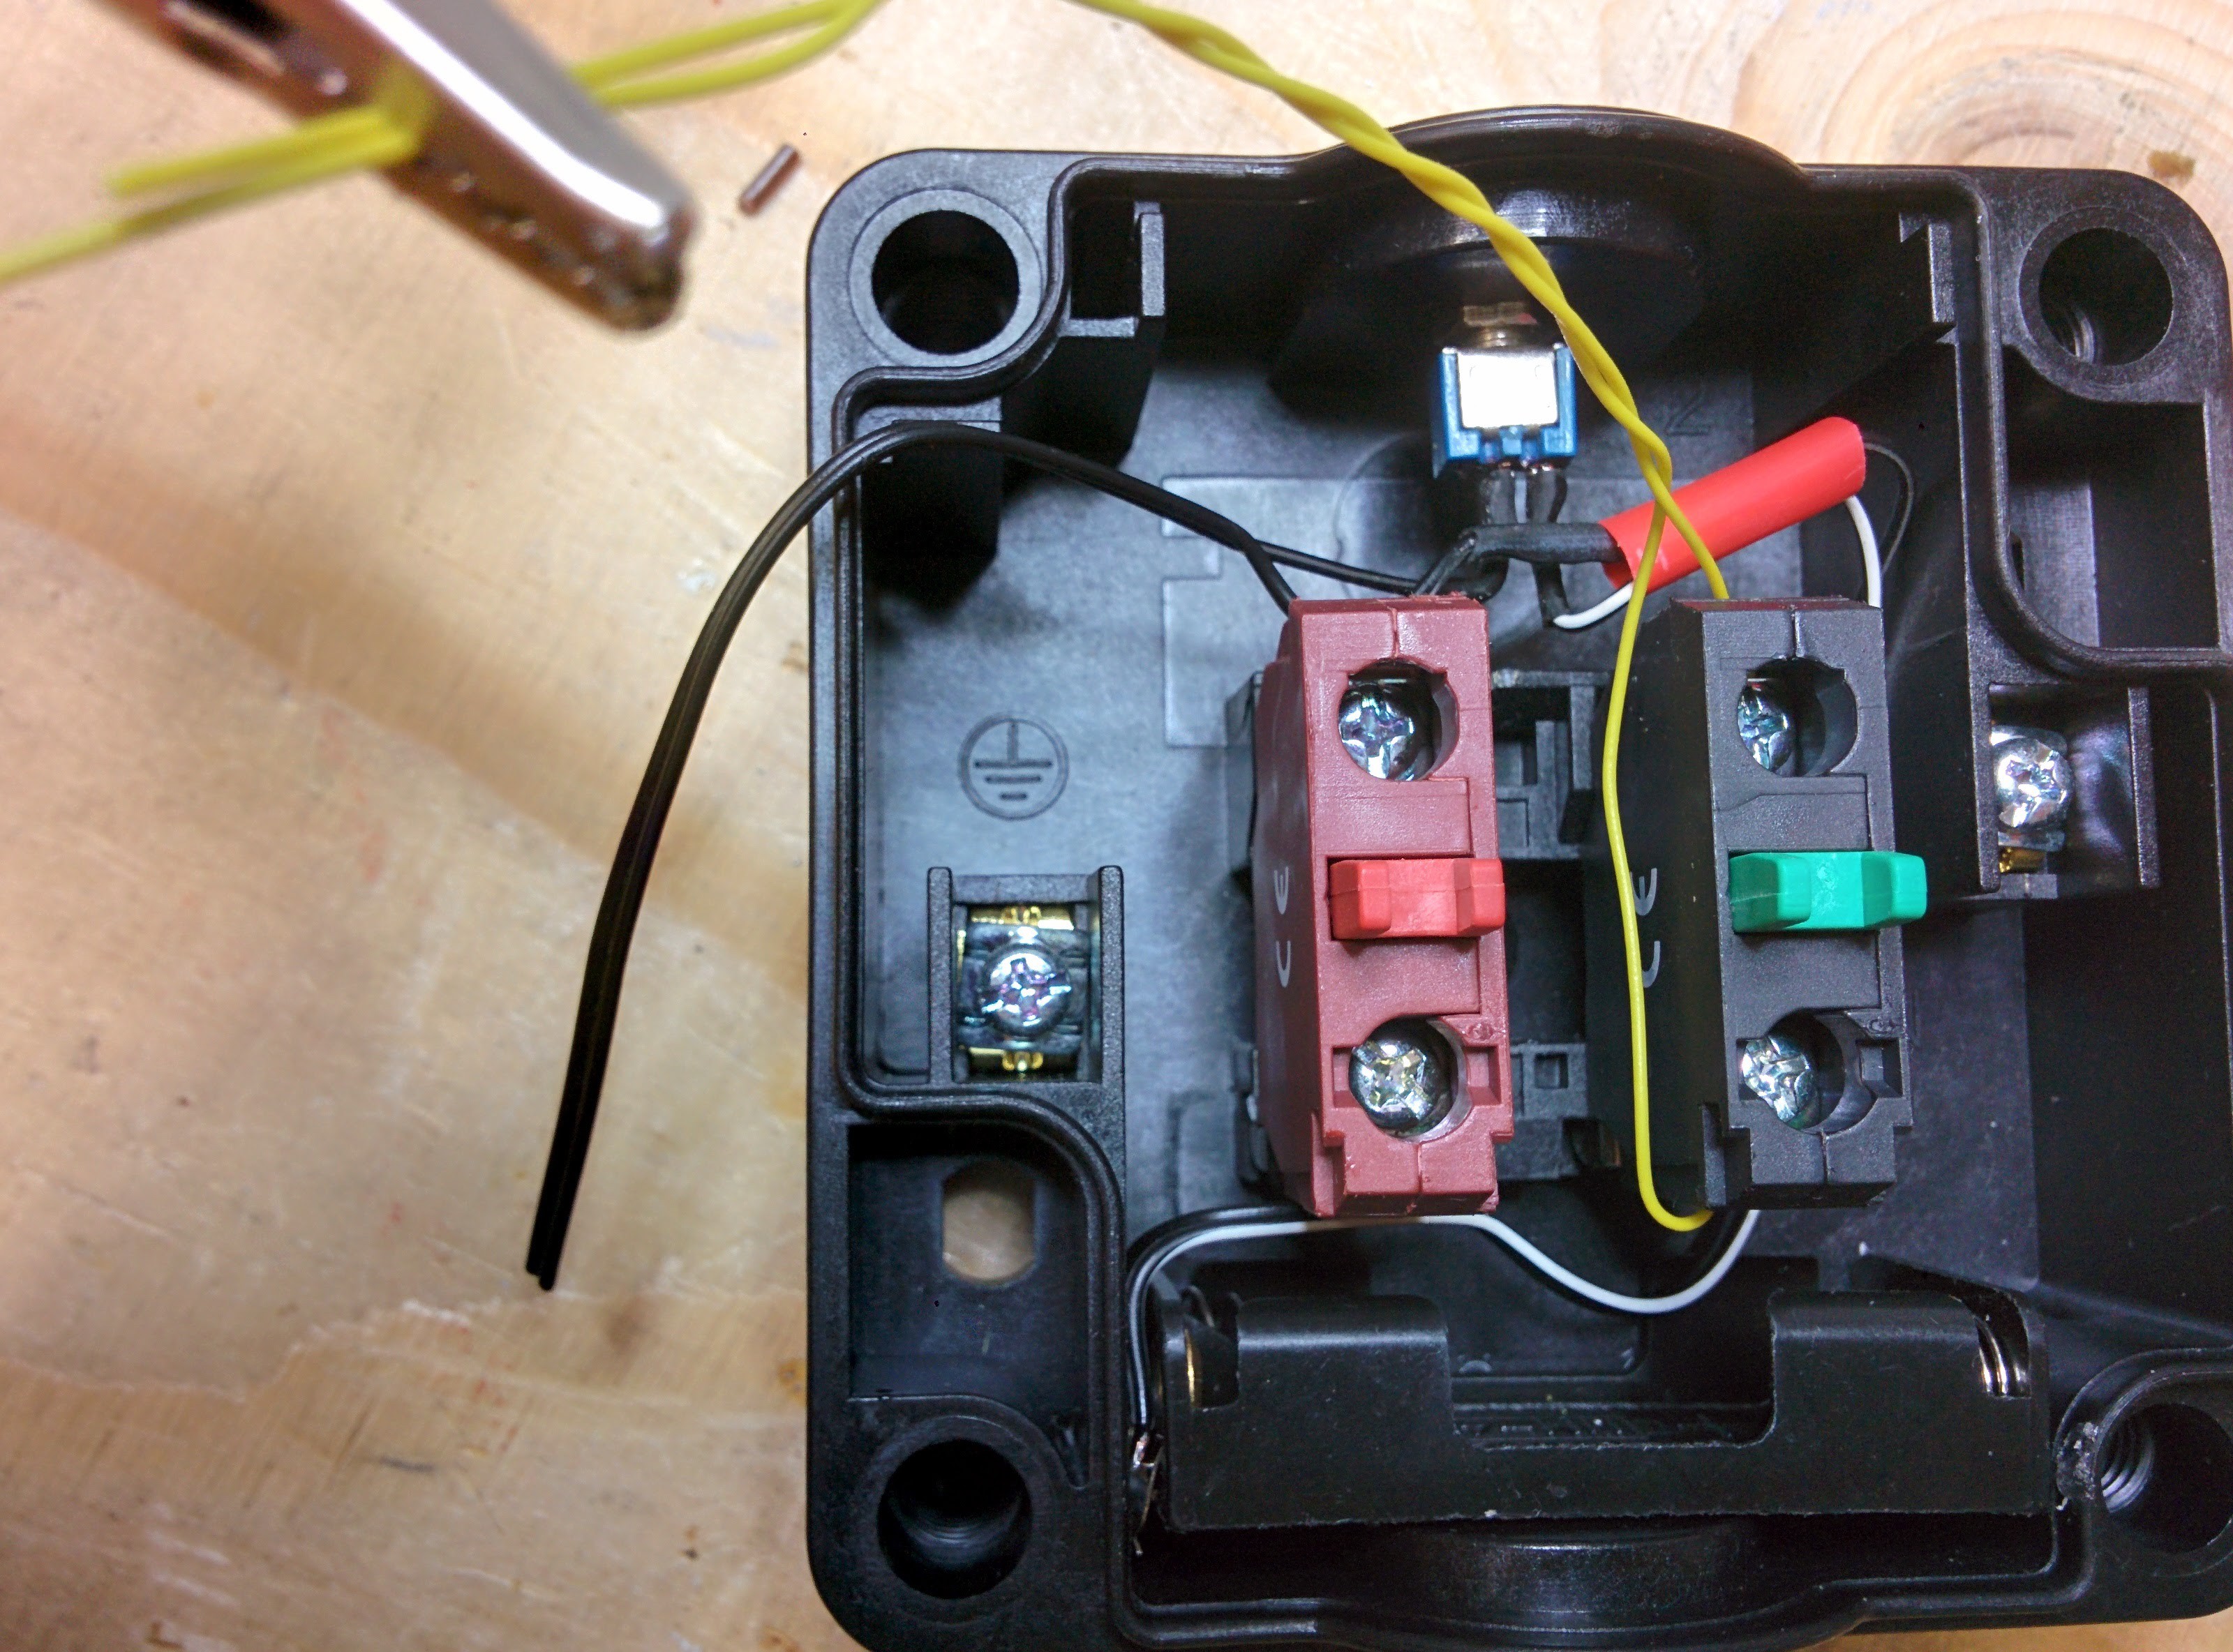
Now attach 2 wires to the switch. The red switch is an N/C connected switch - I used the other one instead.
![]()
-
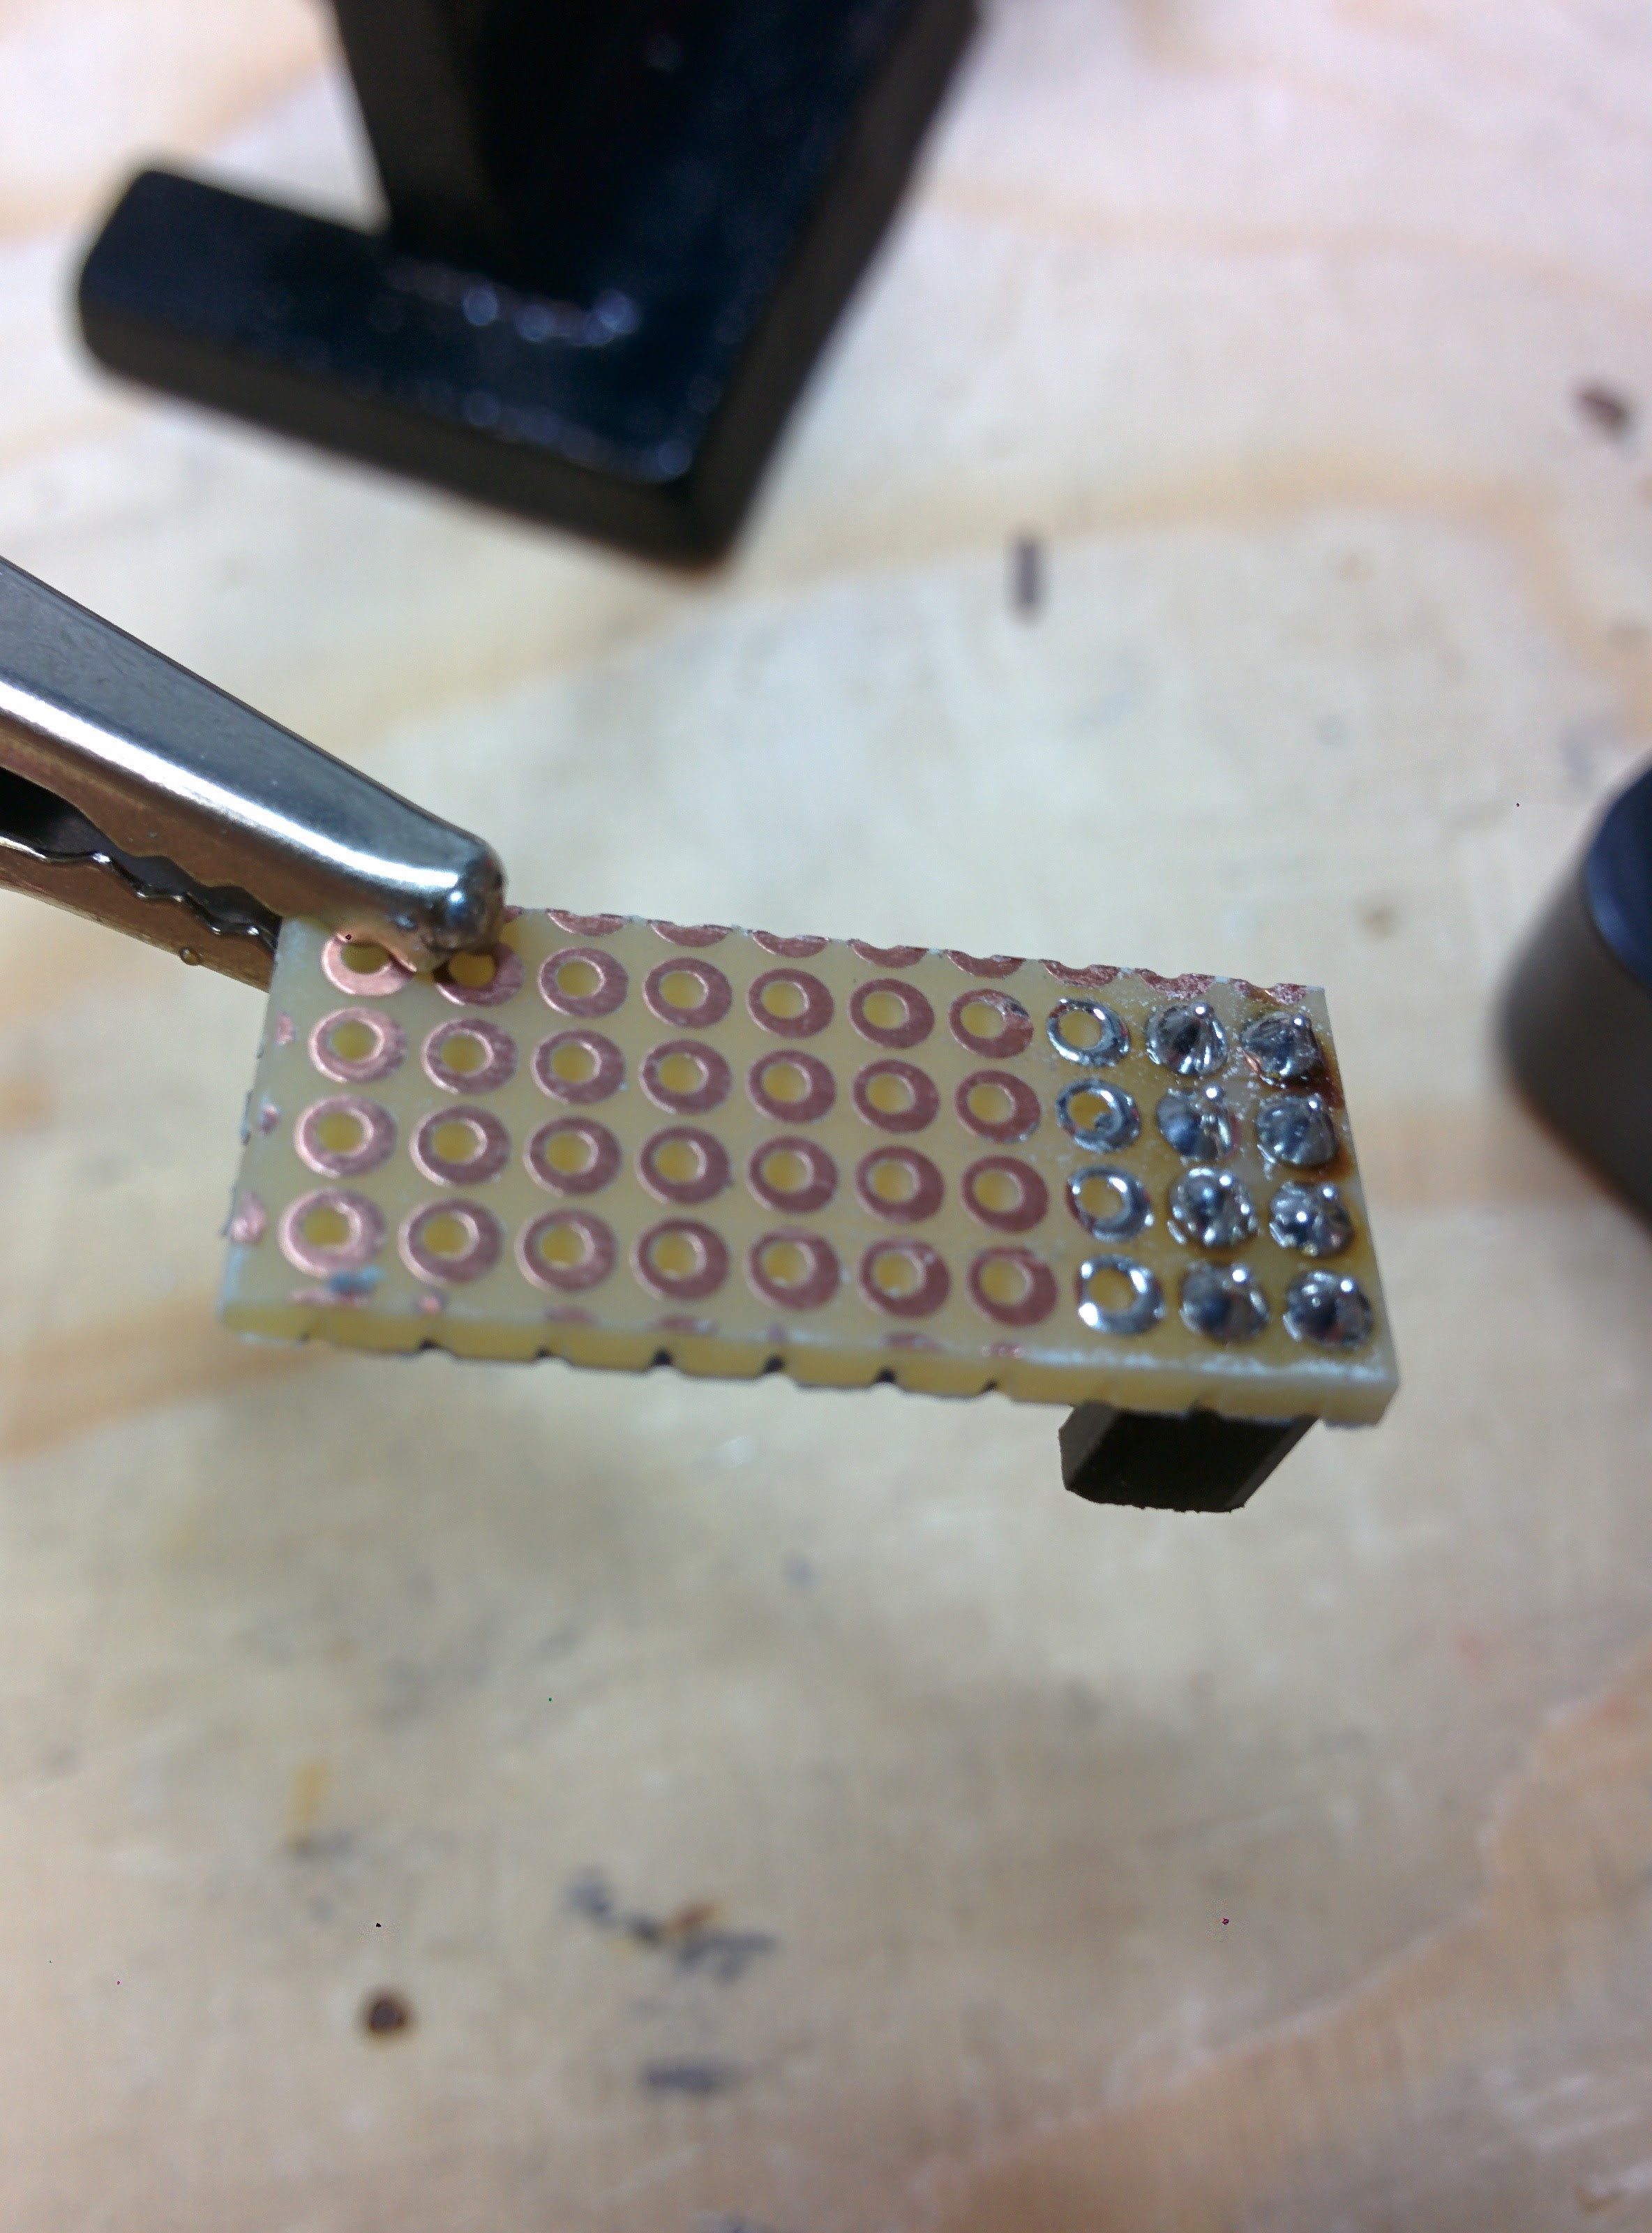
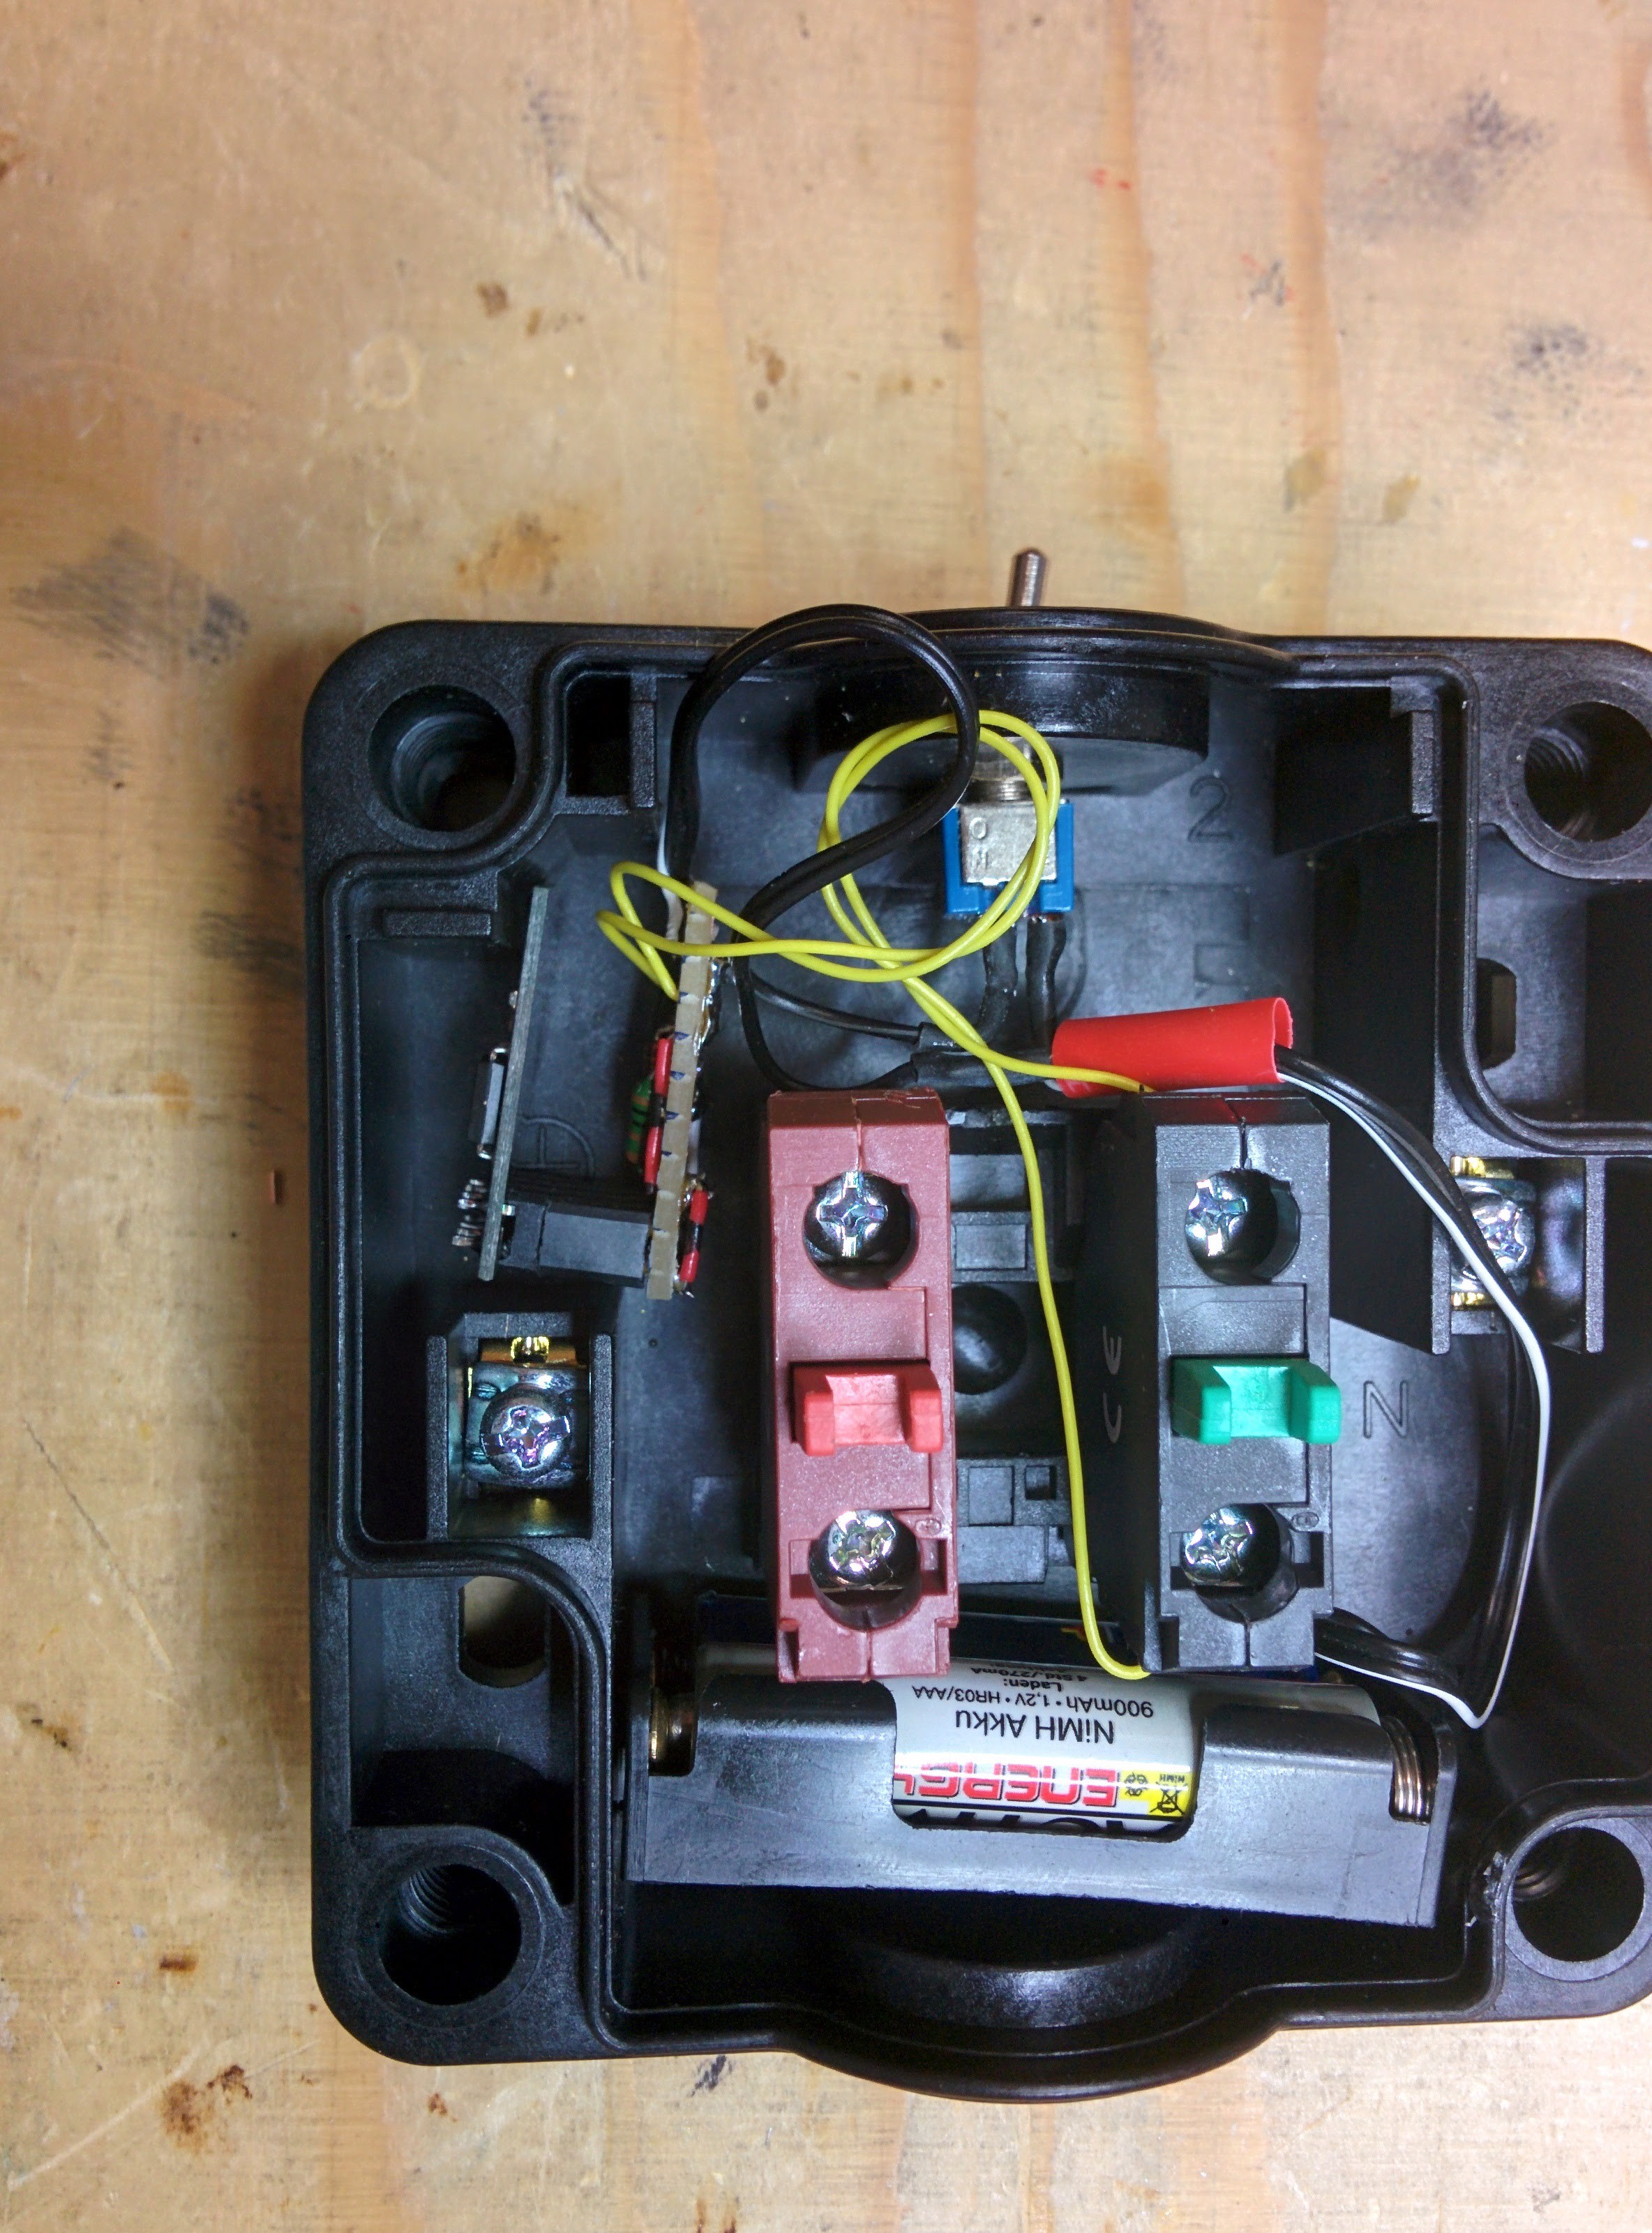
6Step 6
...and assemble the circuit.
![]()
-
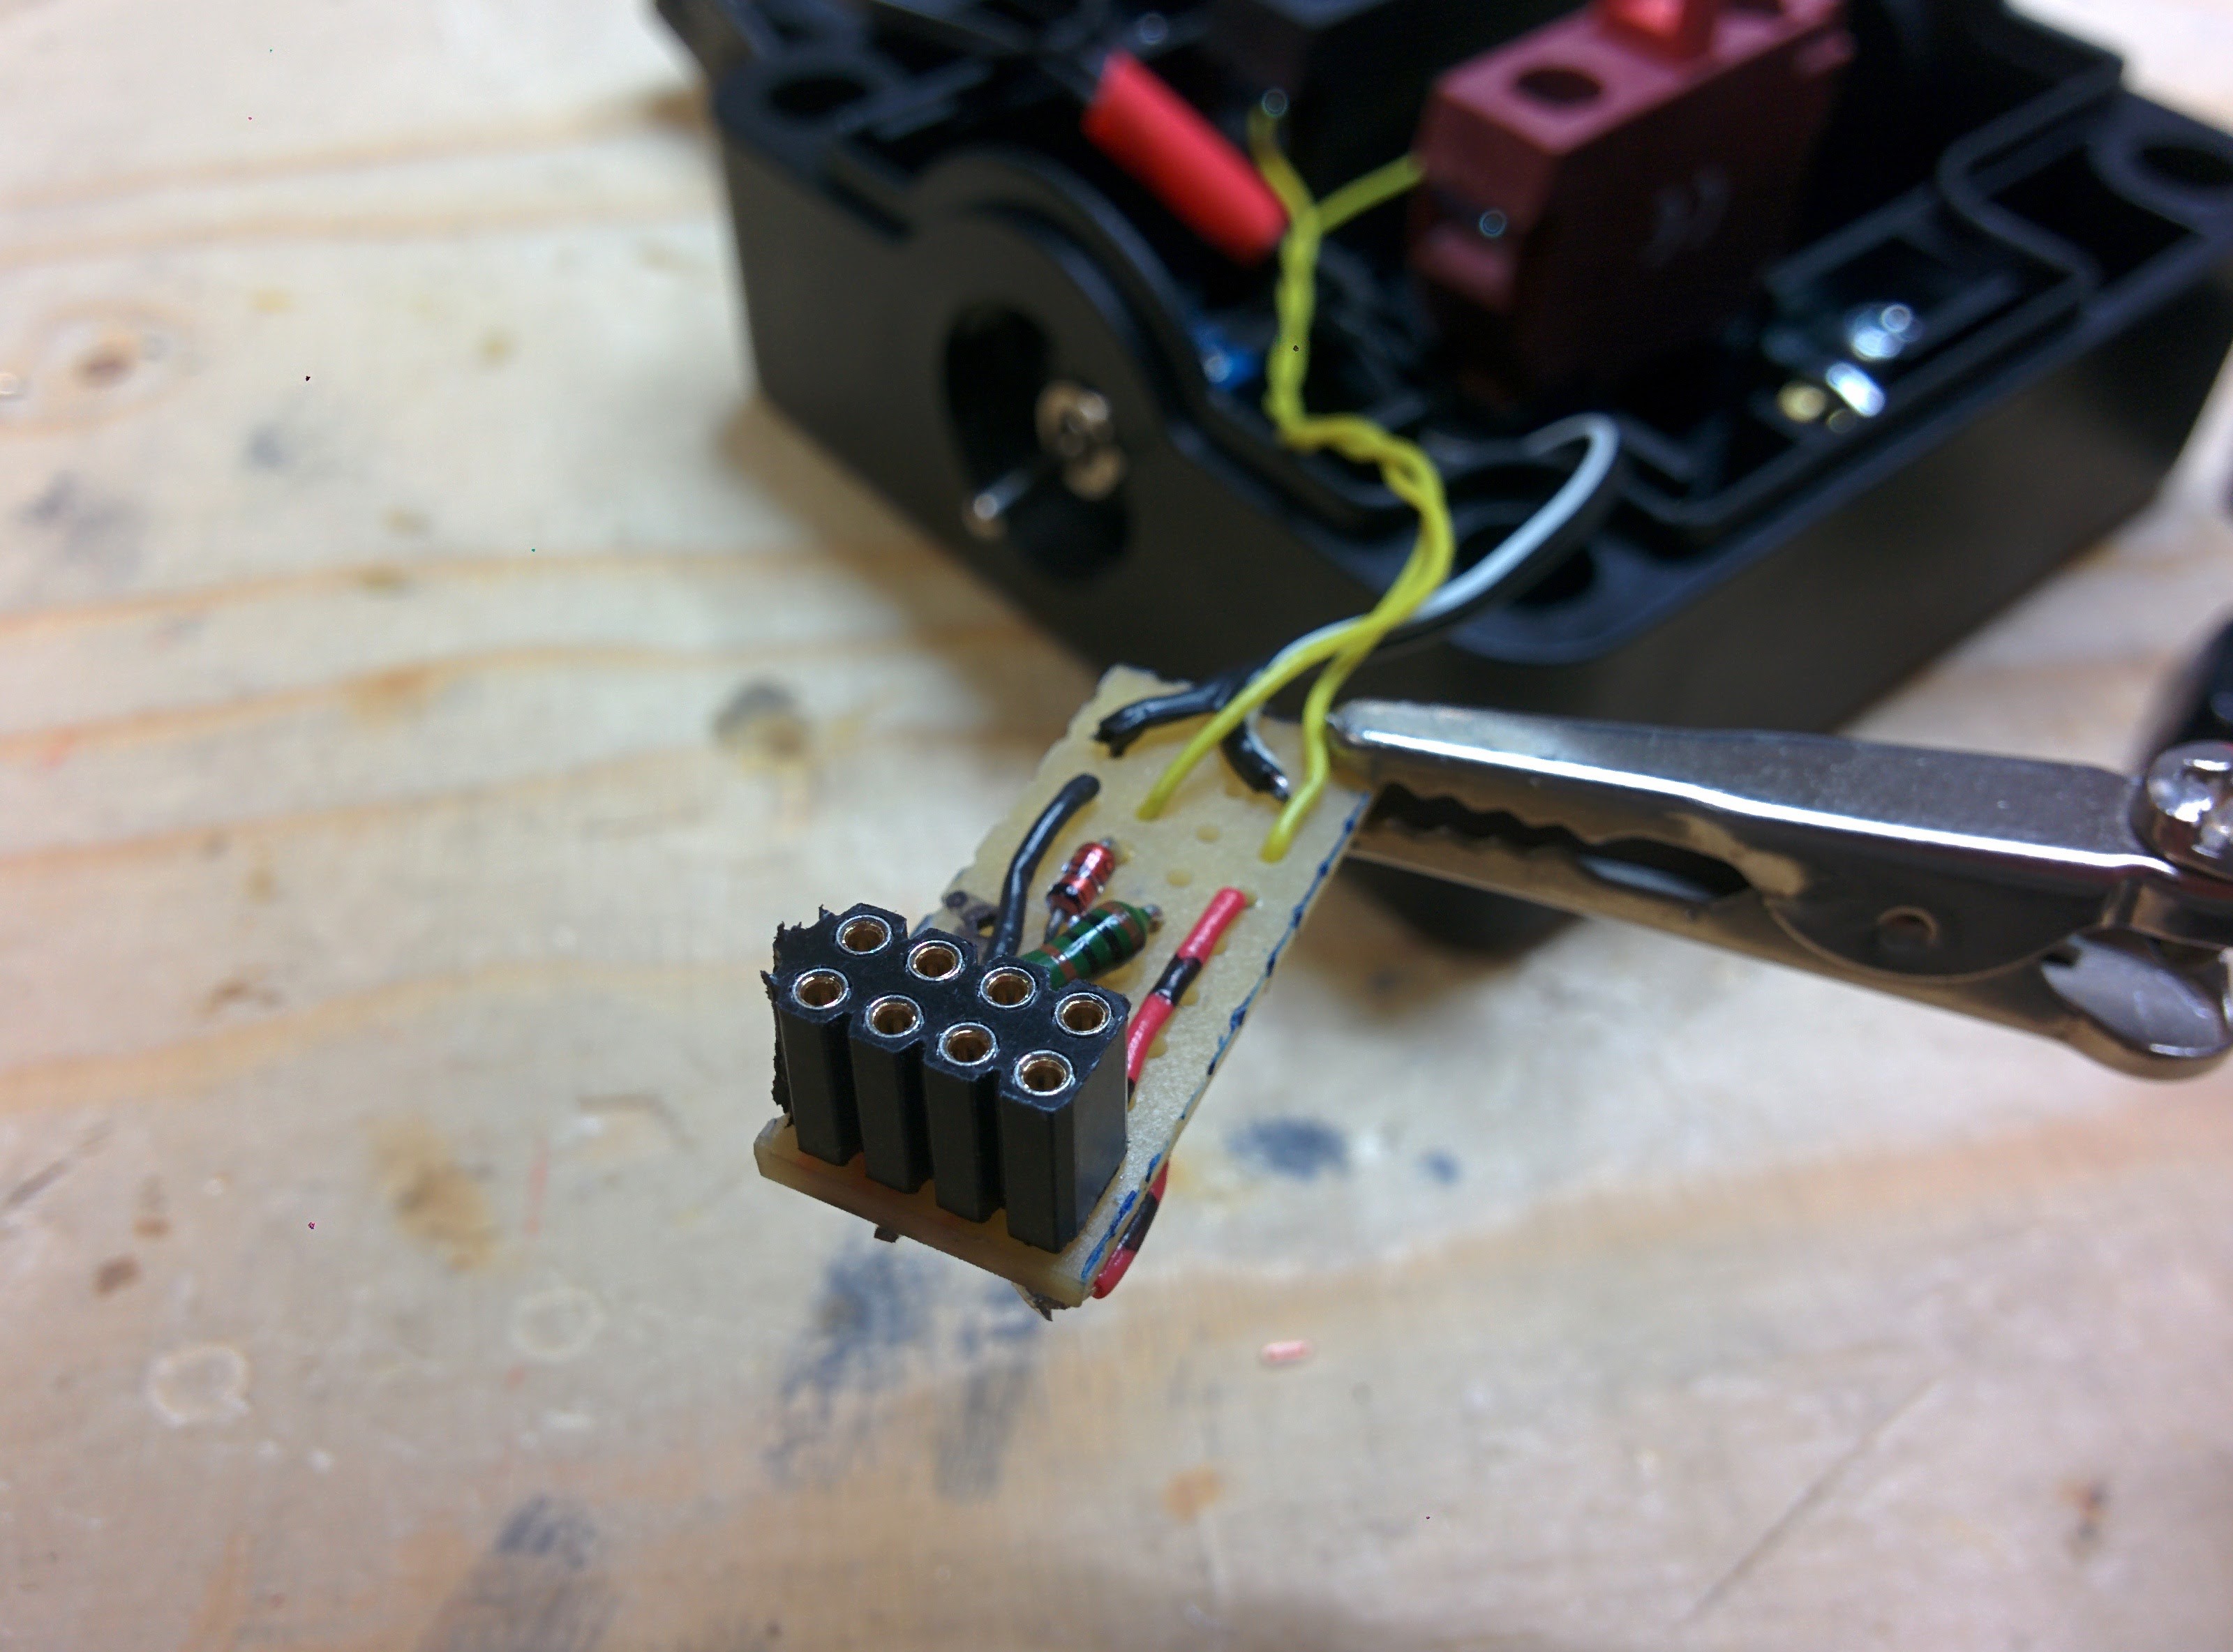
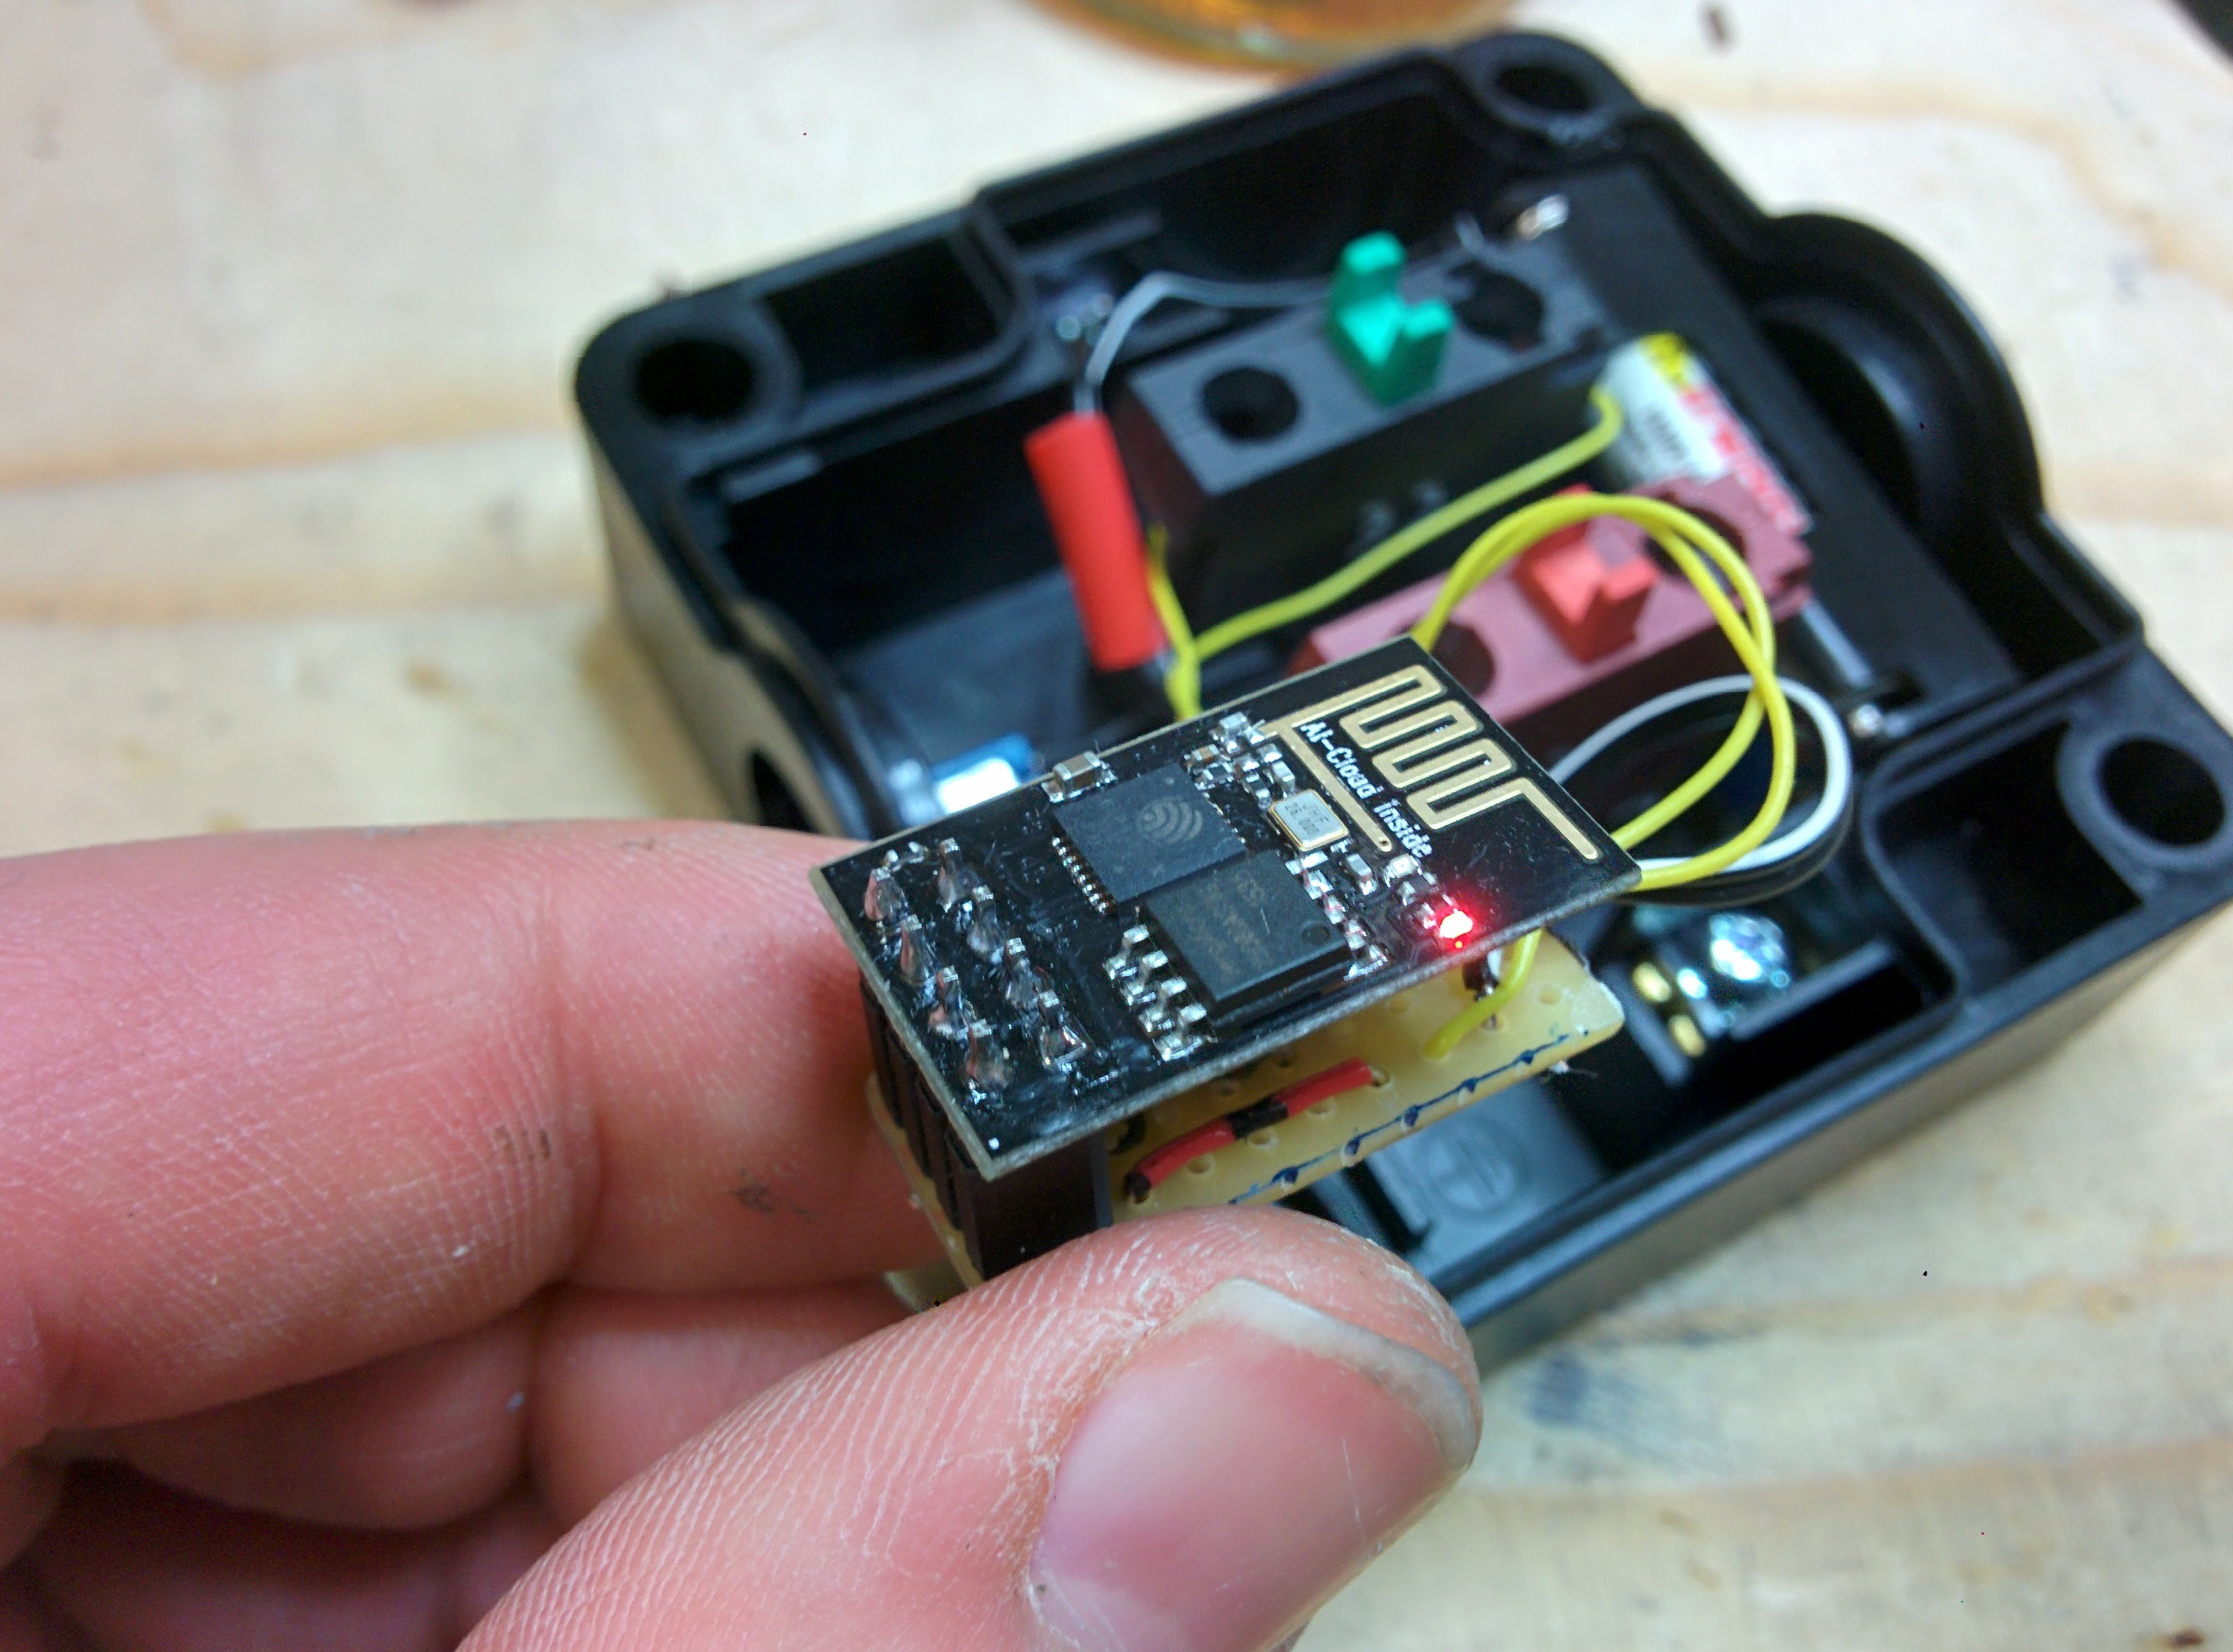
7Step 7
double check your circuit. Then attach your flashed ESP to the board and power it on.
![]()
-
8Step 8
You should see an open WiFi-network. Connect to it and go to http://192.168.1.1 to connect the button to the Internet.
![]()
Discussions
Become a Hackaday.io Member
Create an account to leave a comment. Already have an account? Log In.