-
Day 1
04/20/2014 at 09:14 • 0 commentsDISCLAIMER: I will be following the steps from this guide (https://learn.adafruit.com/diy-wifi-raspberry-pi-touch-cam/) for the early phases of this project.
For the first day, I just wanted to get the Raspberry Pi up and running with the OS. To do that I took the SD card and plugged it into my MacBook Pro and followed instructions here: https://learn.adafruit.com/adafruit-raspberry-pi-lesson-1-preparing-and-sd-card-for-your-raspberry-pi
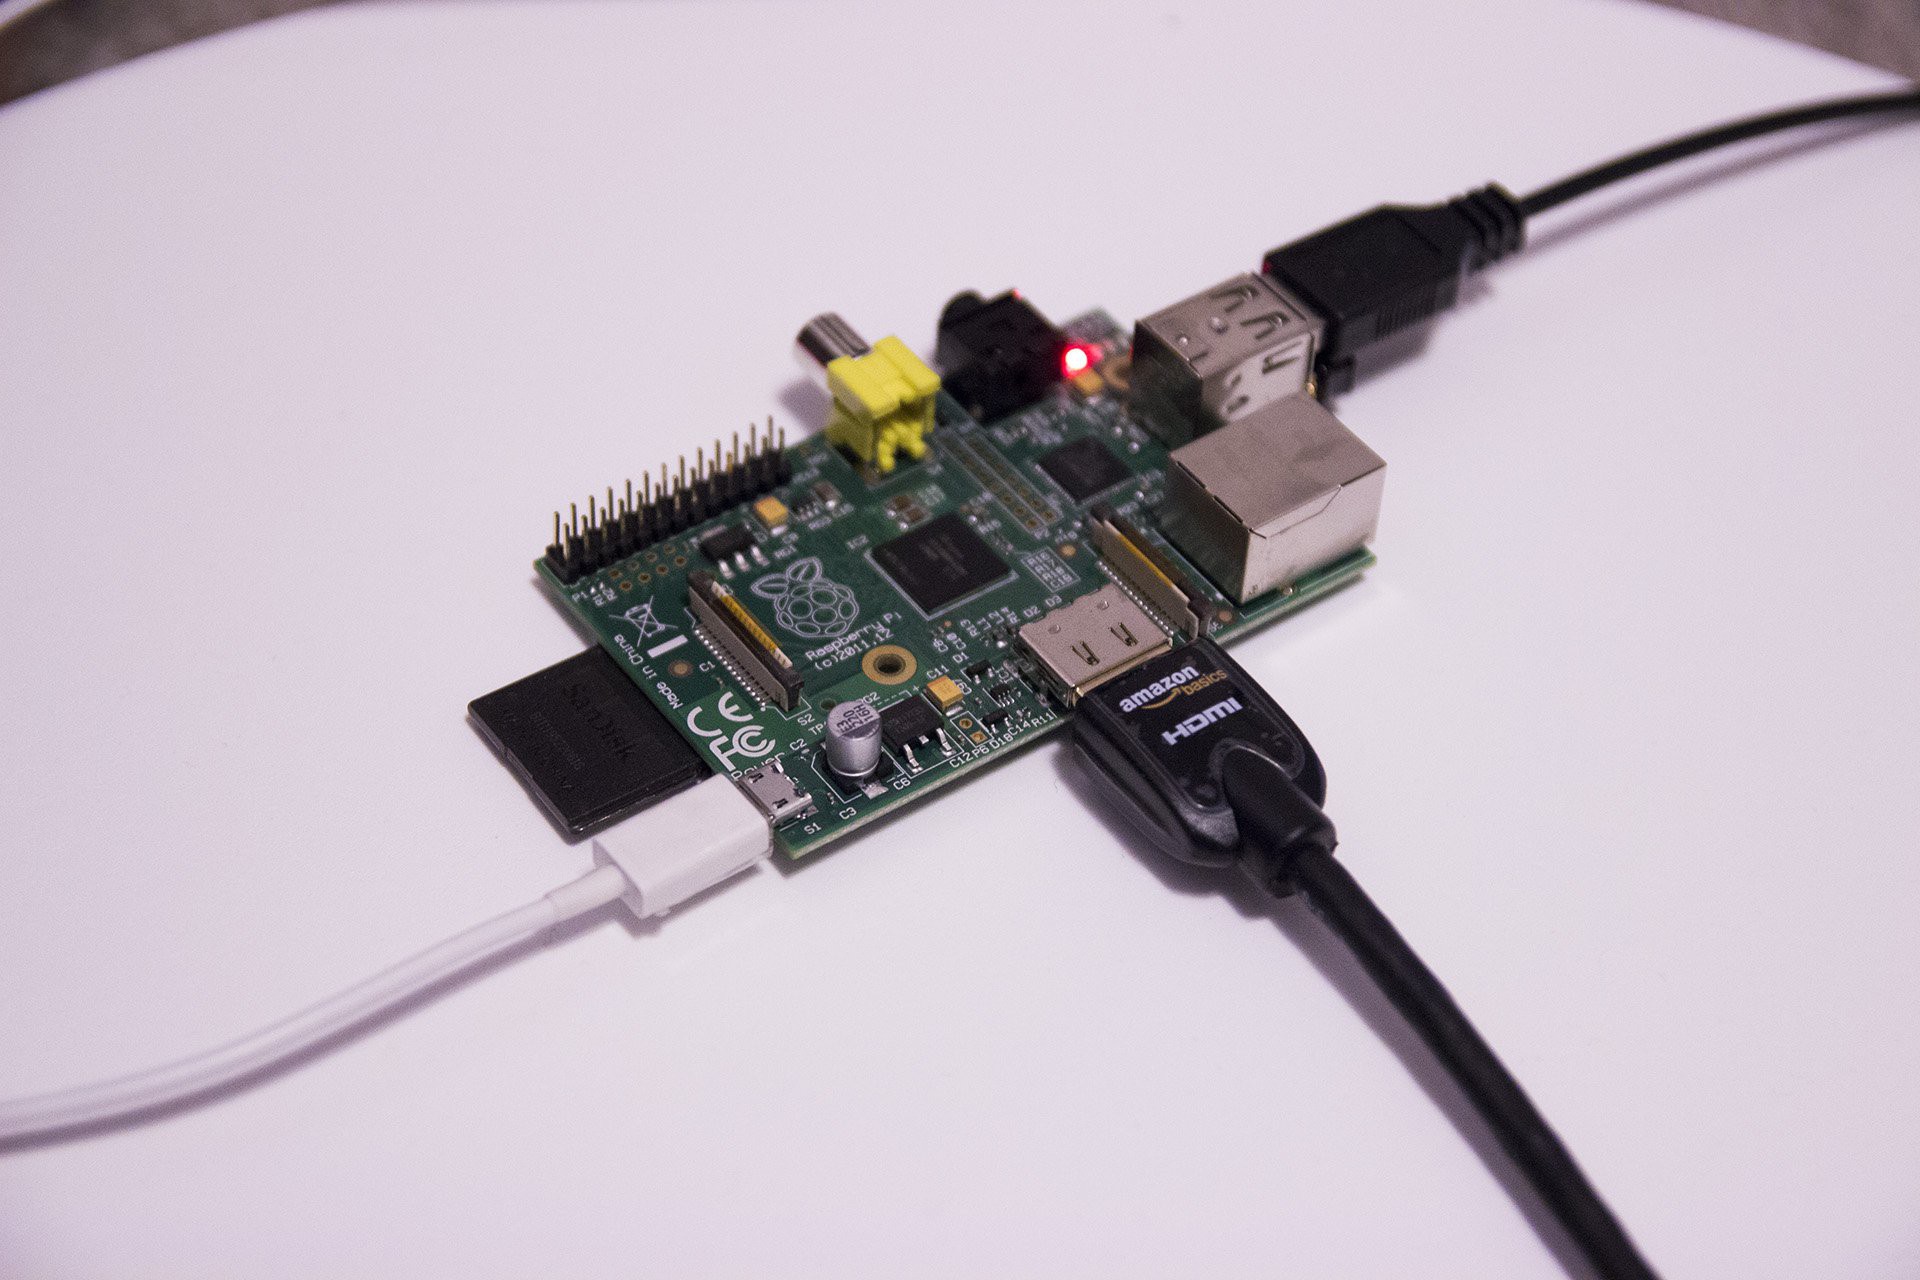
After following the steps, I ejected the card and plugged it into the Pi. I plugged in all the peripherals and boom shaka laka it looked like this:
![]()
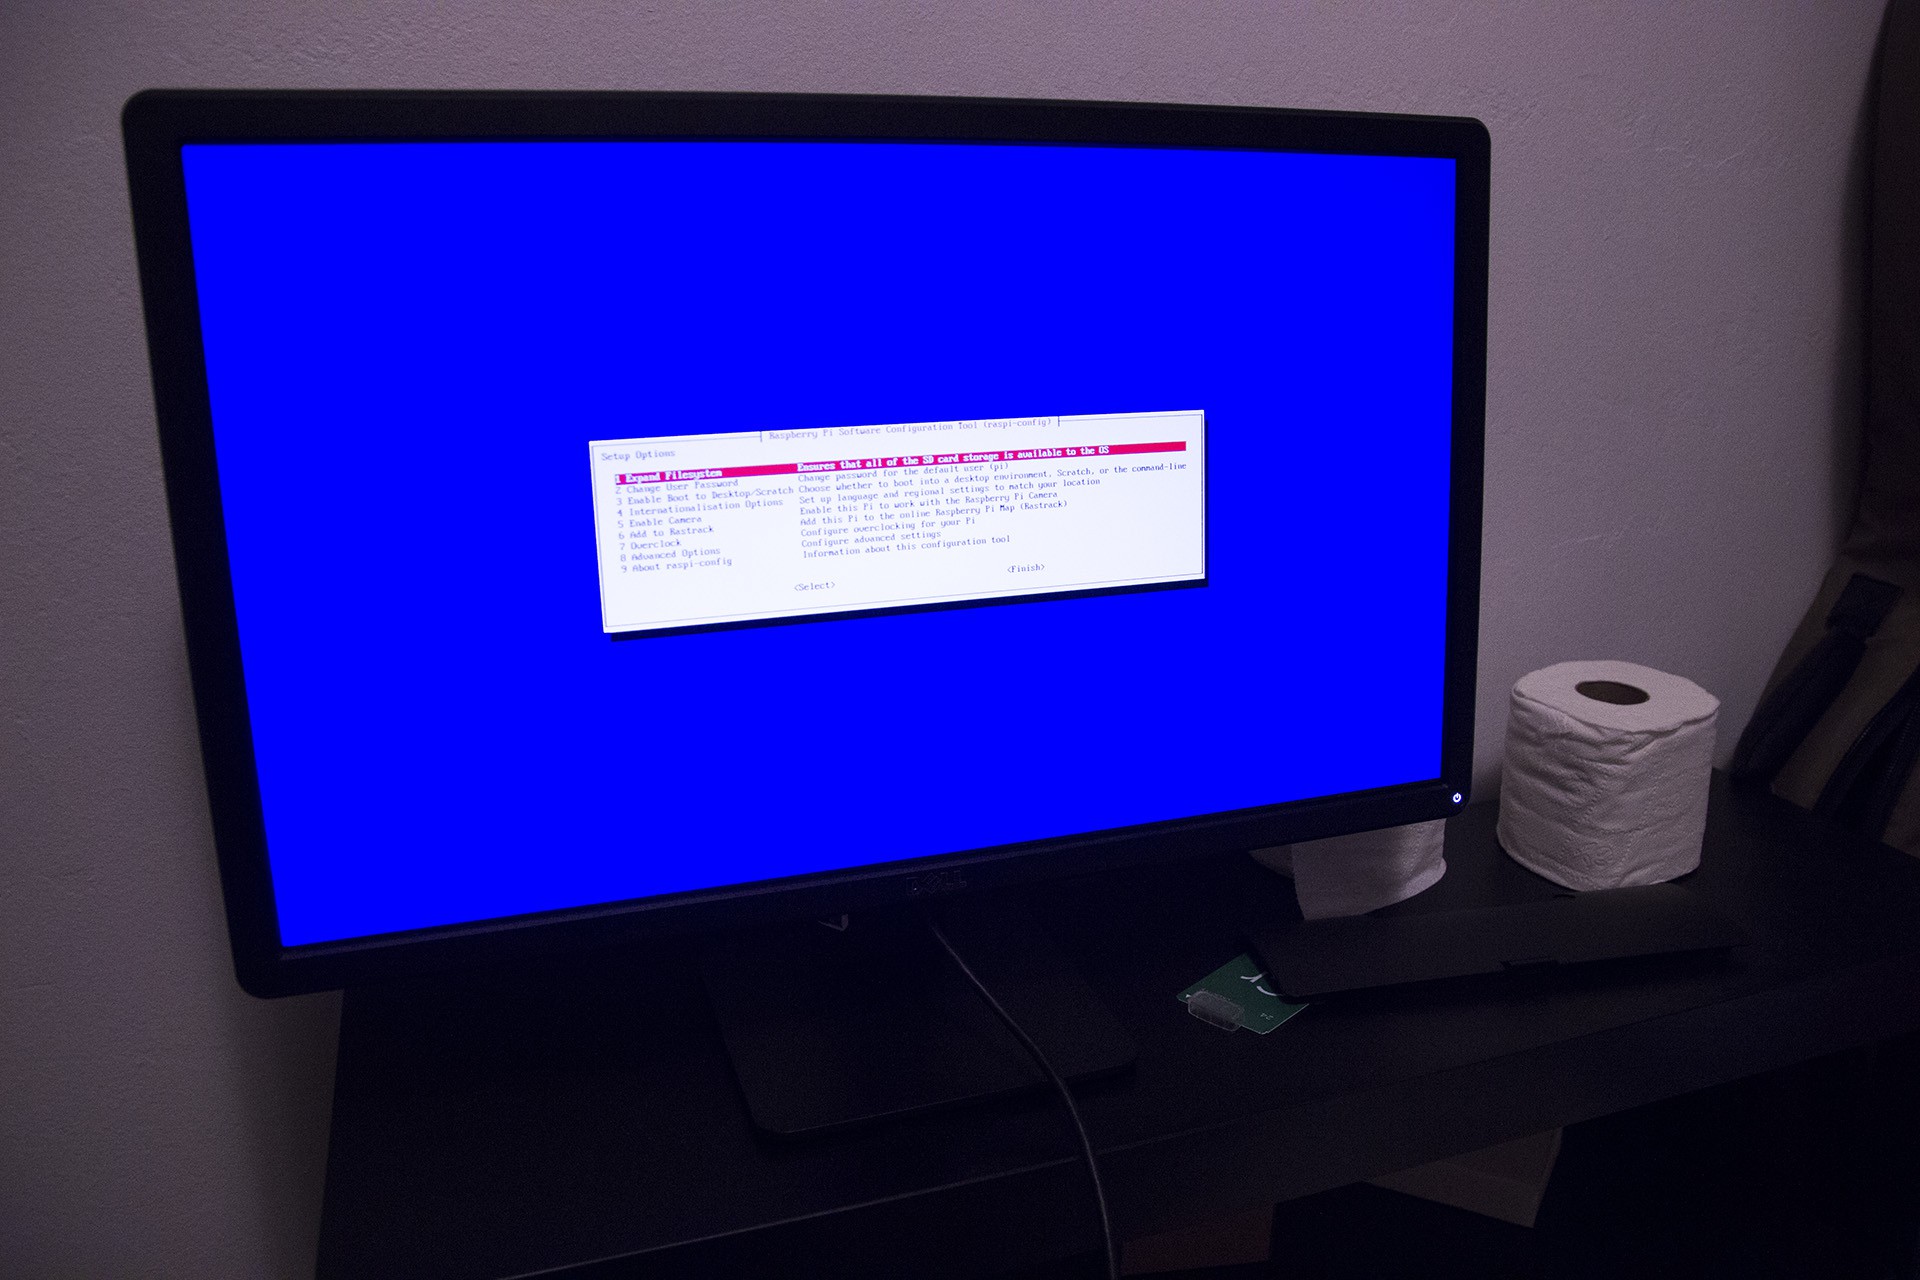
SD card plugs in underneath the board, Micro USB going to my laptop for power, keyboard and wireless adapter connected to the USB ports, and an HDMI cable going to my monitor. I first plugged everything else but power, then when I finally plugged in the power (and after a minute or two of booting) I got to the config screen:
![]()
Don't mind the toilet paper. I live by me onesie.
Success! I ran through the configuration as per the tutorial I was following and it went smoothly. The only thing that was different was that I decided I didn't need to configure the wireless network for now. There's only two USB ports, and my keyboard was already taking up one slot, so I decided to plug my mouse in instead of the wireless adapter.
Portable Raspberry Pi Wallet
Exploring the possibility of a simple portable wallet with QR scanning capability for making easy transactions.
 sfdogecoin
