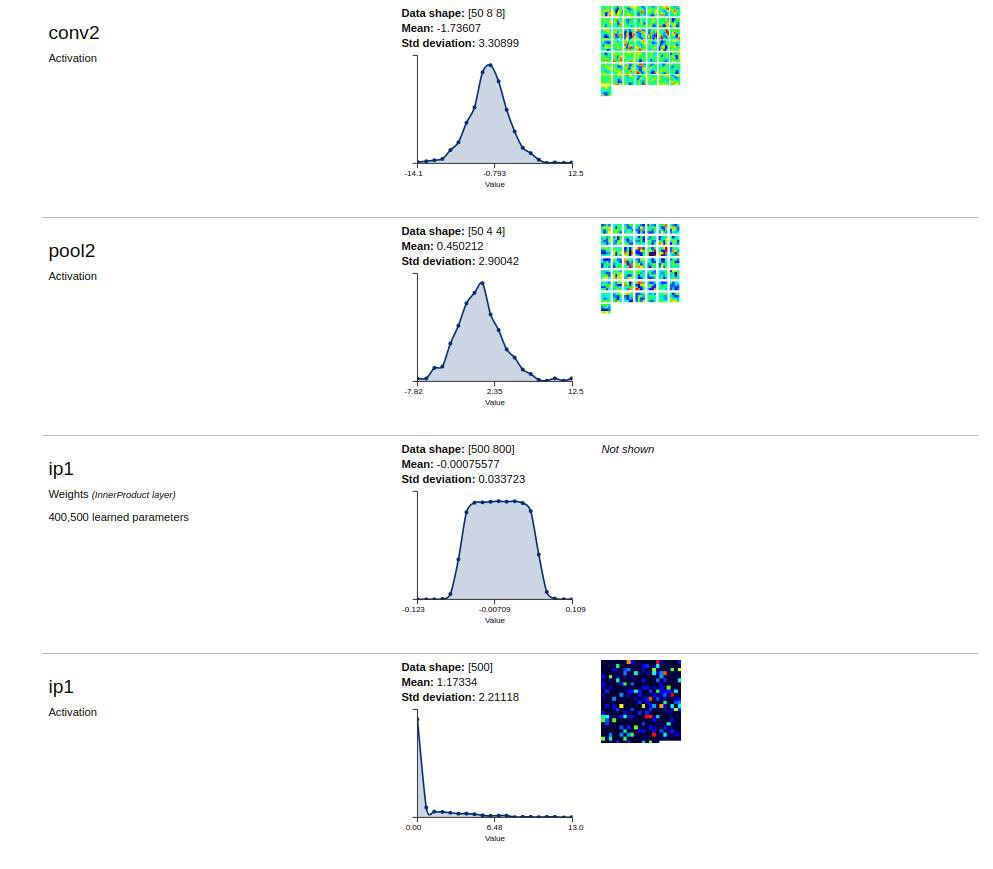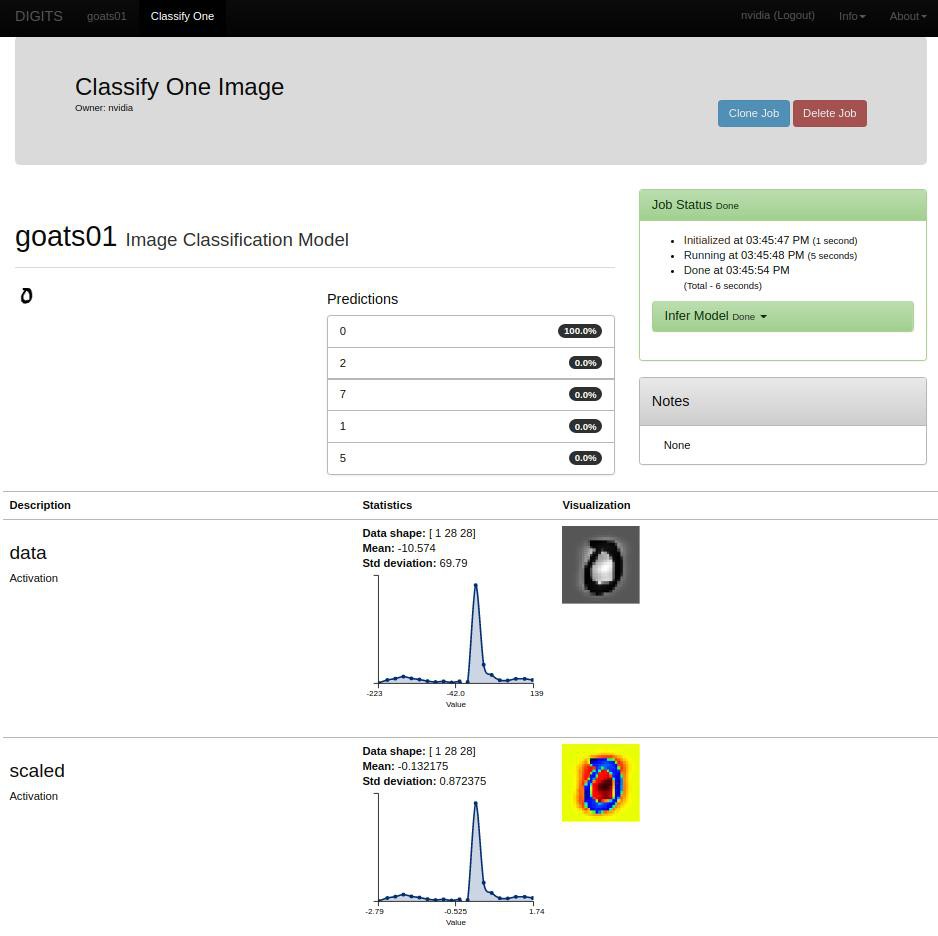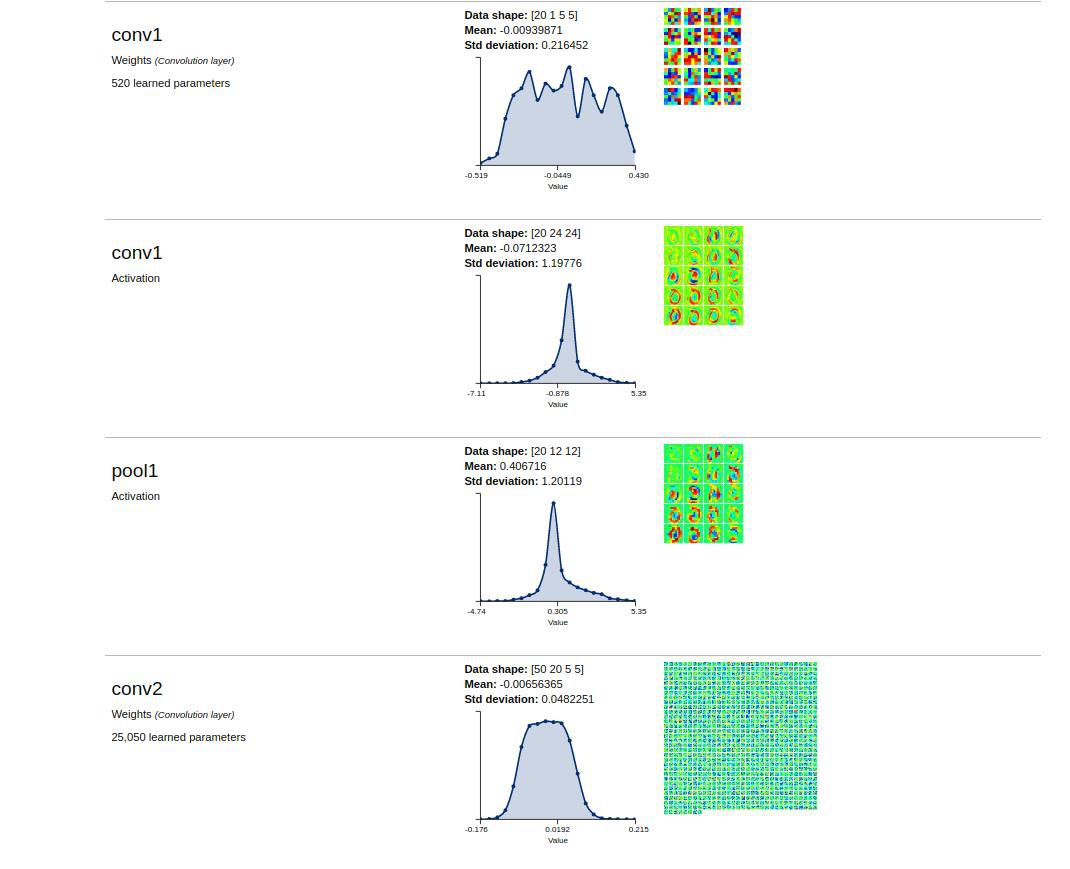
I really thought that there could not be any more files to upload after the marathon 4 month Jetpack install debacle ..... But, as might be expected, there were still many tens of thousands more to go. The interweb points to using a program called 'DIGITS' to get started 'quickly' , yet this was later defined to be a mere '2 days' work !!!! Anyway, after following the instructions at: https://github.com/NVIDIA/DIGITS/blob/master/docs/BuildDigits.md I eventually had some success. Not surprisingly, DIGITS needed a huge load of dependancies and I had to back track through each one, through 'dependencies of dependencies of dependencies' ....... A dire task for a relative Ubuntu beginner like myself.
Fortunately, I had just about enough experience to spot the mistakes in each instruction set - usually a missing 'sudo' or failiure to cd into the right directory. A total beginner would have absolutely no chance ! For me, at least, deciphering the various error messages was extremely challenging. I made a note of most of the steps / problems pasted at the end of this log, which will probably make very little sense to anyone as very often I had to back track to get dependancies installed properly eg libprotobuf.so.12 .
Anyway, here is my first adventure with Ai - recognising a O:

 Notes:
File "/usr/local/lib/python2.7/dist-packages/protobuf-3.2.0-py2.7-linux-aarch64.egg/google/protobuf/descriptor.py", line 46, in <module>
from google.protobuf.pyext import _message
ImportError: libprotobuf.so.12: cannot open shared object file: No such file or directory
Procedure:
# For Ubuntu 16.04
CUDA_REPO_PKG=http://developer.download.nvidia.com/compute/cuda/repos/ubuntu1604/x86_64/cuda-repo-ubuntu1604_8.0.61-1_amd64.deb
# Install repo packages
wget "$CUDA_REPO_PKG" -O /tmp/cuda-repo.deb && sudo dpkg -i /tmp/cuda-repo.deb && rm -f /tmp/cuda-repo.deb
wget "$ML_REPO_PKG" -O /tmp/ml-repo.deb && sudo dpkg -i /tmp/ml-repo.deb && rm -f /tmp/ml-repo.deb
# Download new list of packages
sudo apt-get update
sudo apt-get install --no-install-recommends git graphviz python-dev python-flask python-flaskext.wtf python-gevent python-h5py python-numpy python-pil python-pip python-scipy python-tk
------------------DONE------------------------------
sudo apt-get install autoconf automake libtool curl make g++ git python-dev python-setuptools unzip
------------------DONE------------------------------
$ git clone https://github.com/protocolbuffers/protobuf.git
$ cd protobuf
$ git submodule update --init --recursive
$ ./autogen.sh
To build and install the C++ Protocol Buffer runtime and the Protocol Buffer compiler (protoc) execute the following:
$ ./configure
$ make
$ make check
$ sudo make install
$ sudo ldconfig # refresh shared library cache.
cd python
sudo python setup.py install --cpp_implementation
Download Source
DIGITS is currently compatiable with Protobuf 3.2.x
# example location - can be customized
export PROTOBUF_ROOT=~/protobuf
cd $PROTOBUF_ROOT
git clone https://github.com/google/protobuf.git $PROTOBUF_ROOT -b '3.2.x'
Building Protobuf
cd $PROTOBUF_ROOT
./autogen.sh
./configure
make "-j$(nproc)"
make install
ldconfig
cd python
sudo python setup.py install --cpp_implementation
This will ensure that Protobuf 3 is installed.
------------------ DONE -------------------------
sudo apt-get install --no-install-recommends build-essential cmake git gfortran libatlas-base-dev libboost-filesystem-dev libboost-python-dev
----------- DONE -----------------------------------
sudo apt-get install libboost-system-dev libboost-thread-dev libgflags-dev libgoogle-glog-dev libhdf5-serial-dev libleveldb-dev liblmdb-dev libopencv-dev libsnappy-dev python-all-dev python-dev python-h5py python-matplotlib python-numpy python-opencv python-pil python-pip python-pydot python-scipy python-skimage python-sklearn
----------------- DONE -------------------------------
export CAFFE_ROOT=~/caffe
git clone https://github.com/NVIDIA/caffe.git $CAFFE_ROOT -b 'caffe-0.15'
------------- Done ------------------
sudo pip install -r $CAFFE_ROOT/python/requirements.txt
----------------- DONE with errors -------------------
????????????? pip install --upgrade pip
apt-get install protobuf-compiler
cmake -DBLAS=open
cd $CAFFE_ROOT
mkdir build
cd build
cmake .. -------------- originally Could NOT find Protobuf (missing: PROTOBUF_LIBRARY PROTOBUF_INCLUDE_DIR) but now corrected
make -j"$(nproc)" ---------------- /usr/include/c++/5/typeinfo:39:37: error: expected ‘}’ before end of line
I solved this problem by modifying CMakeList.txt
Orginal:
# ---[ Flags
if(UNIX OR APPLE)
set(CMAKE_CXX_FLAGS "${CMAKE_CXX_FLAGS} -fPIC -Wall")
endif()if()
Modified:
# ---[ Flags
if(UNIX OR APPLE)
set(CMAKE_CXX_FLAGS "${CMAKE_CXX_FLAGS} -fPIC -Wall -std=c++11")
endif()if()
make install
DIGITS_ROOT=~/digits
git clone https://github.com/NVIDIA/DIGITS.git $DIGITS_ROOT
sudo pip install -r $DIGITS_ROOT/requirements.txt
Traceback (most recent call last):
File "/usr/local/bin/pip", line 7, in <module>
from pip._internal import main
ImportError: No module named _internal
sudo easy_install pip
sudo pip install -e $DIGITS_ROOT
Starting the server:
export CAFFE_ROOT=/home/mx/caffe/
cd digits
./digits-devserver
ValueError: Caffe executable not found in PATH ........... export CAFFE_ROOT=/home/mx/caffe/
echo "export CAFFE_ROOT=/home/nvidia/caffe/" >> ~/.profile
source ~/.profile
echo $CAFFE_ROOT
ImportError: libprotobuf.so.12: cannot open shared object file: No such file or directory
Starts a server at http://localhost:5000/.
python -m digits.download_data mnist ~/mnist
Other notes:
To fix the problem, all you need to do is to remove the lock files. You can do that easily using the commands below:
sudo rm /var/lib/apt/lists/lock
sudo rm /var/cache/apt/archives/lock
sudo rm /var/lib/dpkg/lock
After that, reconfigure the packages
sudo dpkg --configure -a
The command to remove an apt repository is apt-add-repository with the -r option which will remove instead of add the repository. So in your case, the full command would be:
sudo add-apt-repository -r ppa:colingille/freshlight
 Capt. Flatus O'Flaherty ☠
Discussions
Become a Hackaday.io Member
Create an account to leave a comment. Already have an account? Log In.