Chris Gervang
-
Progress: 2nd Iteration - Software
04/20/2016 at 05:08 • 0 commentsJust after christmas Michelle joined the project. This iteration of the mirror was all about adding software she could use everyday to the hardware I gave her for Christmas. As a designer, she redid the UI, color palette, and visual design. As a developer, she made mirror apps. I focused on developing mirror apps as well, and I spent a considerable amount of time experimenting with different control interfaces for the mirror.
In this post I'll focus on the software we created and the number of false starts I made towards a satisfying human control interface (hereon written as HCI).
The code for iteration is in the 'legacy' branch, and release 0.5 is the final working version before starting the 3rd iteration.
Our lego prototype of the HCI (from the video above) was way too large, but the concept of a clickable scroll wheel similar to the digital crown on the Apple Watch stuck around.
A scroll wheel was only one among many approaches we've considered. The 1st iteration of the mirror was designed with a scroll action and a separate 'mode' button that could handle a click and click-hold action.Ideas for implementing this ranged from capacitive and resistive touch button and panels, voice control, thin linear potentiometers, scroll wheels from a mouse, leap motion, basically anything that could scroll and do a single click.
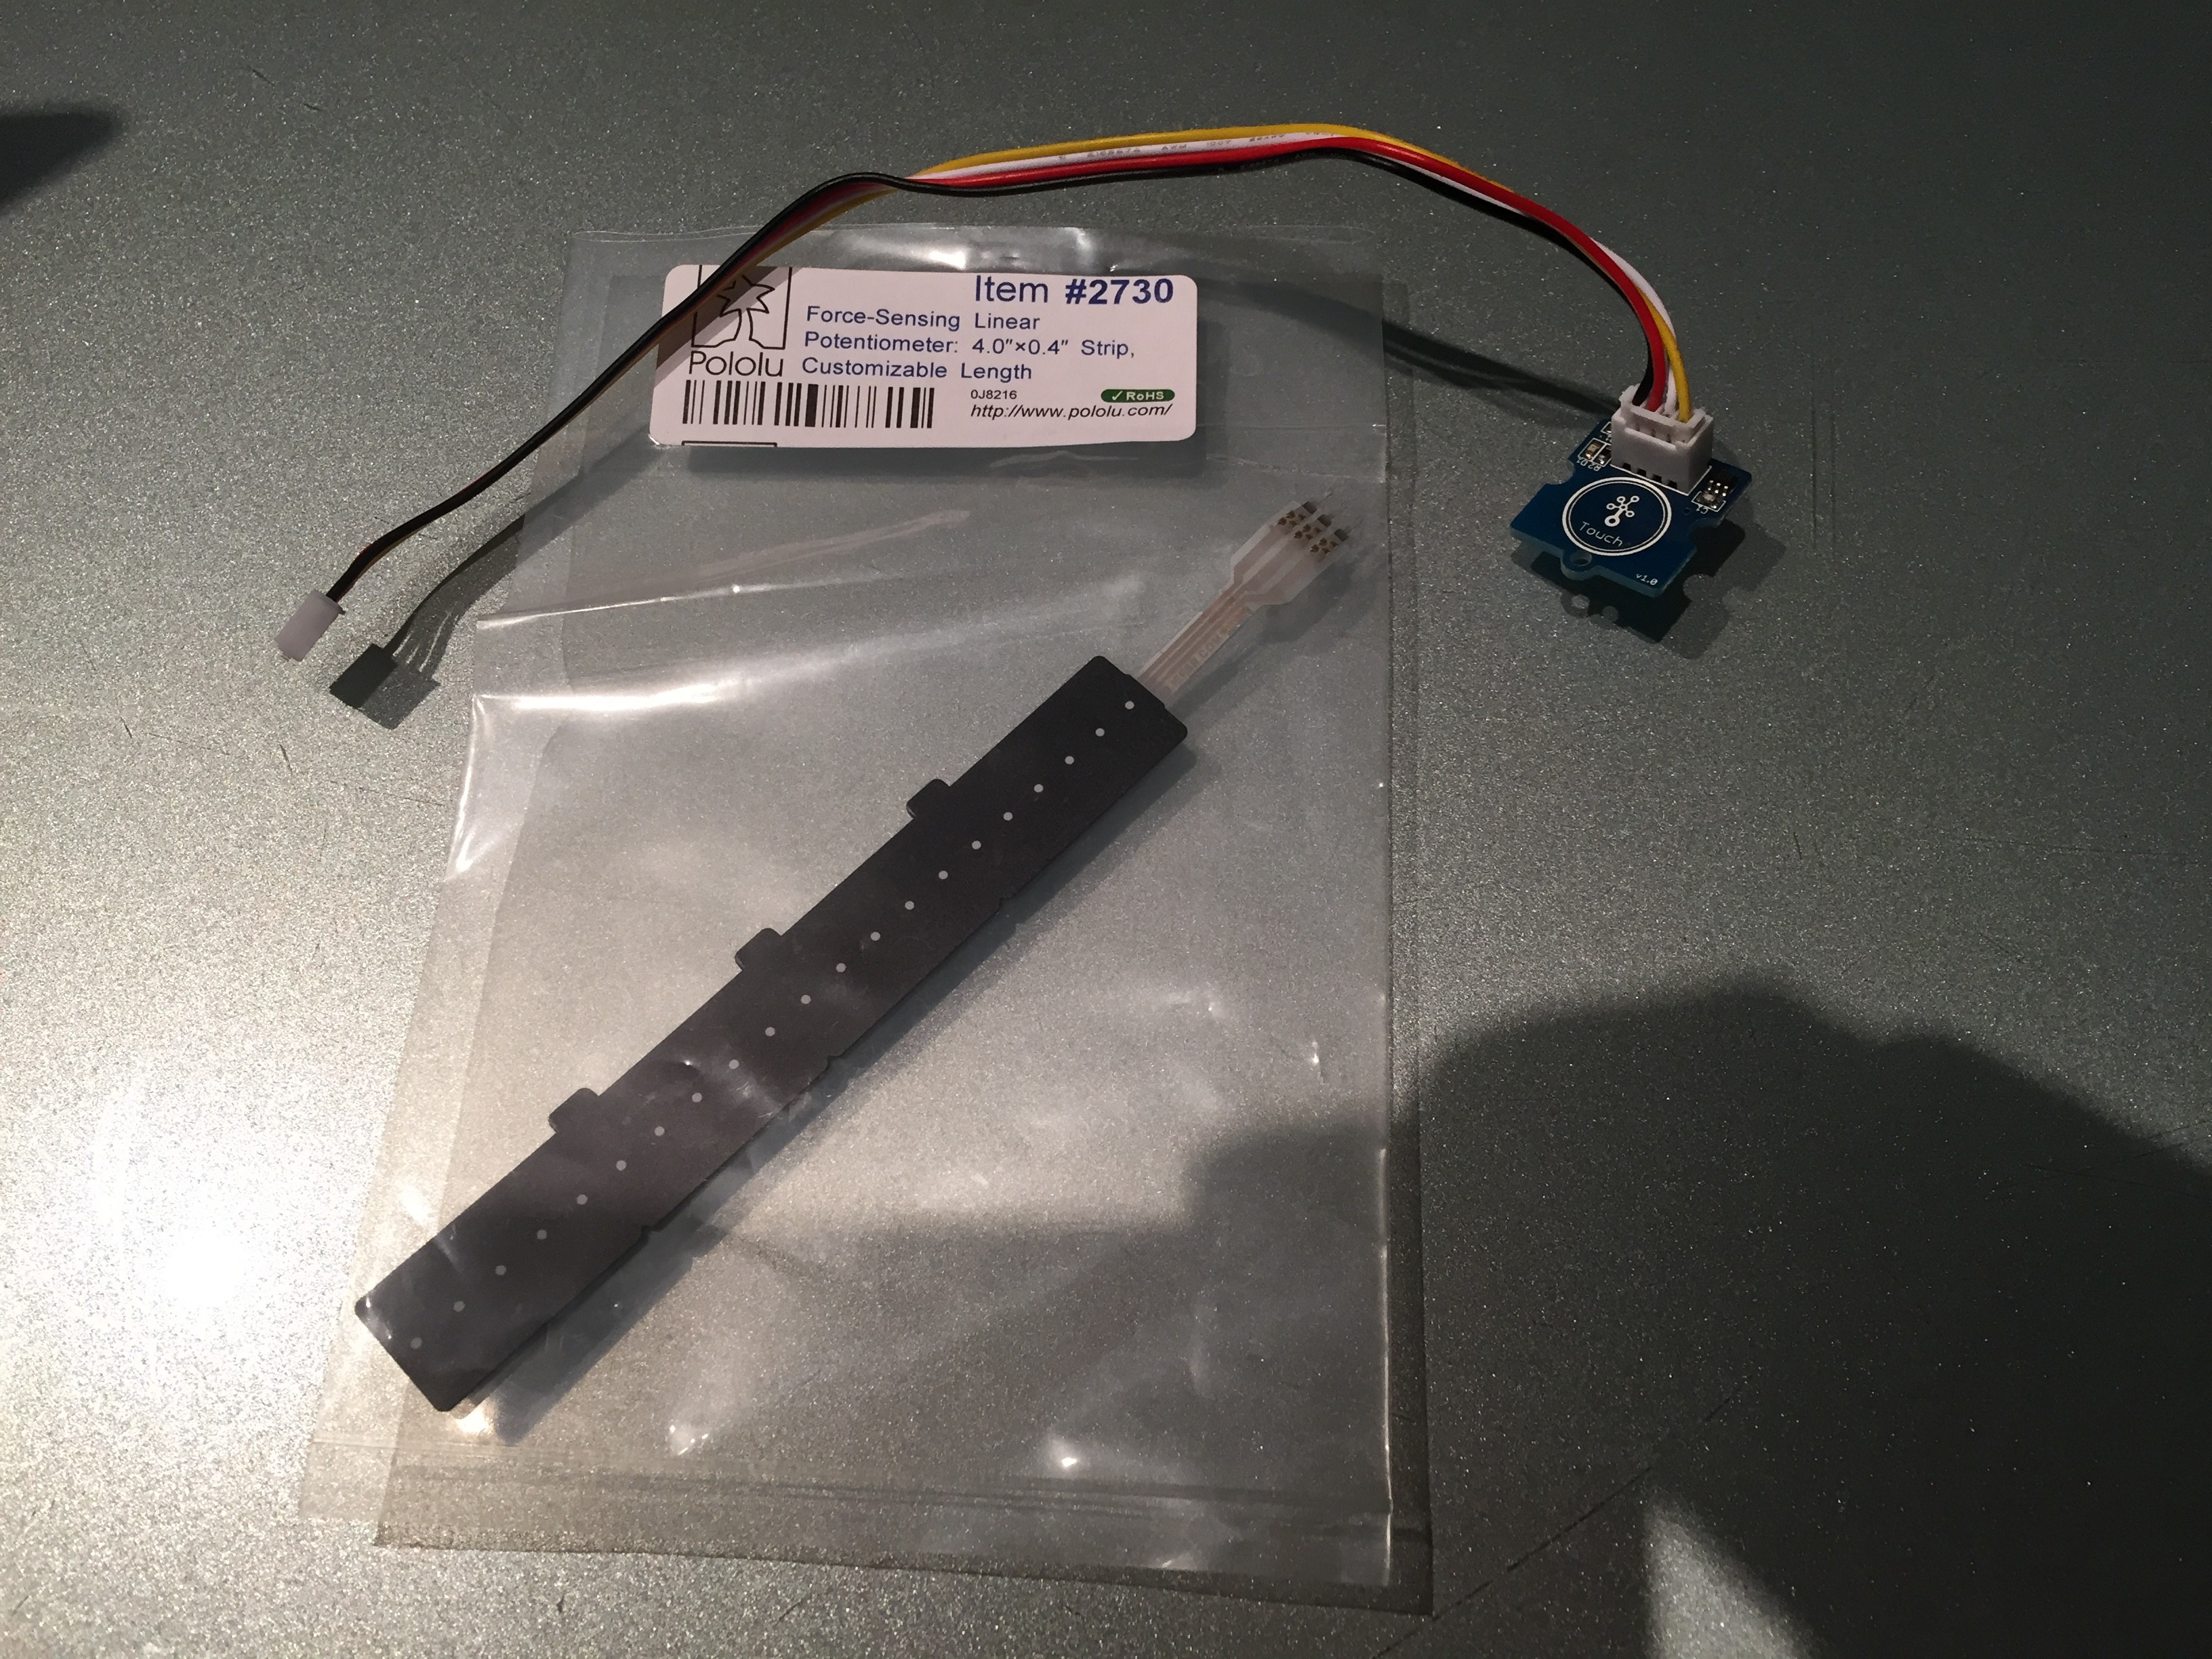
The first approach prototyped was this flat linear potentiometer and a button. I found the result disappointing because the resolution of the potentiometer and my microcontroller wasn't high enough, and it was hard to reason about edge cases.
The lego scroll wheel from the video was actually the second prototype, coming after the flat potentiometer. It uncovered a key insight by combining the scroll action and button action into the same device.
The design was a technic bar on a pivot with gears adjacent to each other along the side, a large lego wheel spinning the gears, a rotary encoder, and a push button that was hit when pressing the wheel. I don't have a good picture unfortunately and gave up on the idea after a night of trials.
Also considered was voice control and touch control. I've used voice control on my past home automation projects, like Clyde, and found the experience overall lacking for me personally. I don't particularly enjoy uttering out loud at a machine every time I need to interact, and quality/accuracy/latency will suck unless you're really kick ass like Amazon and their Echo.
Touch control remains an option to look into. The mirror at the time of writing doesn't have any touch components, though I have gathered Alibaba quotes for some of the required parts. For example, I could construct a touch screen mirror three layers:
27" Glass Touch Panel on top of Observation Glass on top of a high brightness LCD display module would do the trick.
The devils in the details, so in the end discovered rotary encoders with integrated buttons. These looked most promising and come in all sorts of sizes!
Software
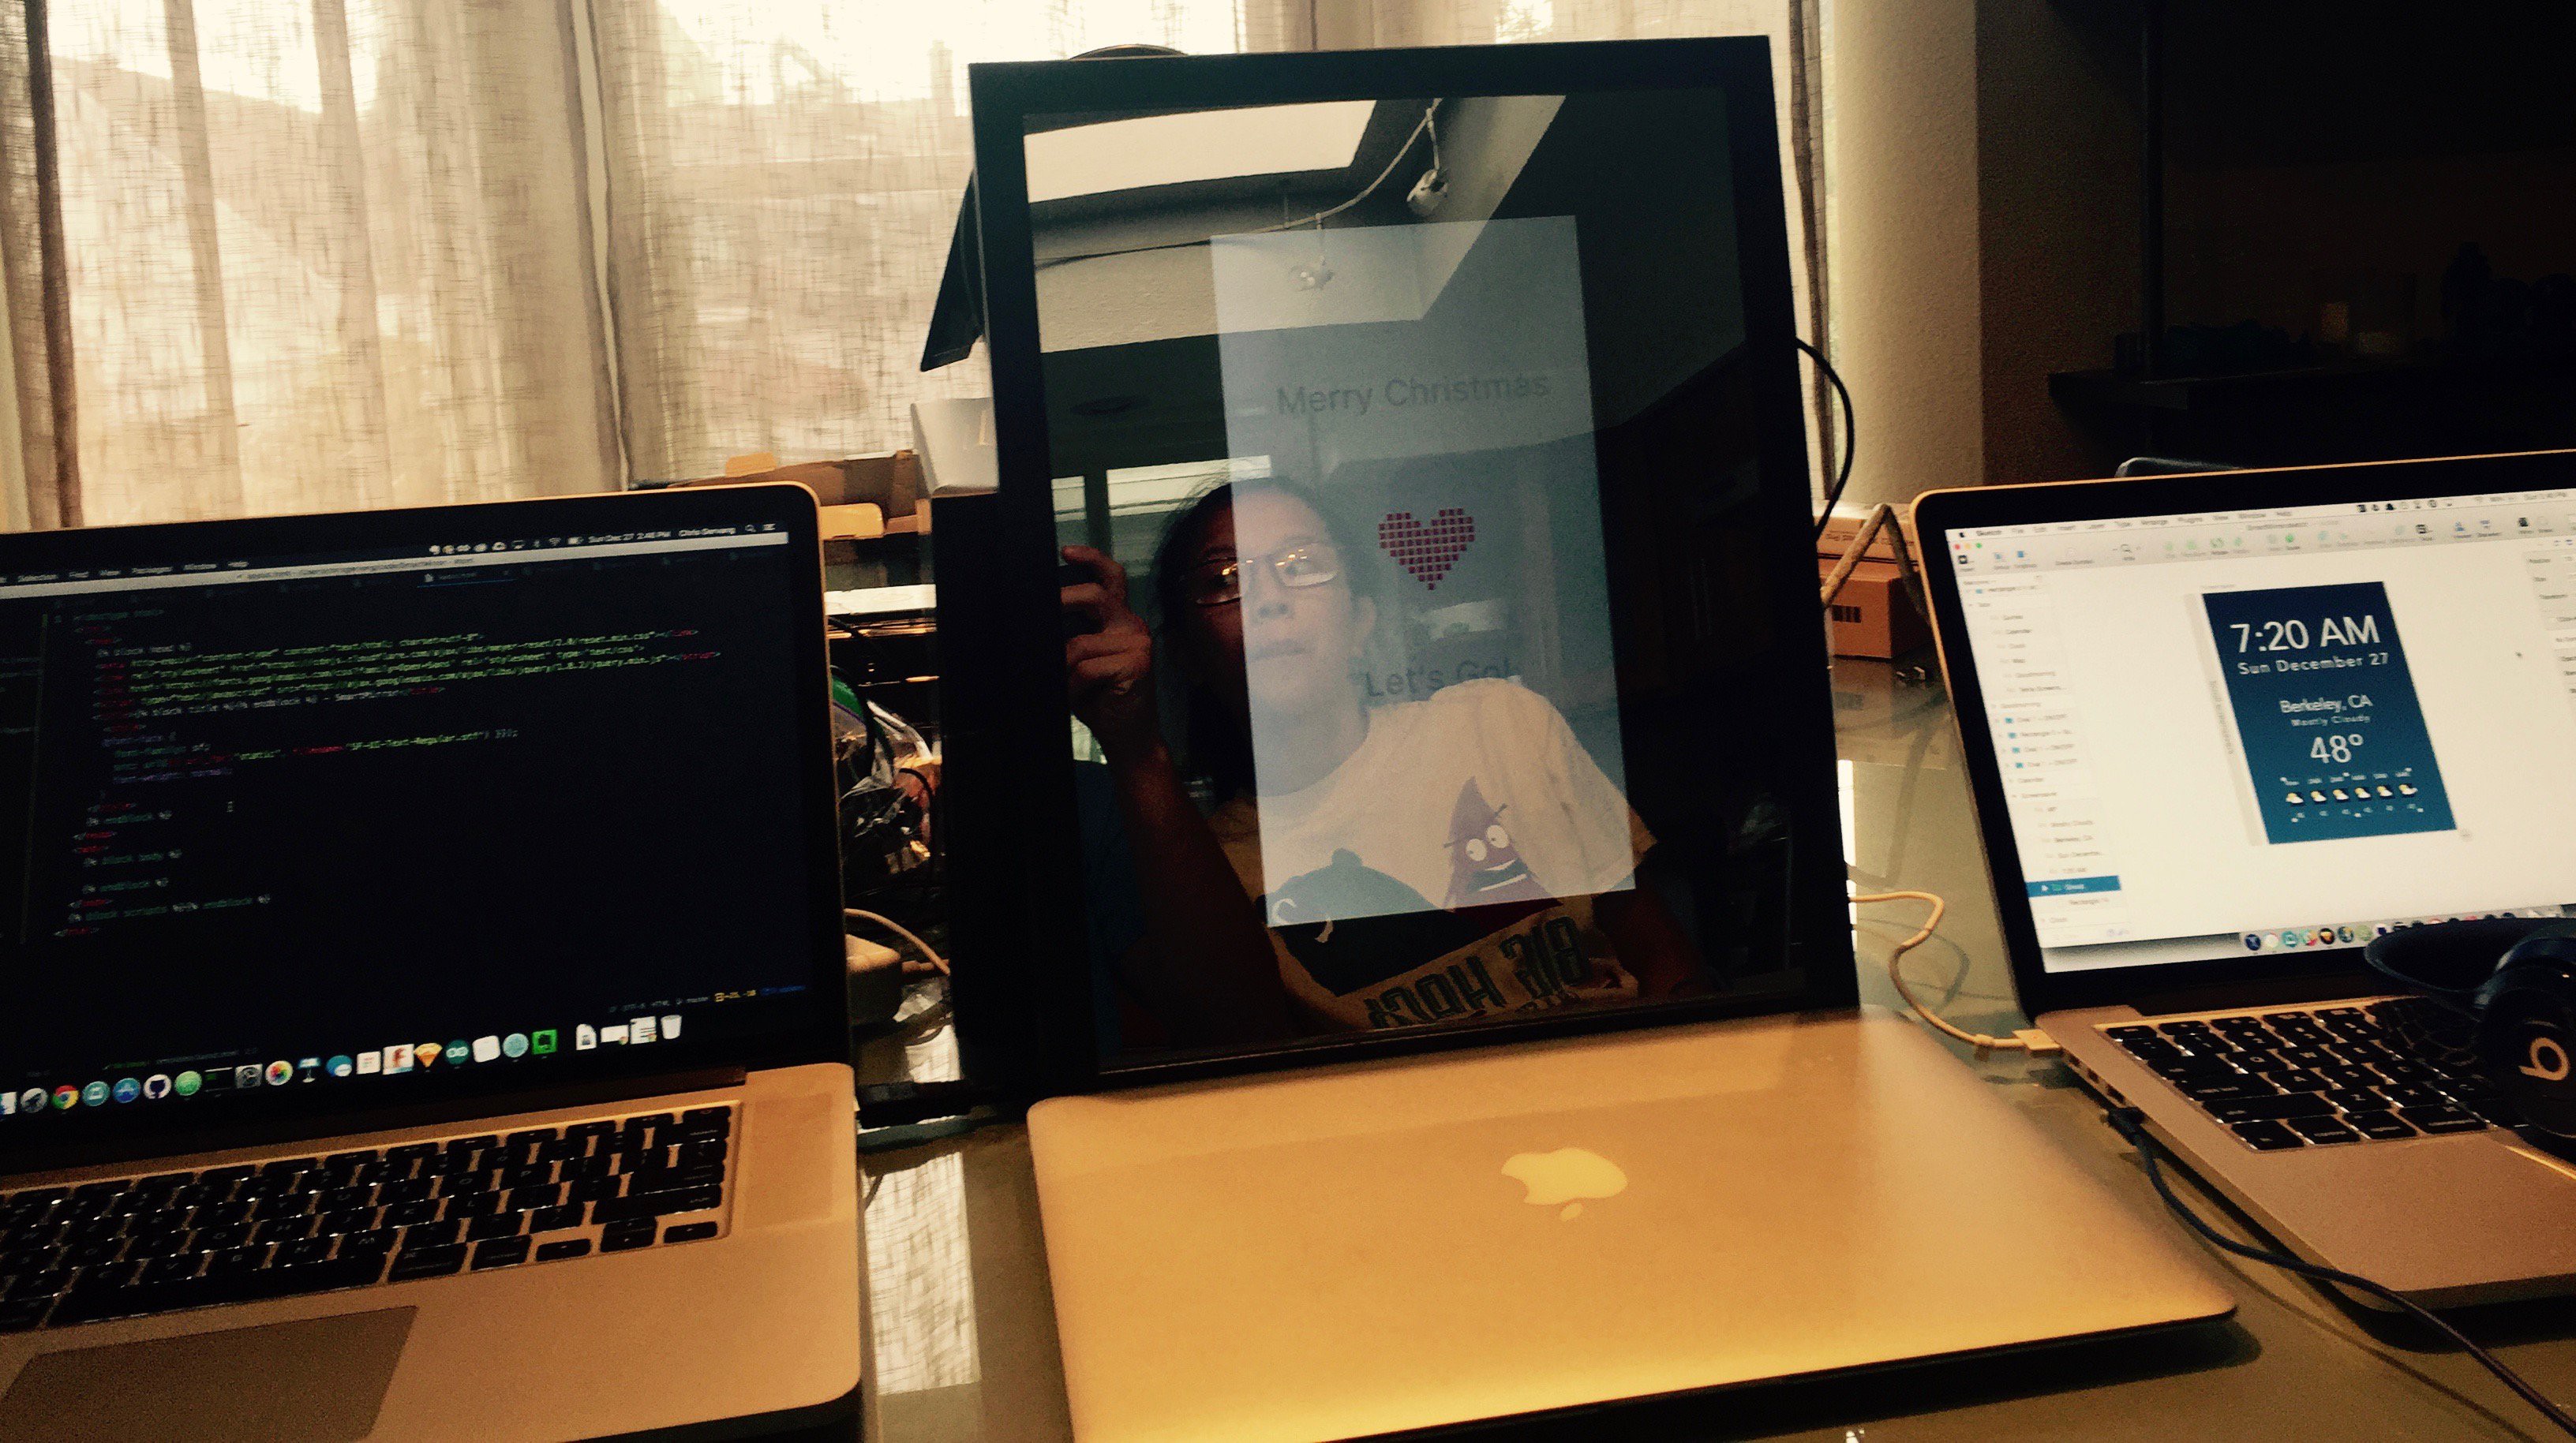
Merry Christmas!
The software for this iteration was written with JQuery and Python Flask - trying to keep it simple while getting a hang of what the features would feel like.
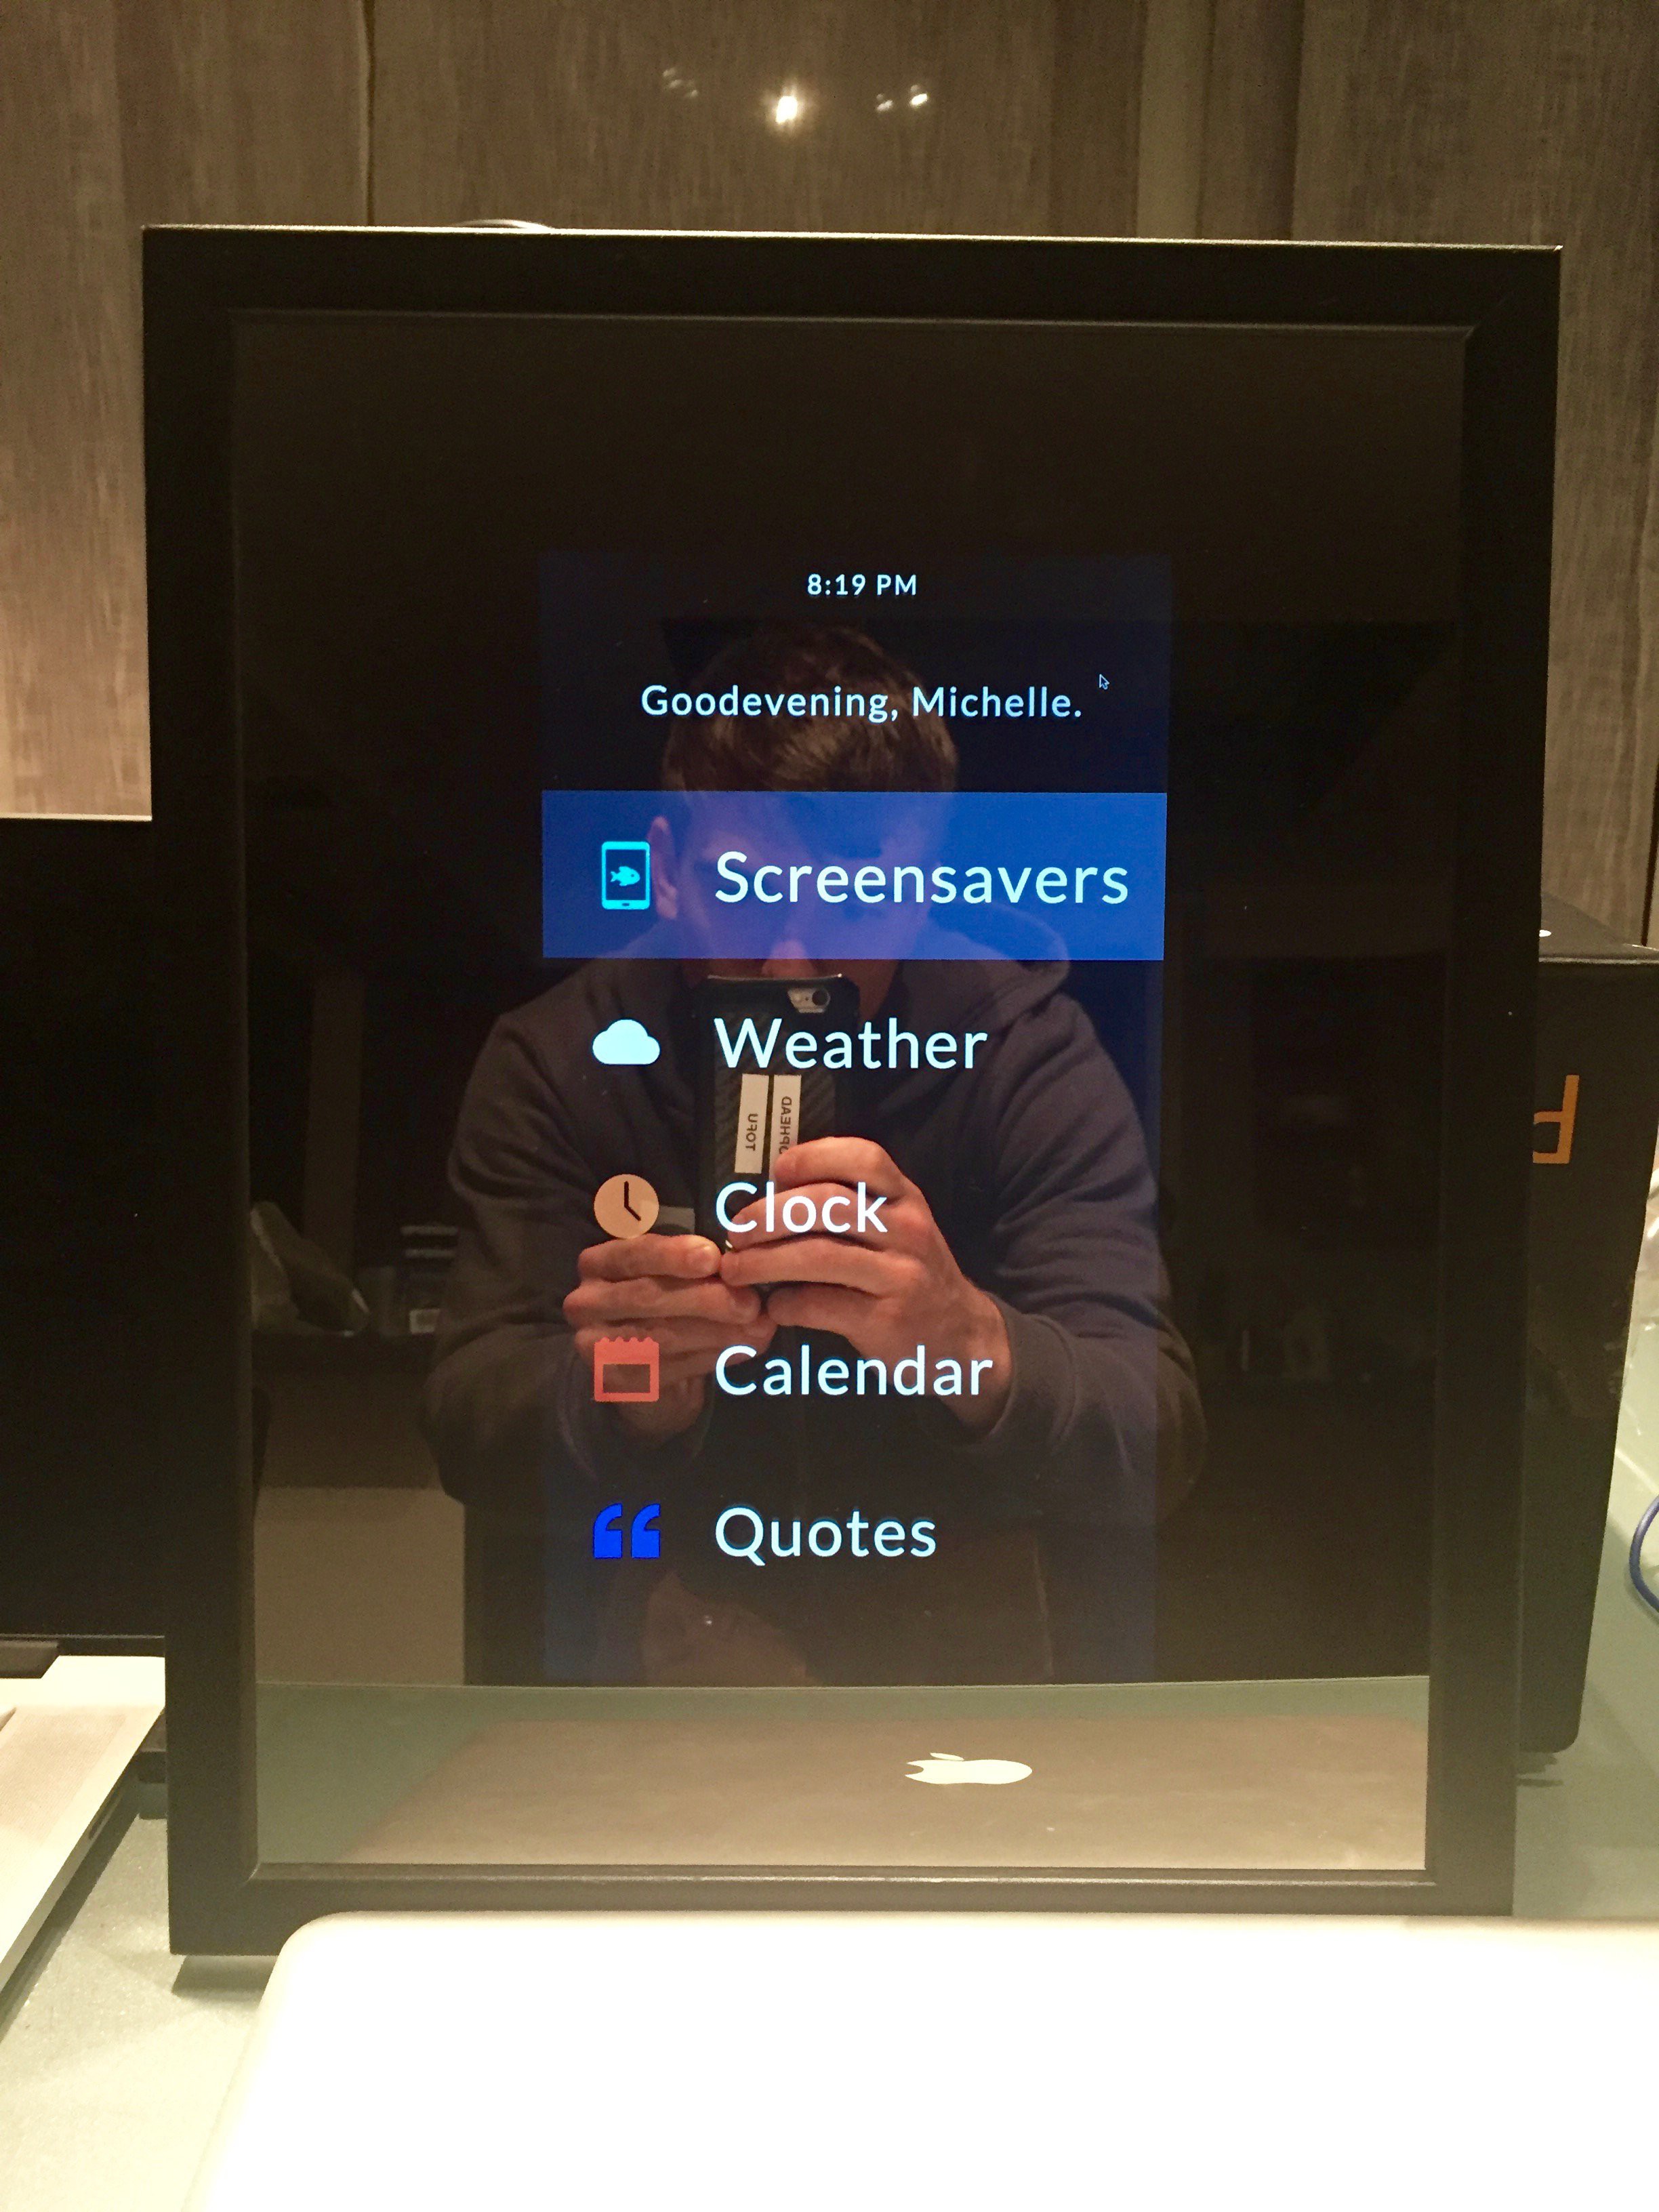
We built a menu!
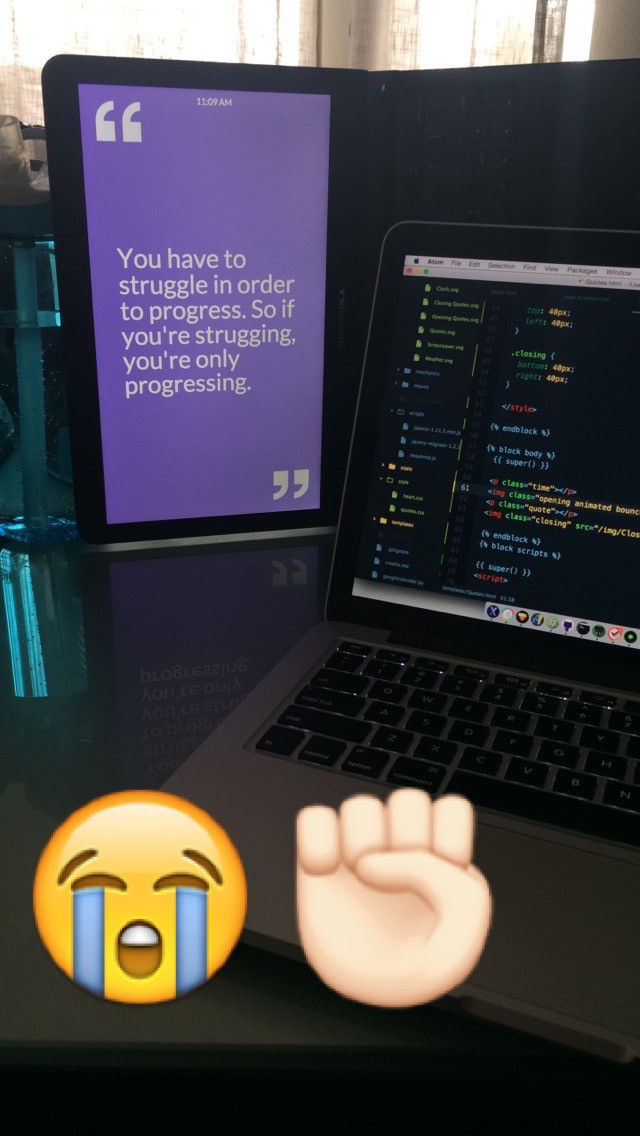
And a favorite quotes page!And a weather page!
And a friend of ours, Joel Terry, developed a Google Calendar page!
Once valentine's day came around these pages were ready to go, but some features like nested menus and smooth page loading were missing and it will require a full rewrite to get these and few more features into the mirror.
-
Progress: 1st Iteration - Hardware Build
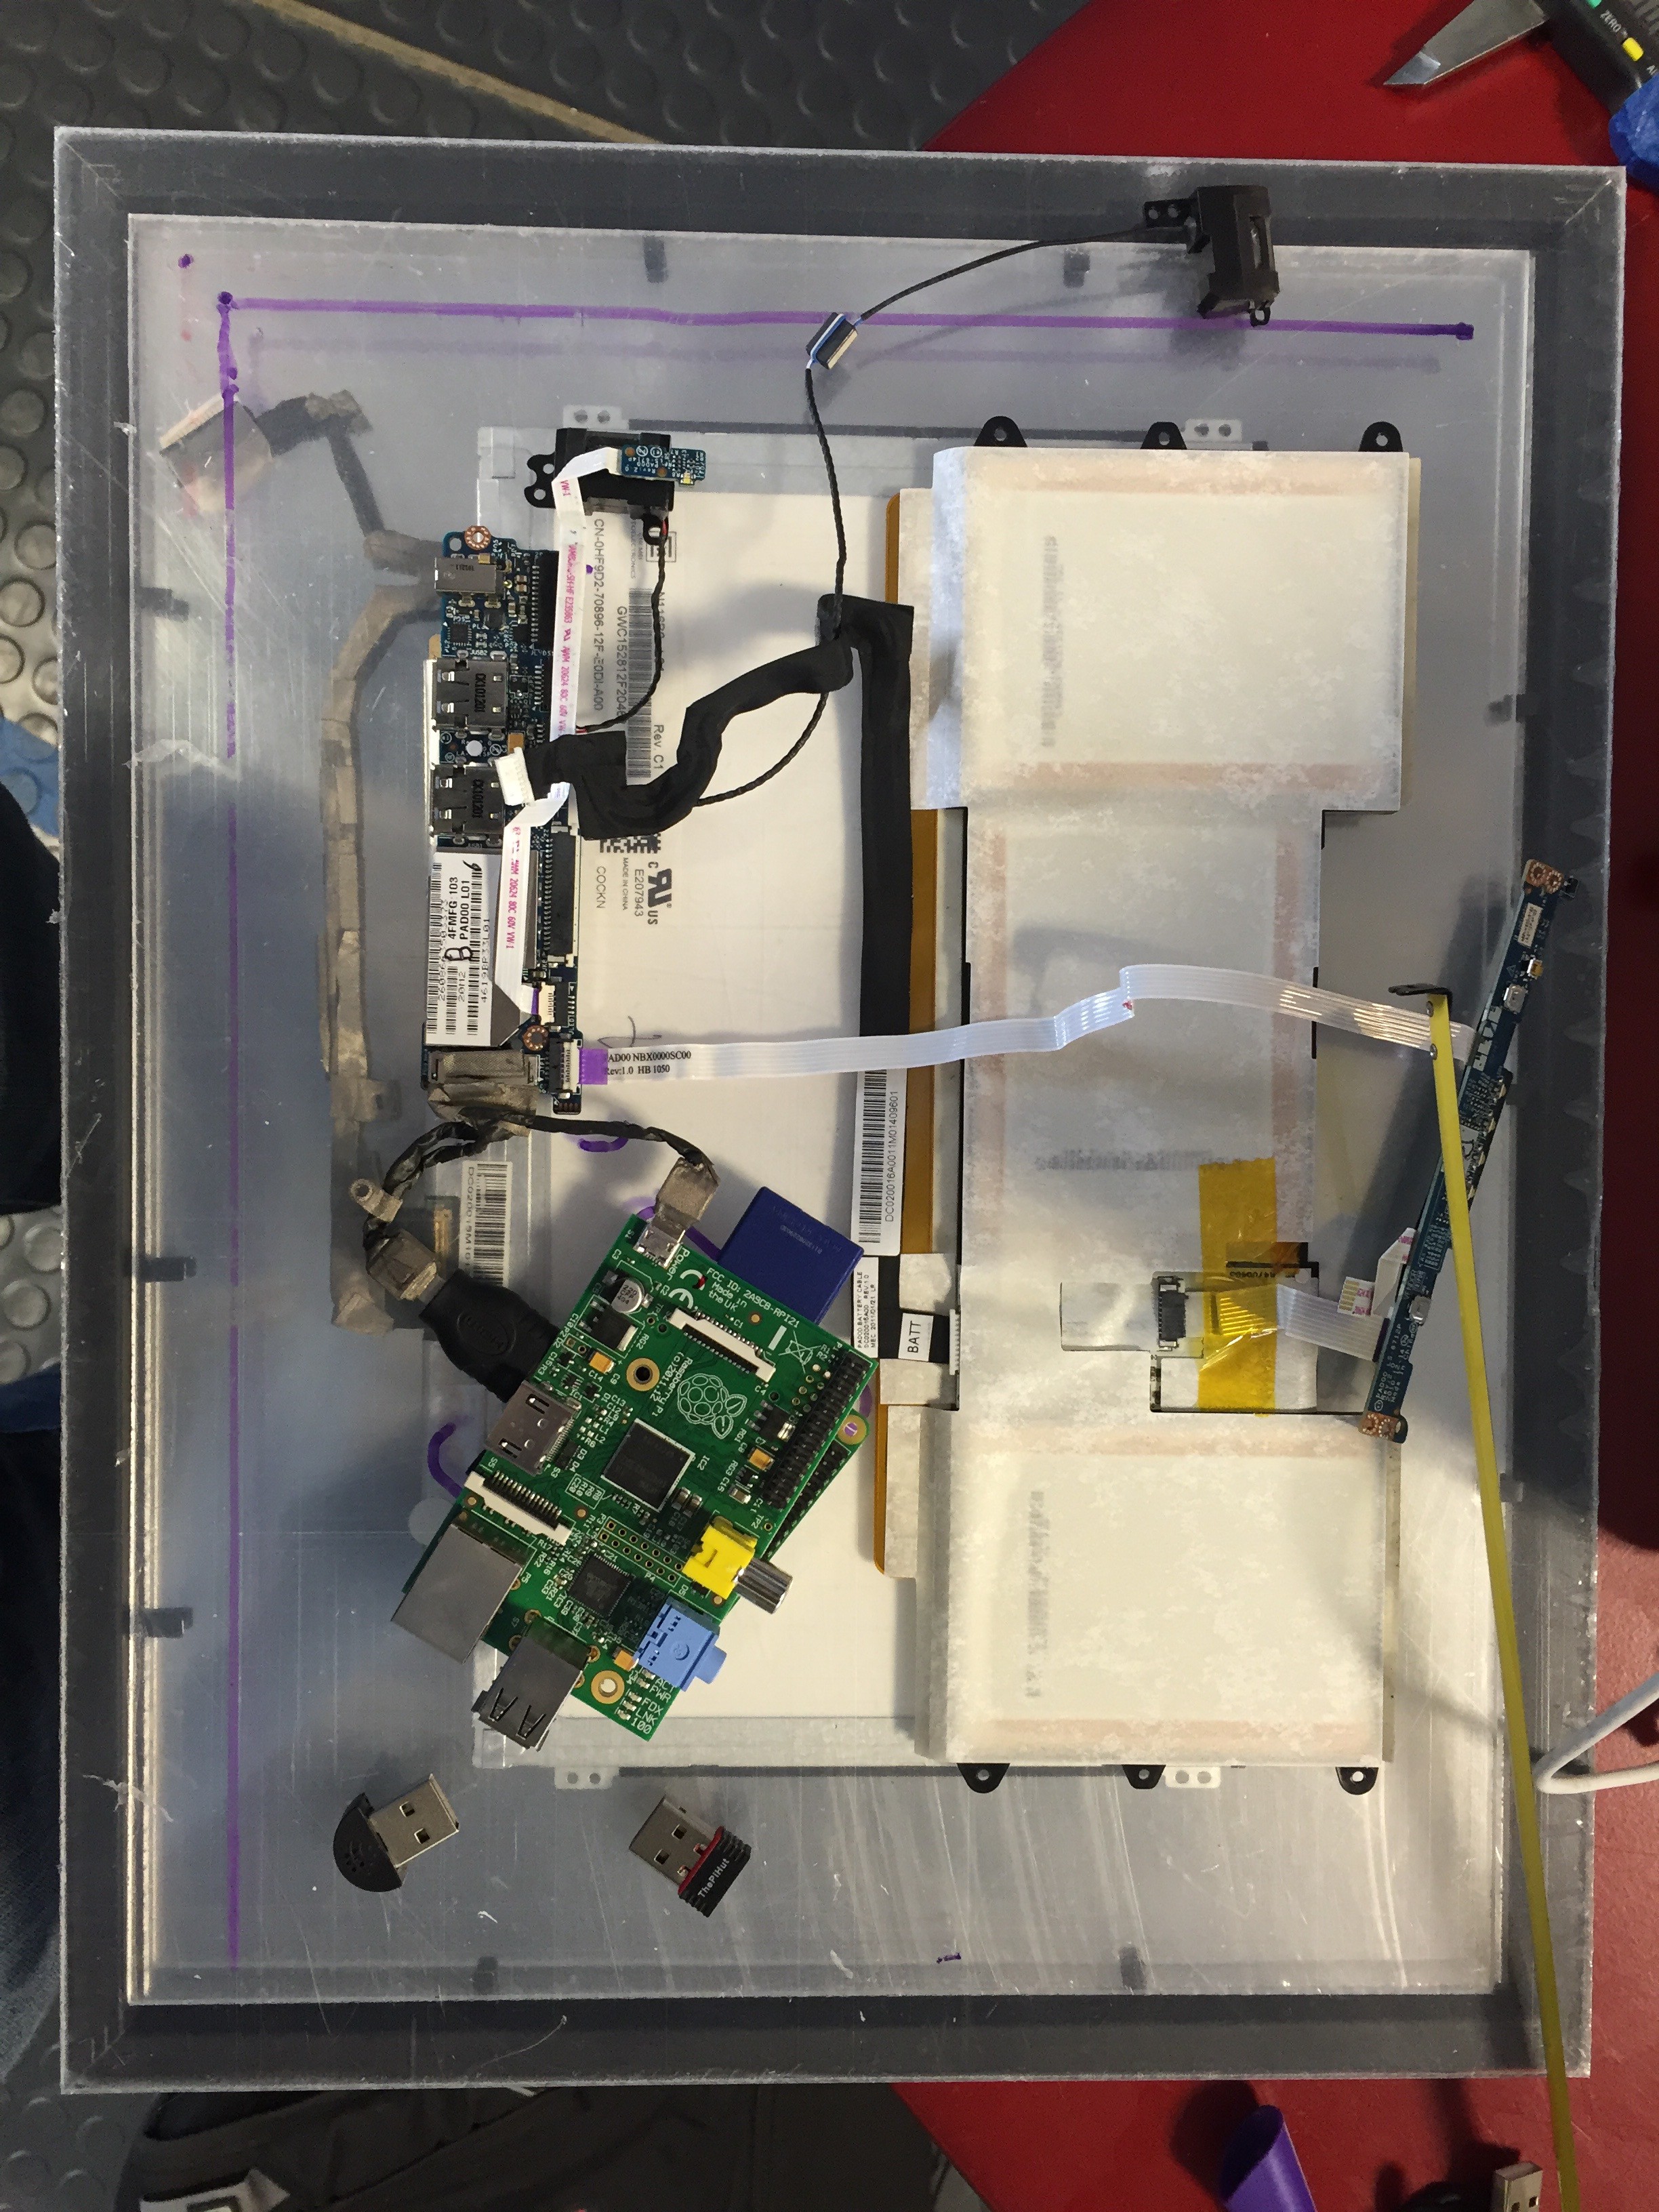
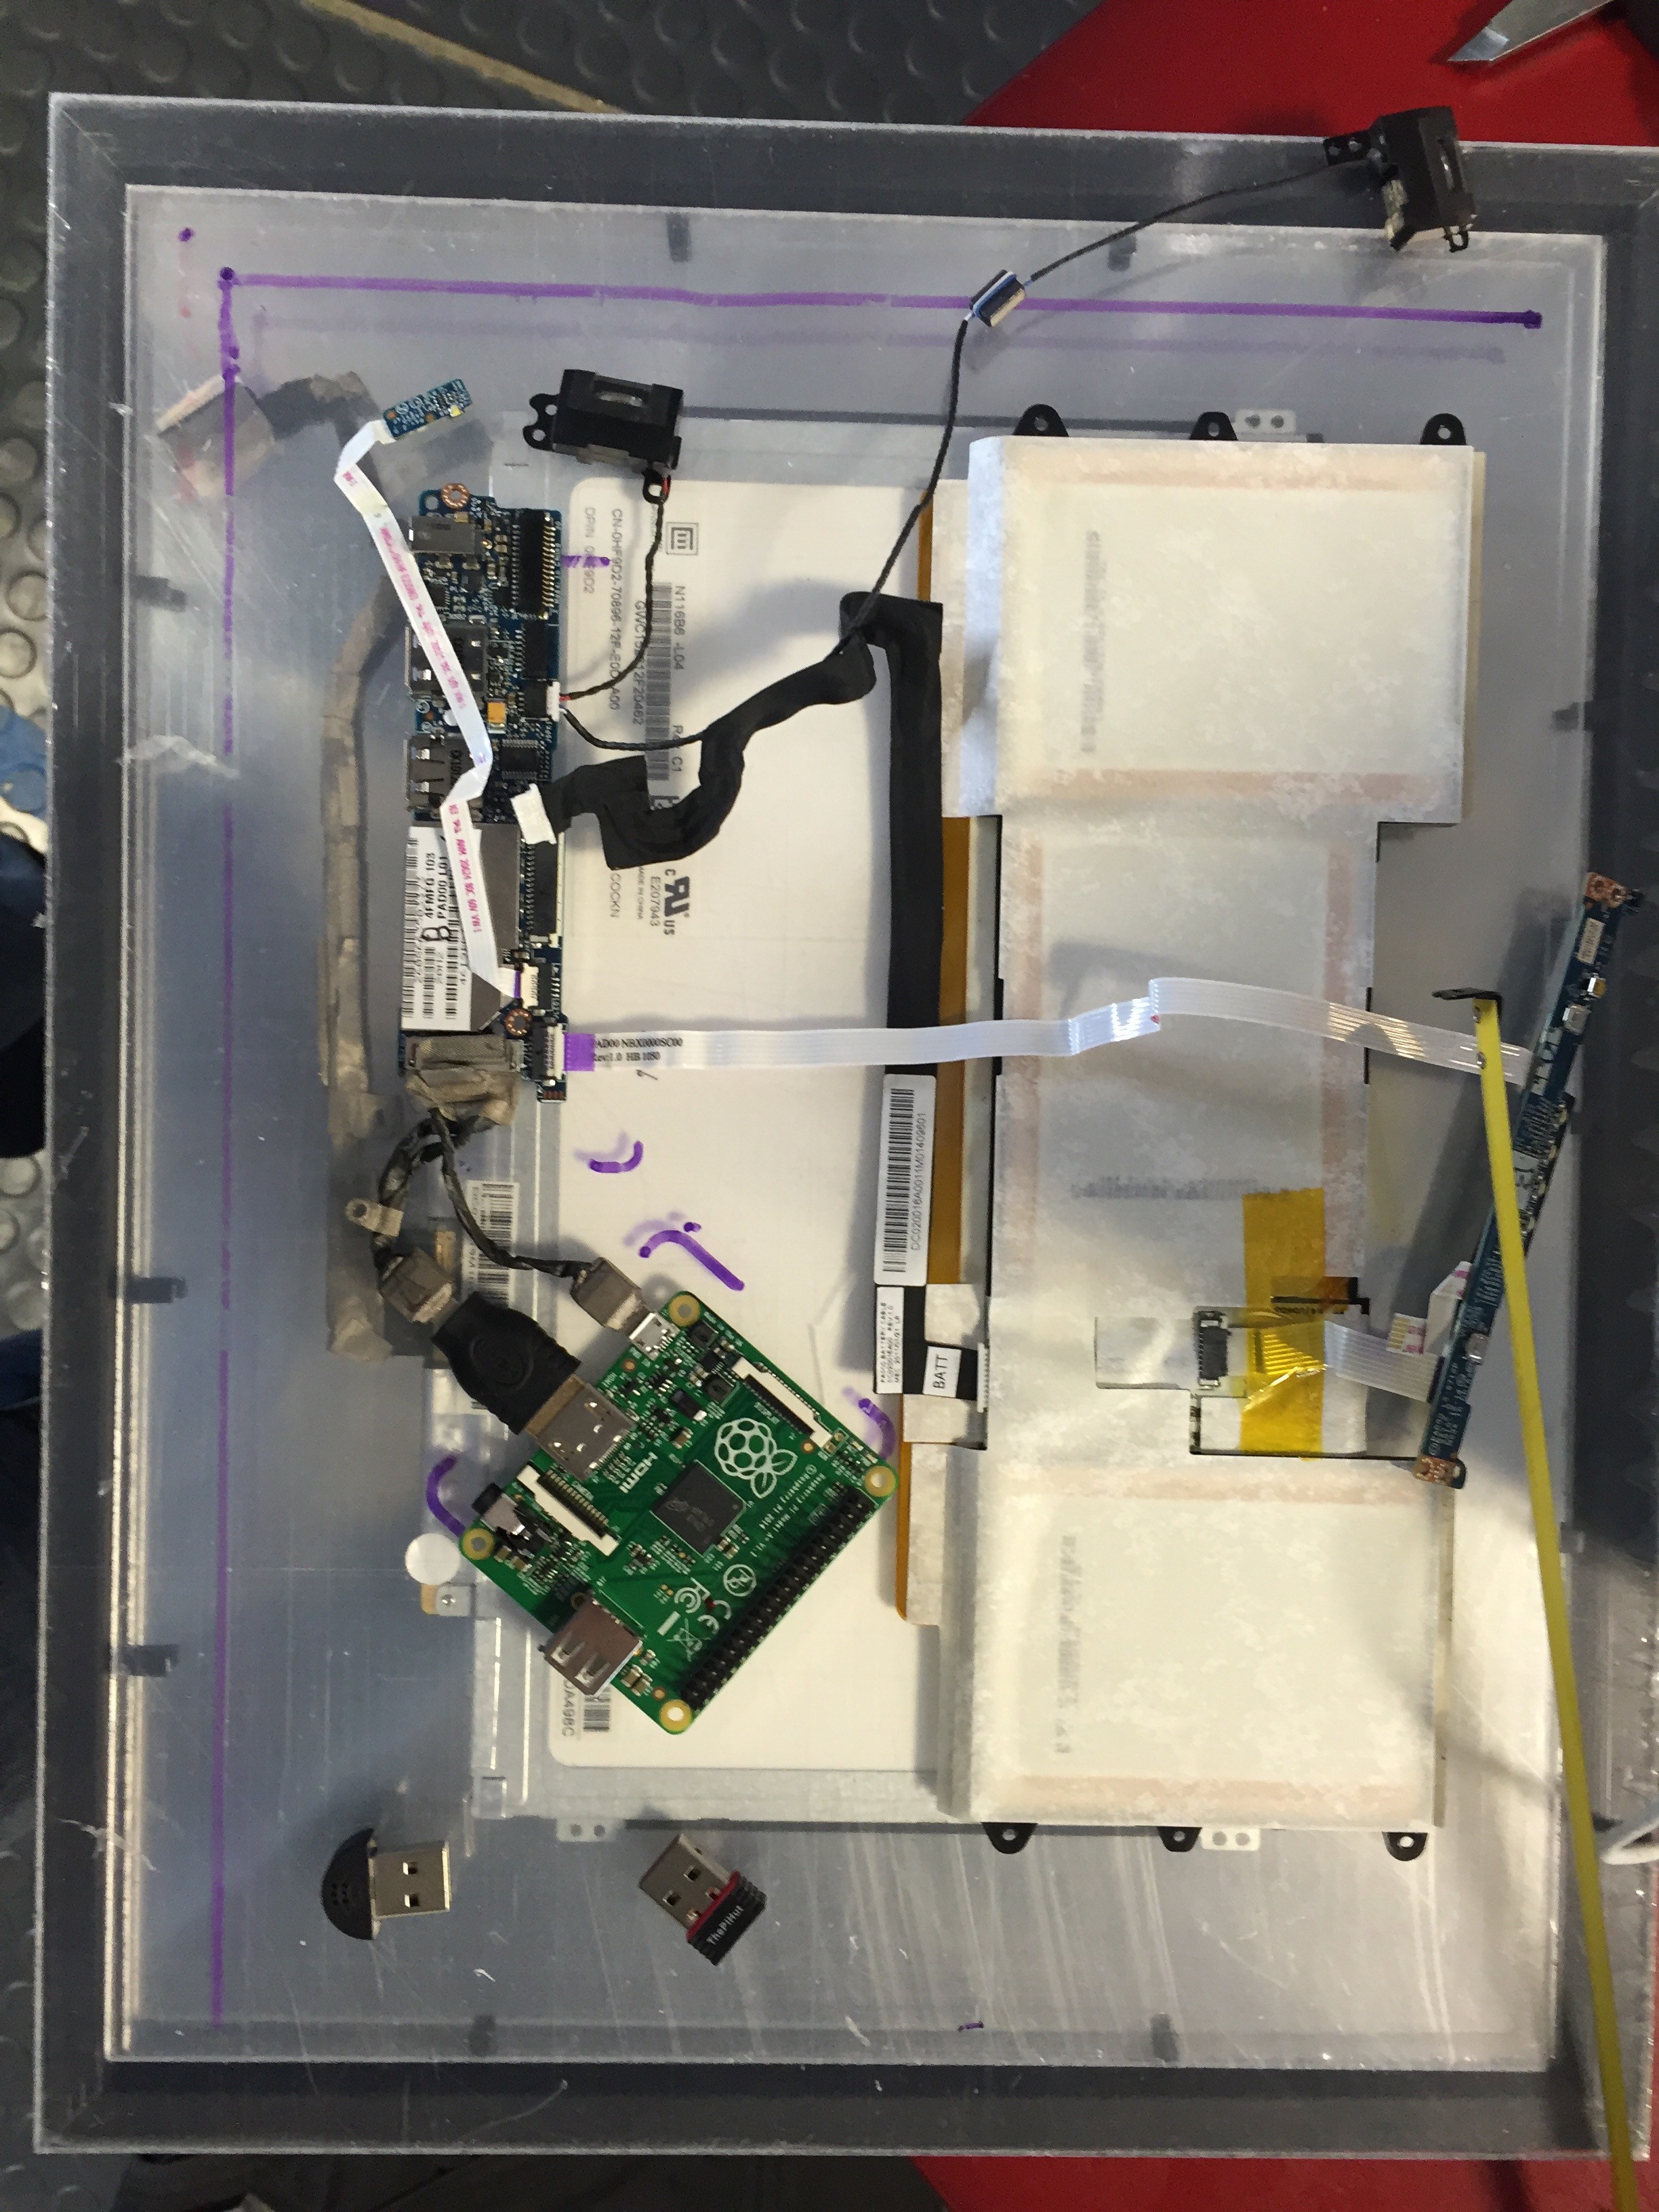
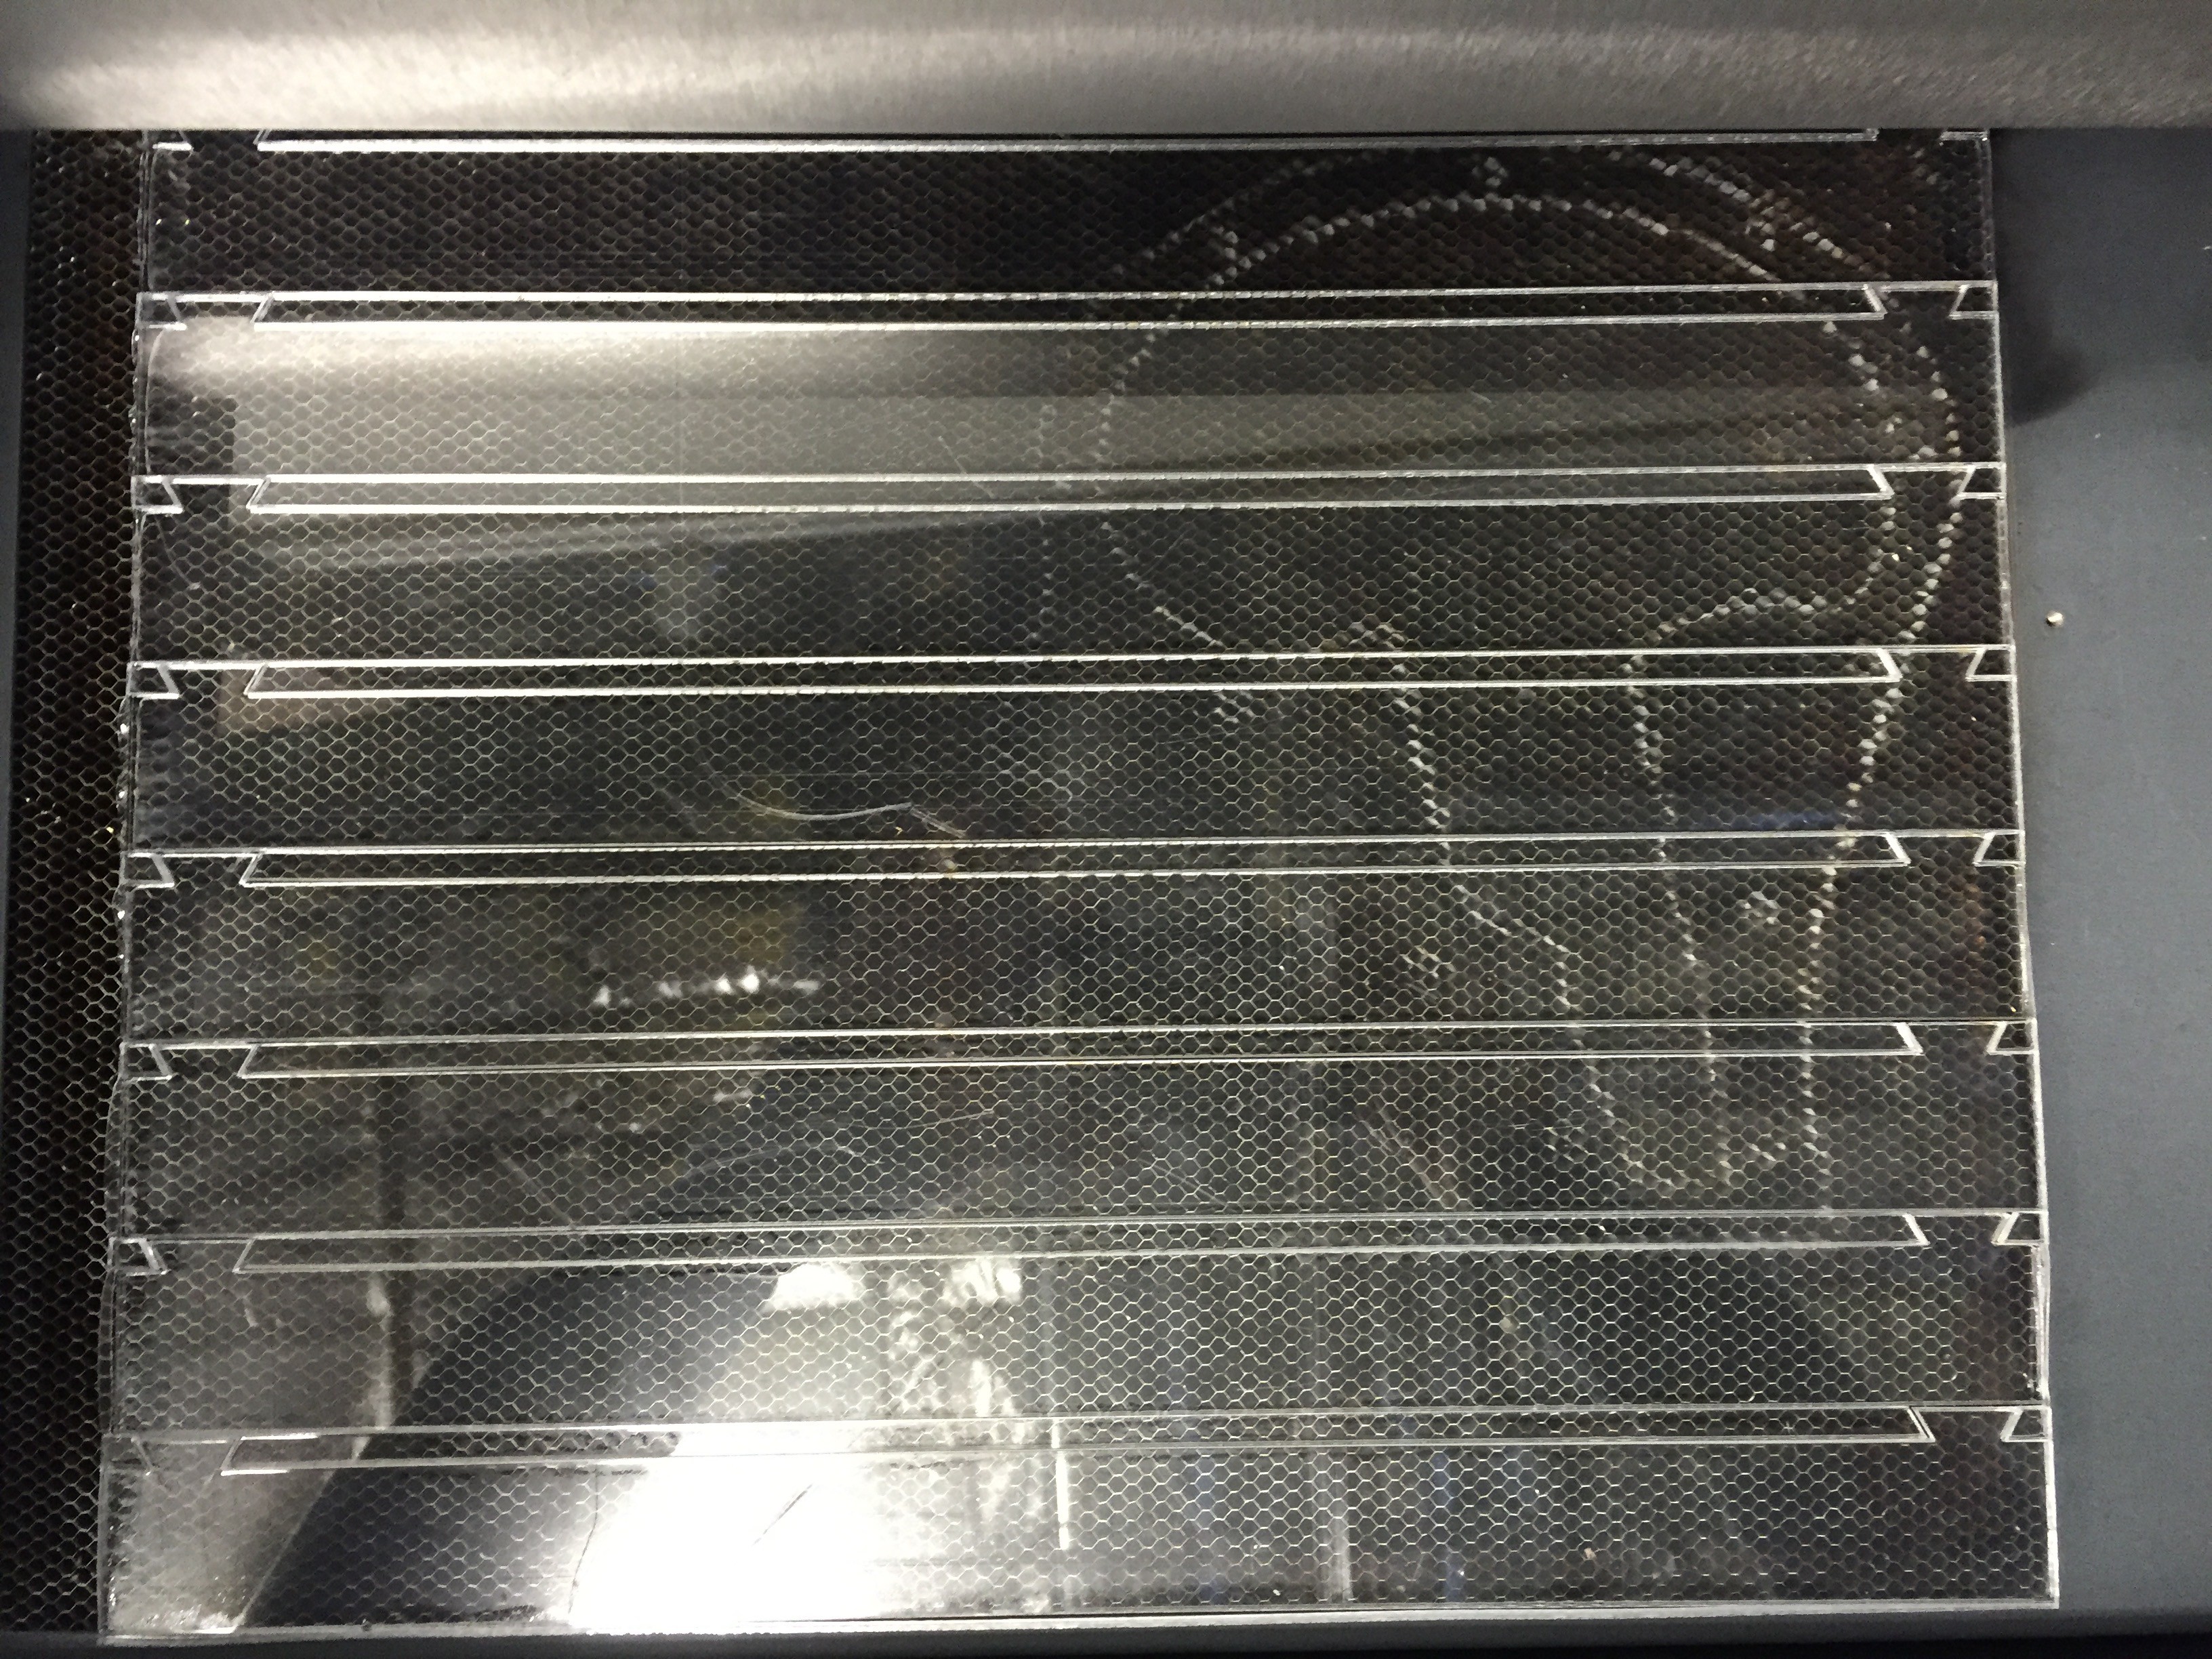
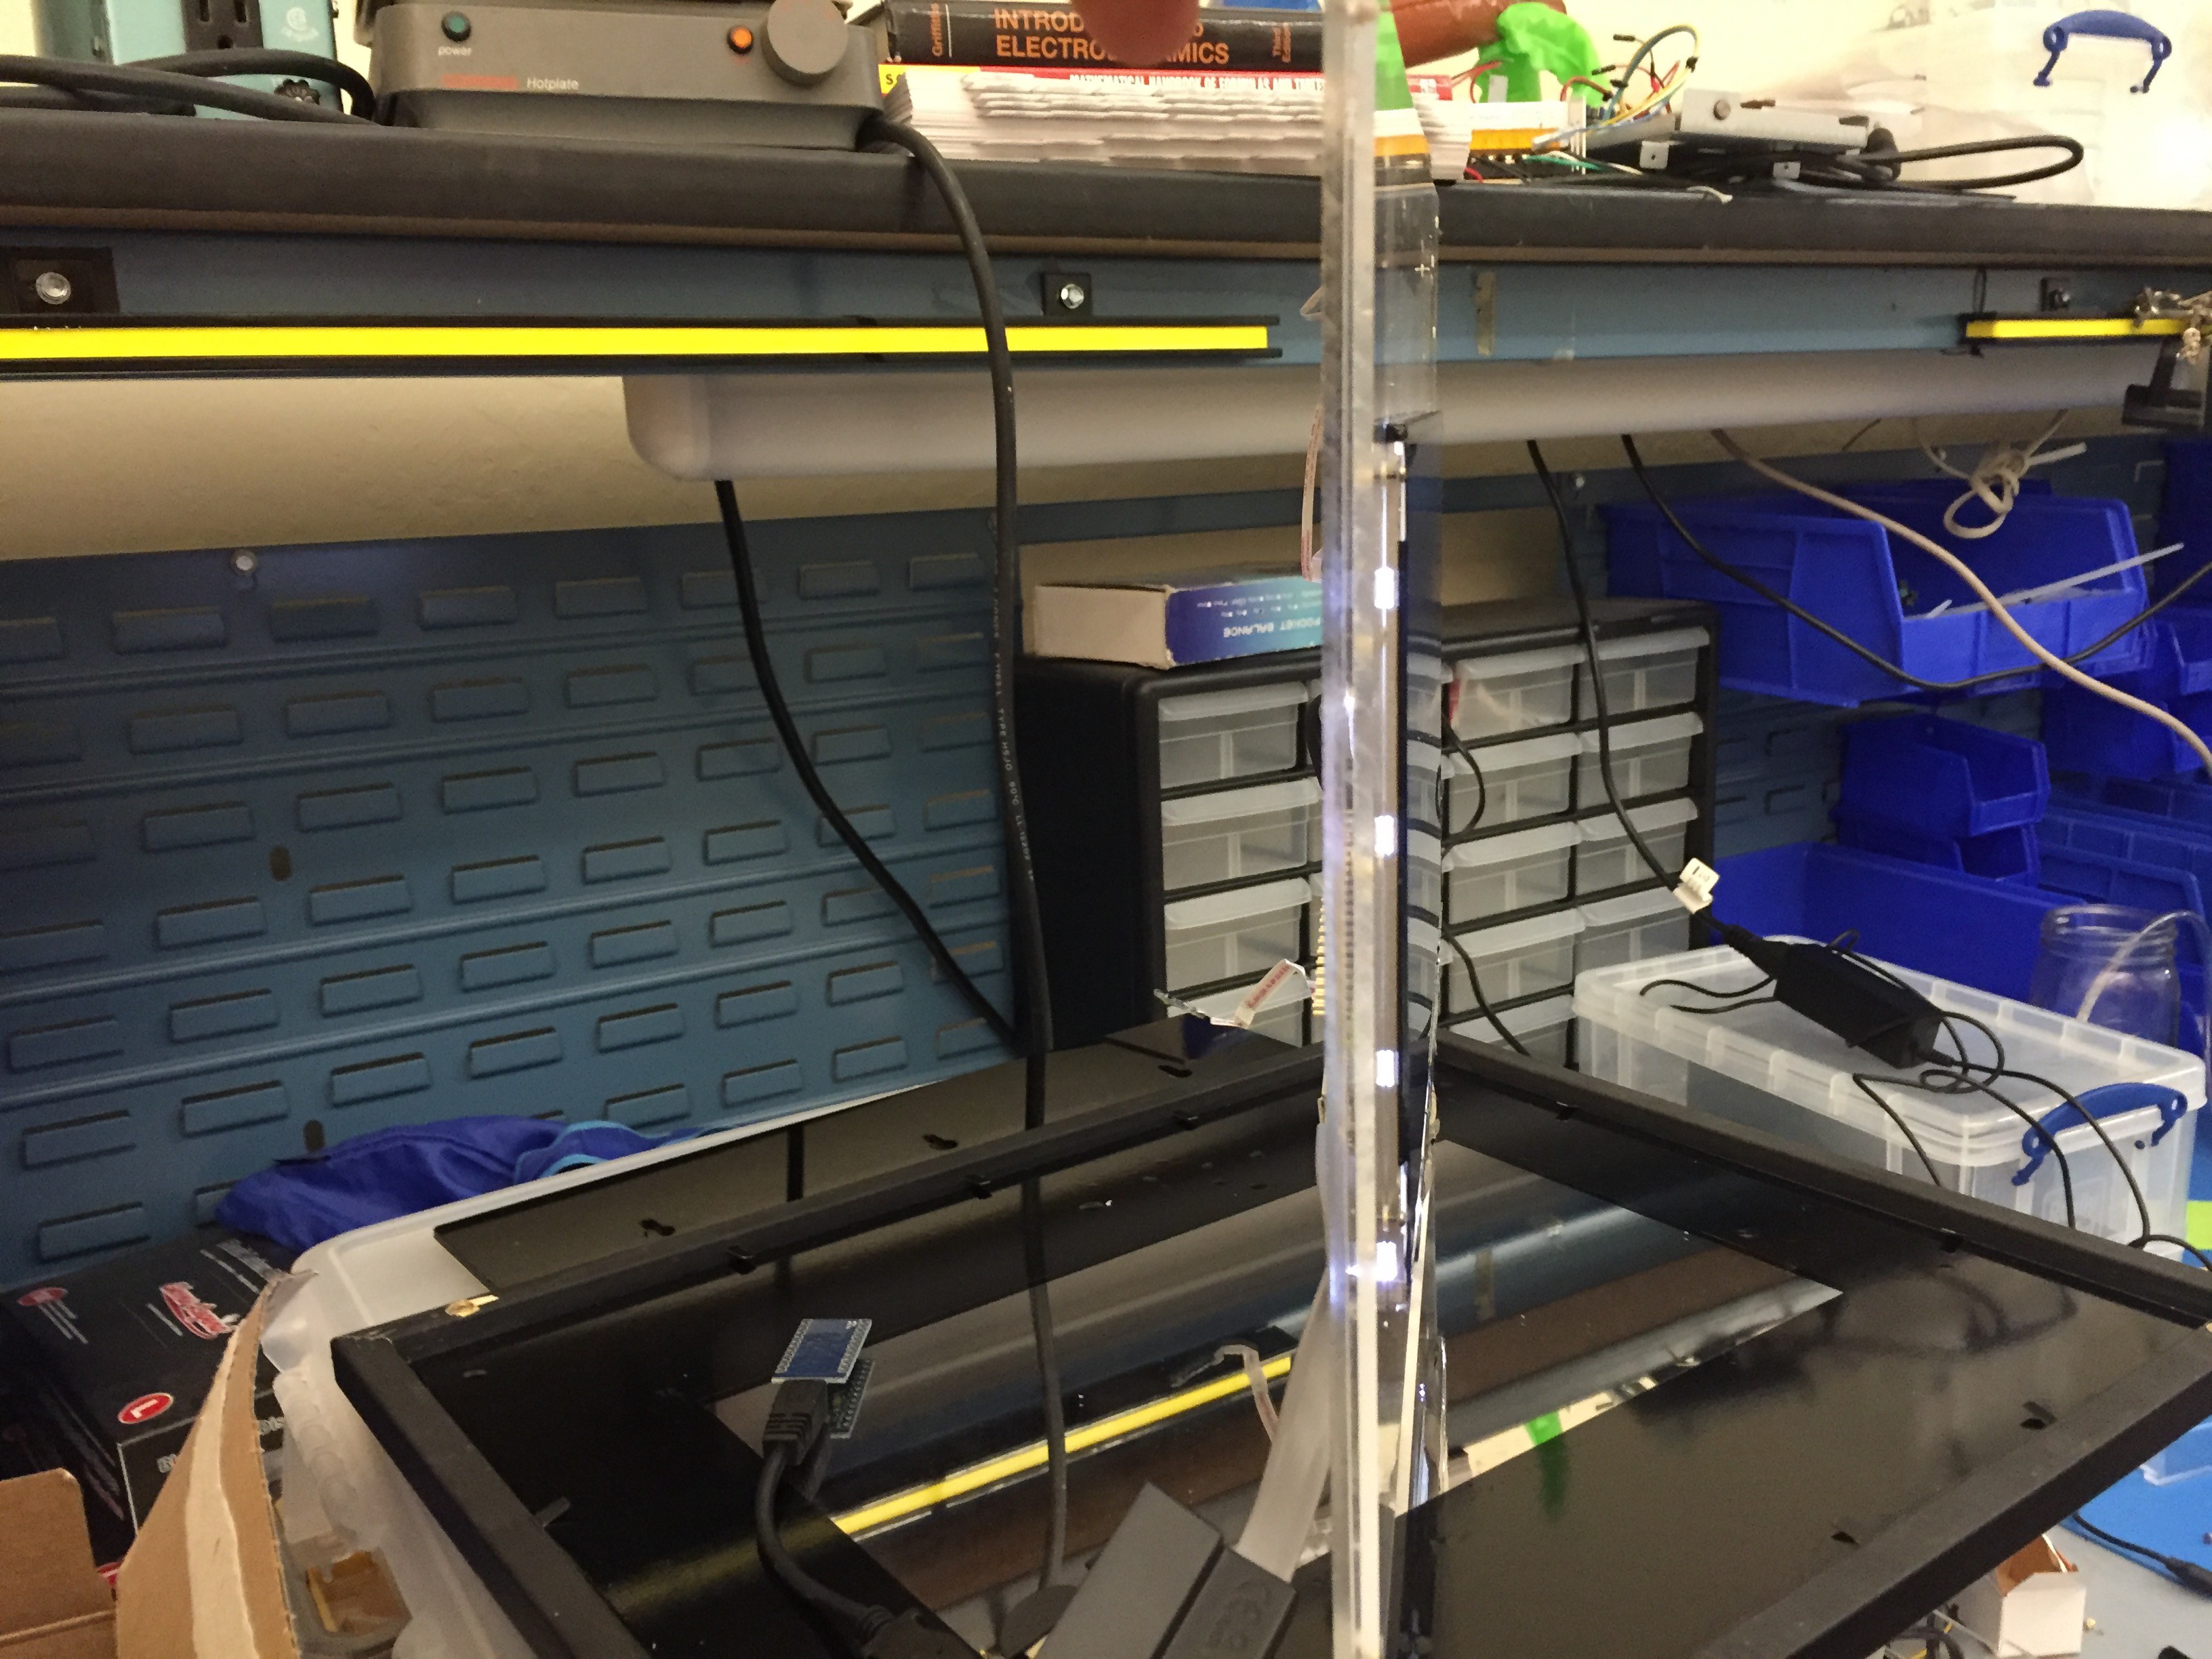
04/11/2016 at 06:54 • 0 commentsI soon settled on a electronics enclosure design made of laser cut acrylic. Here I'm figuring out how I'll fit all of the components together on a single sheet; marking the frame clearance (purple ink). It's designed to fit a Raspberry Pi B and A at this point because I may use either in the end.
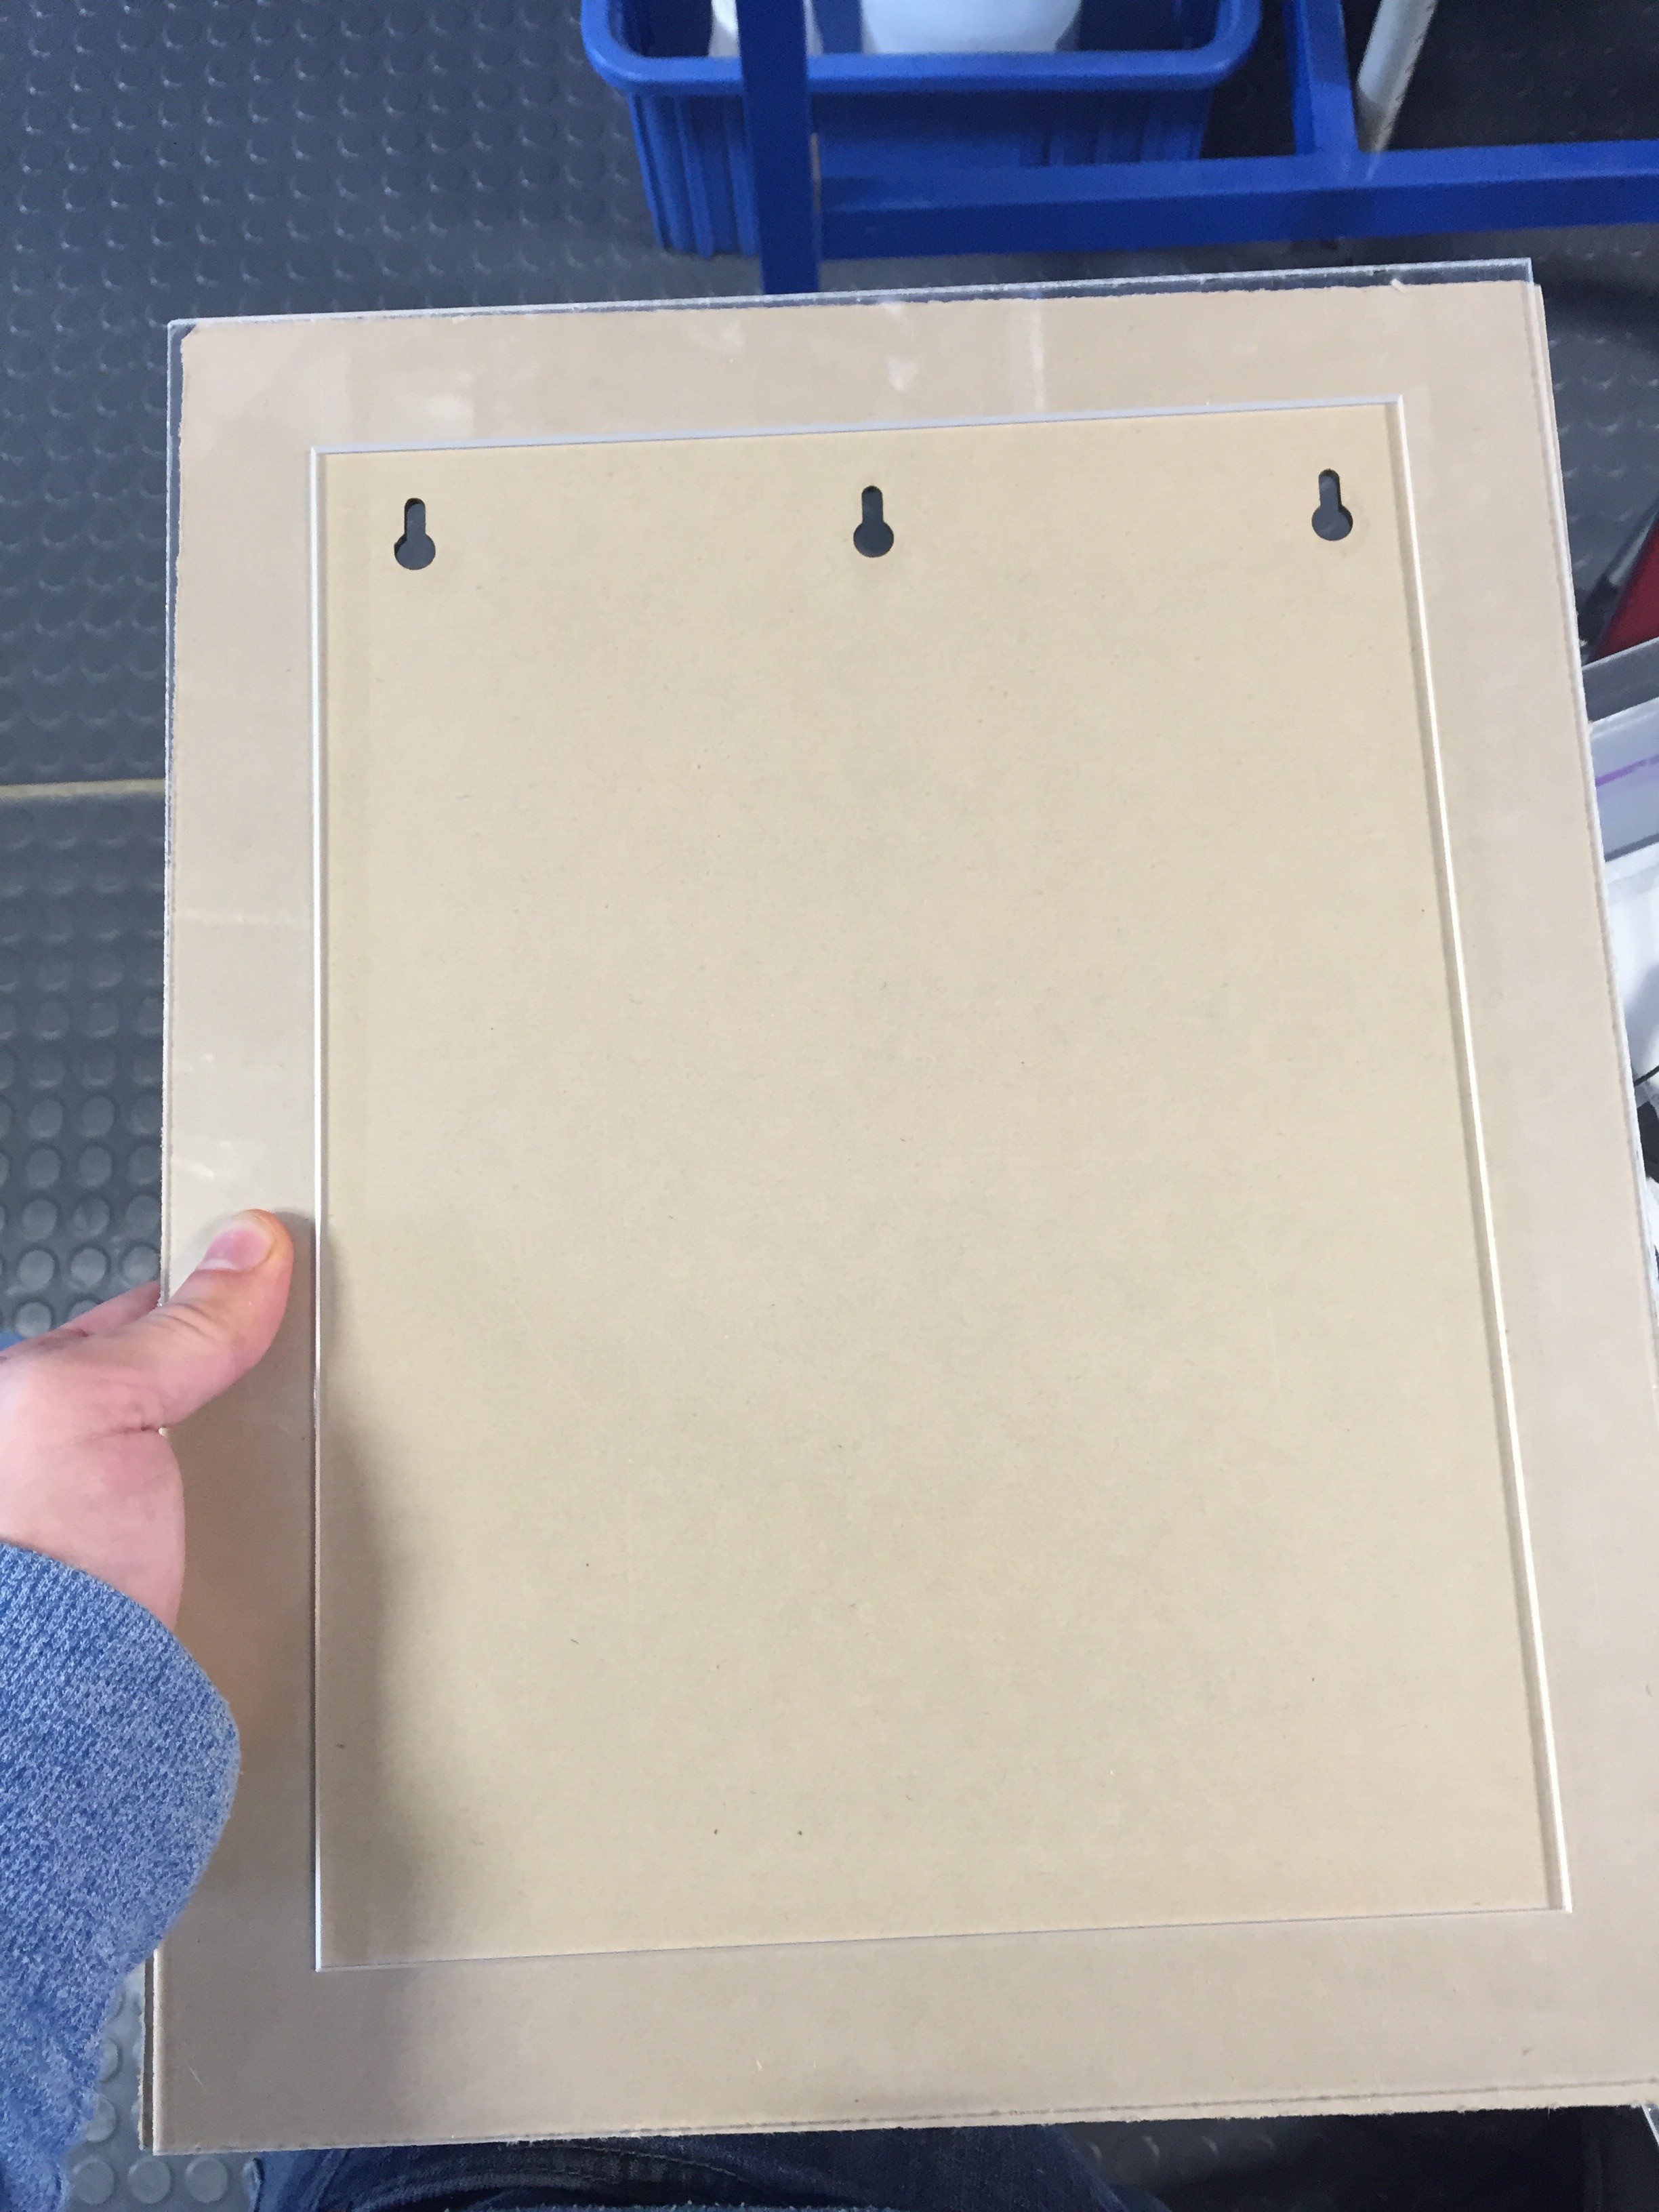
I made the back plate and the first frame layer first. Mechanical drawings for these are in github.
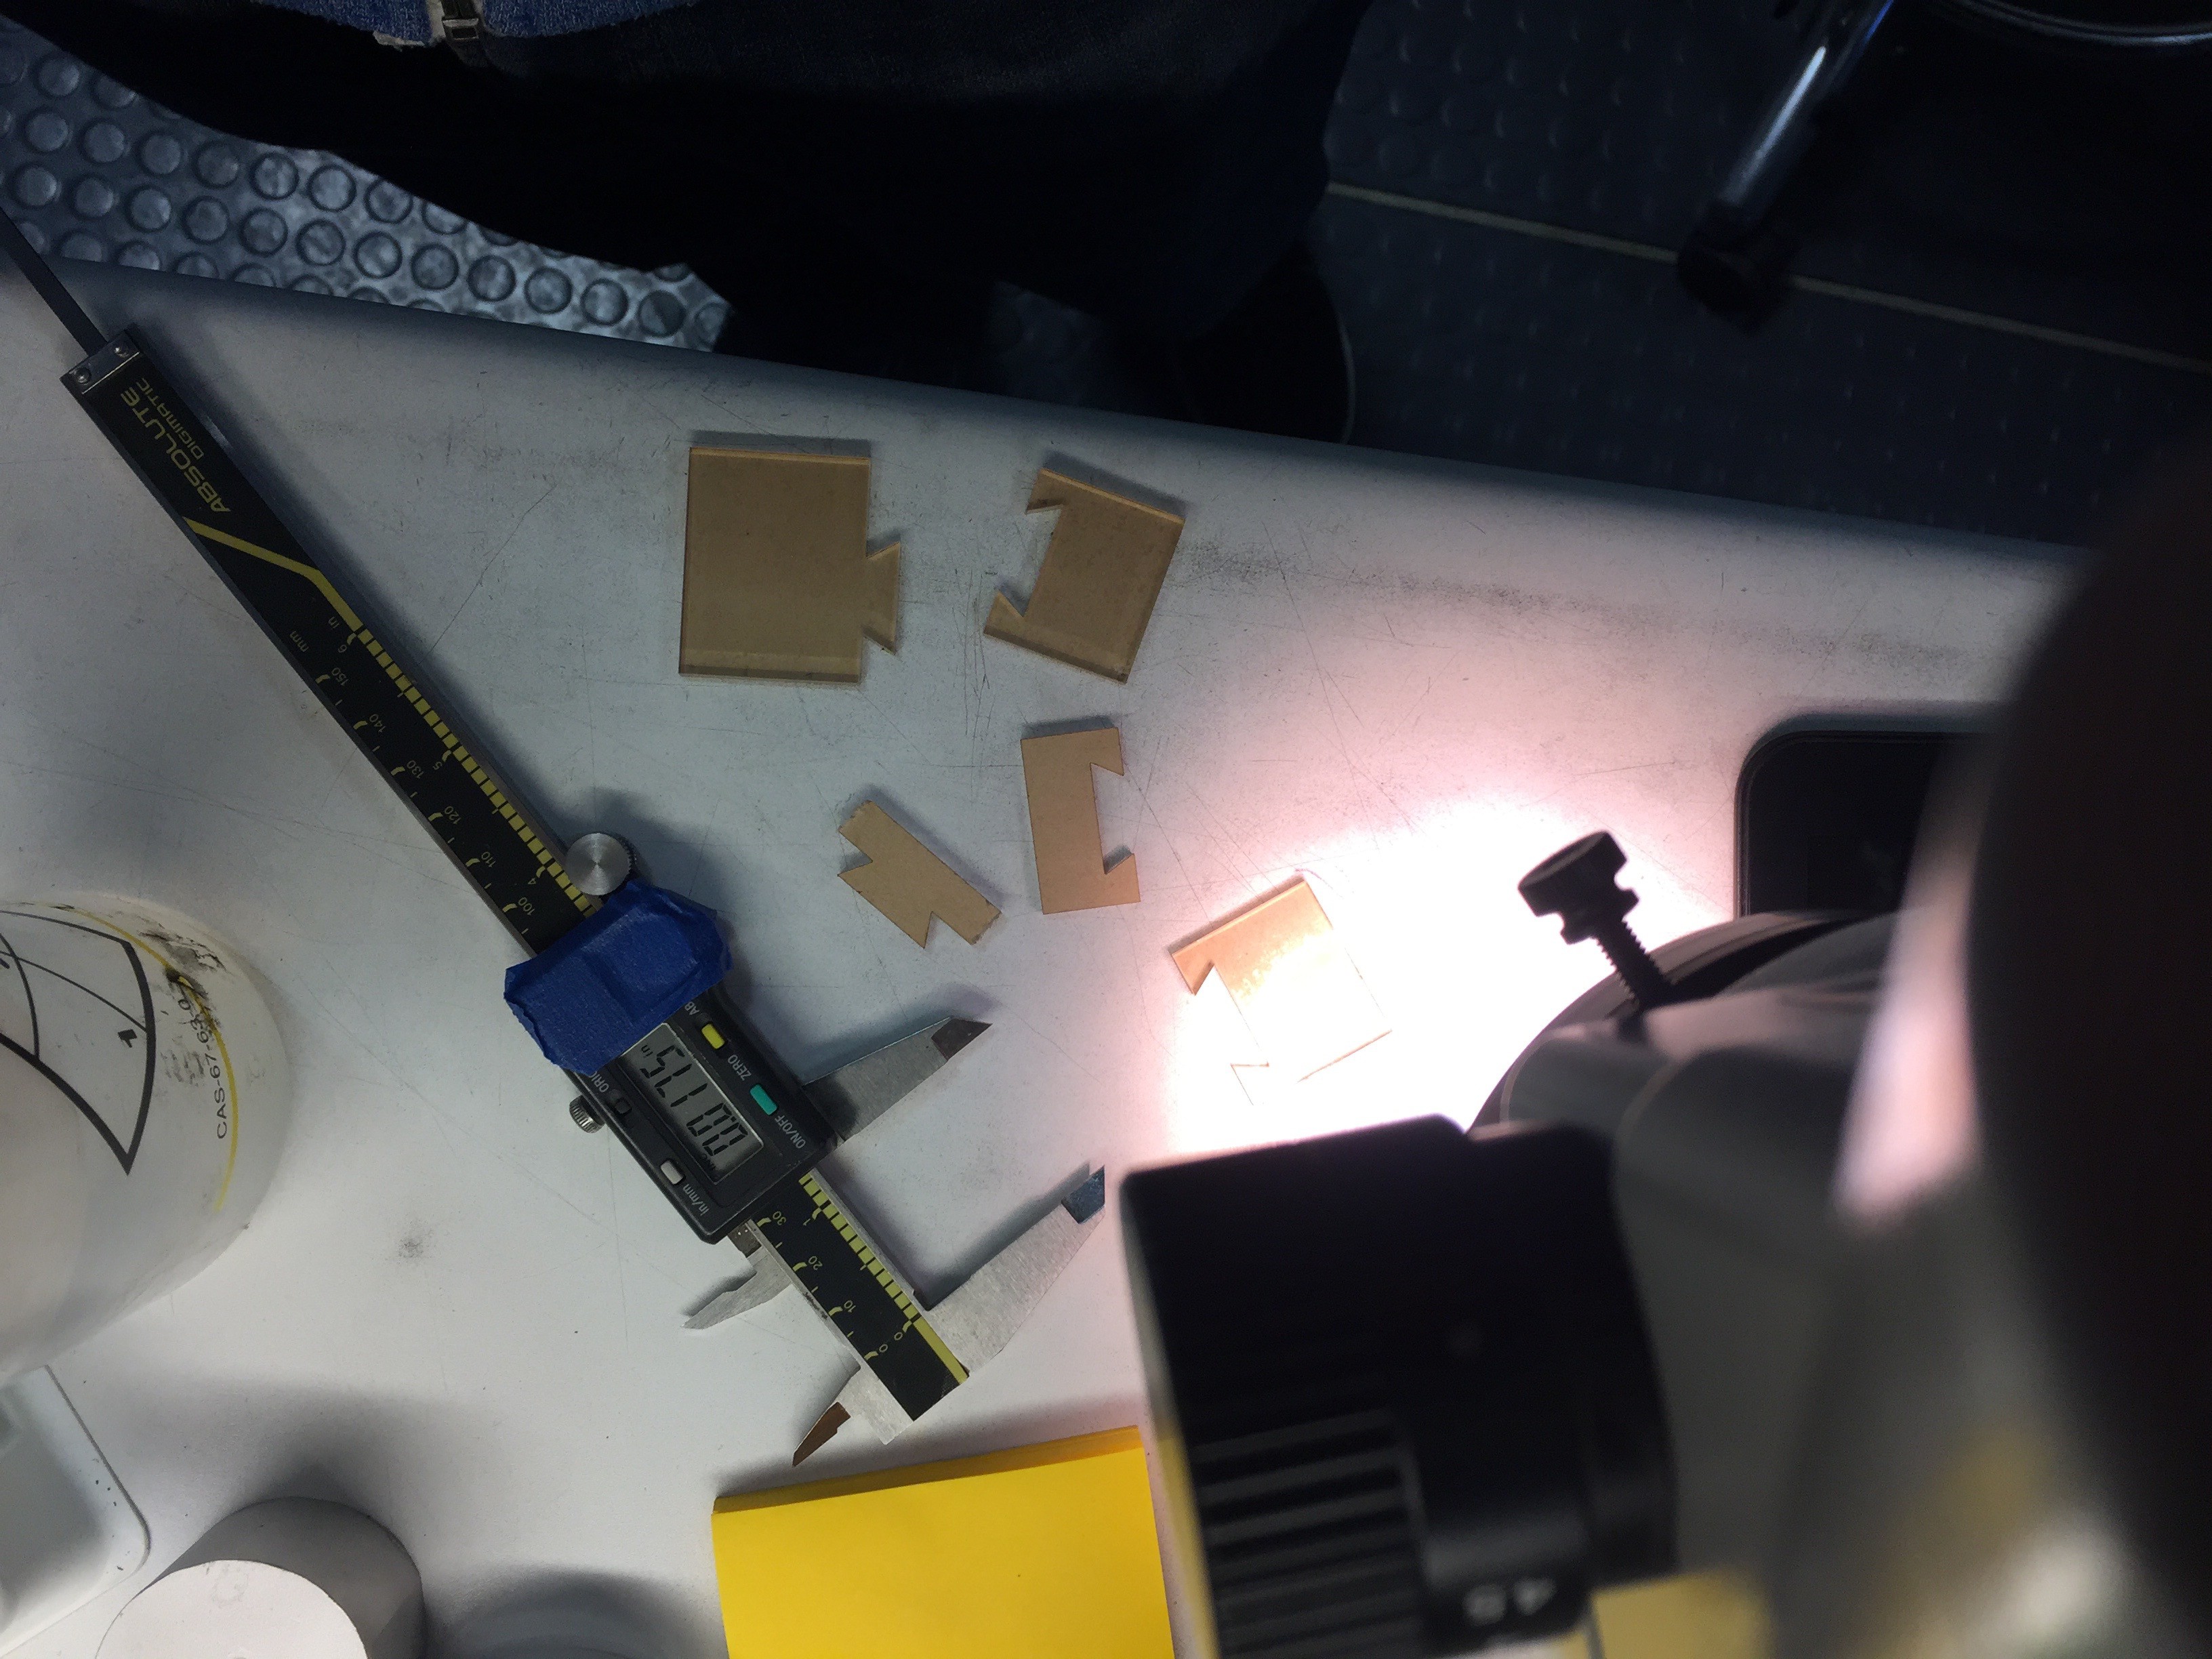
At this point the frame has a modular design so that I can mess with how wires come into the mirror. Here I'm testing clearances of an acrylic snap-fit design.
Laser cutting a bunch of border pieces.
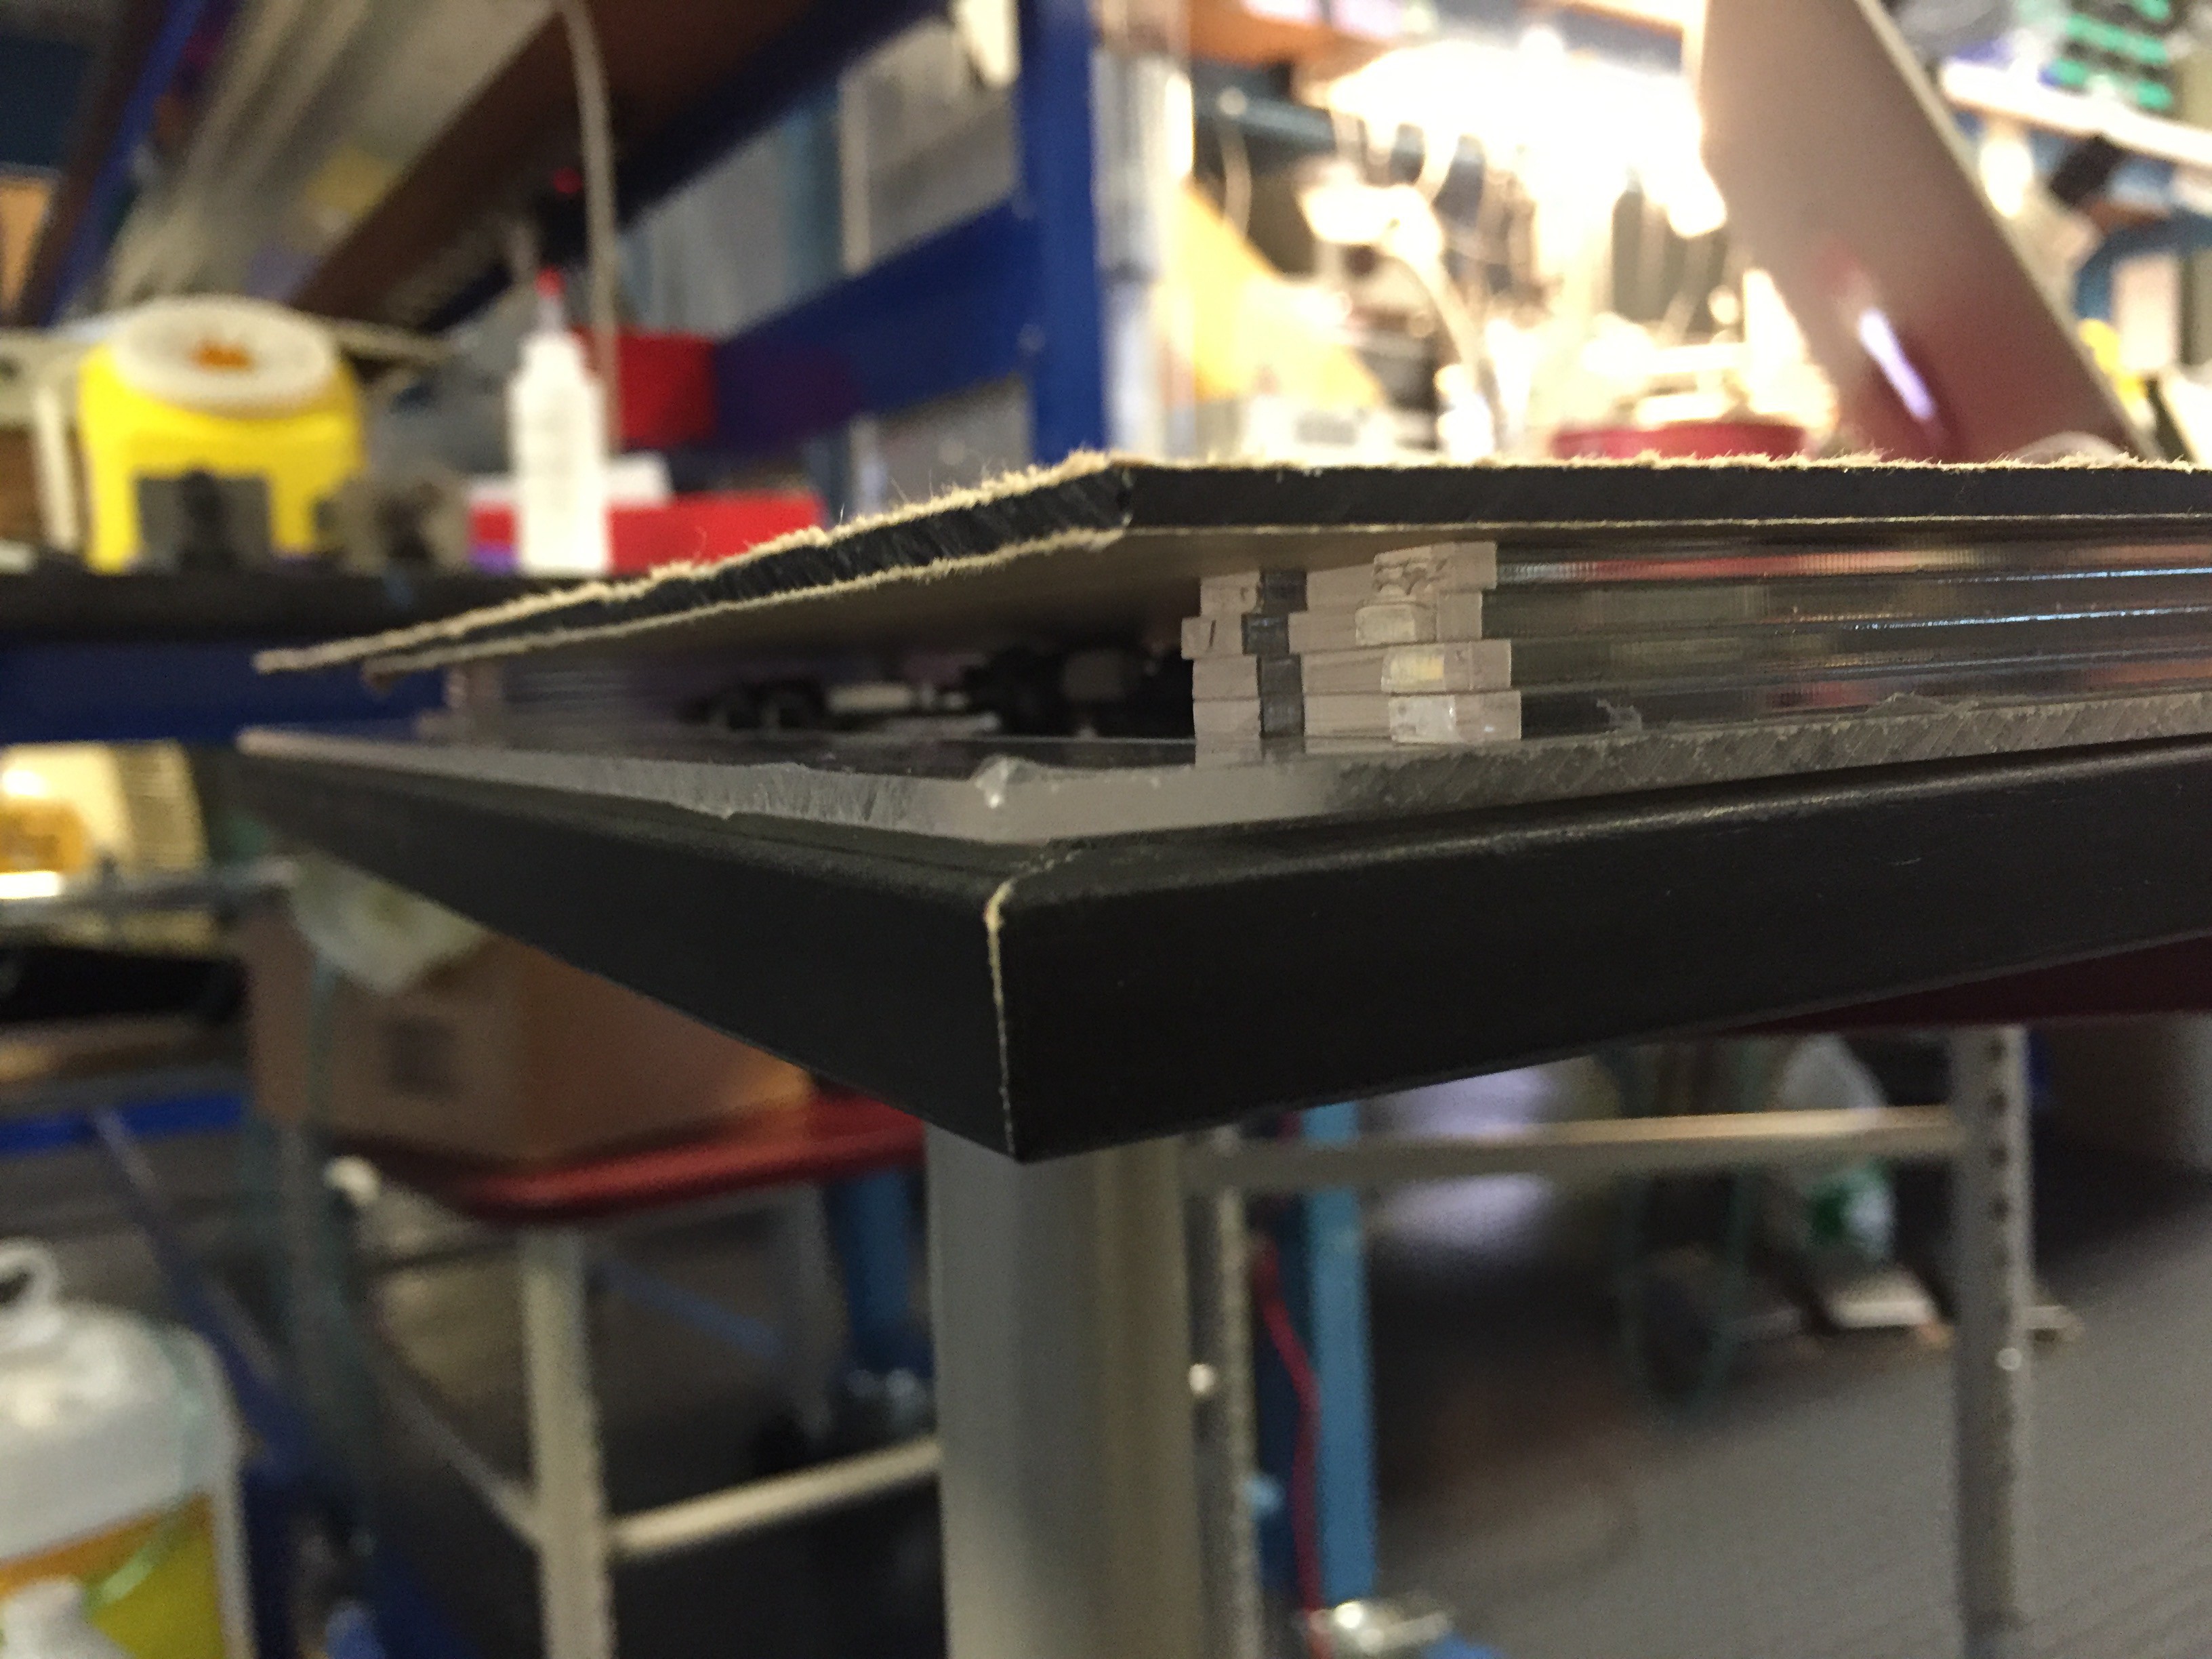
It takes 5 layers of 1/8" acrylic to clear the top of the components inside.
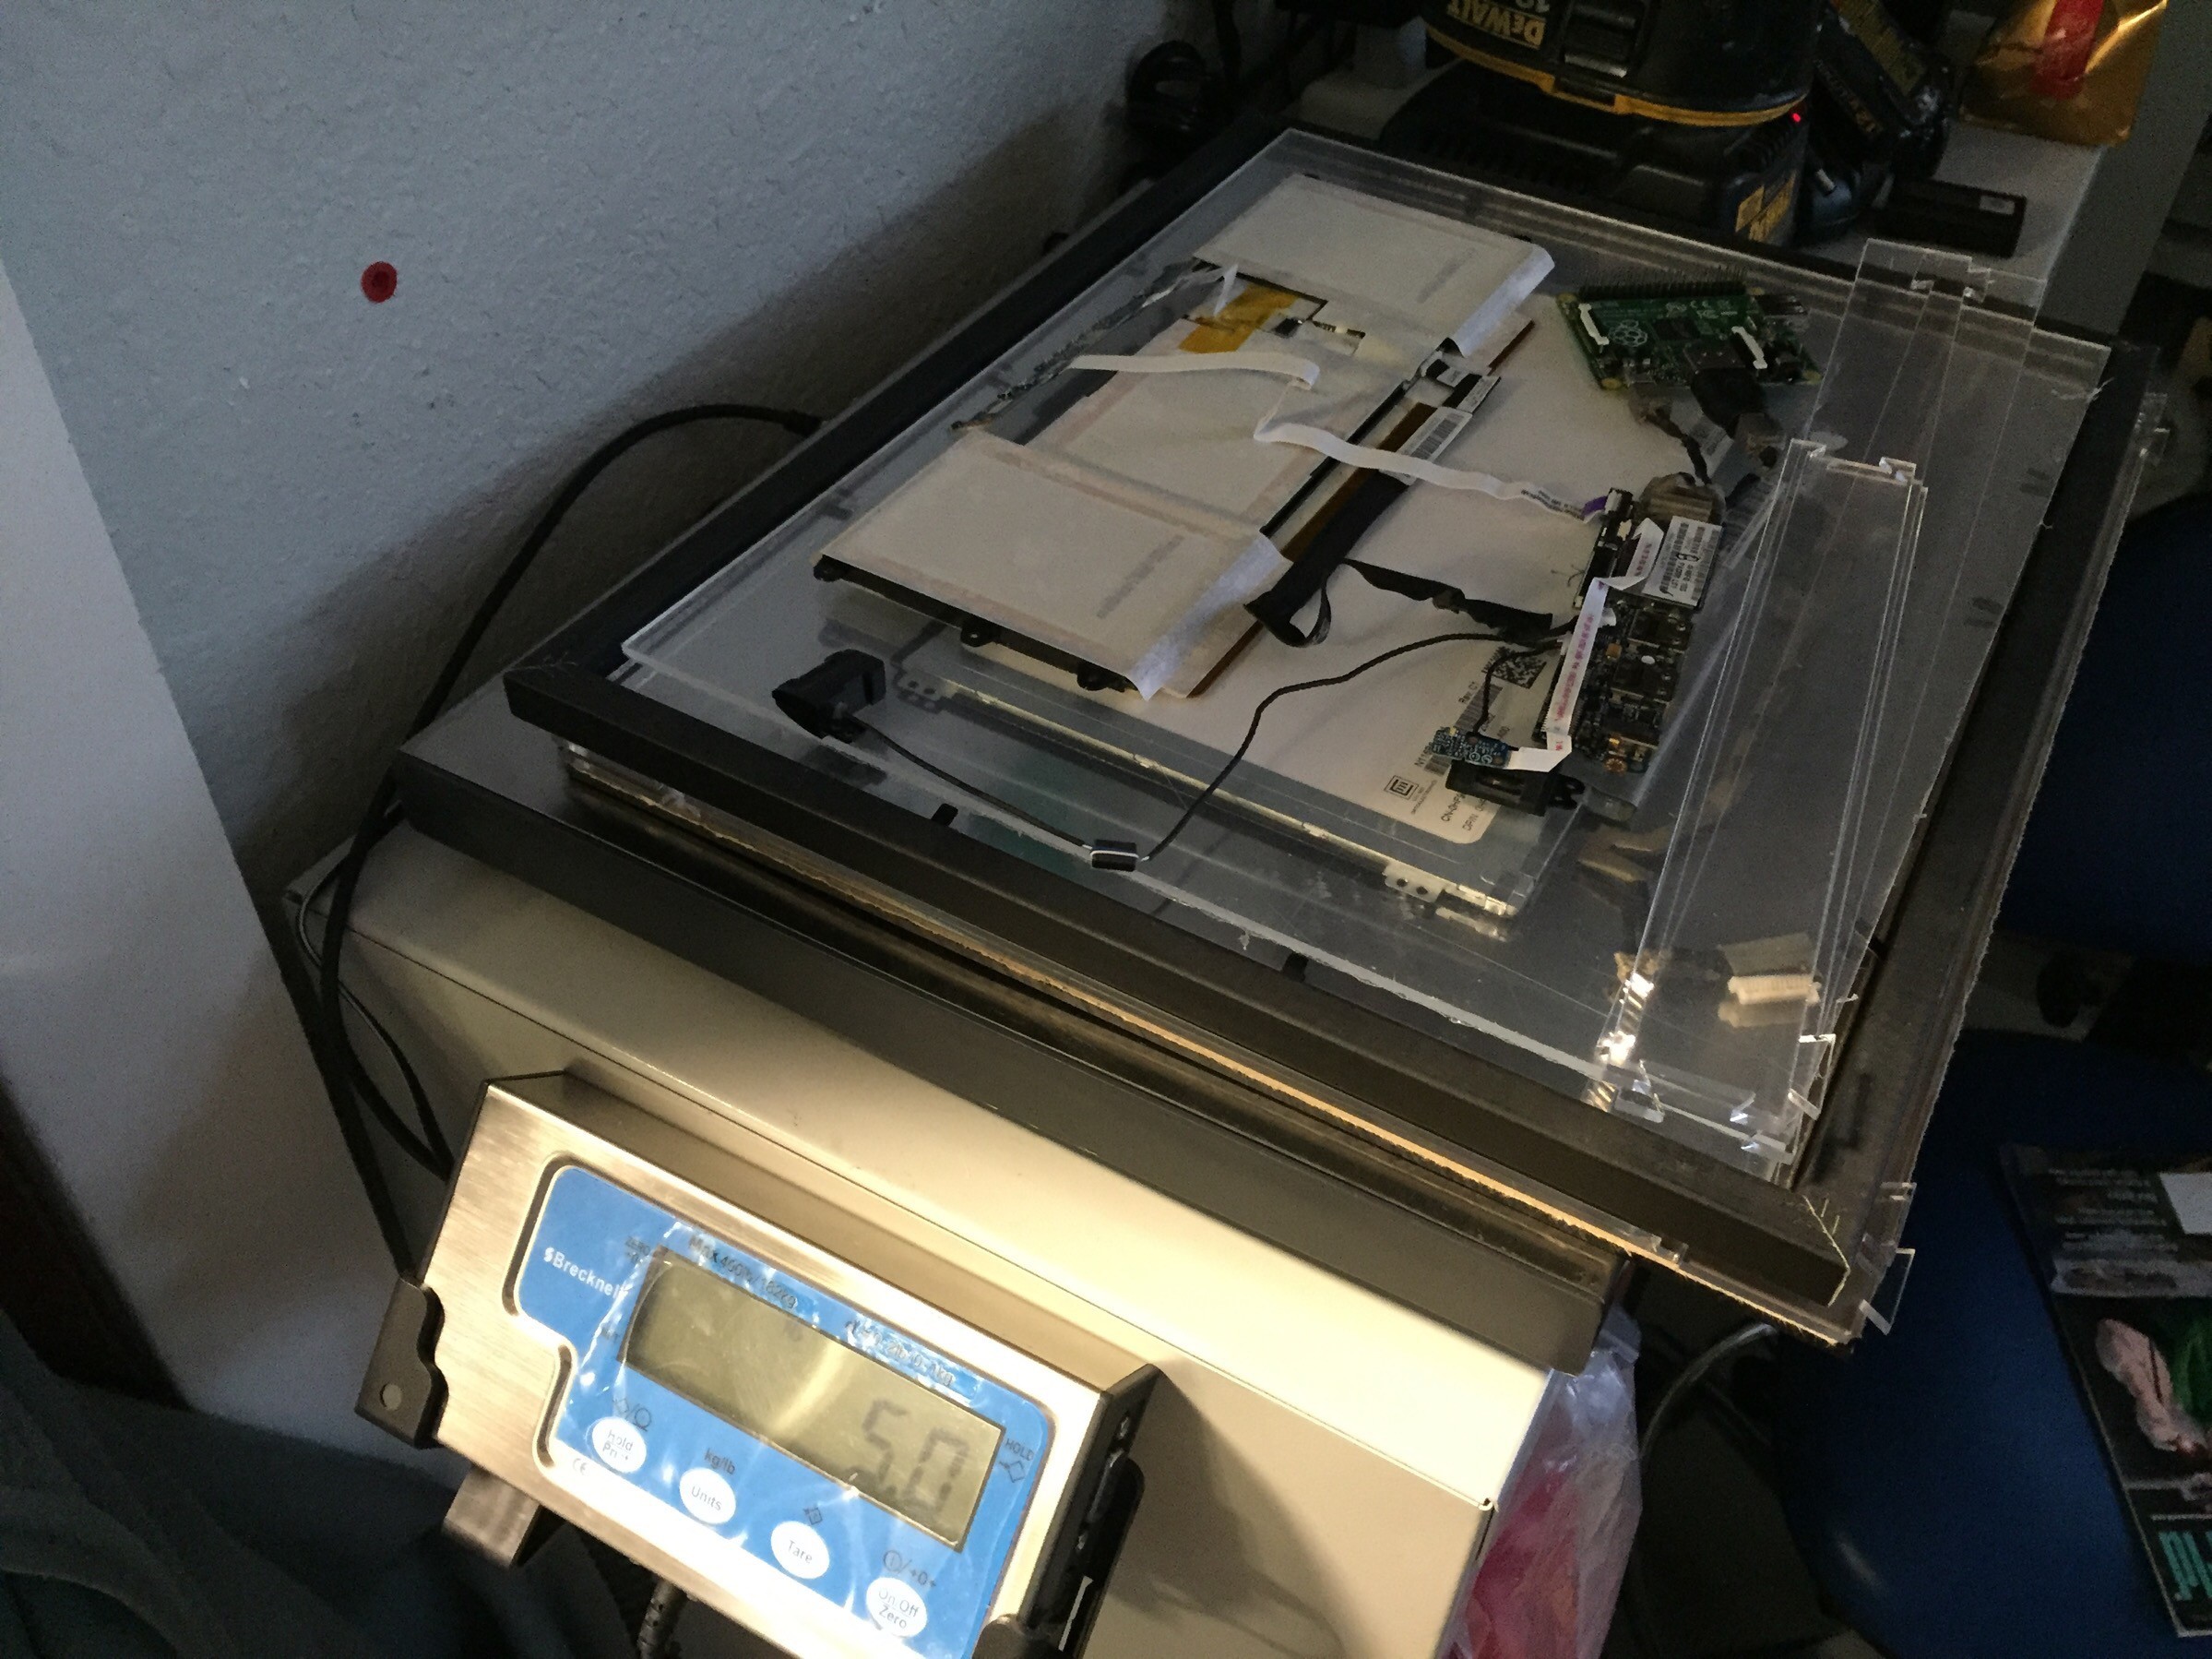
All together, it's about as heavy as a Macbook Pro Retina.
I got a good amount of footage of how the heat set inserts are used to screw the electronics onto the mirror, and you'll see that I didn't rely on CAD drawings for everything. A sharpie was good enough to play with different layouts.
Jump forward to Christmas Eve when I put it all together for the first time!
The mirror lives! It's battery powered - no wires no worries.
After all the electronics were in working order I built the enclosure and sealed the mirror for delivery.
Meanwhile, the plot thickens as Michelle collects clues closer to Christmas...
It might have a scroll wheel, a keyboard, is something she can view, has a raspberry pi in it, and she'll see pretty things when she looks at it...
Can you guess what it might be?!
-
Progress: 1st Iteration - Hardware Prototype
04/07/2016 at 08:20 • 0 commentsIn this post I'll walk through the first month of the project where I produced the first shippable version of the mirror (delivered on Christmas). Early on I had a lot of unanswered questions and work to do.
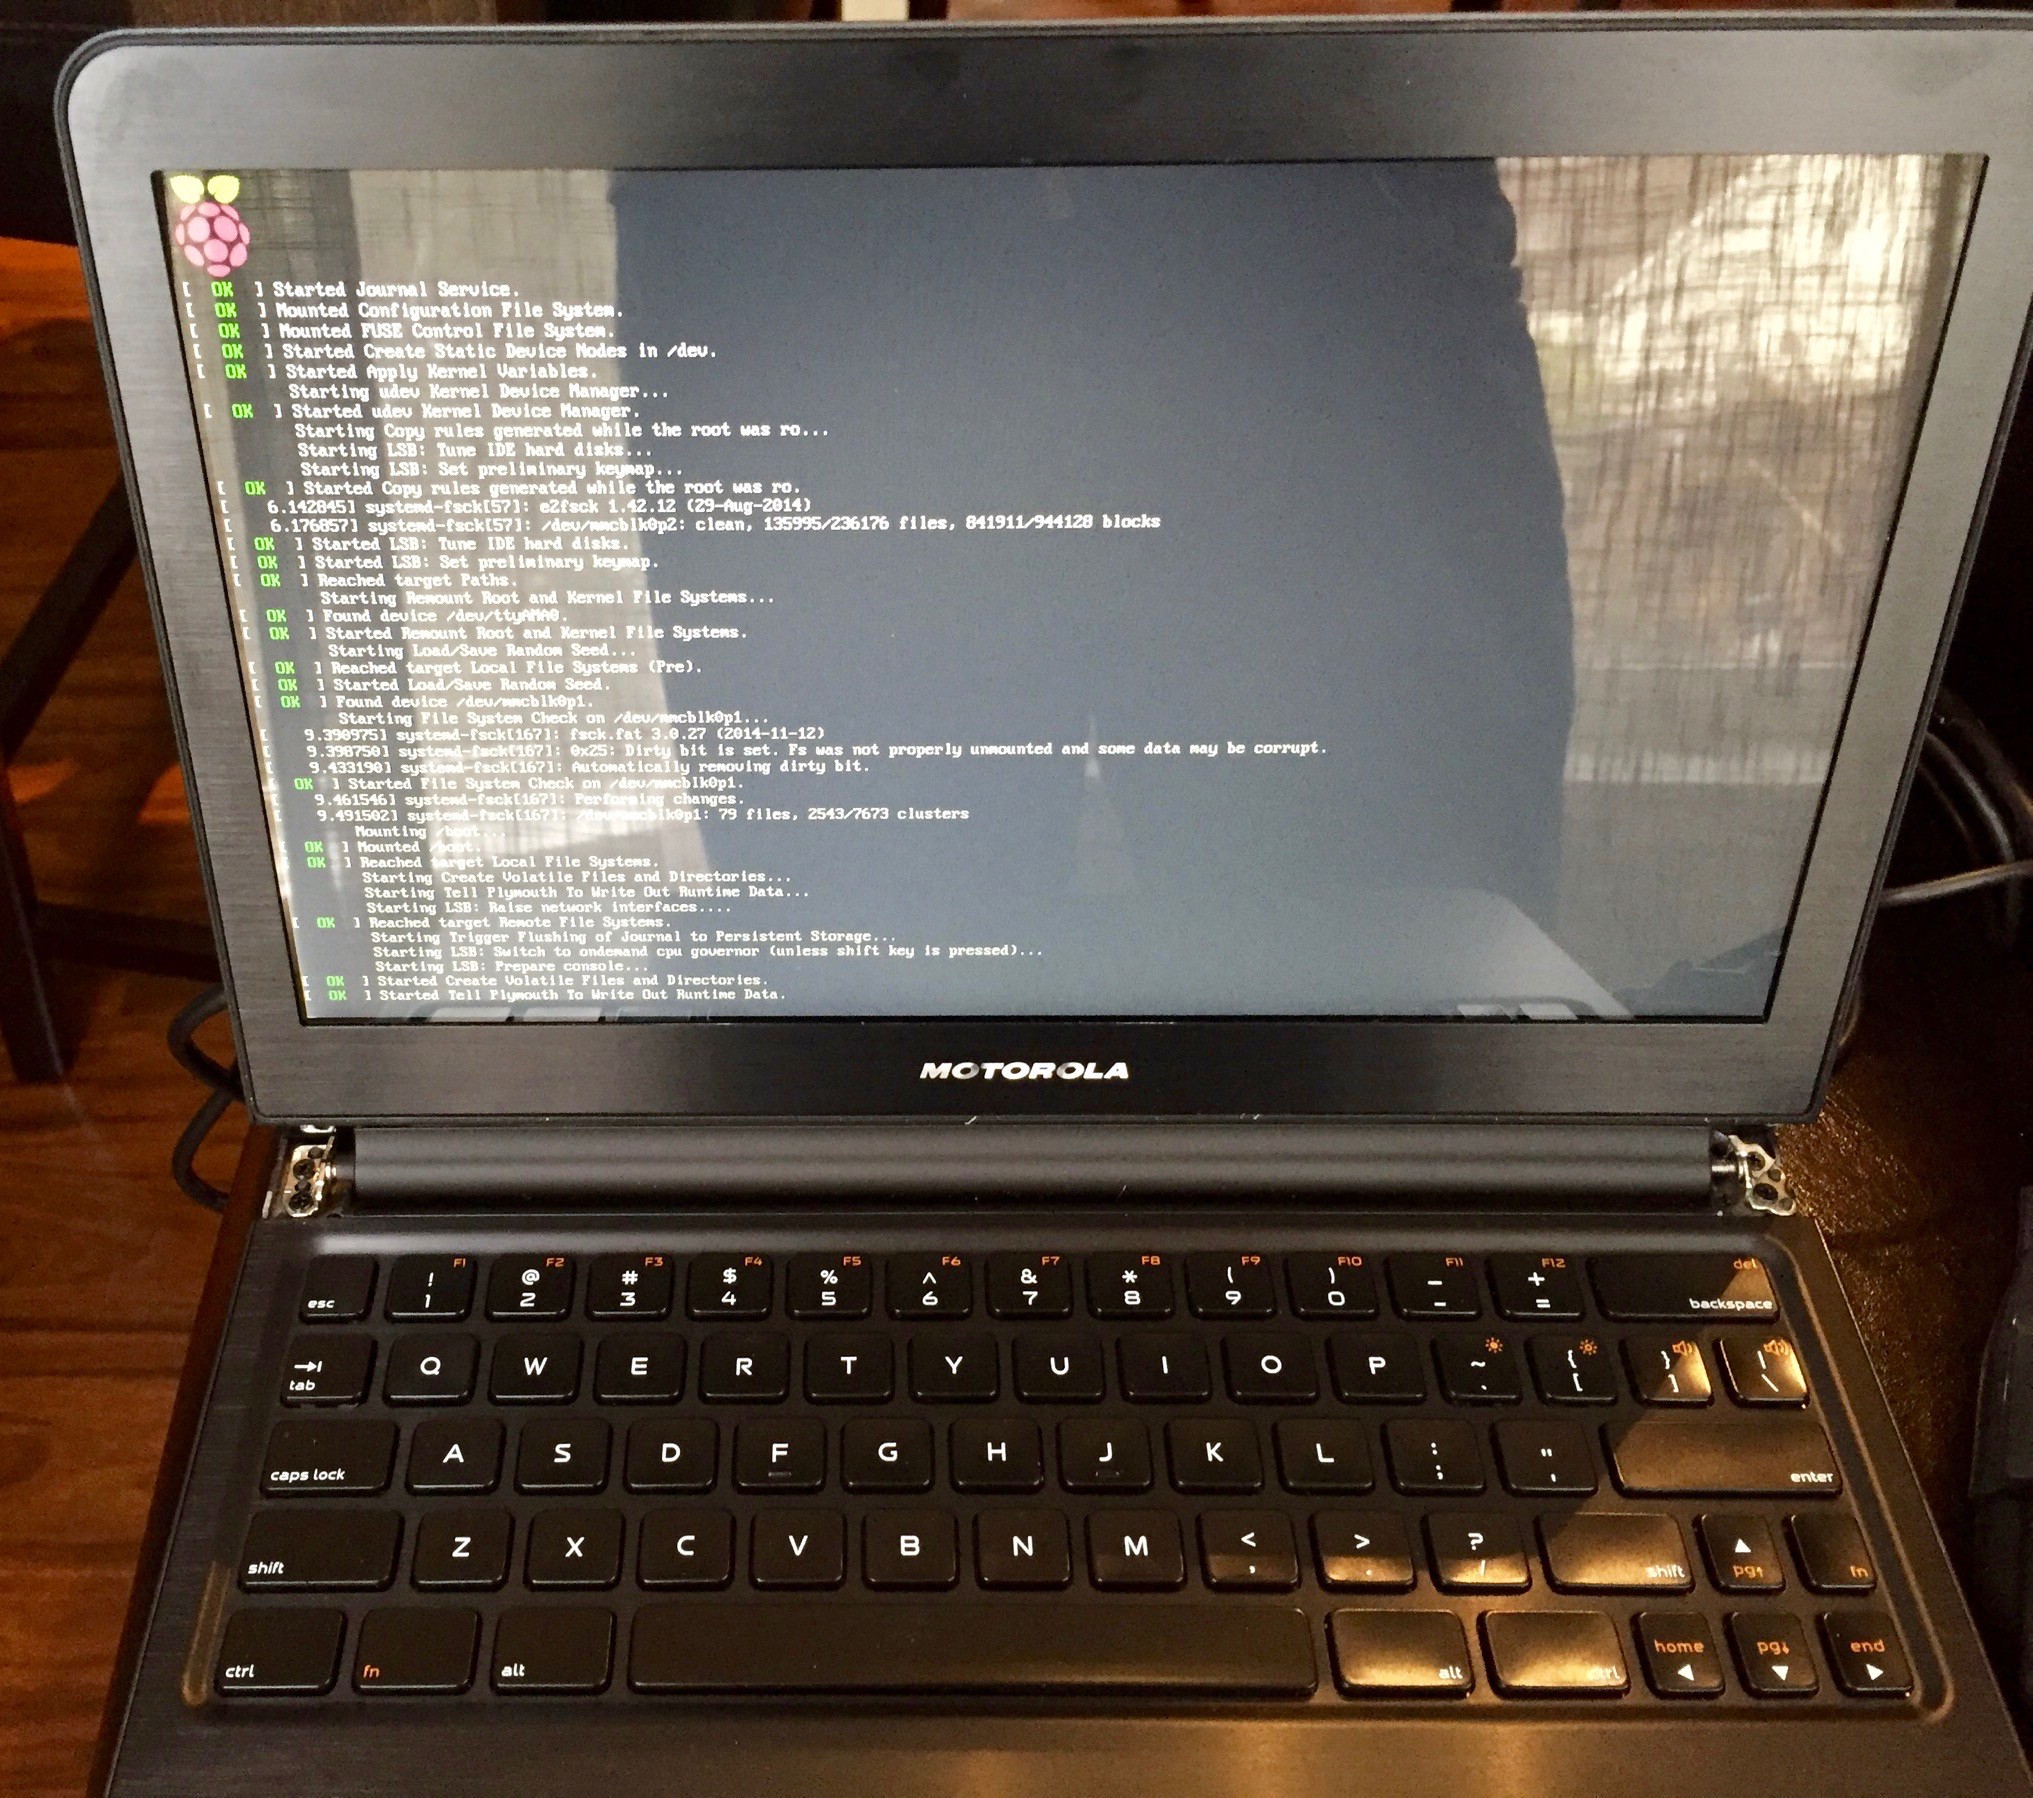
I choose my trusted Raspberry Pi and a Motorola Atrix as the core components in the mirror's computer.
This setup can run a Github Electron environment, which is used to run the mirror application I'm making.
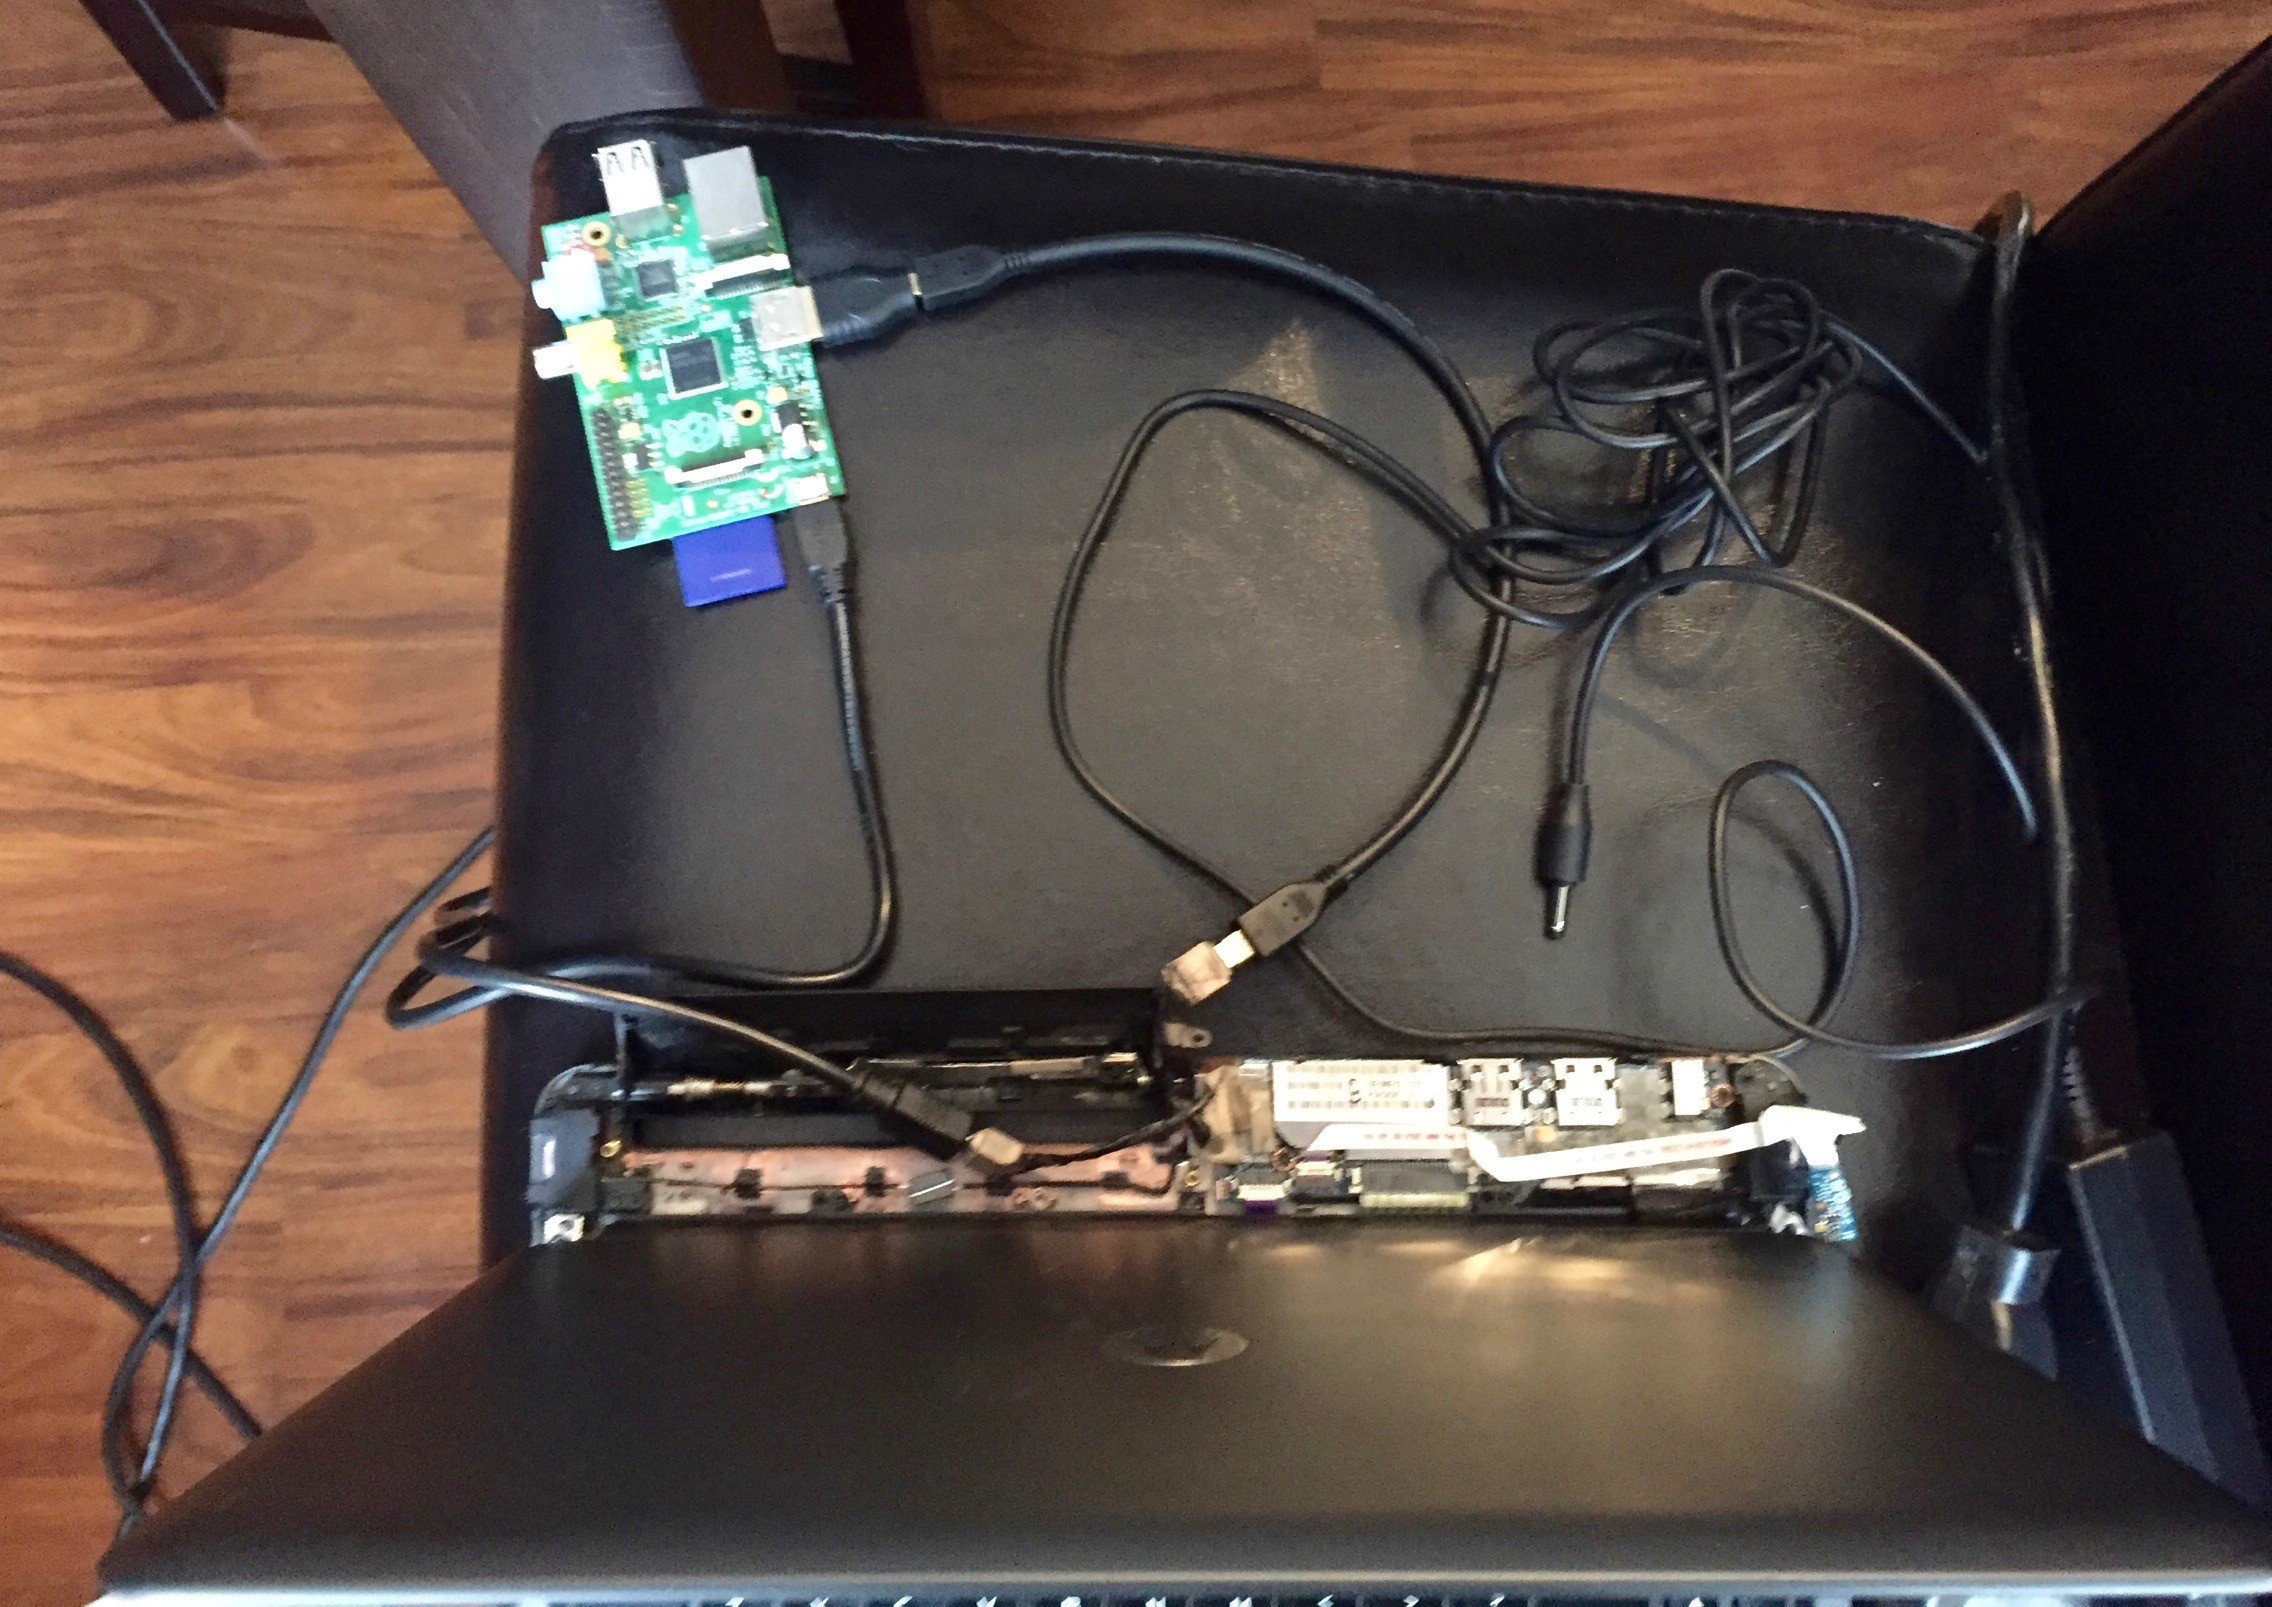
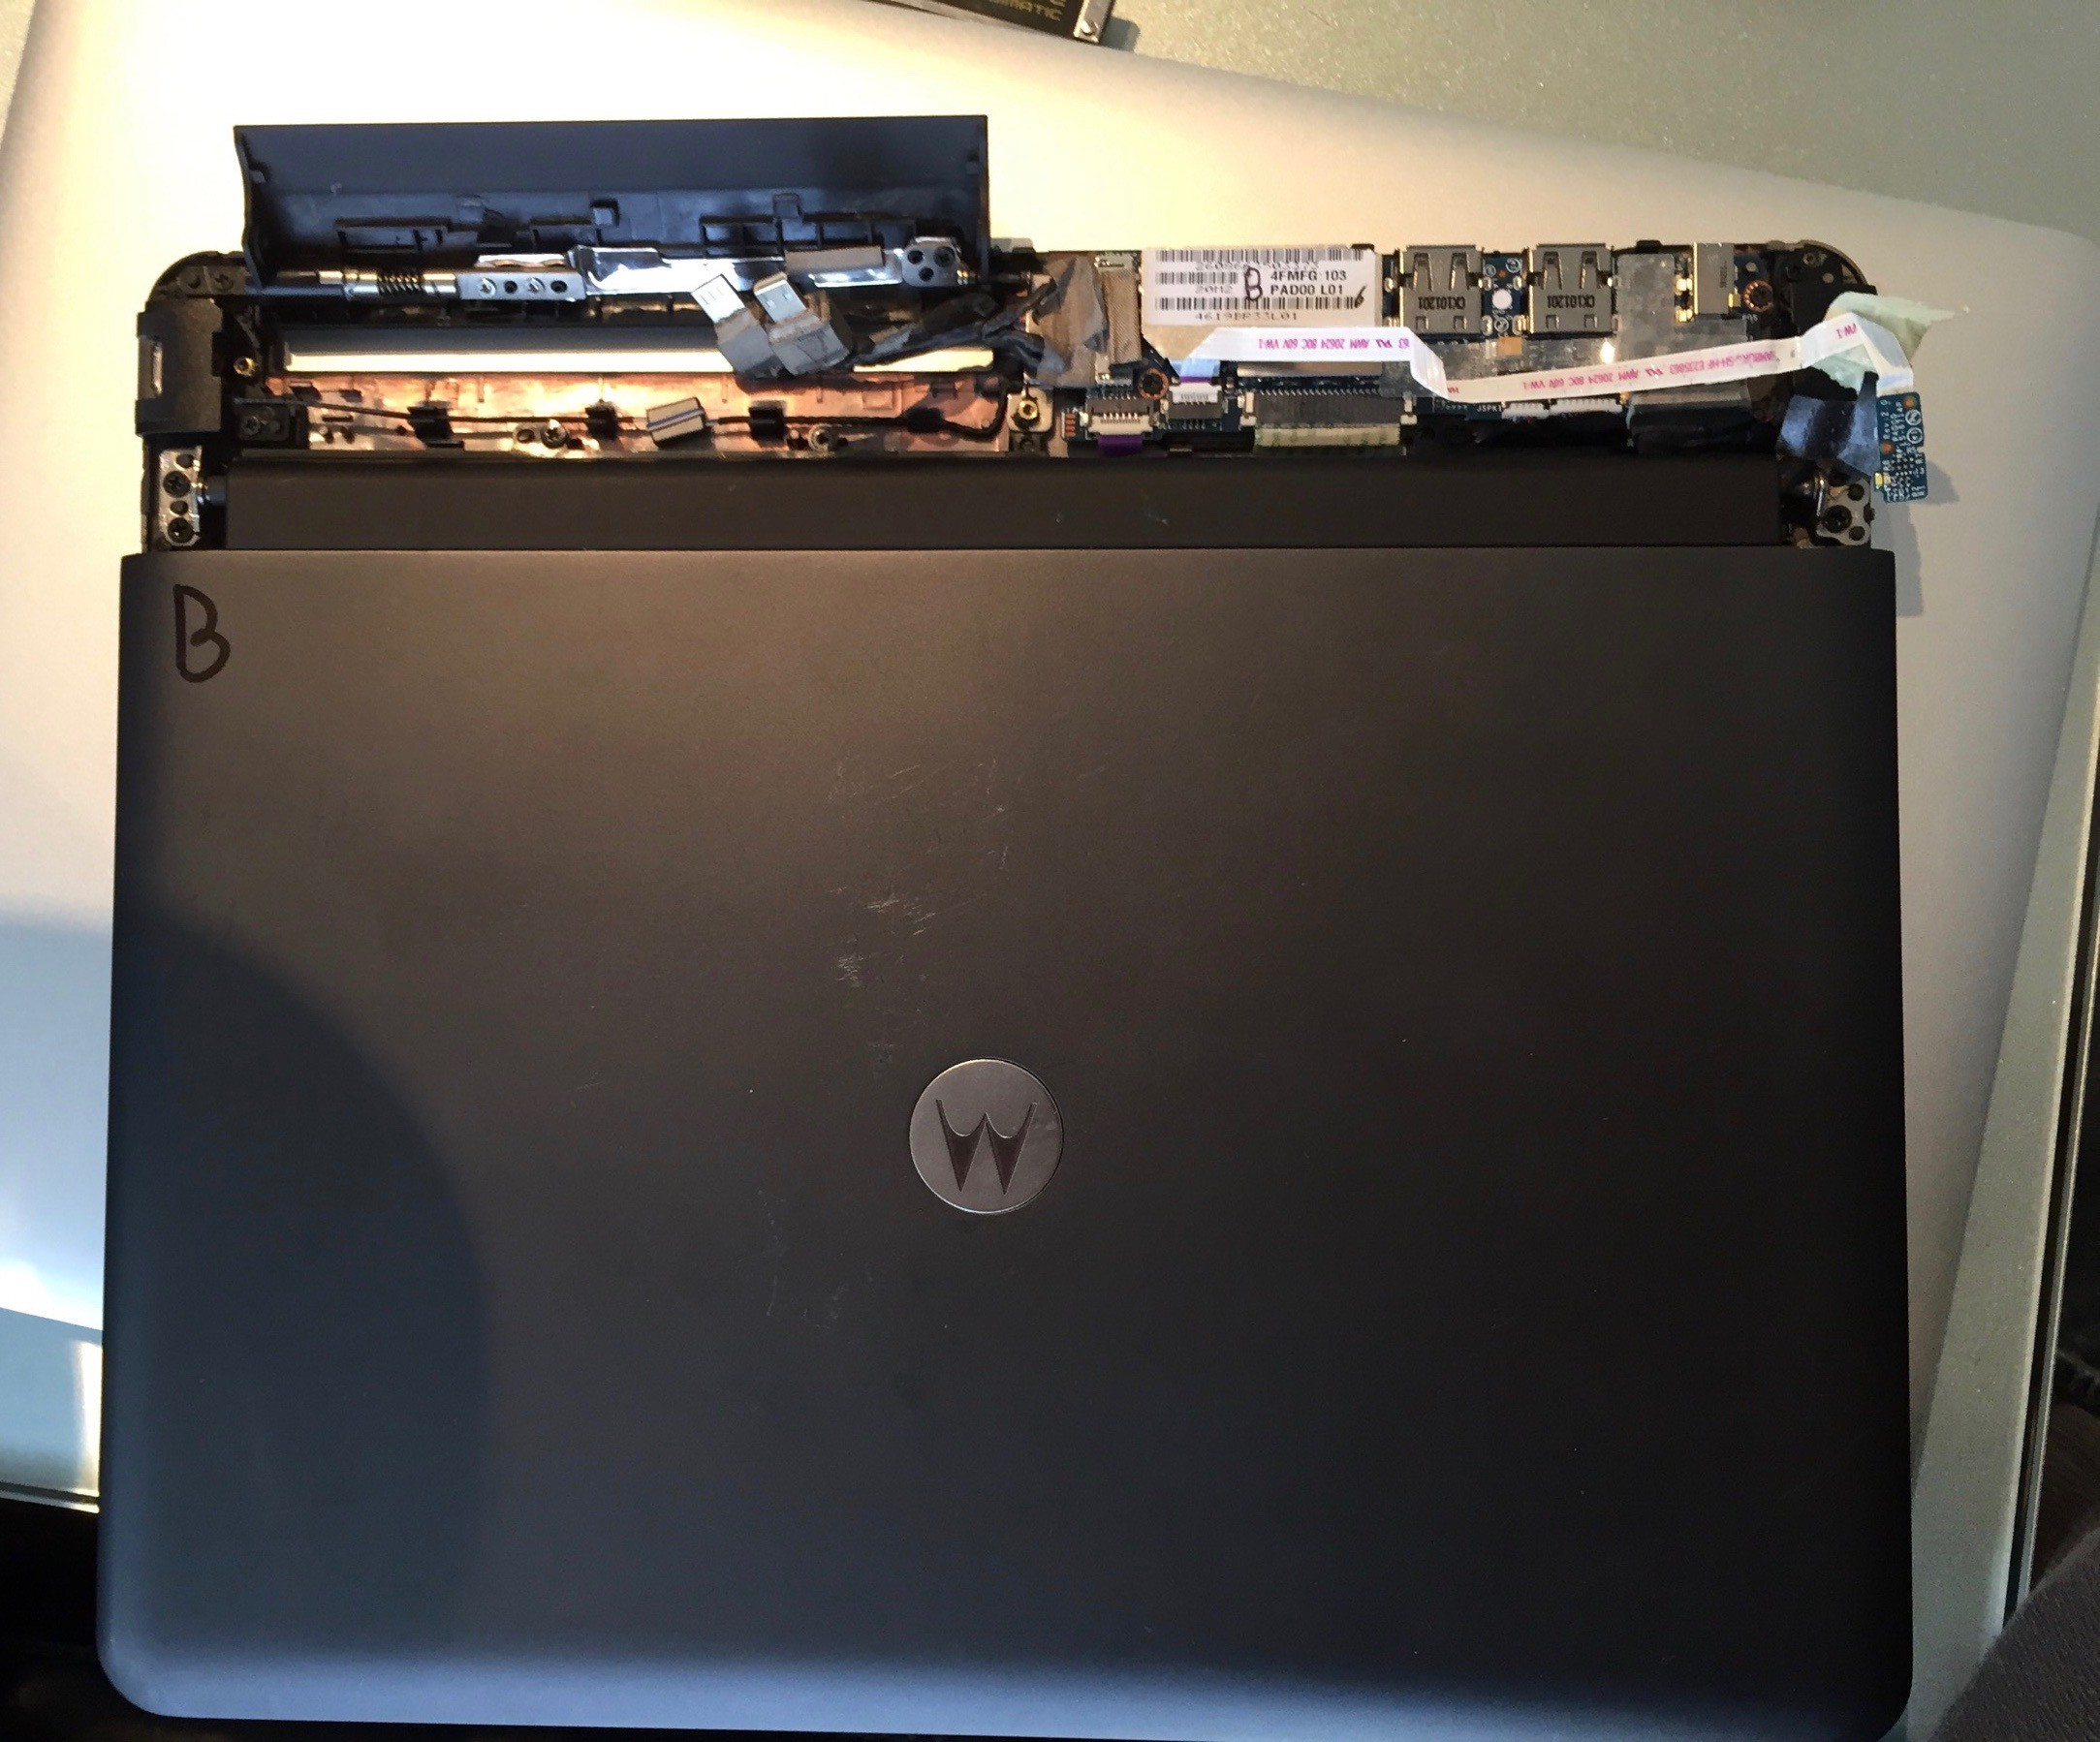
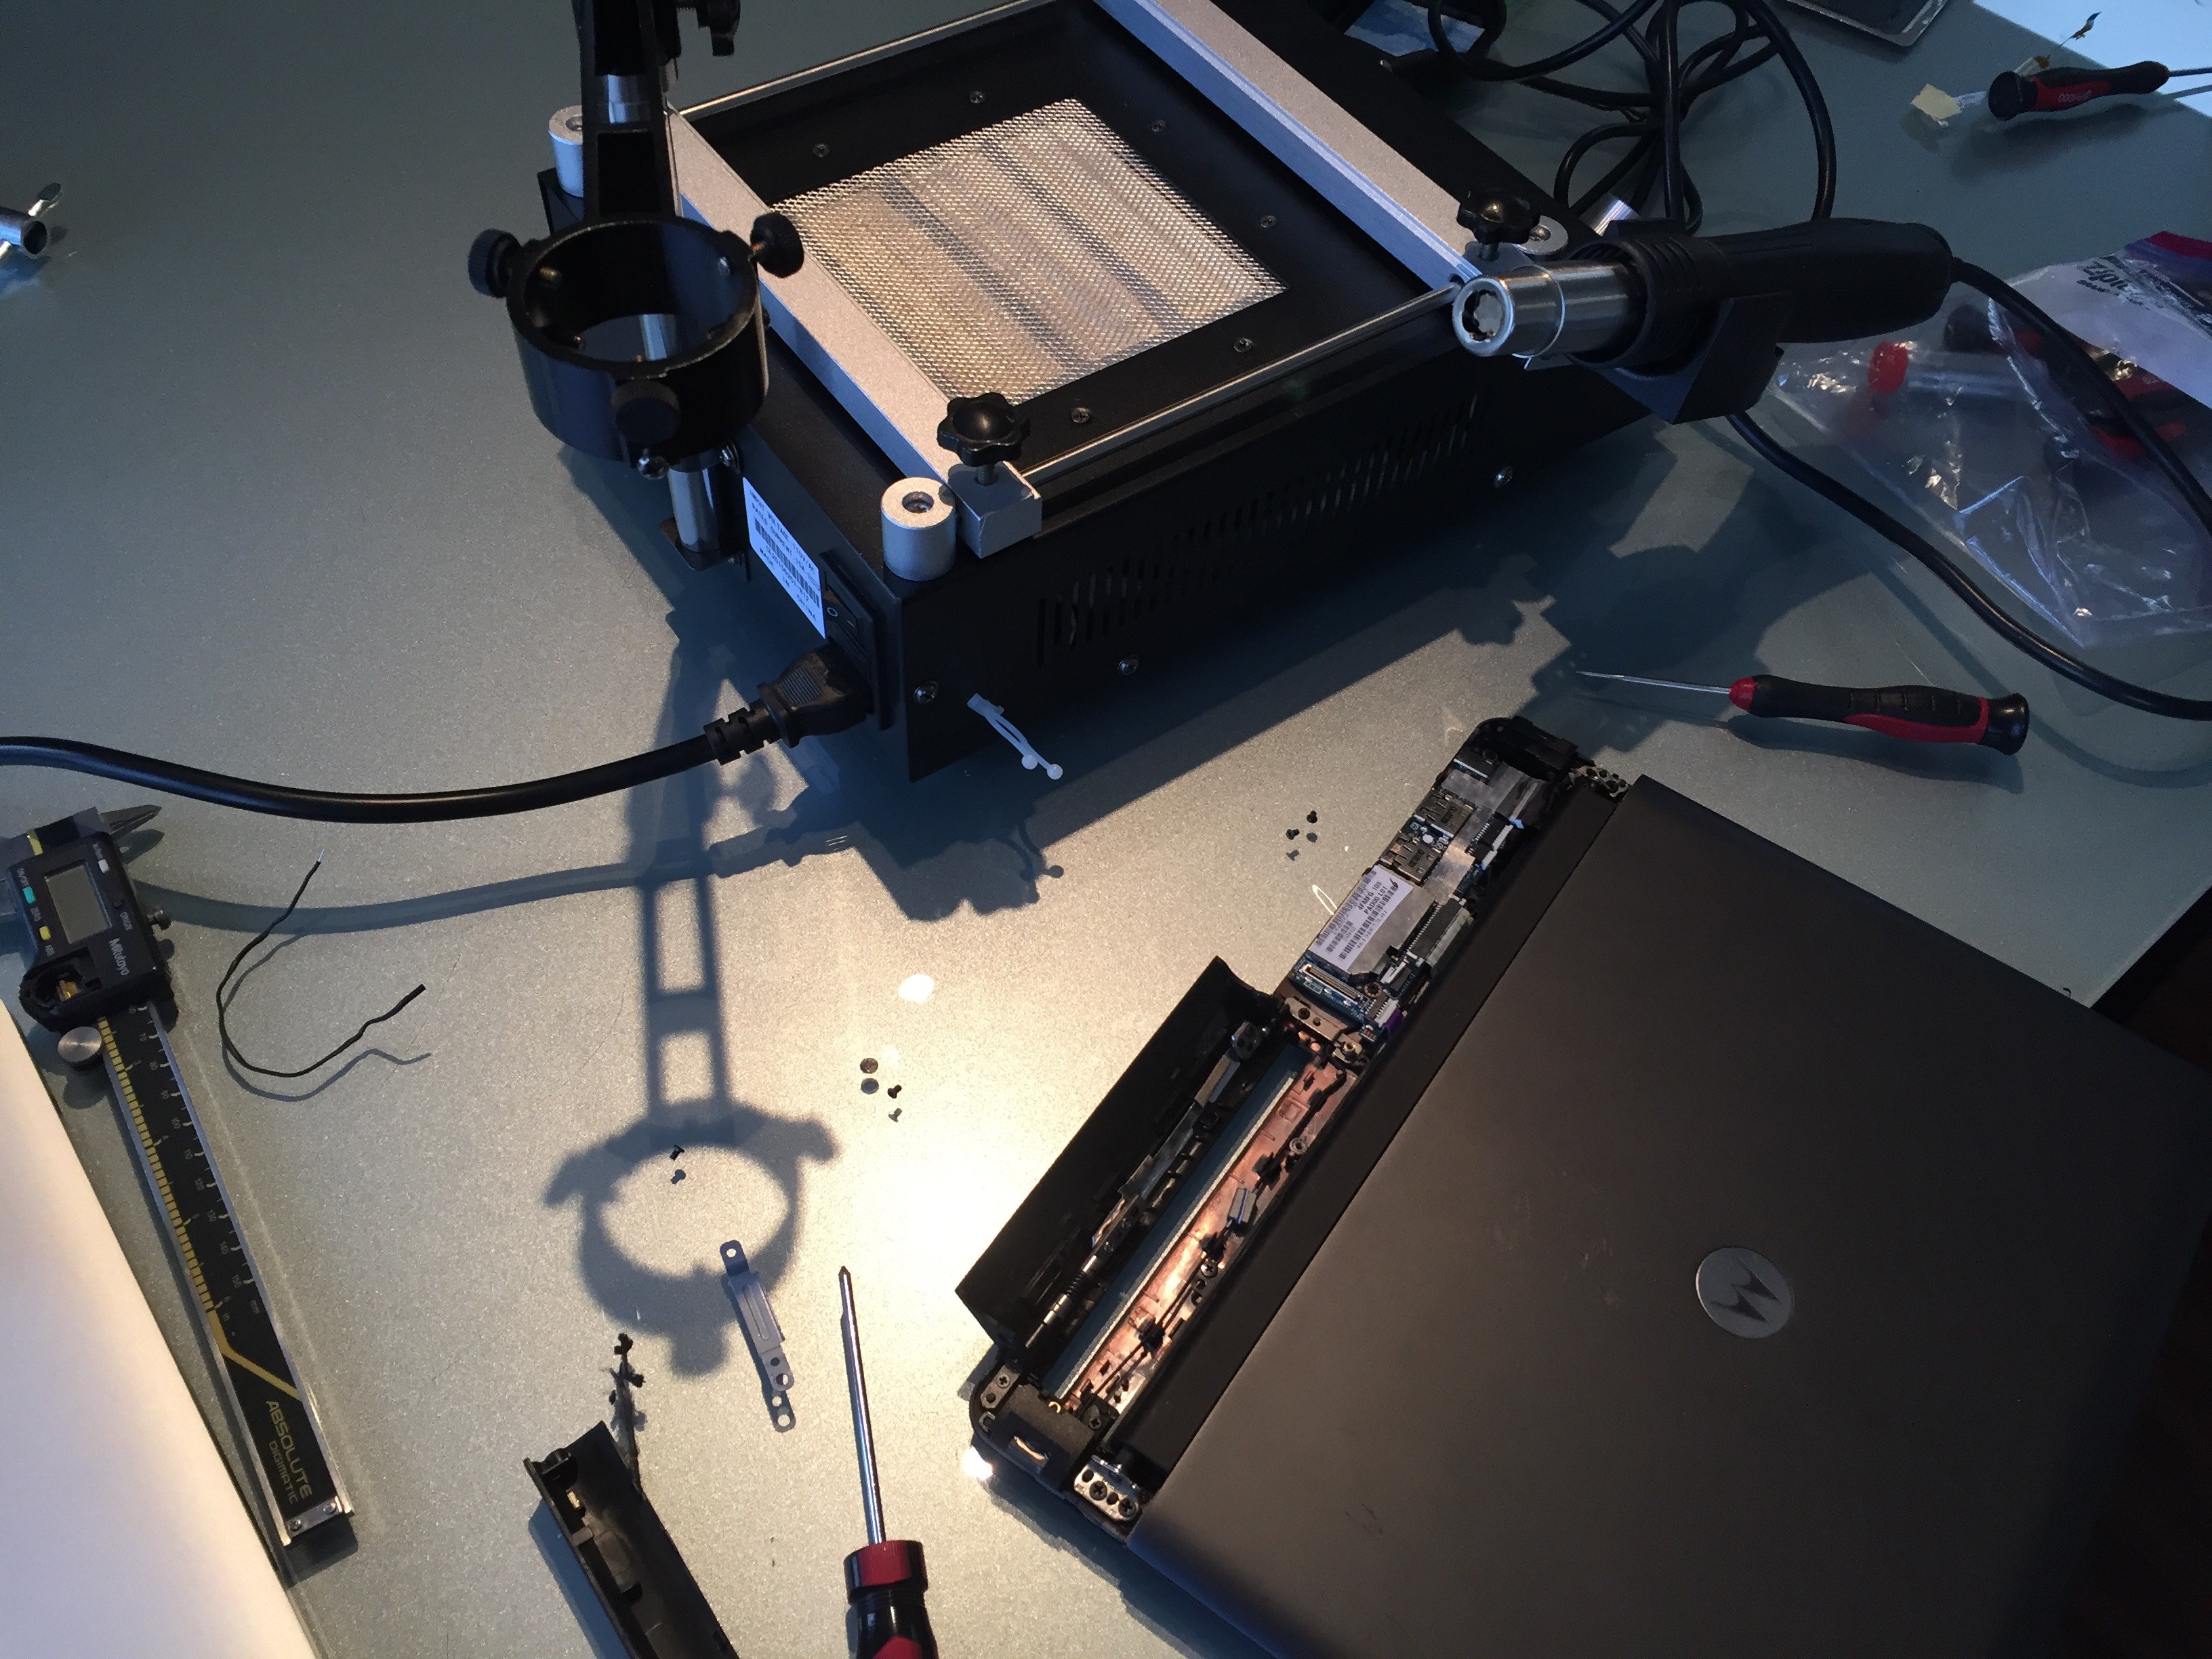
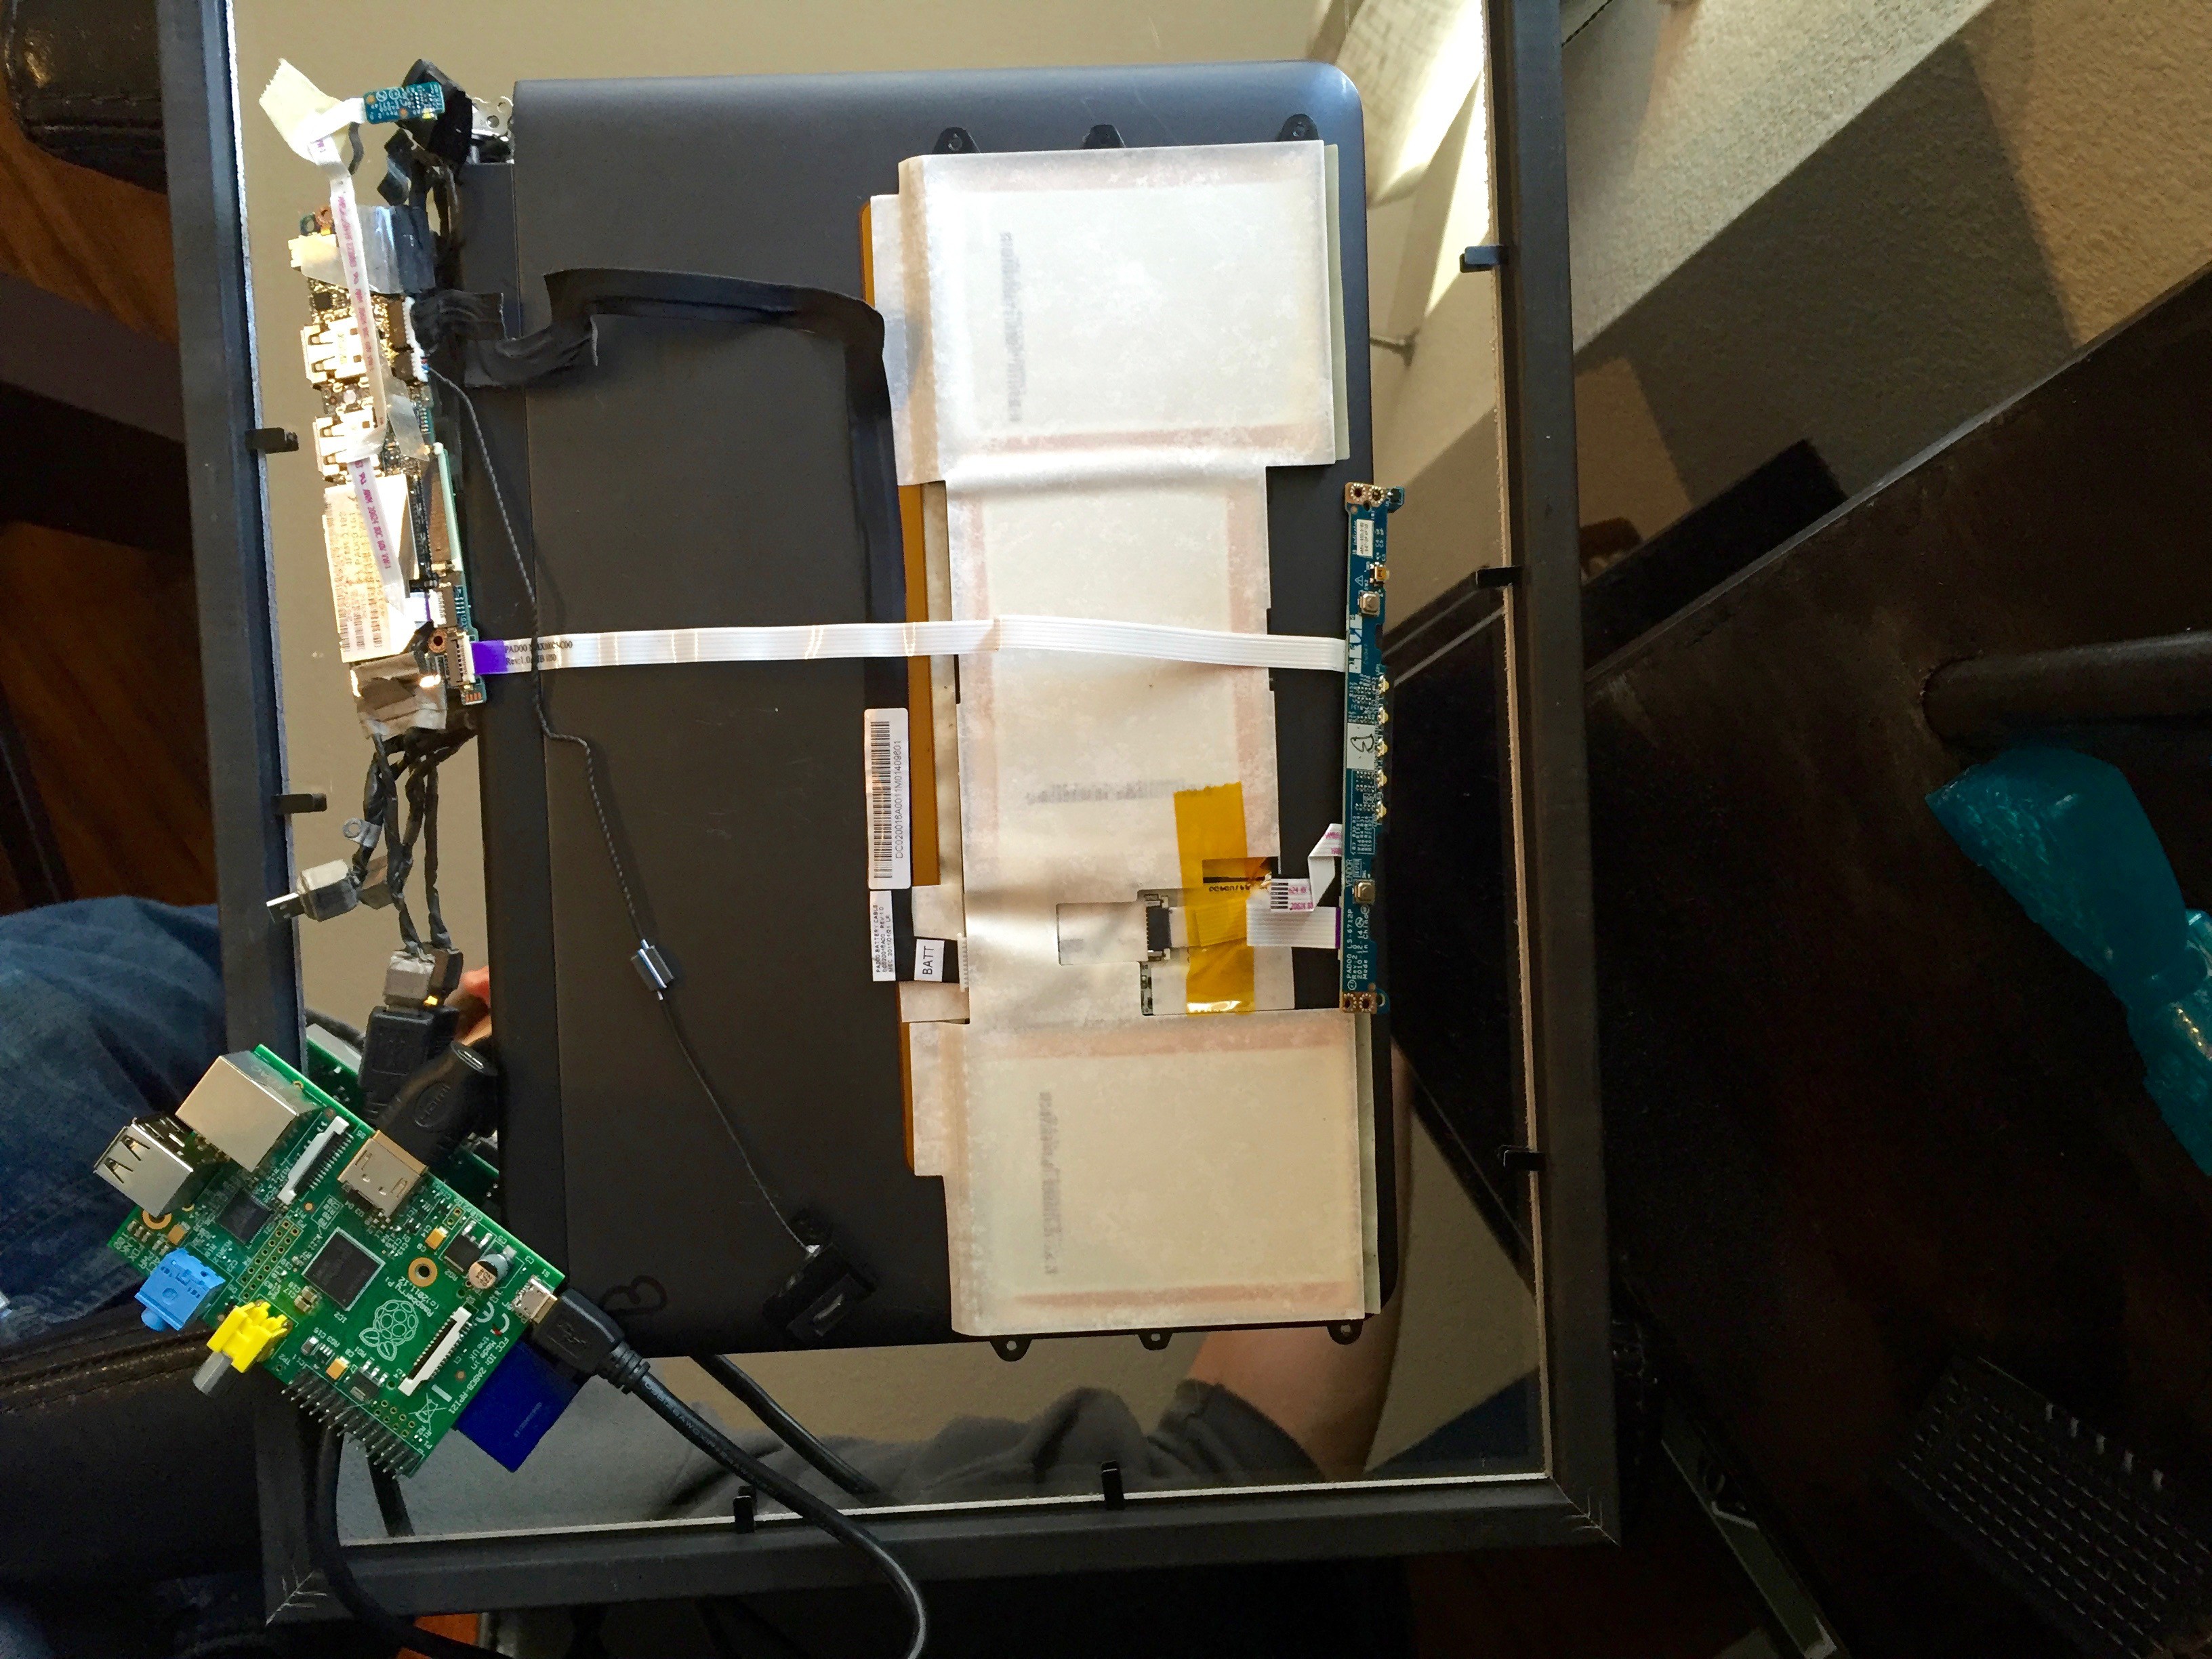
Inside the Motorola Atrix is a battery, 2 speakers, a Hall sensor (to cut power on screen close), a battery level indicator, and the main logic board that contains the HDMI display driver, USB hub, and power electronics.I setup my heat gun and some tools to take the LapDock apart. Most of the deconstruction can be done with a philips screwdriver, and a flat tool to pry apart some plastic. The one interesting part is removing the screen bevel, which requires the heat gun.
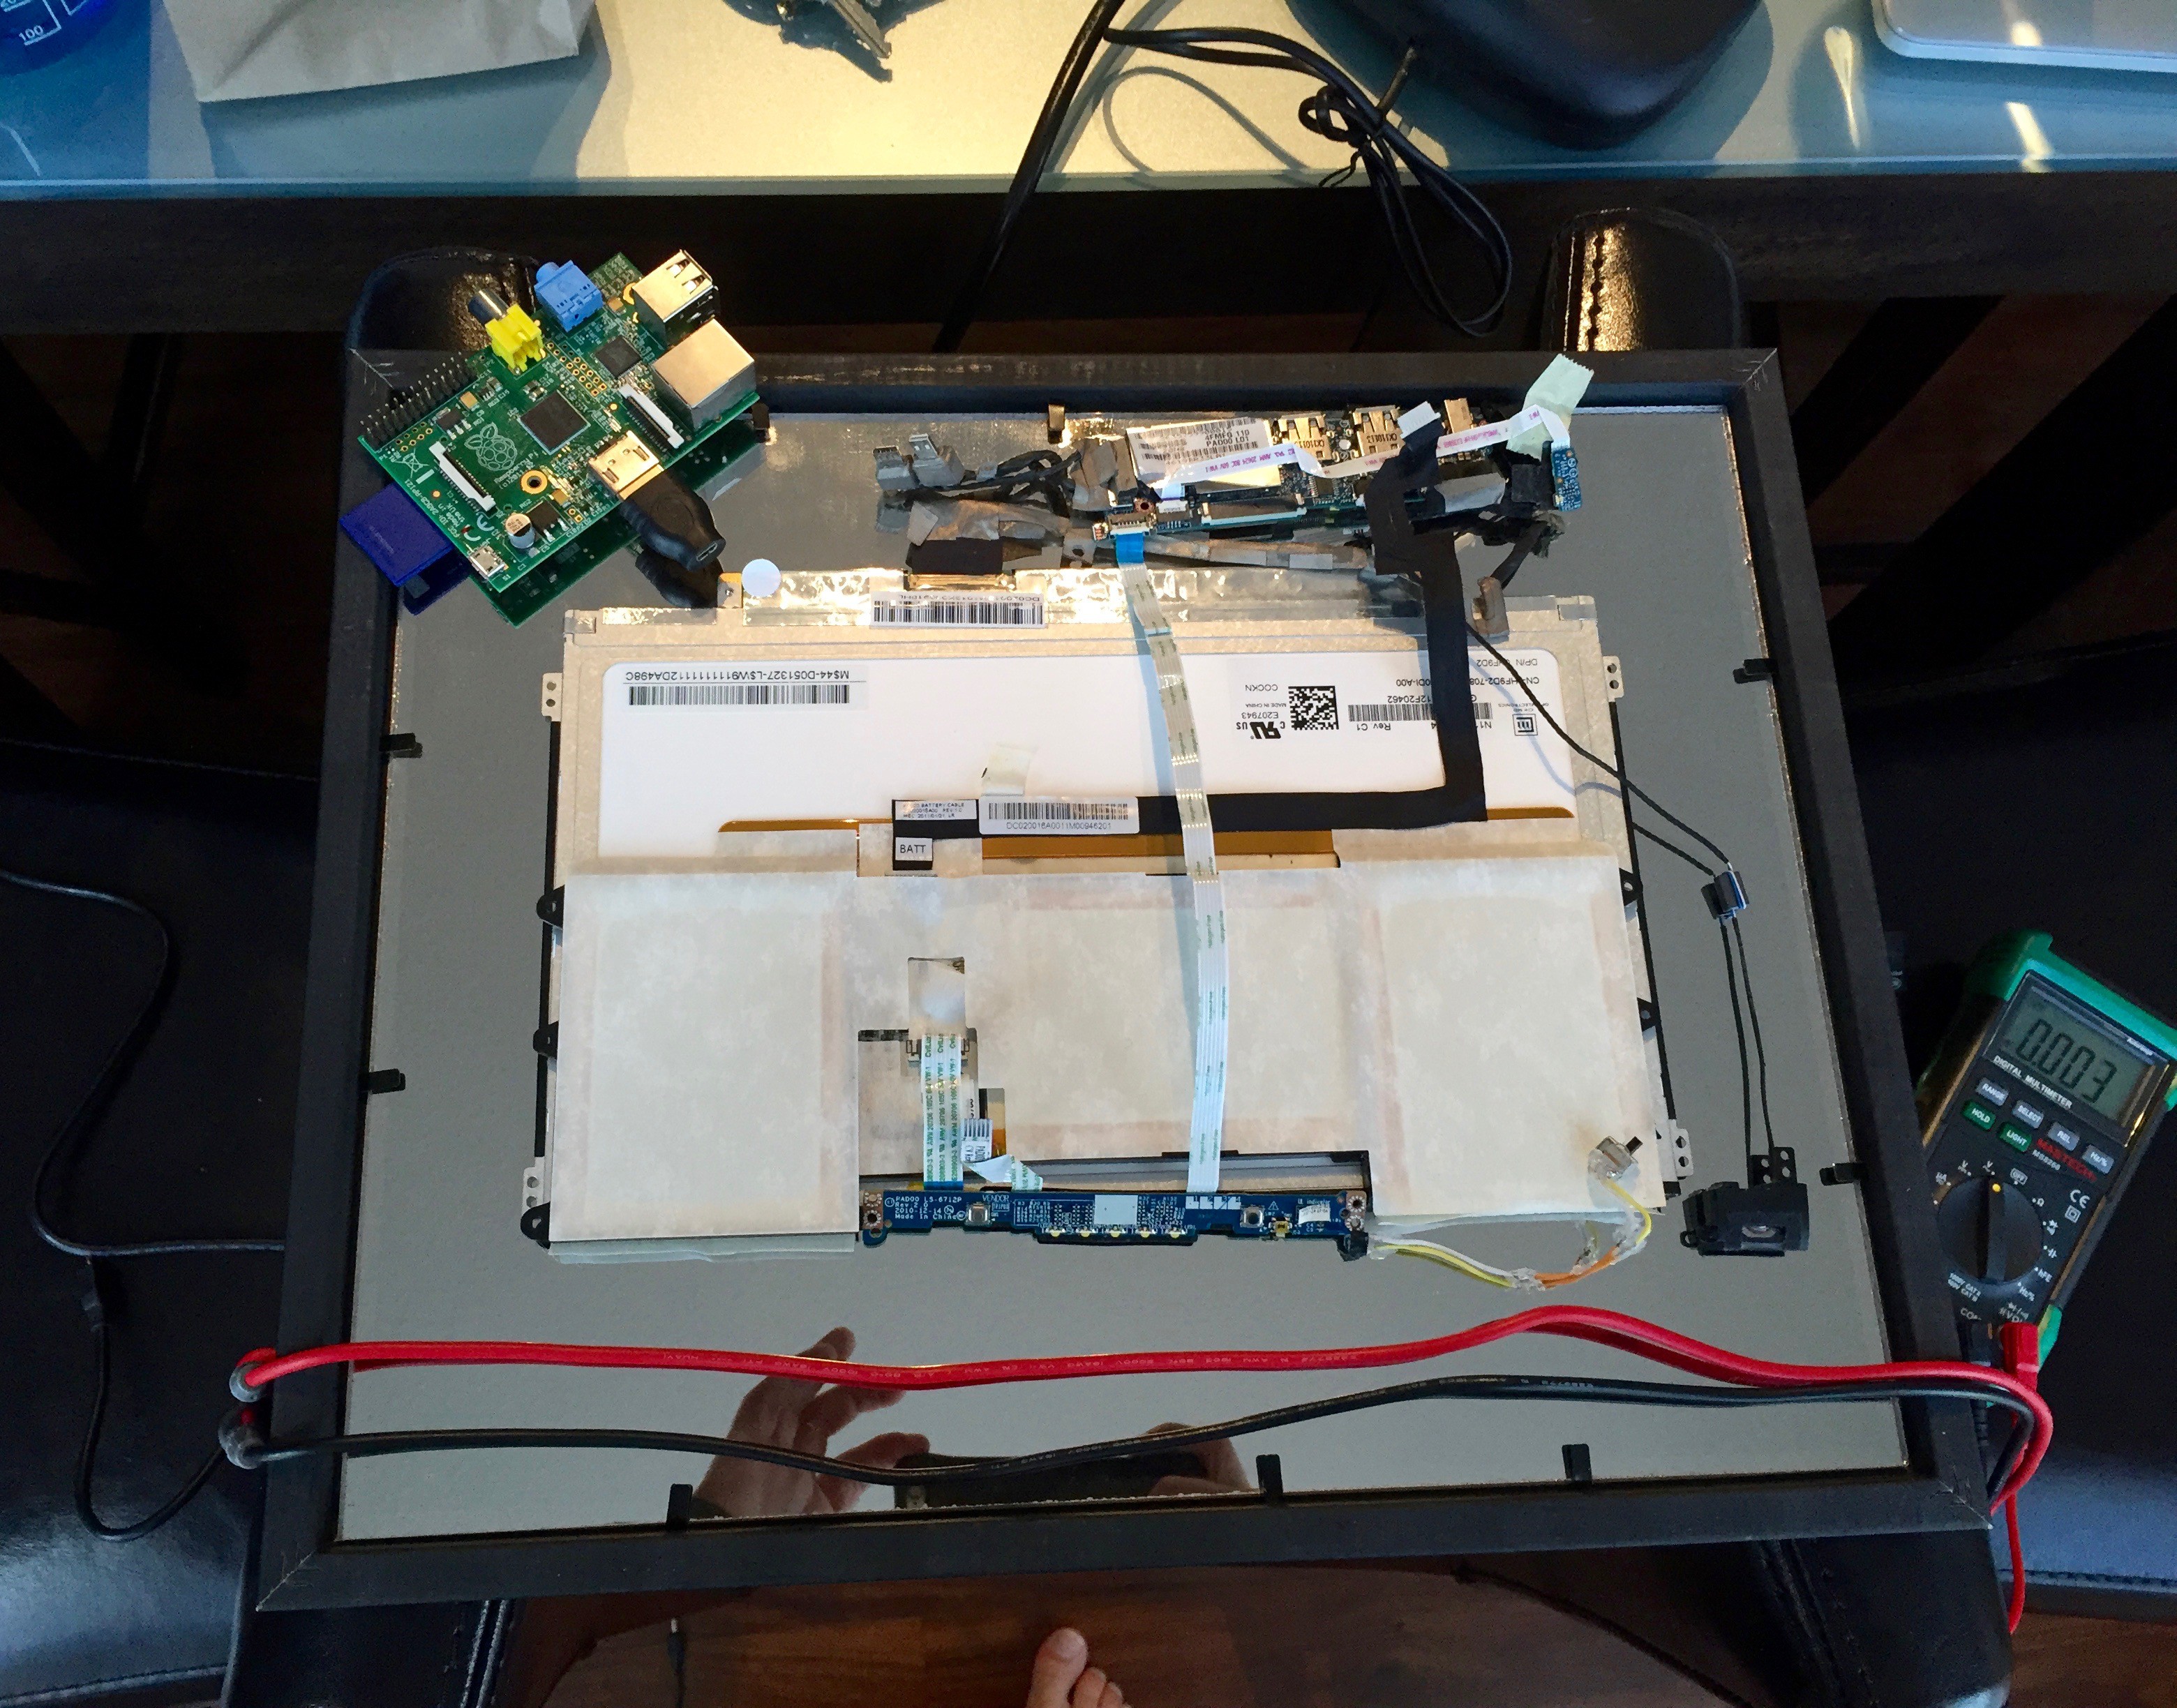
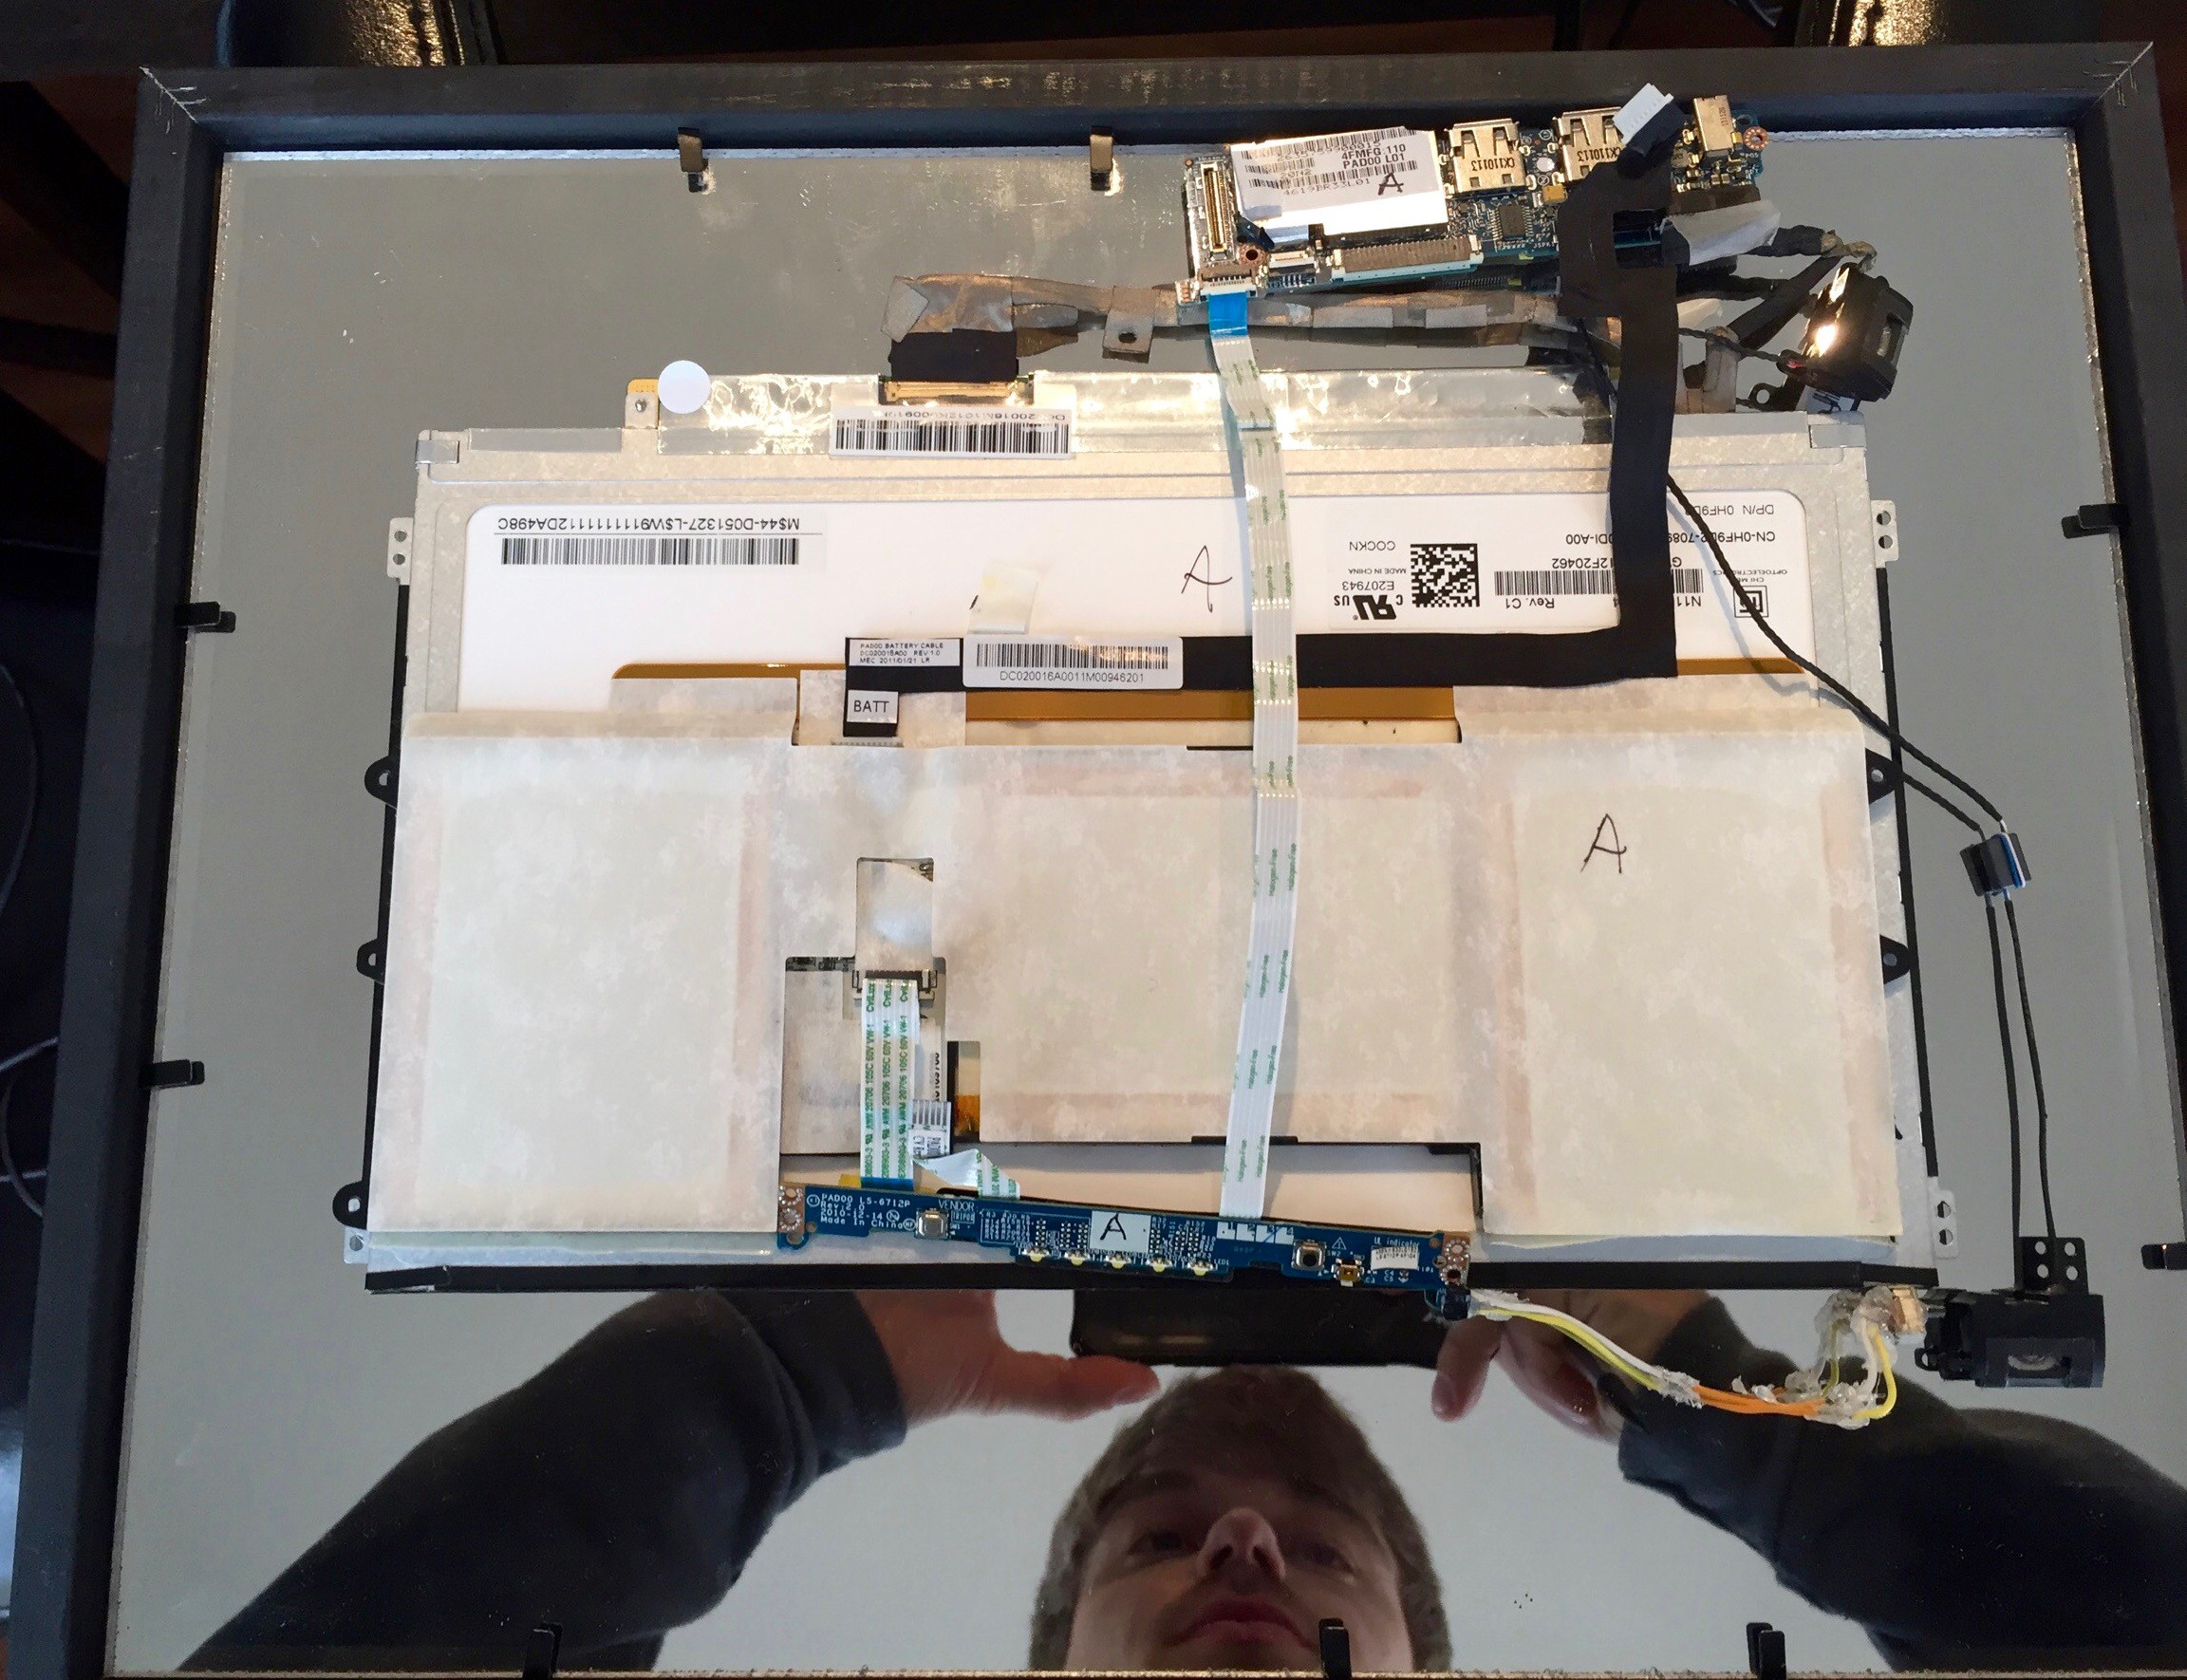
It took about 30 minutes to take apart my 2nd LapDock. But you can watch time fly!The guts laid out of my 1st LapDock. This Lapdock wasn't working, and I was probing it with the multimeter for life.. it seems the main board is just broken.
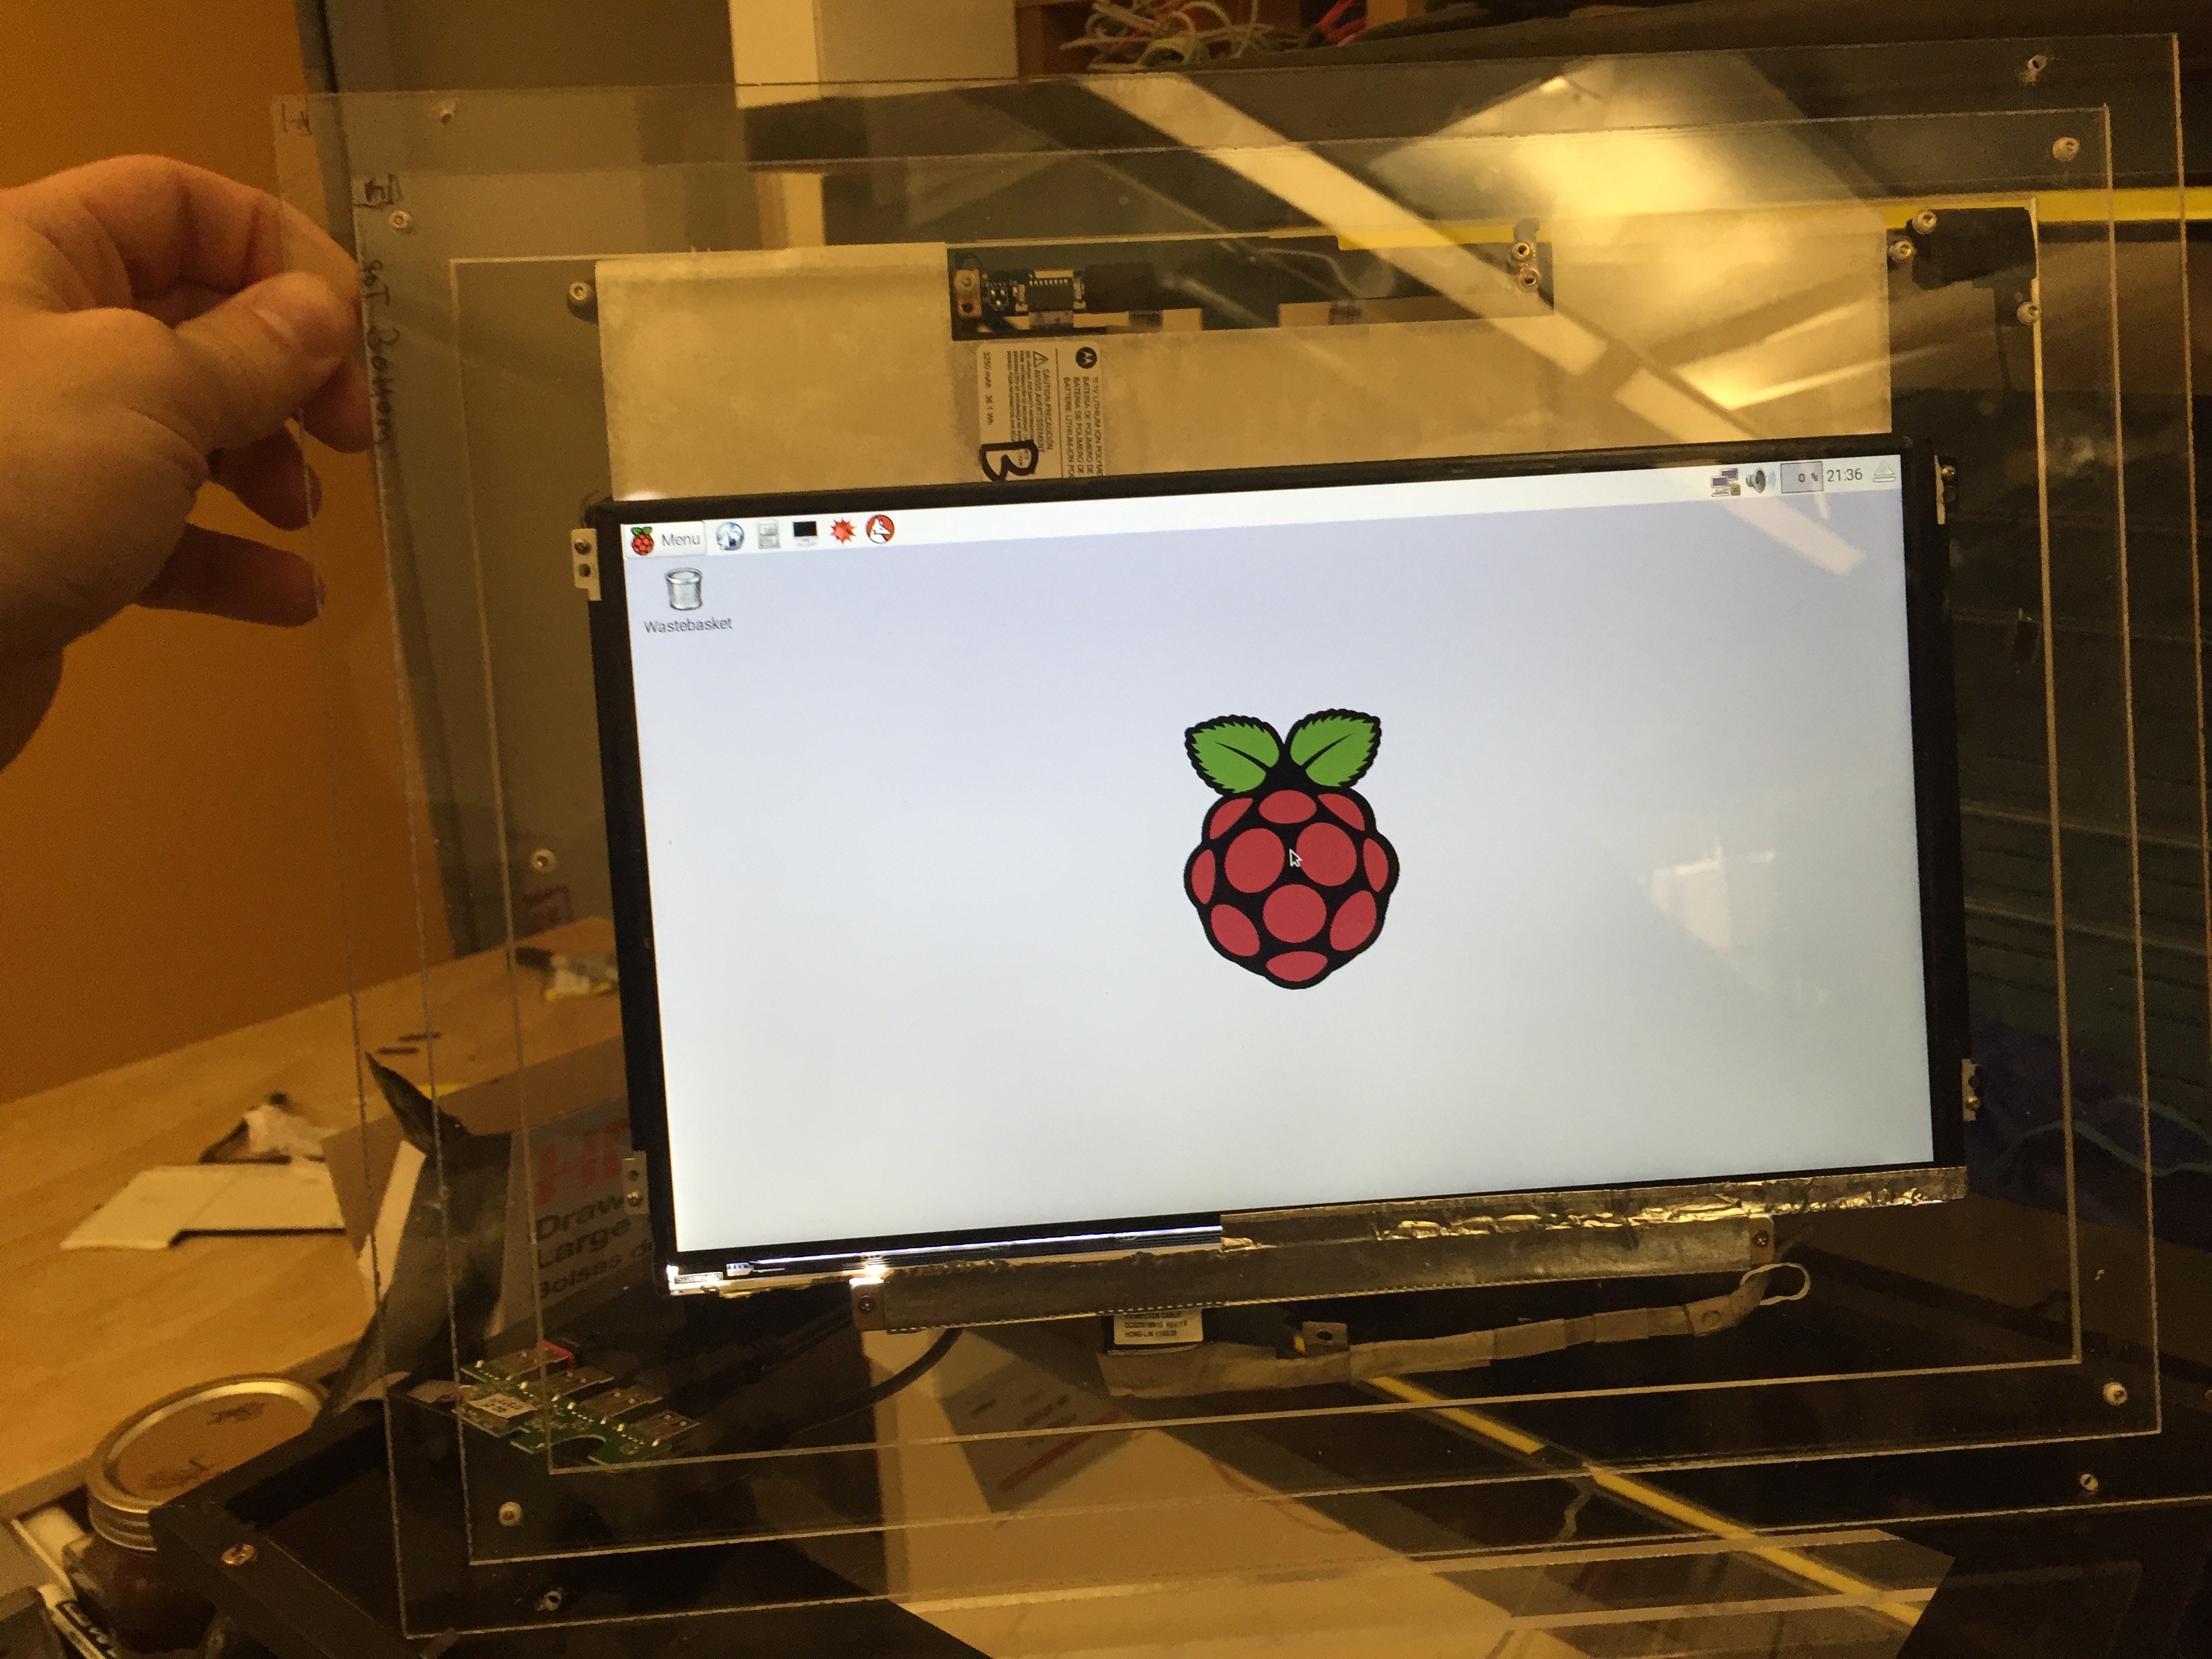
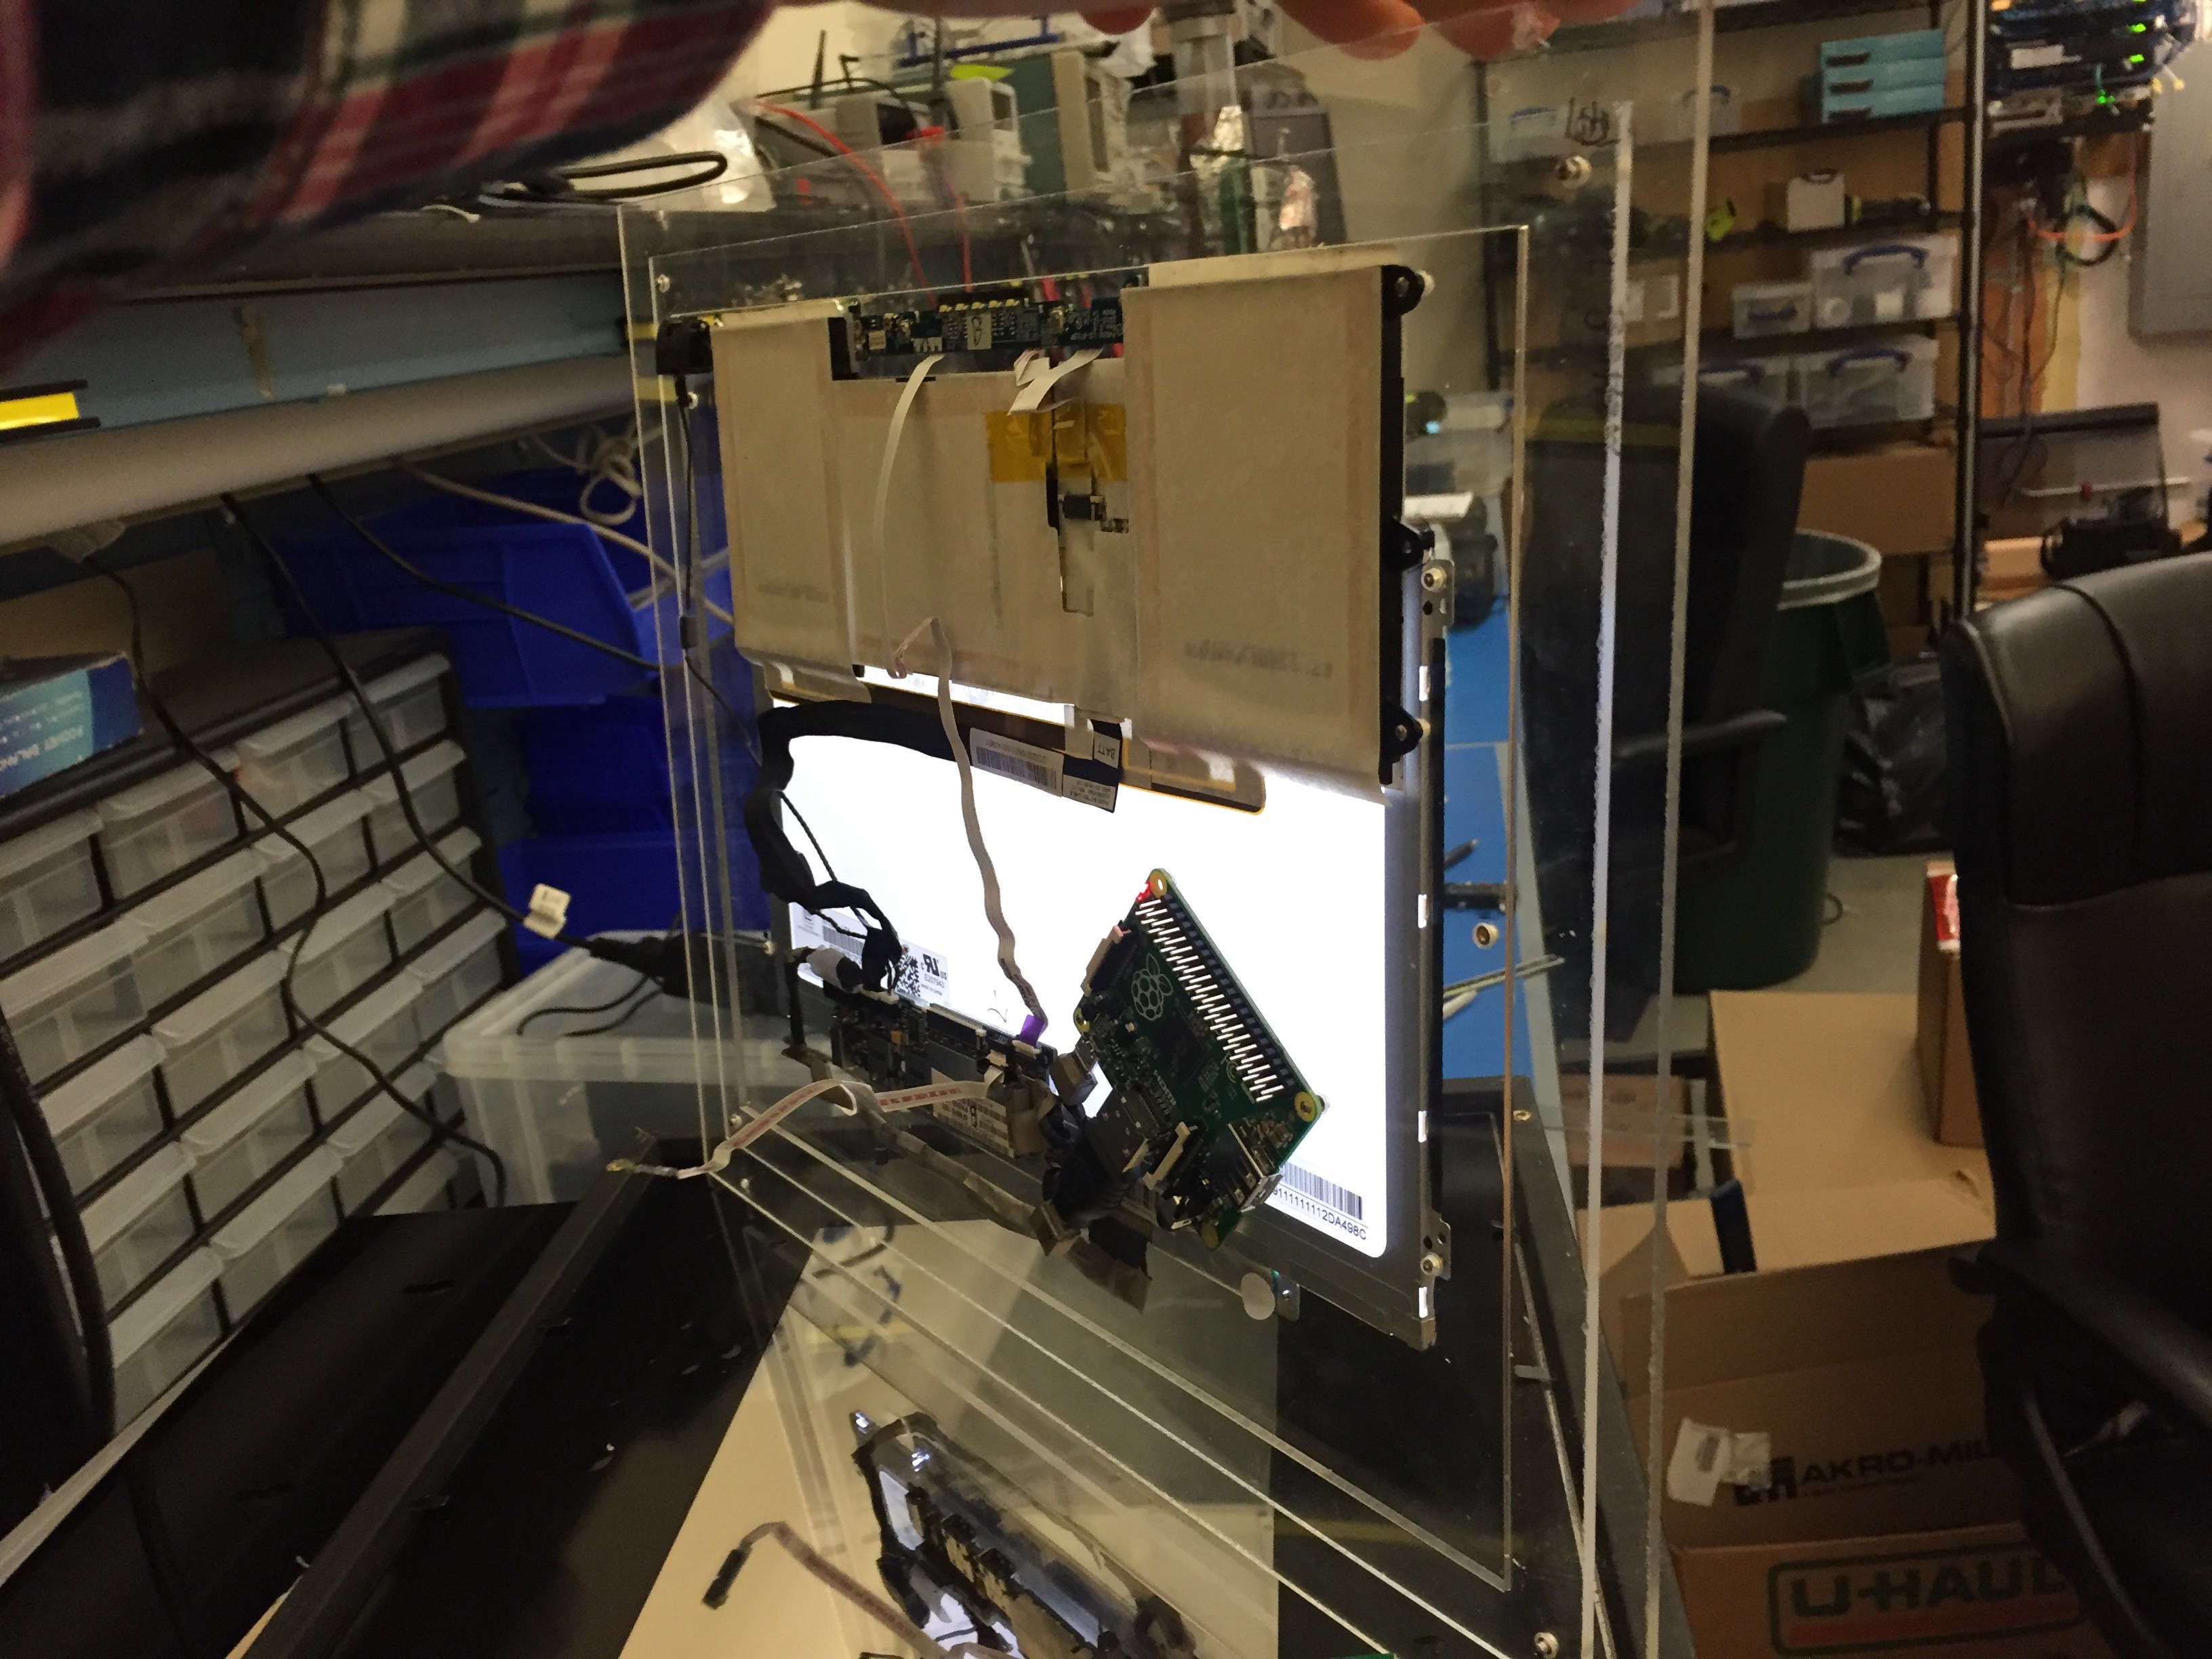
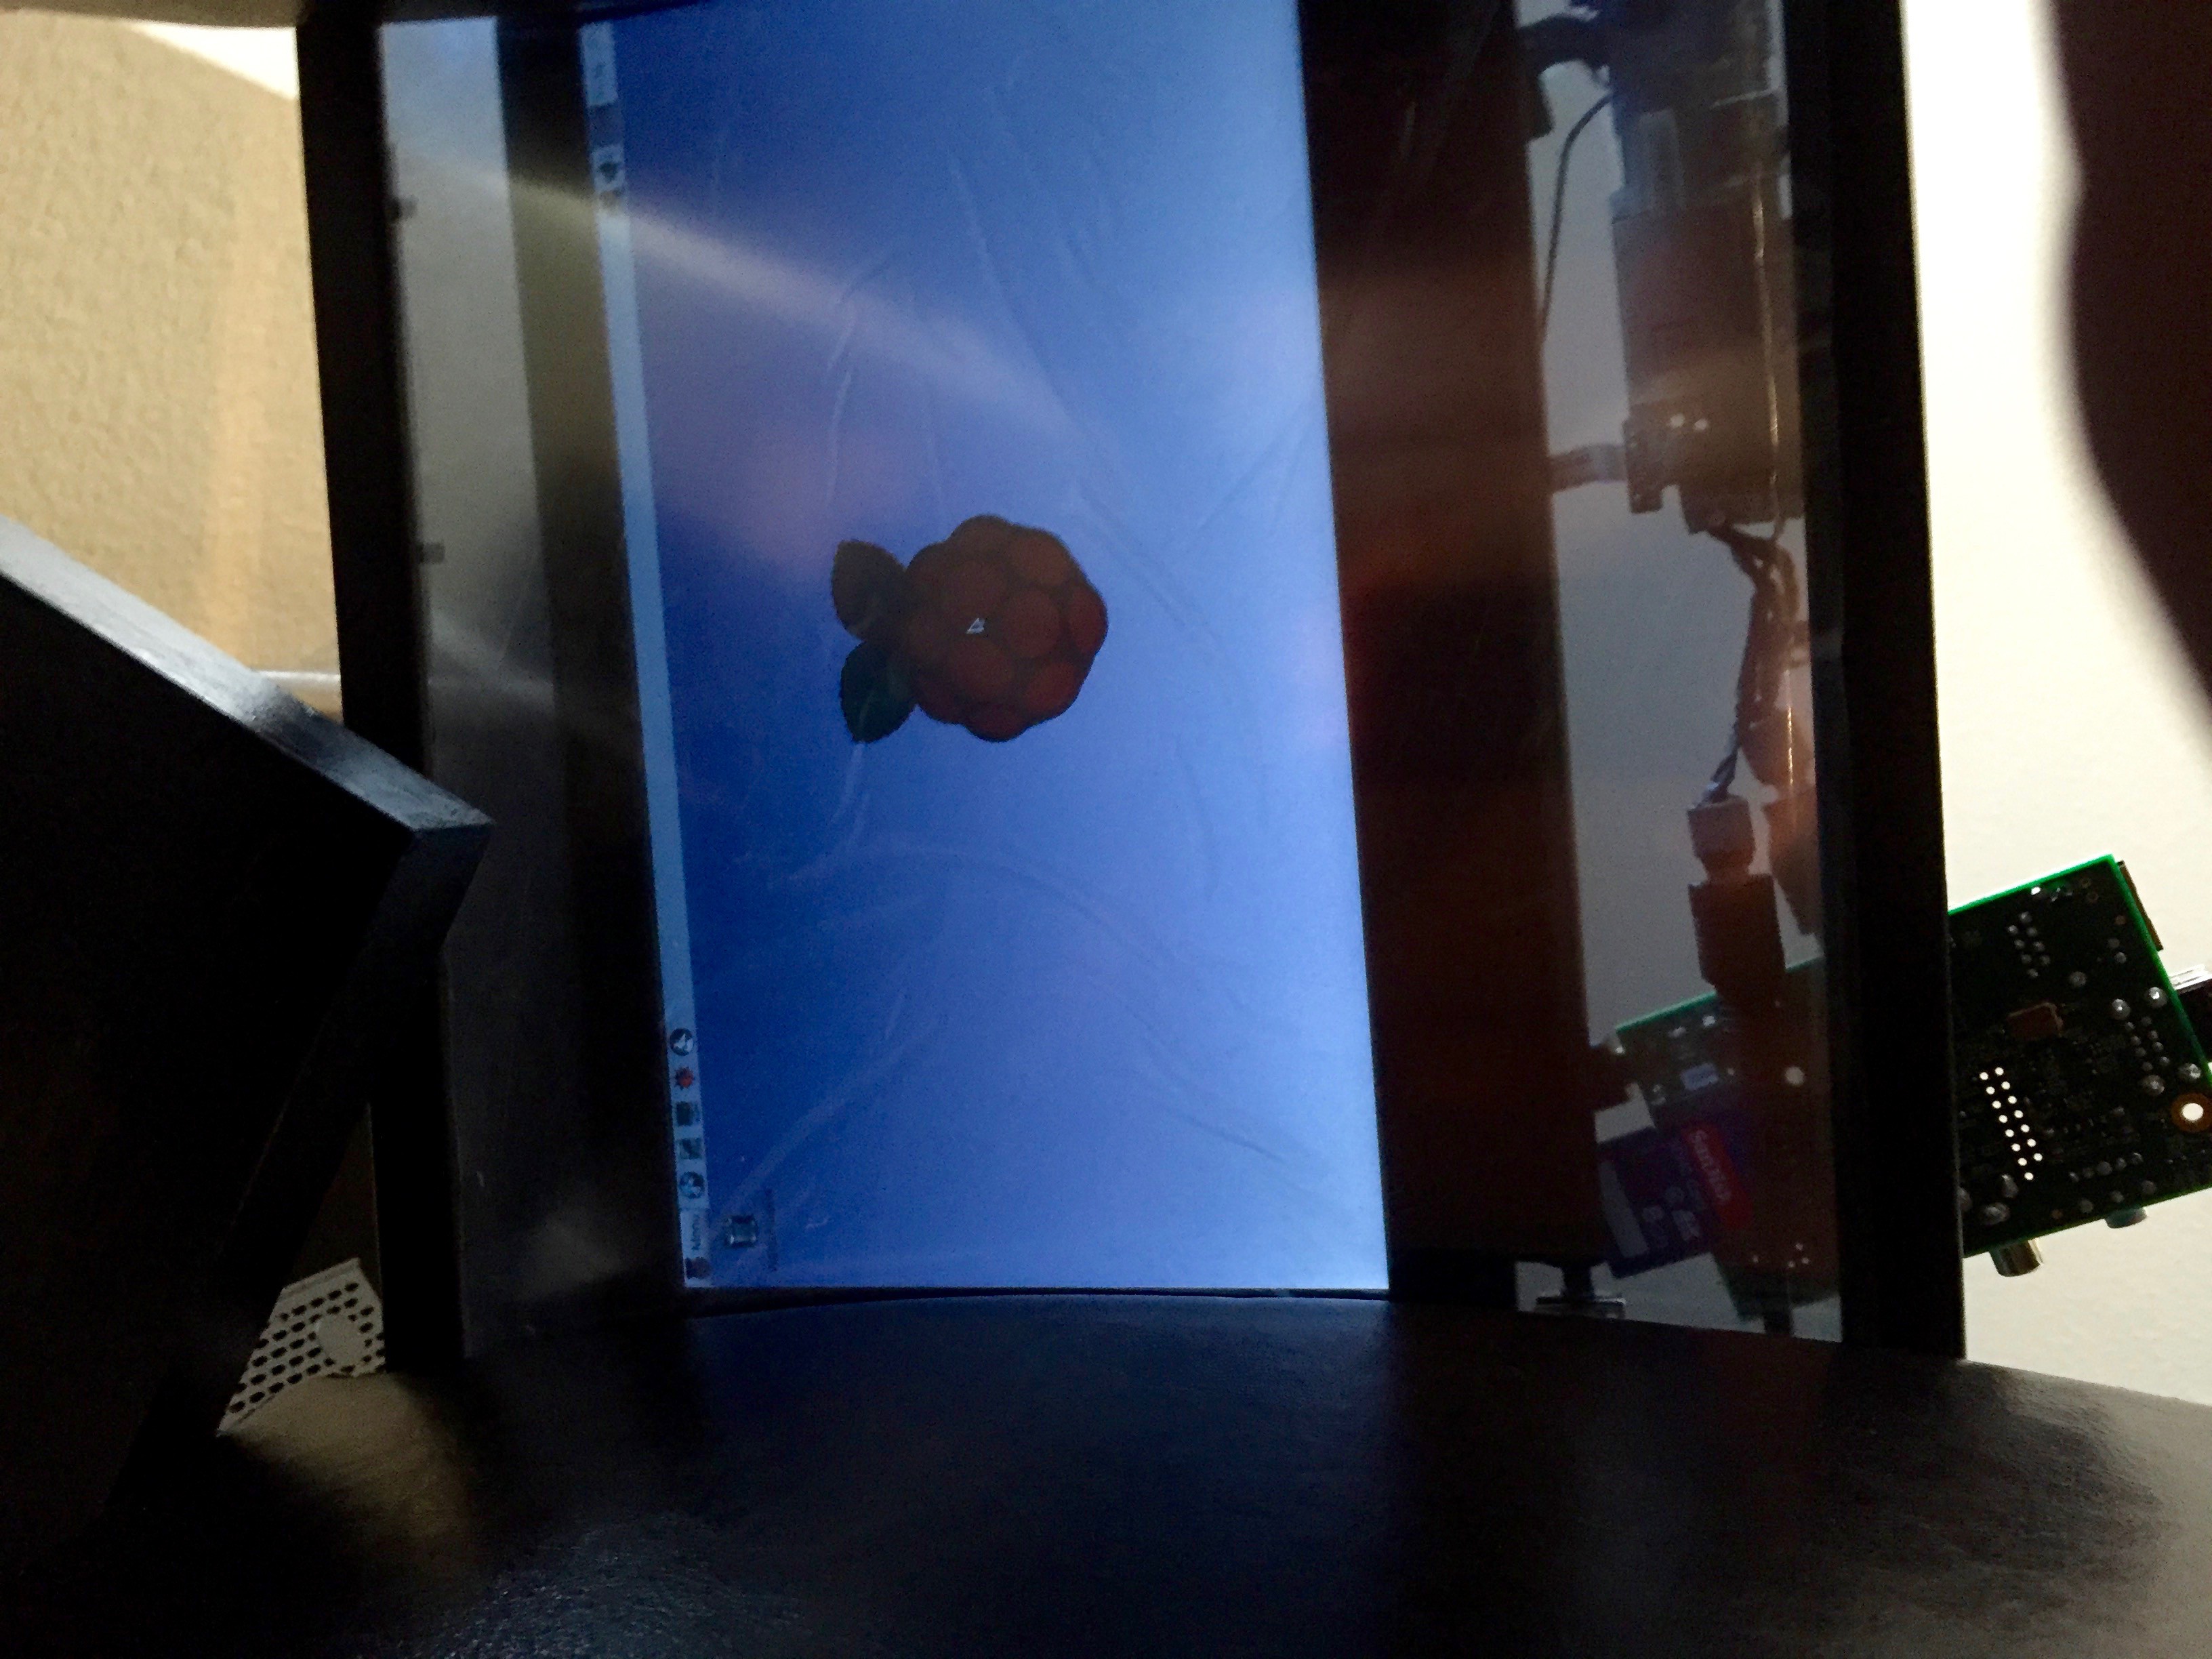
I swapped out the broken parts and prepared to turn the Raspberry Pi on.
It works! Notice the mirror appears transparent because more light is coming through the mirror than is coming at it from the camera's point of view.
From the other side the mirror opaque, and the backlight on the screen is visible.
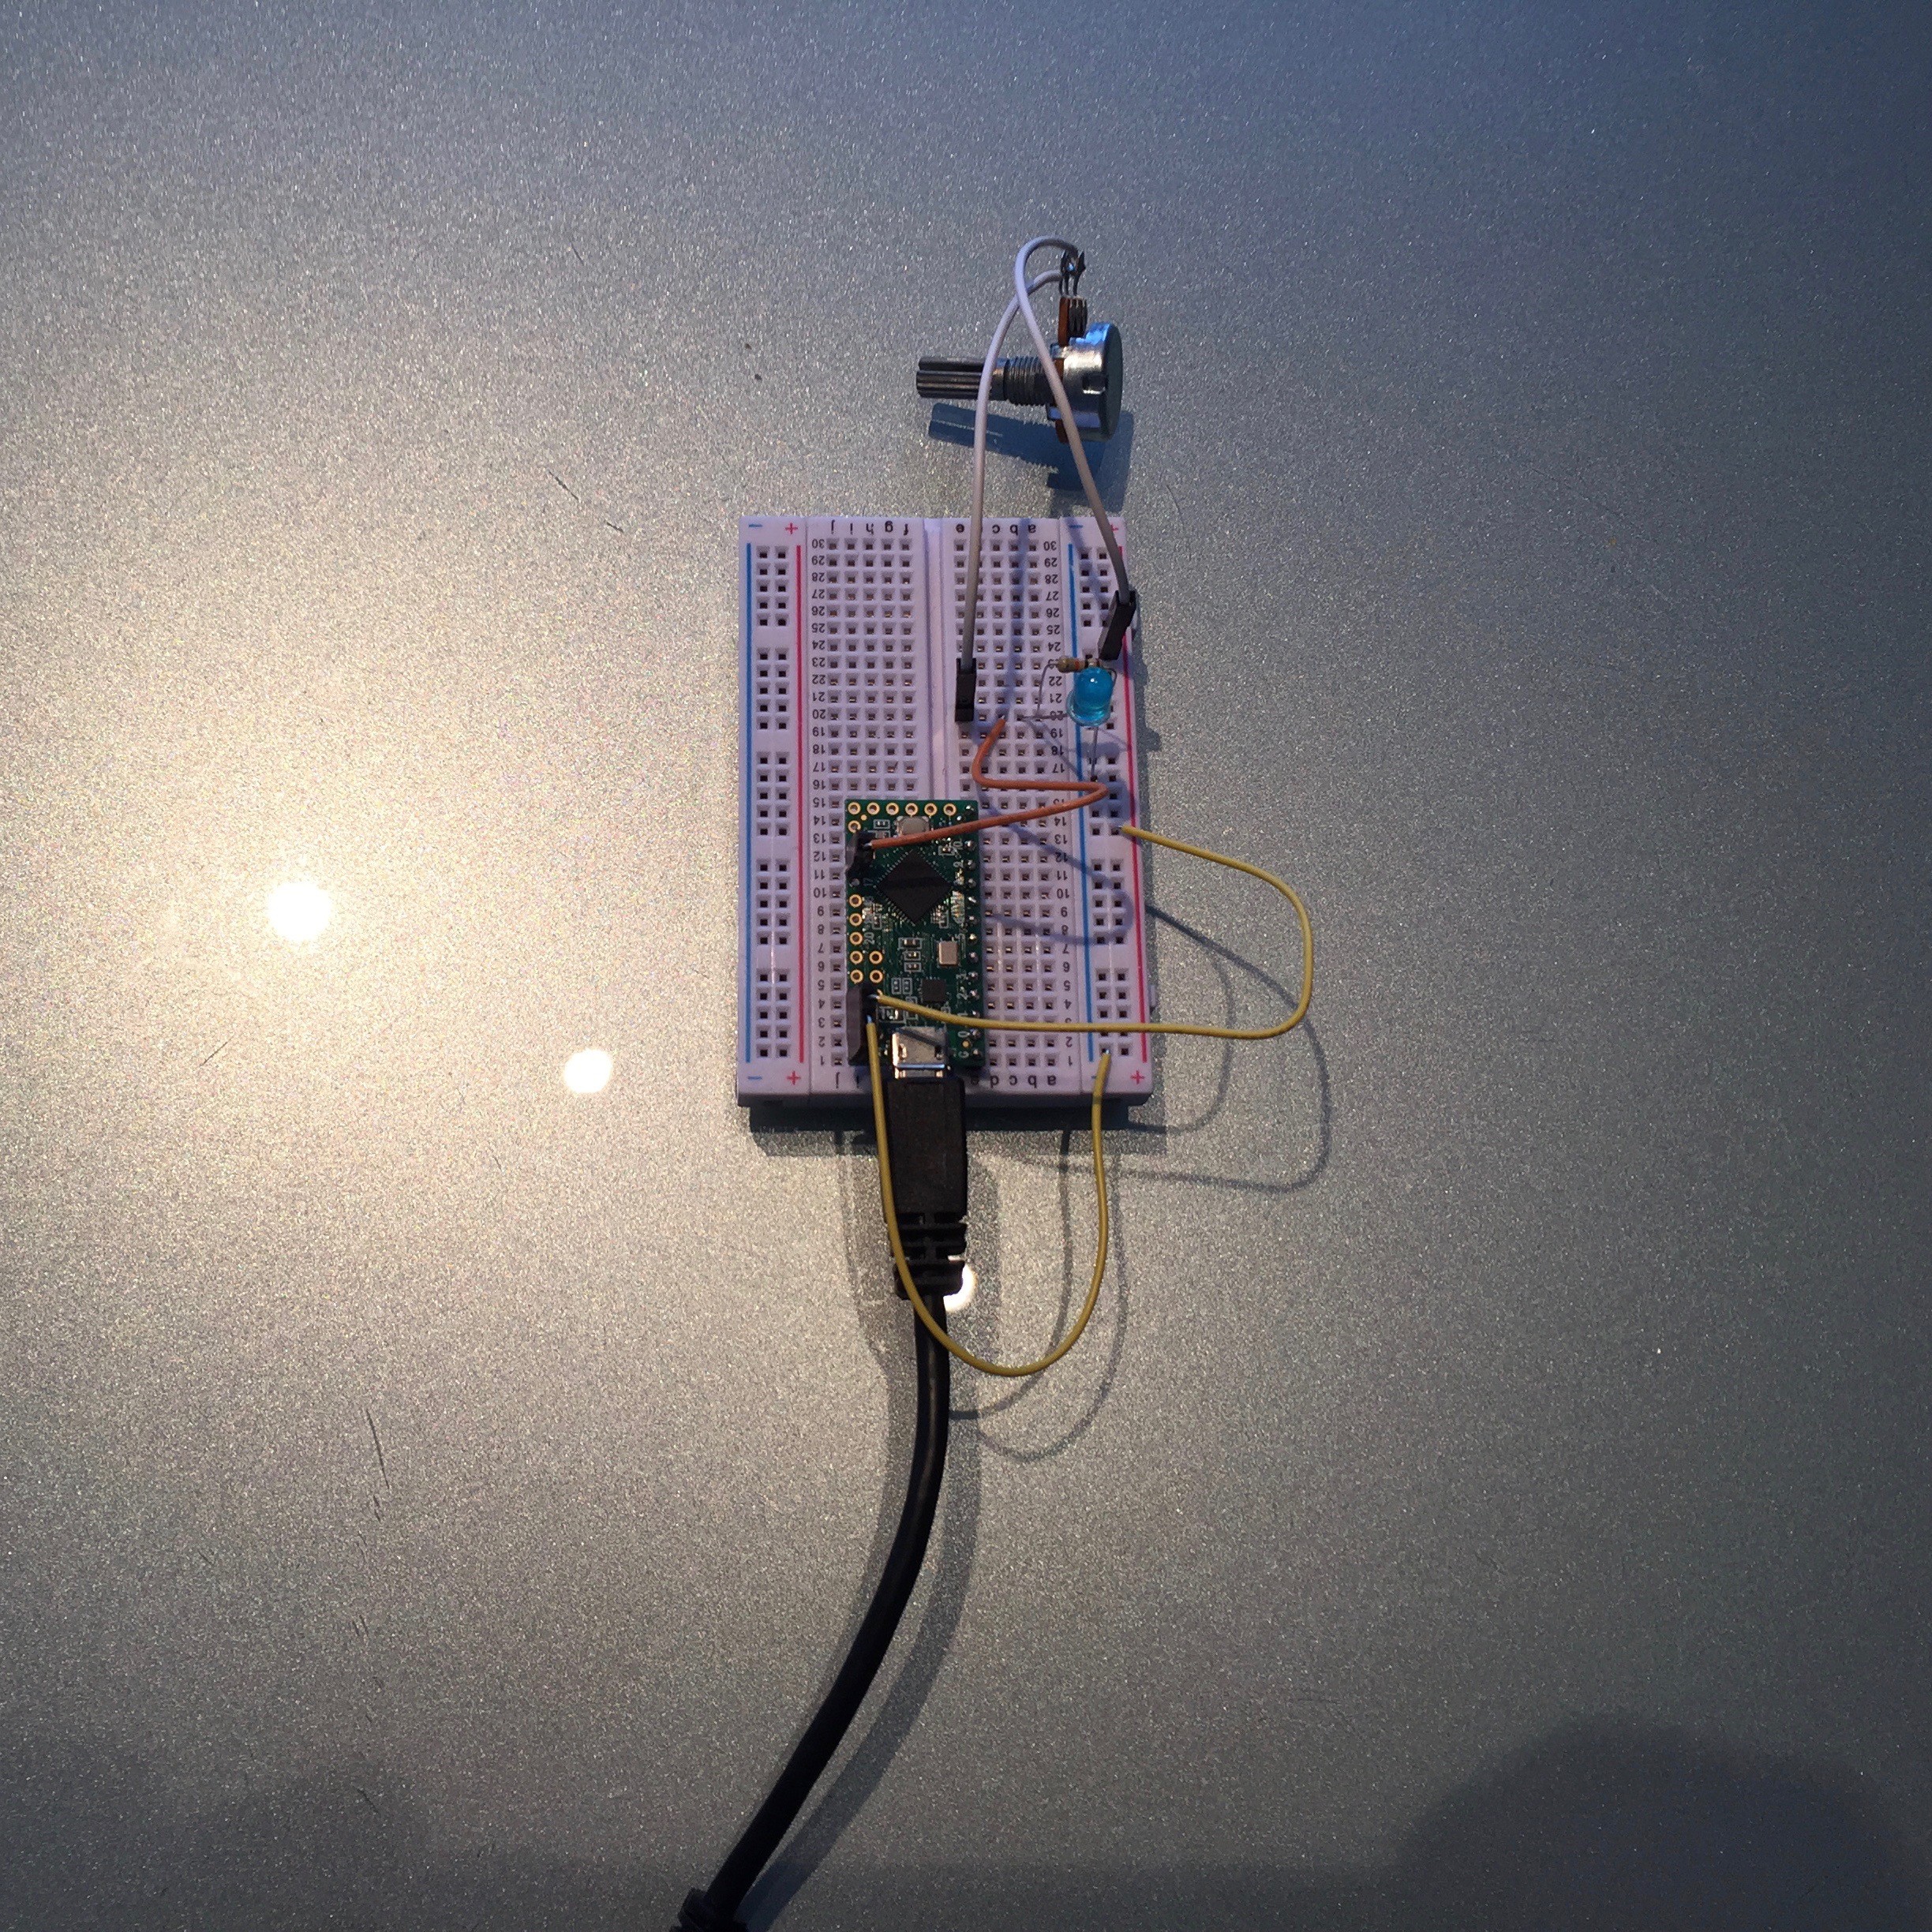
The first idea I had for the custom HCI was a potentiometer. The mirror is not a touch screen, so I need to make some kind of interface to control the mirror application. My original thought was to use a membrane linear potentiometer for scrolling, so I prototyped with a basic pot while the fancy one was in the mail. I also proved that I could use the Arduino USB Keyboard library to interface my website application in Electron with the hardware. The arduino triggers arrow key presses. Simple system integration!
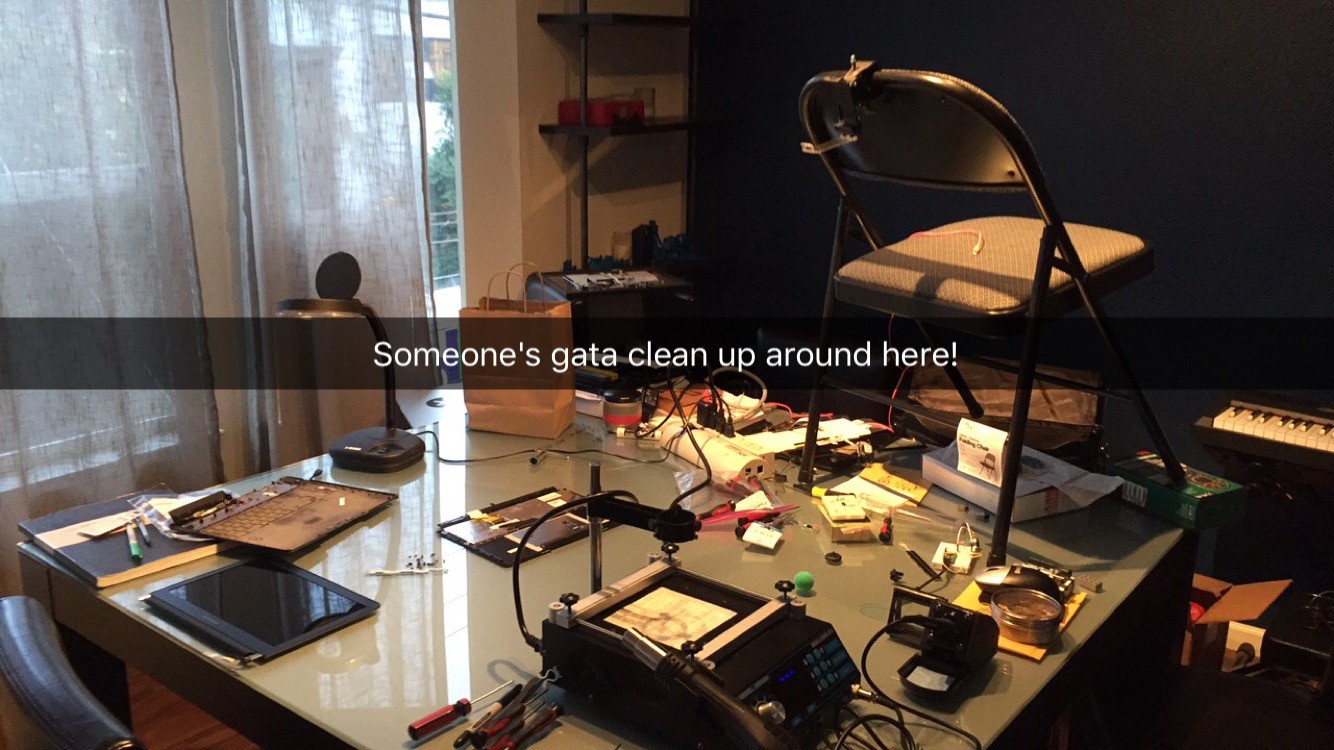
I sent this Snapchat to Michelle... she had no idea what this was :)
-
The Idea
01/24/2016 at 08:41 • 0 commentsNearing Christmas Time
Christmas time was approaching, which meant it was time to think about gifts.
Well, Michelle is on top of her habits, loves to learn, loves beautiful design, appreciates thoughtfulness, likes sports, and adventures. Hmm...
Nothing came to me over Halloween weekend, so I put the gift hunt aside for a few weeks to cook.
Remembering the Smart Mirror
A bit before Halloween she showed me this cool smart mirror project made by Evan Cohen [1]. Well aware of my maker habits, she said "can you make me one, please please please? Make me one!" I said I'd think about it.
It was mid-november when I thought of the mirror idea again while cleaning up my electronics. I was puzzled at first and then...
I Saw the Light!
I could totally build a smart mirror. All I would have to do is combine my PiDock with a 2-way mirror and a bunch of laser-cut parts to make a frame!
My focus was set: I'd create an experience so that helps Michelle get ready in the morning and gives her information at a glance whenever she's in her room.
Well, there I was. I had the idea, a bunch of parts, and a bit of confidence that I could figure this out.
PiDock Footnote
I did a lot of related research for this project a few years ago. The main components came from a device that many in the Raspberry Pi community will remember: The Lapdock for Motorola ATRIX 4G.
Back in 2012 I stumbled upon the LapDock and made a Raspberry Pi laptop with one, called it a PiDock. I took apart a couple of the LapDocks figuring out how to disable the sketchy hall effect sensor the it used to activate stand-by. I got a great understanding of everything in the LapDock because of that experience.
[1] Evan Cohen's cool video and githhub page.
-
UI Design
01/05/2016 at 21:25 • 0 commentsThe Design
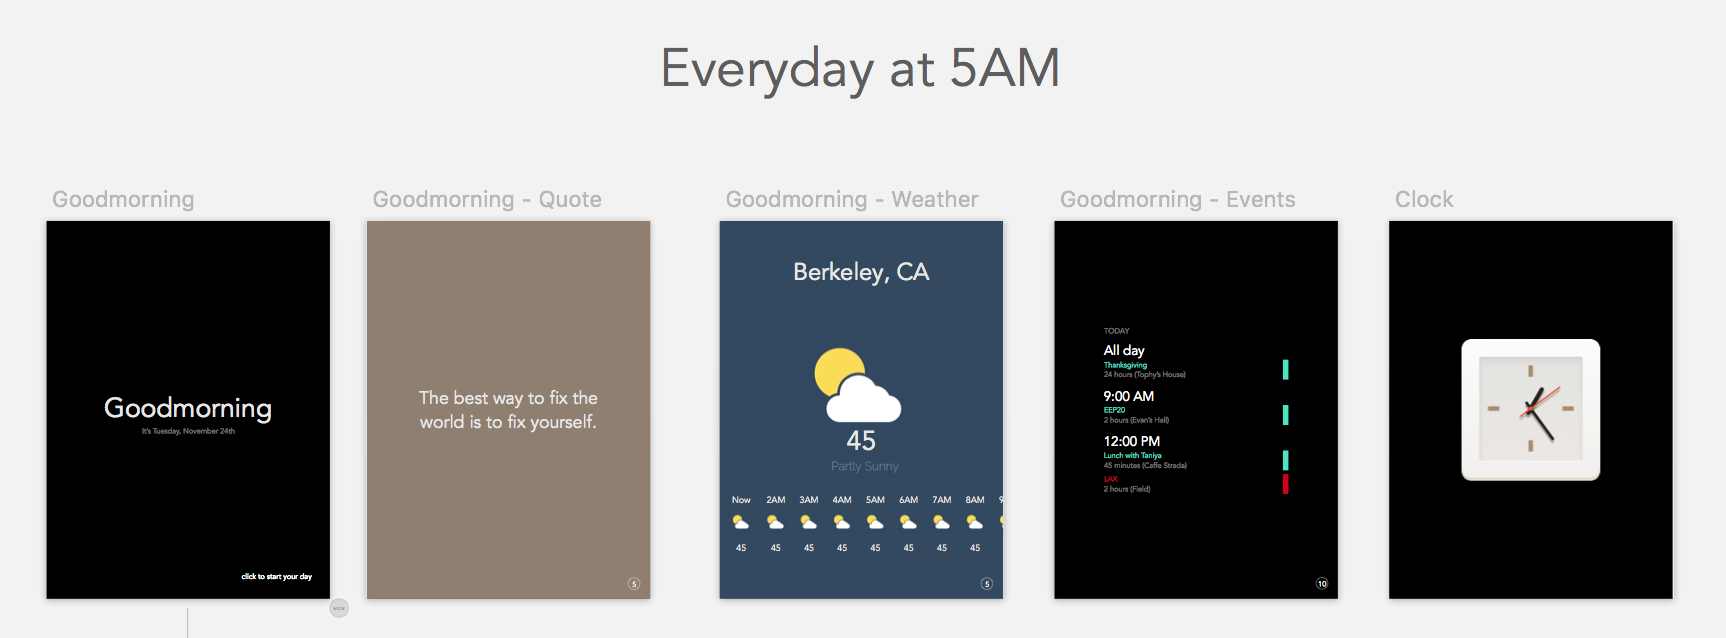
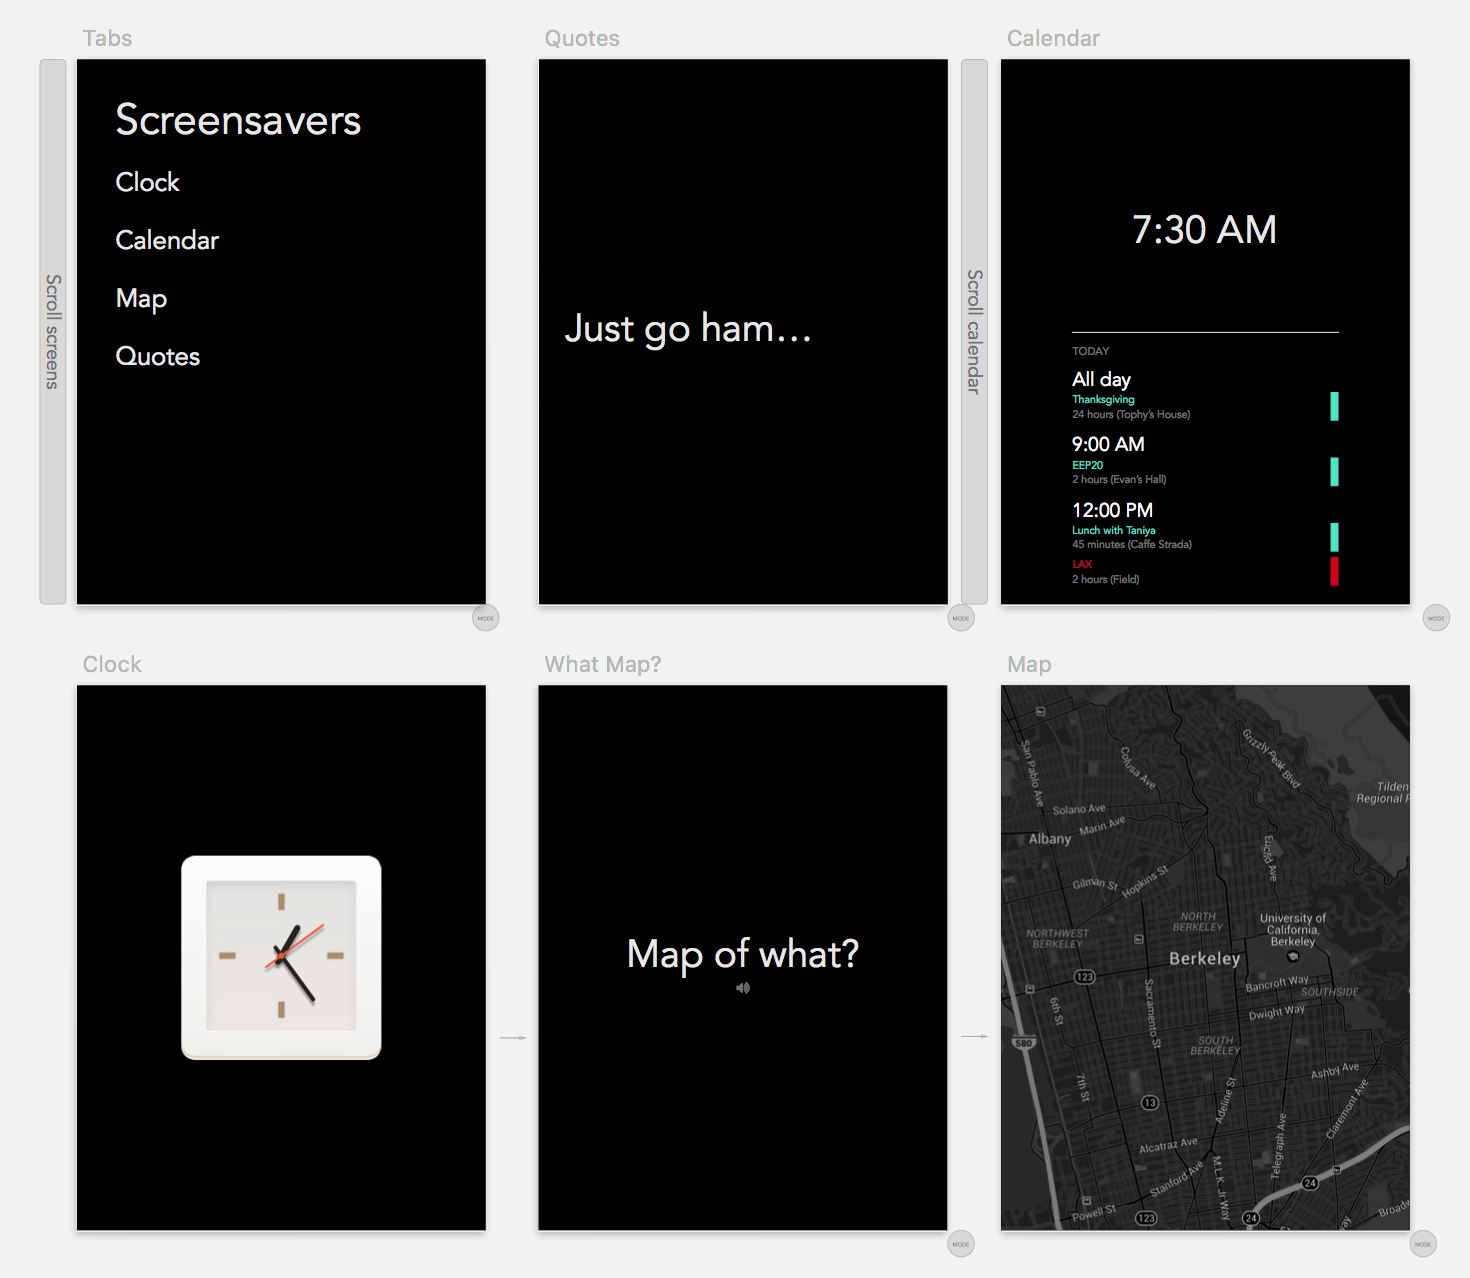
Before Michelle joined the project I focused on the information architecture. I tried to make an experience that Michelle would like a lot. Starting simple, I gave it a morning routine, a splash of Tetris, a bunch of quotes that she liked, and a clean font.
My initial design
It looked good enough and now I knew enough to kept moving forward with the UX and hardware.
Thinking it was a good idea to keep moving and there was a chance Michelle had some tweaks, I settled for a rough design.
By Christmas Eve the hardware was in a good spot. Yay!
But I barely started the software..
Crunch Time
By Christmas dinner it became clear I delayed long enough, so I gave it to her unfinished with a Tetris opener.
[insert the christmas card] - Tetris!
"Wow, you've put a lot of thought into this!"
I was showing her all of the UI designs, CAD drawings, fabrication timelapses, and inspirations for it. To my surprise she didn't mind at all that it was unfinished!
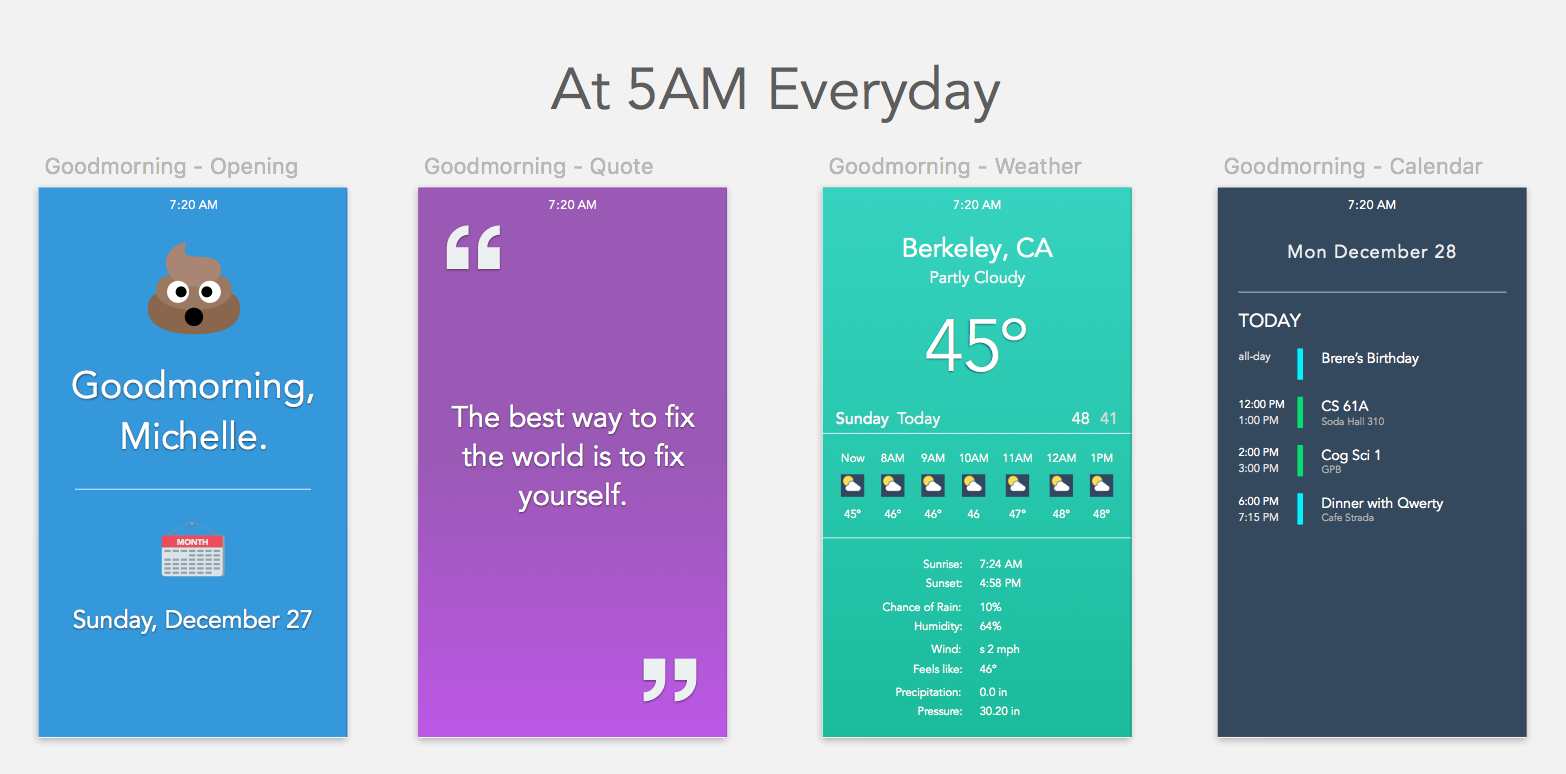
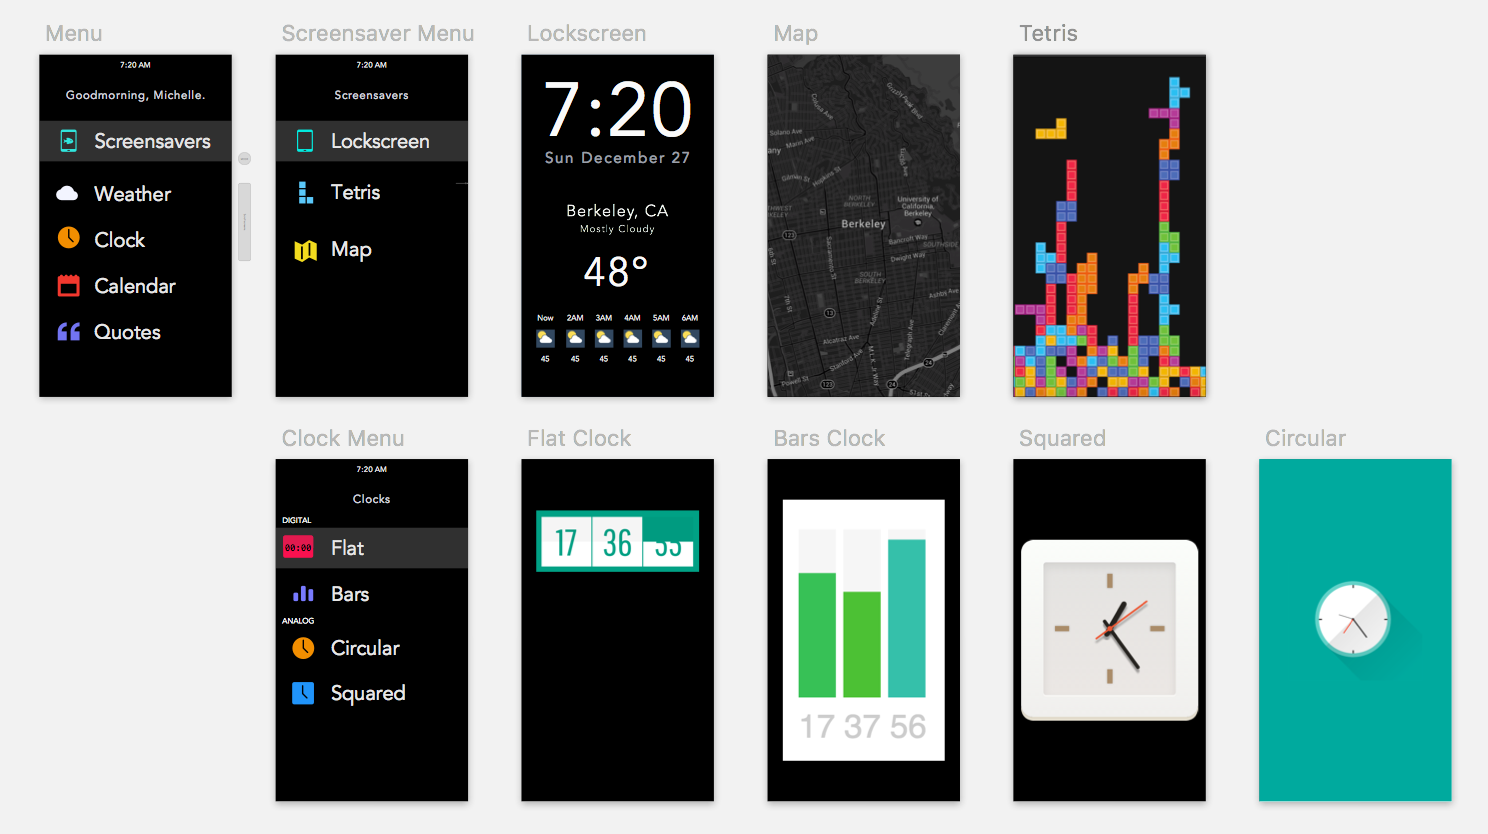
The Redesign
Then the coolest thing happened. She took to her laptop and in one day completely redesigned the UI.
"If this is something I'm going to use everyday, then it's got to look good," she said.
"Good point," I replied.Michelle's Design
Not too shabby ;)
Her contributions are pretty awesome and unexpected. Michelle and I have been working together on projects for some time now, and she really got into this one!