-
1Step 1
Loading coil construction:
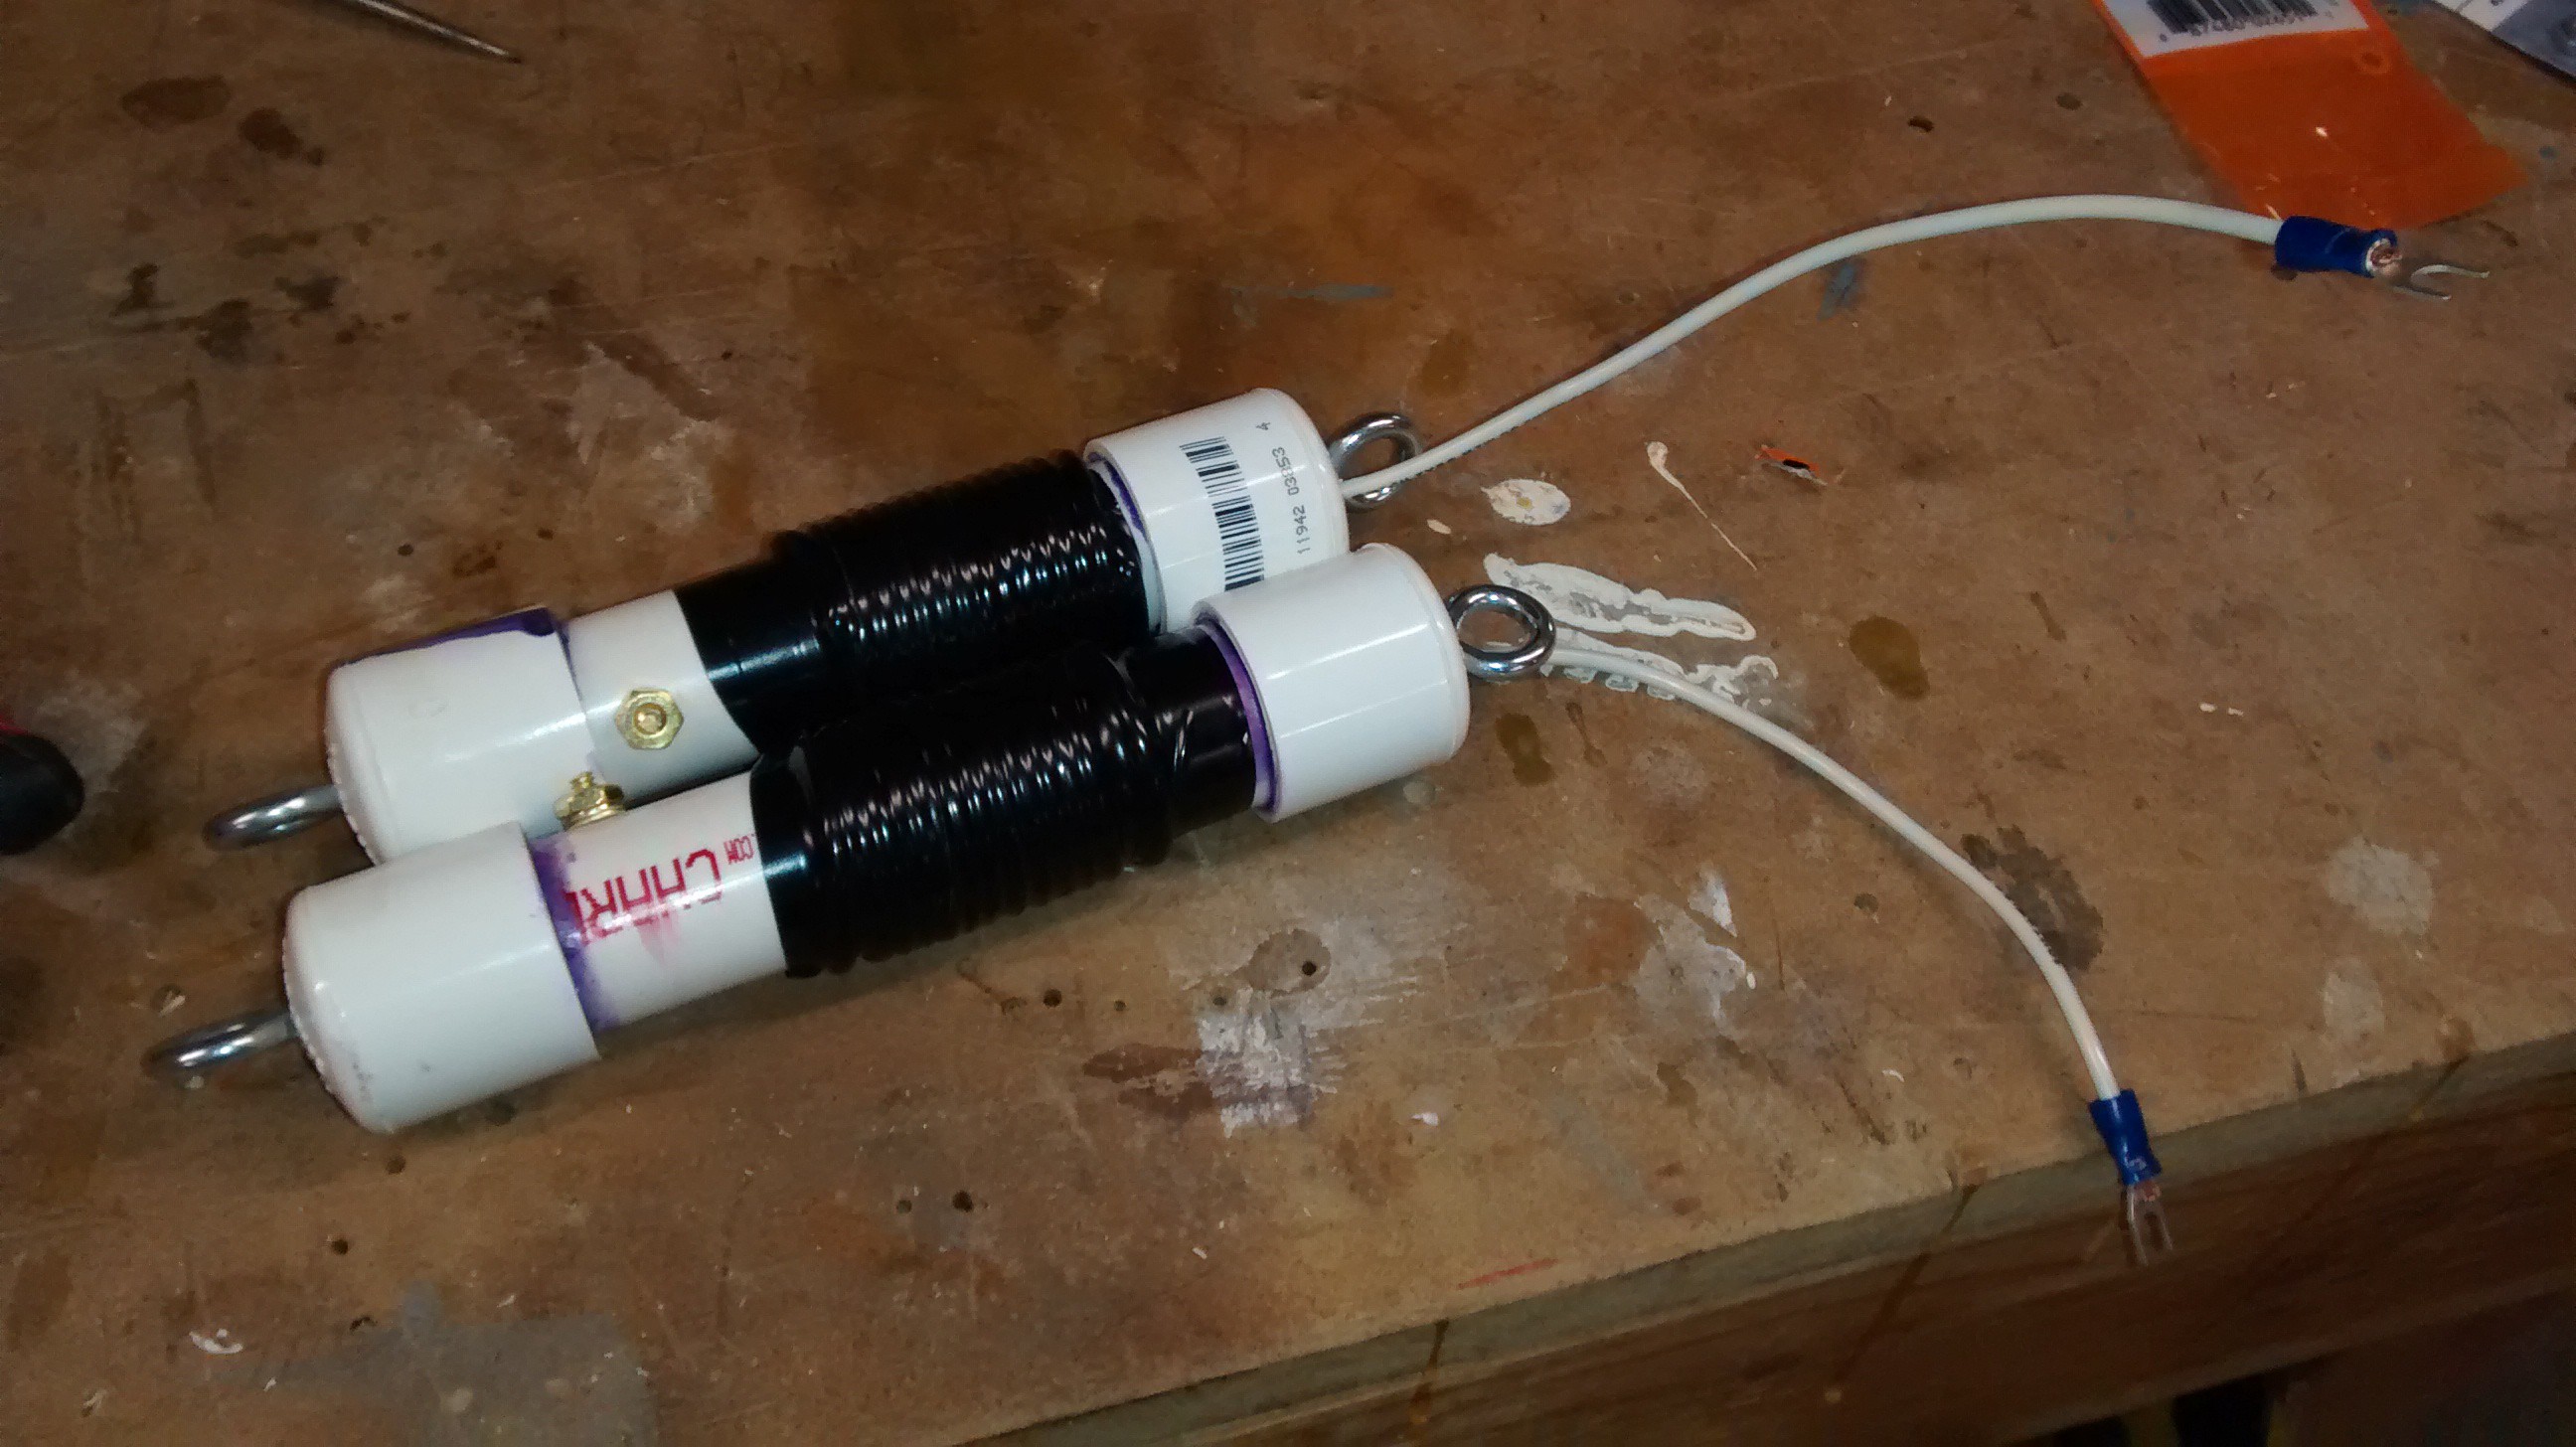
The loading coils are air-core coils of 14-gauge THHN stranded wire. PVC pipe is used for forms. The 40 meter coils are made with 14 turns on a 3/4" PVC form, and the 80 meter coils are 19.5 turns on a 1-1/2" PVC form.
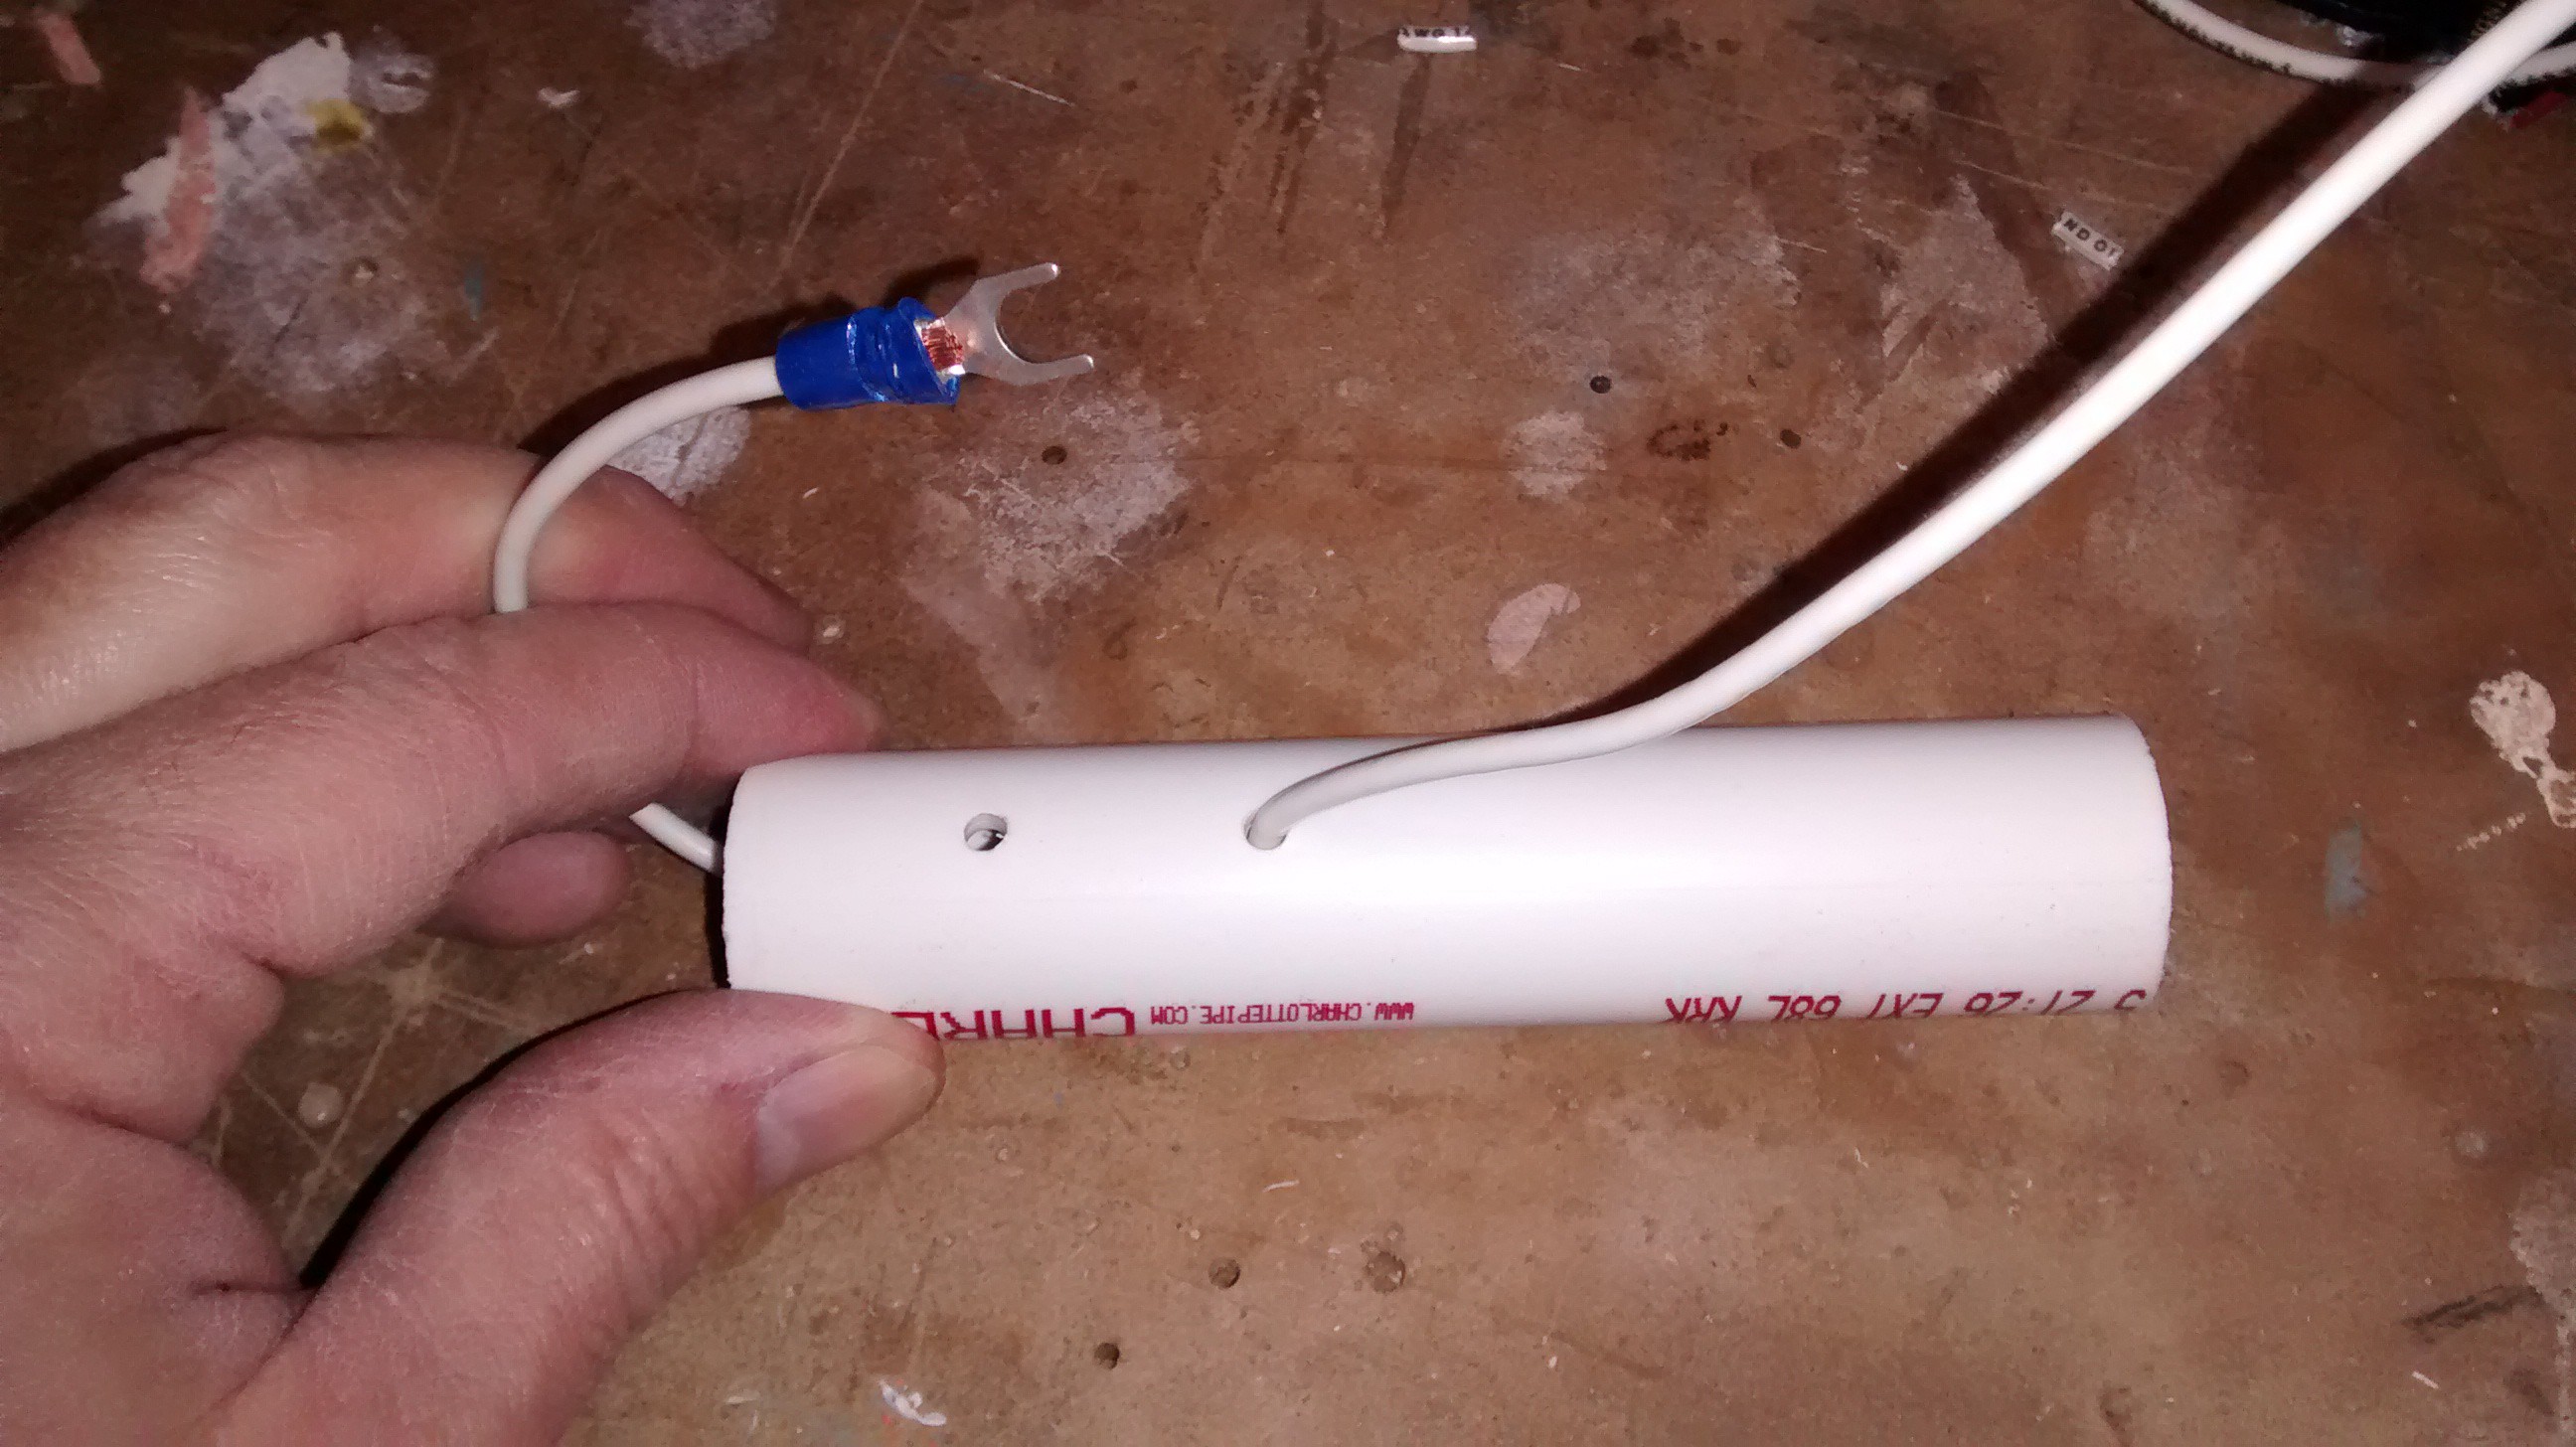
The cores are each about 6" long - not a critical measurement. Drill a hole big enough for the wire about an inch from the end of the pipe, and another hole an inch from that. Feed your coil wire through the second hole, and crimp or solder on a spade terminal. Put a brass screw and washer through the other hole from the inside and capture the spade terminal under the head.
![]()
Wind the coils as described, drill a hole at the end of the coil for the wire tail, and pass the wire back into the core. Leave a 7" pigtail. Drill holes in the center of the PVC caps for 3/16" eyebolts and screw them down. In one cap drill another hole for the pigtail. Thread the pigtail out the hole, glue the caps to the core, and terminated the pigtail with a spade terminal.
![]()
-
2Step 2
Dipole elements:
Cut two 38' lengths and two 25' lengths of antenna wire. Leave a little extra for tuning and terminating.
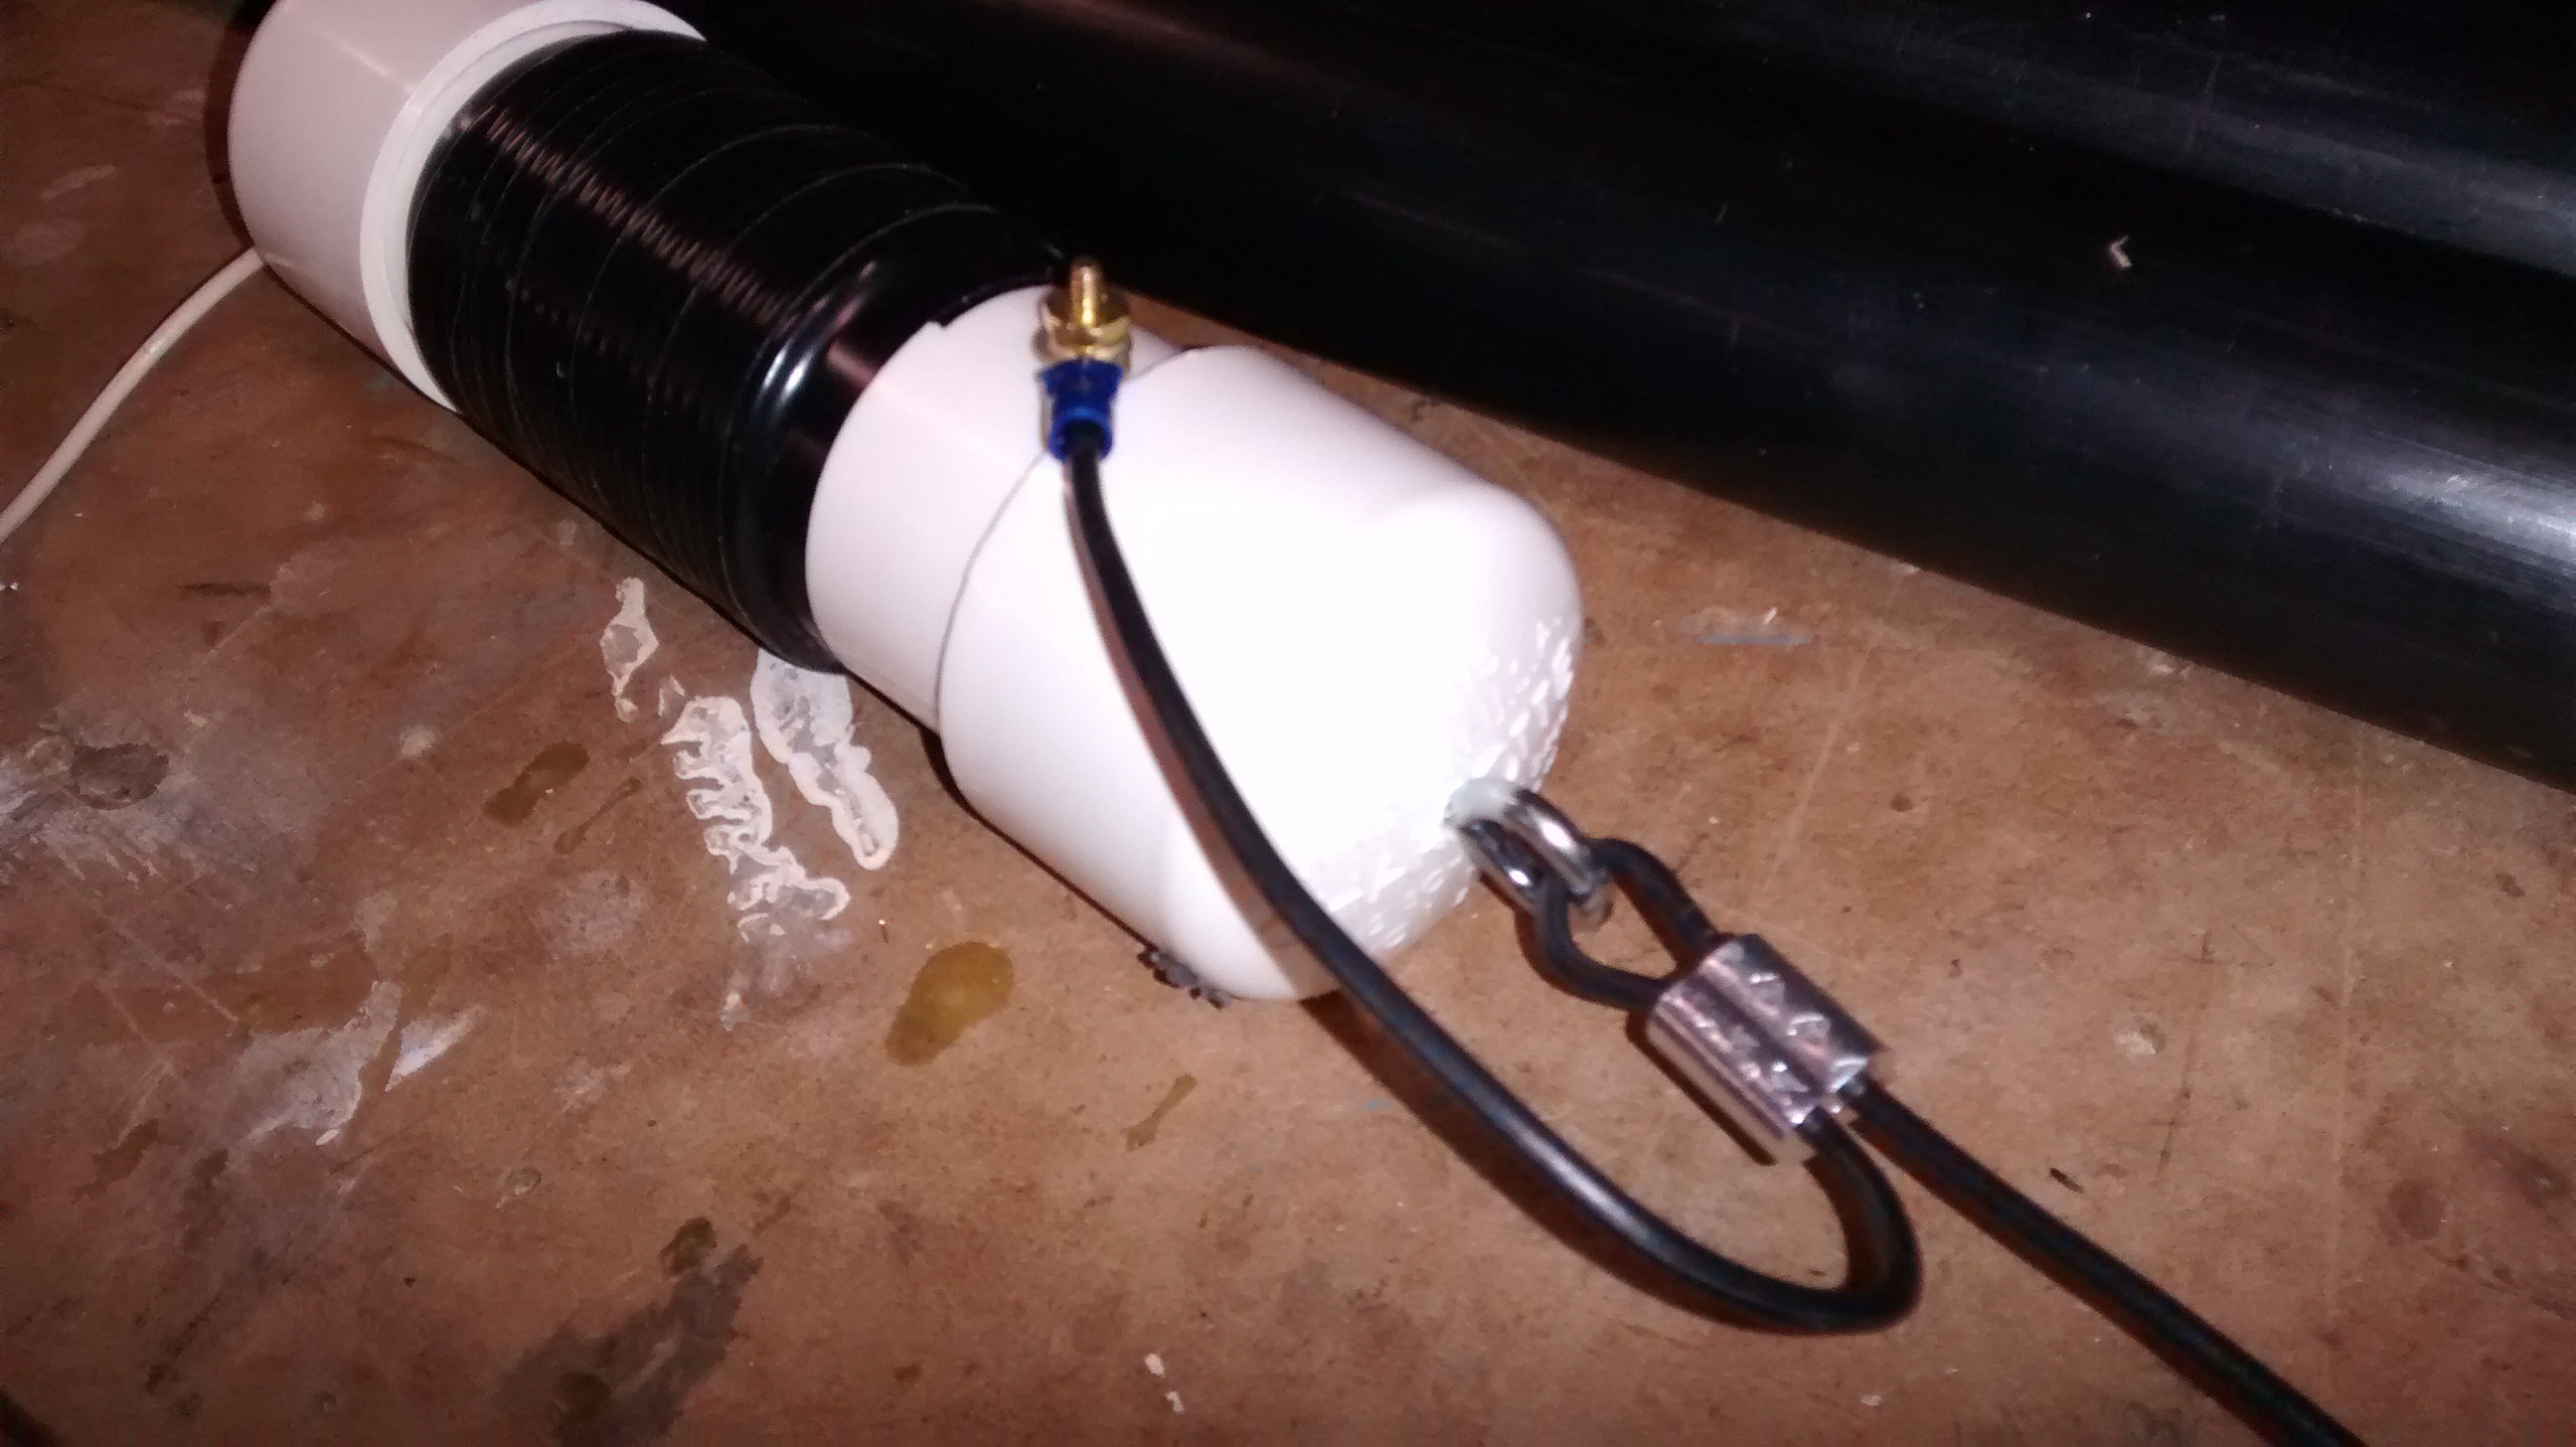
Since the antenna wires are also going to be the guy wires, I wanted to make sure the electrical connections were not going to be relied upon to take the guying forces - that's a little much to ask of an 8-32 screw. So I used crimp ferrules for 1/8" wire rope to form a loop in the antenna wire that passes through the eyebolt of each coil. I left a pigtail to connect the radiator to the coil.
![]()
-
3Step 3
Mast construction:
Start with two 7.5' lengths of 1-1/14" EMT conduit. Drill four holes 90° apart about an inch top from the end of one tube. Thread the eyebolts into the holes and snug them up. Attach the threaded connector to the end of that pipe - this is going to be the top of the mast.
Drill holes in one of the PVC caps for the brass screws. Make your connections to screws with the coax, feed the coax down the pipe, and thread the cap on the top of the mast.
Install the coupler on the end of the other pipe and feed the coax down it. On the other end, install the other threaded connector to the pipe and attach it to the conduit body. Add some strain relief for the coax inside the junction box.
Thread the pipe nipple into the other end of the conduit body, pass the coax out, and mount the SO-239 connector to the other PVC cap. Solder the coax to the terminals.
For the swivel, wrap the split-ring hanger around the nipple and tighten the screws somewhat - it still needs to turn, preferably in the direction that will tighten the nipple in the conduit body. Add a threaded rod to use for a stake, and you're done.
-
4Step 4
Erecting the antenna:
CHECK FOR OVERHEAD WIRES BEFORE STARTING!!! IF YOU TOUCH PRIMARY WIRES WITH THIS MAST YOU WILL DIE A HORRIBLE DEATH!!! YOU HAVE BEEN WARNED.
You're going to need a square area where the distance between opposite corners will be about 84'. Pick a center spot and take the antenna to the ground with the swivel. Using a long tape measure, set stakes 42' from the center to form a square.
Assembled the two sections of mast and snug down the connection. Lay the mast out flat, attach the loading coils to the masthead, and lay out the elements and guy rope. Tie off the guy ropes to the two stakes closest to the masthead with enough slack so that the mast will be able to go past vertical.
Check again for overhead obstructions and carefully walk the mast upright until the guy lines are taut. The other two guy lines should be dangling in front of you, and can now be used as taglines to control the mast. Walk the lines over to your other stakes and tie them off.
Adjust the trim on your guylines, make sure the mast is plumb, attach your feedline, and you're ready to get on the air.
Near-vertical Incidence Skywave Antenna
DIY version of the military AS-2259 NVIS antenna for regional comms on HF.
 Dan Maloney


Discussions
Become a Hackaday.io Member
Create an account to leave a comment. Already have an account? Log In.
This is way kool, ty for the instructions on this
Are you sure? yes | no