Close
0%
0%

68040 upgrade for Powerbook 520c

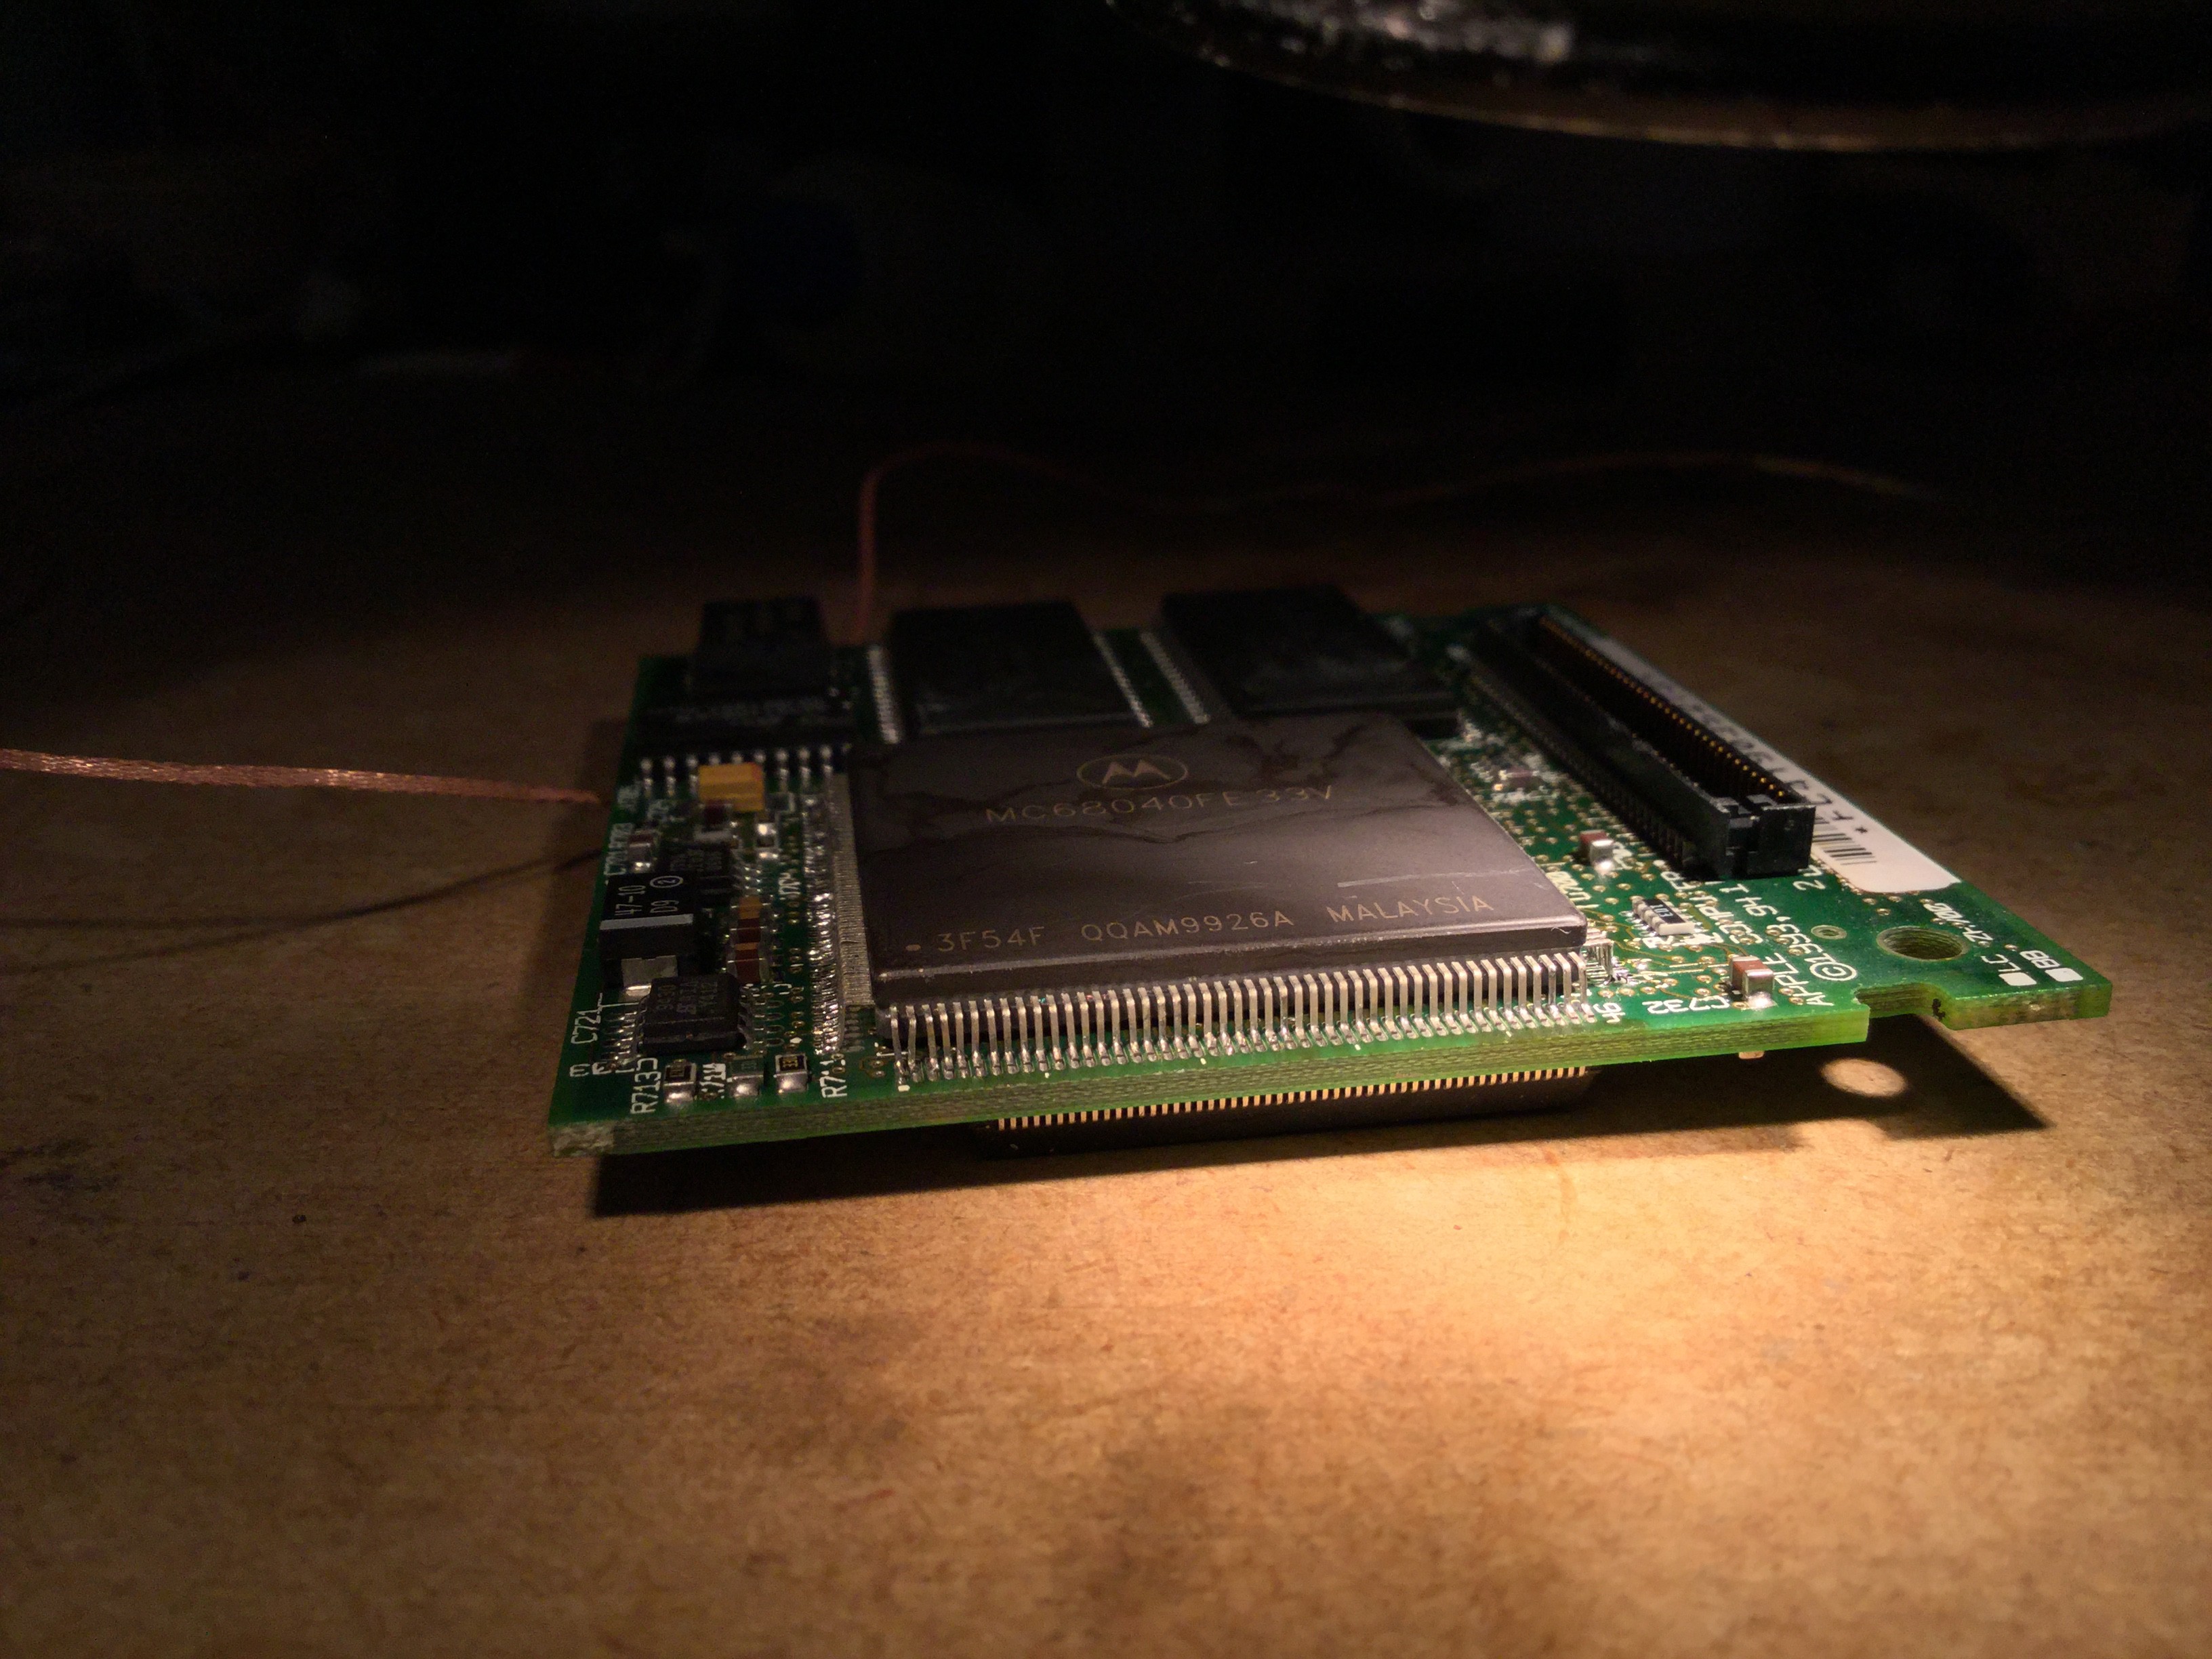
Unsoldering and resoldering a 180-pin QFP! Thrills! Excitement! A full 68040 in a Powerbook 520c!

Similar projects worth following
I've always wanted to run BSD unix on a 68K cpu, but you have to have an FPU to do it. I have an old Powerbook 520c which has a 68LC040 and lacks an FPU... but maybe we can fix that!

The following site claims a CPU swap will work: http://people.wallawalla.edu/~Rob.Frohne/520_Fixes/520_&_540.htm

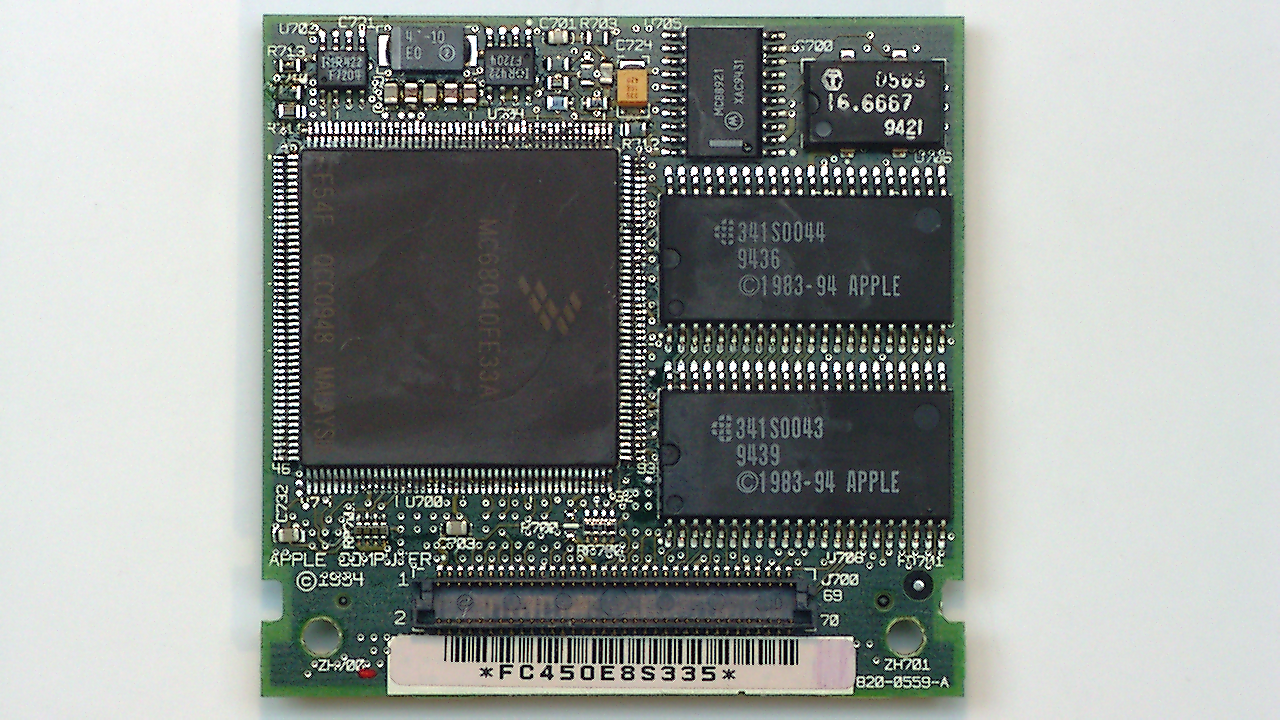
The CPU is on a daughtercard. Looking on ebay, additional daughtercards are available cheaply, and a MC68040FE33V can be sourced from China for about $17 (hopefully not fake).

I actually attempted this once before. That time, I figured there was no way I'd heat the whole QFP up enough to get it off without screwing up other parts. There are parts on both sides, so you can't just wantonly heat it up. So, I got out a dremel cutting wheel and tried to carefully cut out the pins. This was almost successful, but I managed to nick a few traces and ruined the board.

This time around I'll try ChipQuik low-temp solder. It apparently has a low enough melting point that you can wet all the pins with it and it will stay liquid long enough for you to slide/lift off the chip. We shall see about that! There are 180+ pins on the CPU, and they are TINY. I am pretty sure it will come off, as I intend to help it with a hot-air rework air pen. Soldering back on will be the challenge, as it will be VERY easy to create bridges behind pins where it is hard to see/fix.

  • 1 × MC68040FE33V QFP full 68040 33/66 MHz in QFP package
  • 1 × Powerbook 520/540 CPU card

  • NetBSD Shows No FPU

    hackaday08/07/2016 at 17:46 1 comment

    I finally got around to booting the laptop with NetBSD. I used the booter application and a net install .gz image file. The kernel reports the FPU is being emulated. I'm sure if this is due to booting from inside MacOS or not. I've tried getting it to boot natively from the hard drive but it seems my power adapter is going bad - it is cutting power to the machine randomly.

    I think it's definitive - you can't upgrade a PowerBook 500-series to a full FPU CPU and have it work properly.

  • OK Last Shot...

    hackaday03/23/2016 at 13:00 0 comments

    An NXP support rep confirmed the part used does has an FPU. I'll be trying *BSD and see if I can detect it from there. I'm going to try to find a spare 2.5 SCSI drive, though, since I don't want to blow away my OS 8.1 setup. I've got my CF adapter Microdrives, but they aren't bootable by the Powerbook.

  • That's all folks!

    hackaday03/14/2016 at 02:28 1 comment

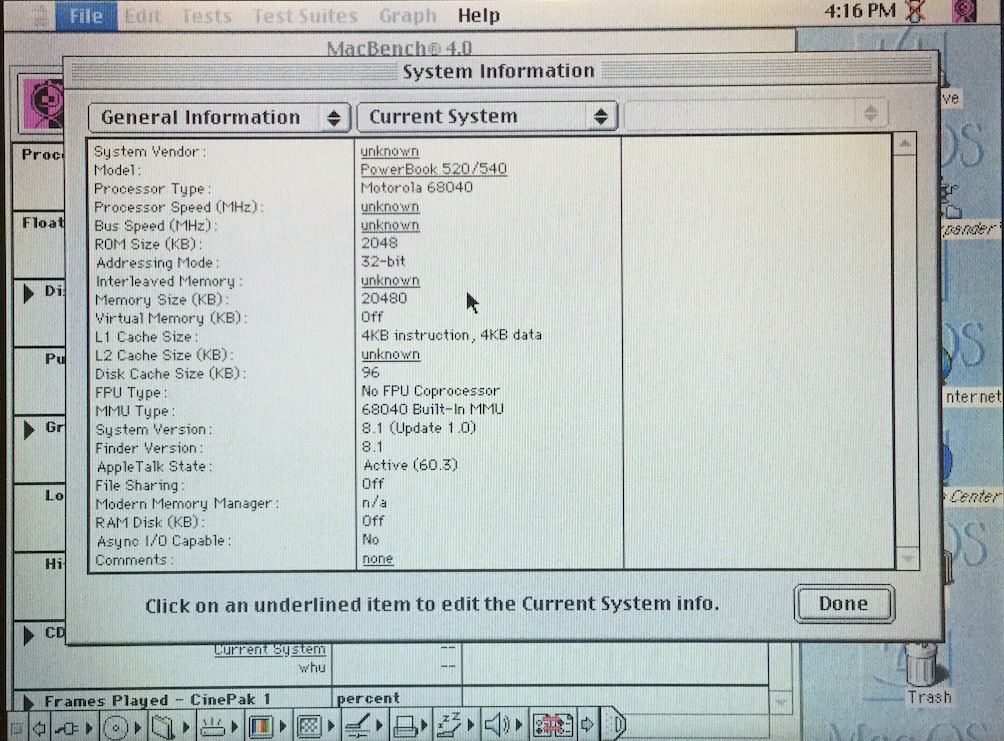
    I don't know what's going on here. MacBench says no FPU. Whatever. I give up.

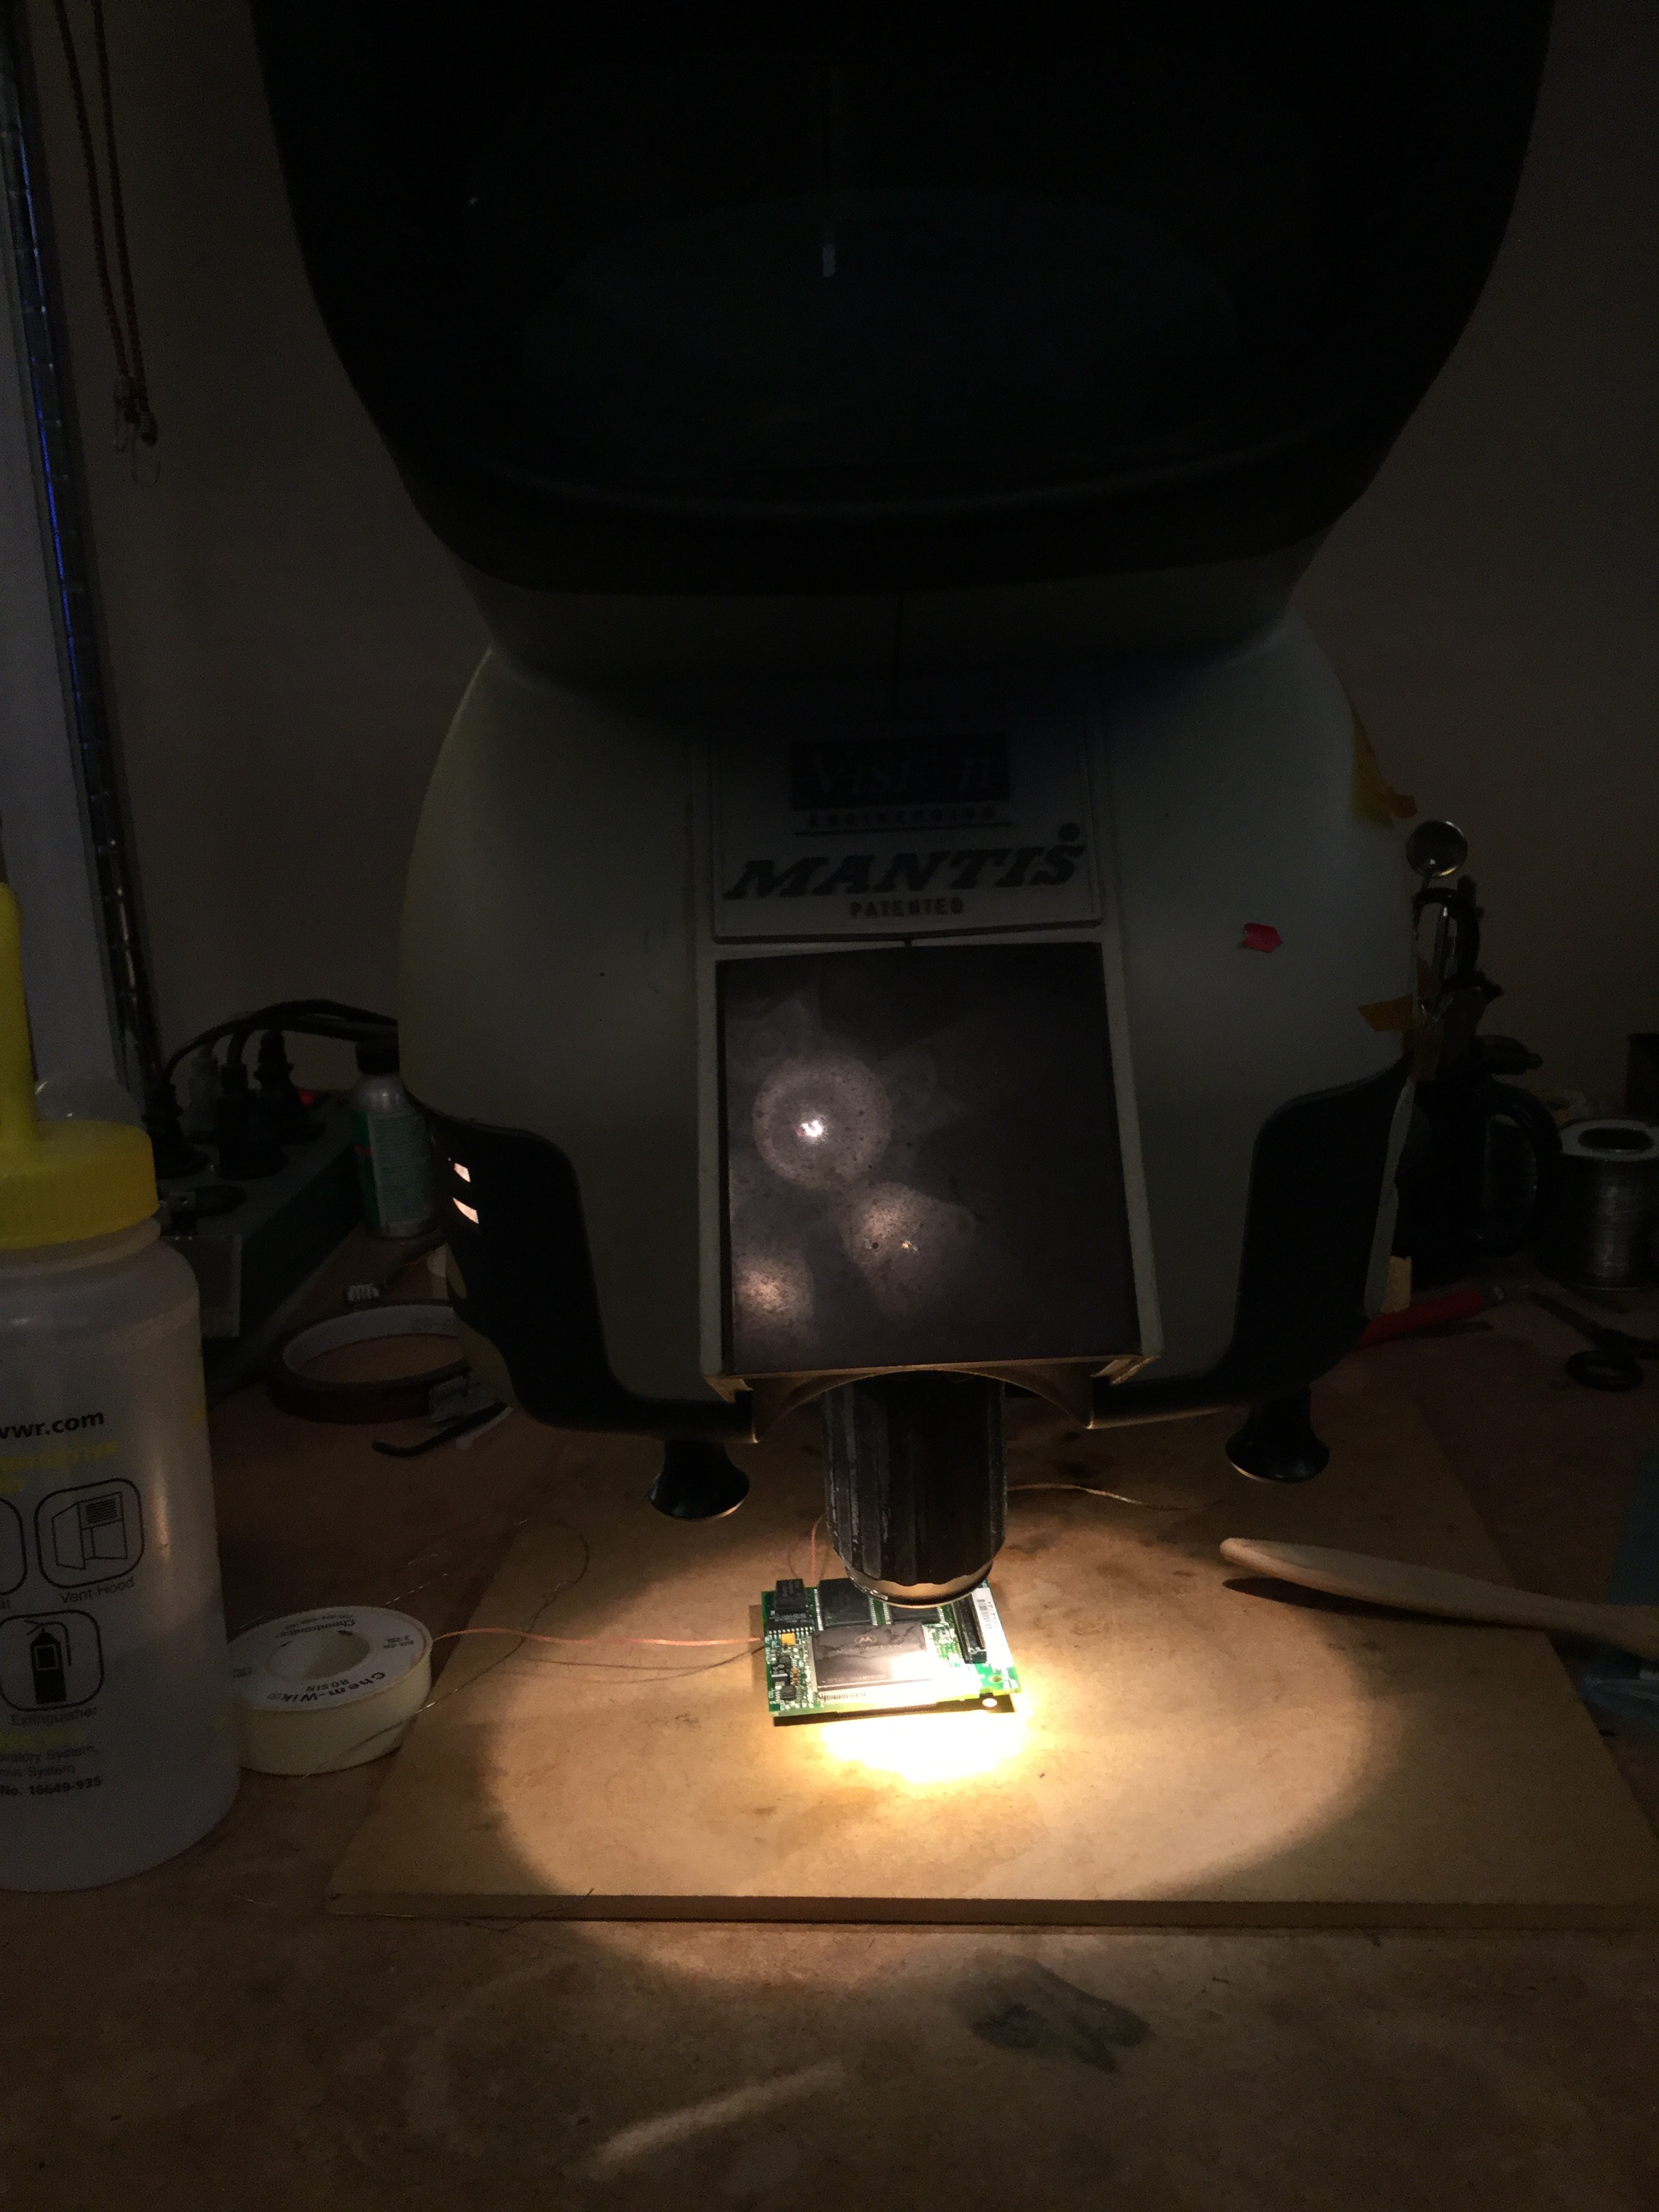
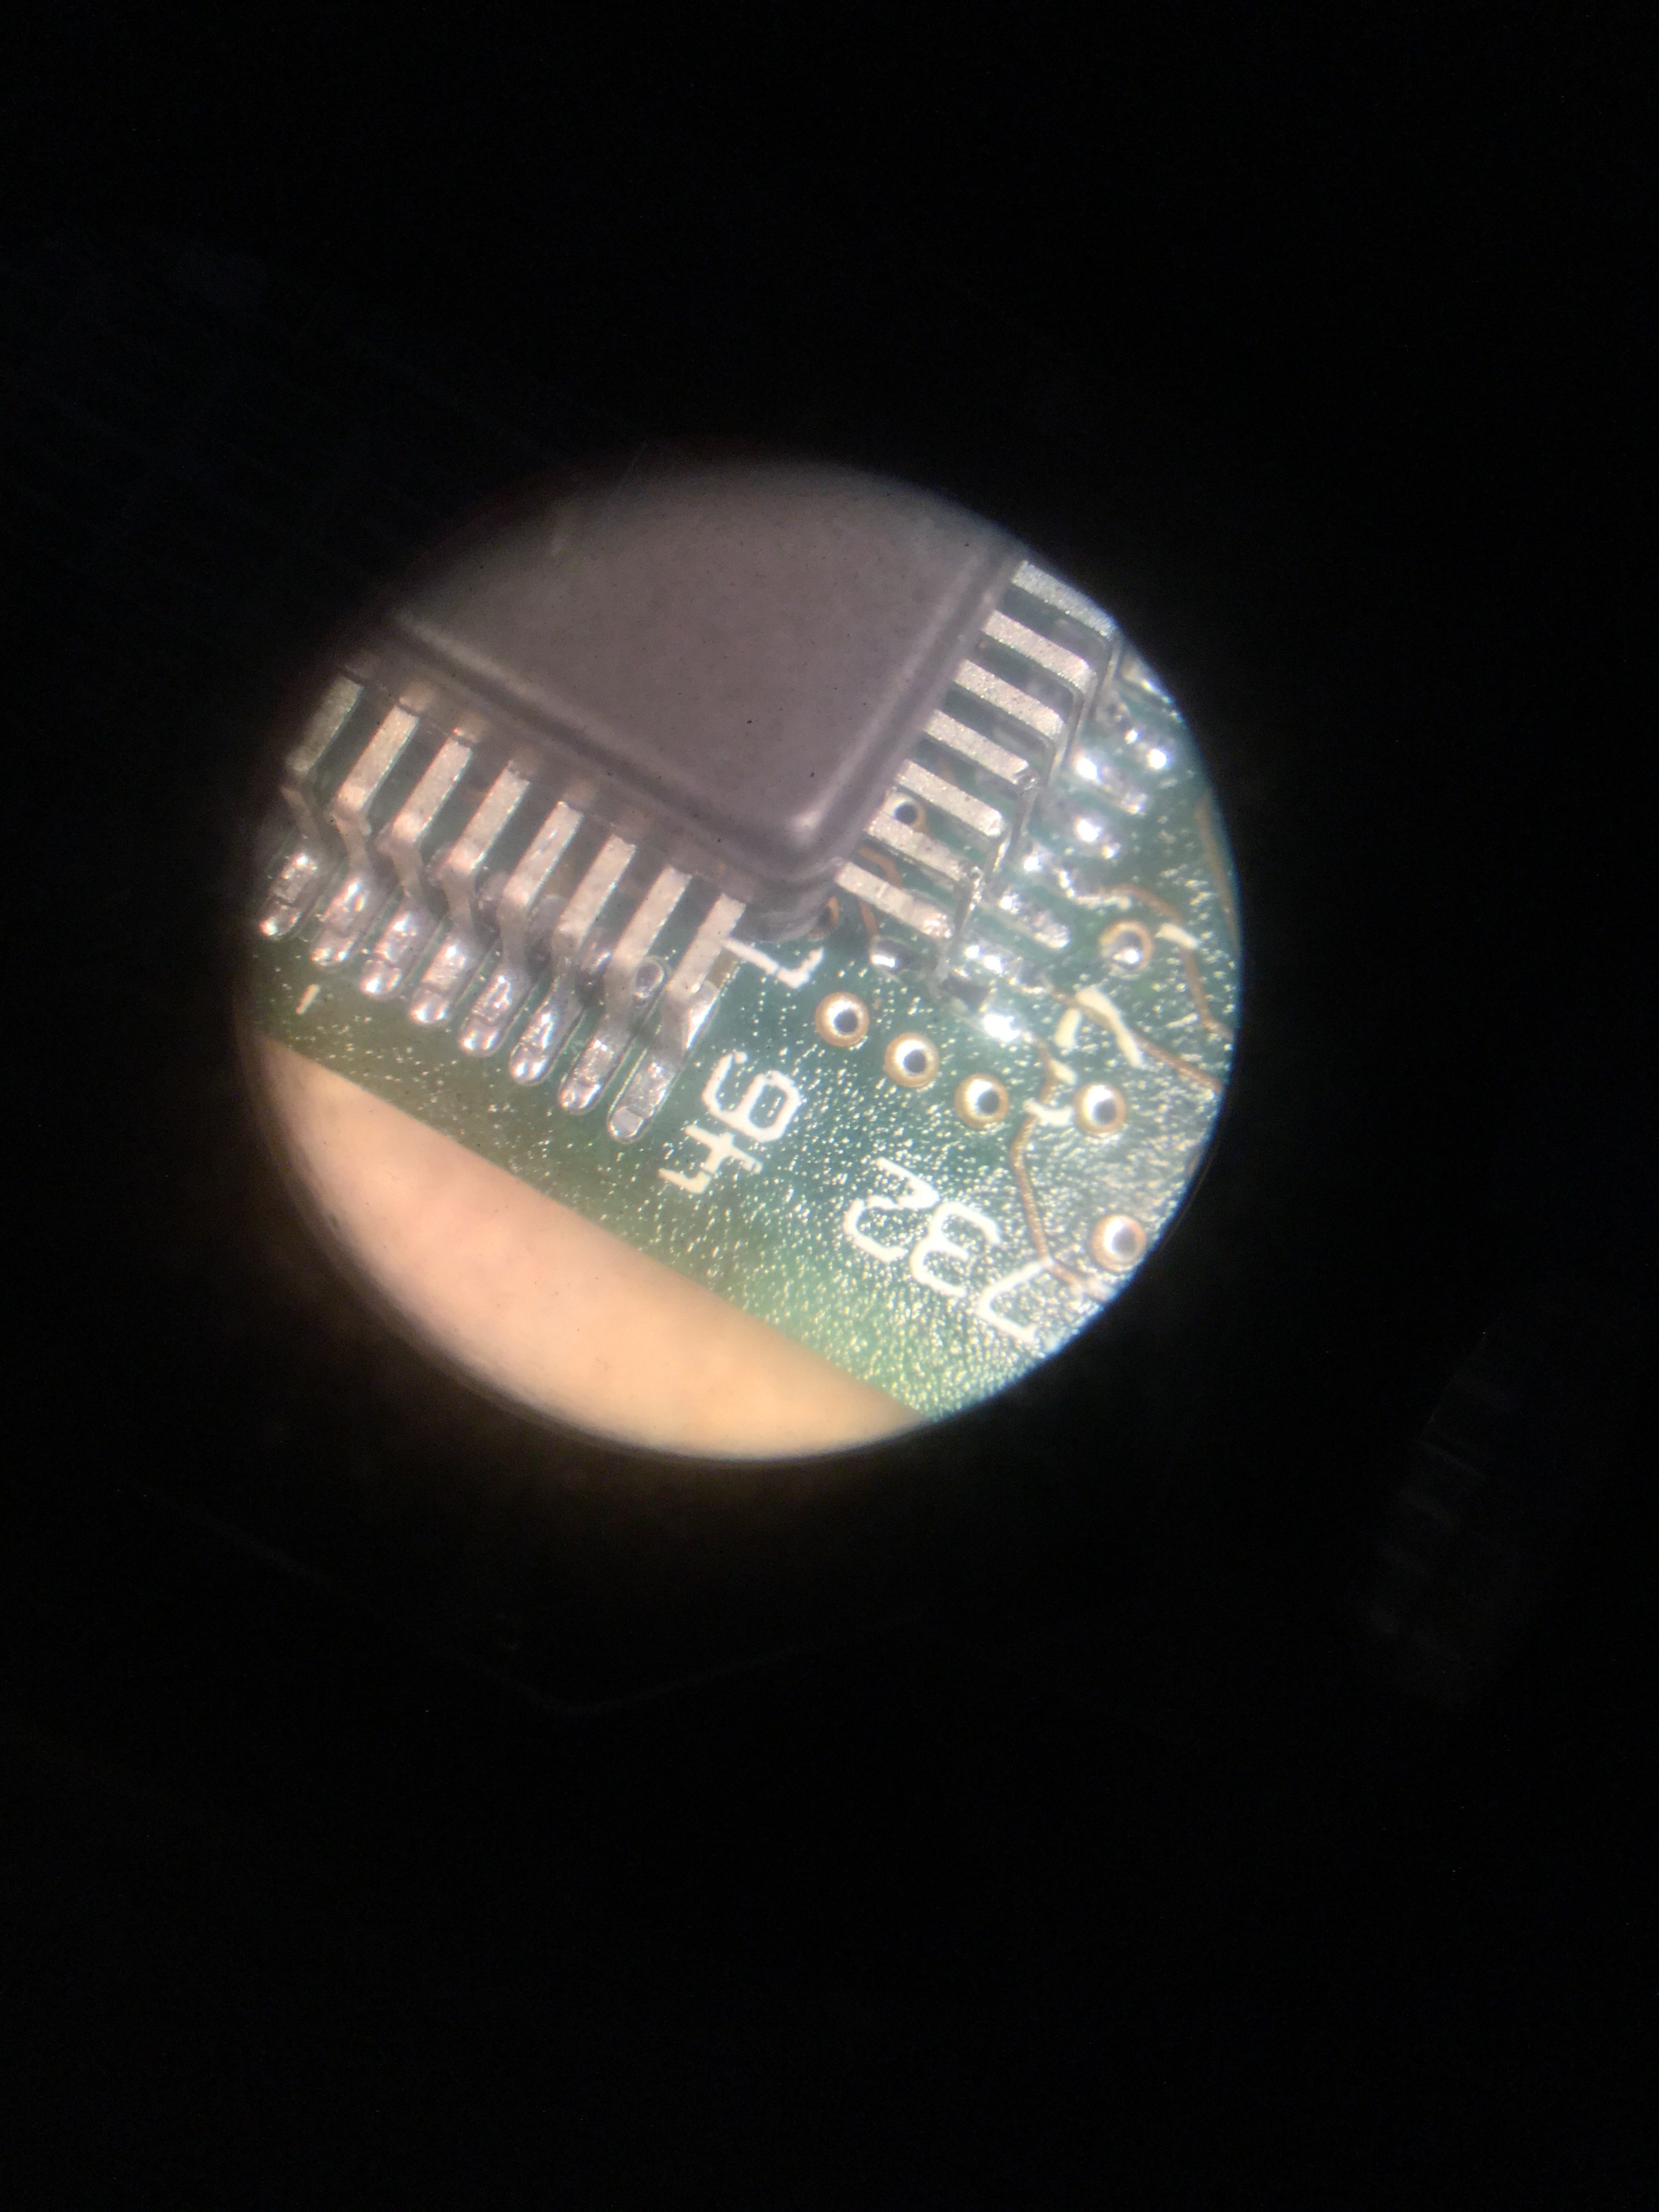
    It was however good practice for soldering QFP parts. Also, the Wolfvision viewer is very helpful. I only resorted to the loupe for final inspection of solder joints.

  • New CPU Installed

    hackaday03/13/2016 at 23:27 2 comments

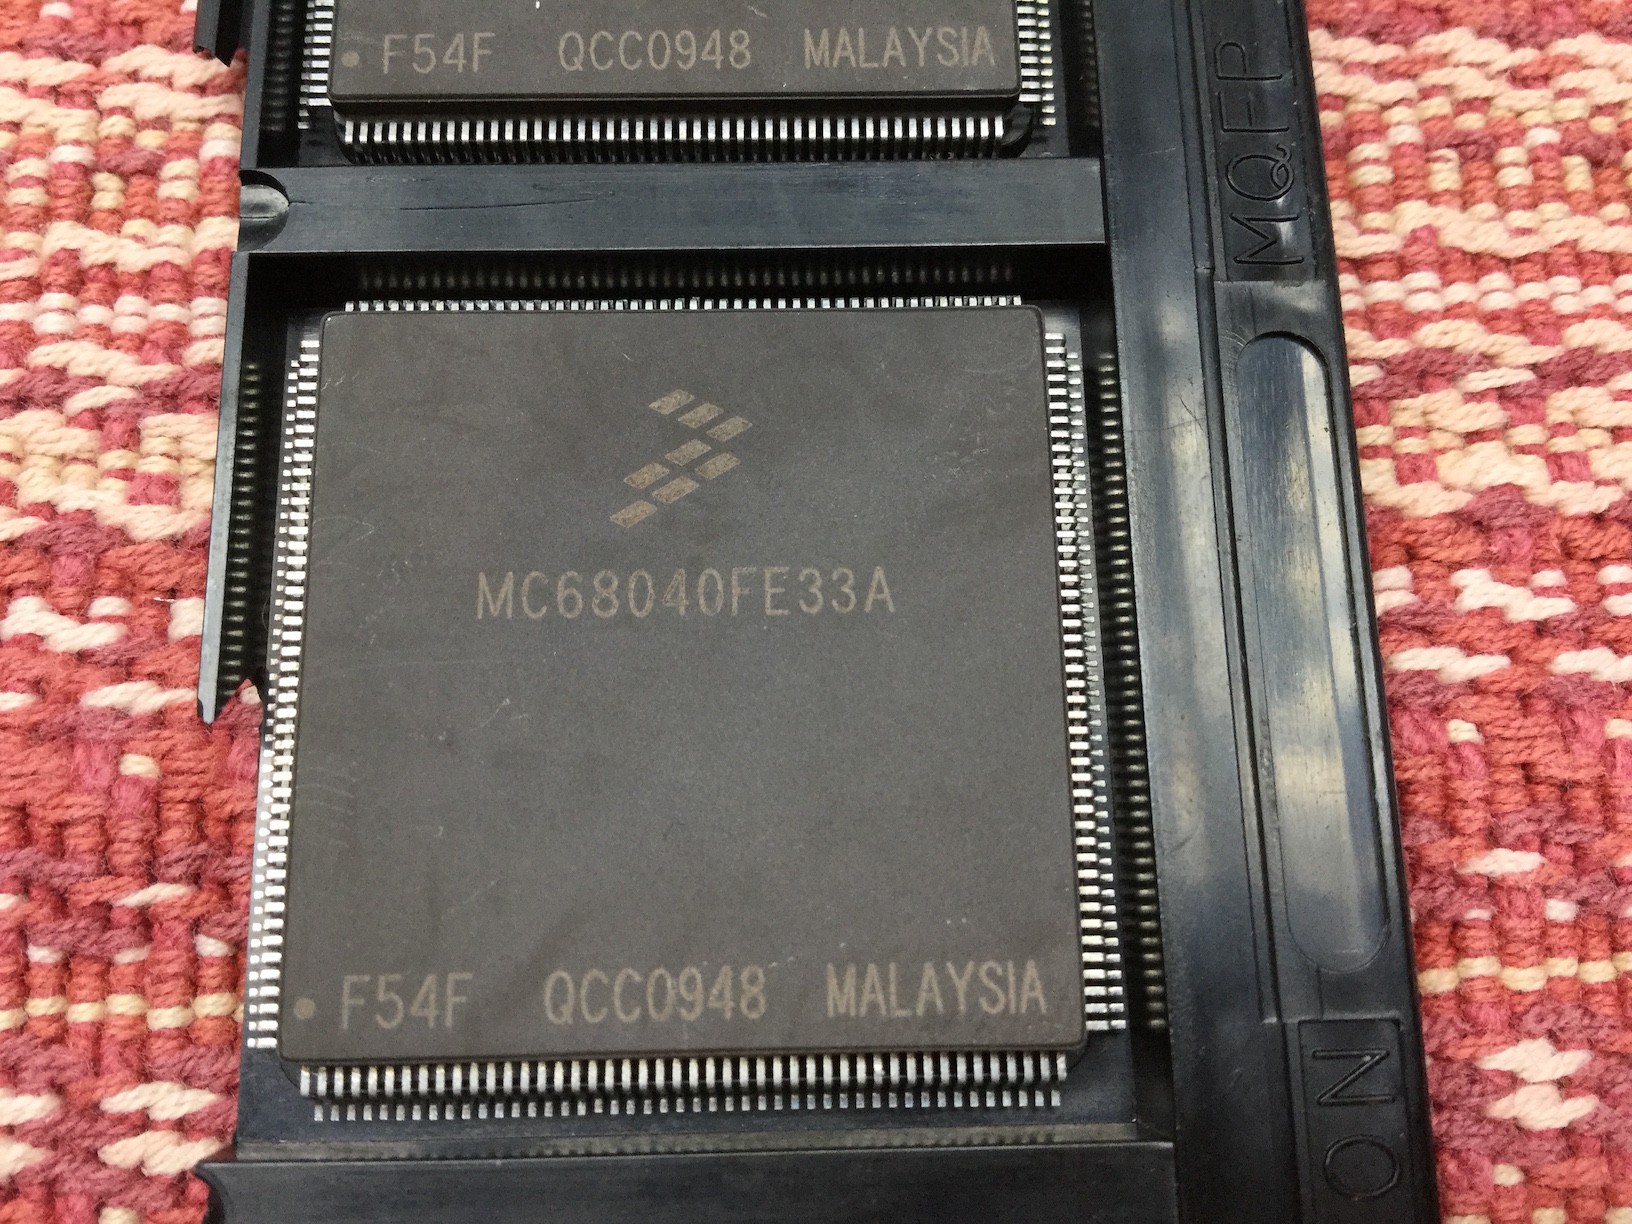
    The Freescale MC68040FE33A is now installed. It's so much easier to solder a QFP with clean and straight pins.

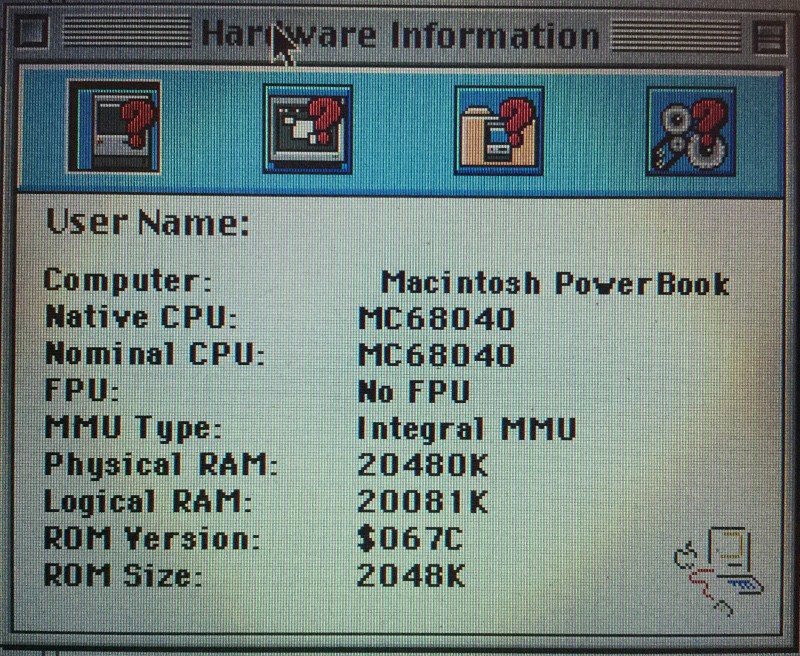
    It's still not showing up as a full 68040 with an FPU. The part datasheet says it has one: http://www.nxp.com/webapp/search.partparamdetail.framework?PART_NUMBER=MC68040FE33A

    I noticed on installing this CPU I needed to do a PRAM reset before it would boot. Hmm.

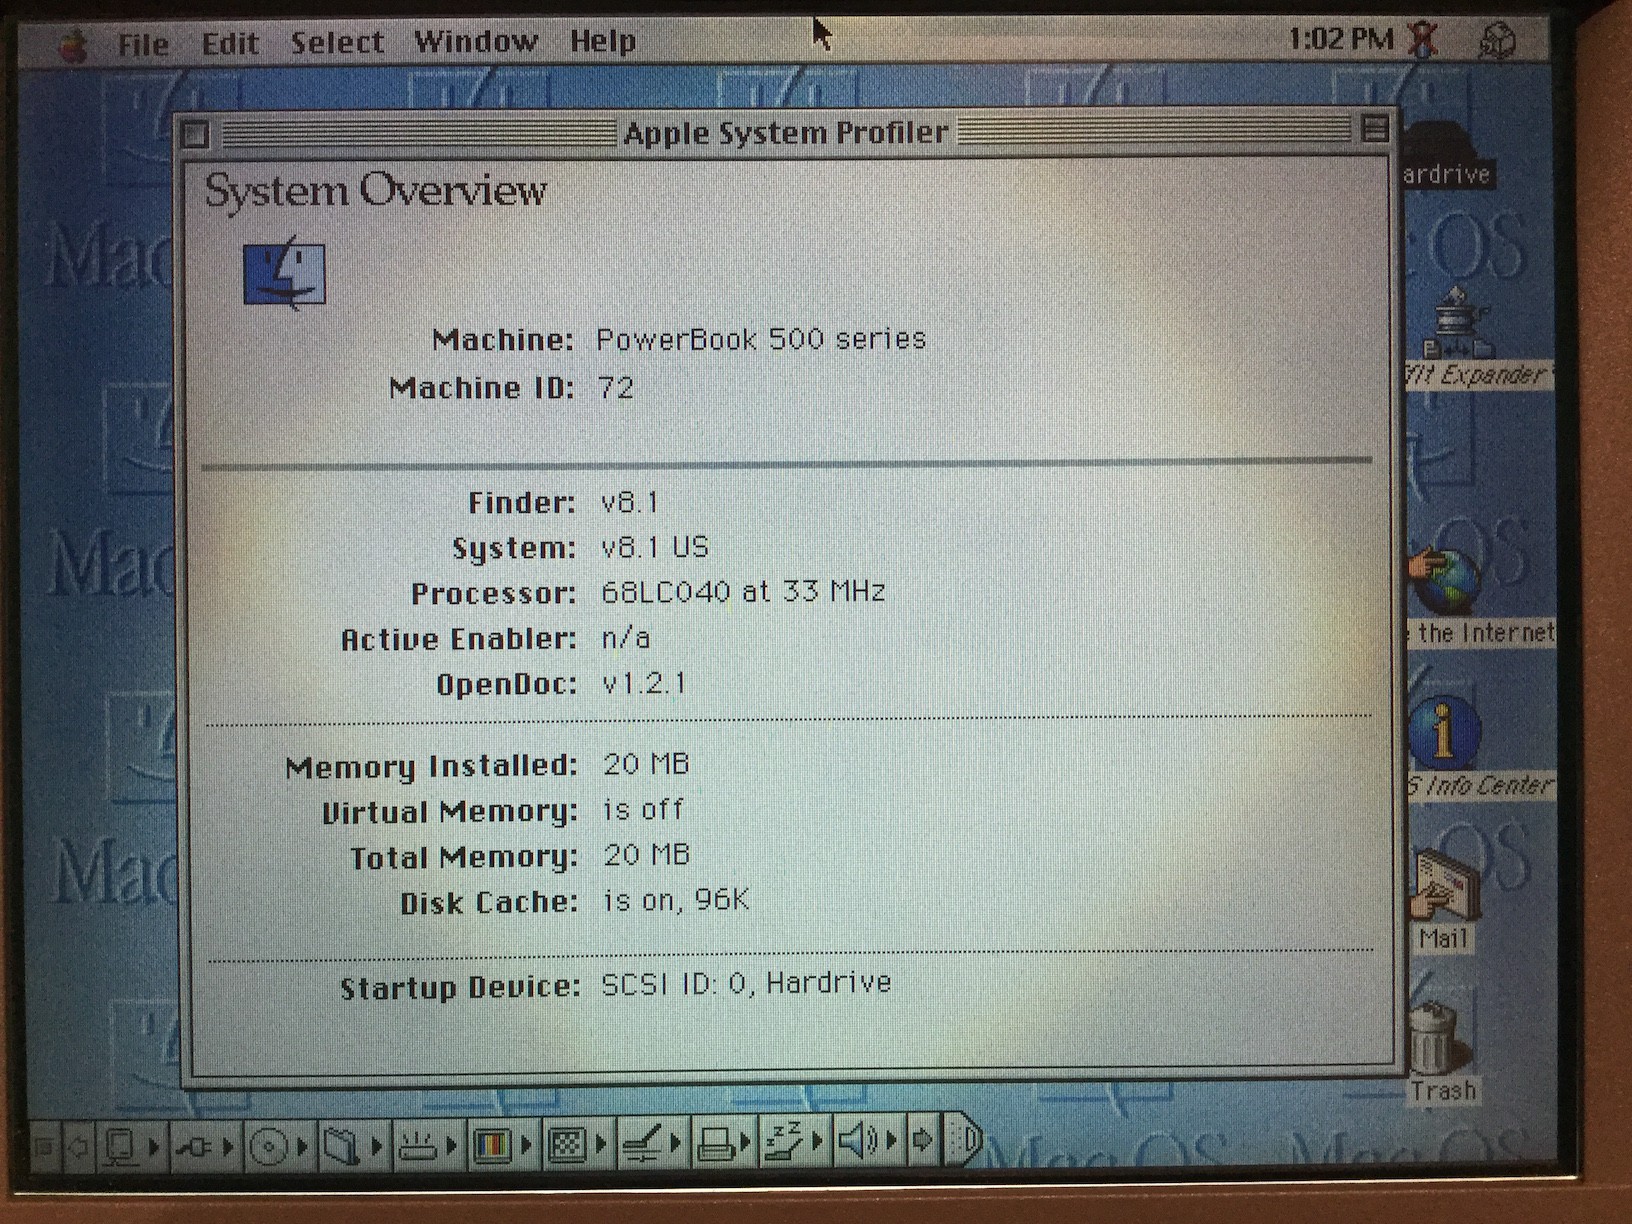
    I dunno... I'll get it on my network and try to find a more through system diagnosis/benchmarking tool than System Profiler.

  • New Parts Arrived

    hackaday03/08/2016 at 01:53 0 comments

    Now that's more like it. Clean and straight pins, shipped in the original fab tray.

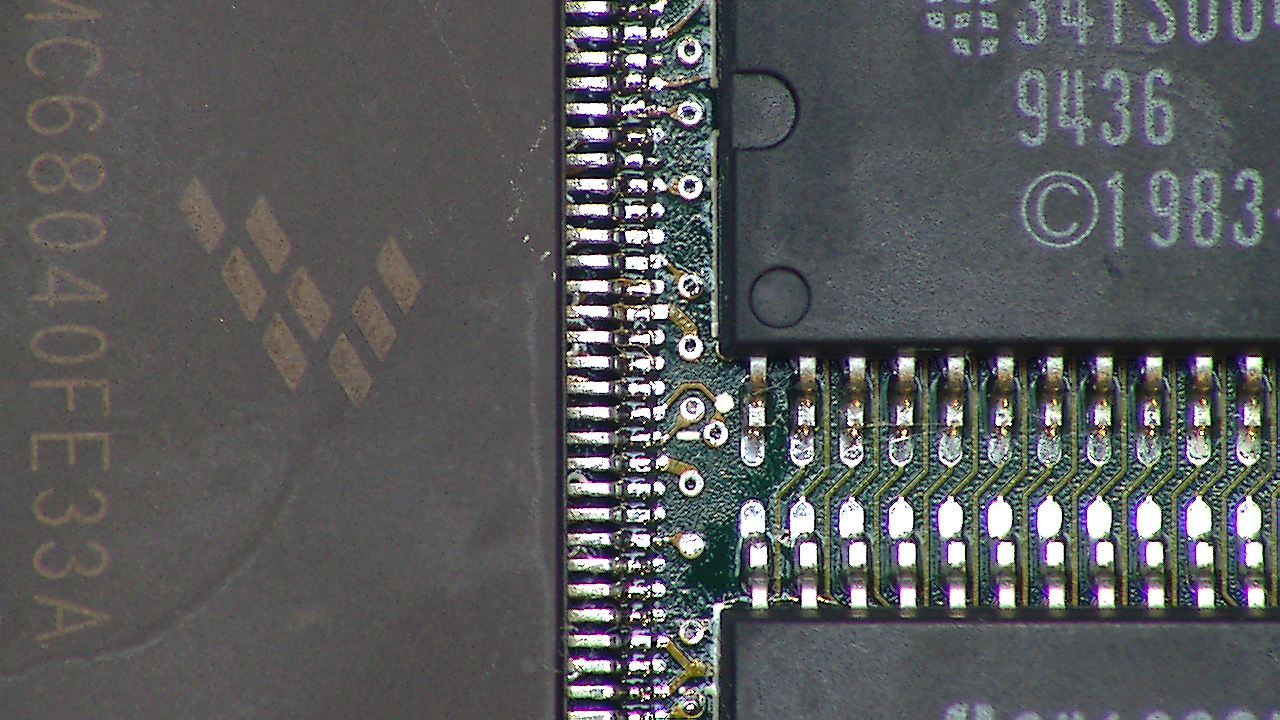
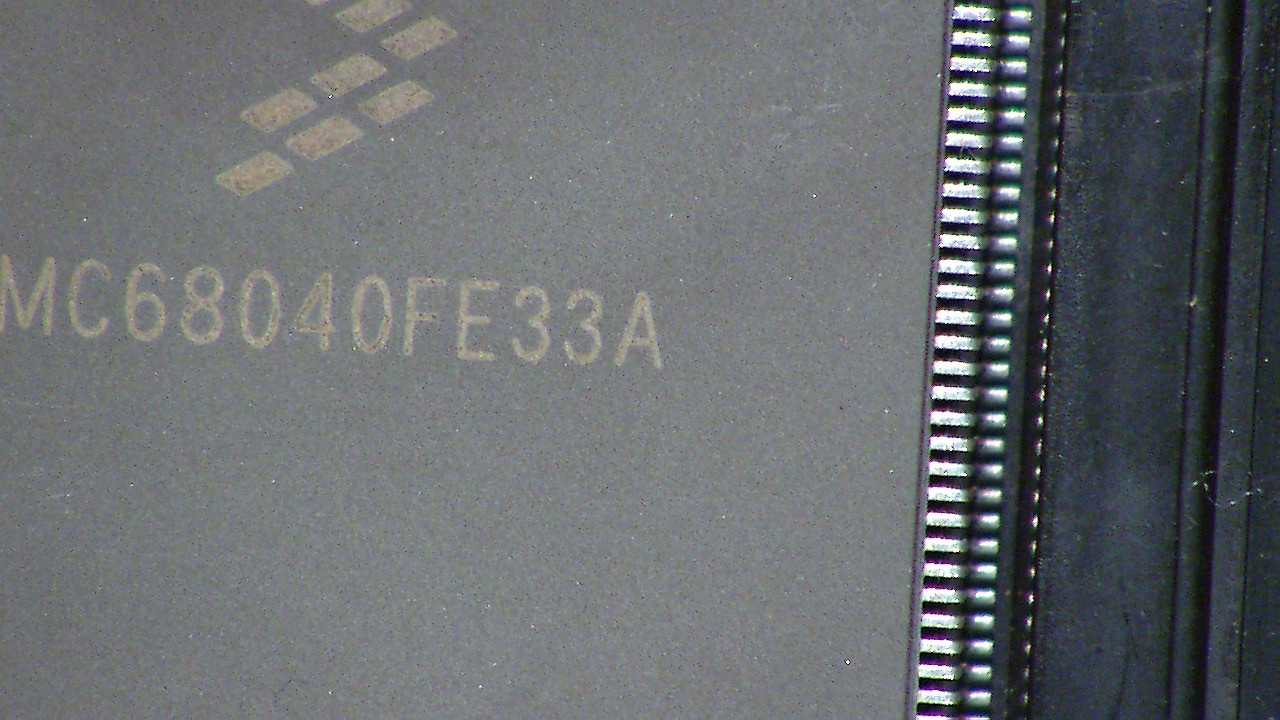
    While waiting for the parts to arrive, I obtained a used Wolfvision presentation camera. It fills a 1280x720 image at 30fps with an area of a little under 1/4 of the chip, so it will work well for inspection and soldering.

    I'll probably have time to solder one on this coming weekend.

    Edit: a shot from the Wolfvision:

  • One more time...

    hackaday02/24/2016 at 18:54 0 comments

    I made it to the front page, and once again the adage about many eyes finding the bugs is true, as a reader astutely pointed out the the MC68040EC33V does not have an FPU! Despite not using the 'LC' naming convention!

    Damn, son!

    The MC68040FE33A does have an FPU. It also comes in QFP (though they refer to it as CQUAD184). A source has been located on ebay.

    http://www.nxp.com/webapp/search.partparamdetail.framework?PART_NUMBER=MC68040FE33A

    Parts are on order!

  • (NOT) Fake!

    hackaday02/21/2016 at 04:57 9 comments

    Well, that's the end of that. My 68040 is most definitely a fake. Looks like they took a 68LC040, took off the markings, and printed or lasered on fake ones.

    --- NONONONO! ---

    MC68040EC33V does not contain an FPU, despite no 'LC' designation! Arrgh!!!

    http://www.cpu-world.com/CPUs/68040/Motorola-MC68040FE33V.html

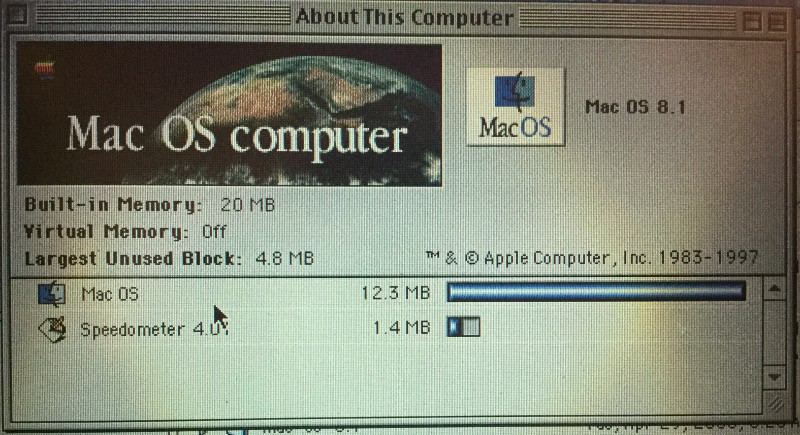
    I've got the laptop to Mac OS 8.1, which does not use hardware-specific system enablers, and the diagnostic is still showing no FPU present.

    So, what was learned?

    1. You can desolder a dense QFP nicely with ChipQuik and a regular soldering iron.

    2. You can solder a dense QFP back on with a regular soldering iron and solder wick, but a Mantis scope helps immensely.

    3. OSX 10.5.6 won't mount an AppleShare volume from MacOS and vice-versa, but both will work with netatalk 2.x. I think OSX 10.4 was the latest that would work.

    4. OSX 10.5.6 won't mount a disk formatted under System 7, and neither will System 7 mount a volume formatted as 'standard' under 10.5.6. Must be an HFS vs. HFS+ issue.

    5. macintoshgarden.org is your friend when it comes to getting old versions of MacOS


    Otherwise, the question has been settled: yes you can upgrade a Powerbook 500-series to a 68040 yourself, IF you can find a real chip to do it with!

    ADDENDUM

    It turns out the MC68040FE33V does not have an FPU! The 'V' denotes 3.3v but apparently also no FPU!

  • 7.5.5 + OpenTransport?

    hackaday02/19/2016 at 16:17 1 comment

    Still no luck getting AppleTalk shares to show up in the chooser on the powerbook. I'd heard 7.5.5 + OpenTransport was needed to get things working, but it's not working yet. Worse yet, I've upgraded myself to a place where netscape 3.0 no longer is happy running. It complains it is out of resources. I may have to try tearing out extensions and see if I can get enough RAM back.

    I dug around for some other testing utilities and found a newer one which also claims there is no FPU present. I was hoping it was just my ancient copy of Norton Utilities which was wrong.

    So, I'm still holding out hope it's a System Enabler issue which will go away at OS 8.1, but there's a growing possibility I was sold a re-labled 68LC040.

    No luck finding another appropriate 68040 online either. Right now the ebay sellers either have crack-pipe pricing or poor feedback and won't answer questions.

  • Re-learning Mac OS System 7

    hackaday02/17/2016 at 04:27 5 comments

    I've got the floppy drive issues sorted out. The dust door was putting too much friction on the floppy, preventing the ejection spring from returning the disk carrier to the out position.

    Still, floppies are a terrible way to transfer files. I want to get to beyond system 7.5, where enablers are no longer used and, in theory, I should get an OS which recognizes there's an FPU (assuming I don't have a fake 68040).

    I've got an AAUI 10baseT transceiver, so I can get it on the network. Problem now became what can share an AFS volume that system 7.1.1 can read. Failing that, I turned to the PCMCIA slot in the powerbook. I happened to have a 1 GB IBM Microdrive CF card, plus a PCMCIA adapter, as well as a USB reader for the CF cards. However, none of my OSX machines seem to read an HFS filesystem, nor will system 7 read an HFS+ filesystem.

    I ended up putting the 7.5.3 self-extracting floppy images on my web server, and then downloaded them to the microdrive. From there, there was plenty of space to un-stuff them and then run the first image to recombine the others into a 7.5.3 install.

    So, next stop is to see if at 7.5.3 I can now see my AFS share running on my 10.5.6 eMac. If not, I'll have to find some way to run stuffit or zip the whole 8.0 install CD contents, put it on my webserver, then download it back to the powerbook.

  • It's Alive!

    hackaday01/31/2016 at 03:48 0 comments

    Since I knew I had some dry solder joints and was having a hard time both seeing what I was doing and soldering at the same time, I took up the offer from a friend to have him go over the chip with a better soldering setup. He has a Mantis 3D scope, which makes work like this immensely easier.

    Despite this, the Powerbook did not boot with the new chip on the first try. We removed it, put it back under the scope, and found two minute solder bridges we missed the first time.

    Once the chip was reinstalled, we finally got the Mac startup tone and it proceeded to boot.

    Unfortunately, I'm not completely done, as right now the system software is still assuming a FPU-less chip and is using software FPU emulation. My guess there's a system extension that needs replacing or swapping with something from System 7.5 from a Quadra. I have no idea, it's been a very long time since I used 68K Apple products and have forgotten most of my pre-OSX knowledge.

    While playing around with the Norton Utilities on the hard drive, in an attempt to benchmark the system, I found I had some filesystem problems on the hard disk. I tried to make a rescue boot floppy, but it seems the drive is bad. The floppy went it, it tried to format it, presumably failed to do so, and then would not eject the disk. I used the paperclip trick, which did pop it out, but now it will not accept a disk.

    Off to look for a replacement Powerbook 500-series floppy I guess...

View all 13 project logs

Enjoy this project?

Share

Discussions

vldmrrr wrote 02/24/2018 at 04:31 point

OK, I repeated the feat with yet another chineese sourced chip: same result -- no fpu detected. Here is what I tested further - I created an extension that during system startup changed gestalt value for fpu selector (gestaltFPUType) to 3 (gestalt68040FPU). The result was crash after startup inside Finder. With Macsbug installed  i found out the crash was due to exception at the very first fpu instruction: FSAVE. According to the 68040 user's manual this instruction will never generate exception from fpu. So it is conclusive - there is no fpu in chinese chip, it is fake all the way through. ftc

  Are you sure? yes | no

vldmrrr wrote 02/24/2018 at 04:22 point

OK, I repeated the feat

  Are you sure? yes | no

matt mora wrote 11/26/2016 at 21:11 point

If I recall correctly Gestalt is tied to the machine ID. You would need to patch the Gestalt trap and return true for the FPU check before it will work. 

  Are you sure? yes | no

john wrote 02/24/2016 at 20:05 point

You know, any mask '040 from 2E71 and later will not have the FPU trap bugs that prevent FPU emulation. Boot NetBSD and try with the software emulated FPU. If you don't get core dumps every fourth command, then you have a new enough mask for this to work.

  Are you sure? yes | no

slowcoder wrote 01/12/2016 at 20:14 point

A hot-air station would make short work of this, but if you don't have that available, you could try the following method:

Get something thin, metal and somewhat strong (very pointy tweezers will work). Start heating up a few pins in the corner of the chip, and use the tweezer to bend up the pins from the board. Work you way around, and you should be done in a few short minutes.

Just make sure the solder completely melts before lifting the pin, otherwise, you'll be trying to lift the pad off the board...

Downside: The chip you just removed will look like crap, and might be un-usable.

When putting in the new chip, just make sure you've done the prep-work, and it's not that difficult. I.e, clean up the old solder (solder-wick does nicely), and apply generous amounts of flux.

Attach one pin in one corner first, and then a pin in the opposite corner. After that, inspect that the rest of the pins are properly aligned above their respective pads. If you just start in one corner and work your way around, you could end up with the pins gradually becoming more and more misaligned.

  Are you sure? yes | no

hackaday wrote 01/12/2016 at 20:39 point

Would you recommend using just the residual solder on the pads to secure the new chip? I can easily re-wet the pads by fluxing them and then dragging a solder-coated tip across the pads, but I find that this is prone to creating pads which are domed with solder, which makes it very hard to align the part, as the pins want to slide to either side of the pads.

  Are you sure? yes | no

slowcoder wrote 01/12/2016 at 21:54 point

Nah, clean the pads as well as you can before putting the new chip on there.

Old solder can be pretty cruddy, and if it has a different melting-point than the one you're using, you can end up with "interesting" joints.

You might however want to put a bit of new solder on the two pads you're going to use for alignment before you start attaching the chip, so you'll only need two hands while doing that soldering (pen + solder + chip = three hands).

Once you have the two pins fastened, the chip will stay aligned, and you can work as normal.

Edit: Oh, and when cleaning off the old solder, putting flux on your solder-braid works wonders. :)

  Are you sure? yes | no

hackaday wrote 01/12/2016 at 19:31 point

If I get the swap working I'll definitely give it a shot. Big question is how much more heat the full FPU CPU is going to put out vs the FPU-less version. Hopefully not much more. Same for power consumption. 

  Are you sure? yes | no

Benchoff wrote 01/12/2016 at 03:50 point

Oh, very nice. While you're in there, you might want to experiment with overclocking the CPU. This is done just by desoldering the crystal oscillator and soldering a faster one to the board. I've done it with a IIsi, and it worked beautifully.

It should be a 50MHz oscillator in the 520 (66mhz for a 540 cpu board). I'm guessing either board can take a 66mhz oscillator, so try a 75MHz crystal first.

  Are you sure? yes | no

Similar Projects

Does this project spark your interest?

Become a member to follow this project and never miss any updates