timonsku
-
SAMD11 breakout
03/25/2018 at 14:05 • 0 commentsI made a minimal SAMD11 breakout for testing communication on the actual hardware. So far I just tested on some dev boards. If you haven't read anything about the SAMD11 so far. Let me give you a little taste of its specs: 16KB Flash, 4KB SRAM, 5-8 ADCs, DAC(!), RTC, up to 48MHz with external crystal, 12-22GPIO and 3 SERCOMs (UART, SPI, I2C for your choosing) and all that four about 1$ in single quantity. Apart from a load of legacy supported libraries, there is not much that speaks for the ATTiny85 anymore at this price point and size. If you wanna know more here is the datsheet.
Thanks to the wonderful work from mattairtech there is already a BOSSA compatible bootloader and Arduino core for the small and cheap ATSAMD11C14A which comes in a very easy to solder SOIC-14 package. Apart from a stable supply voltage the IC needs absolutely no other components to work, even when using USB it can use the internal clock sources!
My board only has a 3v3 LDO and a 10uF cap at the input and output of the LDO. Right now it even behaves great without a 0.1-1uF decoupling cap but I will definitely add one to the actual module designs. I just didn't have one rated for more than 24v in stock but nice to see it is able to work reliably with basically nothing. A true competitor to the ATtiny85. I'm hoping more people will adopt this wonderful MCU.
Blinky!
![]()
And yes USB works even if you don't give a shit about routing the traces anywhere close to each other or length matching them in any way. Its USB 1.x speeds after all, not terribly much to fuck up there.
(don't actually do that though, you should give at least a little care, I just knew that I will be ok in this case. Length matching +/-2.5mm will work out just fine at these low speeds, don't worry too much).![]()
-
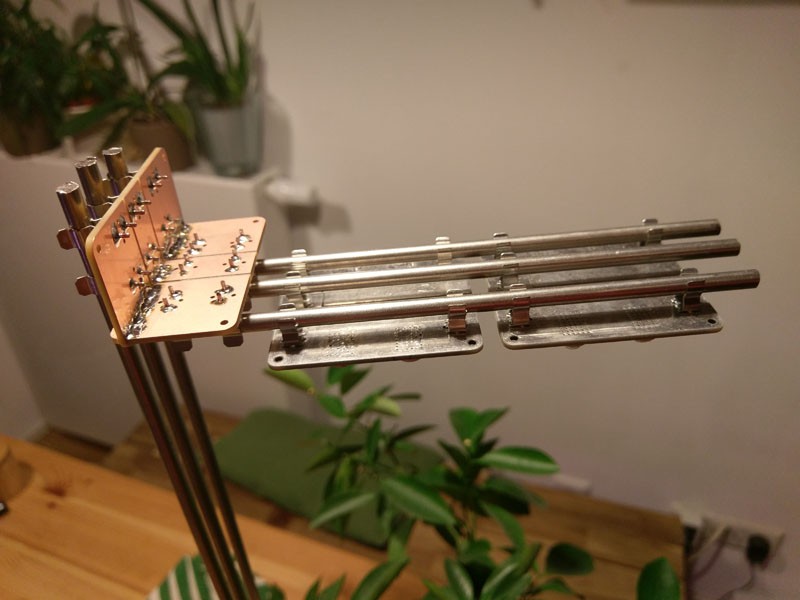
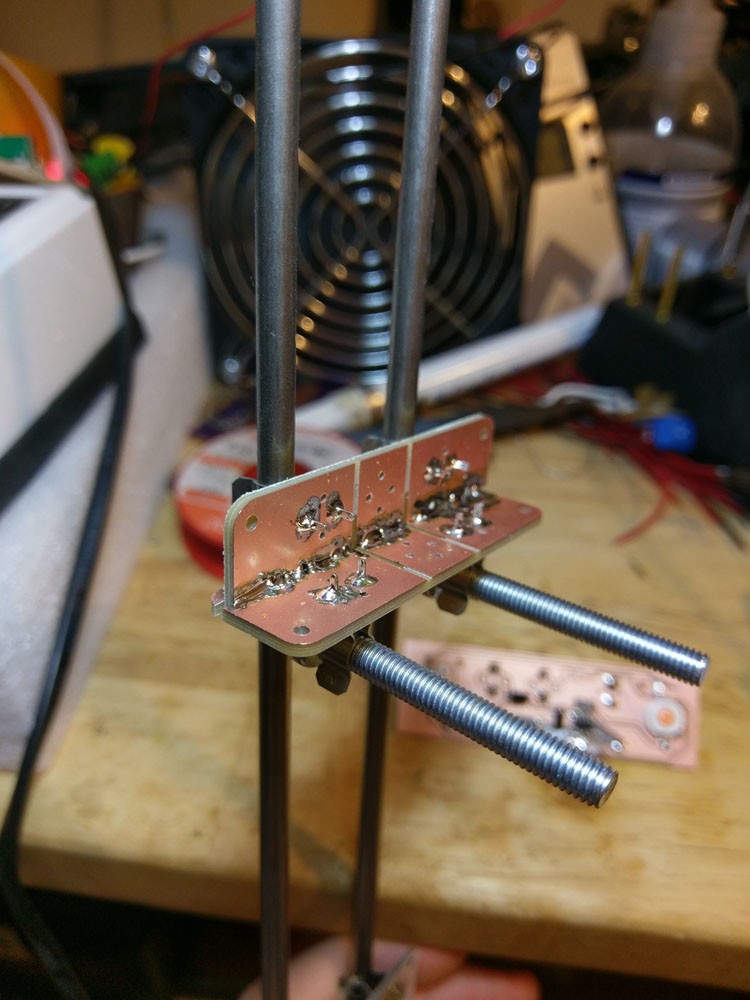
Stronger angles
03/24/2018 at 22:43 • 0 commentsI iterated on the first angles and simply made them a little longer and doubling the amount of fuse holders. This makes for a very robust solution that can easily hold two large lamp modules.
I'm quite satisfied with the current solution. I jig would be nice for soldering though, it's not very easy to solder them at perfect 90° without something to hold everything in place. The one you see below is more of an 80° angle.
![]()
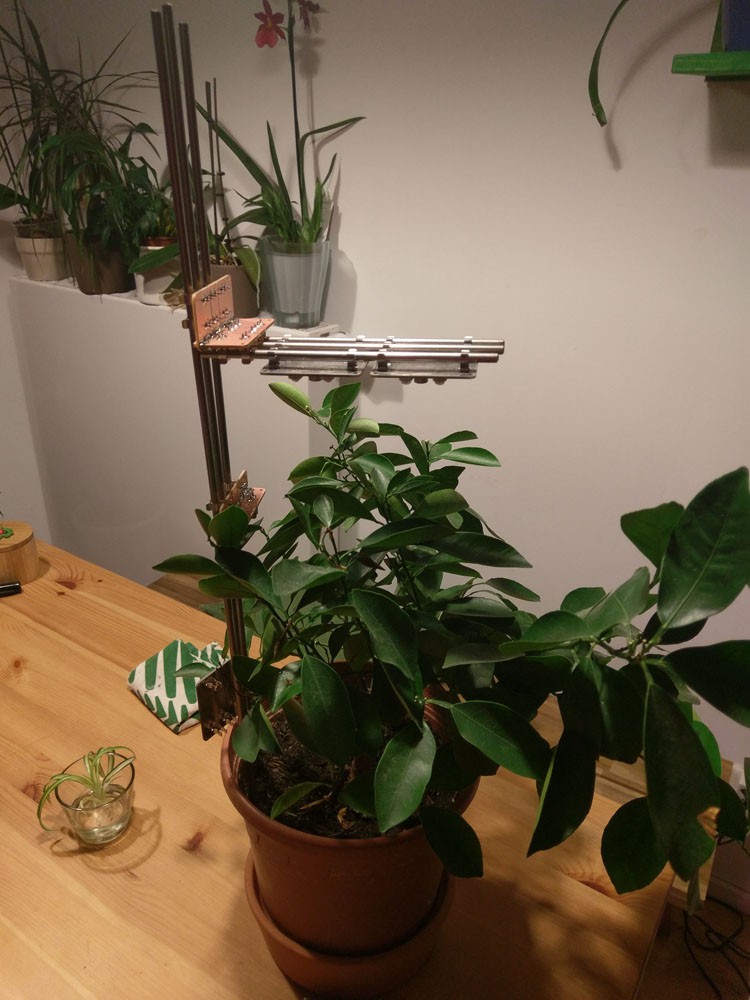
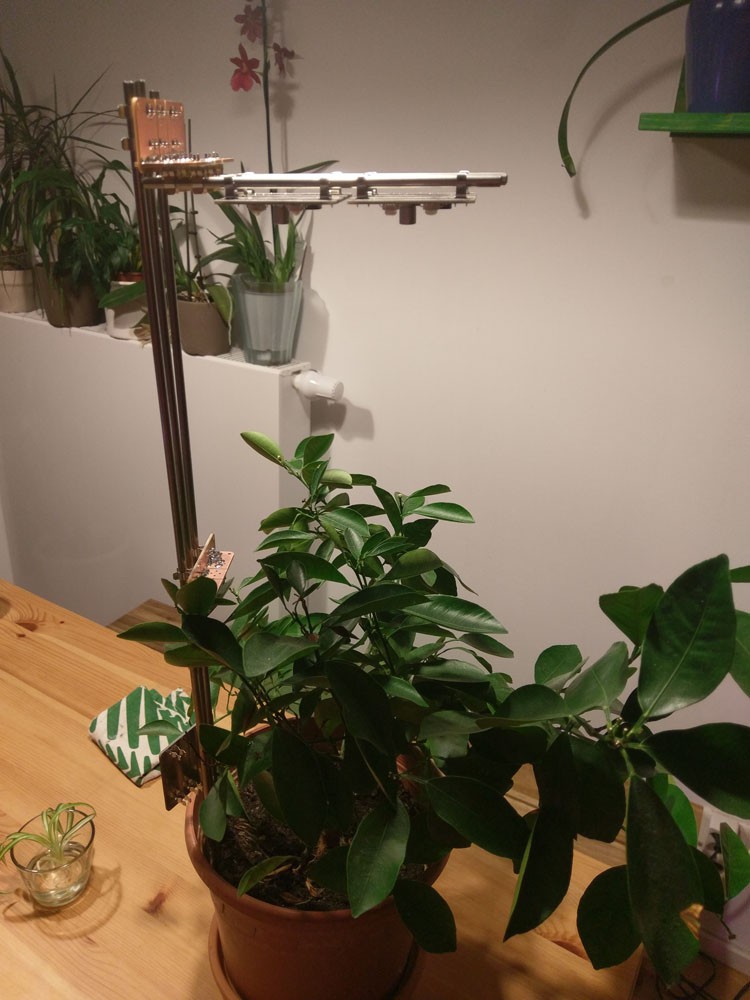
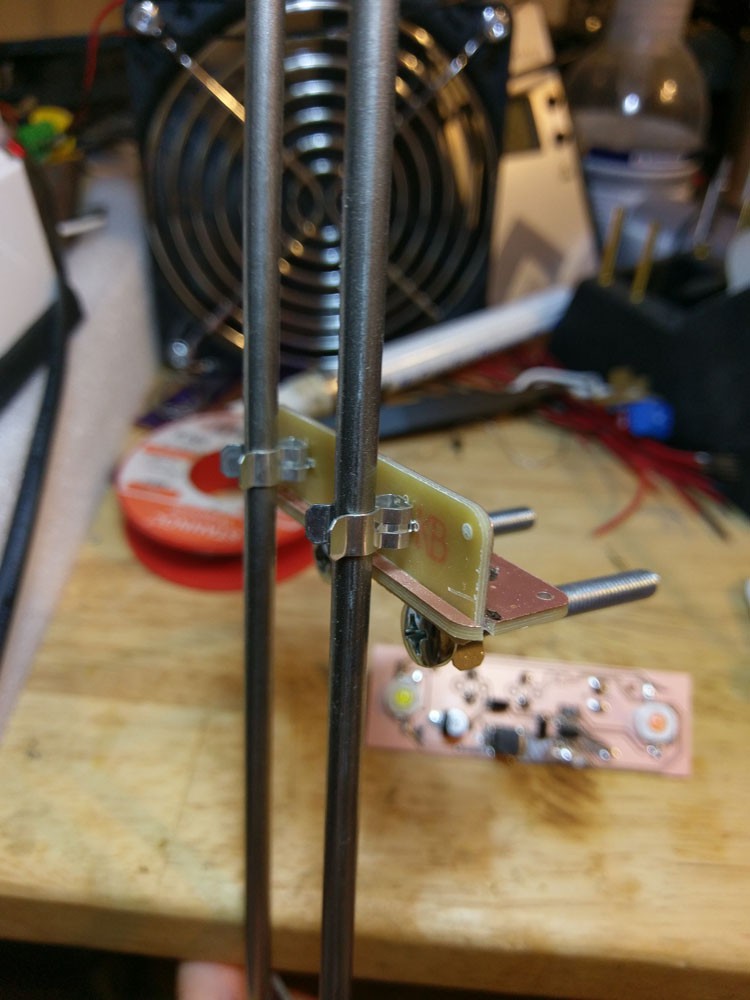
And of course easy adjustment in height:
![]()
![]()
-
First test of 90° angled boards
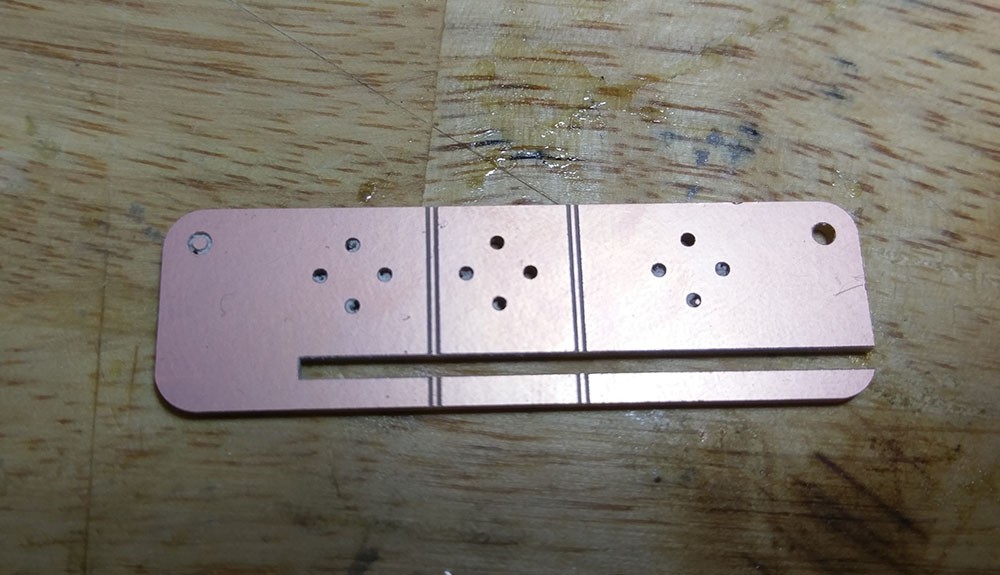
03/22/2018 at 23:58 • 0 commentsI made a little prototype for testing the concept of the PCB build 90° angles for getting adjustable heights to support larger plants that still grow in height.
I used M5 screws to test as I couldn't find my set of smaller rods. Which brings me to mention, you can totally use threaded rods instead of standard metal rods if they are harder to buy where you live. Usually threaded rods are available absolutely everywhere.
I think If I add a second set of fused holders it could work nicely. I didn't make holes for the horizontal rods as I did in my rendering because in this way I can have identical boards to form the angle instead of needing two distinct board design.
Here are a few pictures:
![]()
![]()
![]()
-
Miniaturization of the LED modules
03/22/2018 at 23:17 • 0 commentsI wanted to get the system down to a 12v power supply instead of the current 24v that #MoRaLiS: Modular Rail Lighting System used. Technically you only need 14.4V as the LEDs usually have a Vf of 3.2-3.6V.
24V is just a more convenient voltage standard so I designed everything around at least supporting 24v.
Which makes components also slightly more expensive and now that I want to incorporate an MCU on each board its getting hard to find a affordable and small LDO that can take 24v.
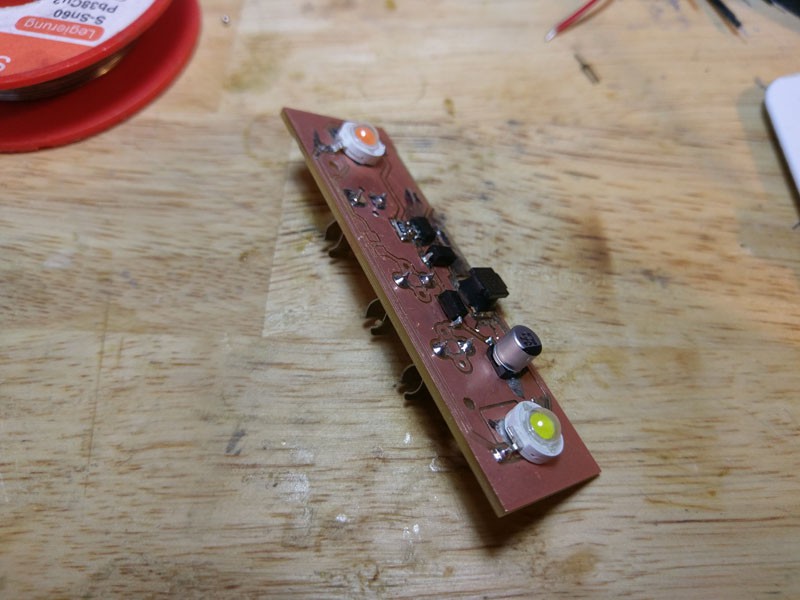
So I had two choices either have a 2 Series LEDs in Parallel which would be not so optimal as you can't mix LEDs with different forward voltages anymore and even within the same batch you would get variances of 0.1-0.3v. So I instead went with having only 2 LEDs and heavily reduced the size of the boards.
I always wanted smaller boards anyways, the biggest show stopper so far was thermal concern, with the current design and size 4 LEDs had just enough dissipation through the copper of the board to operate below their max. temperature.
I now plan on trying out 2 oz. copper boards instead and maybe add a little cut out on the back to drop in a tiny heatsink on the thermal pads of the LEDs if necessary but I have hope that 2 oz. copper will be enough.
This has another benefit, you can stack much more LEDs in a row and also distribute lighting much more evenly which has been a problem in some situations before.
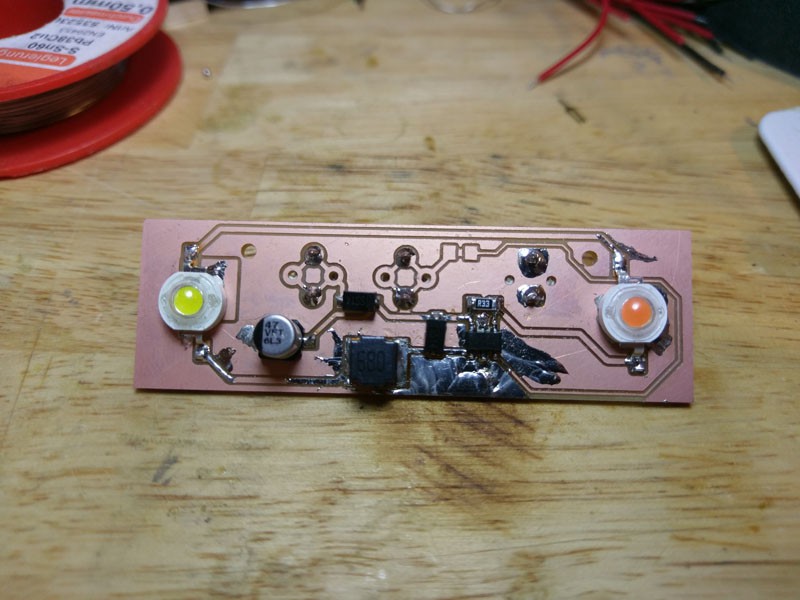
Here a first prototype. I also went for some smaller inductor and capacitor. The inductor has always been over specd, lets see how one operates that just meets the specs.
Technically a 100uF capacitor is nicer but I think with so many devices on the rail with their own cap, 47uF might suffice. Though now that I only need a 12v supply, finding smaller 100uF caps that don't cost a fortune becomes easier.![]()
![]()
-
Communication
03/18/2018 at 22:54 • 0 commentsI played around to find a suitable bus for communication. Initially I wanted to use the 1-wire bus but as it turns out its not as suited for what I want to do after all. It seems its pretty much only used by Maxim and while there are client implementation for Arduino they don't seem to work on ARM which is unfortunate as I want to use a SAMD11 as the heart for each module.
It's a very in-expensive MCU, cheaper than the good old ATtiny85 and comes packed with a ton of peripherals, even USB! Which is great because it makes debugging a single module very easy if you plan to tinker around with your system or develop your own module.
Thanks to @Ted Yapo I found out about the SDI-12 bus which is also a bus that also only requires a single wire. It seems to be highly compatible with different platforms including the SAMD21 ARMs. The SAMD11 should be no exception as the library really only uses very basic Arduino functions for its implementation.
I did some basic tests with two Arduinos and will test it next with a SAMD09 test module once the ICs arrive. I will probably start with adding it to a fan module as that is the easiest electrical and mechanical wise.
If that goes well I will probably continue with making a few basic sensor modules like temperature and humidity measurement and maybe a height sensor. I don't think a height sensor will measure continues growth but alarm you at a threshold, the main reason I want such a sensor in the first place is to warn you when a plant grows too close to a lamp module as this can burn the plant which has happened quite a few times in my testing phase of #MoRaLiS: Modular Rail Lighting System . Plants can grow quite a bit faster than you would imagine if you give them enough light :)
-
Supporting larger plants
03/17/2018 at 22:19 • 0 commentsIt is fairly straight forward to add this system to any breeding box, you drill 3 hole into the top and stick 3 metal rods through it. This is great for starting your plants, also if you have a garden and live a cooler climate and need to cultivate your plants ahead of season.
It gets a little tricker if you want to use MoAgriS with 1.5m heigh Tomato plant. You have two options, find a spot in your apartment where you can mount the rails with one of the hook styles available to a wall or cabinet and place the plant under there. This can be fairly invasive and your are forced to put your plants into that one spot from now on.
The other option would be to build a mobile structure that can hold the rails in place which is time consuming and requires skill.
So I tried to stay with the philosophy of #MoRaLiS: Modular Rail Lighting System and utilize the same technologies already used. That being PCBs, fuse clips and metal rods.
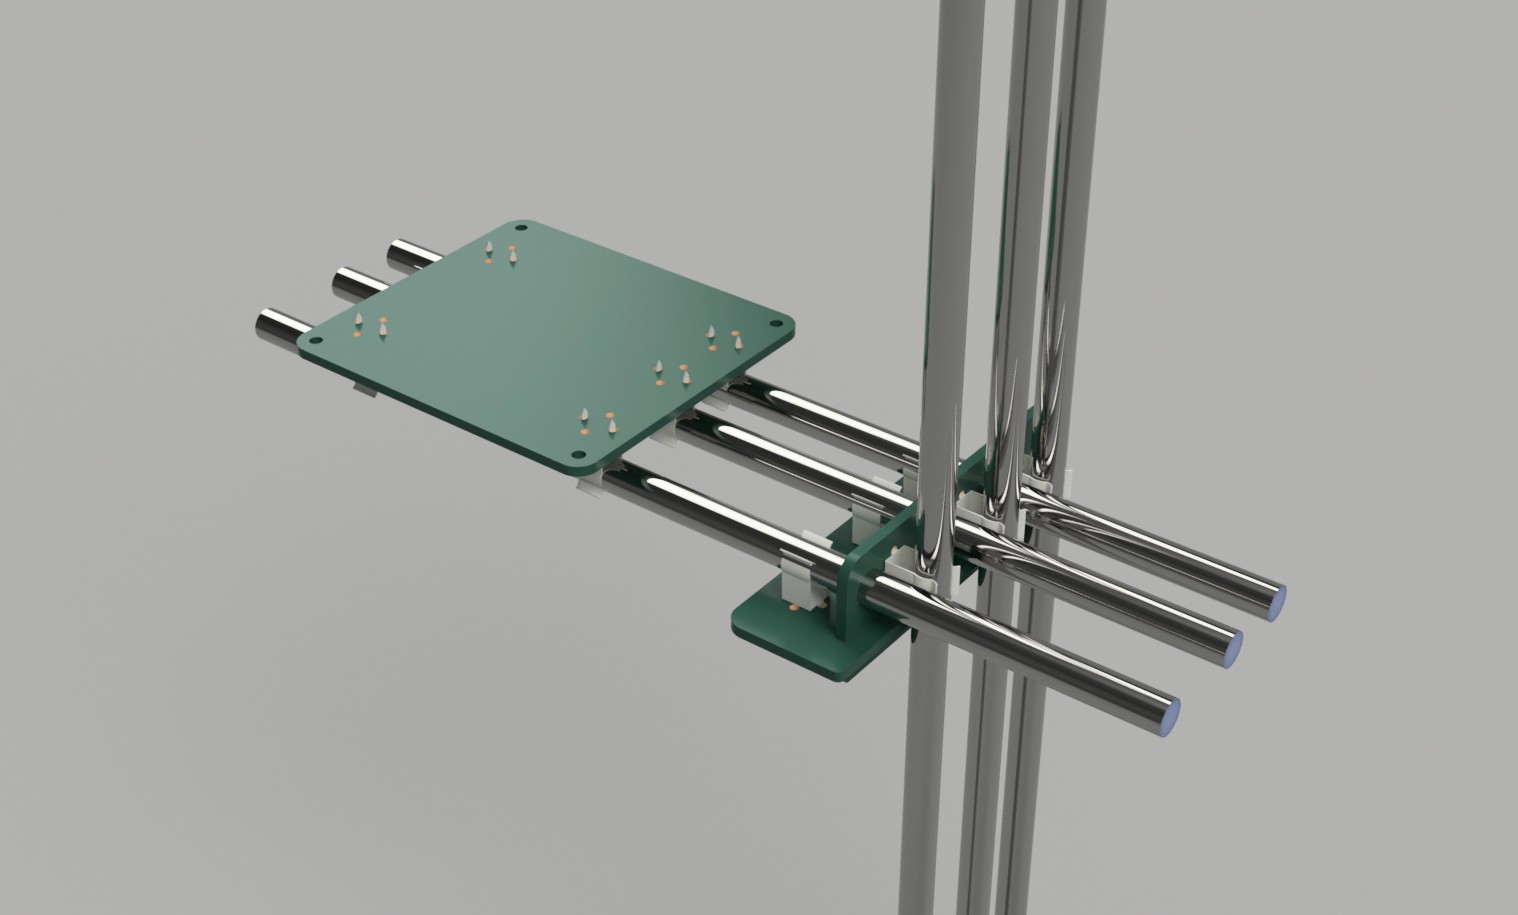
Here is a quick and dirty visualisation of how I imagine it could work. Usually you wont want more than 2-3 modules on a single right angle as you only need to cover a single plant.![]()
The benefit this also has over the other solutions is that you can position a module everywhere you want on the vertical position. Maybe you want the watering module on the bottom and on the middle and top section you want a light module or two. -
Taking MoRaLiS a few steps further
03/17/2018 at 18:27 • 0 commentsIn recent days I was thinking what I could do to improve the growth of my plants. I tested #MoRaLiS: Modular Rail Lighting System all winter and its working nicely but two major flaws made the results less optimal.
One being the absence of wind, without wind plants grew fast but lazy and develop only very thin stems because they only build up as much support as they need. Without any forces pushing them around like wind or straying animals they will not grow into strong plants.
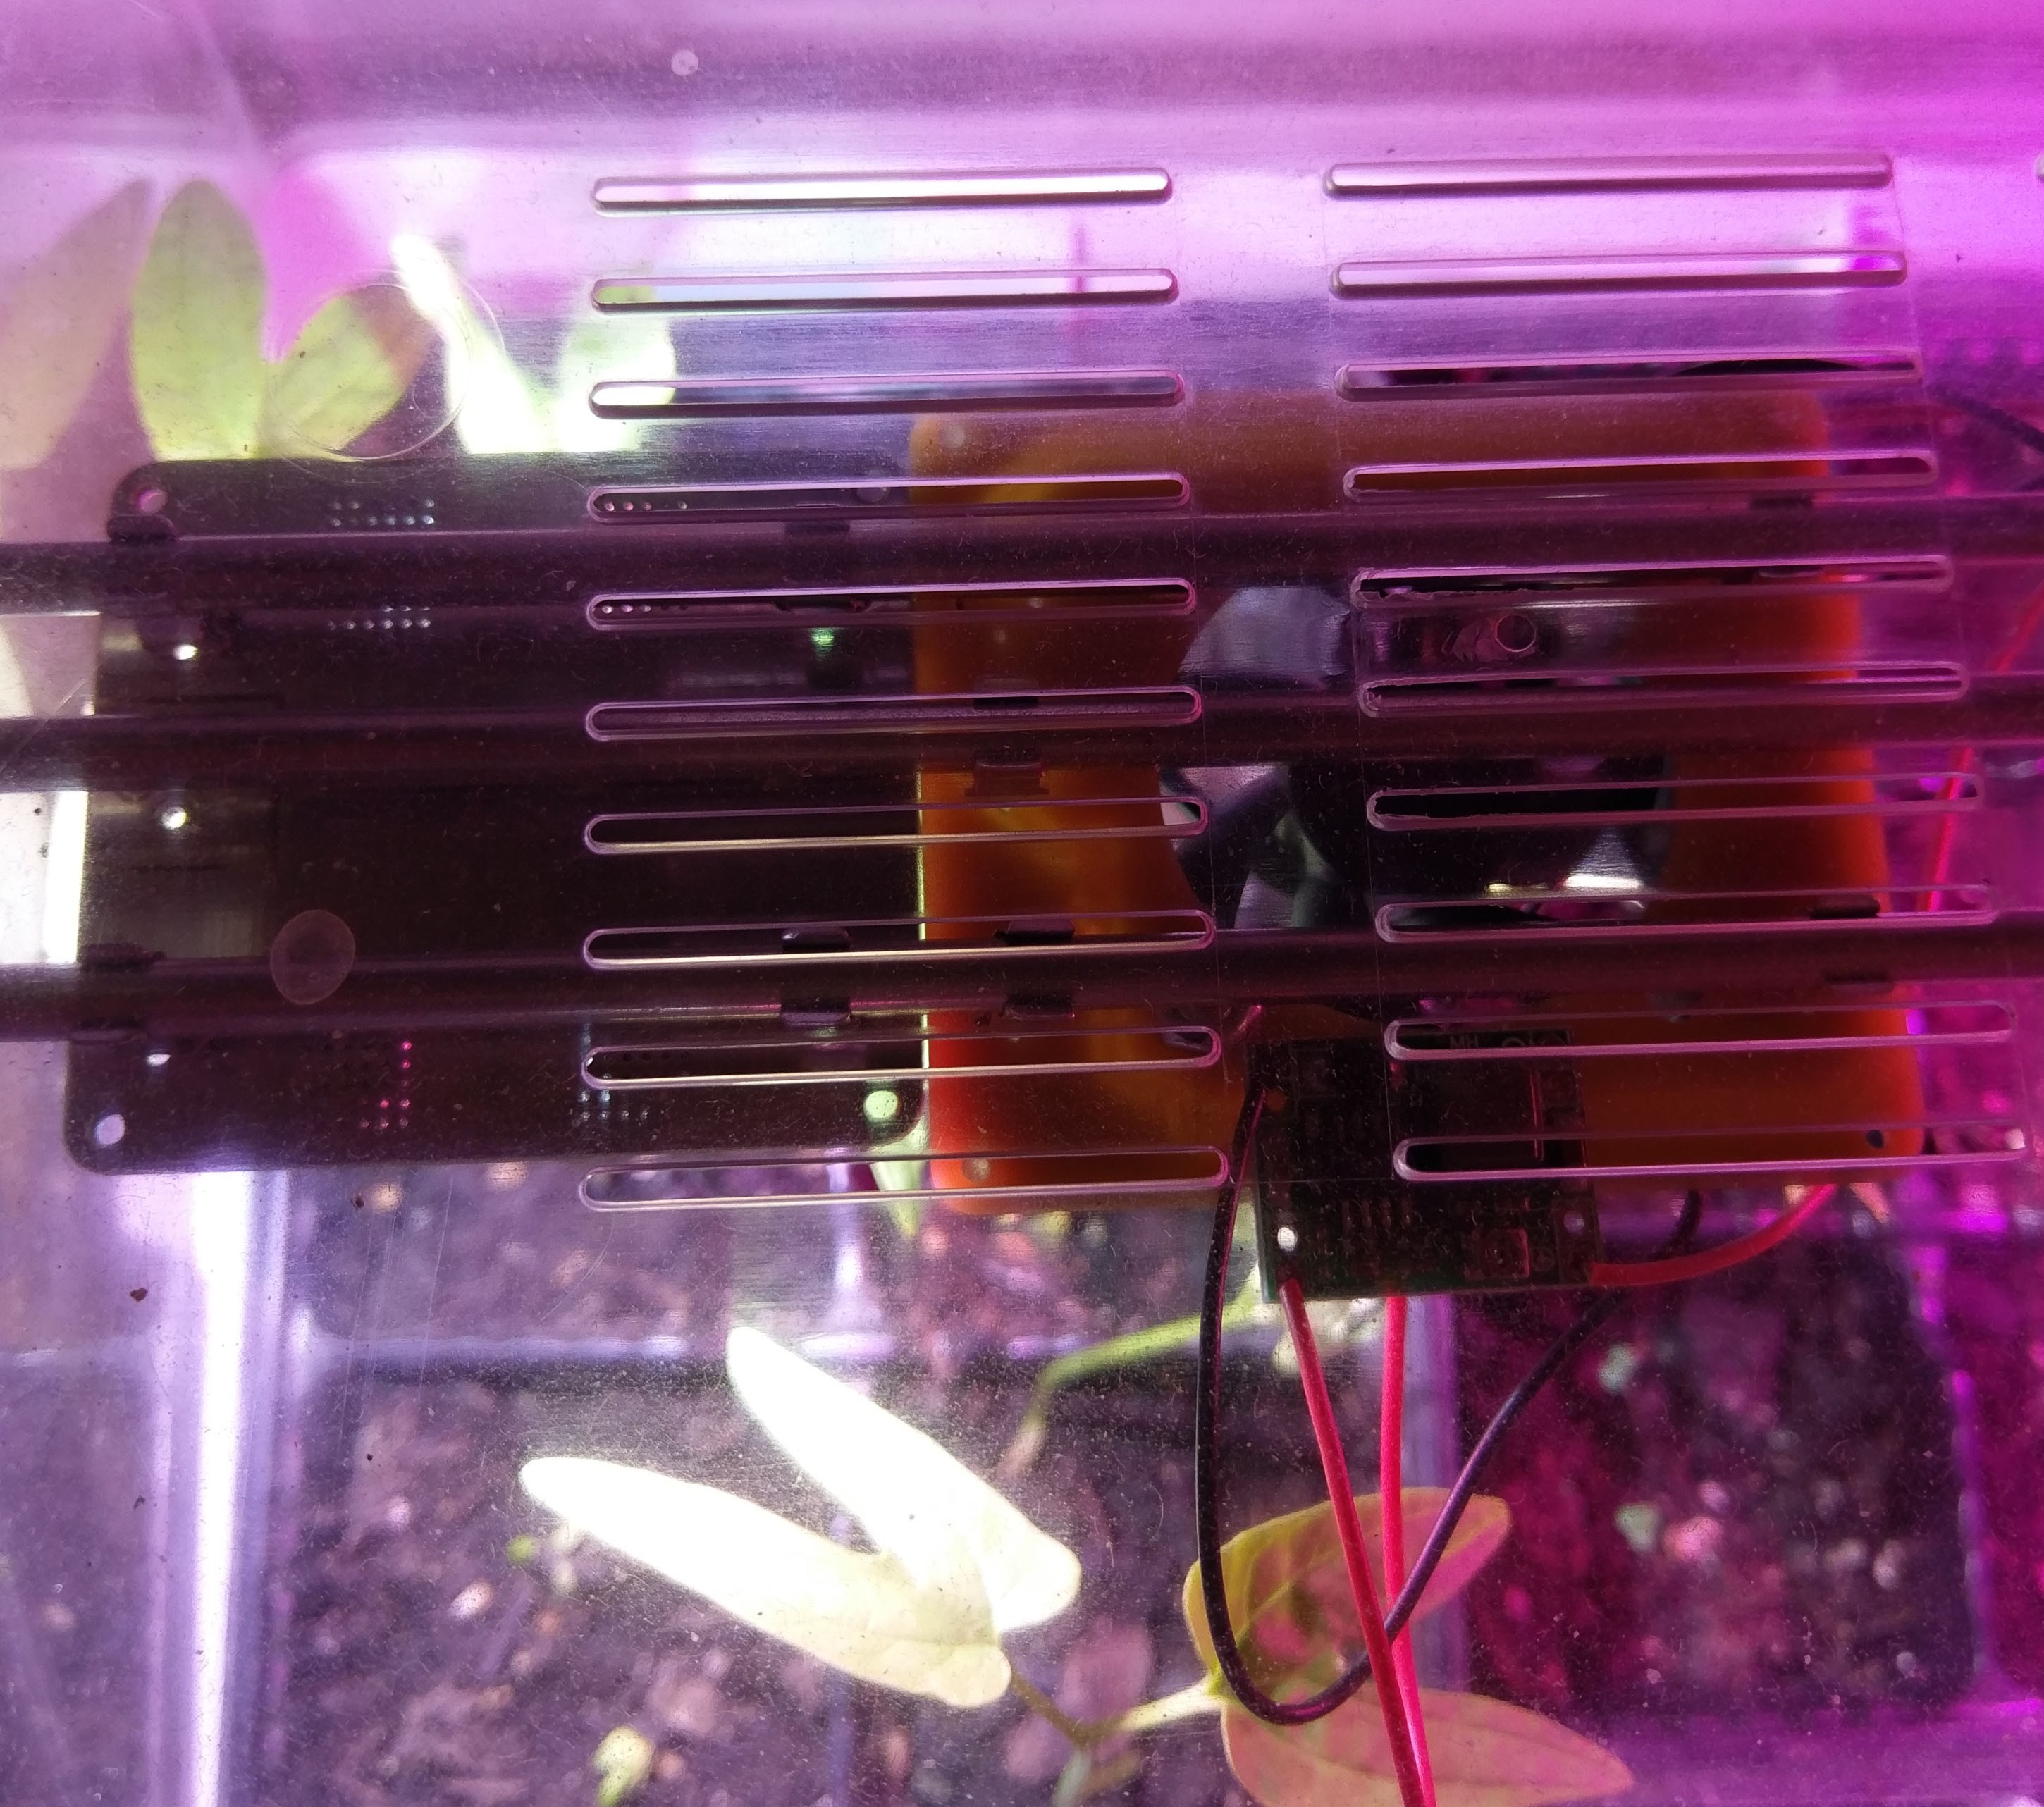
One thing you can do is stroke your plants every day. Which is nice but also gets pretty old rather quickly if you have to do that multiple times a day. So a Fan was needed which I prototyped on a milled board and that attaches to the rail system just like the LED modules.
![]()
As you can see its mounted on the top side of the board and a large hole enables air flow from the top of the breeding box.Here a video of some young fennel bobbing in the breeze.
![]()
With that I got ideas for a few more modules that I could add to this system and also a few mechanical tricks on how to adapt the system to very large plants without build a large support structure.
MoAgriS: Modular Agriculture System
Growing food crops and other plants in small indoor spaces using established containers like regular plant pots and very little money.