-
1Step 1
![]()
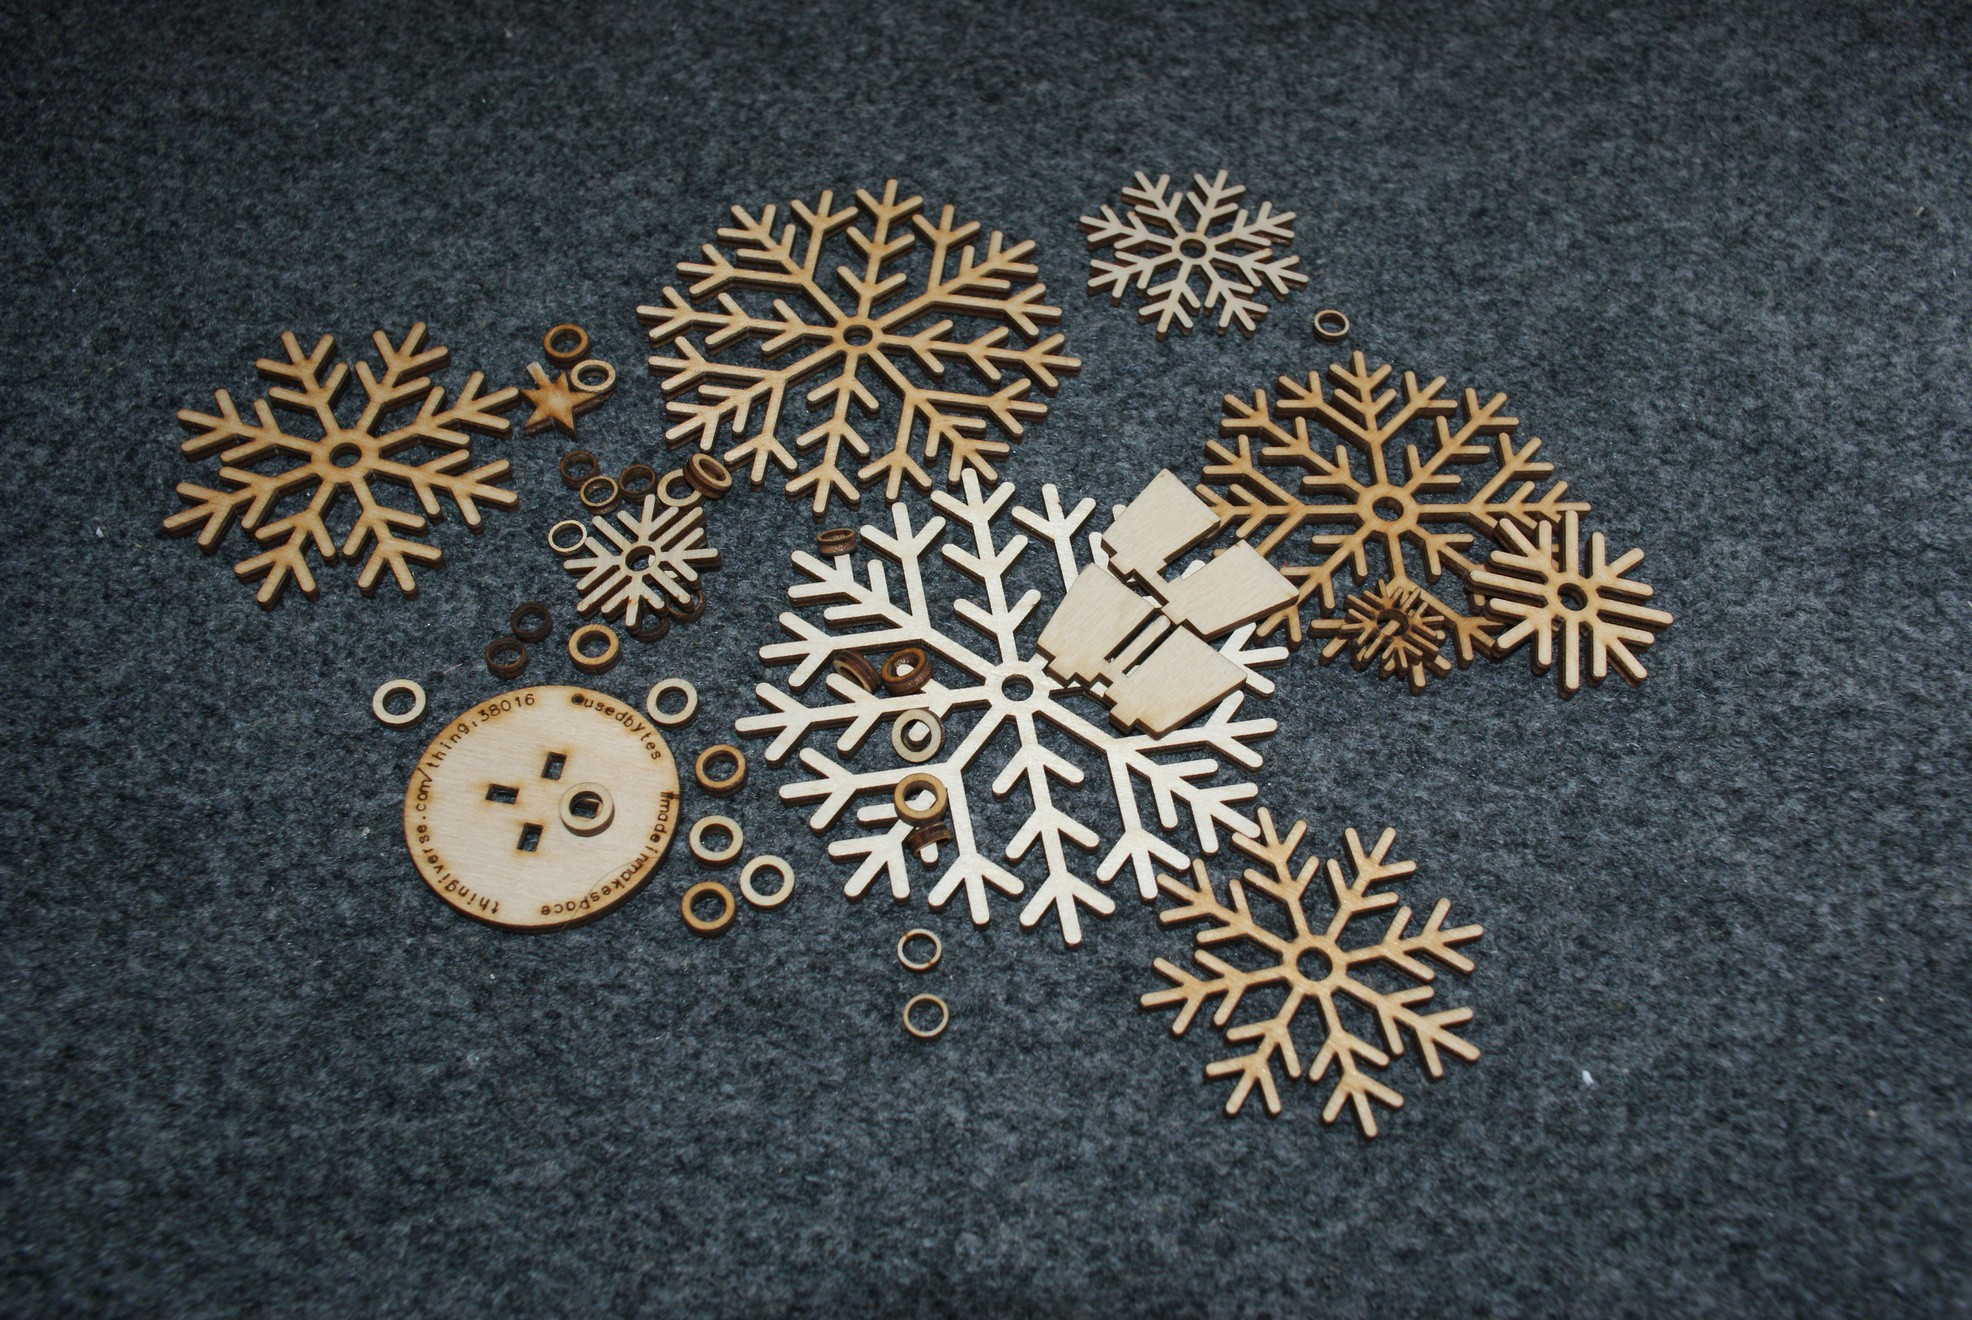
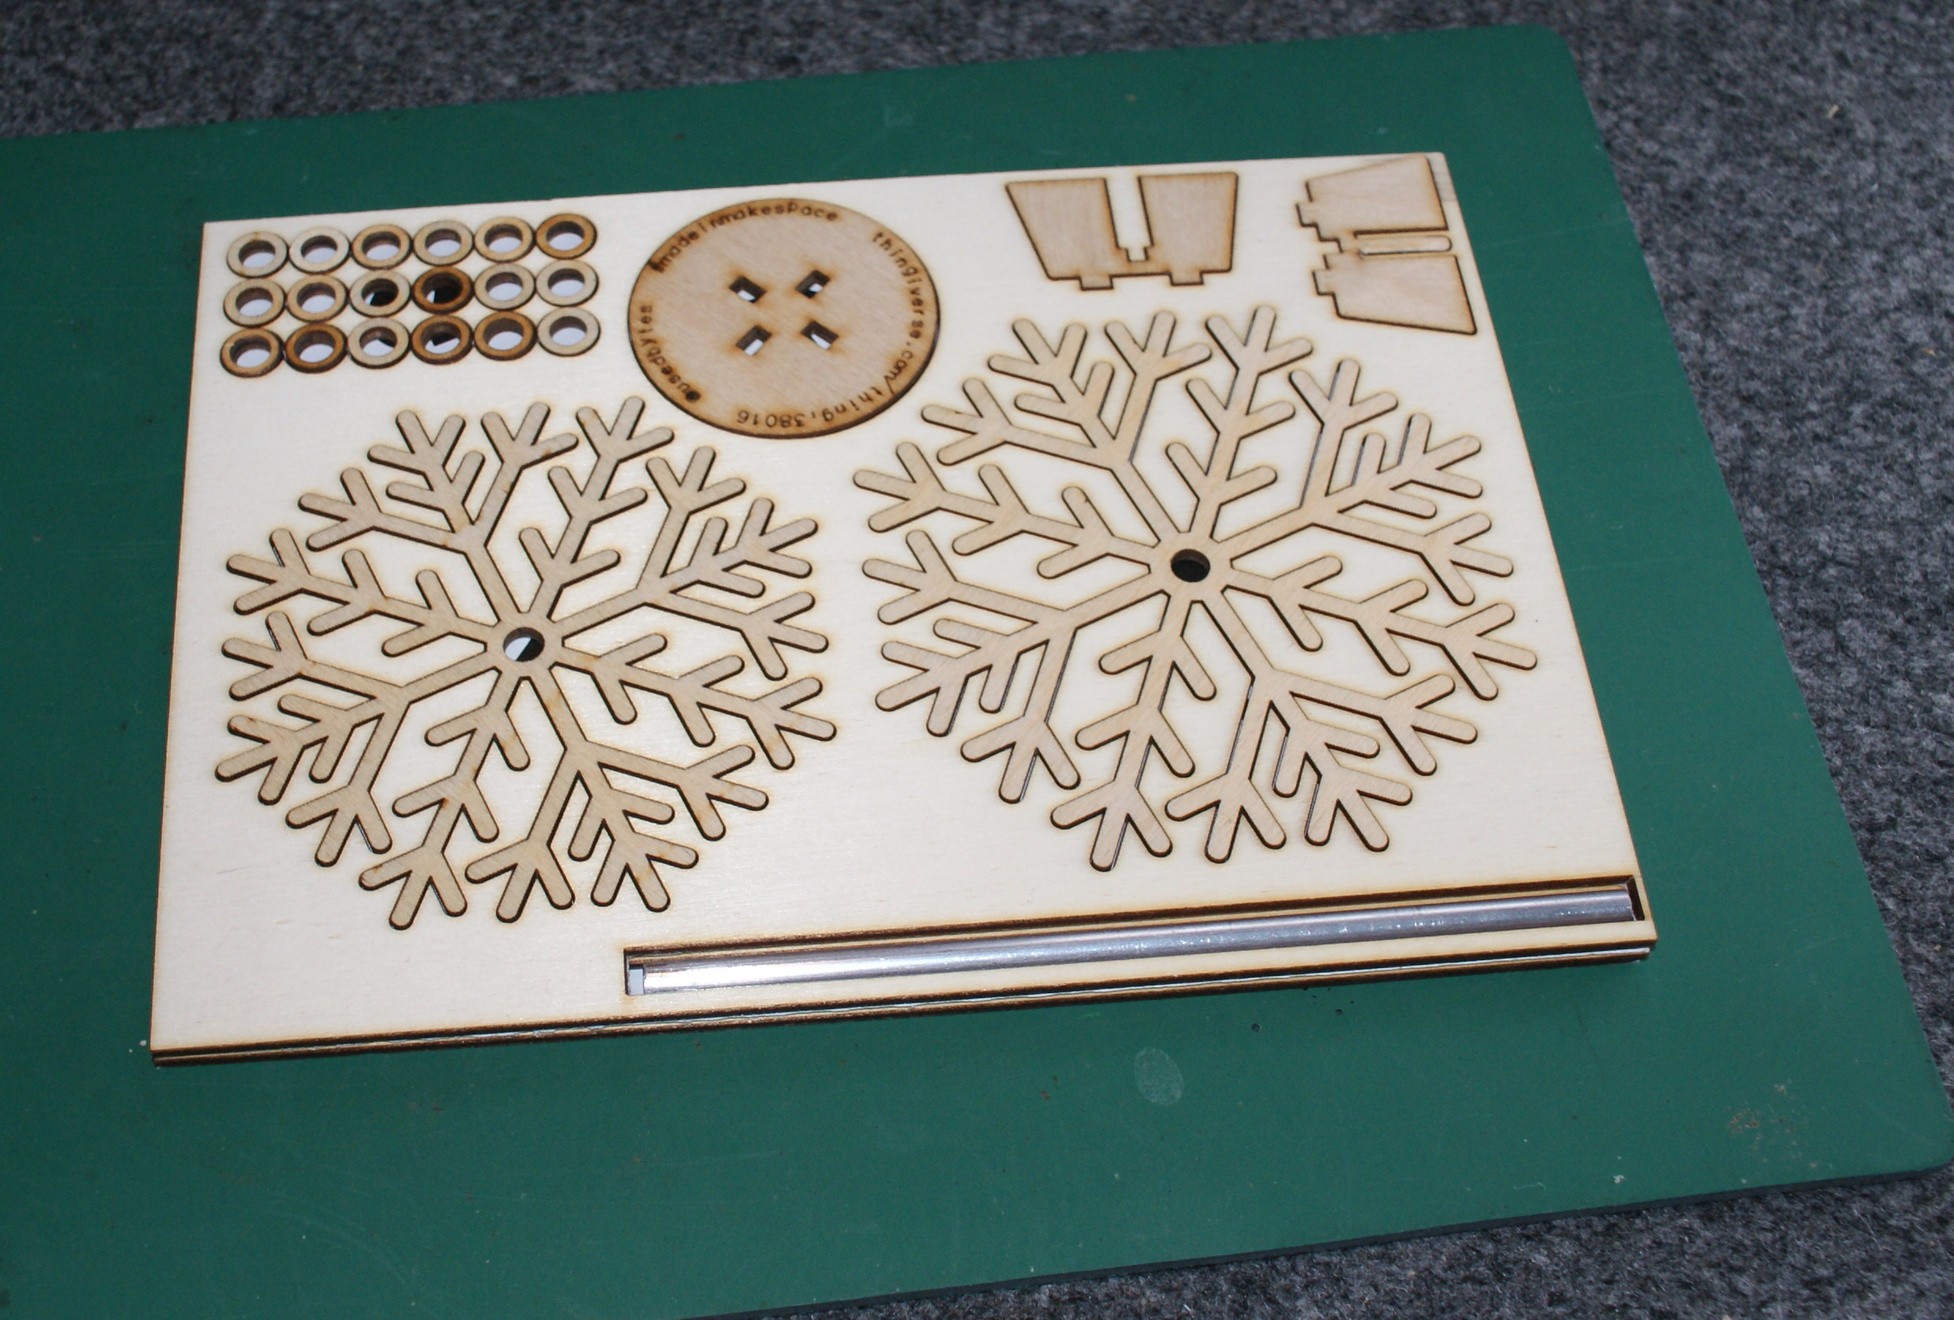
The first thing to to is to laser all the pieces out of a sheet of 3mm ply and collect them up. We also need the two rectangles the pieces came out of, so hold on to them too.
There's 9 branches, 3 pieces for the base, 1 star, 18 "large" spacers and 14 "small" spacers.
-
2Step 2
![]()
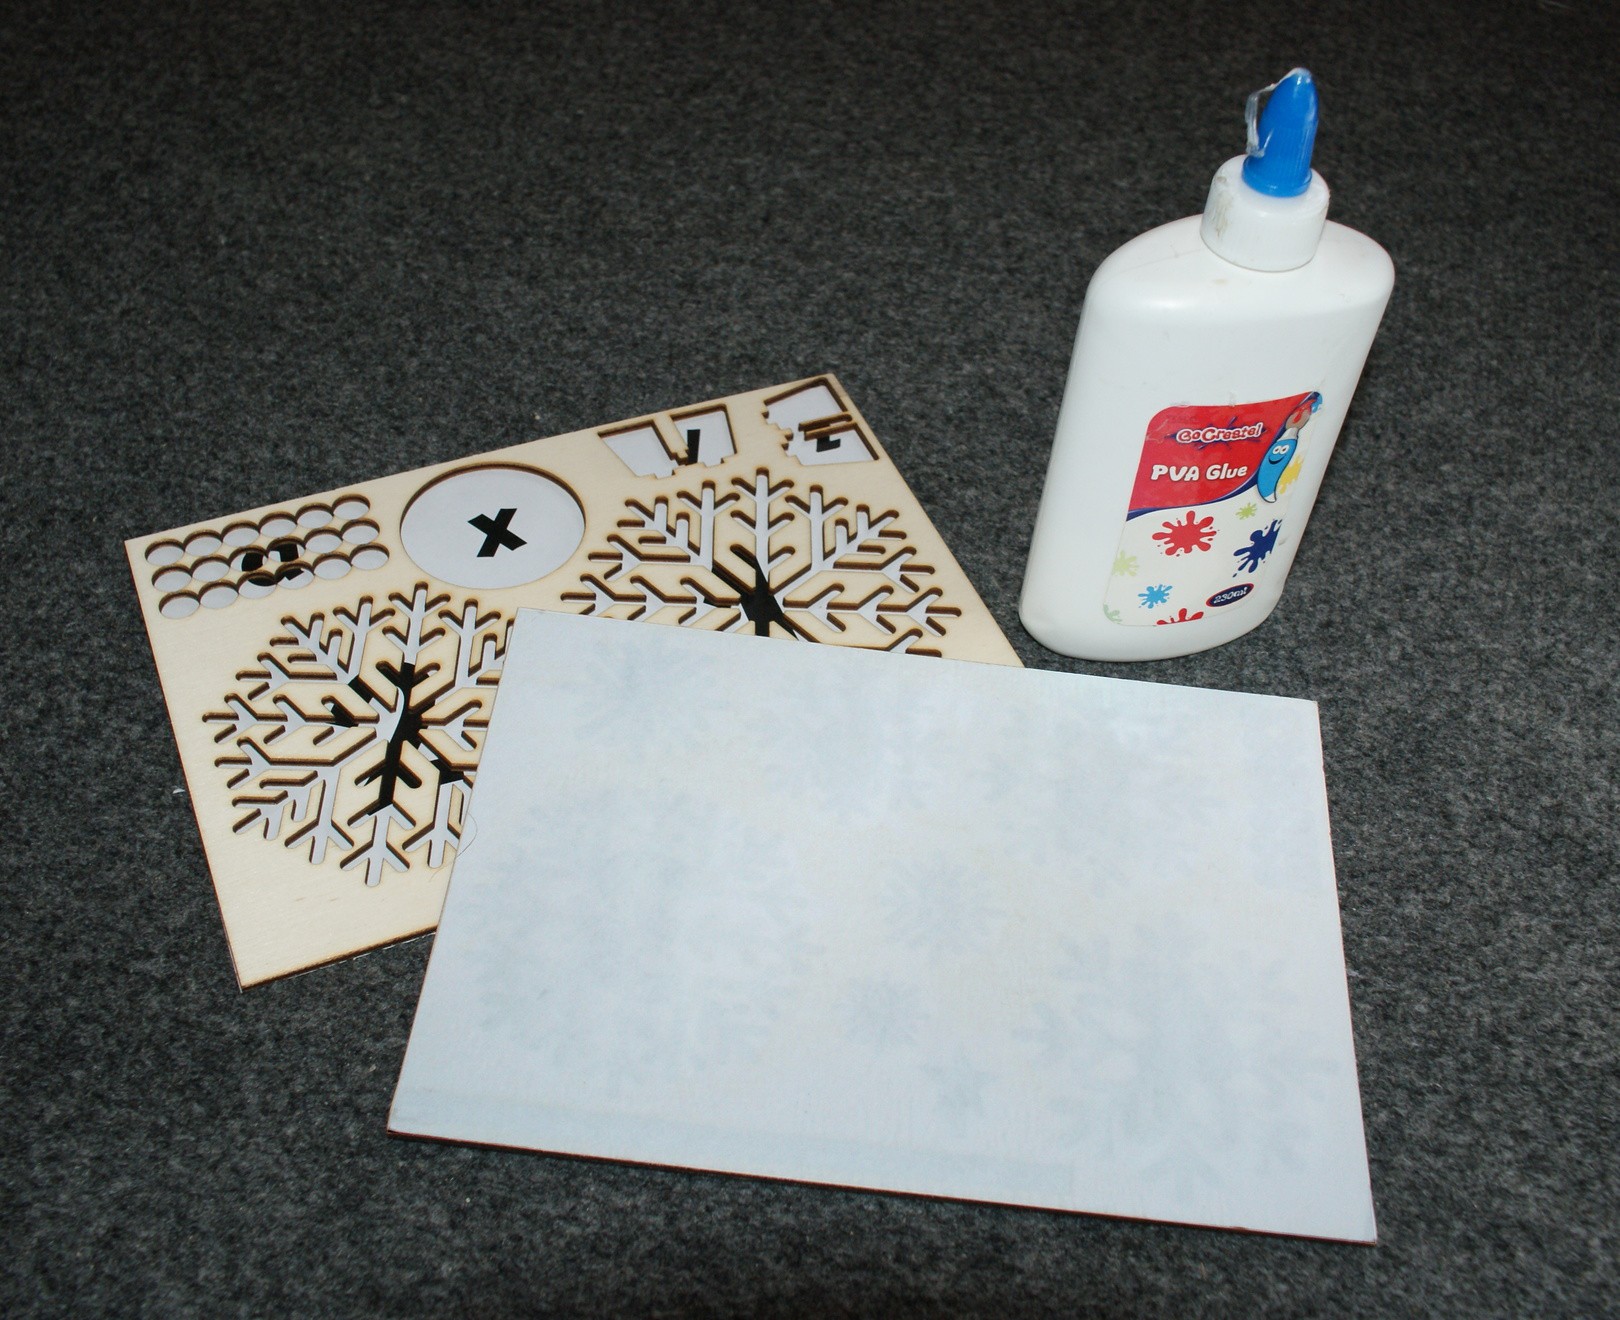
Next print out the "part identifier" file, cut the page along the middle line, and shave a tiny amount (<1mm) from each side to account for the laser kerf
-
3Step 3
![]()
Use some diluted PVA glue to stick the two halves of the "part identifier" to the back of their matching "sprue". Put something heavy on top of the pieces to ensure the paper is well-stuck, and leave them to one side to dry.
-
4Step 4
![]()
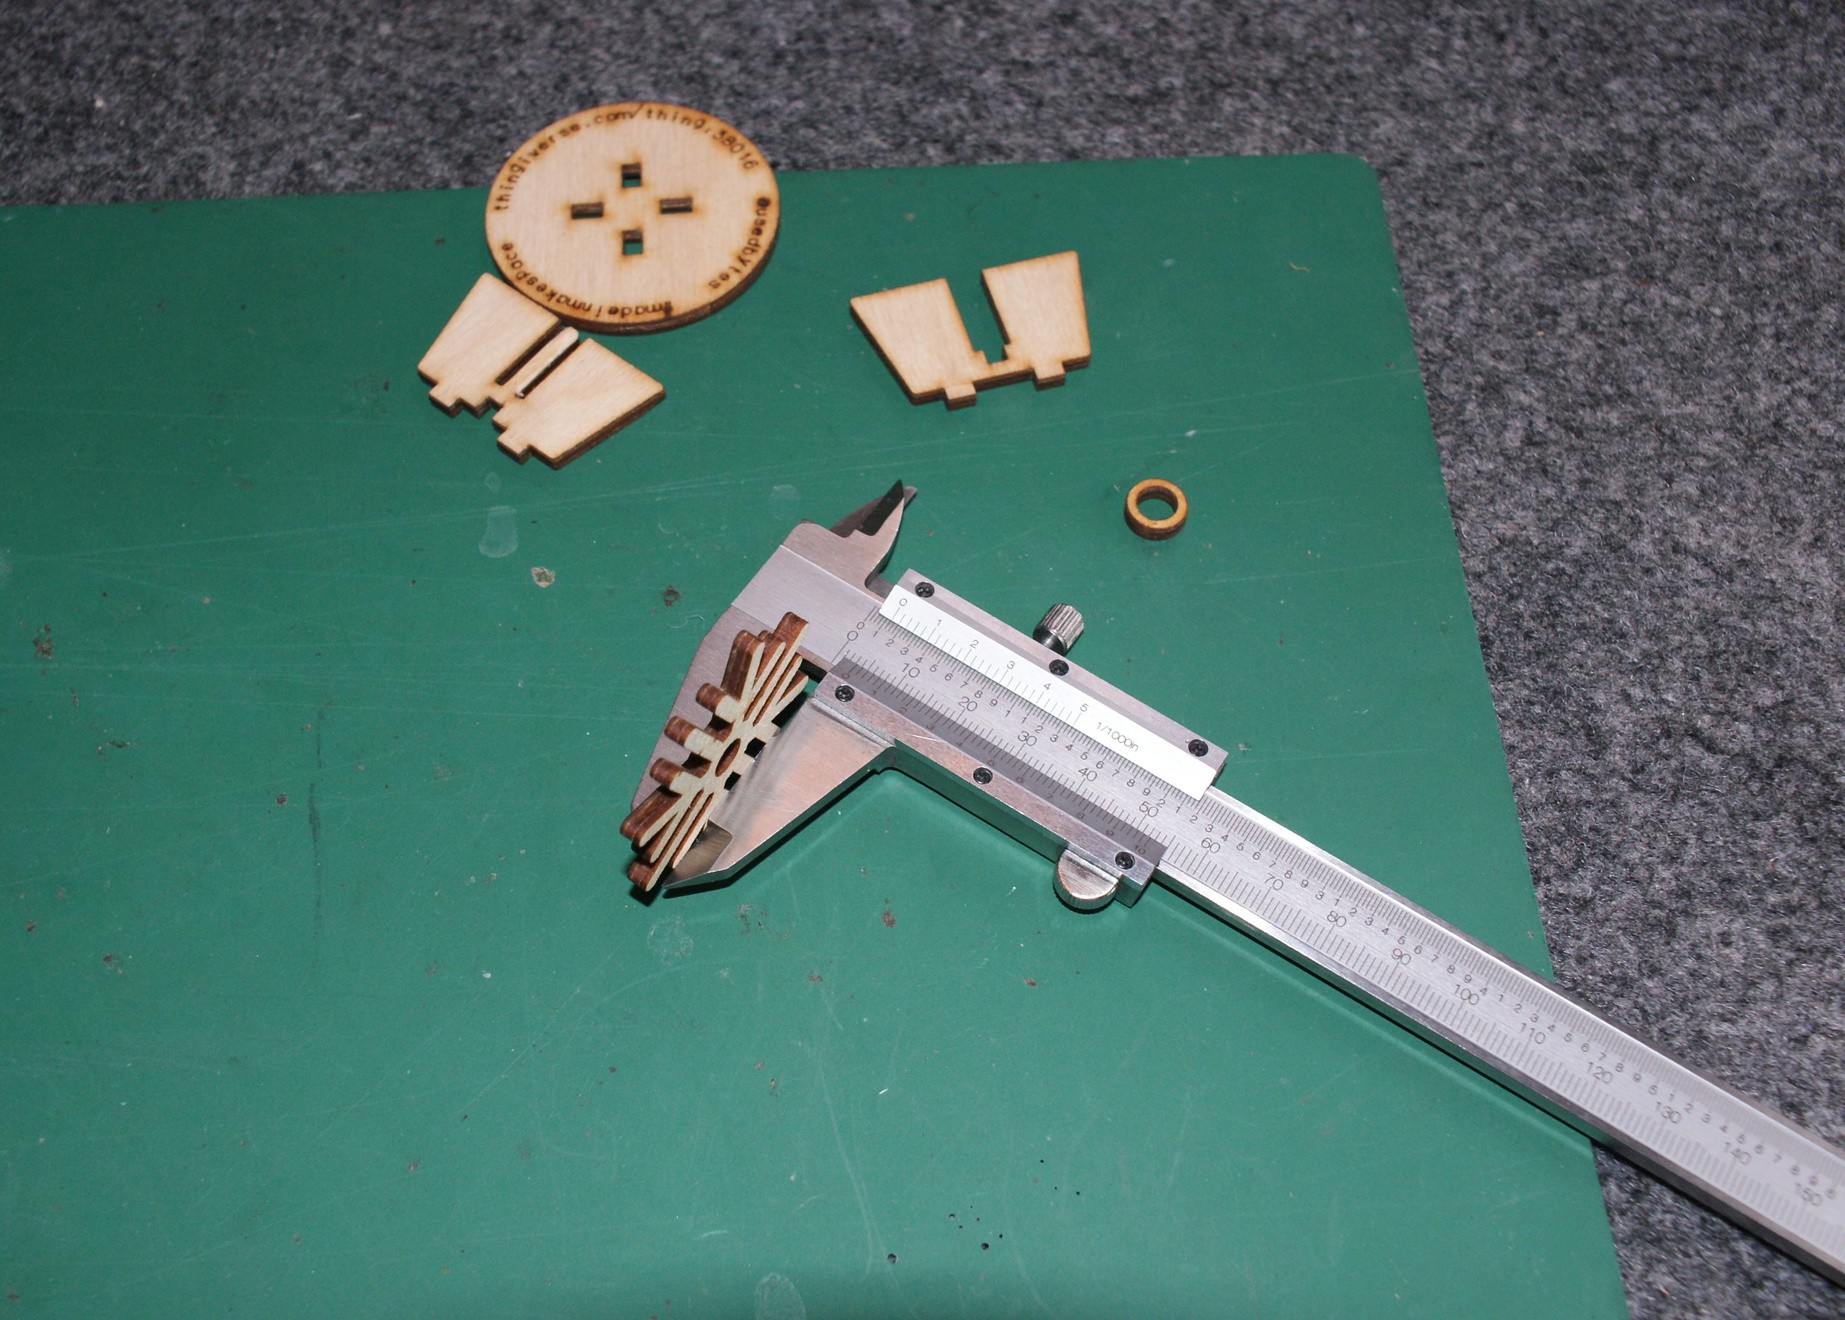
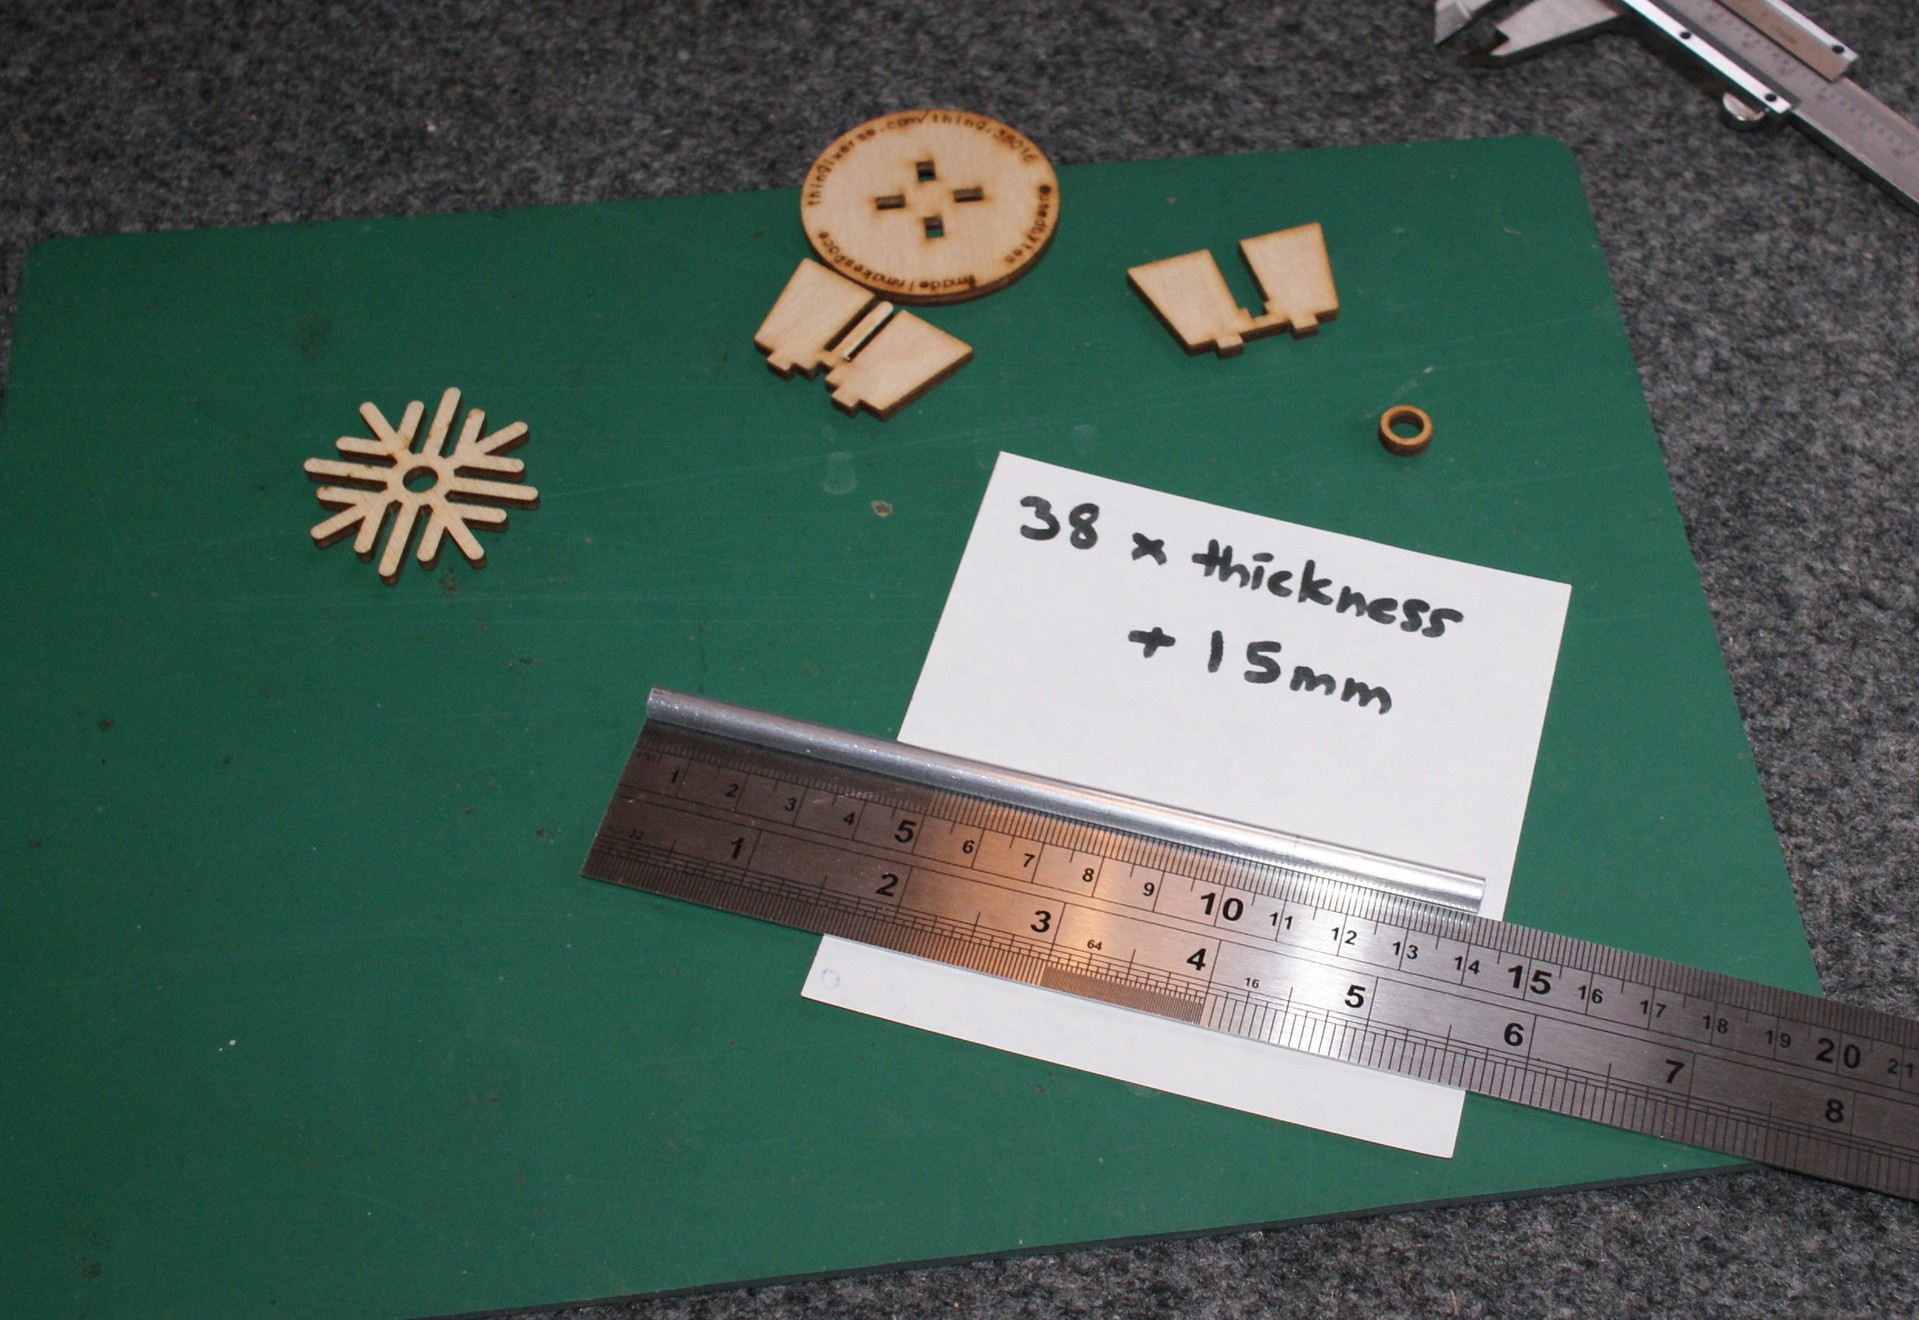
While the glue is drying, we'll sort out the rest of the prep. First, measure the thickness of your plywood. We need to be quite exact, so callipers are best. The thickness should be quite uniform, but measure a couple of pieces if you want to be sure and take an average.
-
5Step 5
![]()
Cut a piece of the tube to the right length with a hacksaw:
The tube is 6 mm dia. hollow aluminum tube, with ~1 mm thick walls. This conveniently leaves 3-4 mm of space in the centre. I bought mine in B&Q: http://www.diy.com/departments/ffa-concept-aluminium-round-tube-l1m/254217_BQ.prd
Once you've cut it, sand/file the edges on the outside and inside of the tube. We need the centre hole to be clear of burrs.
-
6Step 6
![]()
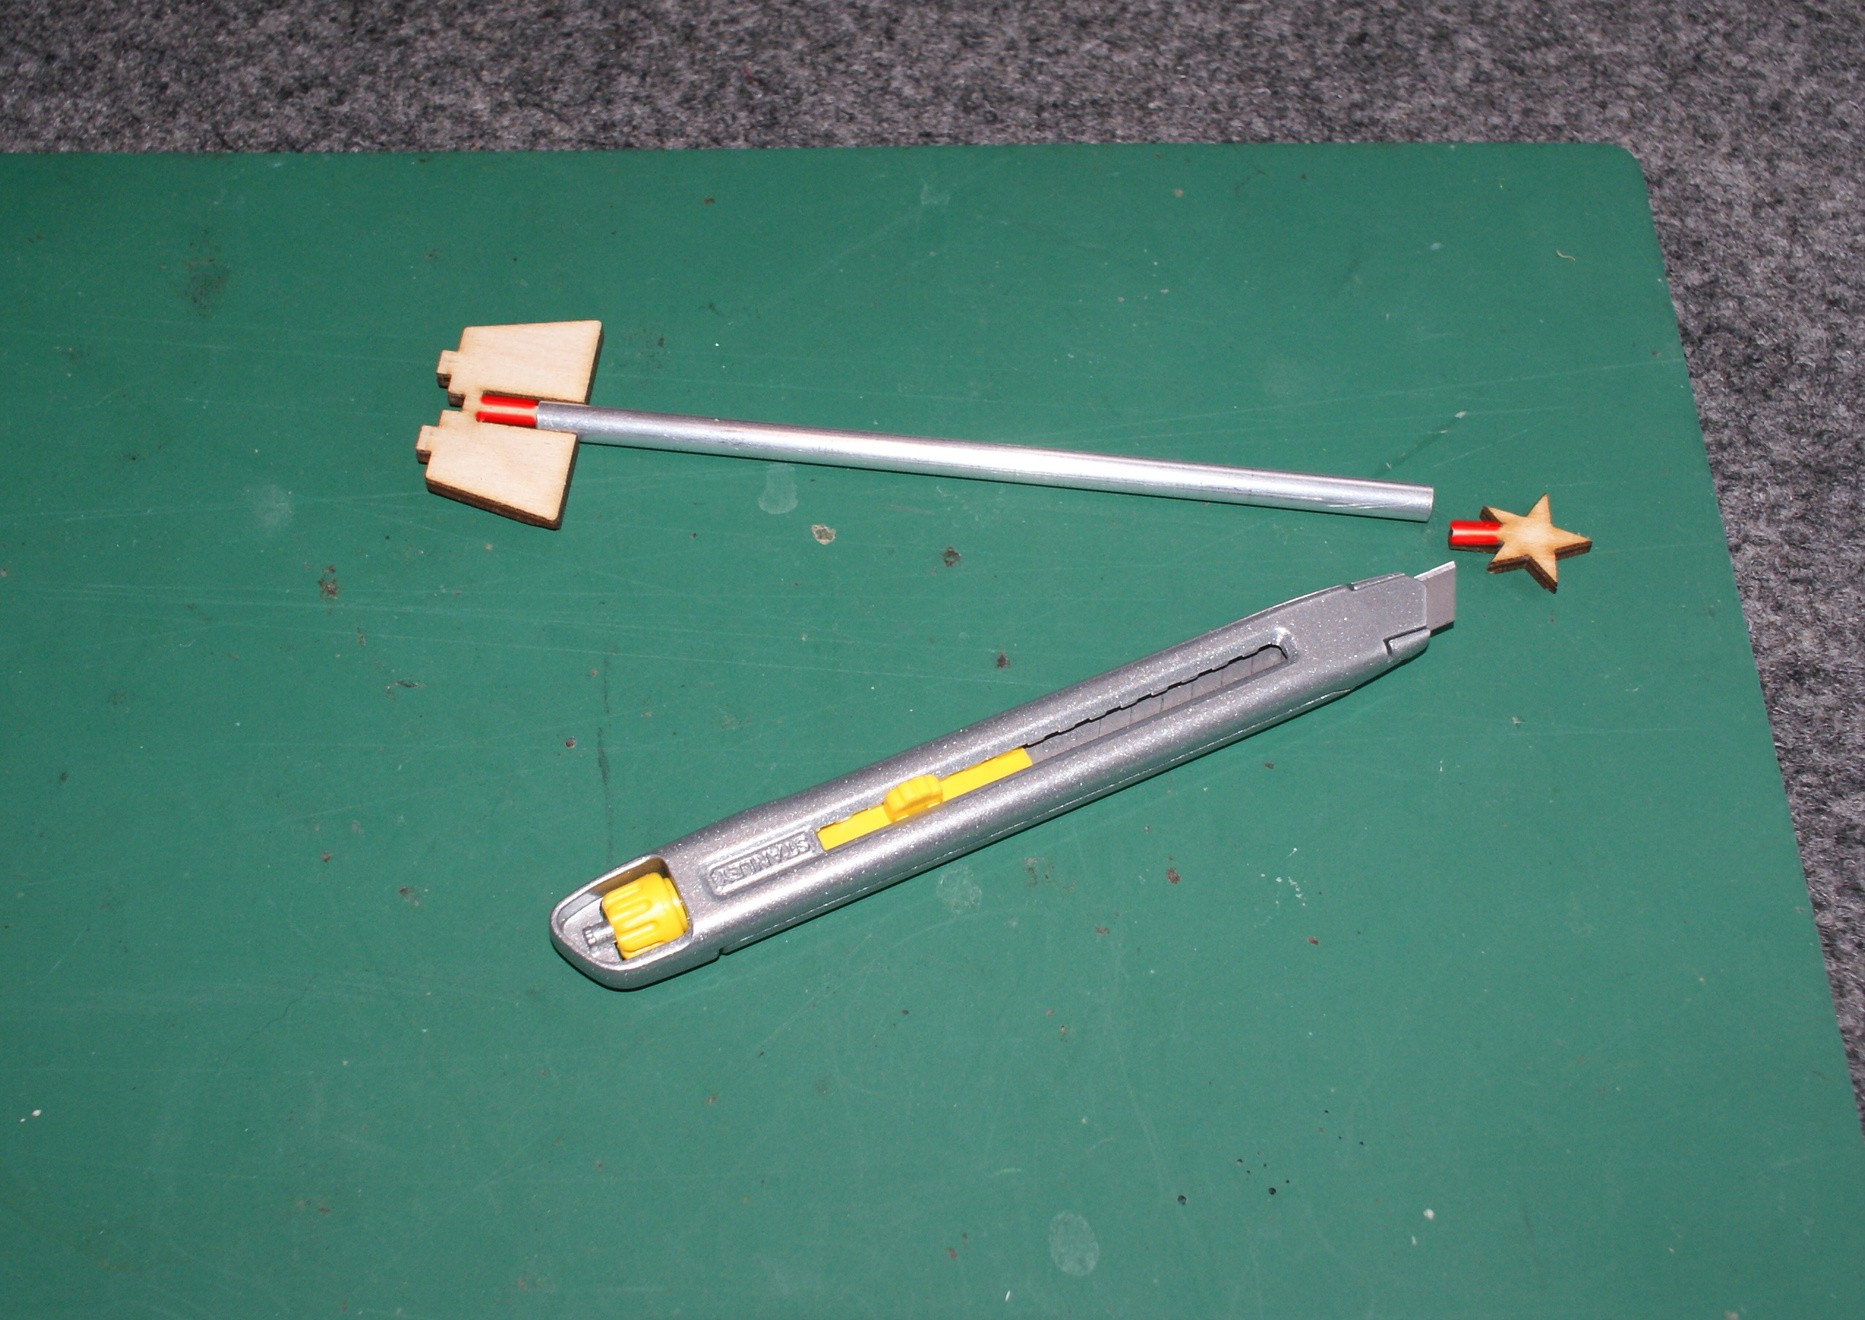
Now we're going to start test-fitting the parts. You'll likely need to shave a little off the "finger" in part z and off the stem of the star so that they fit inside the tube. You want a snug fit (but not too snug!)
If your plywood is too thin (nominal 3mm ply can come out at around 2.8mm), then you might find the wood is loose before you've even done anything to it. If this is the case, you can modify the CAD files, or perhaps apply some glue or tape to the "shafts" of the two pieces to make a tight fit.
-
7Step 7
![]()
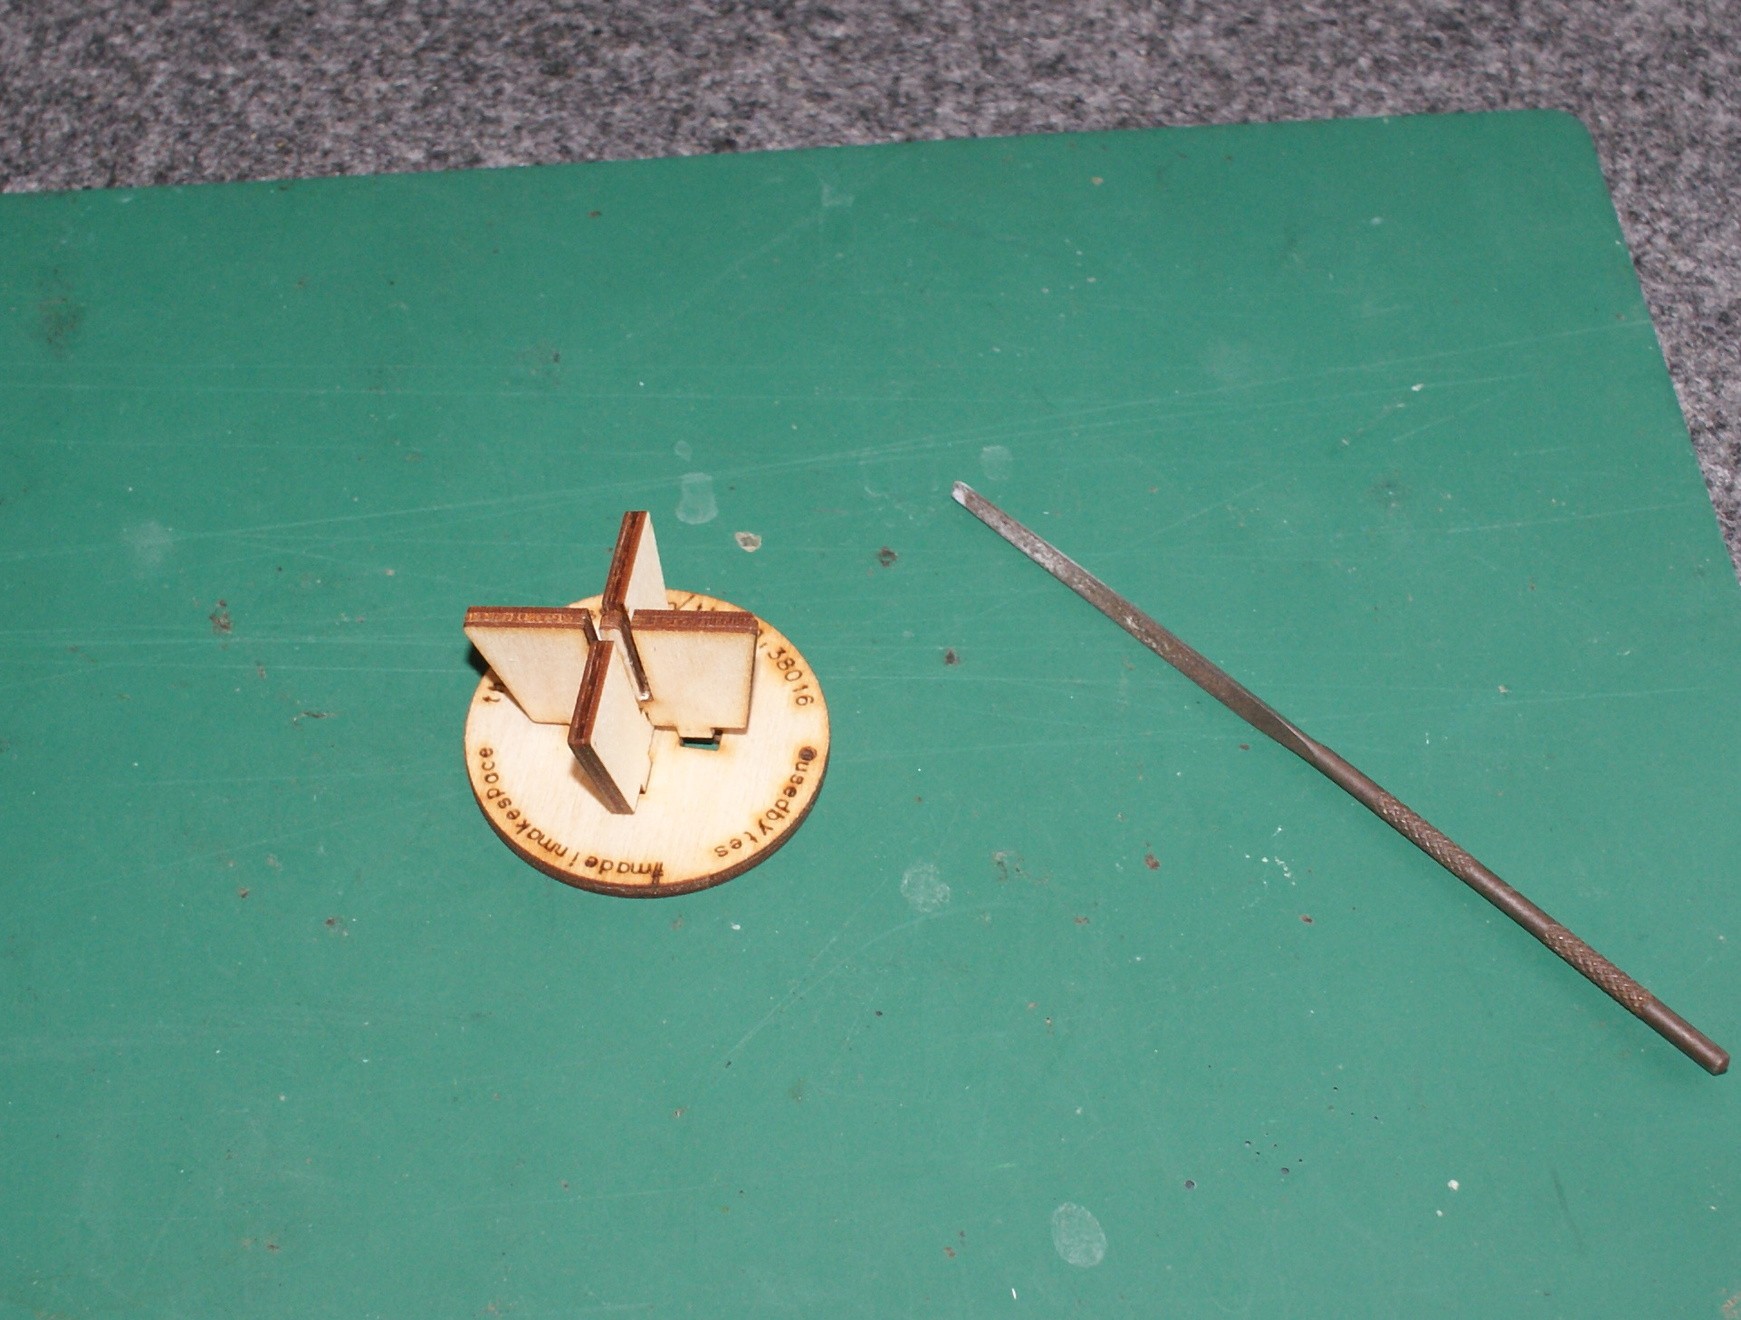
We need to also check the base - make sure pieces y and z fit snugly into piece x. Again, if they are too loose (the CAD files are designed for 3mm exactly), either cut piece x again or perhaps apply some PVA to the holes in x to make them a bit smaller.
-
8Step 8
![]()
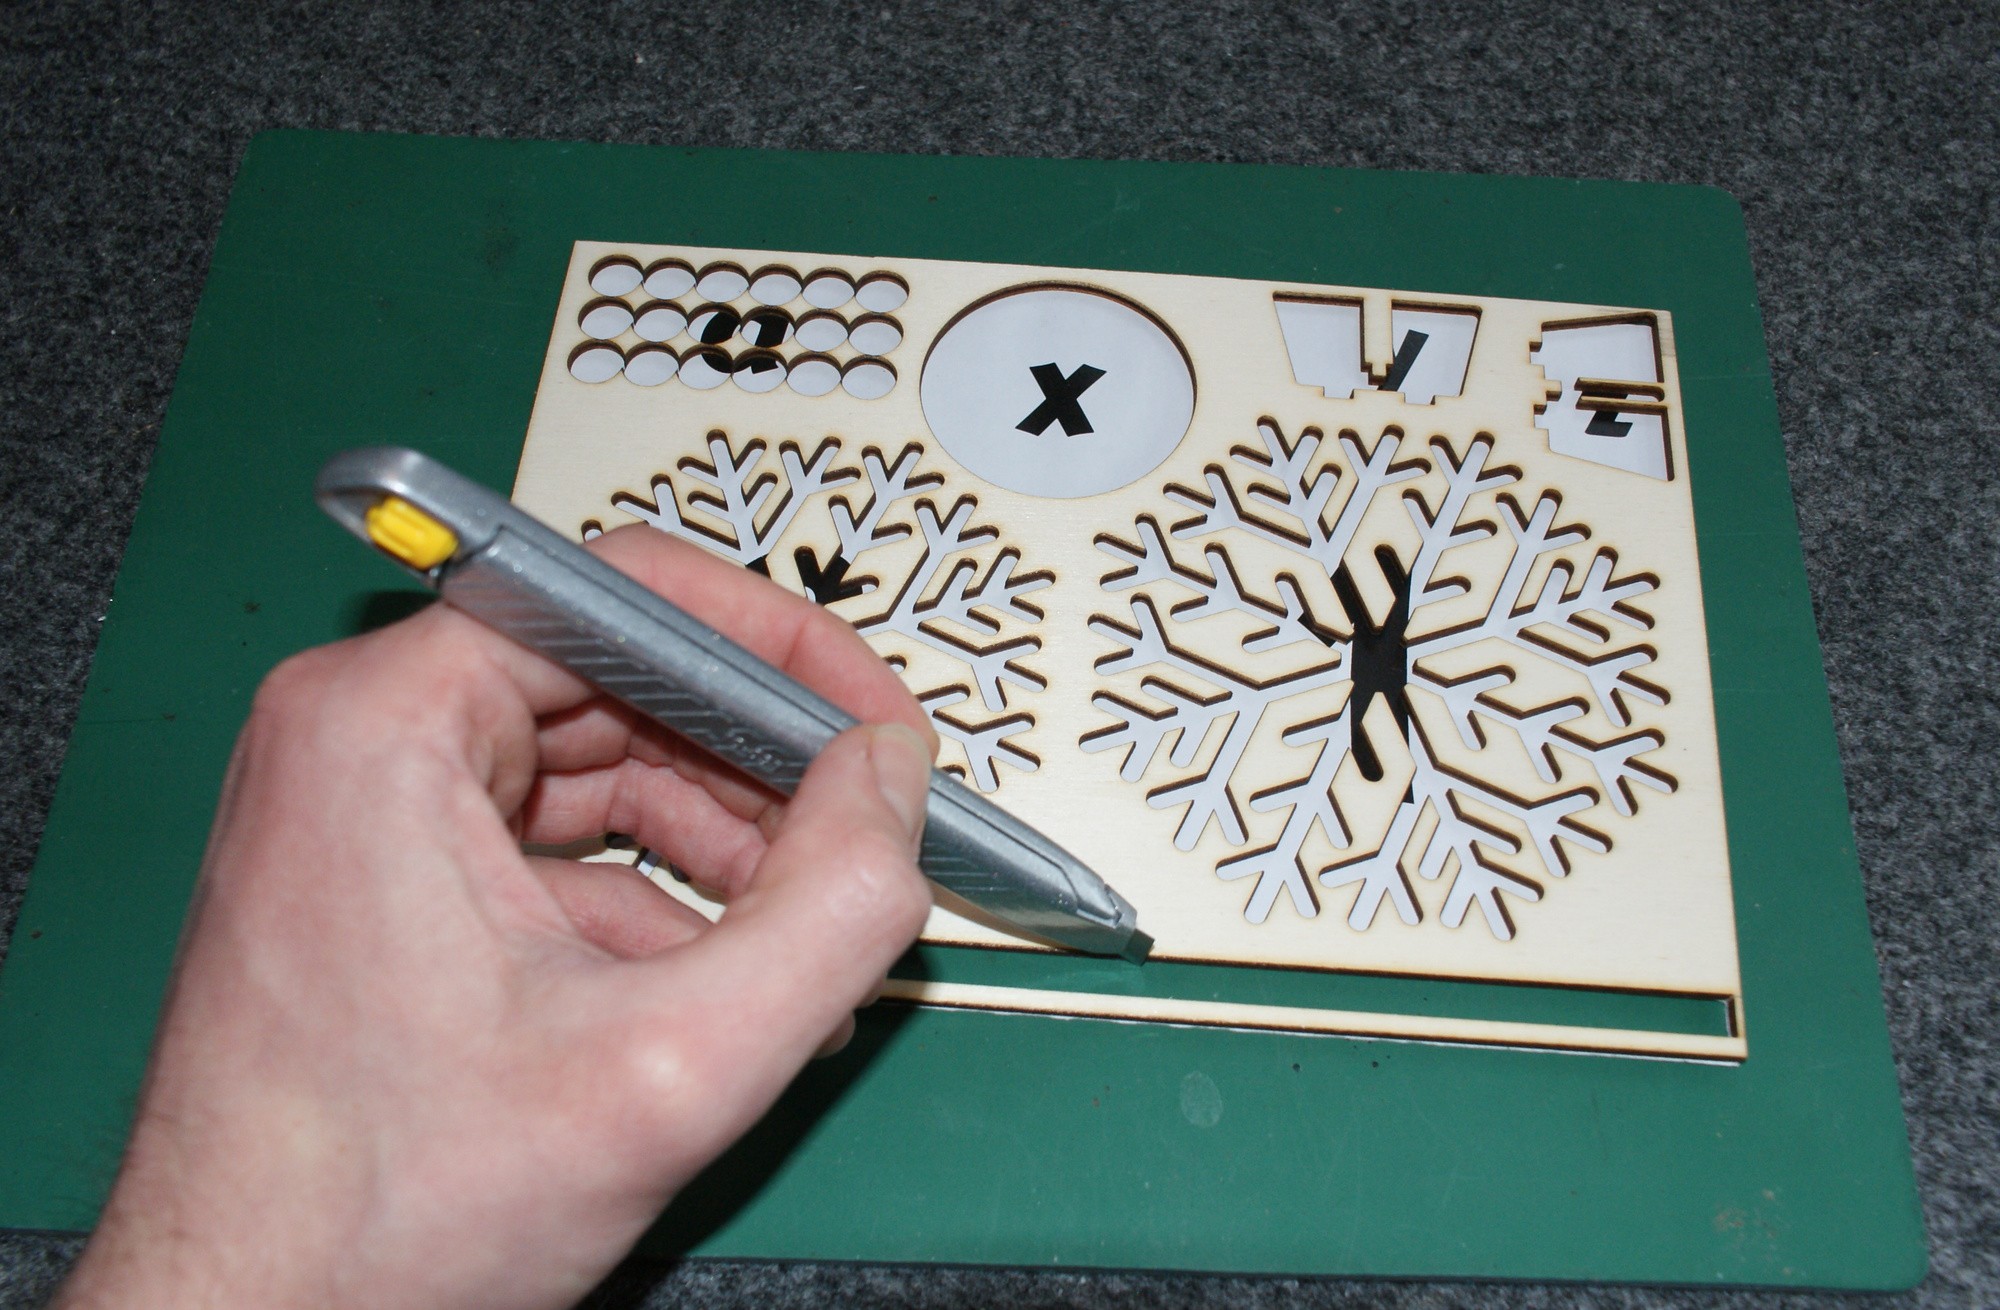
By now the glue is probably dry enough to carry on with the trays. We need to cut the backing out of the tube slot in the top sheet only. The top sheet is the one with parts x, y, and z in. This allows the tube to sit in the bottom sheet and the whole thing fits together nicely.
-
9Step 9
![]()
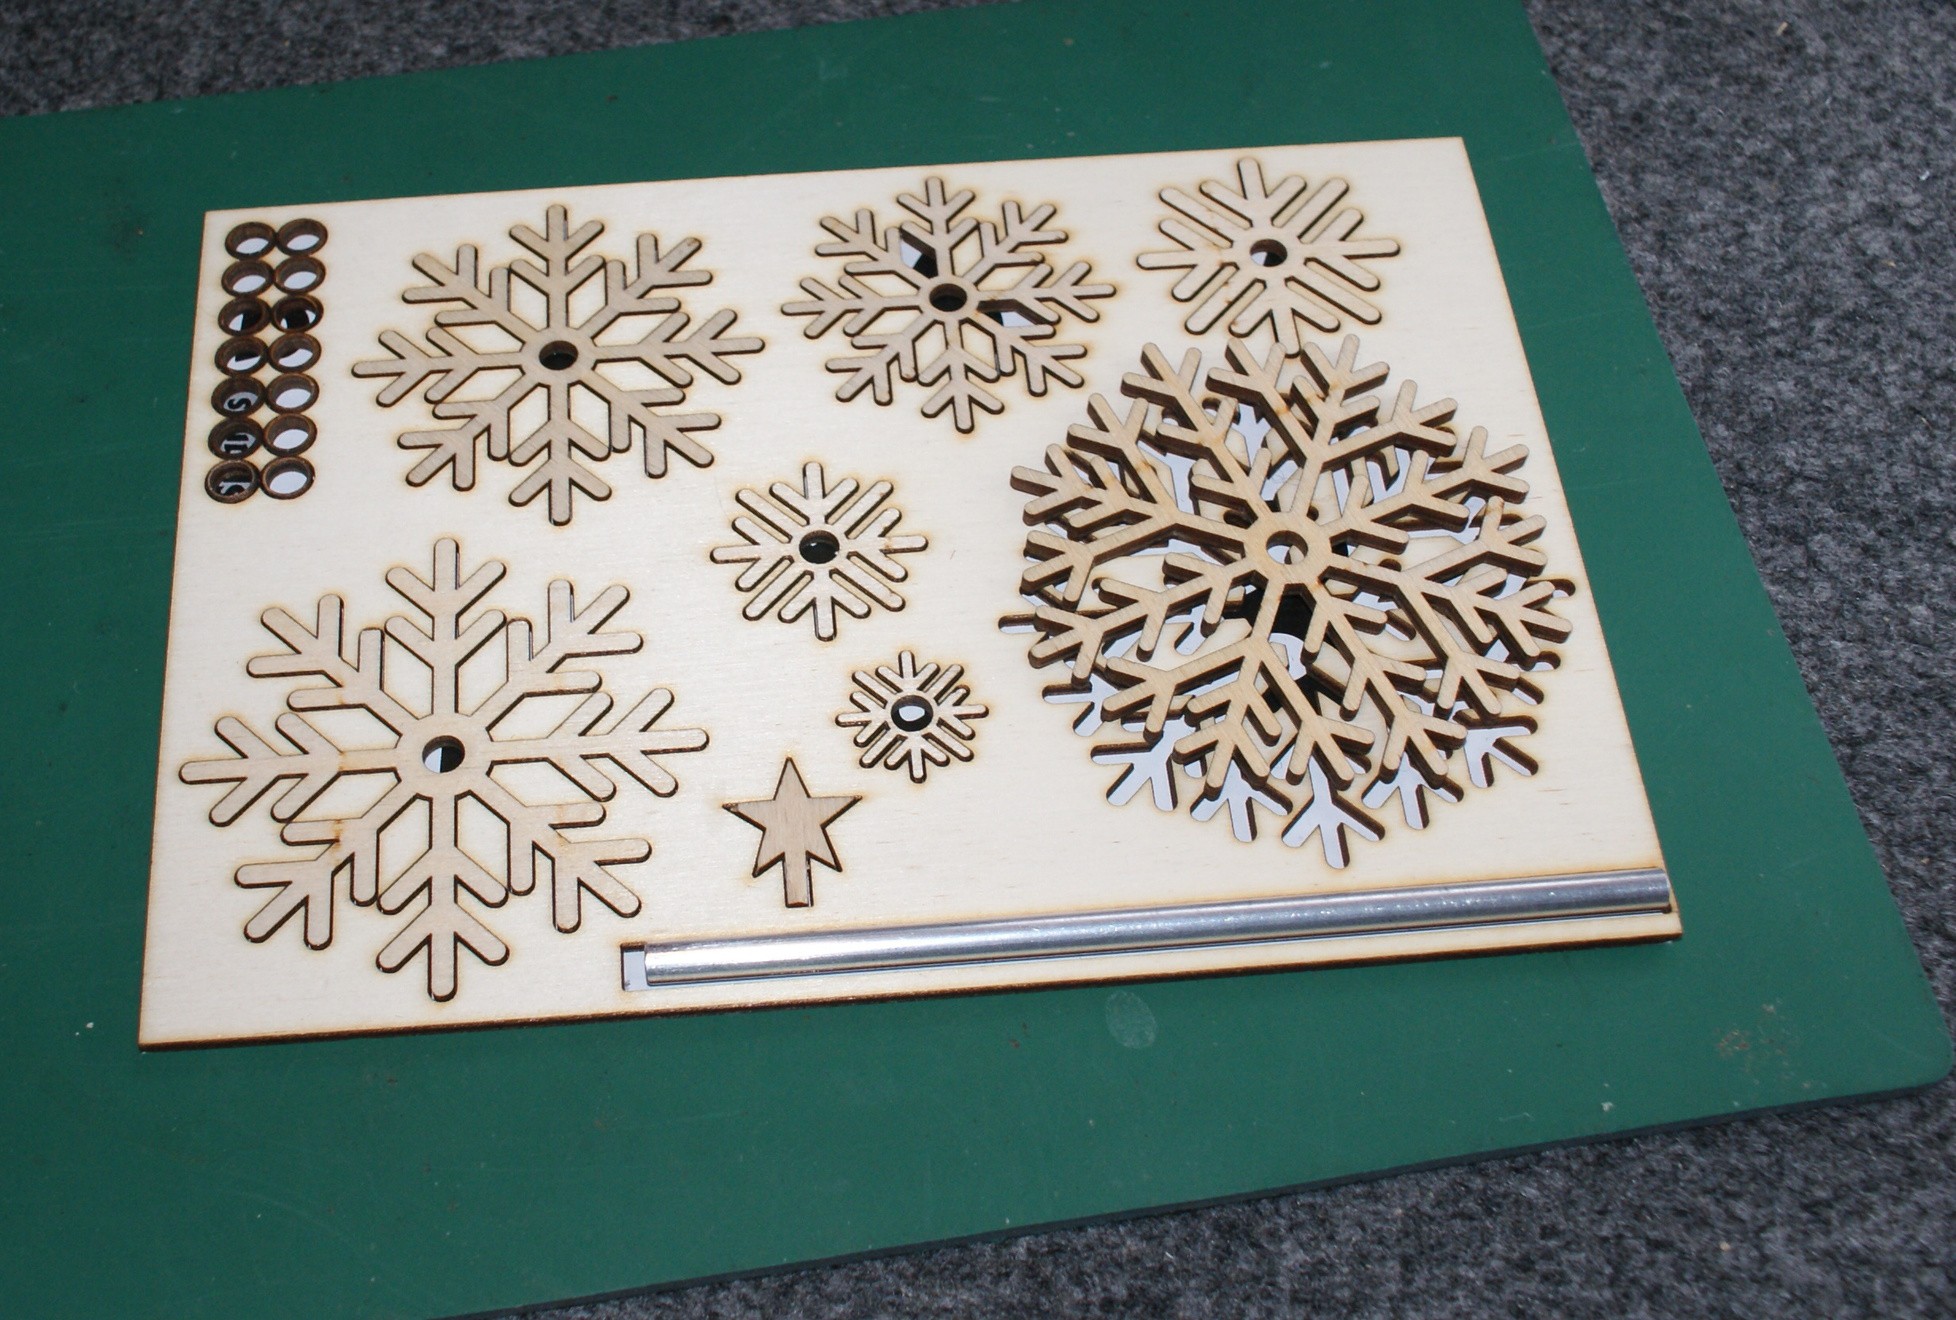
Now just gather up all the pieces and return them to their holes. Make sure the glue is dry at this point, or you might end up glueing the pieces in permanently!
-
10Step 10
![]()
Lay the top sheet on top of the bottom sheet and everything should go together rather nicely.
Laser-cut, Mail-able Christmas Tree
A flat-pack, desk-top Christmas tree. Costs the same as a lame card, but is way cooler.

Discussions
Become a Hackaday.io Member
Create an account to leave a comment. Already have an account? Log In.