Foxmjay
It's really amazing what you can do with the different development boards available today. This is my 3rd attempt trying to make an autonomous Robot , well more or less autonomous . RikonV2 is the successor of my previous Robot RikonV1 .
At first i was planning to make it a wheel balancing robot , however things turned to something else , but the outcome was not that bad at all and i see a wide space for improvements .
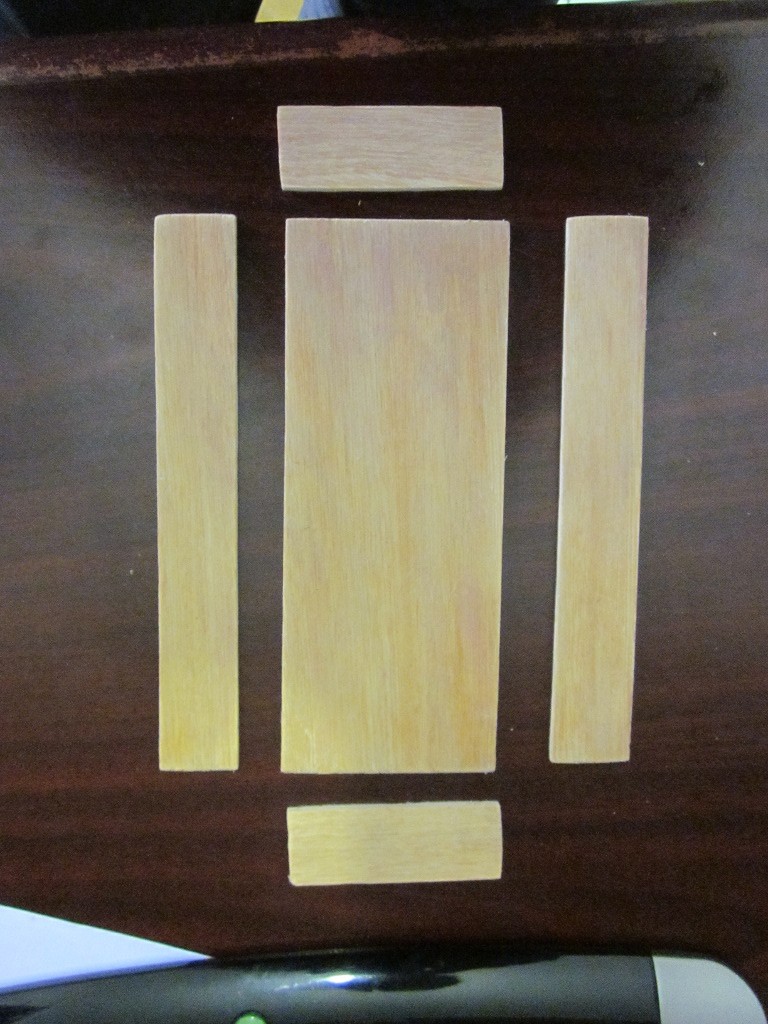
I started by making a base frame with some wood i had laying around :
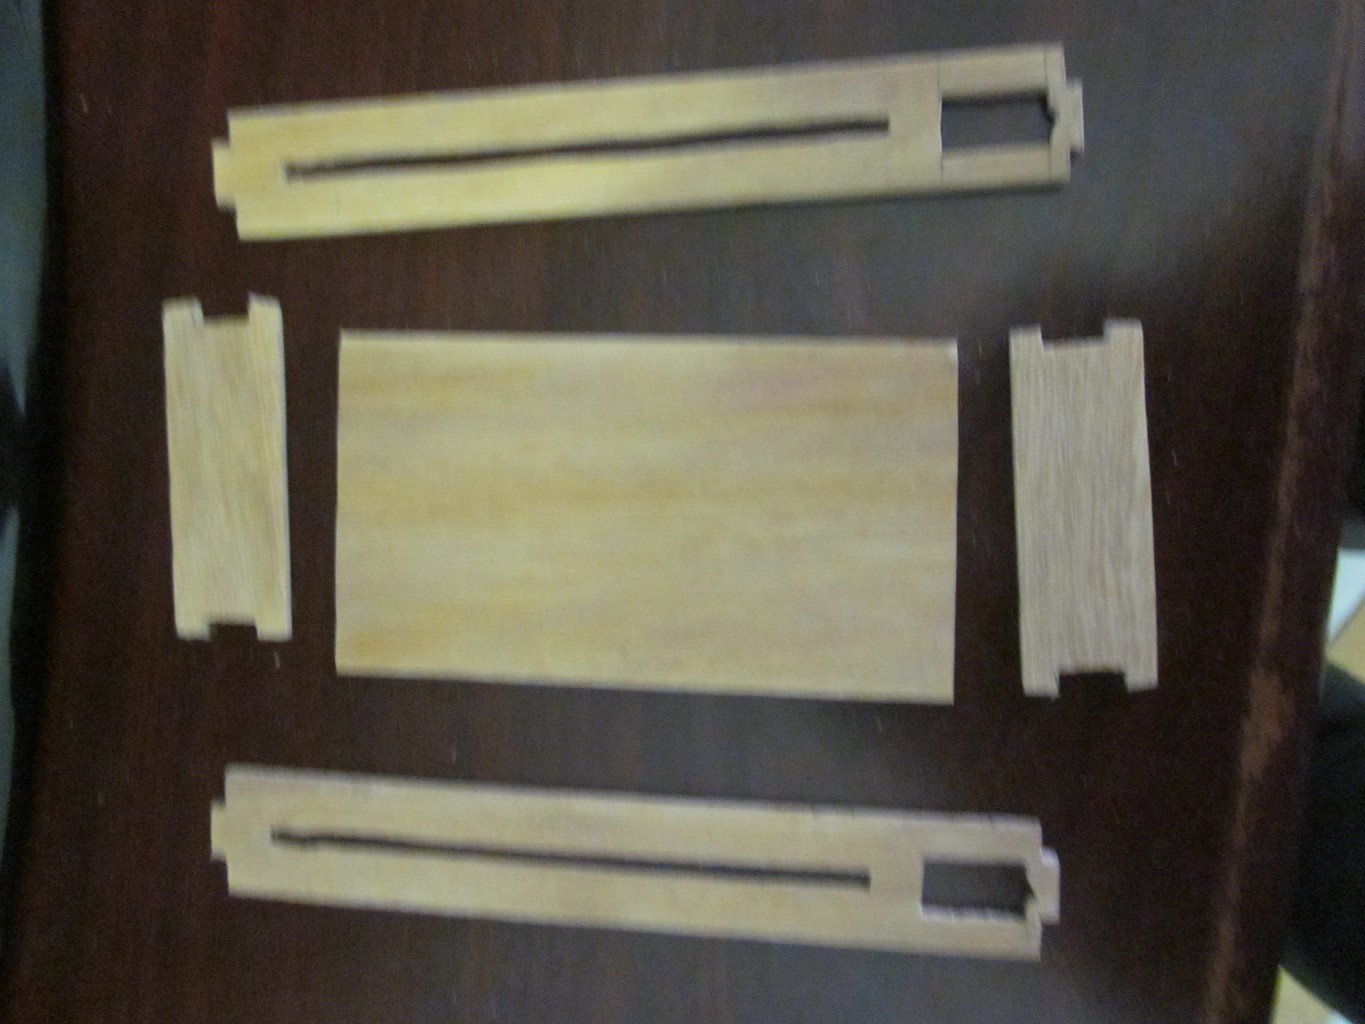
Then glued it together and added 2 modified Servos :

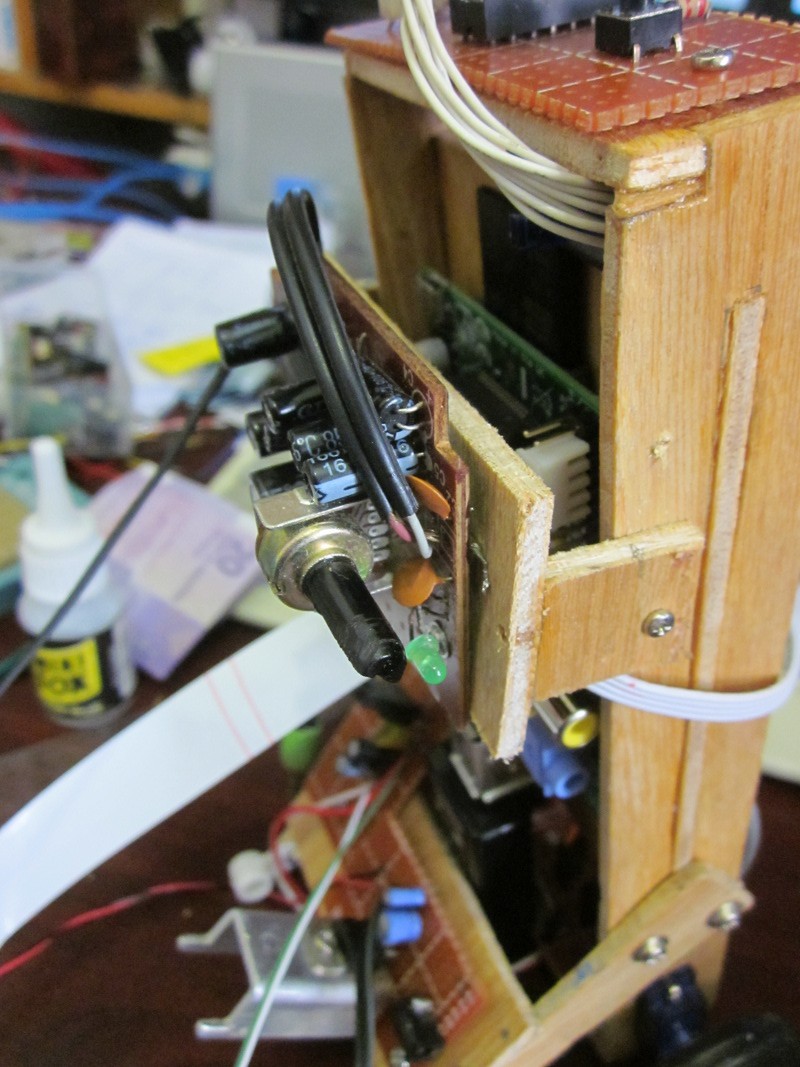
Then i started making a shield for the arduino , to make it easy for me to switch the arduino between different projects :
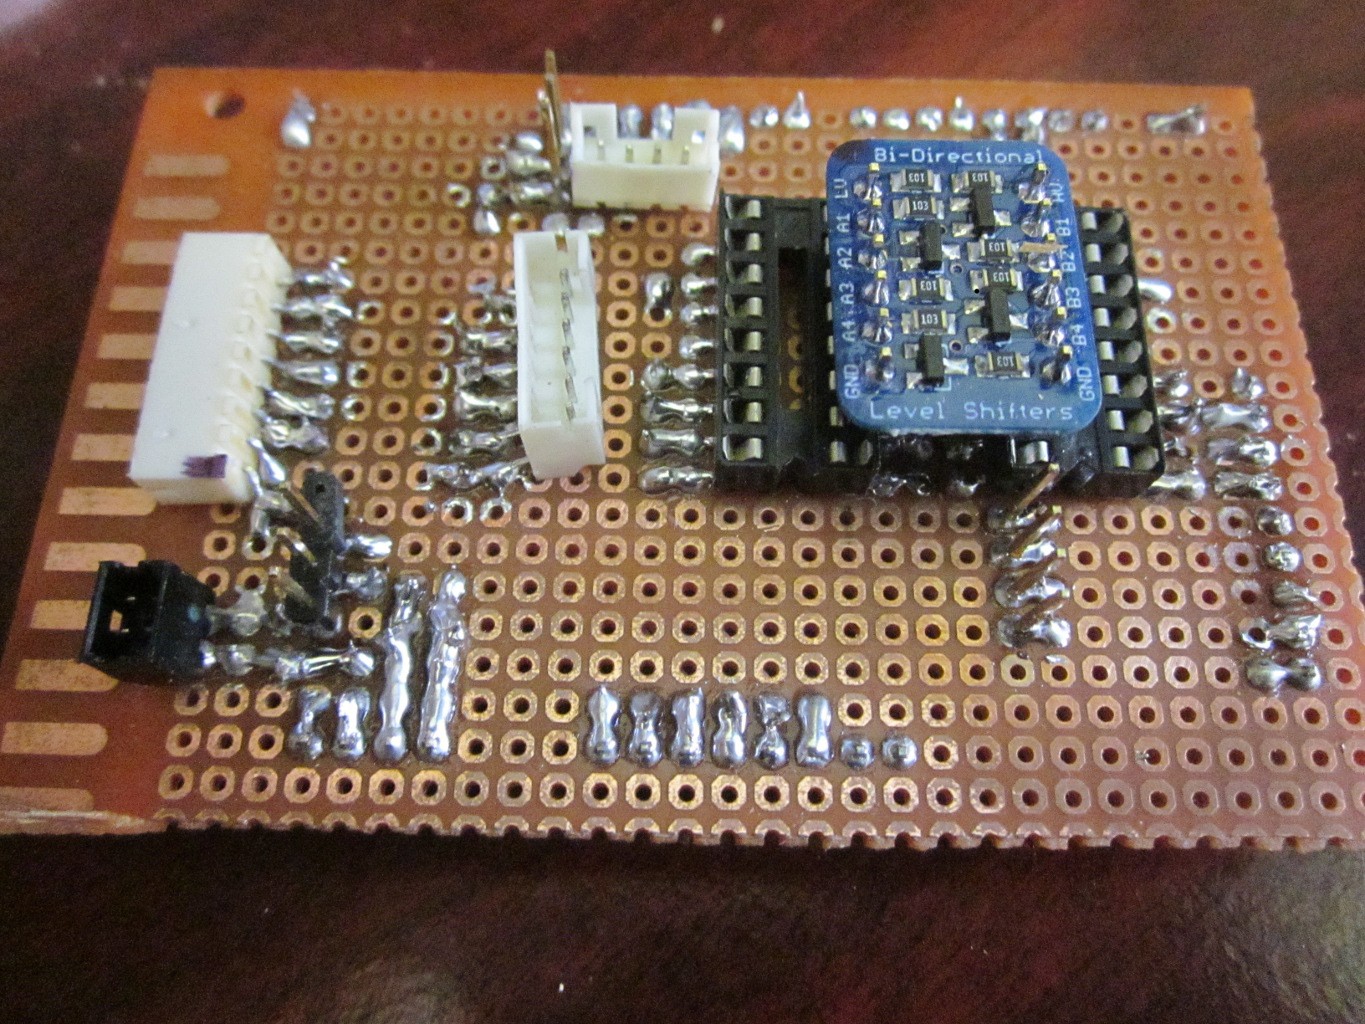
The blue circuit is a Bi-Directional voltage shifter , i used it for interfacing serial communication between the arduino and the RPI .
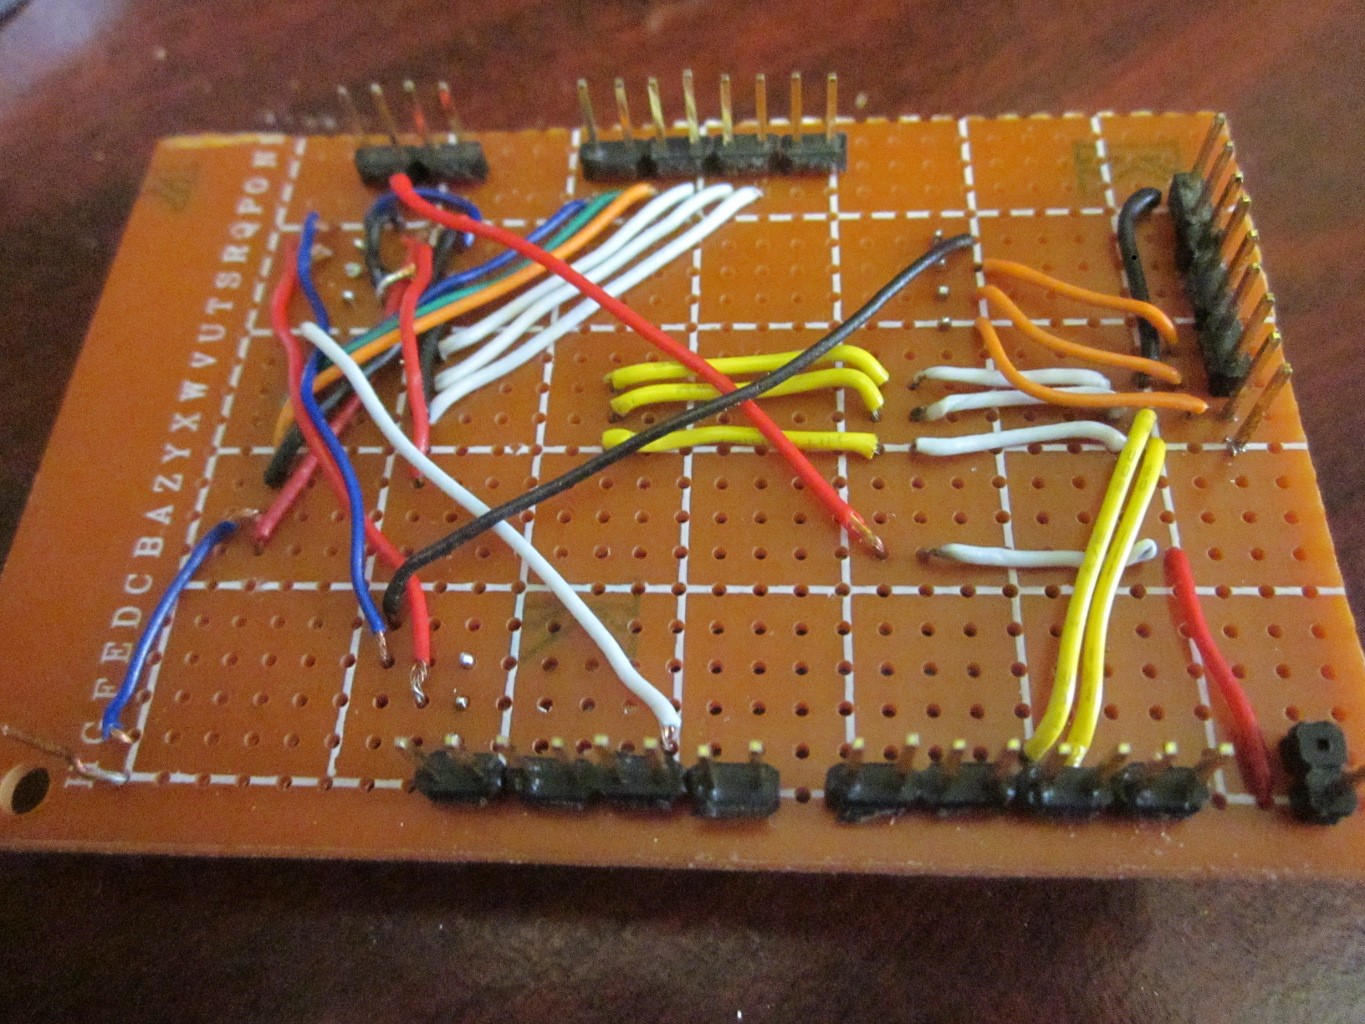
Then assembled together a circuit for the 3axis accelerometer .
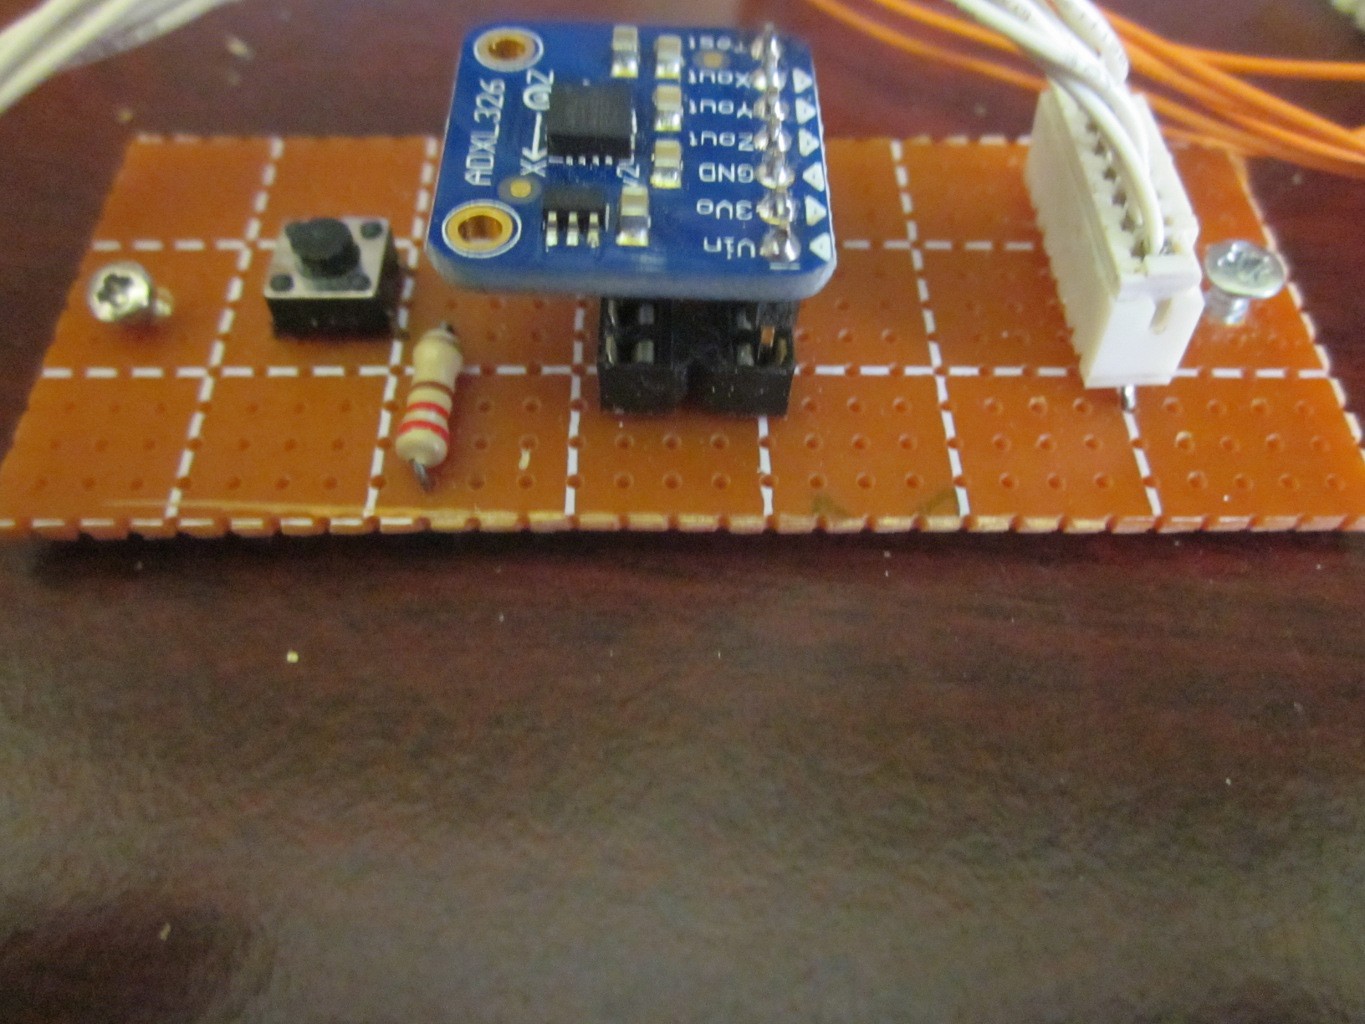
as i said in the beginning, i was planning making it a balancing robot , but i turned into some complications .. :d . the servos was not precise enough . so i decided to make it into an R2D2 Robot style :) . the accelerometer can be used as a tilt sensor , why now :
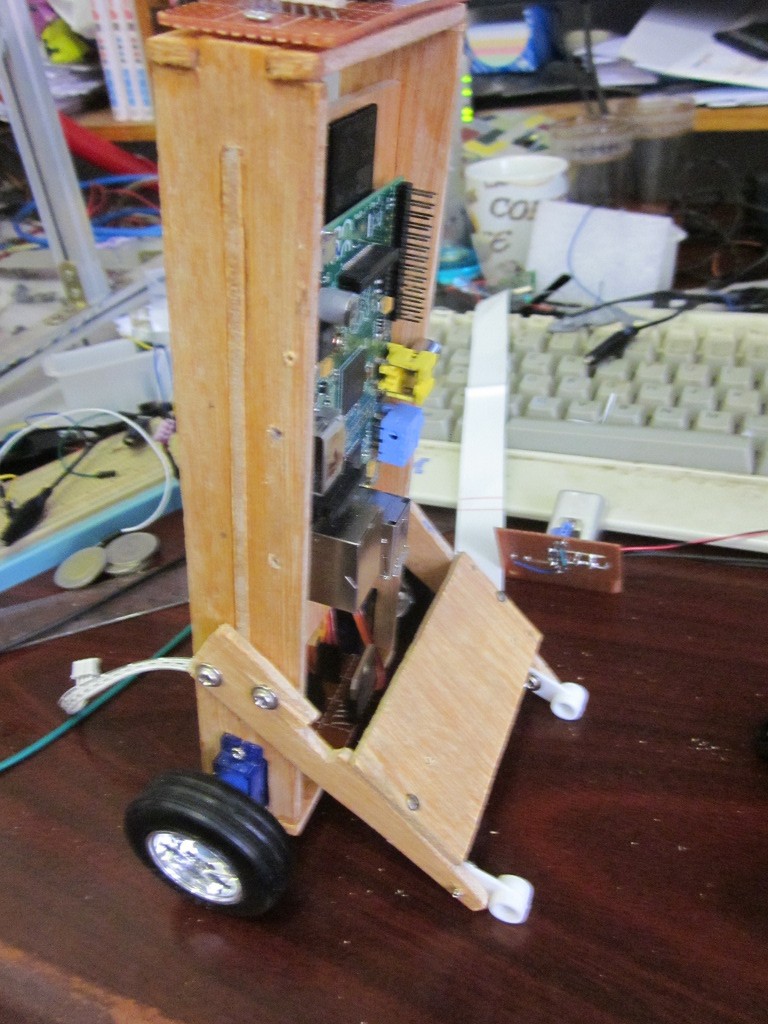
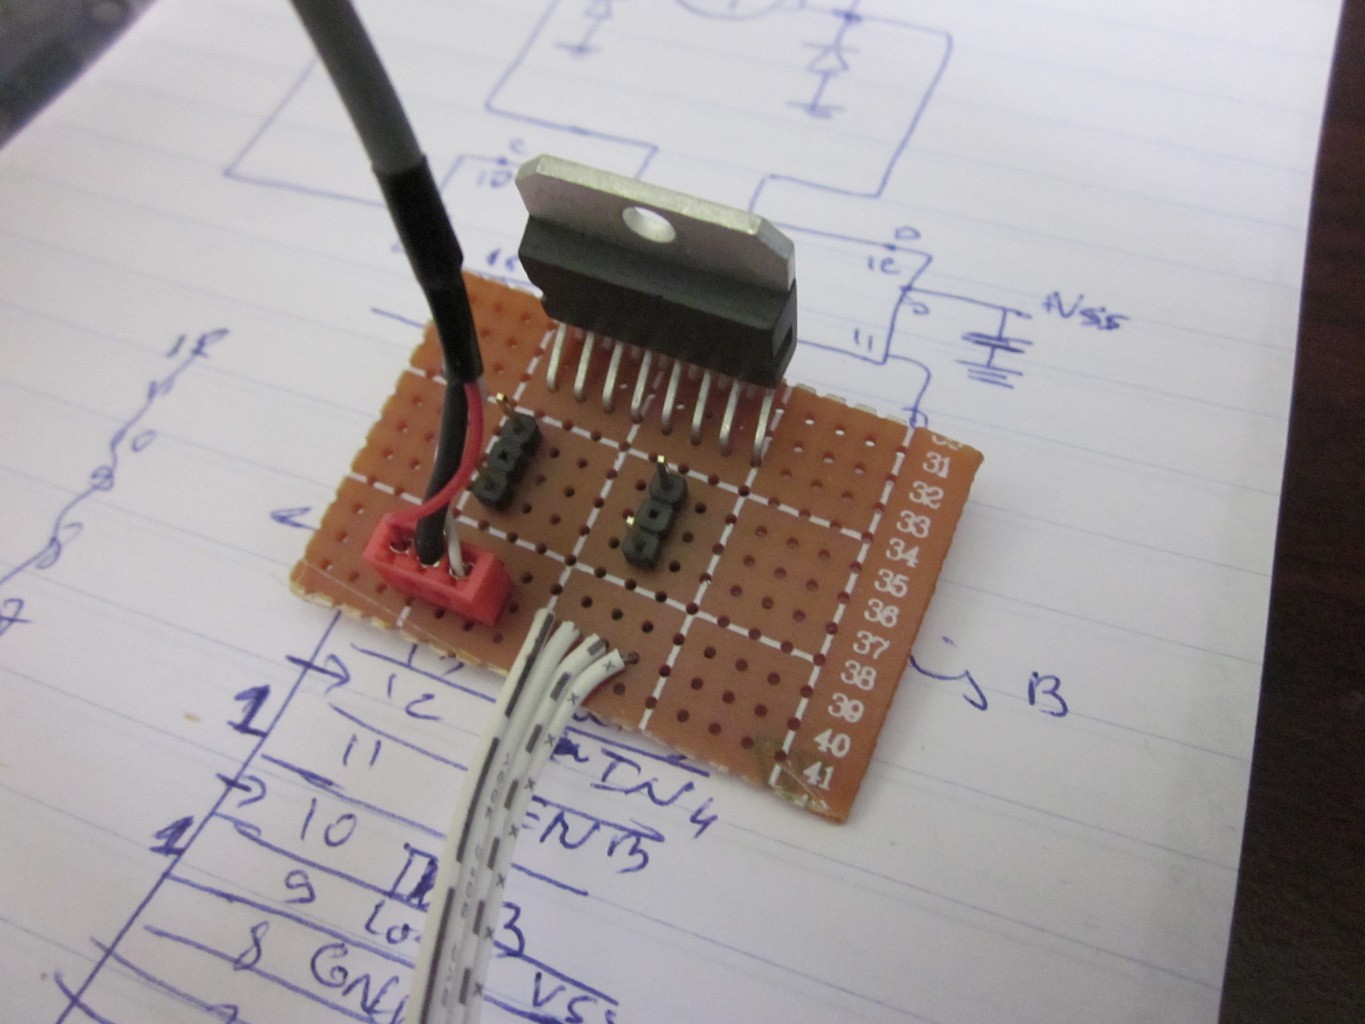
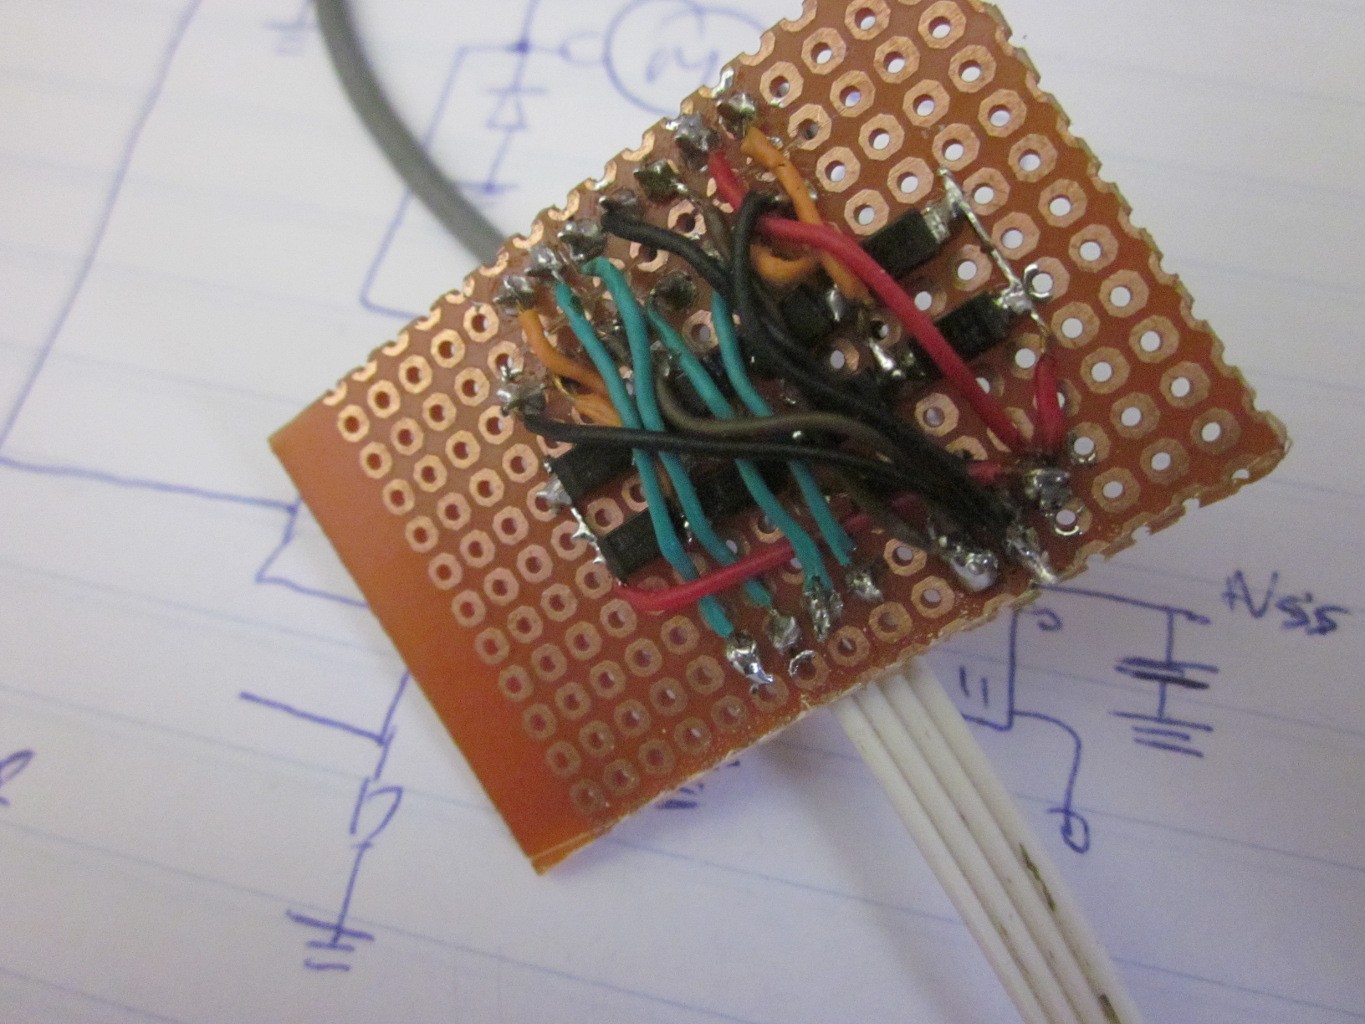
At that stage the RPI was placed in the back and i had already made a H-bridge based on a L298N , which can be seen just near the wheels . Here is a close picture to it :
Next, Two voltage regulators , one for the RPI and Arduino , and the second for powering the Servos and the audio amplifier i salvage from an old computer speaker :
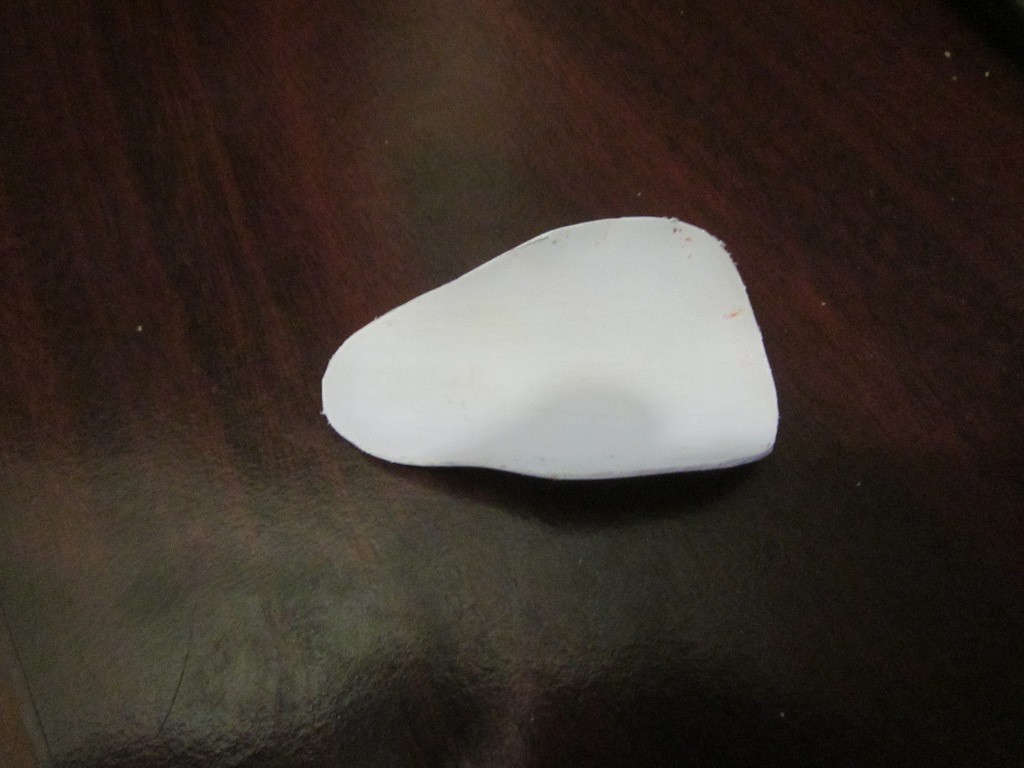
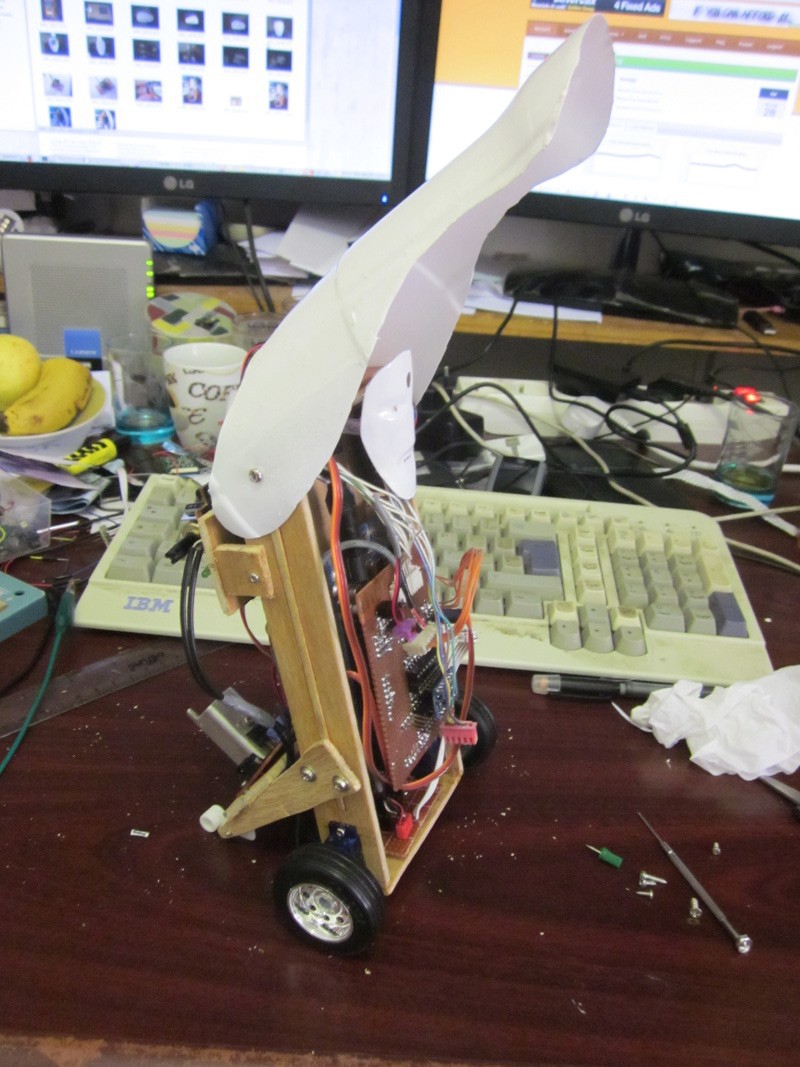
For the head , i started shaping a piece of public phone card with a heat gun . it doesn't look like it, isn't it : ):
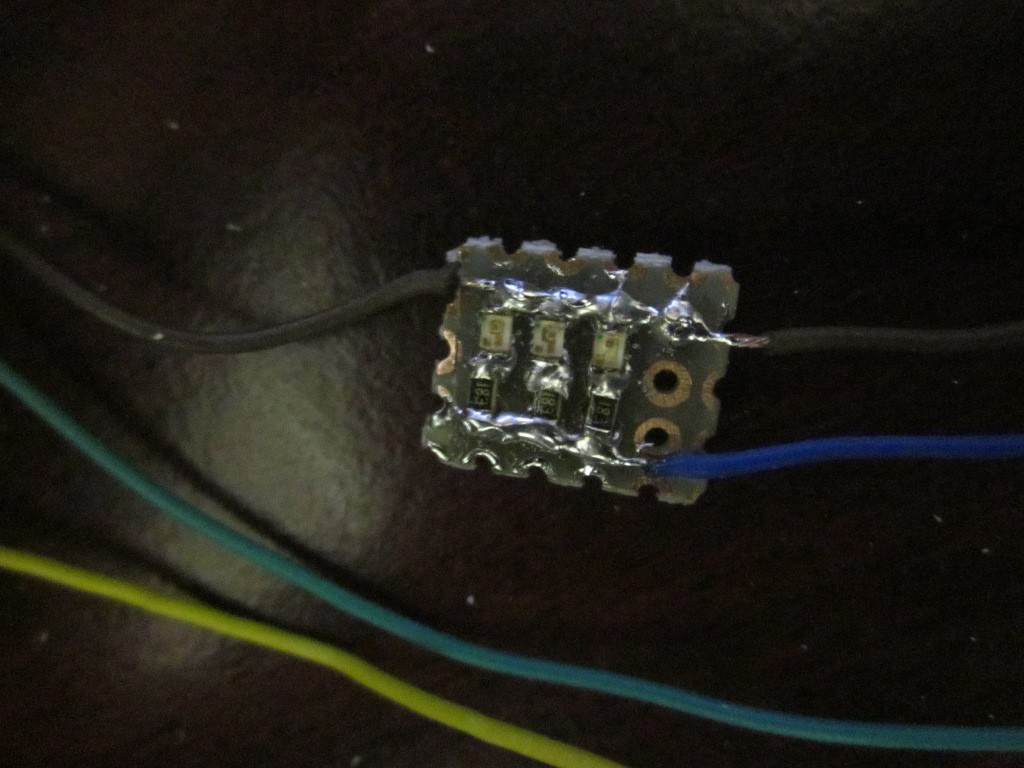
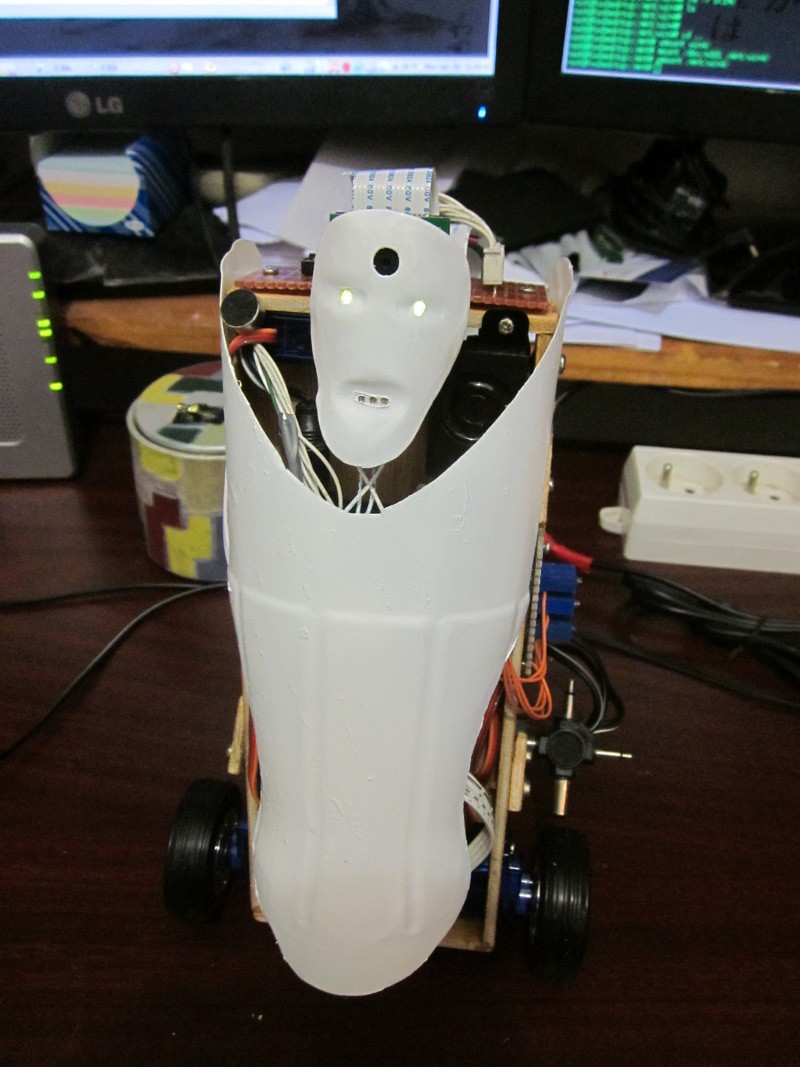
The eyes and the mouth are small SMD LEDs salvage from an old phone :
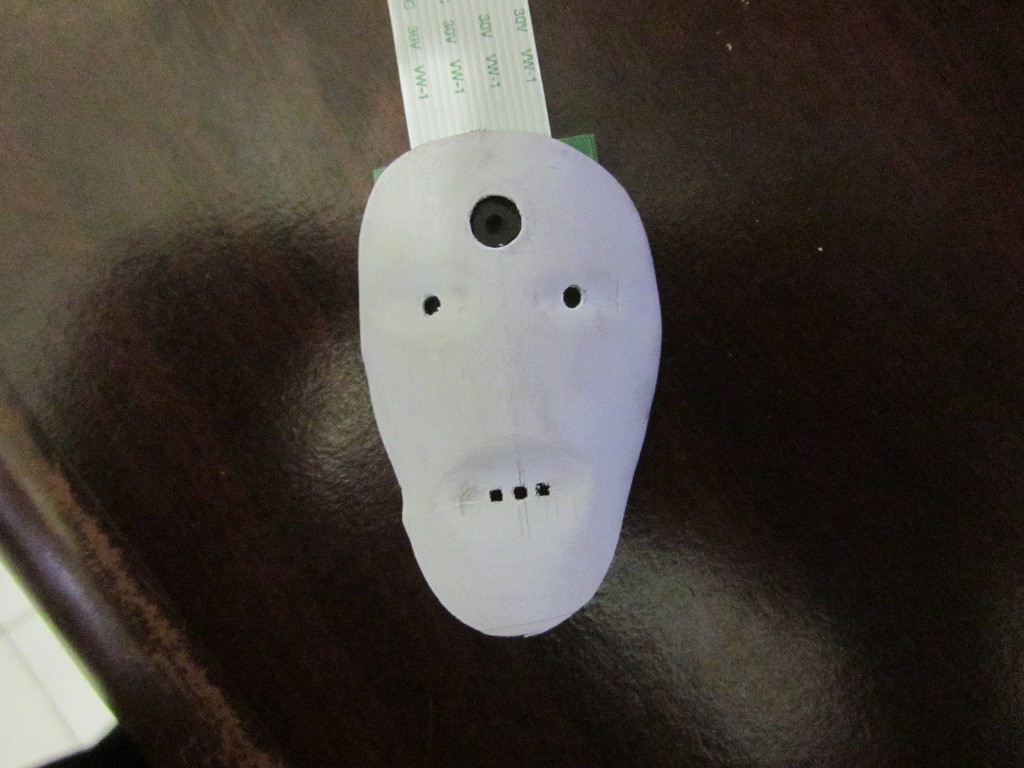
Then added the RPI camera module , and tada :
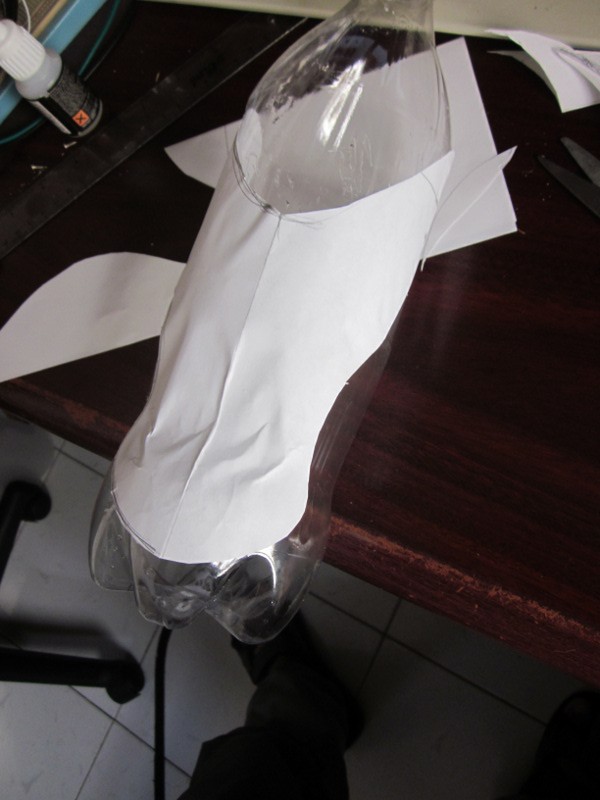
The front cover was made from a bottle then painted with a white spray :
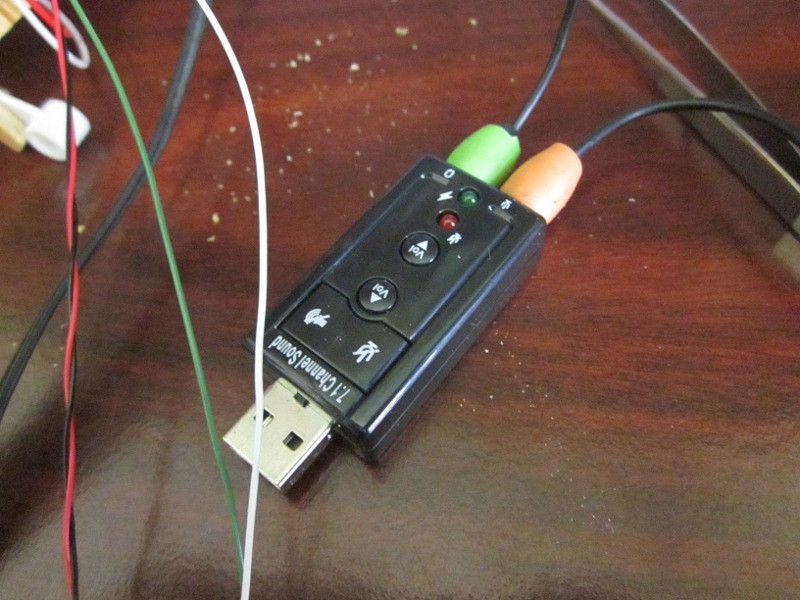
For the audio I/O from the RPI , i used an external usb module sound :
And audio output passed through an audio amplifier , as the volume was too low. however the microphone was directly connected to the usb module sound . Then i mounted the speaker and the mic in the front:

The hardware part almost complete, the final look seems not bad to me :
Now the software part . In the arduino nothing much going on in it . it simply wait for a message using serial data from the RPI and do the corresponding action . More details about this project can be found here