-
1Step 1
Mechanical modification
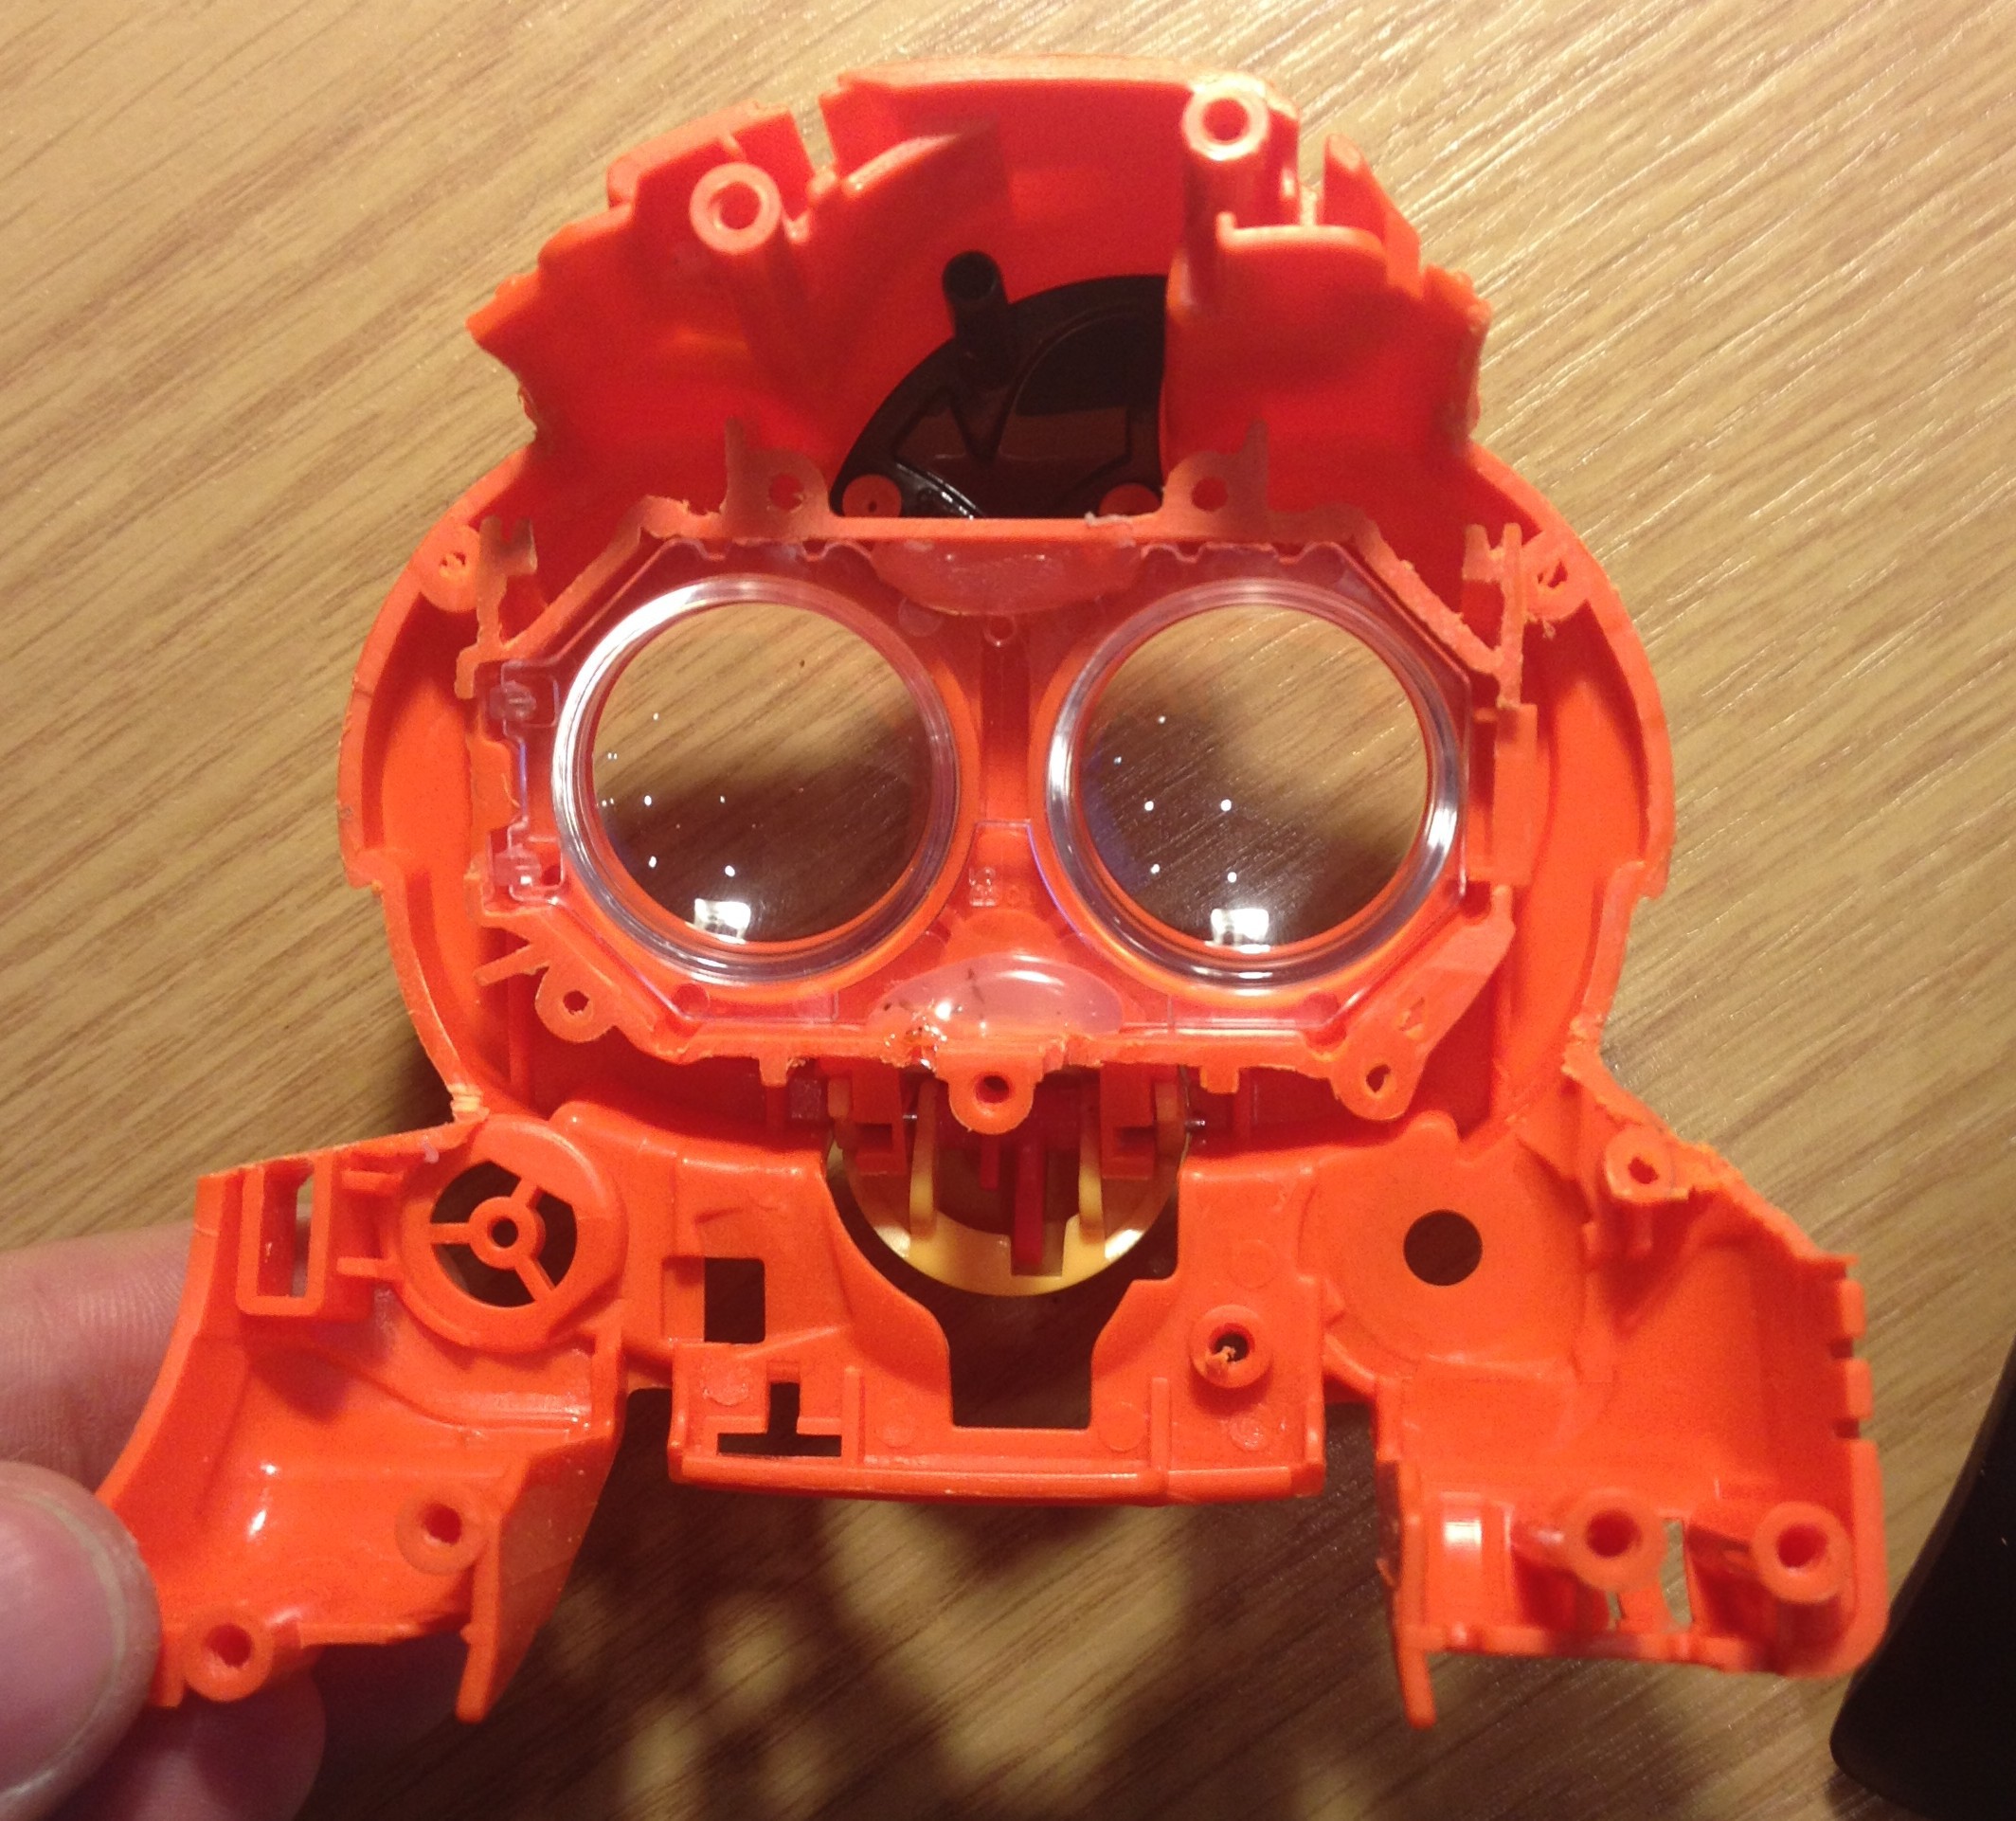
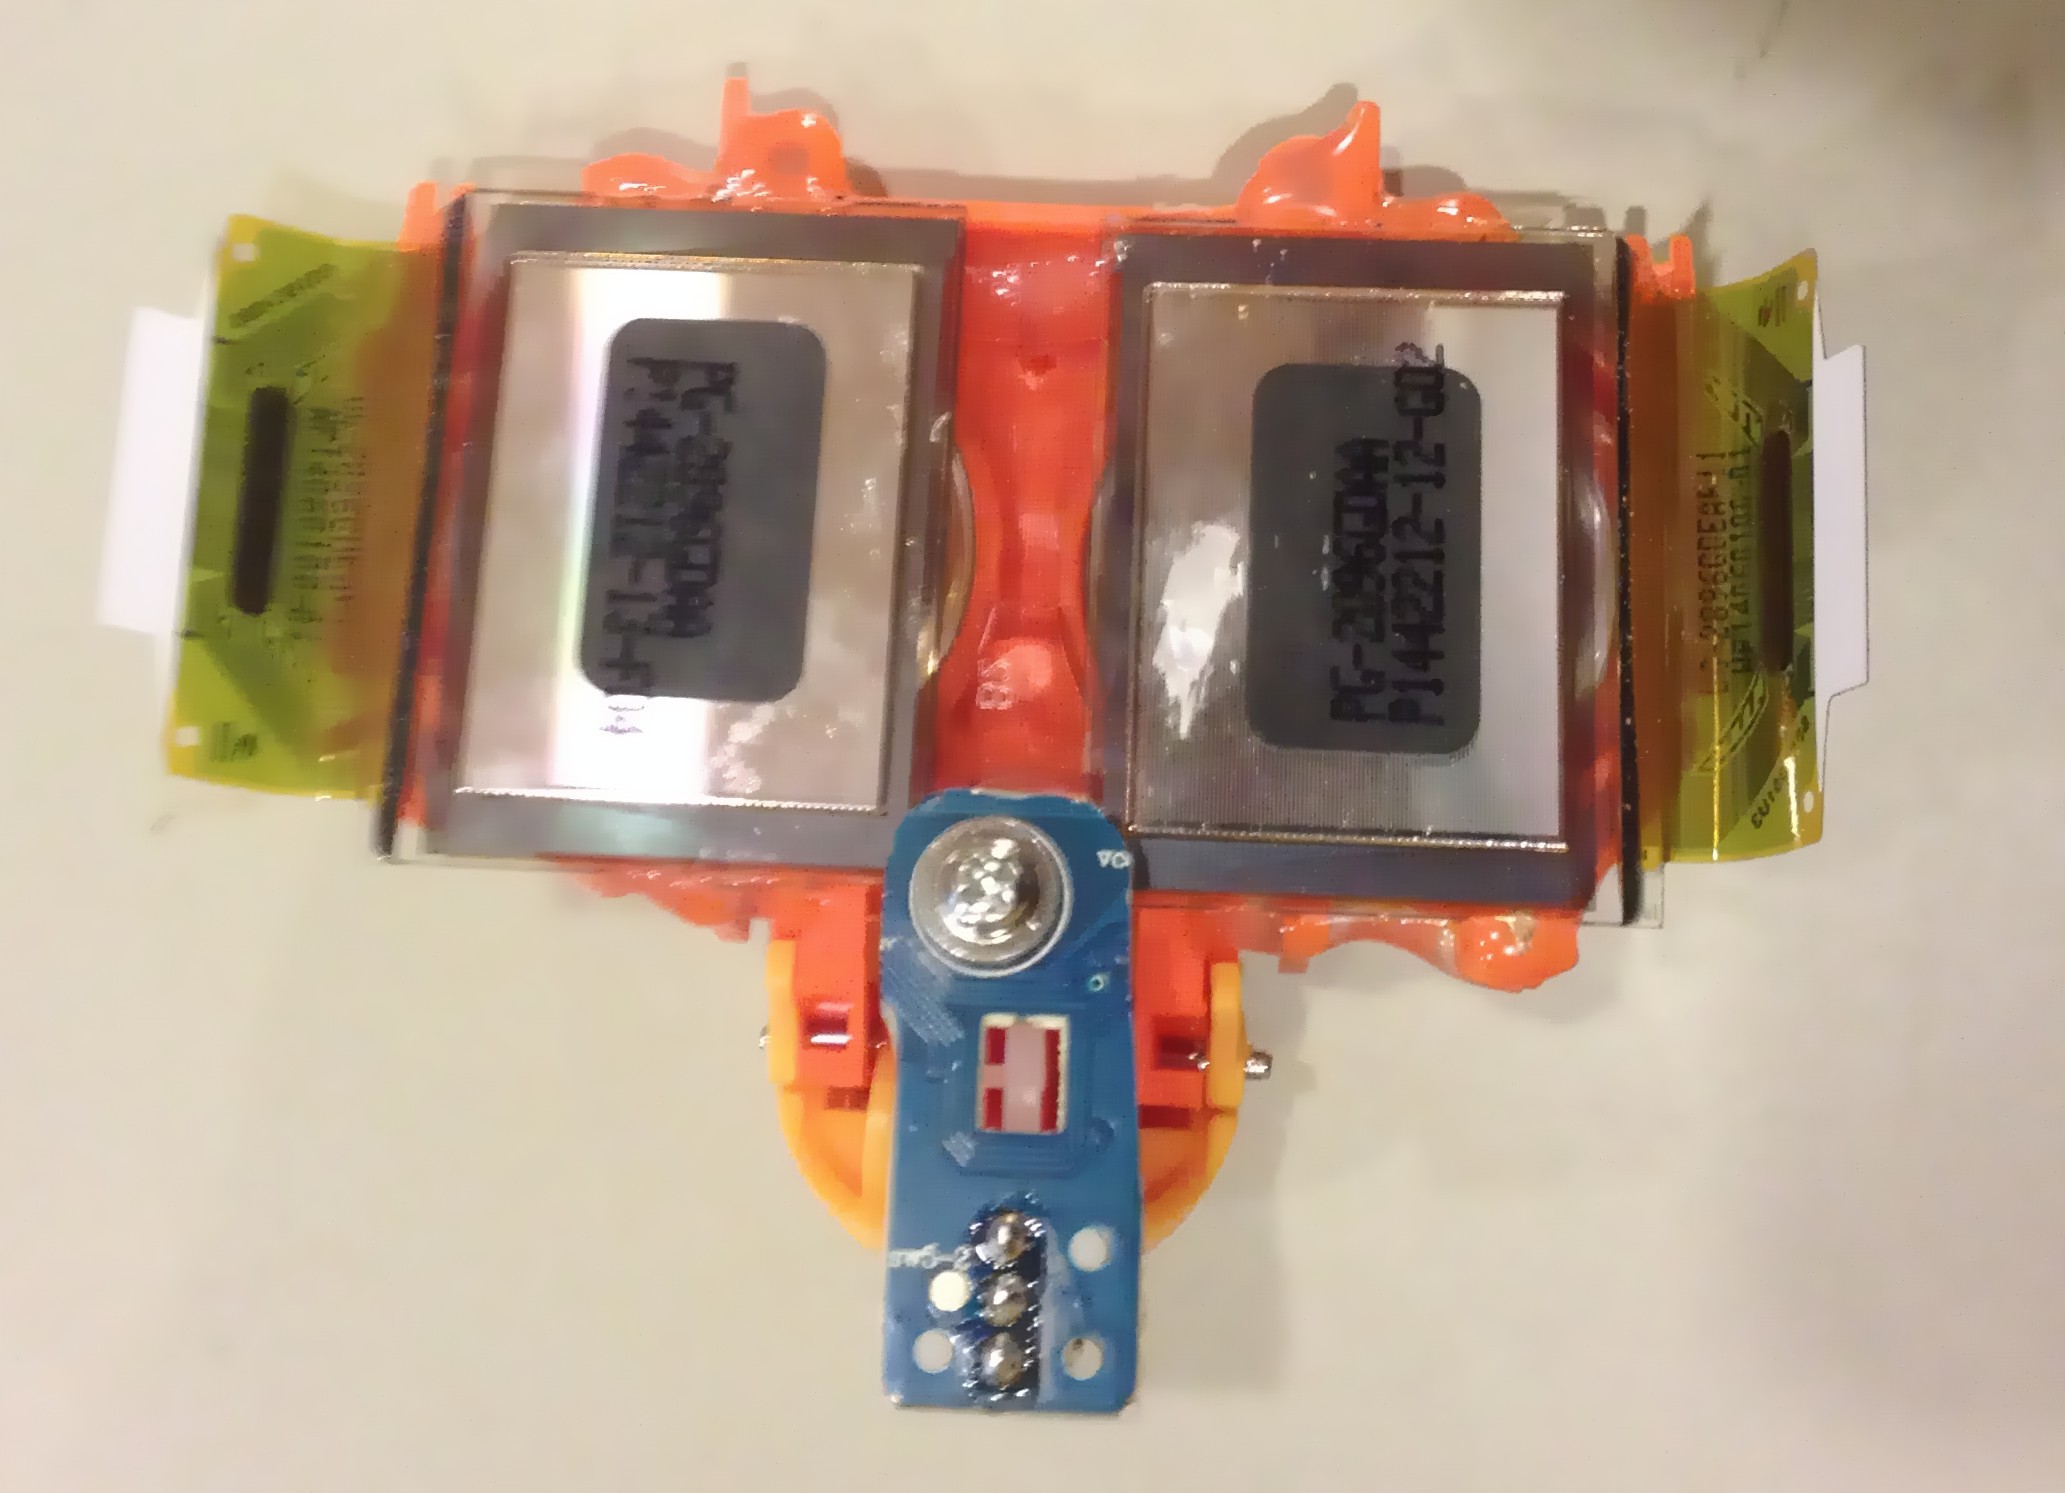
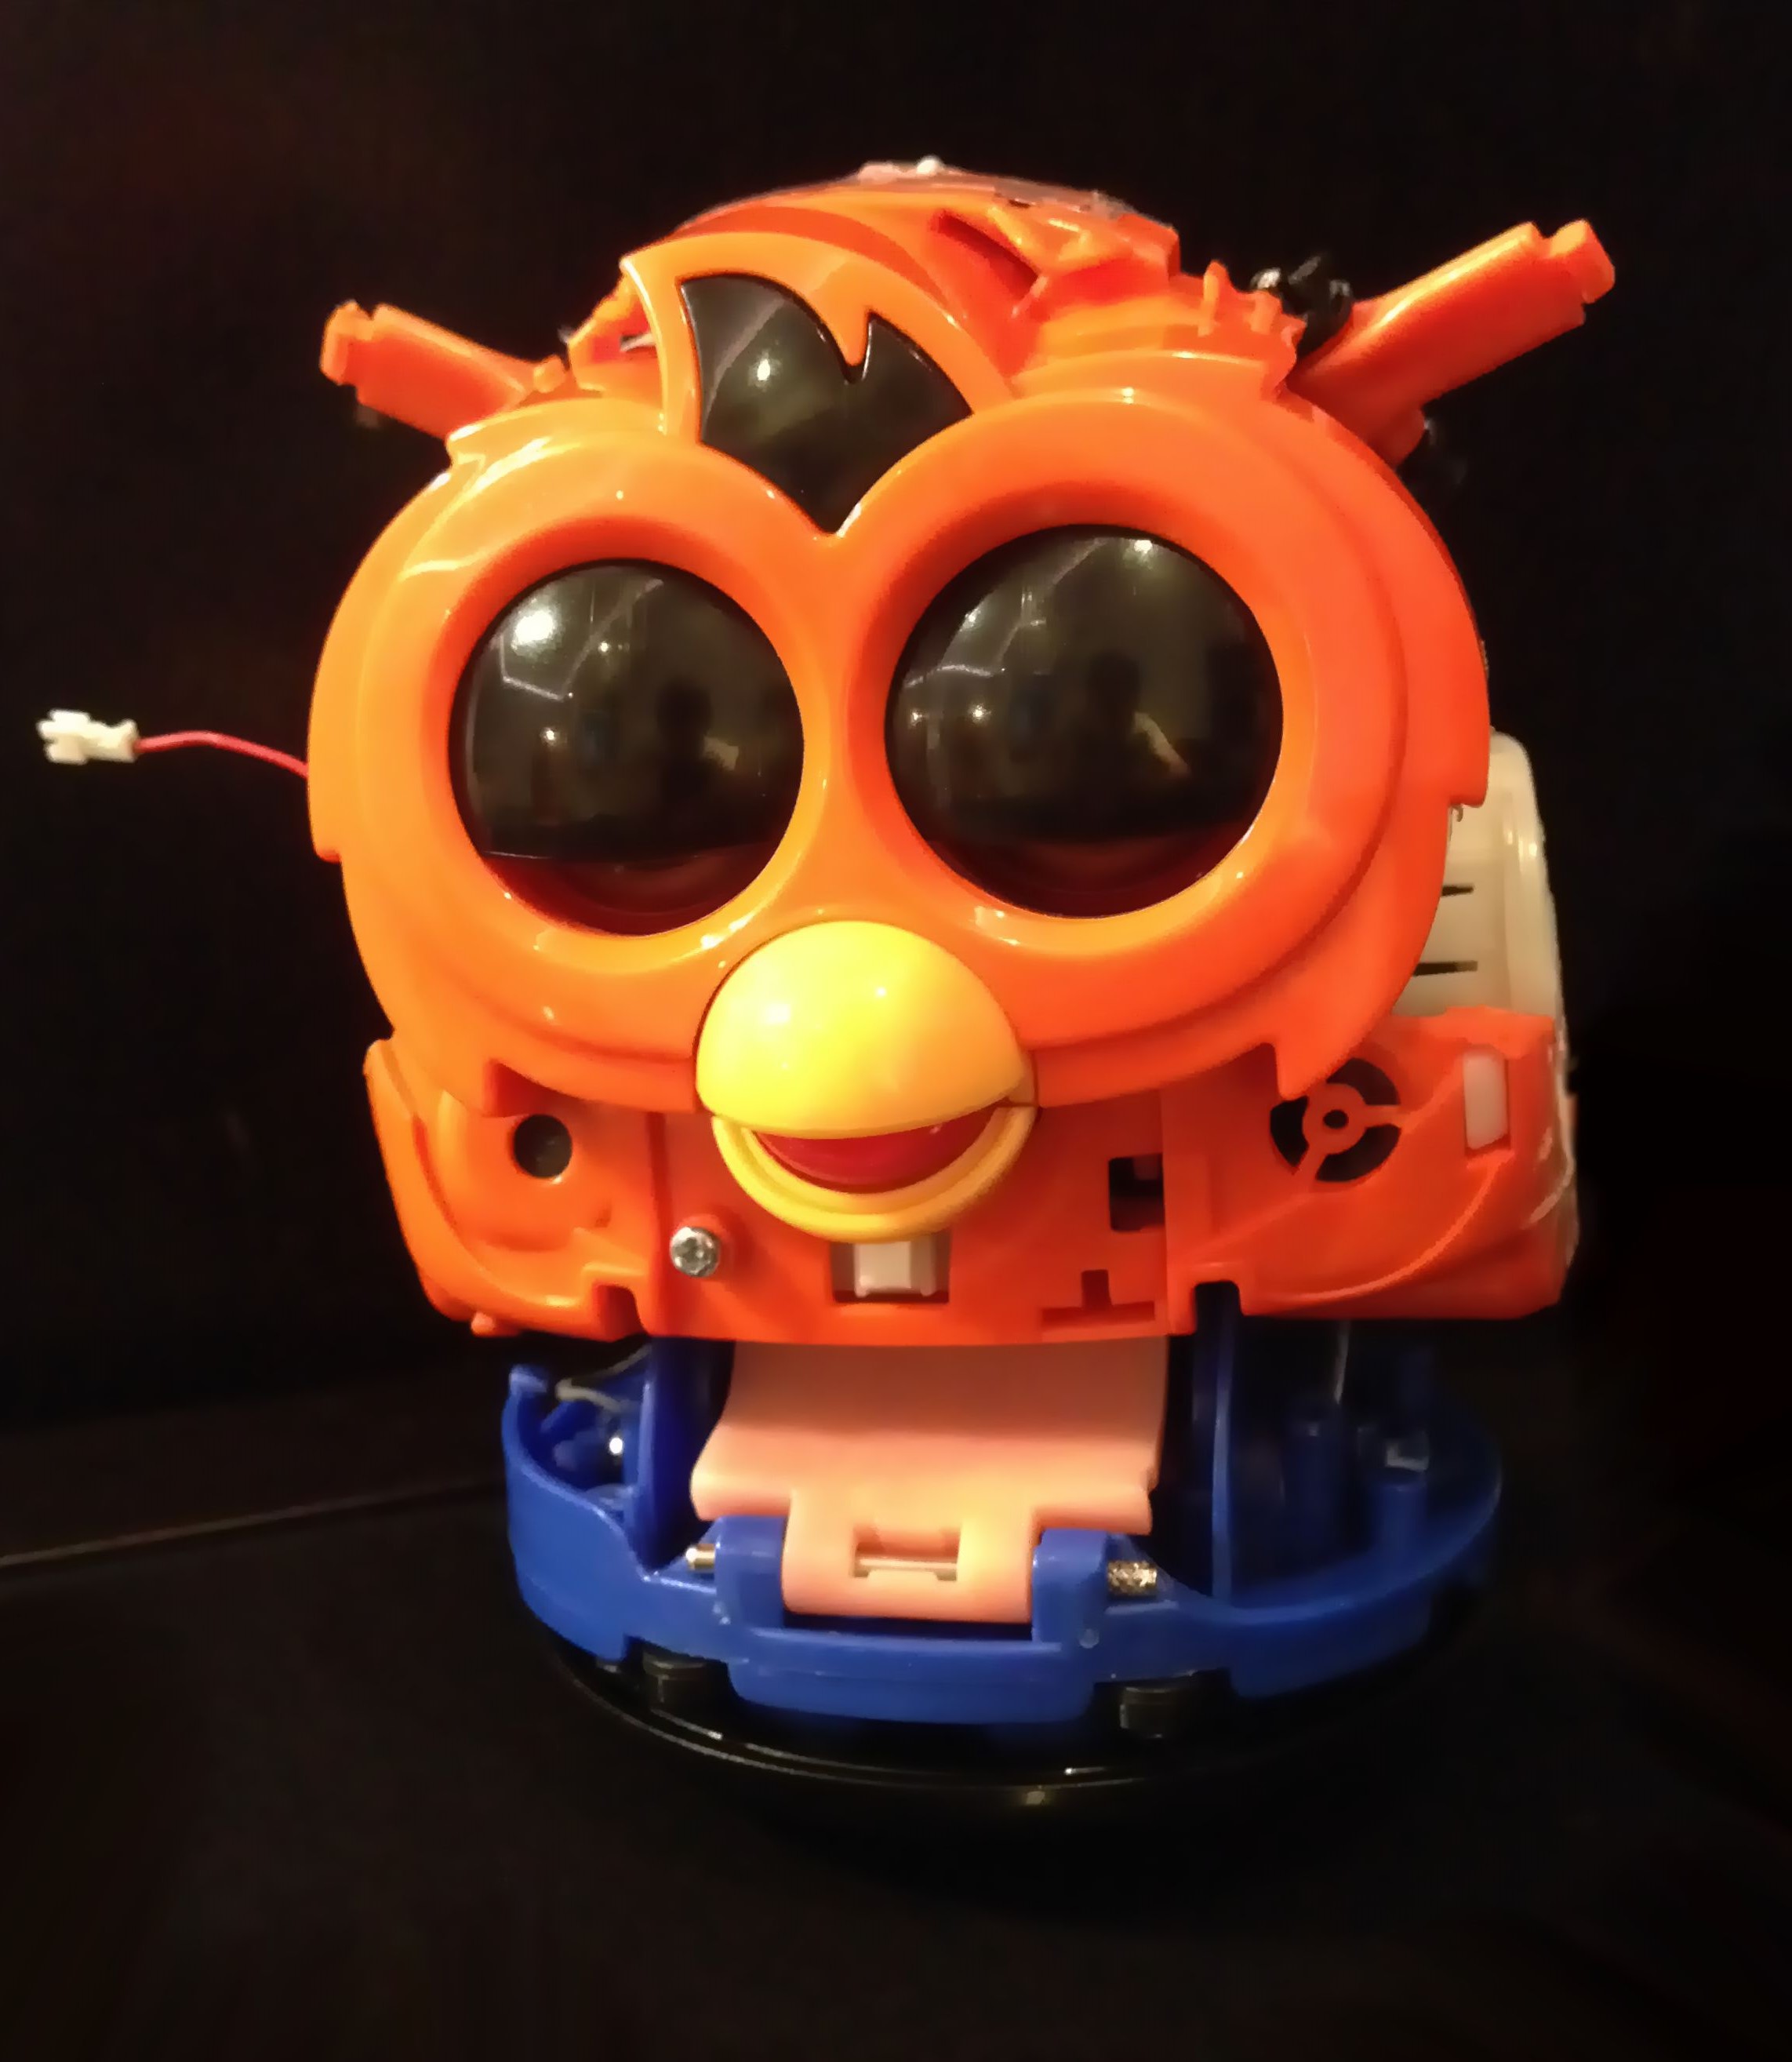
First we start to modify plastic casing of furby. It is necessary because we need some space for new OLED displays as eyes. We have to cut out the both side of furby. The holes were needed in the first version of mounting OLED displays, but we changed it, so you do not have to cut your furby so much. Next we grind the frame, which is around the LCD eyes. We also grind PCB of OLED displays.
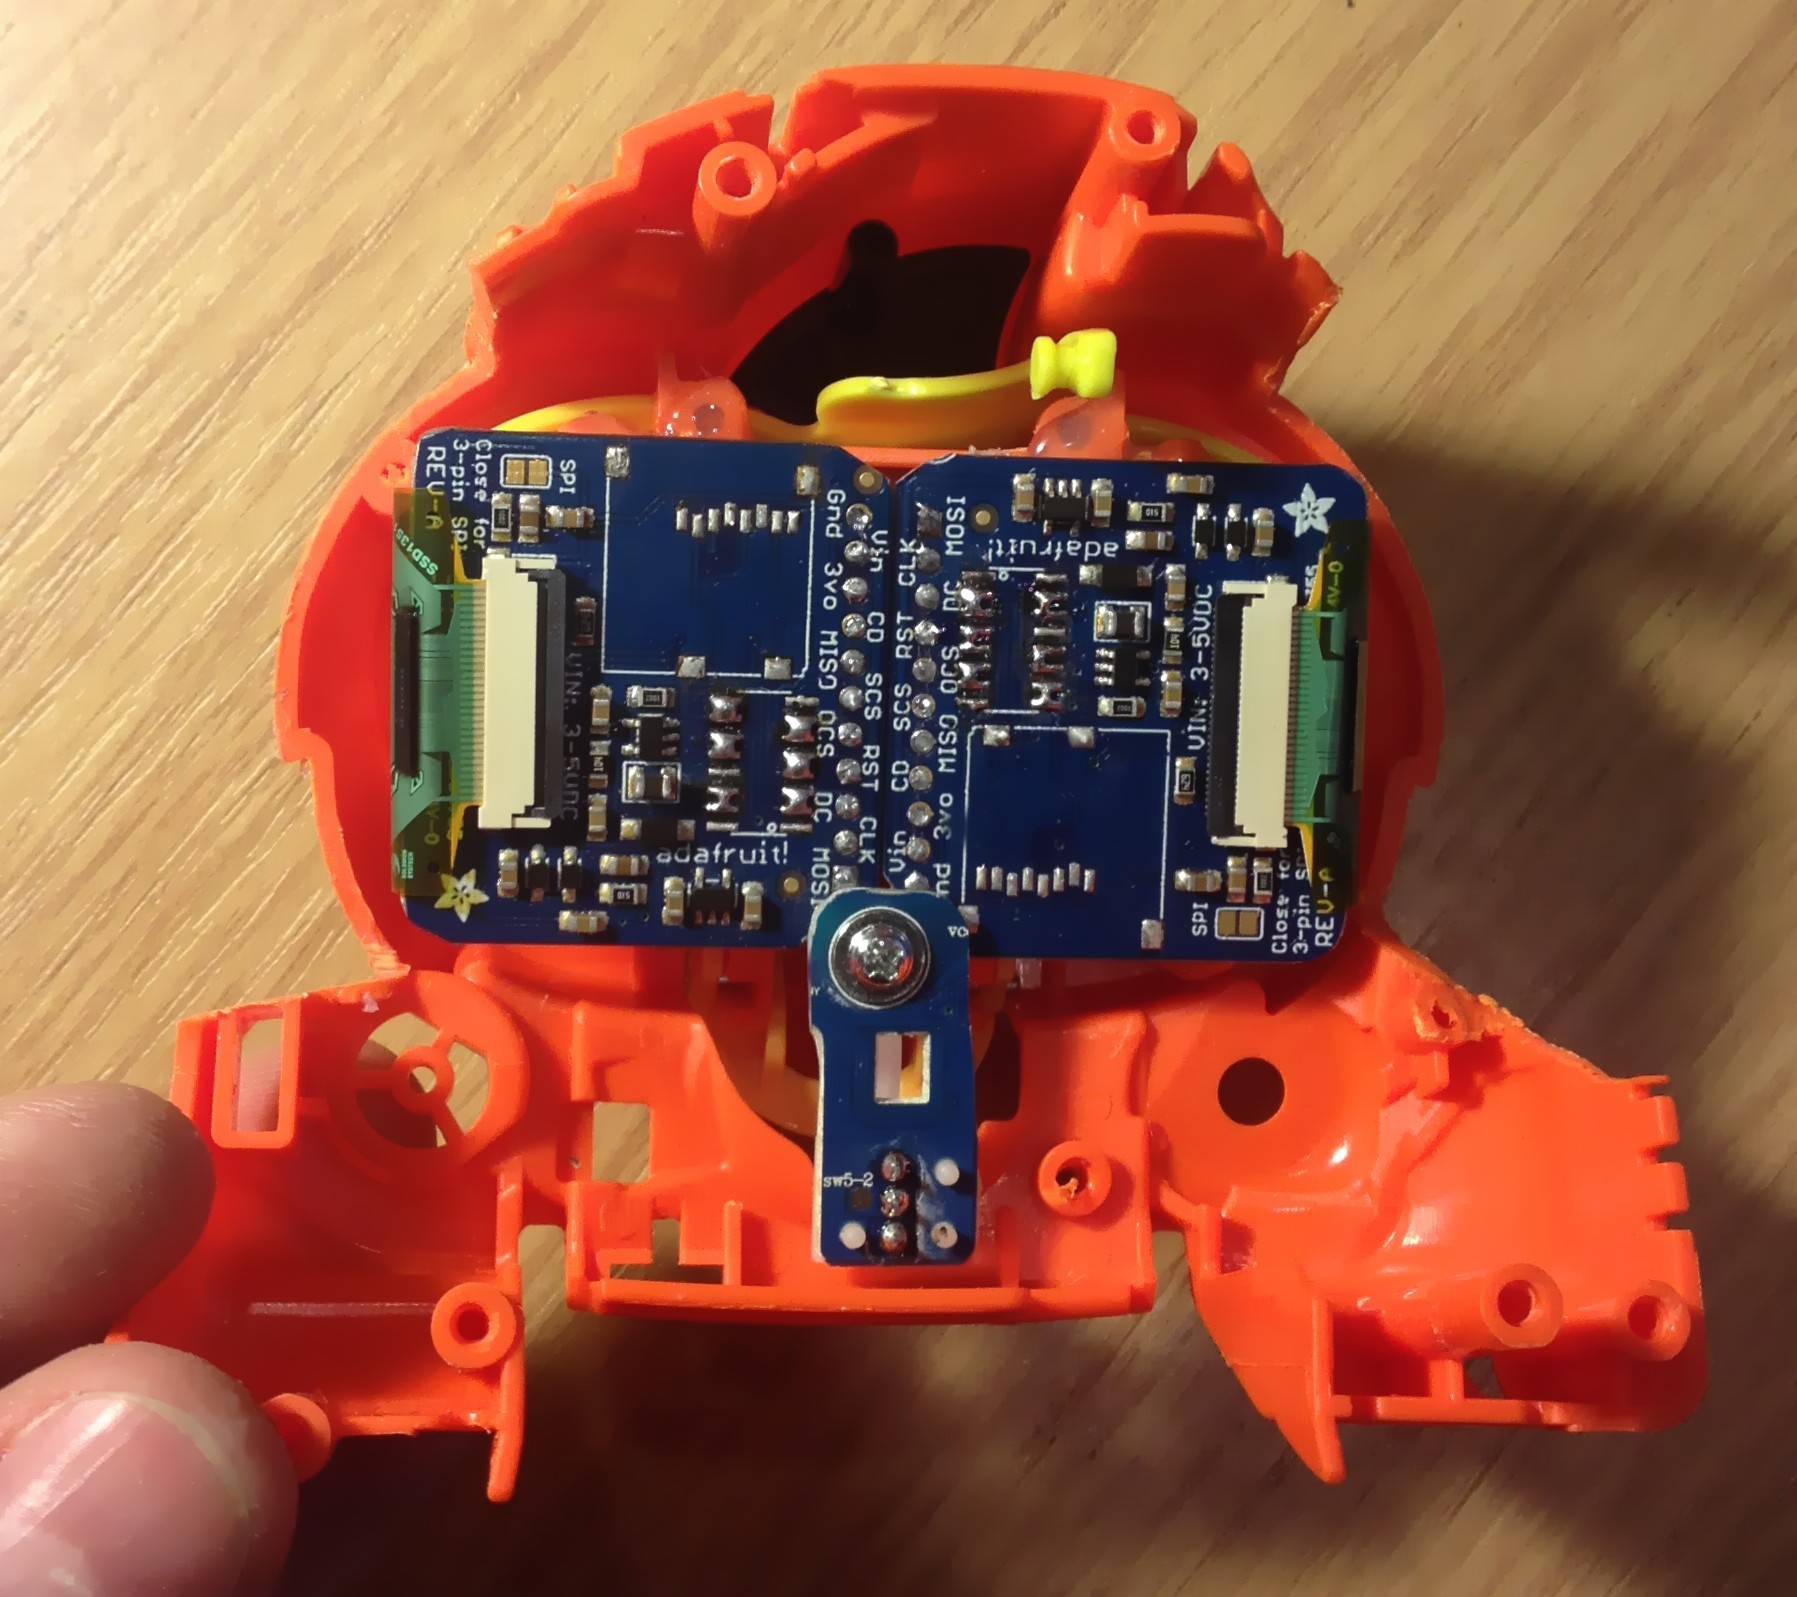
Adafruit displays' electronic should be also modified. We do not need voltage translators and voltage regulators because we use 3V3 in the whole system. Just remove and bypass them. SD card slots should be also removed to get more space inside.
![]()
Next step is to fasten the switch, which is use to check if the tongue is pushed. We solder all wires (to displays and to the switch) and bring them out of furby casing.
![]()
![]()
![]()
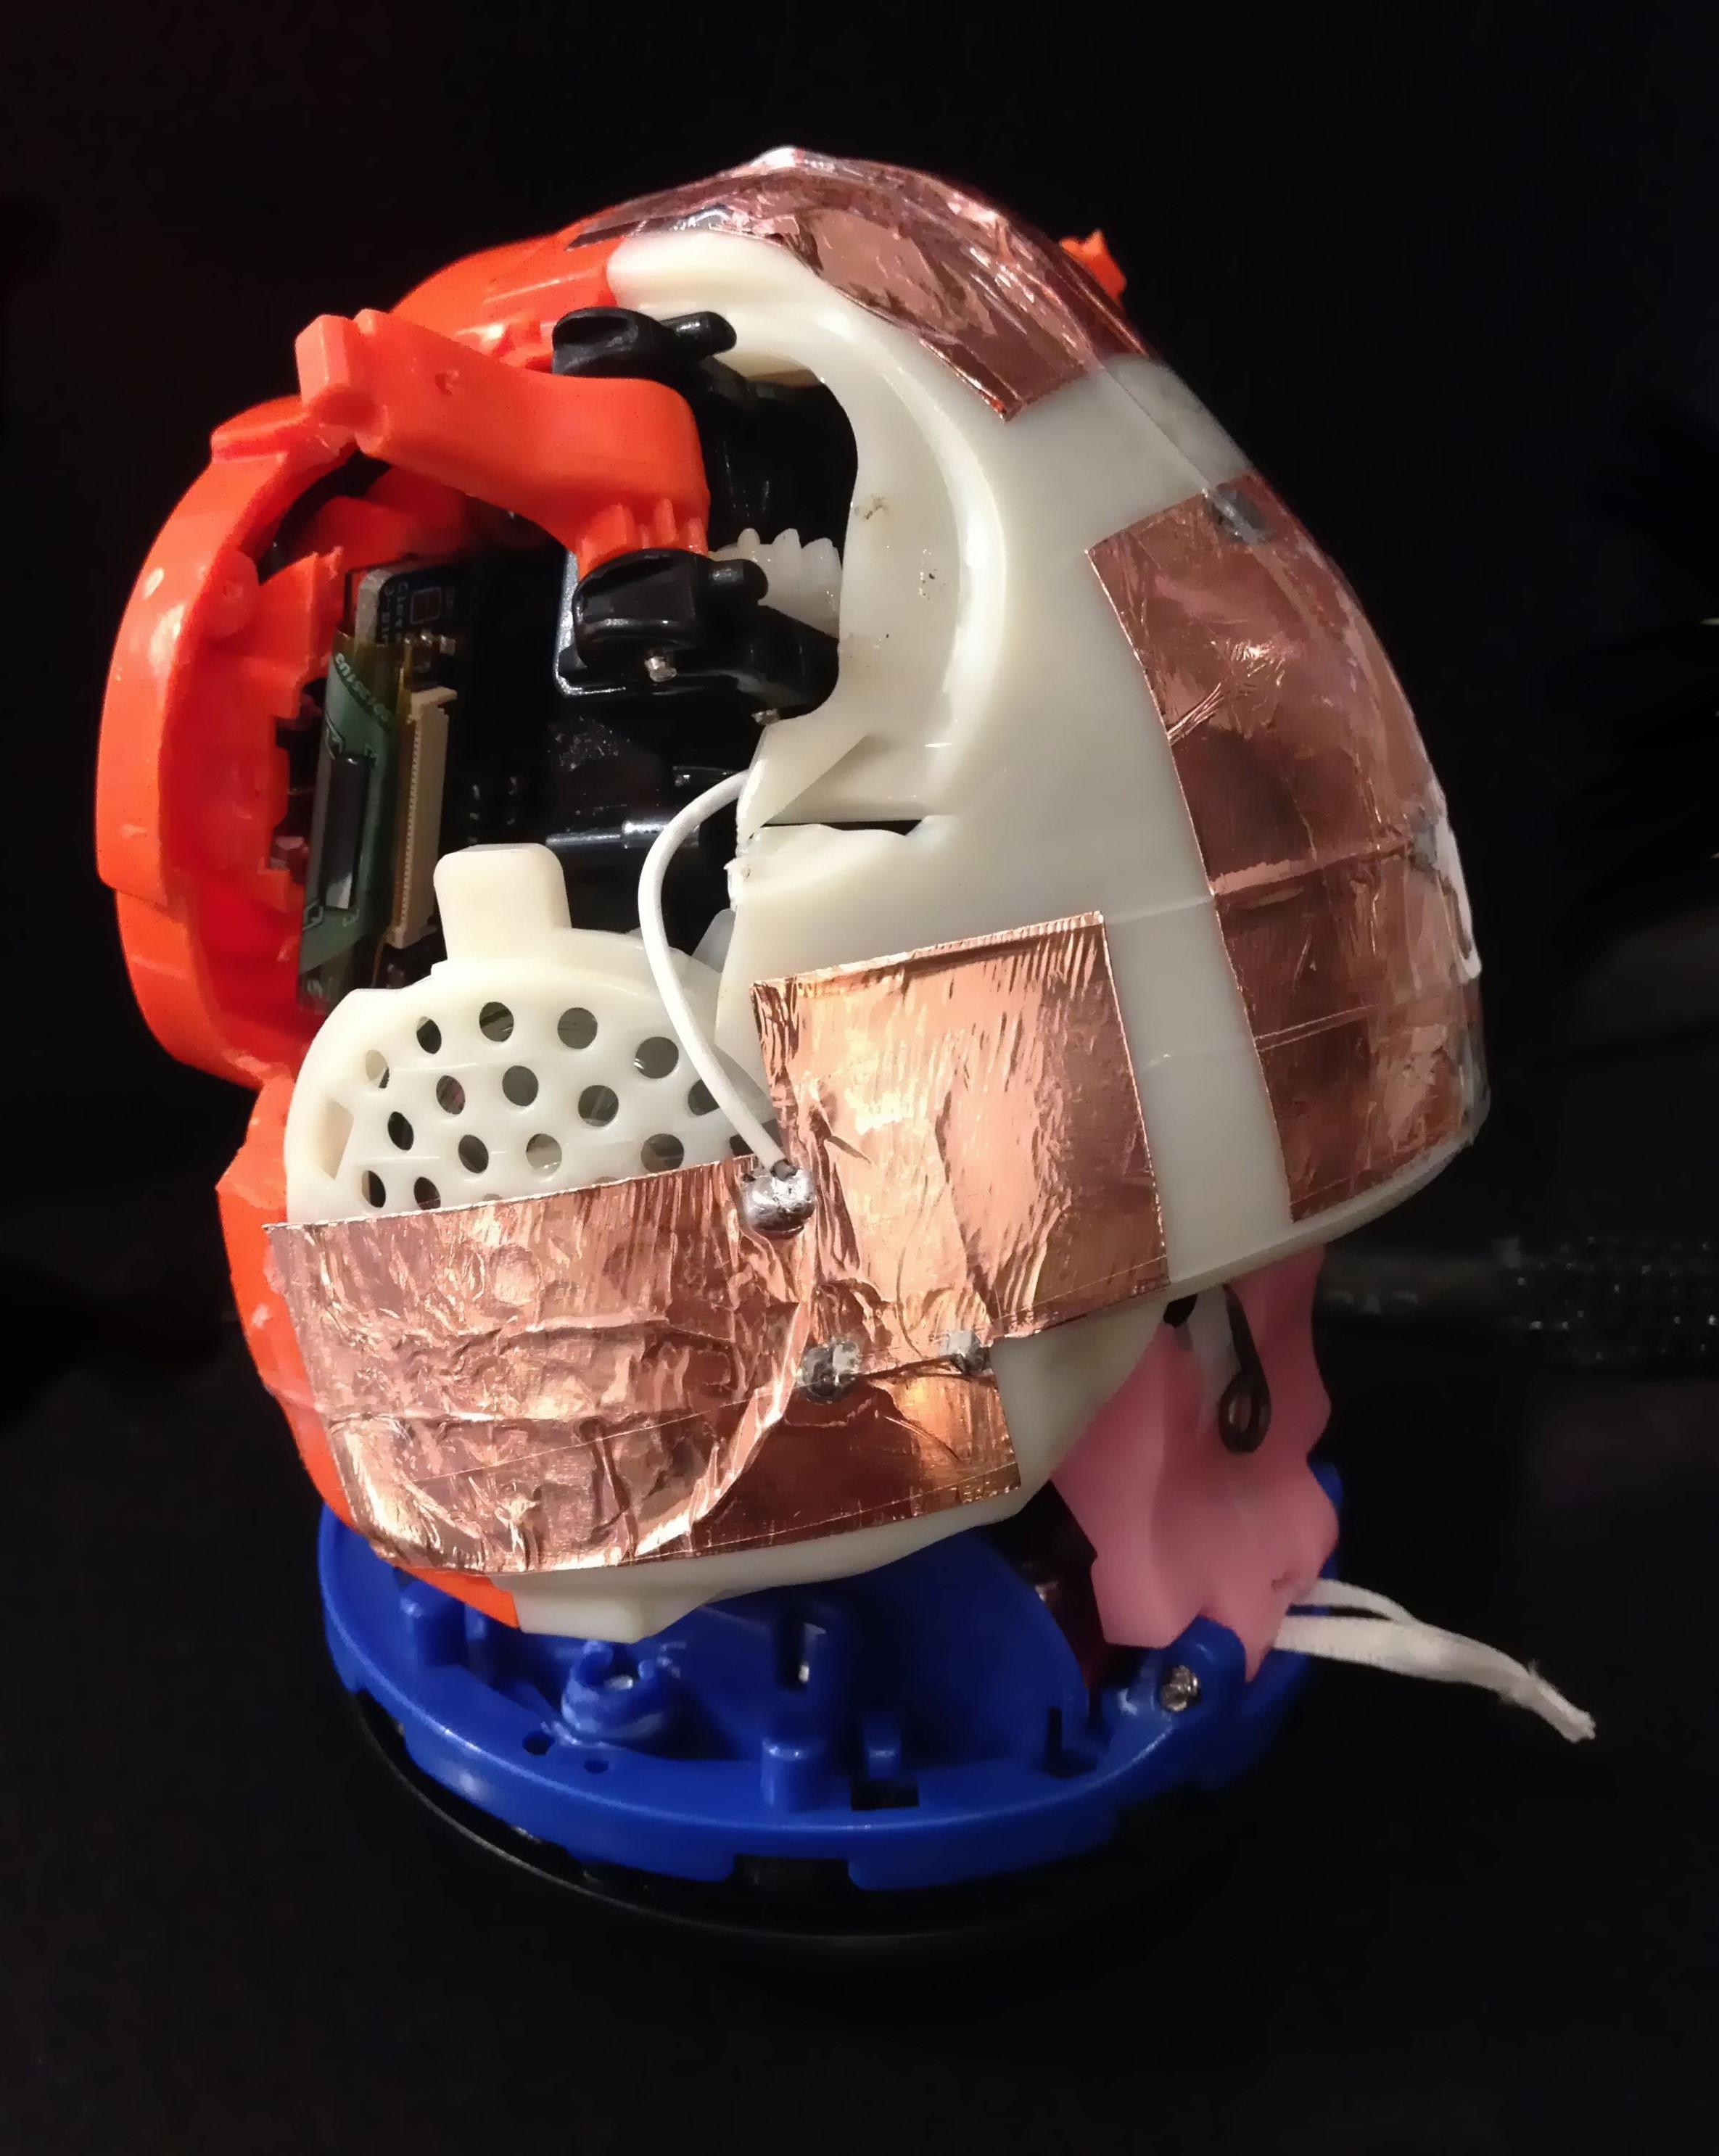
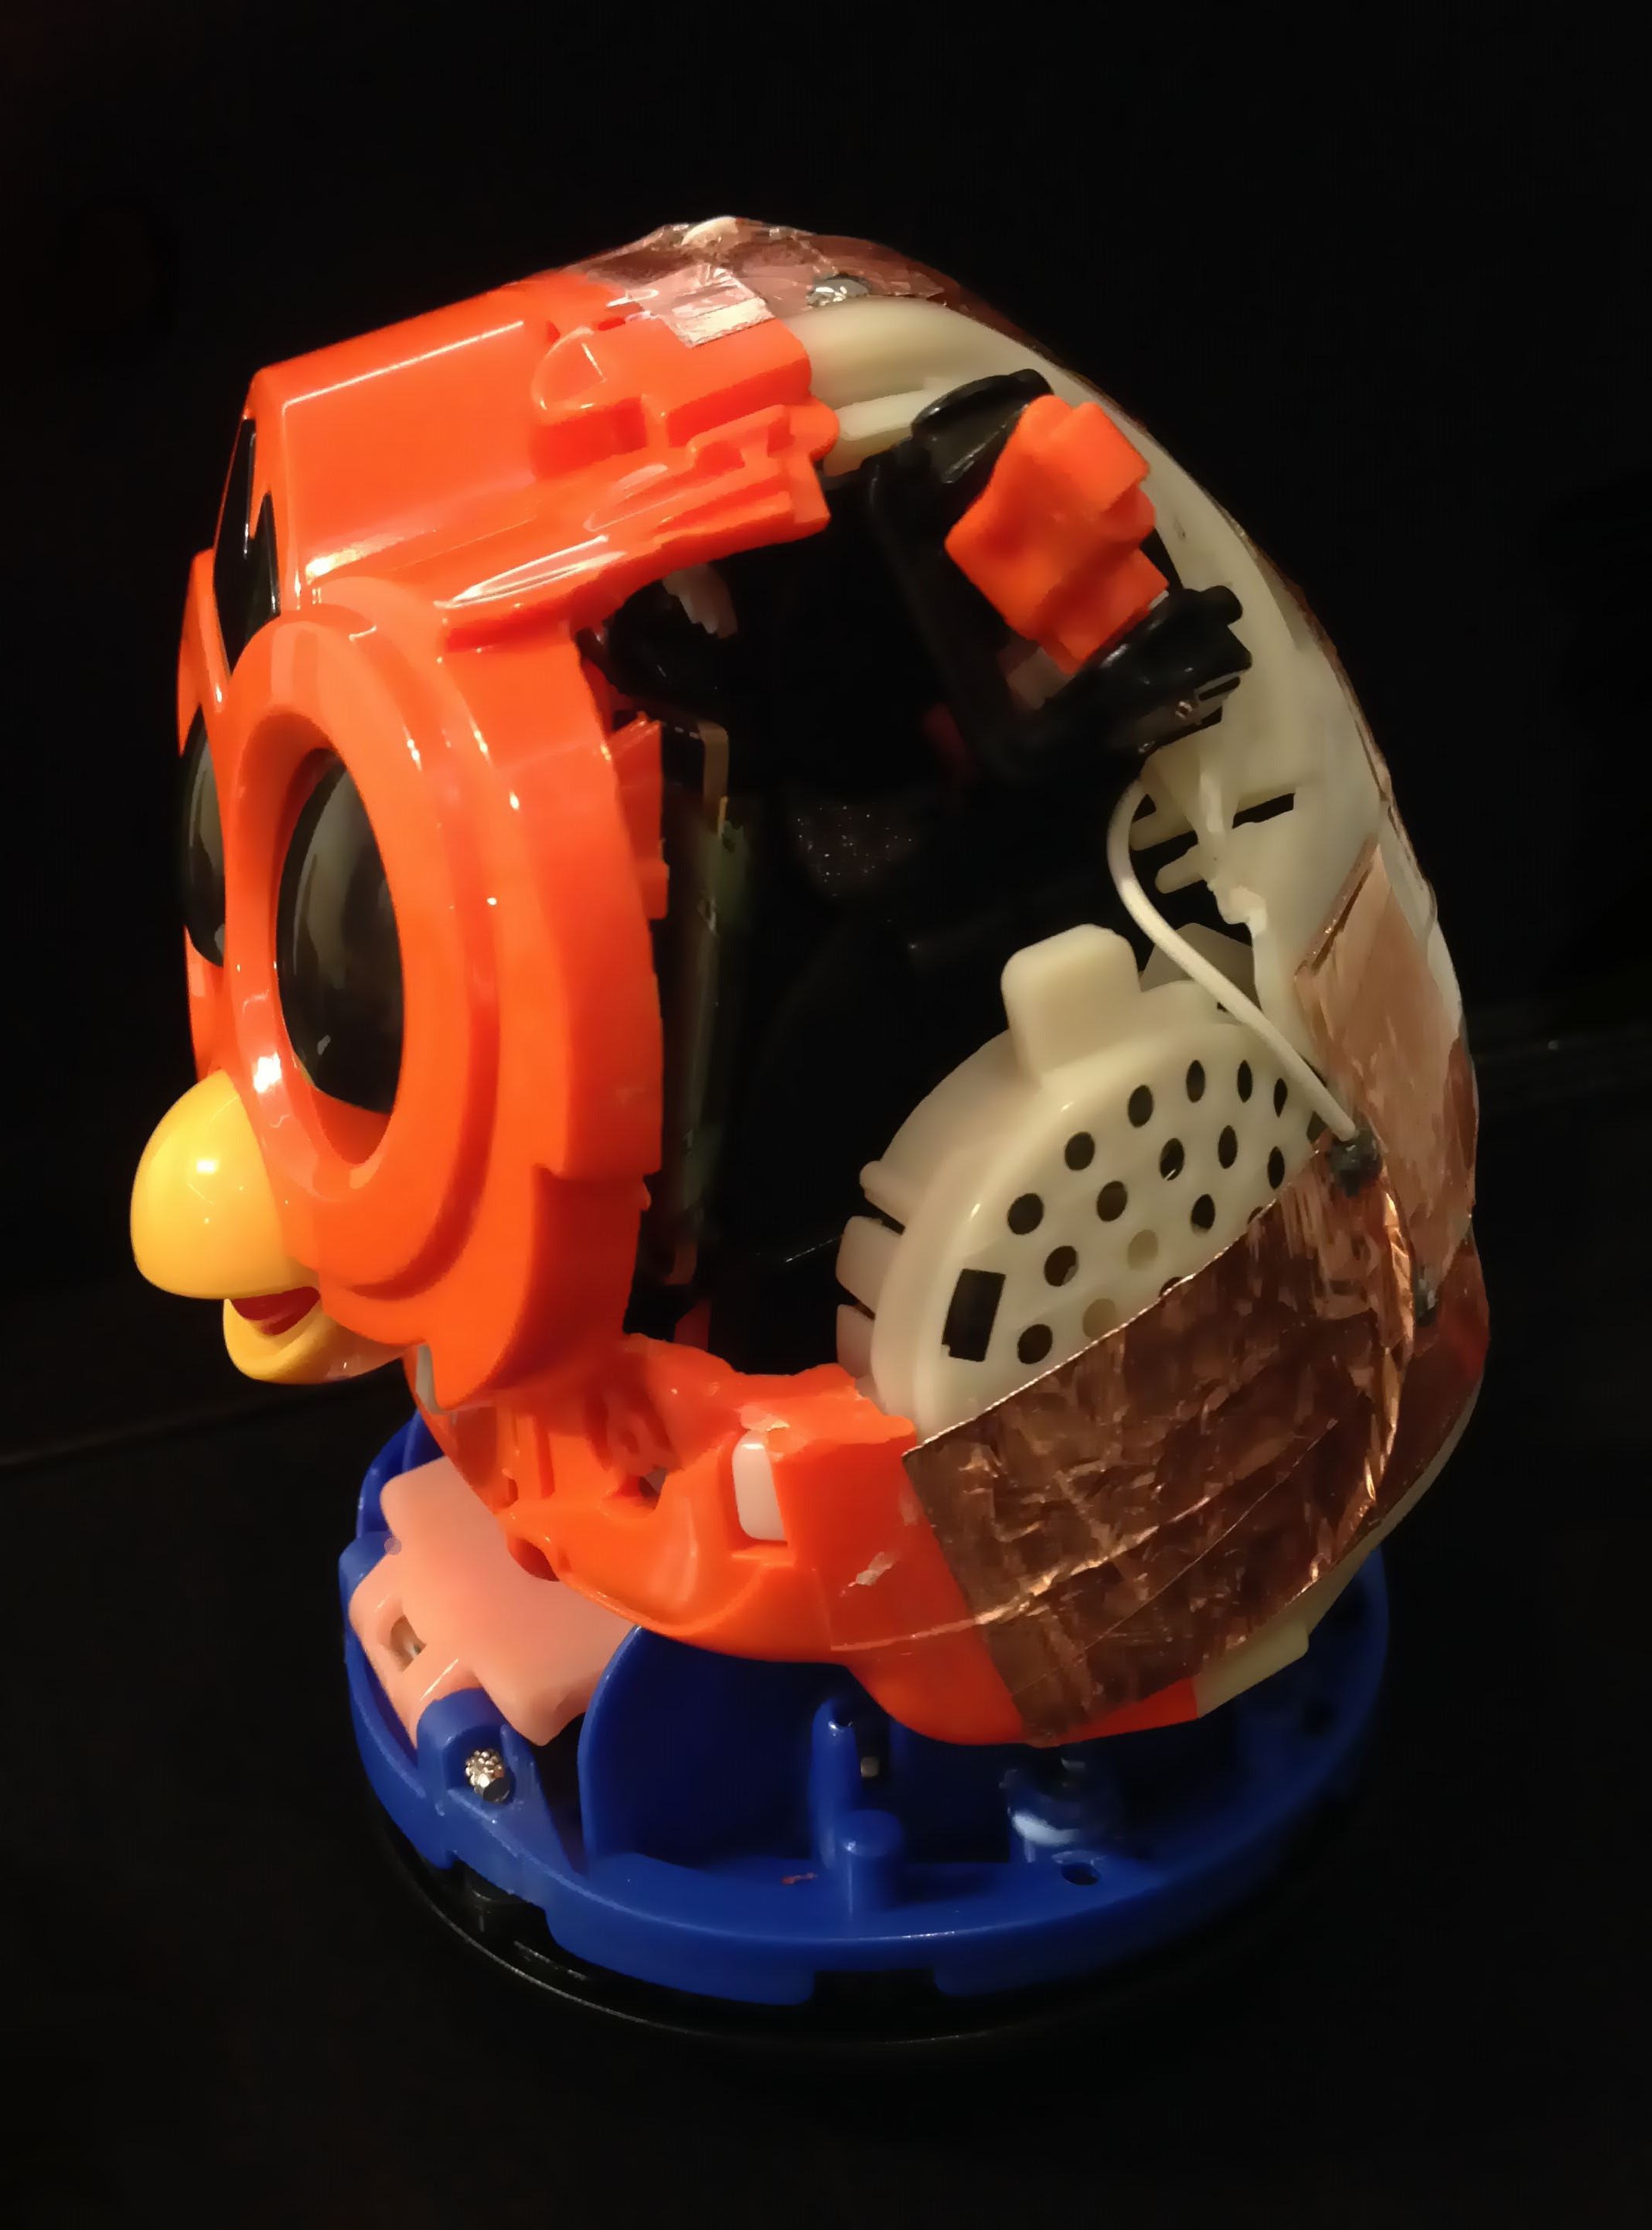
Then we assemble toy in one piece again. We use the original furby encoder and ‘zero position’ sensor. When the wire is out of furby we fasten original furby speaker. Then we twist with screws the casing.
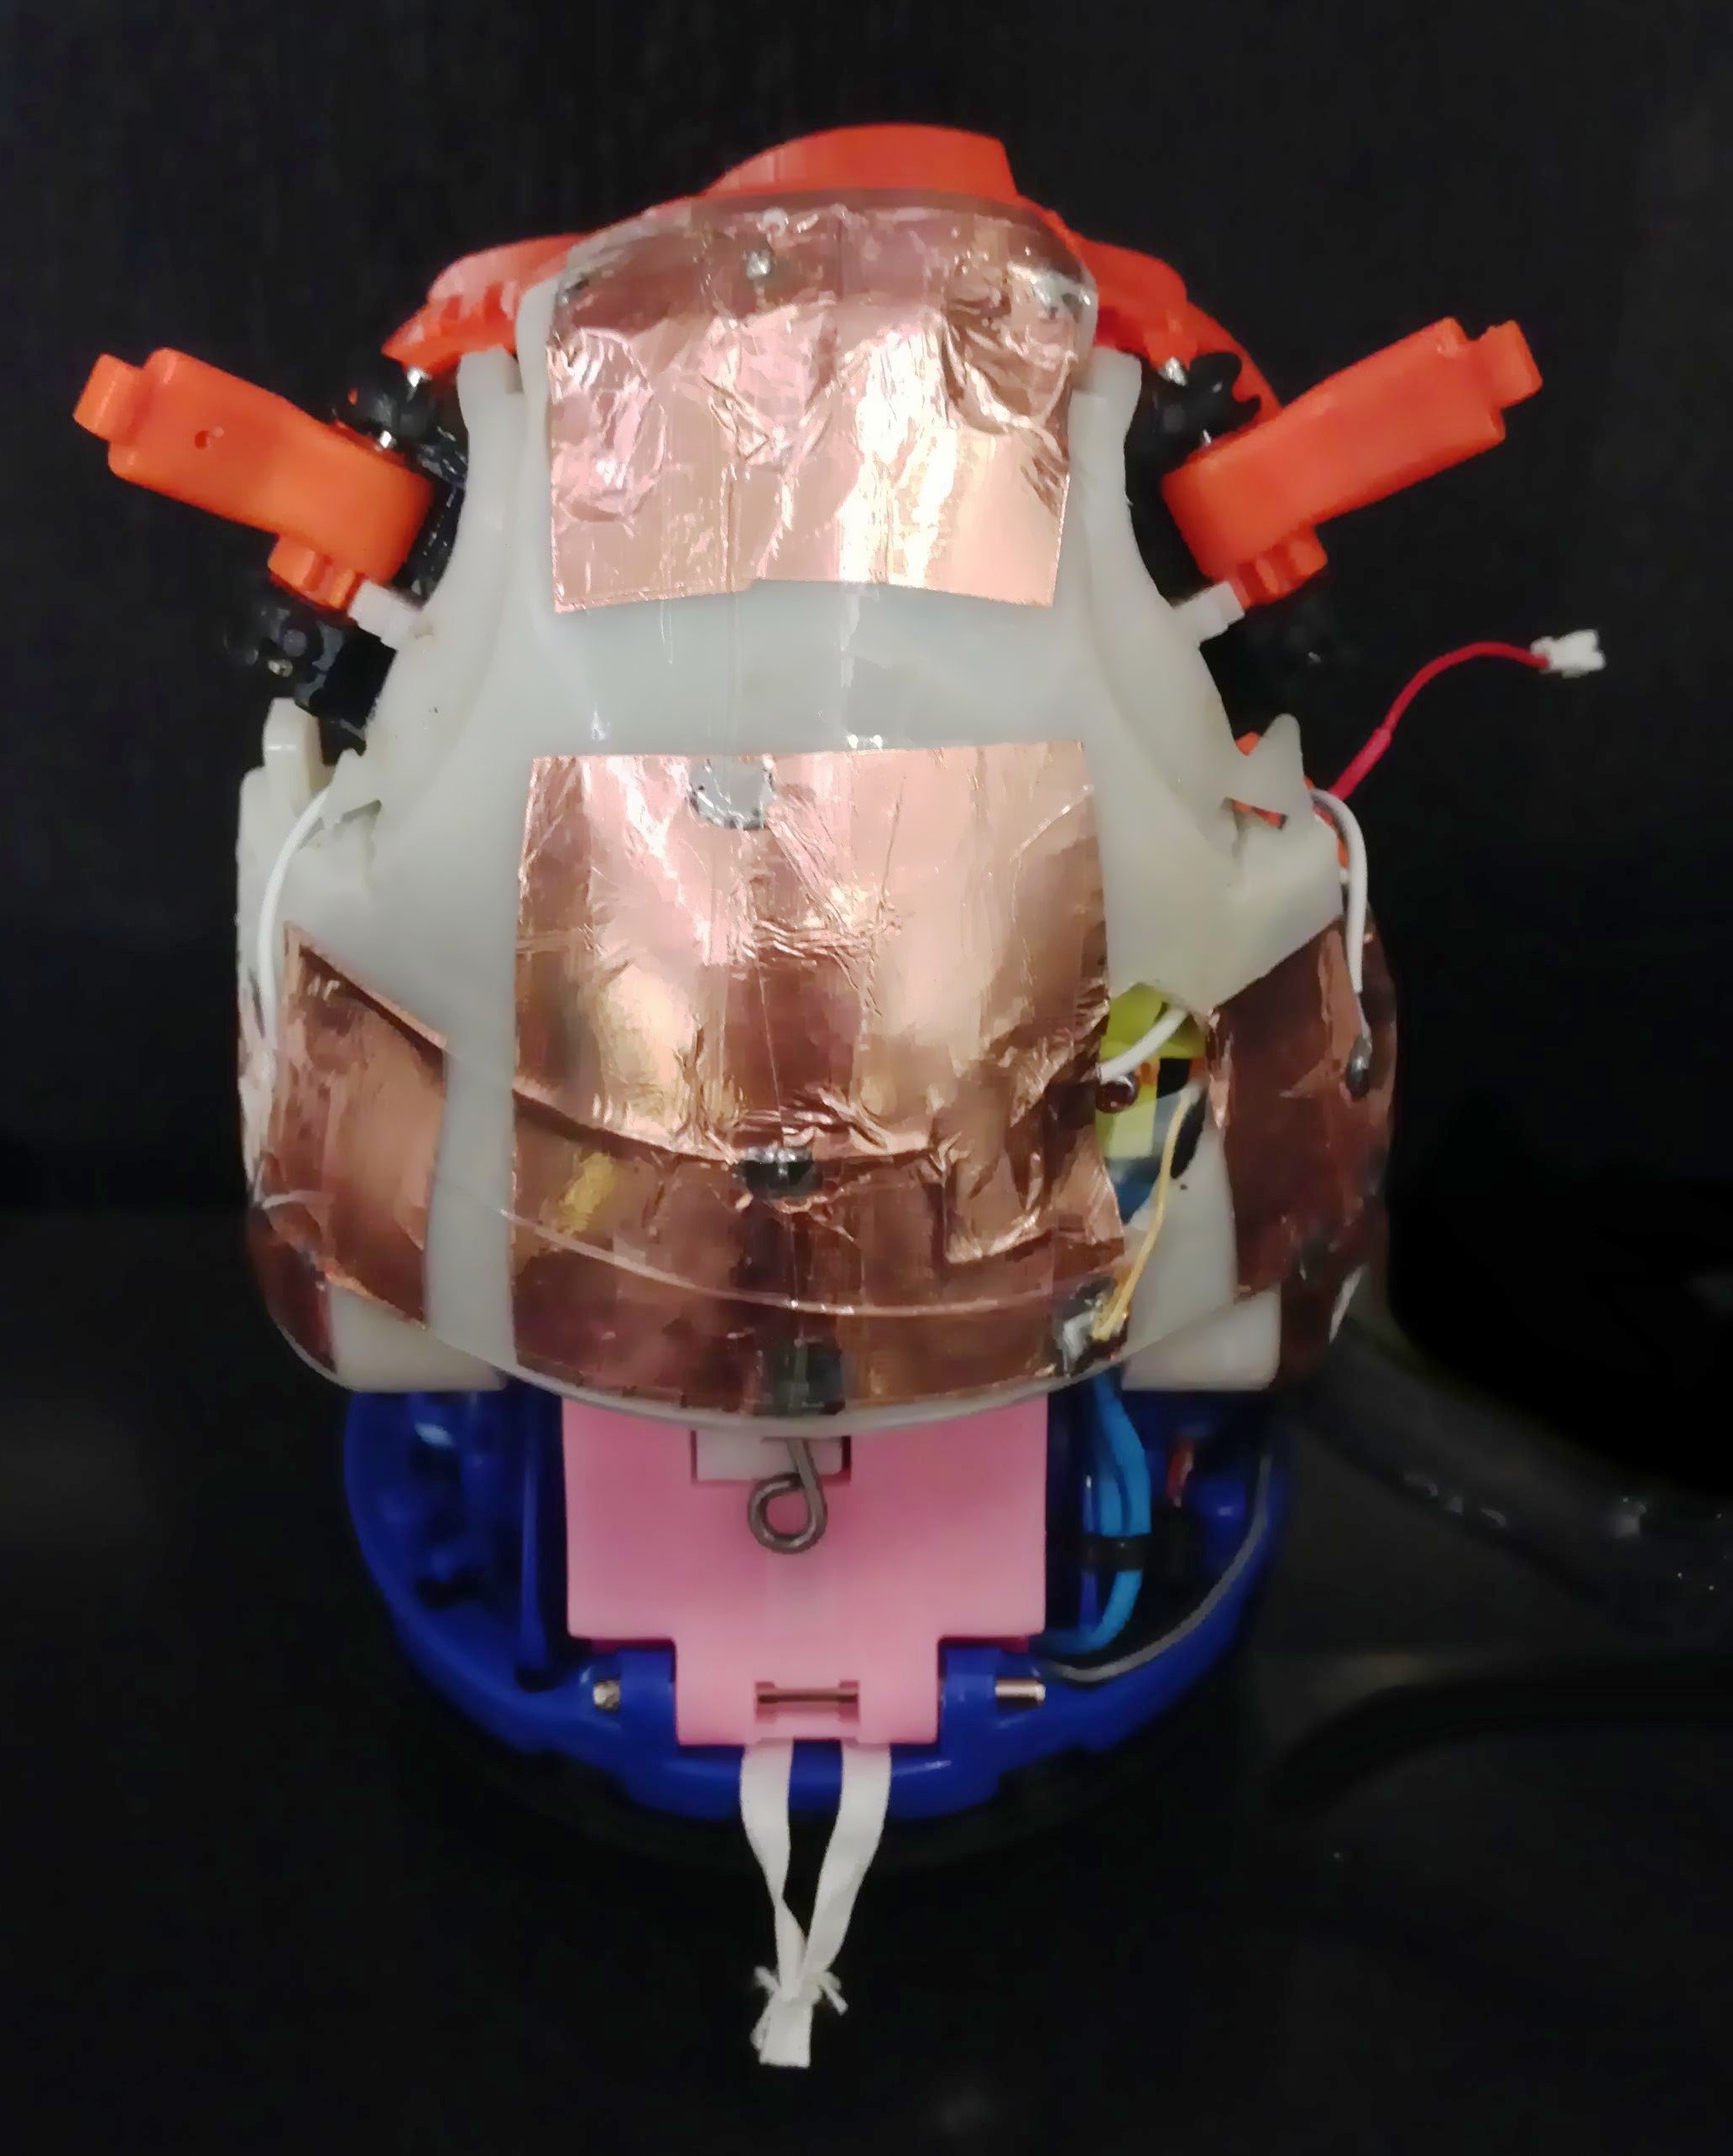
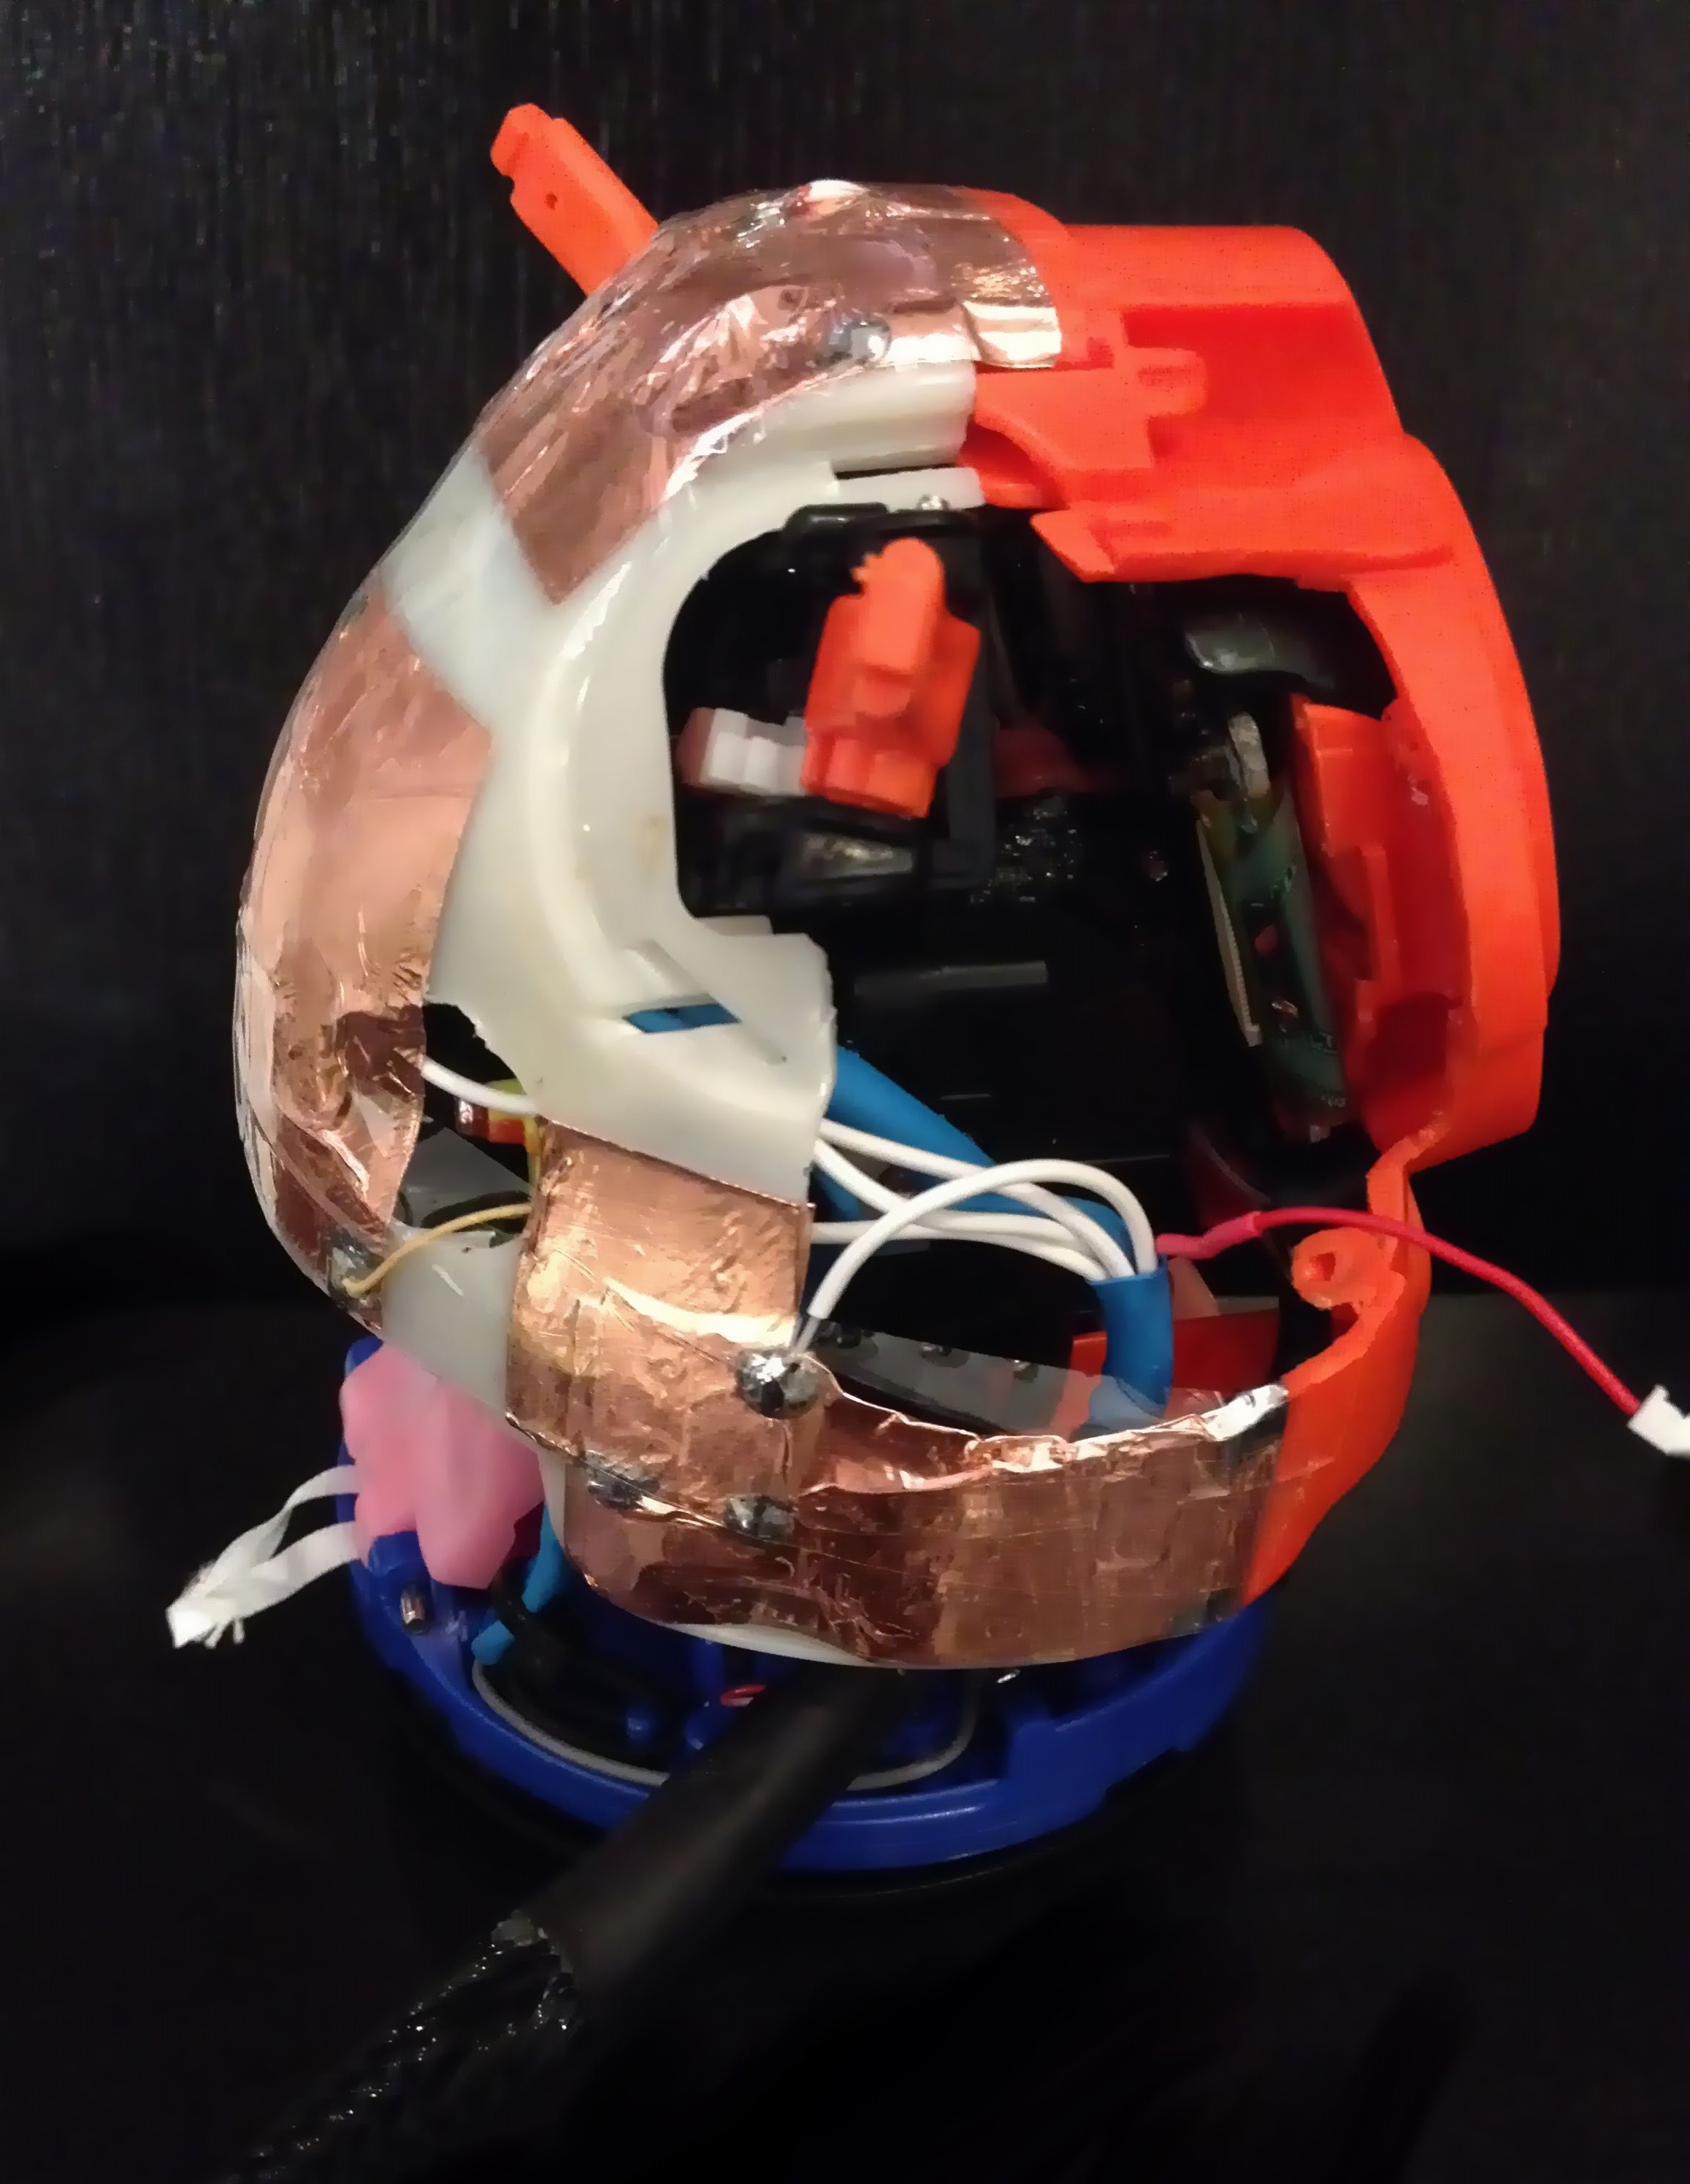
In the end, we have to stick copper tape as a touch sensor to: head, back, both sides and belly.
-
2Step 2
Open FURBY uC controller
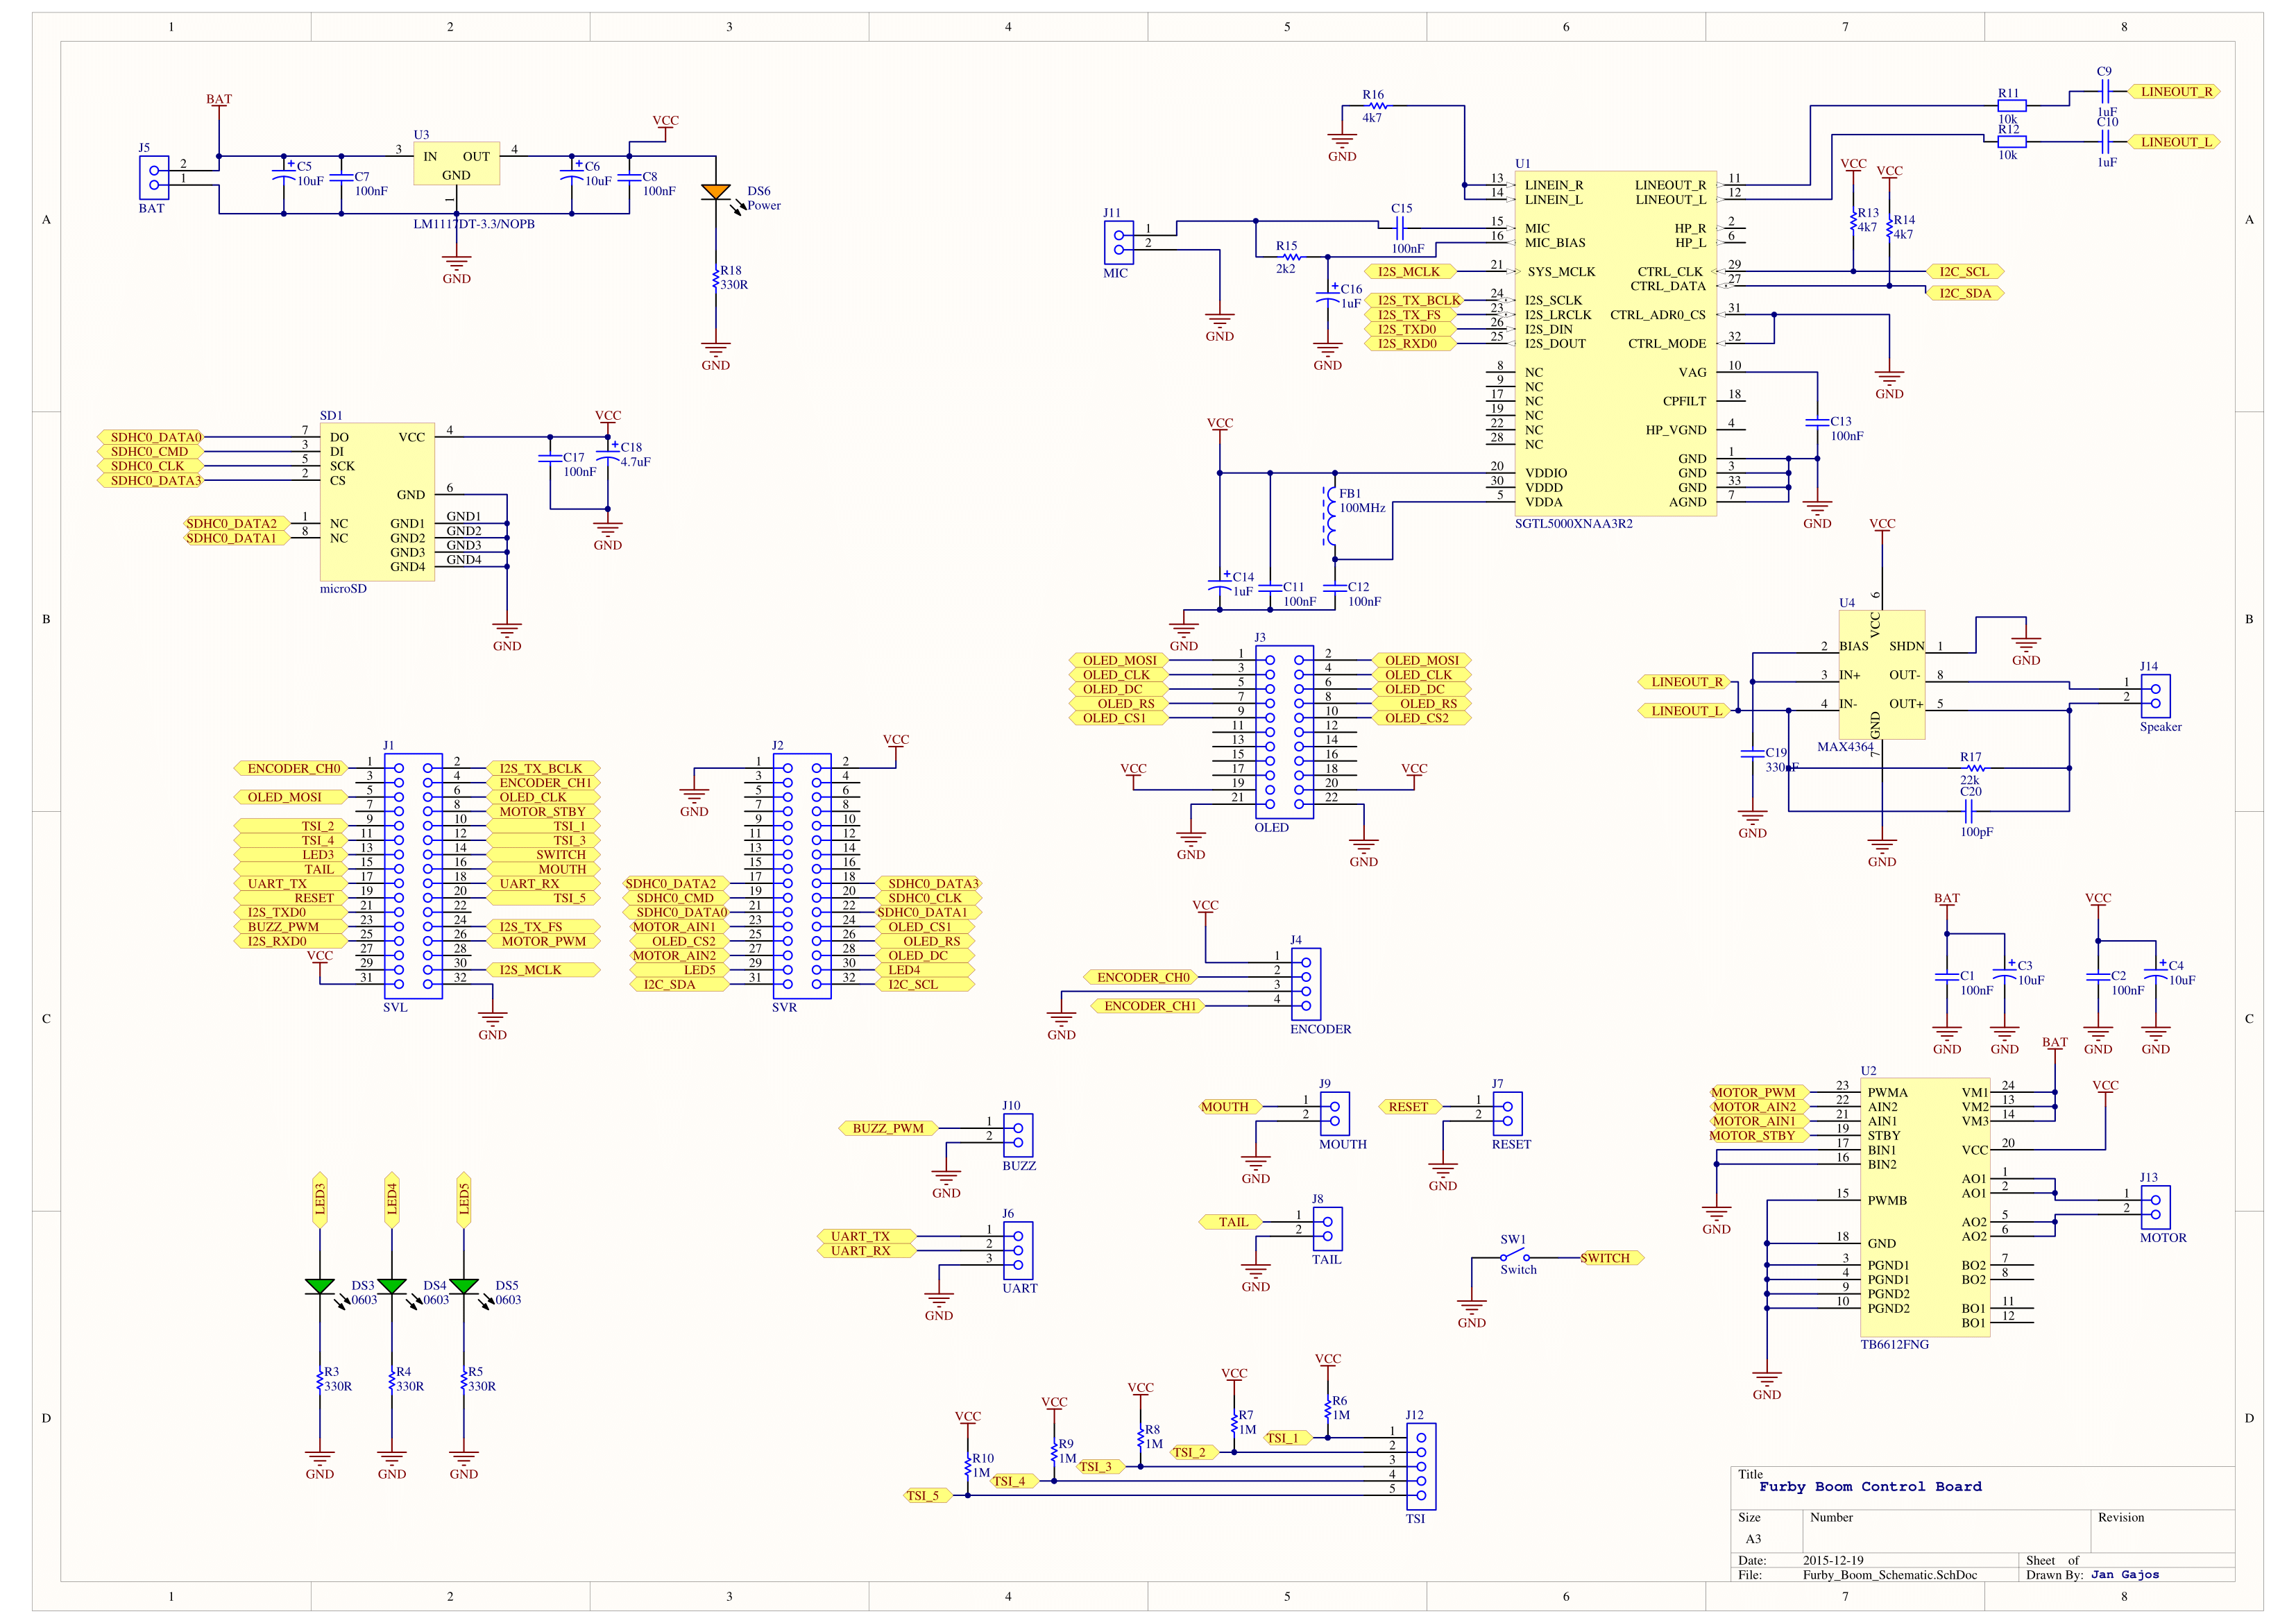
The original Furby controller from Hasbro we changed with our own. Now we can manipulate with different elements of Open FURBY and read values from sensors. Open Furby driver contains:
- uC NXP Kinetis K40 (MK40DN512VLK10) with ARM Cortex-M4, 100MHz, 128kB RAM, 512kB FLASH
- 5 touch sensors (TSI module)
- H-bridge TB6612 and optical encoder to control DC motor
- Audio codec SGTL5000 for sound playing
- Micro SD card reader for storage eyes images (.bmp) and audio files
- USB port for communication
- Speaker and microphone
- Two color OLED 128x96 px displays which communicate via SPI
- Encoder is connected to FlexTimer which is working as a quadrature decoder
- Sensor of position zero, mouth and tail which are connected to GPI
![]()
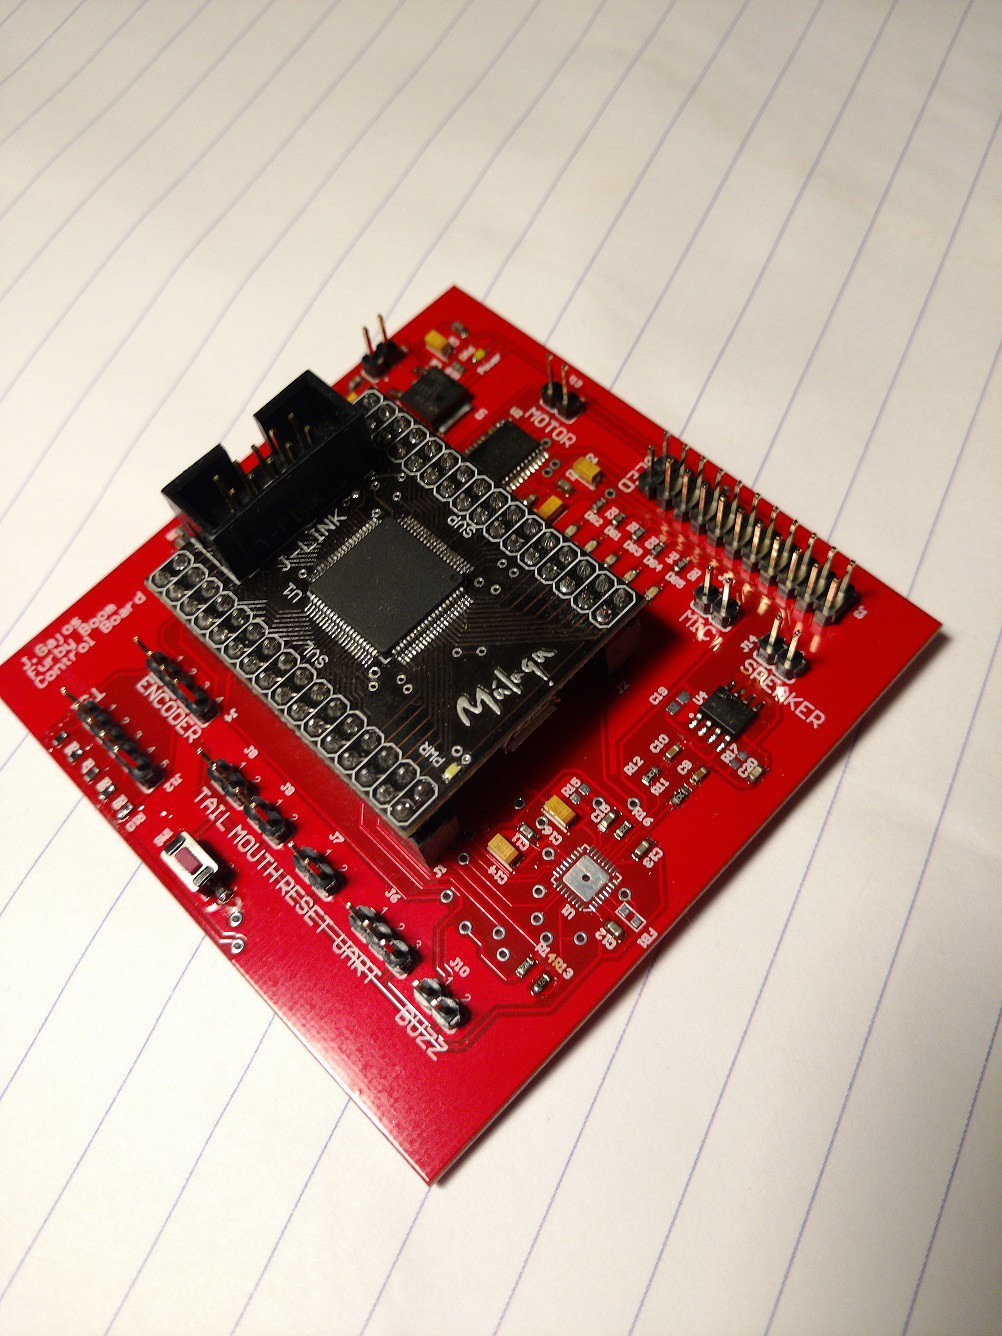
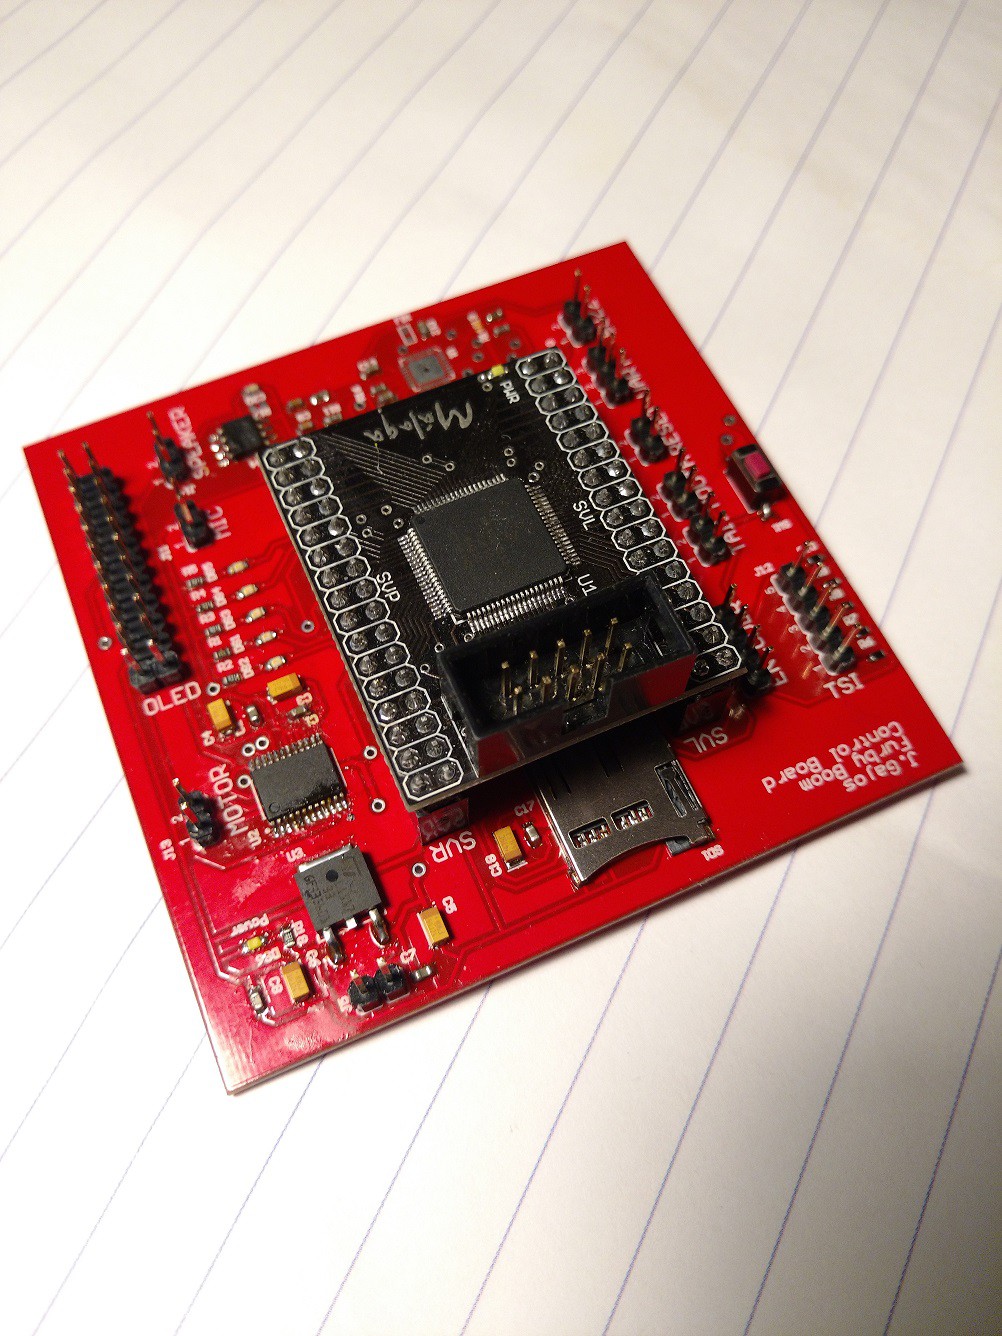
Here is also a pcb of Open FURBY project, but this is only a prototype. In the next version the whole electronic will be inside robot.
![]()
![]()
-
3Step 3
PC control system
Driver installation
After connecting Open FURBY USB connector to the master PC controller you must install serial control port driver. Driver are usually installed automatically by Windows; if not install the following driver LINK.
URBI control system installation
- Create main URBI directory on your hard drive (or cloud drive) (see fig. below).
- Download Urbi Engine 2.7.5 SDK LINK and extract all files to this folder.
- For working with Urbi install Urbi console LINK and Urbi editor LINK.
- From GitHub LINK, download modules LINK and urbi_scripts LINK folders and copy them to your main URBI folder.
![]()
URBI control system configuration
Before starting Open FURBY, you should configure his control system. The main configuration file is called _CONFIG_.u and is located in ubi_scripts catalog . For more information see Control system configuration in Software section.
![]()
Check the number of Open FURBY Serial Port in Device Manager and modify _CONFIG_.u file in urbiscripts folder. You should change _com_furby variable (from “COM3” to appropriate COM number) in FURBY CONFIGURATION section.
Starting robot.
To start Open FURBY, run single.exe or single.bat (edit it if needed) from modules catalog; this will launch Urbi engine and load Open FURBY configuration file along with all the necessary functions.
![]()
After loading all files, you should see "ROBOT READY :-)" info. By default, basic set of Open FURBY competencies is loaded, which can be called via Urbi console.
![]()
Run GOSTAI Console (or other telnet type), set connection port settings and connect to the already running engine. Now you can load your commands into the engine. Call a simple behavior command to check how Open FURBY is running.
// move to the position 100 in 3sec
robot.body.position.Move(100,3s);
// change eye graphics and enable scrolling
robot.body.eye.image.val=102;
robot.body.eye.scroll.val=2;// simple behaviors
robot.body.MoveNeutral(2);
robot.body.MoveBack(2);
robot.body.MoveForward(2);
robot.body.MoveCloseEye(1);
robot.body.MoveCloseEye2(1);
robot.body.Speak(10,200);
t:robot.body.ActAlive(200), sleep(10s); t.stop;
t:robot.body.ActSleep(200), sleep(10s); t.stop;
Open FURBY
Our goal is to modify FURBY toy manufactured by Hasbro Inc. and equipped him in a custom controller that allows to control him form PC.
 Open FURBY



Discussions
Become a Hackaday.io Member
Create an account to leave a comment. Already have an account? Log In.